
Classic Peppercorn Ham Steak
intro
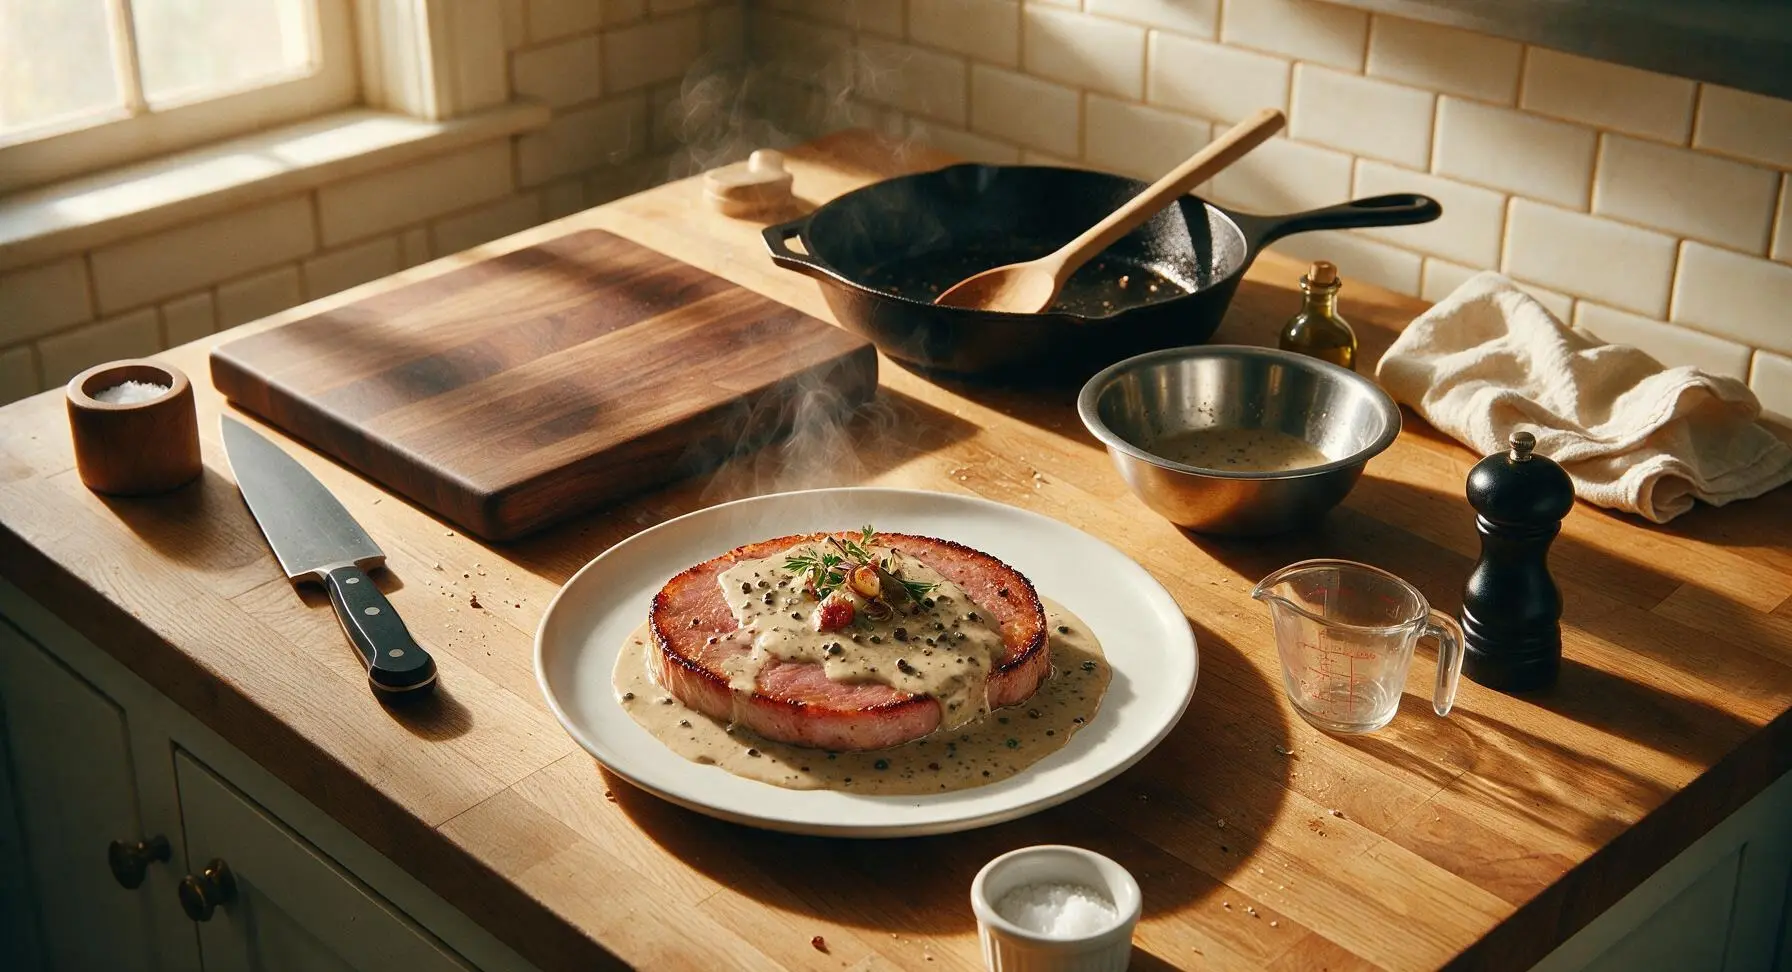
Juicy pan-seared ham steak smothered in a bold, cracked peppercorn cream sauce—salty, savory, and rich, ready in under 30 minutes for a no-fuss, satisfying meal.
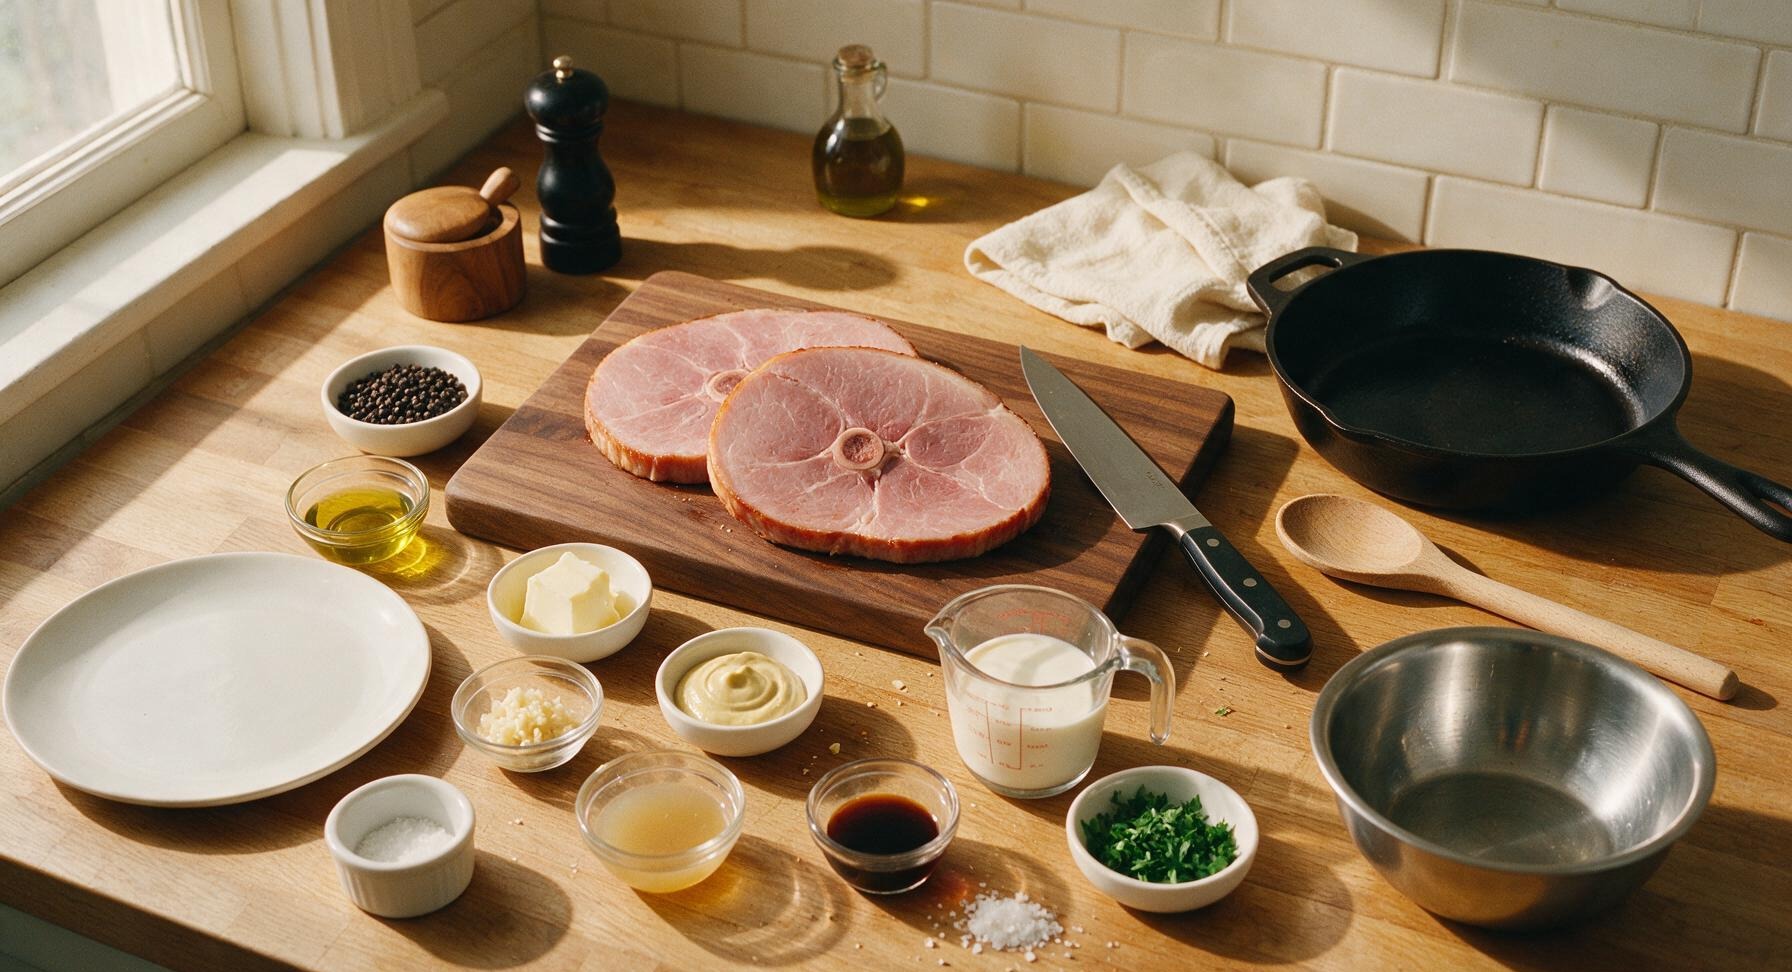
Ingredients
Steps
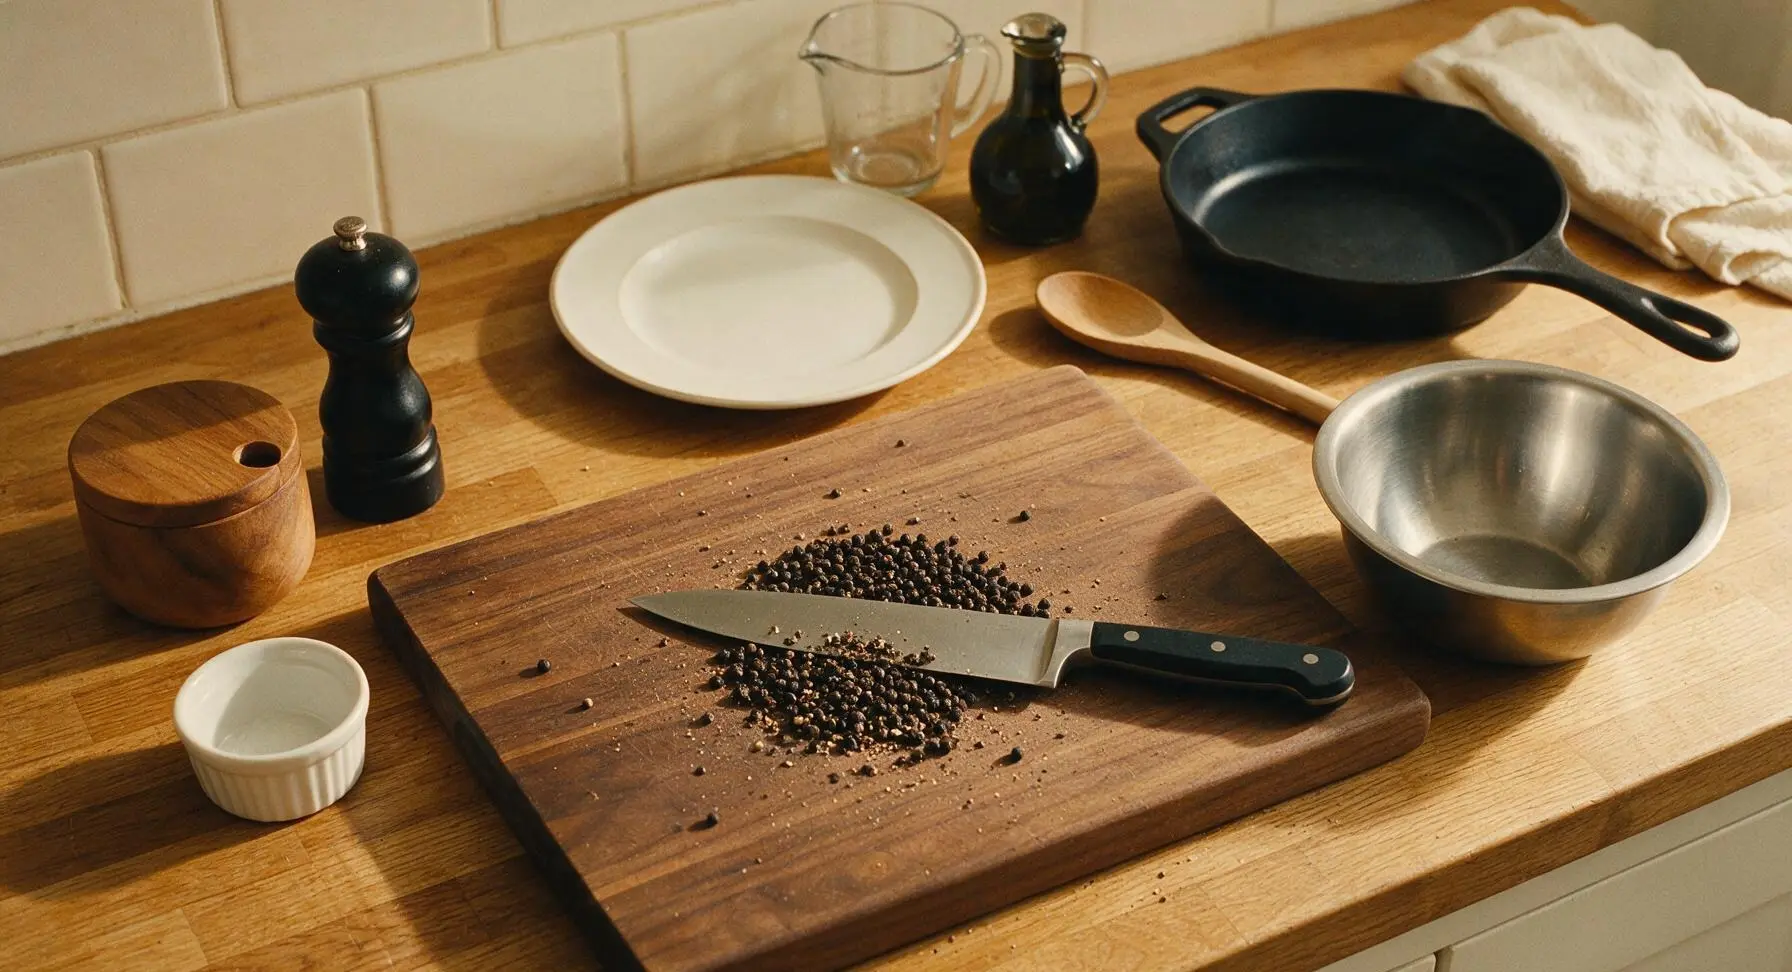
Crack Whole Peppercorns
Place 2 tablespoons whole black peppercorns on the maple cutting board. Use the flat side of the 8-inch chef knife to press down firmly on the peppercorns, crushing them into coarse, uneven pieces (a mix of fine powder and larger 1/4-inch chunks). Transfer 3/4 of the cracked peppercorns to the small stainless steel mixing bowl, reserving the remaining 1/4 for finishing the sauce. Do not grind peppercorns to a fine powder—coarse texture creates the signature bold, popping pepper flavor.
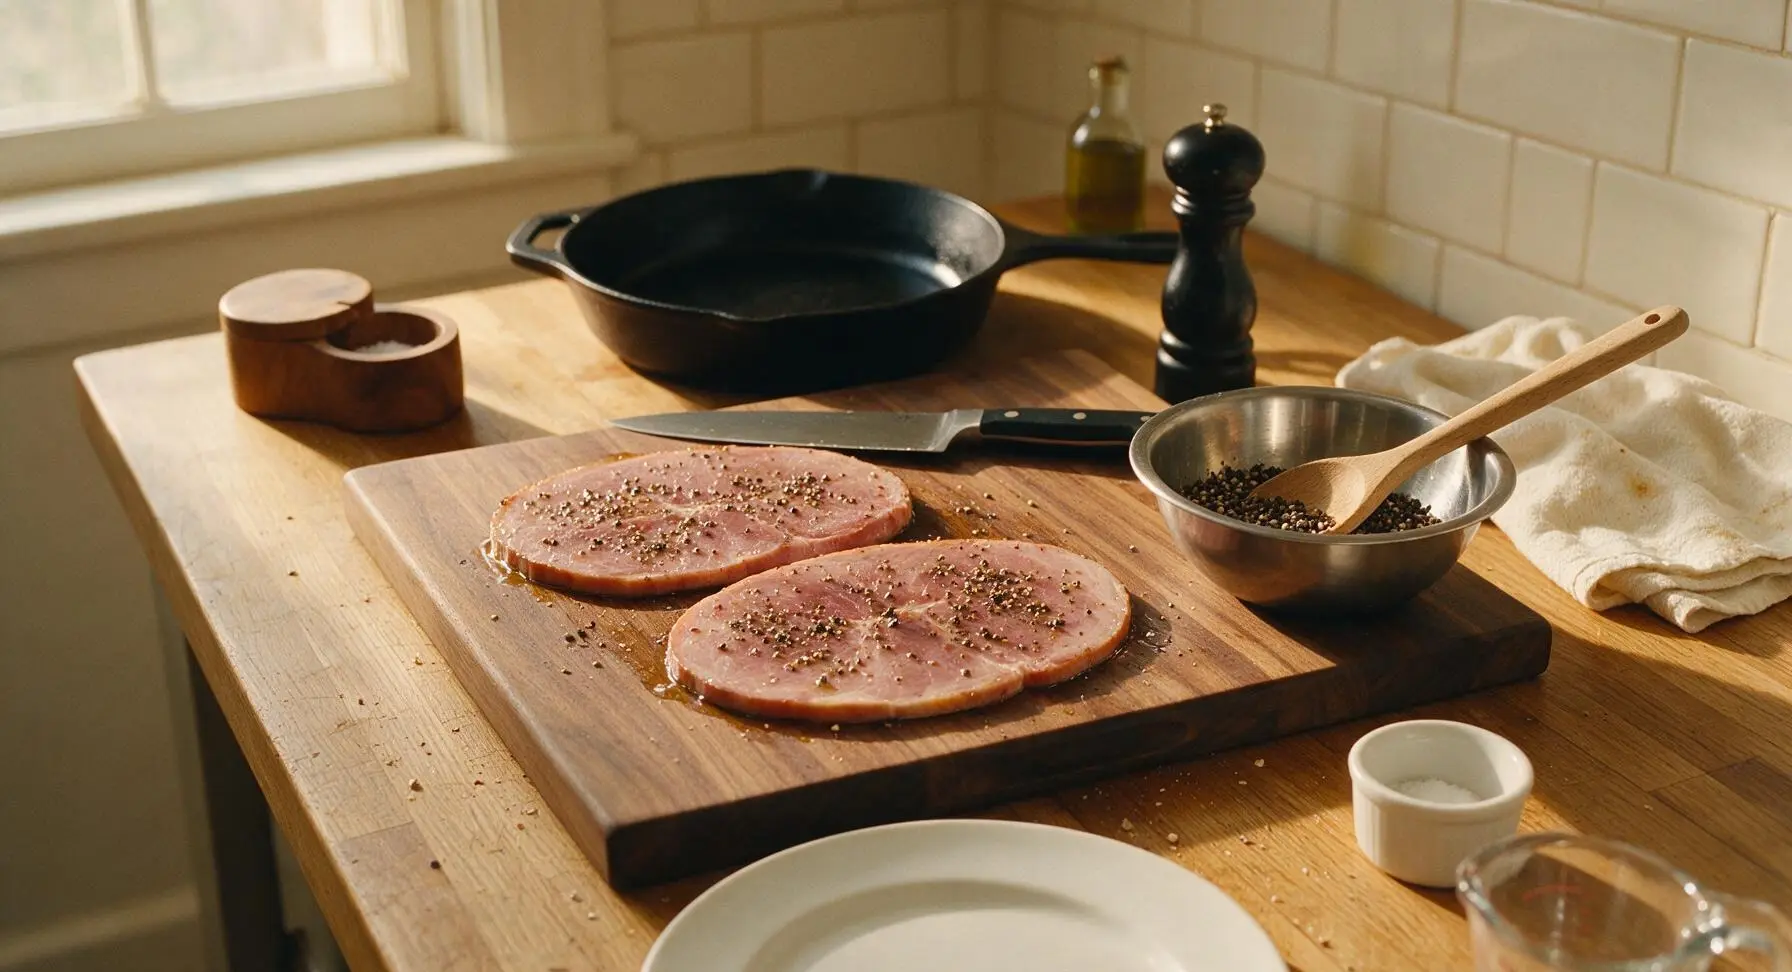
Pat Ham Steaks Dry
Remove the fully cooked ham steaks from packaging, and pat both sides completely dry with paper towels (or the clean edge of the linen towel, taking care not to leave lint on the meat). Rub 1 teaspoon of olive oil over both sides of each ham steak, then press the 3/4 portion of cracked peppercorns from the mixing bowl firmly into both surfaces of the ham to create an even pepper coating. Lightly season with 1/2 teaspoon kosher salt—remember cured ham is already salty, so avoid over-salting.
Sear Ham Until Golden
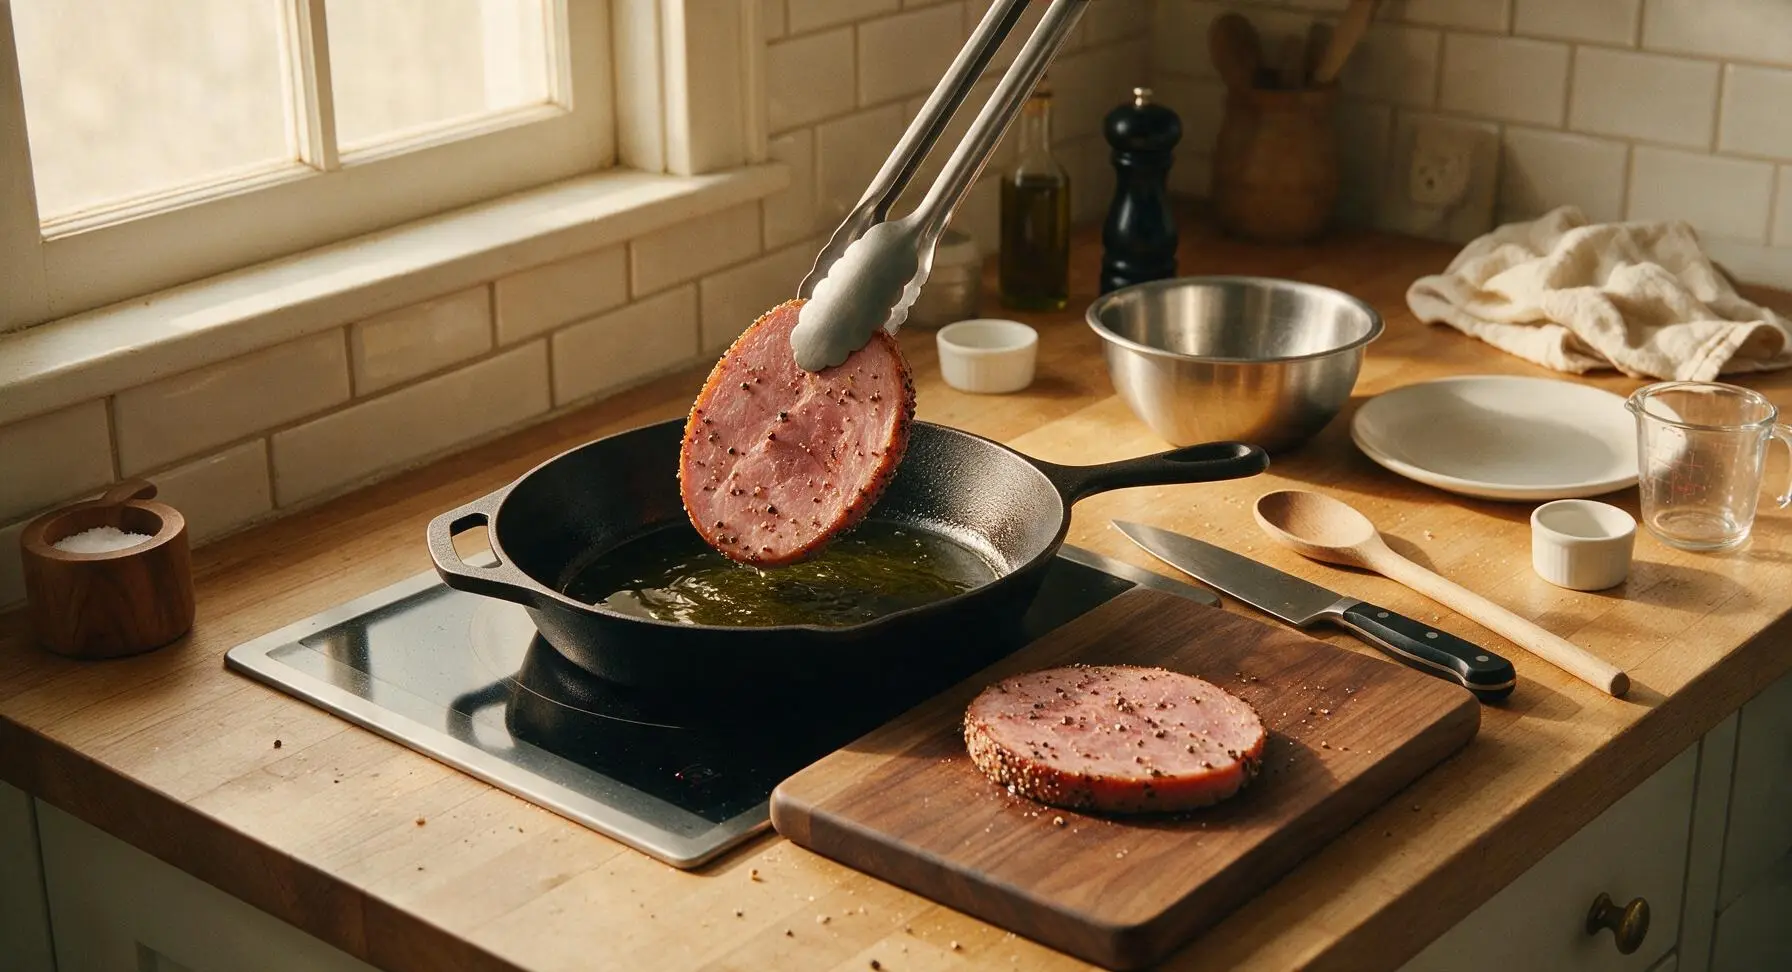
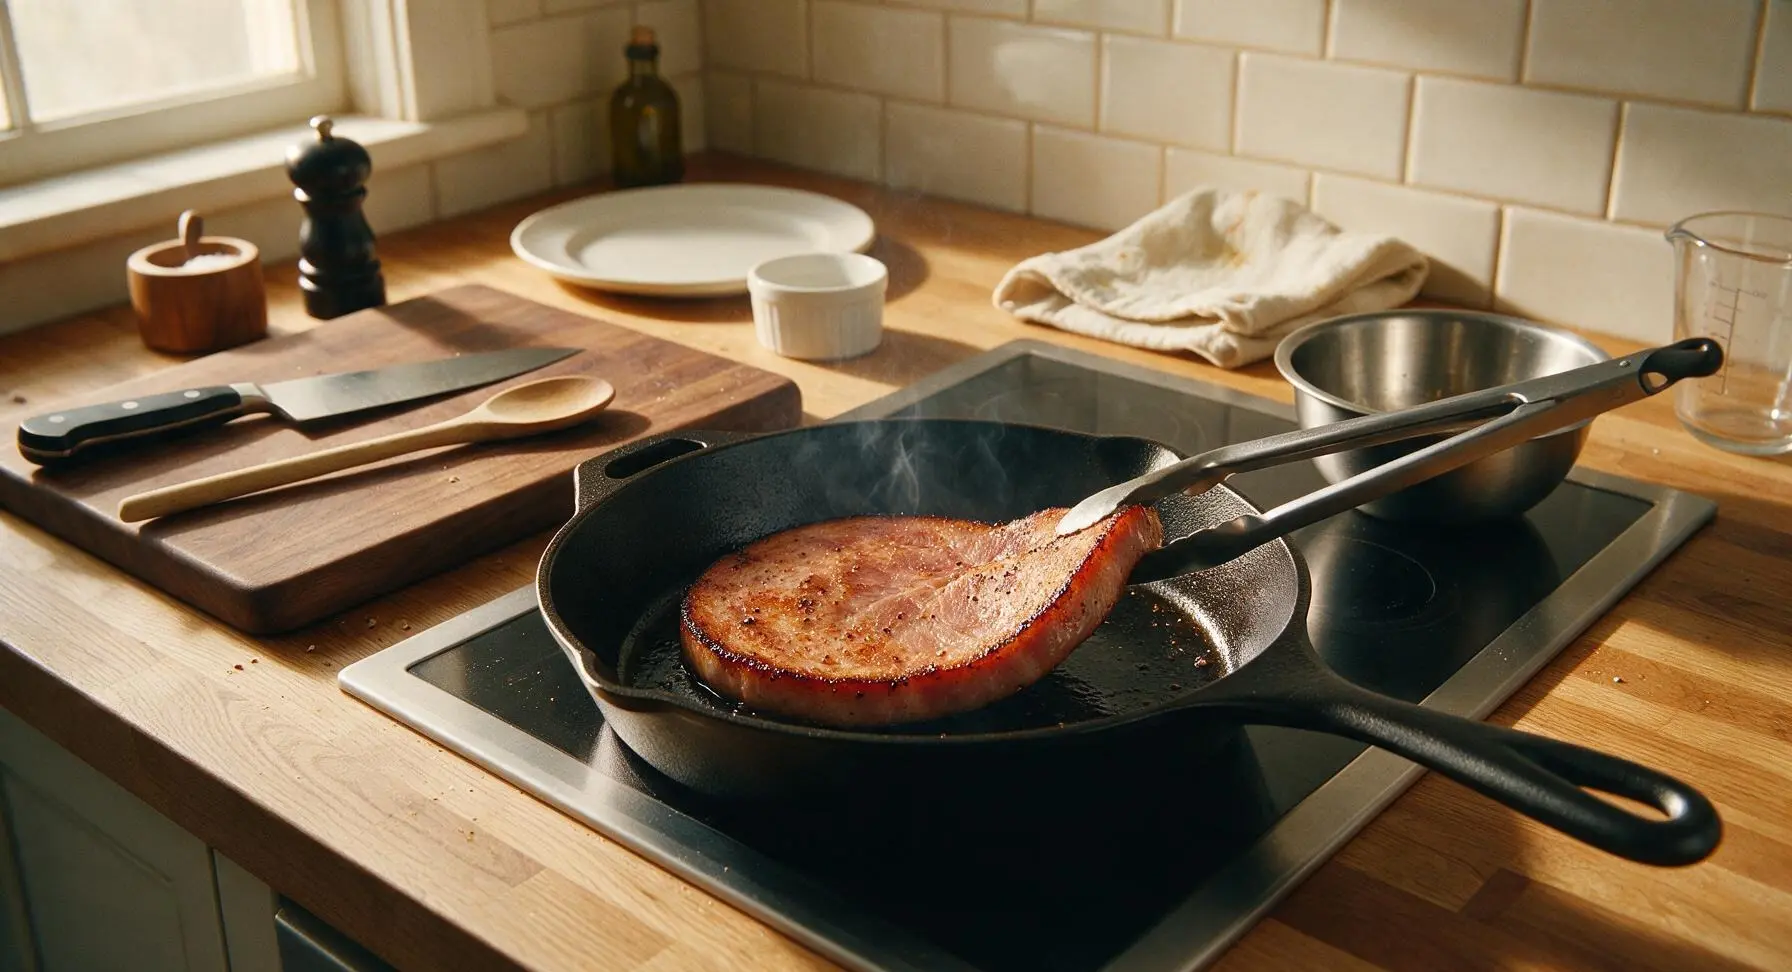
Place the 12-inch matte black carbon steel skillet on the inset induction stovetop over medium-high heat, and add the remaining 2 teaspoons olive oil. Once the oil shimmers (about 2 minutes), use the stainless steel tongs to carefully lower the ham steaks into the pan. Sear for 4 minutes per side, until the edges are deep golden brown and slightly crisp, and the pepper coating is fragrant. Do not move the ham while it sears to build a solid crust. Transfer seared ham to a clean off-white dinner plate, and tent loosely with foil to rest.
Sauté Garlic Base
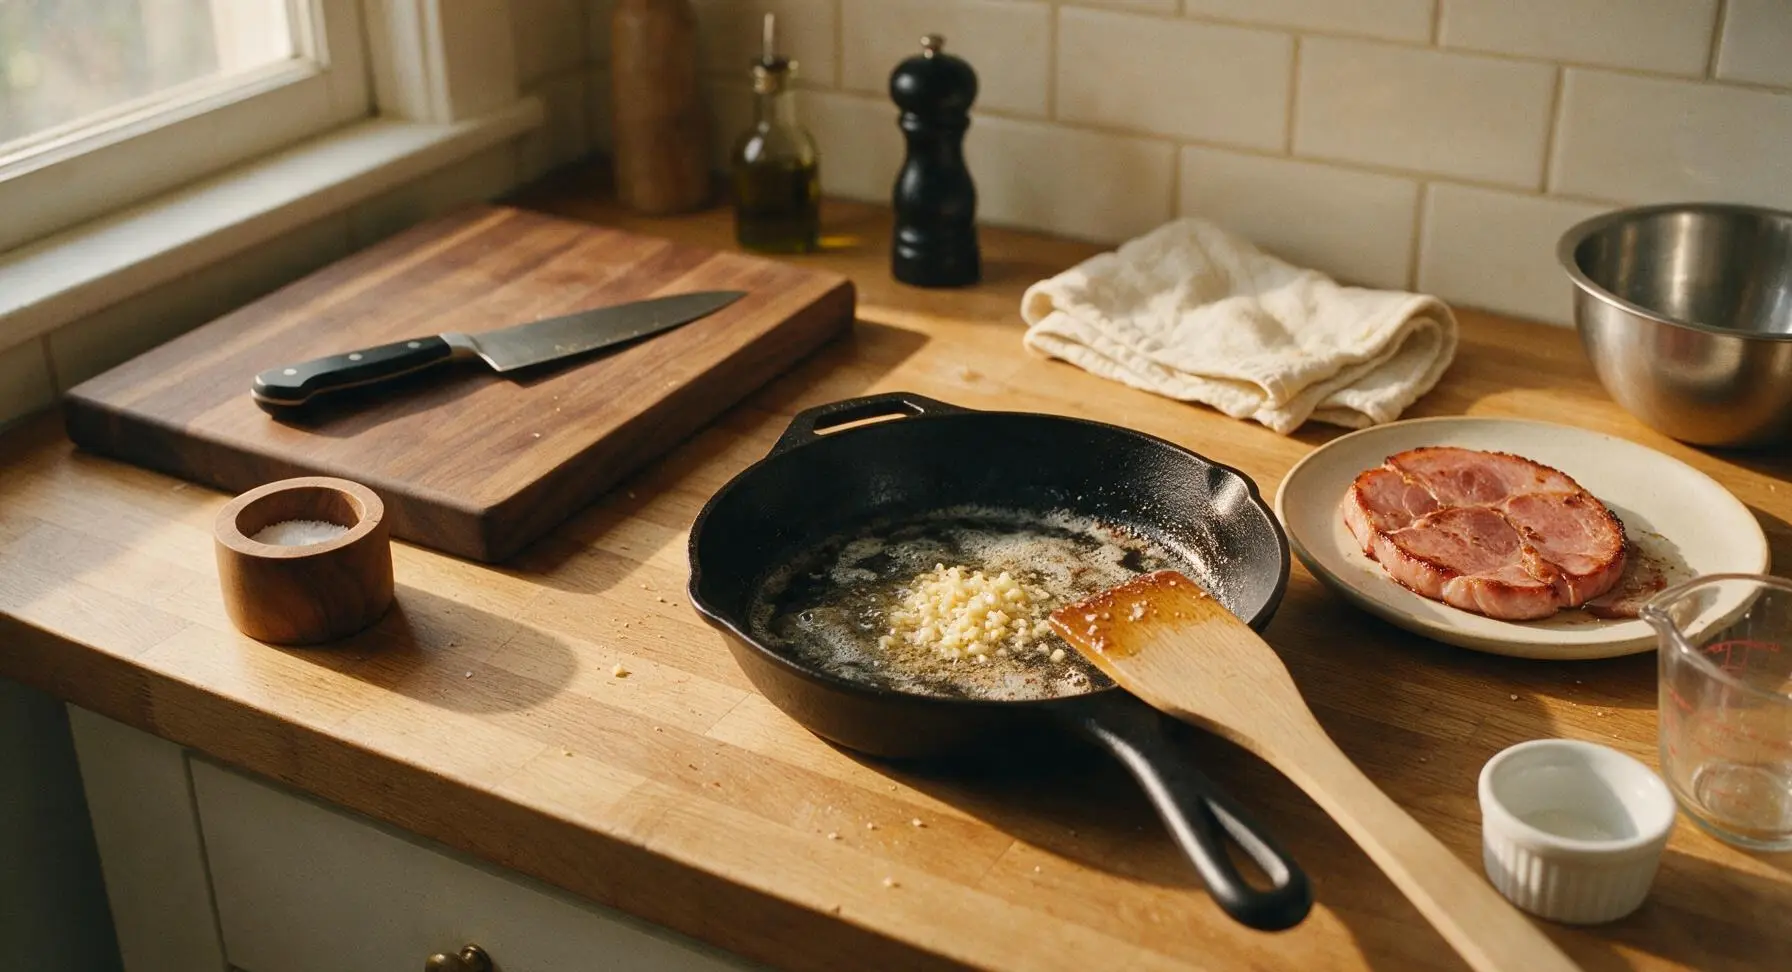
Reduce the pan heat to medium, and add 1 tablespoon of unsalted butter to the same skillet, using the beech wood spatula to scrape up all the browned pepper and ham bits (called fond) from the bottom of the pan as the butter melts. Add the minced garlic, and sauté for 30 seconds only, until fragrant—do not let the garlic burn, as it will turn bitter. The fond will dissolve into the melted butter, creating a deep, flavorful base for the sauce.
Simmer Peppercorn Sauce
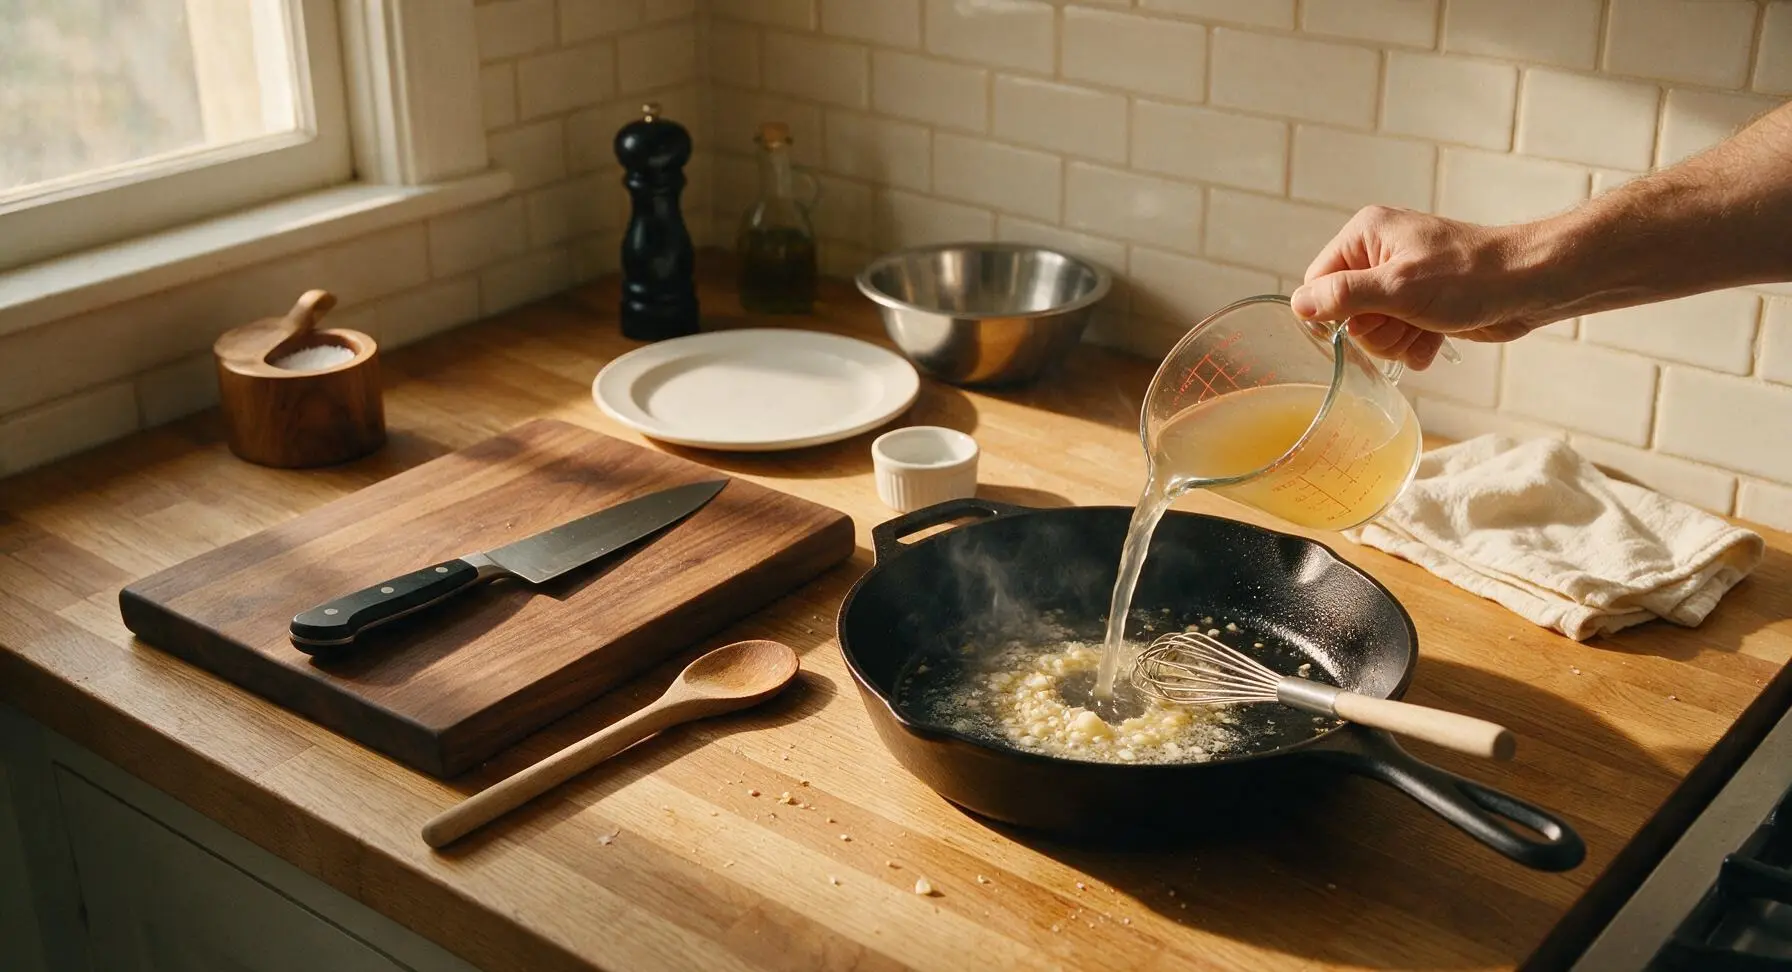
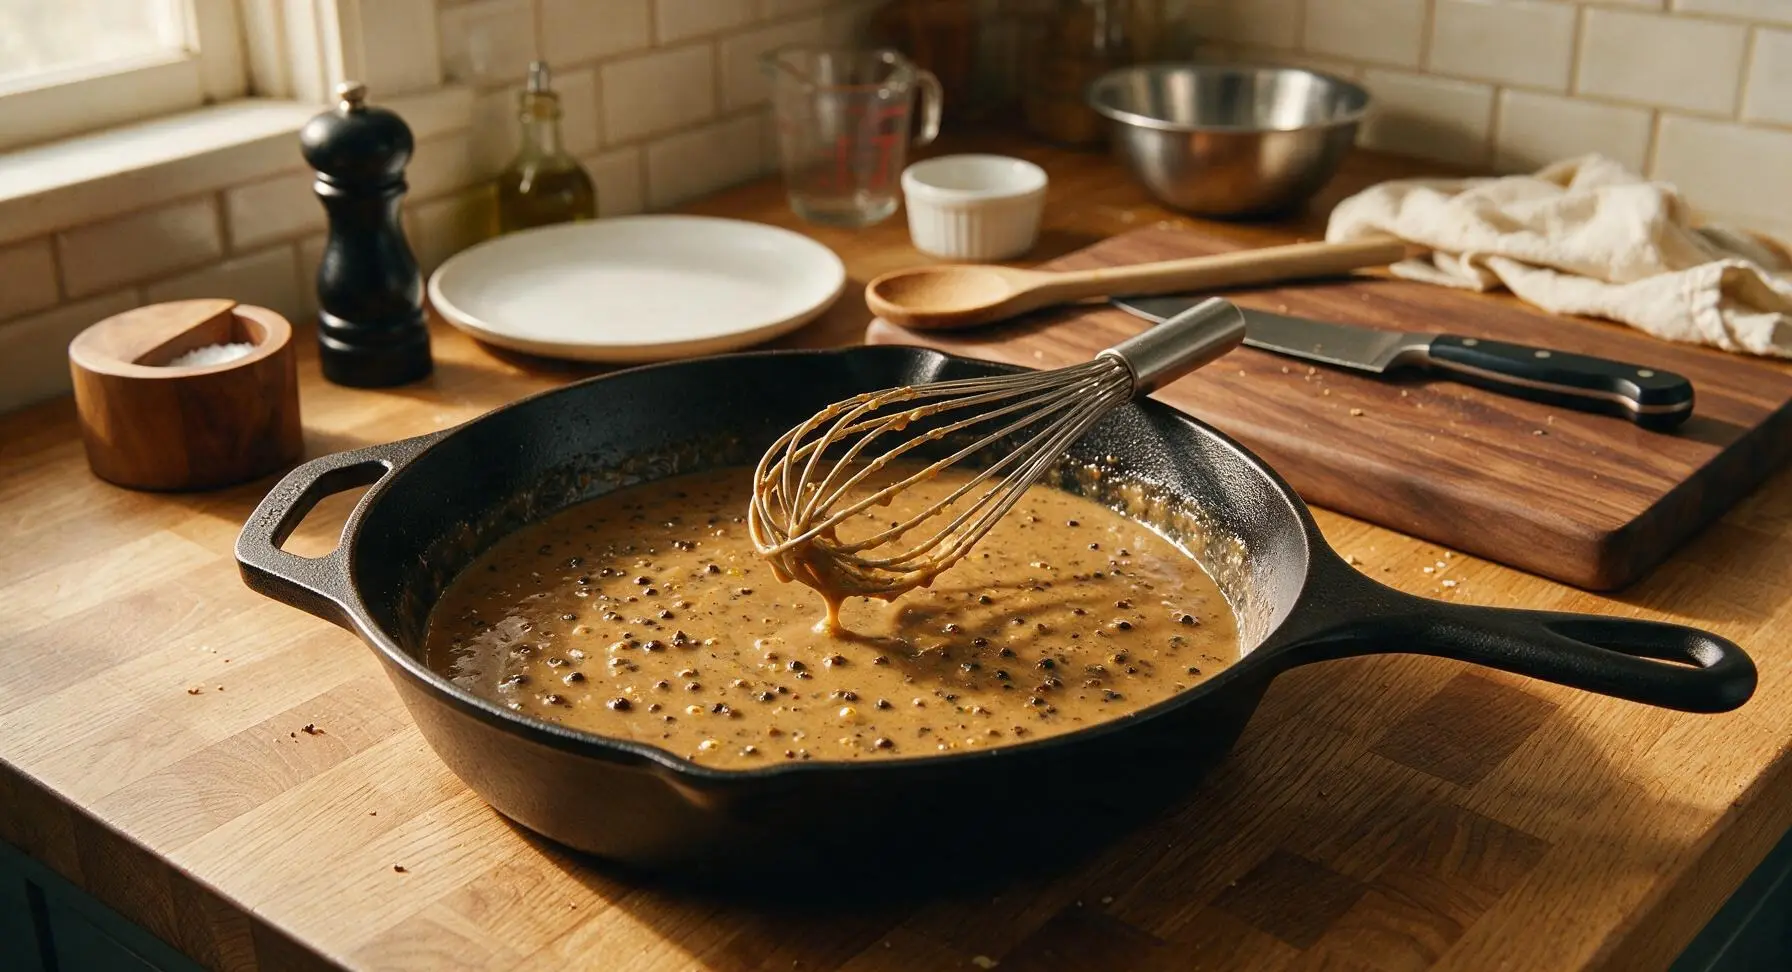
Pour the 1/4 cup low-sodium chicken broth into the skillet, and bring to a gentle simmer, whisking constantly with the small wire whisk to lift any remaining fond from the pan bottom. Stir in 2 tablespoons Dijon mustard, 1 tablespoon Worcestershire sauce, and the remaining reserved cracked peppercorns. Simmer for 3 minutes, until the broth is reduced by half. Reduce heat to low, then slowly stir in the 1/3 cup heavy cream and remaining 1 tablespoon of butter, whisking until smooth. Simmer for 2 more minutes, until the sauce thickens enough to coat the back of a spoon. Taste, and add a tiny pinch of salt only if needed.
Coat Ham in Sauce
Use the stainless steel tongs to return the rested ham steaks to the skillet with the peppercorn sauce. Spoon sauce over the top of each steak with the wood spatula, and let them warm through in the sauce for 2 minutes, flipping once to coat both sides completely. The ham will absorb some of the pepper flavor from the sauce as it warms, and the sauce will cling evenly to the seared crust.
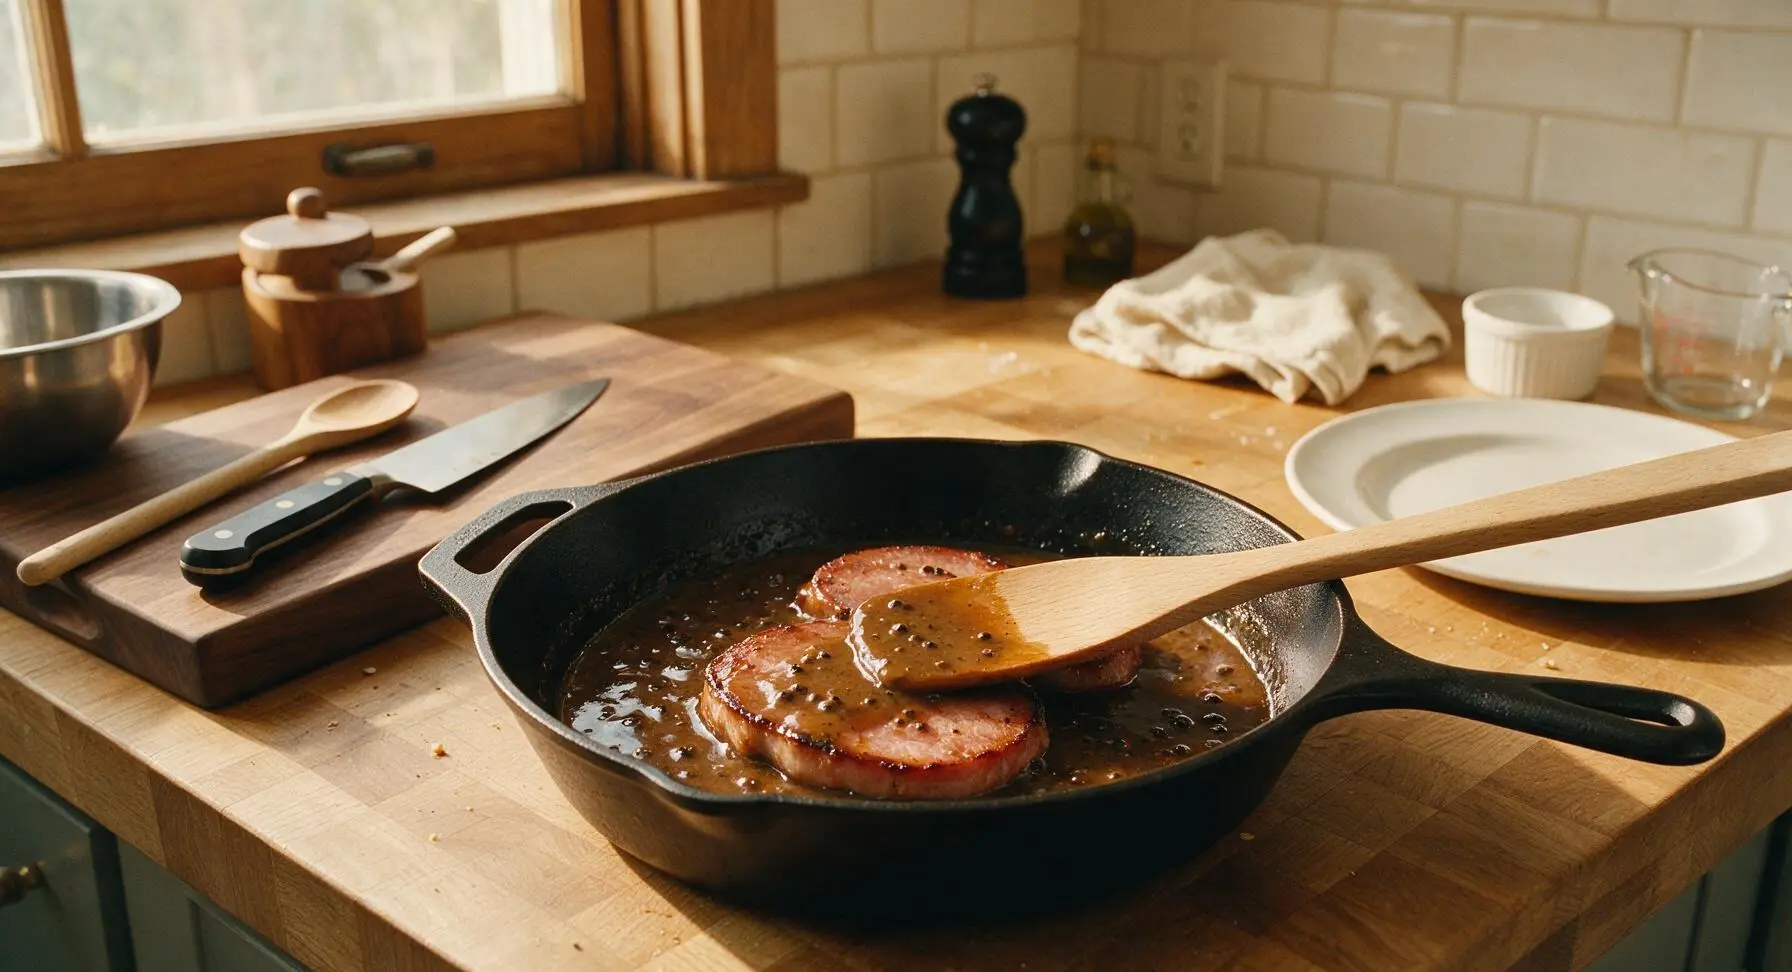
Plate and Garnish
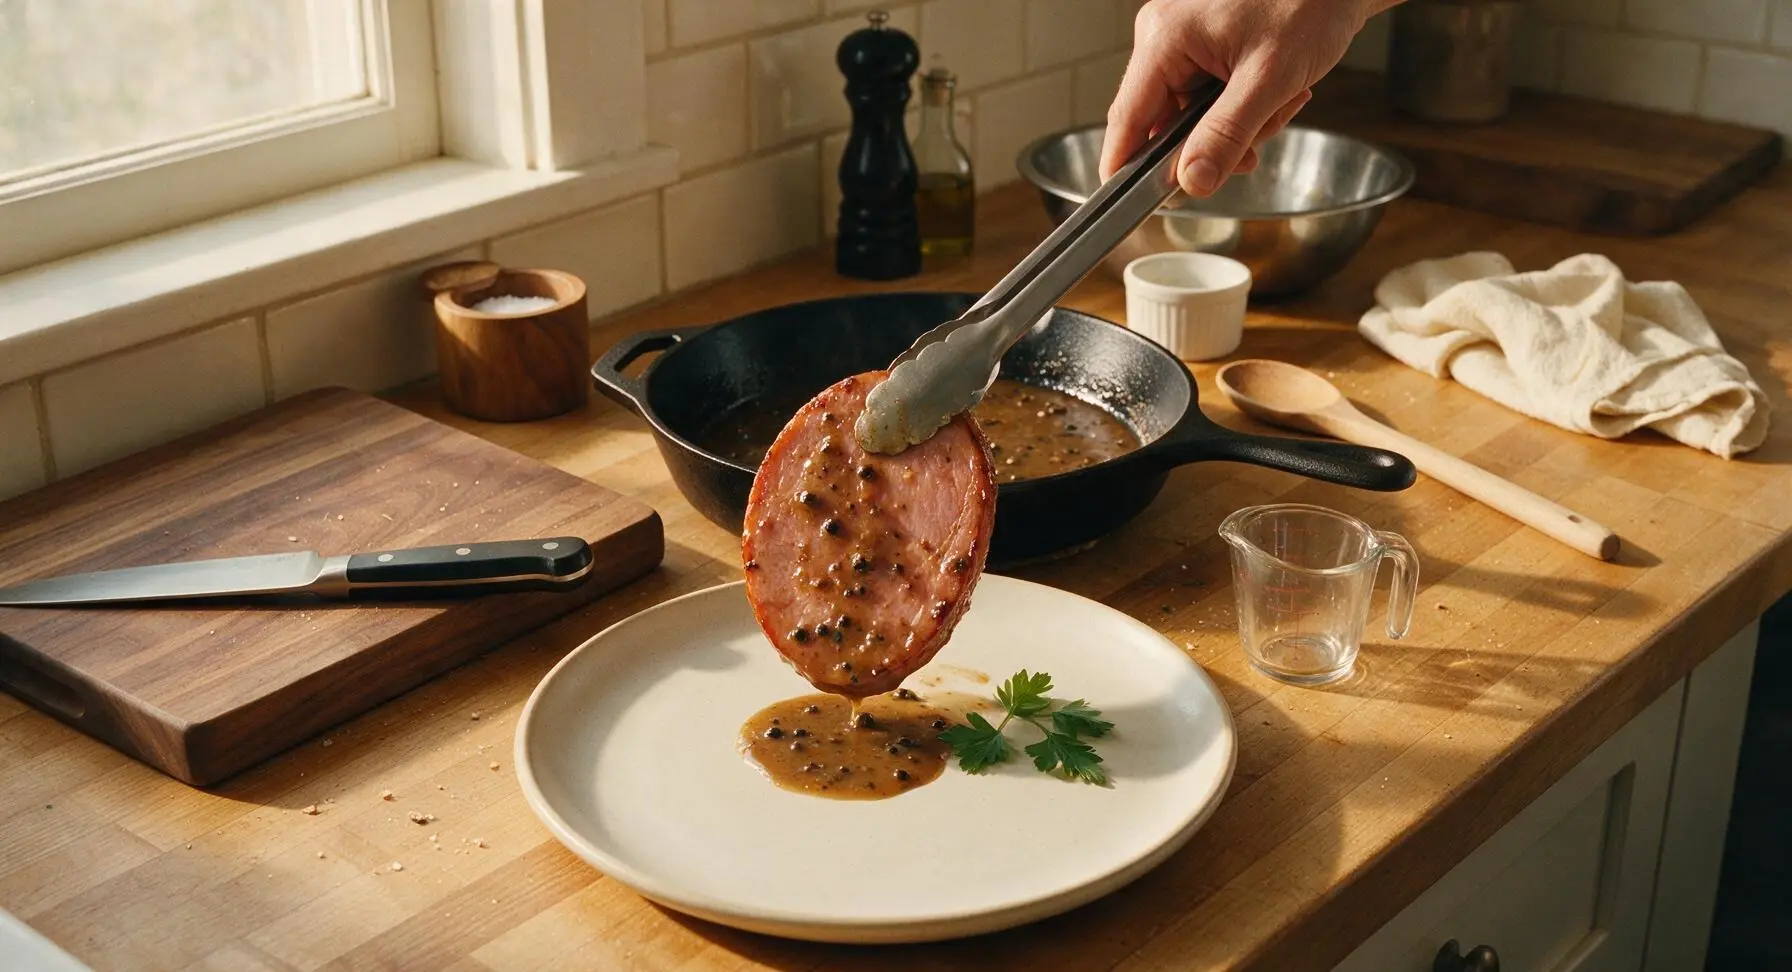
Use the tongs to transfer one ham steak to each off-white ceramic dinner plate, spooning extra peppercorn sauce over the top of each. Garnish with a light sprinkle of chopped fresh flat-leaf parsley. Serve immediately, paired with mashed potatoes or roasted green beans if desired.
Tips
2.Crack whole peppercorns with a knife instead of using pre-ground pepper: pre-ground pepper loses its bright, sharp aromatic oils quickly during storage, and coarse, unevenly cracked pieces create signature pops of bold pepper flavor rather than a uniform, dusty heat.
3.Avoid overcooking the ham steaks: pre-cured store-bought ham steaks are already fully cooked, so you only need to sear them to build a crust and warm them through. Cooking longer than 4 minutes per side will make the meat tough, dry, and overly concentrated in salt.






OMG this peppercorn ham steak was SUCH a hit at last night’s family dinner! I was scrambling for a quick weeknight meal after my 8-year-old’s soccer practice ran late, and 18 minutes total cook time? Total game changer. The cracked peppercorn crust had just the right kick — not too spicy for the kids but flavorful enough for my husband who douses everything in hot sauce. Served it with roasted broccoli and mashed cauliflower, and every single person at the table cleaned their plate. Will 100% be adding this to my regular meal prep rotation!
Threw this on the cast iron out on the patio last weekend for a quick lunch before the college football game, and it was SO good. I usually overcook ham steaks till they’re rubbery, but following the timing here left it juicy all the way through. That peppercorn rub sticks really nicely even when you’re cooking over higher grill heat, too. Grabbed an extra steak to bring to my neighbor’s impromptu potluck later that afternoon, and people were hounding me for the recipe left and right.
Super easy recipe, perfect for when I don’t feel like spending an hour in the kitchen after my long commute home from work. I swapped the mixed peppercorns for straight black peppercorns because that’s all I had in the pantry, and it still turned out great. Only reason I’m not giving 5 stars is I wish there was a quick note about what thickness ham steak to grab — I picked up an extra-thick cut from the deli counter and had to add a couple minutes per side to make sure it cooked all the way through.
Y’all, I have been searching forever for a simple ham steak recipe that doesn’t drown the meat in a cloyingly sweet brown sugar glaze, and this is IT! The peppercorn crust adds so much deep flavor without all the added sugar, and it’s naturally gluten free which is perfect for my dietary needs. My kids loved it so much they asked for seconds before they even finished their first helping. 10/10, no notes!
As someone who’s still learning to cook in my tiny off-campus apartment kitchen, this recipe was so forgiving! I don’t have a fancy meat thermometer or any fancy gear, just followed the cook time exactly and it came out perfectly juicy — no burnt edges, no raw spots, nothing. The peppercorn flavor is bold but not overpowering, and it’s super budget-friendly which is perfect for my broke college student budget. Already texted the recipe link to my roommate so we can make it again next week!