
coconut milk waffles

title 1
coconut milk waffles
⏱️ cook time 15 minutes
🍽️ servings 4
⚡ Difficulty easy

intro

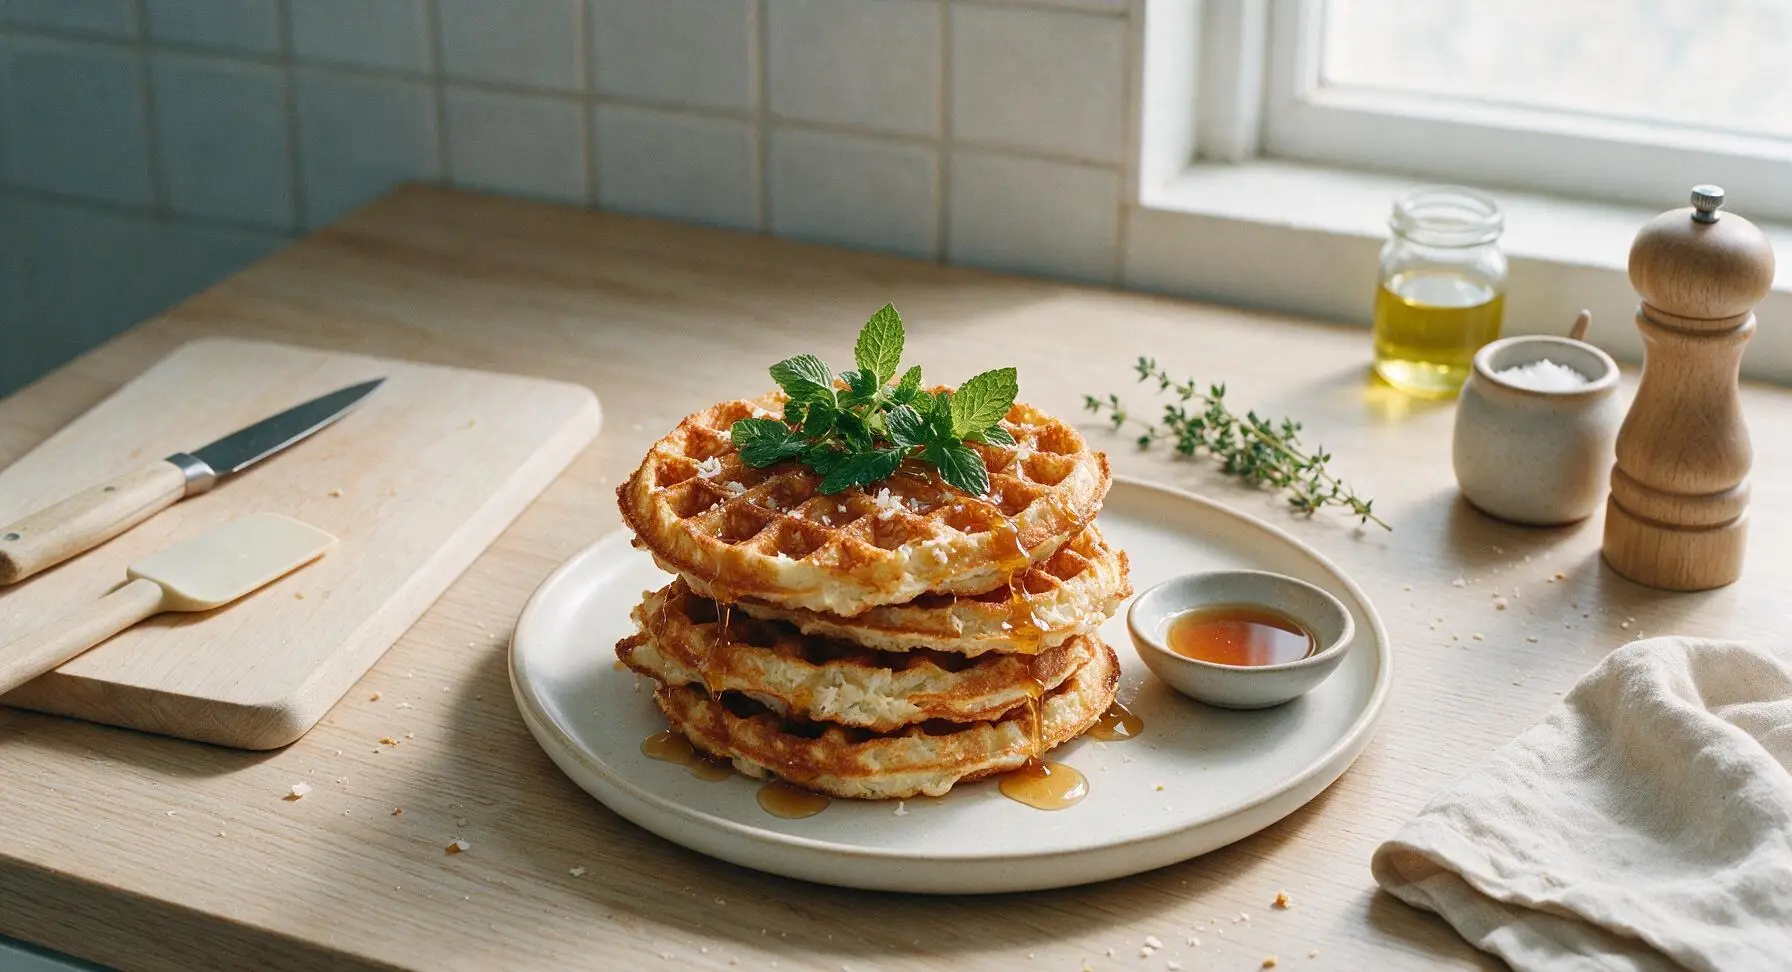
Crisp-edged, fluffy coconut milk waffles with rich tropical aroma, light enough for a quick weeknight meal, perfect topped with maple syrup and fresh mint.

Ingredients
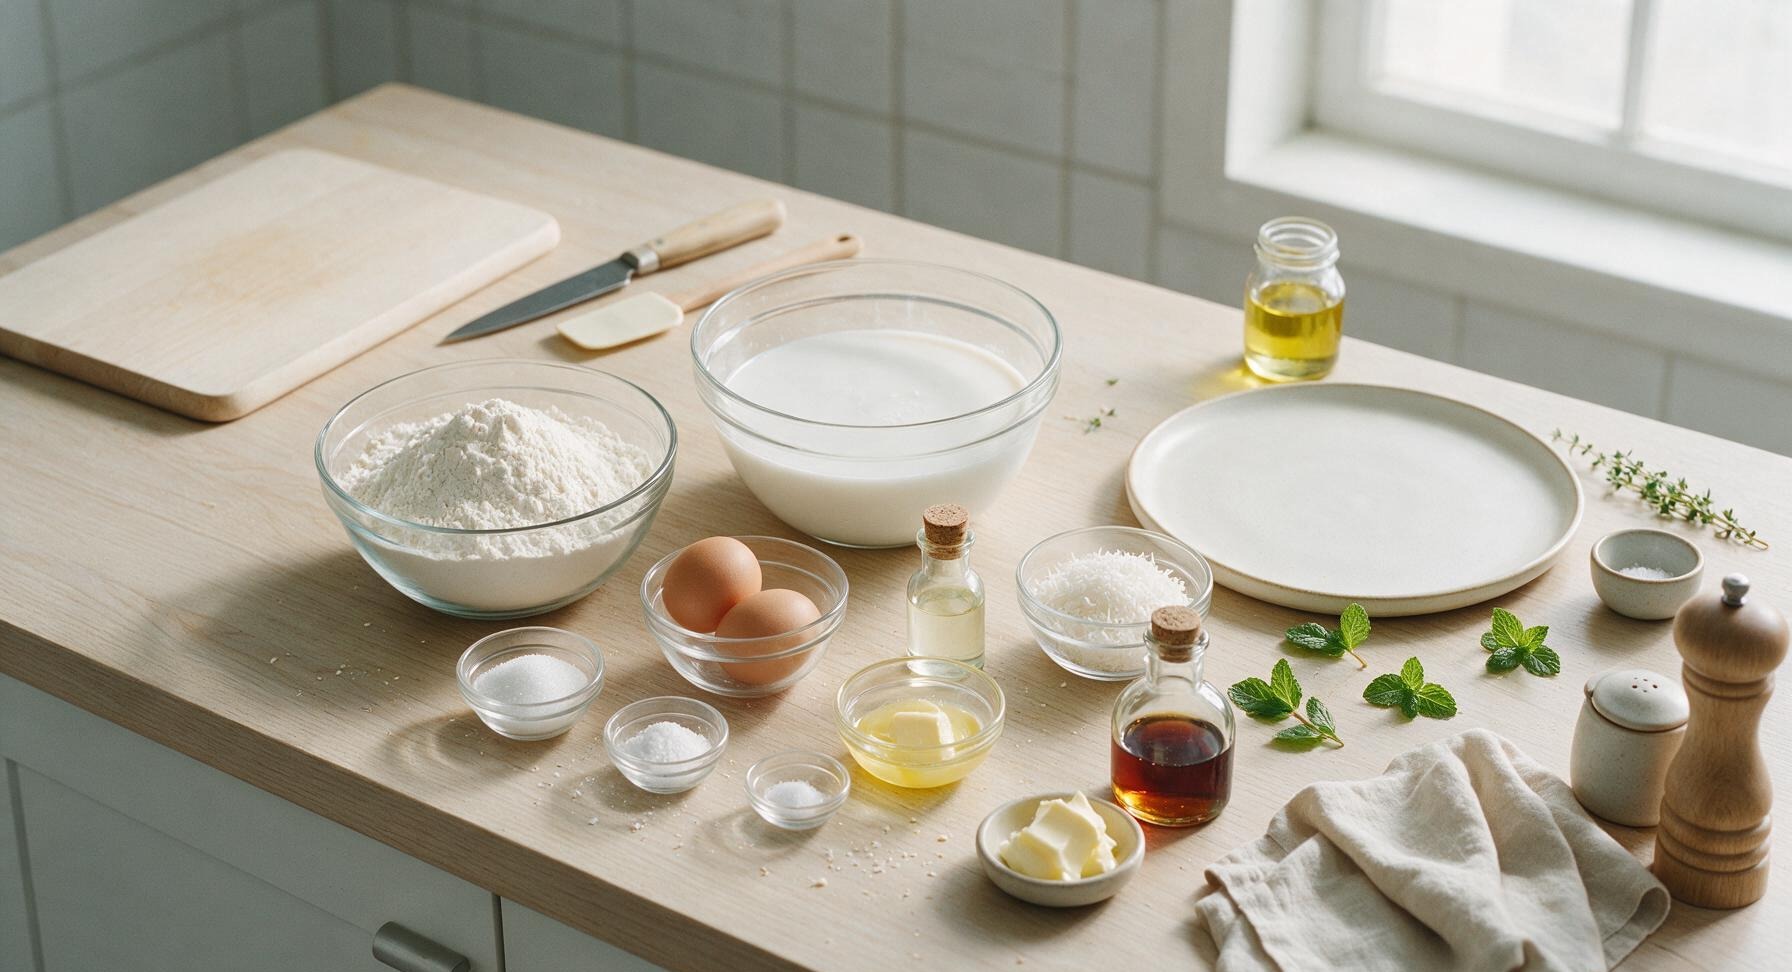
All-purpose flour 2 cups (240g)
Full-fat canned coconut milk 1 3/4 cups (420ml)
Large eggs 2
Granulated sugar 1 tablespoon (12g)
Baking powder 2 teaspoons
Fine sea salt 1/2 teaspoon
Unsalted butter, melted and cooled 2 tablespoons (28g)
Pure vanilla extract 1 teaspoon
Unsweetened shredded coconut 1/4 cup (20g)
Fresh mint sprigs 4 small
Pure maple syrup 1/4 cup (60ml)
Salted butter (for serving) 4 teaspoons (20g)

Steps

1

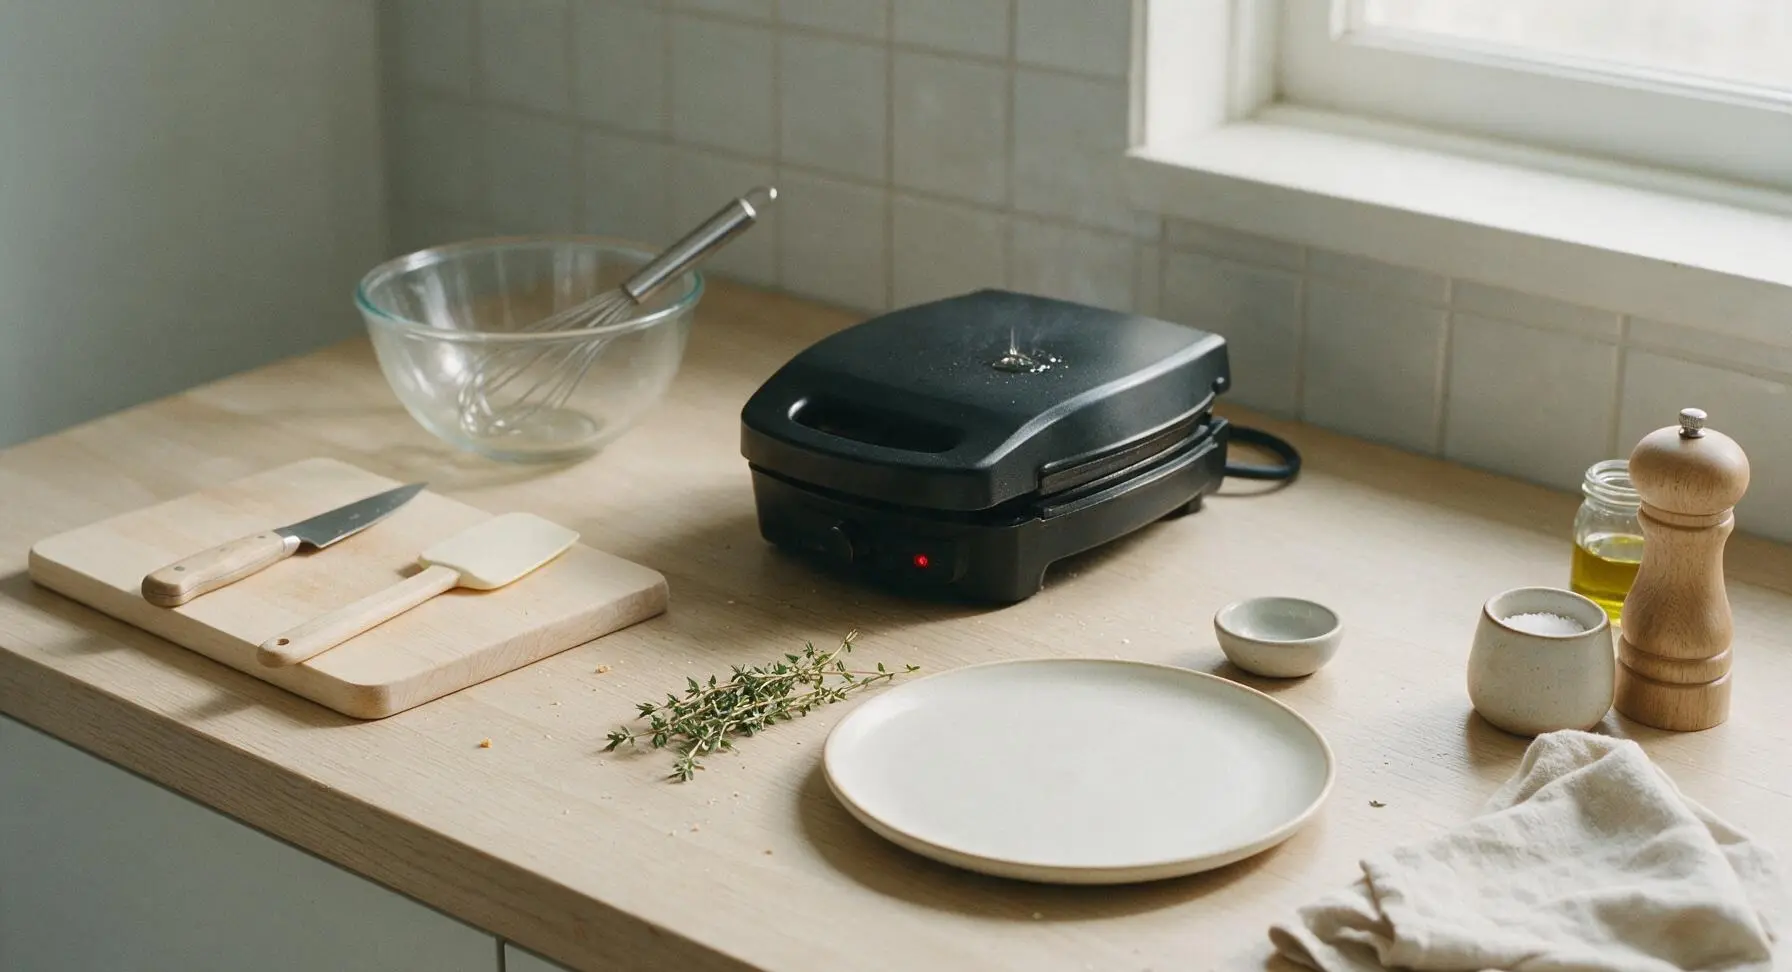
Preheat Waffle Iron

Plug in the 10-inch matte black waffle iron positioned at center-back of the counter, and set it to medium-high heat (375°F / 190°C). Allow it to preheat fully for 5 minutes, until a drop of cold water flicked onto the plate surface sizzles and evaporates in exactly 2 seconds. No greasing is needed for high-quality non-stick waffle plates.
Step 1
step1:Preheat Waffle Iron
2

Mix Dry Ingredients

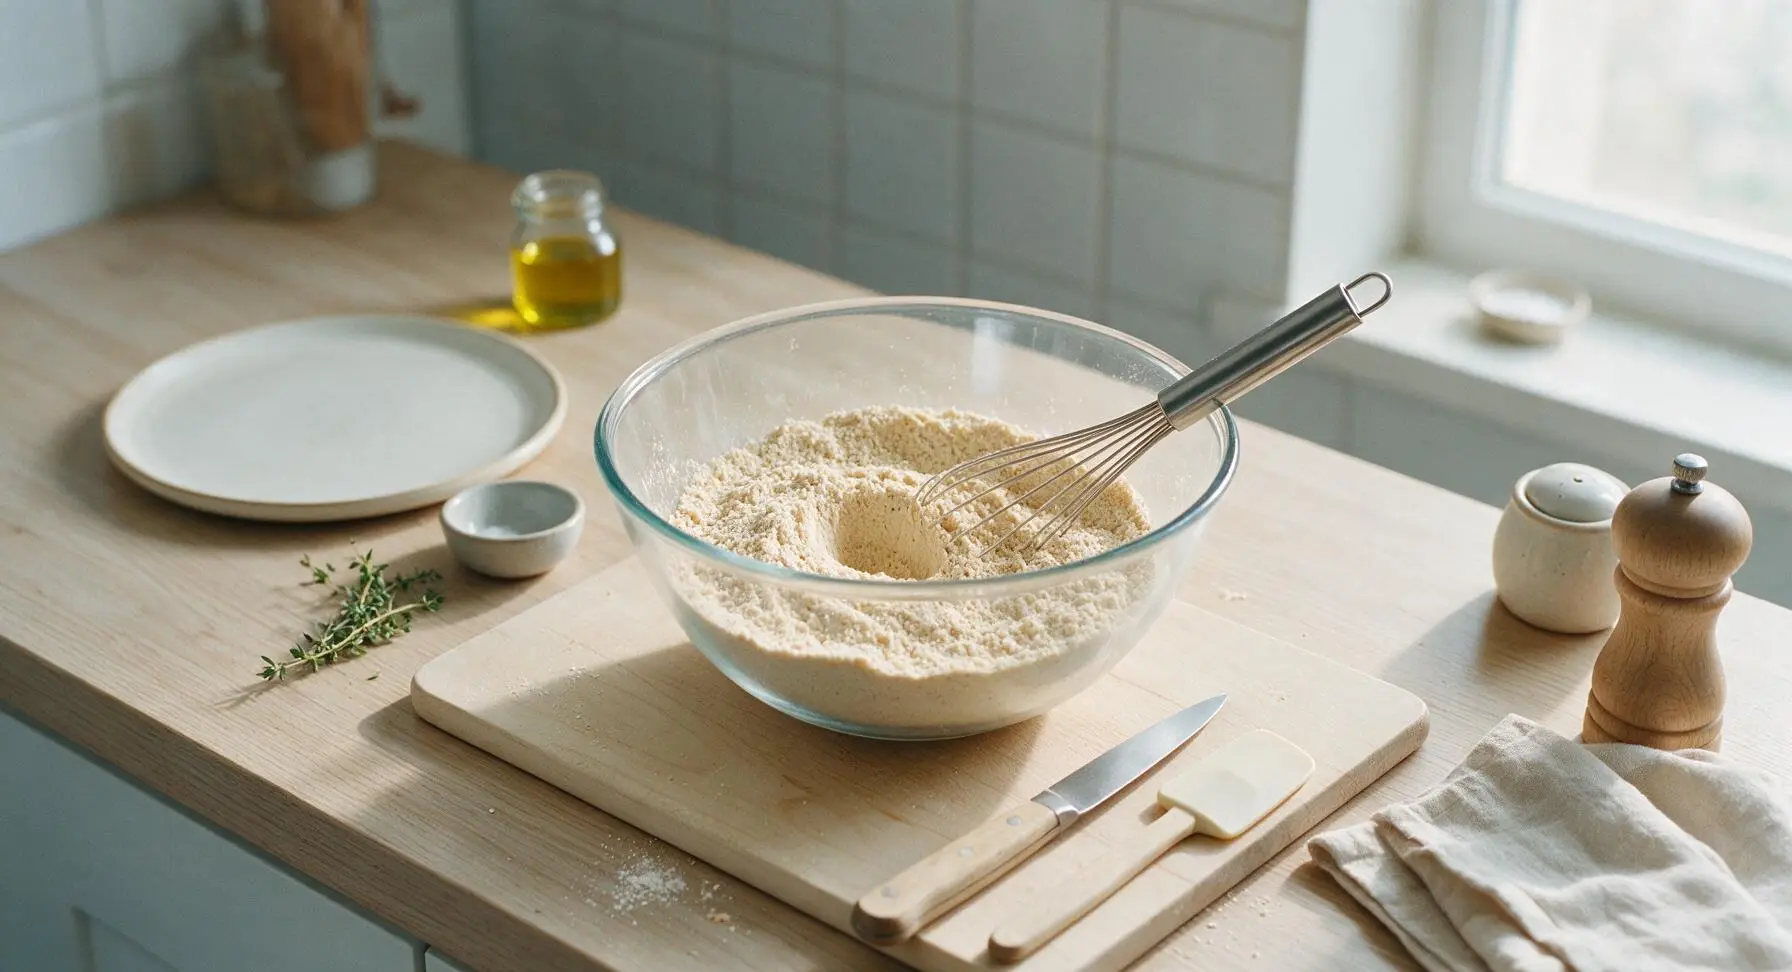
Add 2 cups (240g) all-purpose flour, 1 tablespoon granulated sugar, 2 teaspoons baking powder, 1/2 teaspoon fine salt, and 2 tablespoons shredded unsweetened coconut to the medium clear glass mixing bowl. Use the polished stainless steel whisk to stir the ingredients for 30 seconds, until fully combined with no visible clumps of baking powder. Press a small 2-inch wide well into the center of the dry mix to hold wet ingredients.
Step 2
step2:Mix Dry Ingredients
3

Add Wet Ingredients

Crack 2 large eggs directly into the well in the dry ingredient mixture. Pour in 1 3/4 cups (420ml) well-shaken full-fat coconut milk, 2 tablespoons cooled melted unsalted butter, and 1 teaspoon pure vanilla extract. Pour slowly to avoid splashing flour over the counter edges.
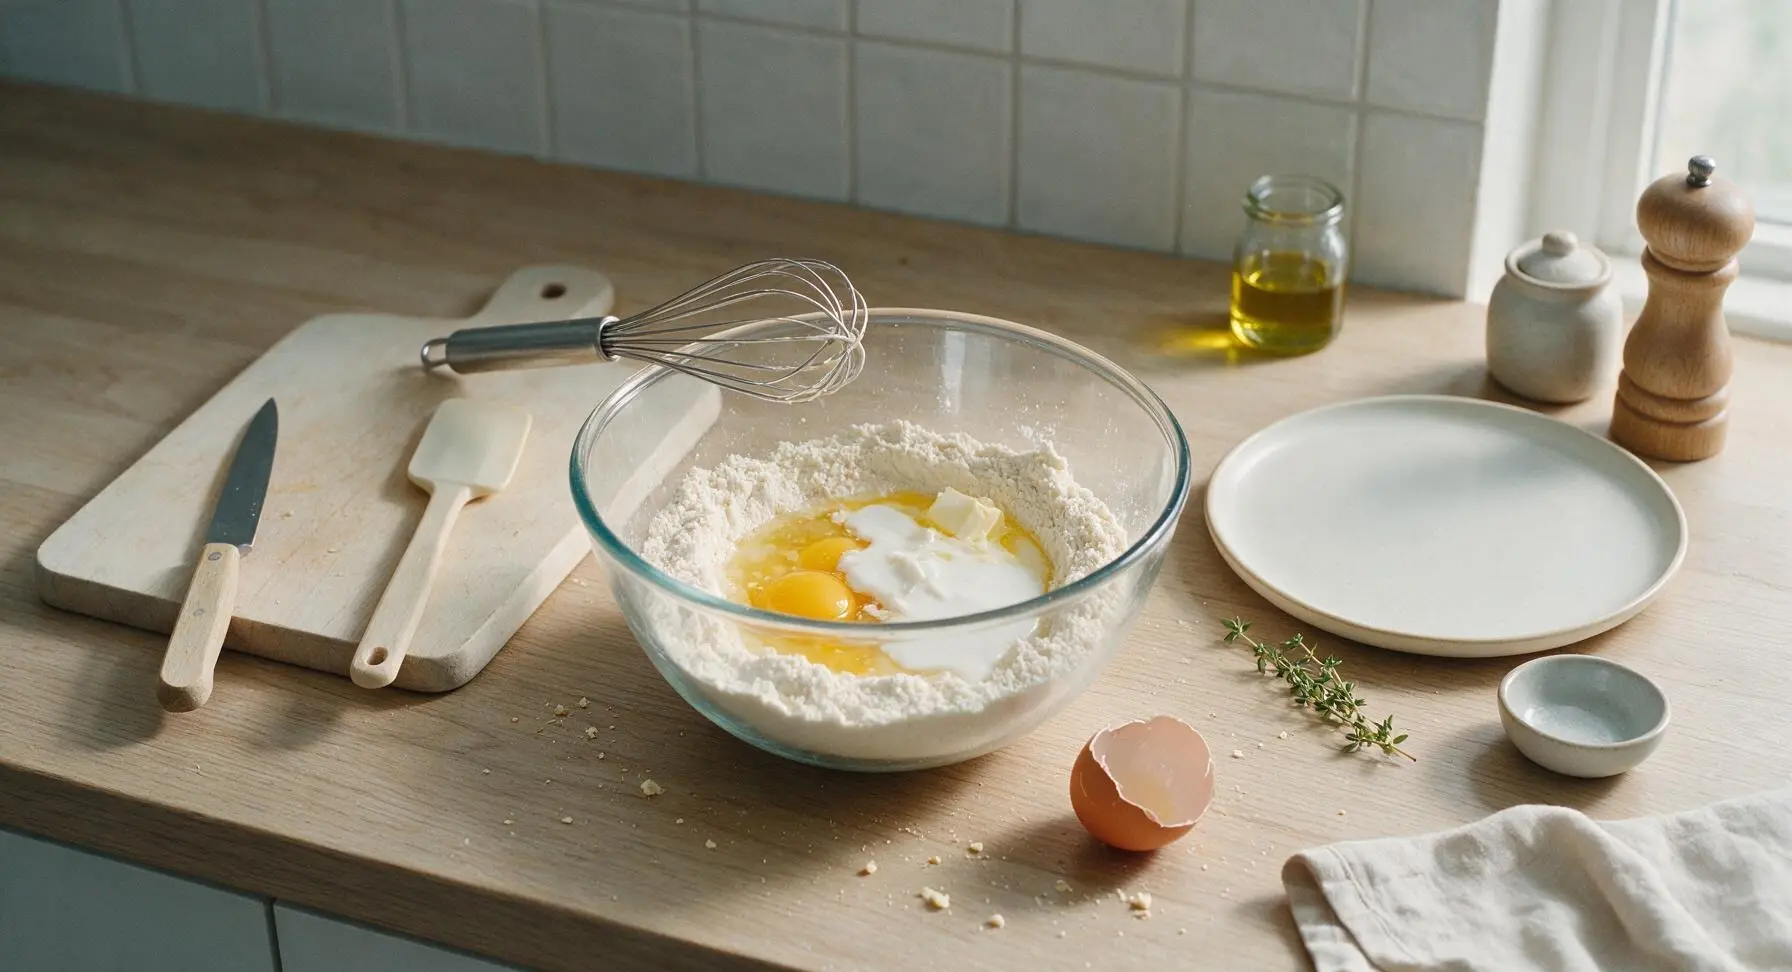
Step 3
step3:Add Wet Ingredients
4

Mix Smooth Batter

Use the stainless steel whisk to gently stir the wet ingredients into the dry mix, pulling flour from the bowl edges into the center as you stir. Mix only until just combined—small pea-sized lumps in the batter are normal and desirable, as overmixing develops gluten and creates tough, dense waffles. The finished batter should be thick but pourable, similar to heavy cream consistency; stir in 1 tablespoon extra coconut milk if the batter is too thick to pour. Let the batter rest for 5 minutes to activate the baking powder, until small air bubbles dot the surface.
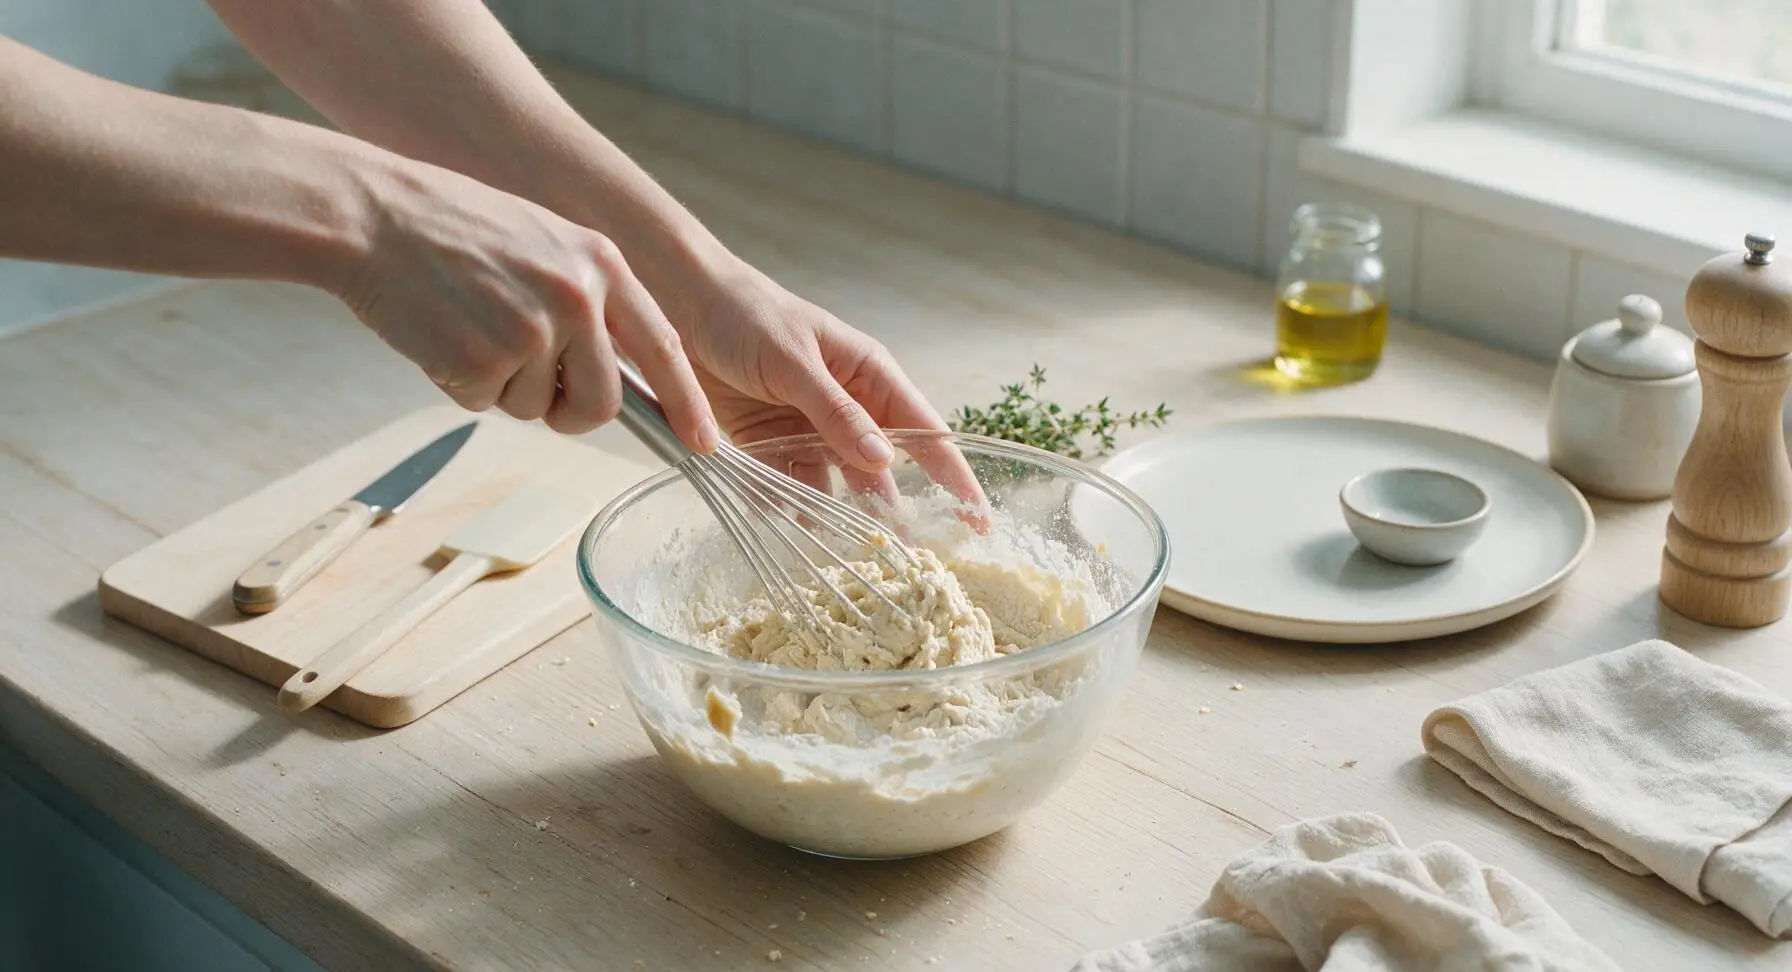
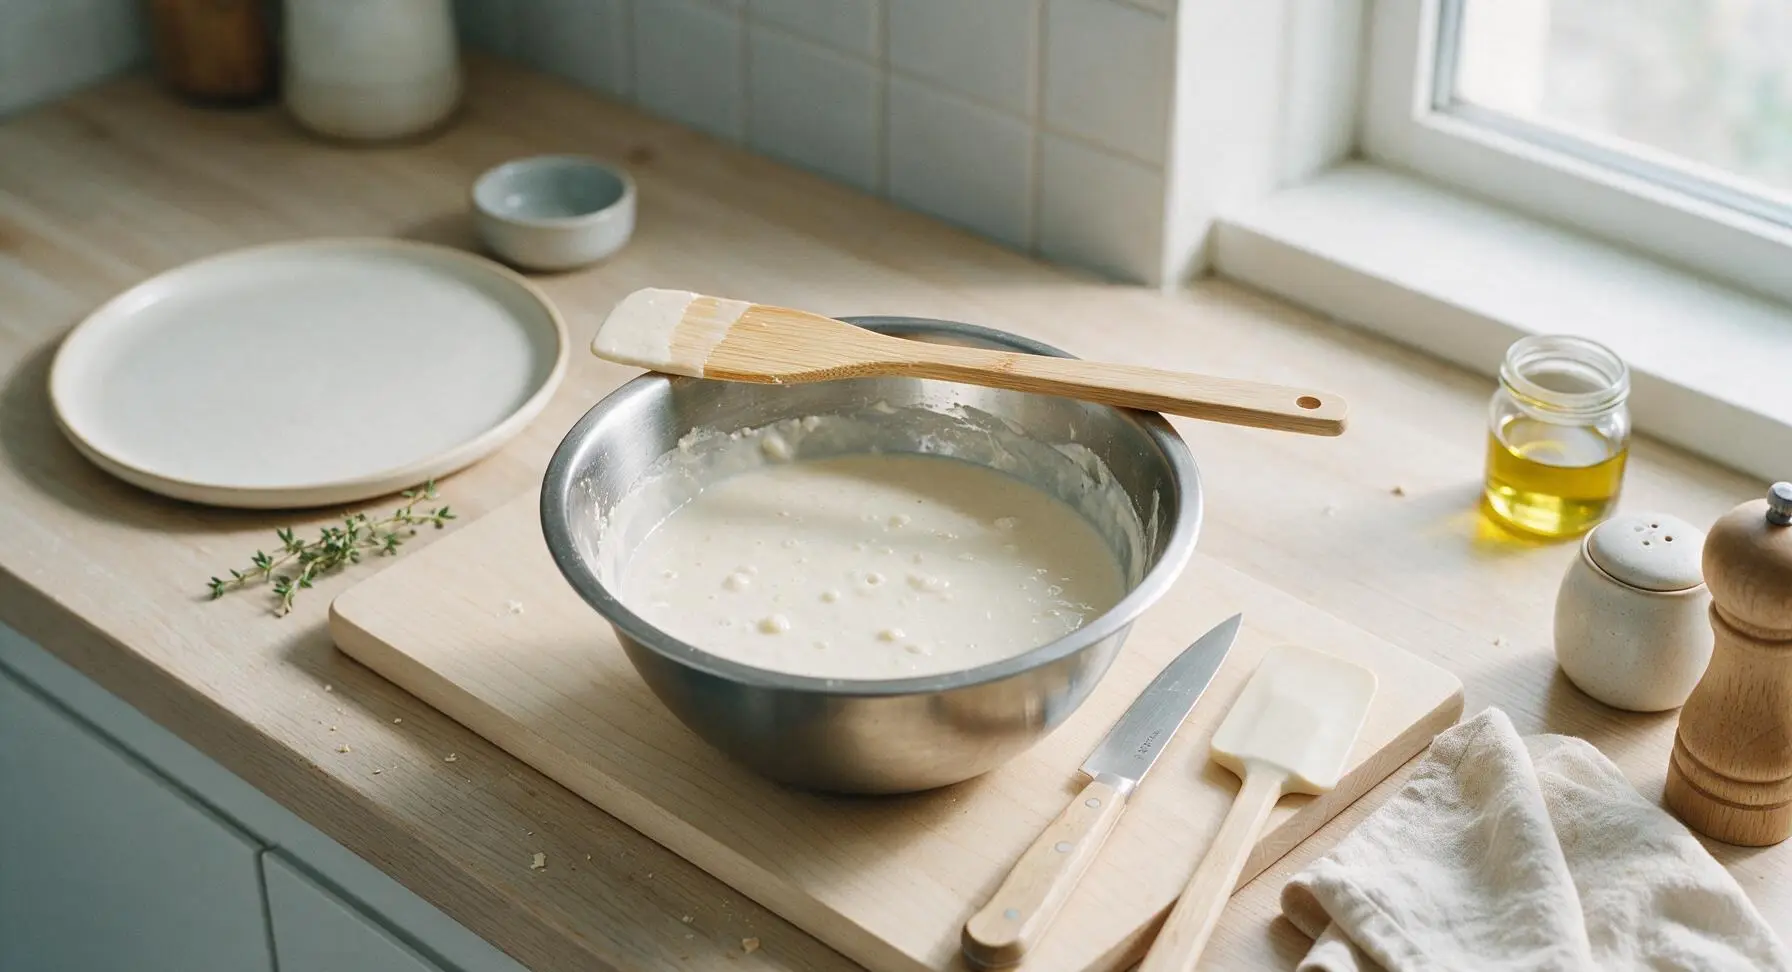
Step 4
step4:Mix Smooth Batter
Step 4
step4:Mix Smooth Batter
5

Cook Golden Waffles

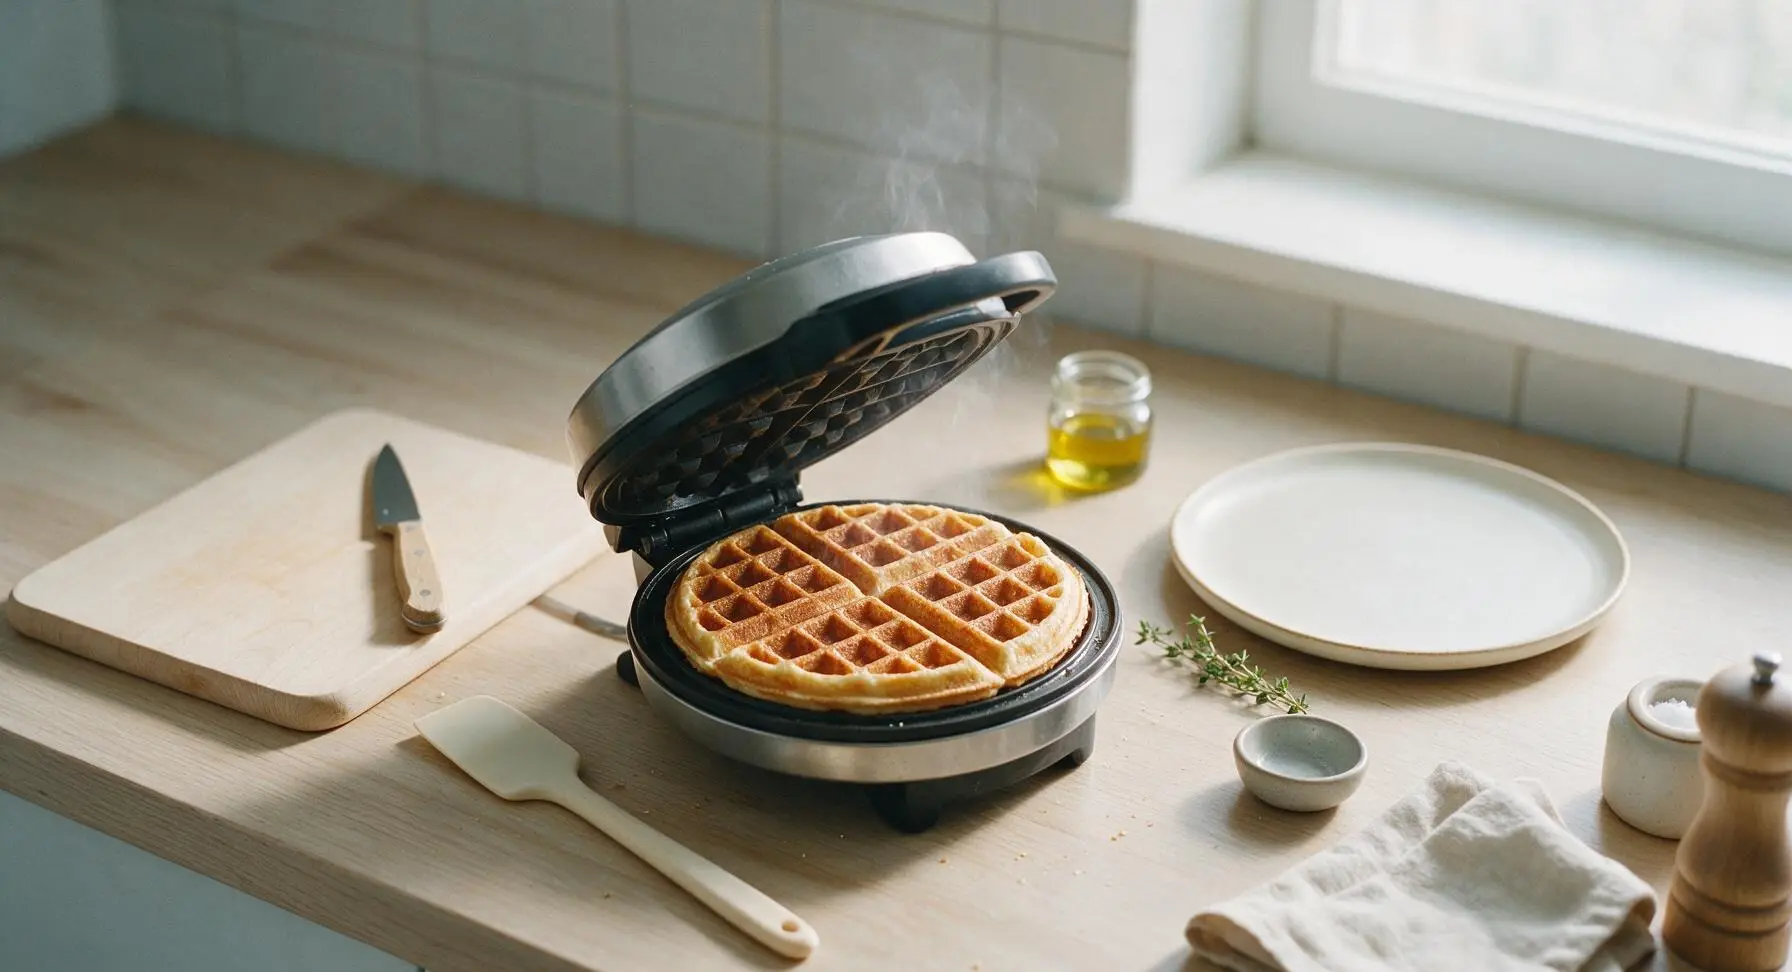
Scoop 1/2 cup of batter using a stainless steel measuring cup, and pour it onto the center of the preheated waffle iron plates, using the bamboo silicone spatula to scrape every bit of batter from the measuring cup. Close the waffle iron lid and cook for 3 to 4 minutes, until the waffle is deep golden brown on both sides, crispy at the edges, and no visible steam escapes from the iron edges. Do not open the lid early, as this will cause the soft waffle to split and stick to the plates.
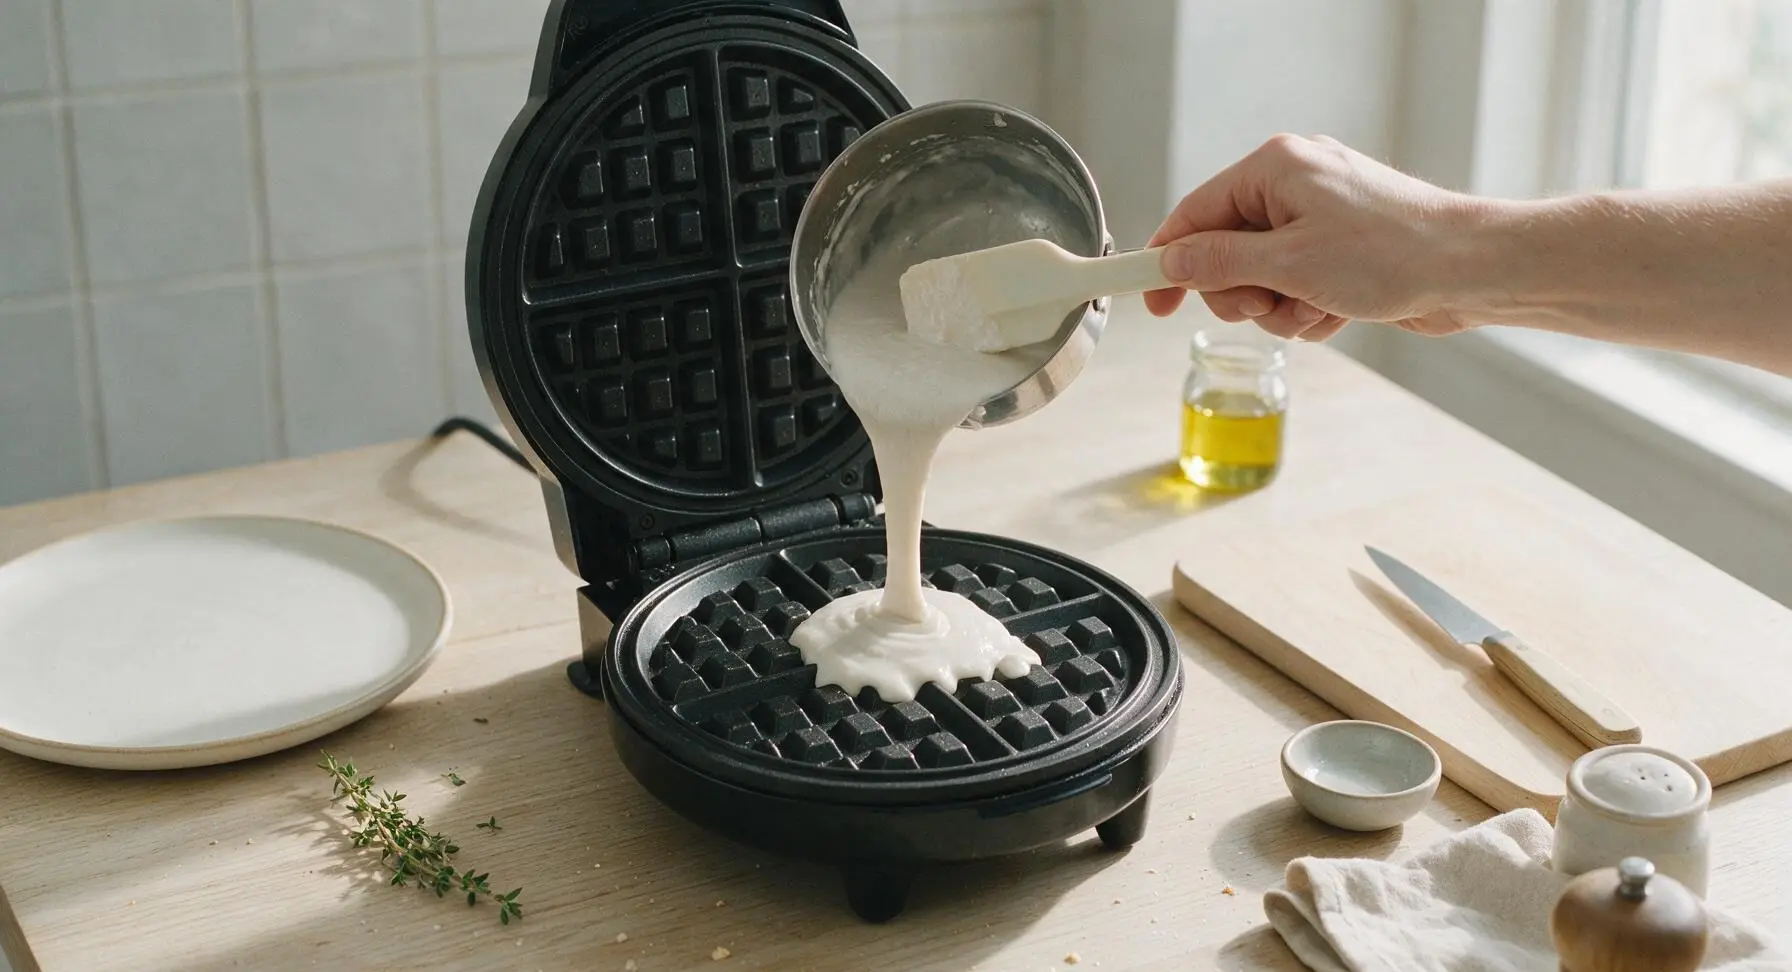
Step 5
step5:Cook Golden Waffles
Step 5
step5:Cook Golden Waffles
6

Toast Coconut Garnish

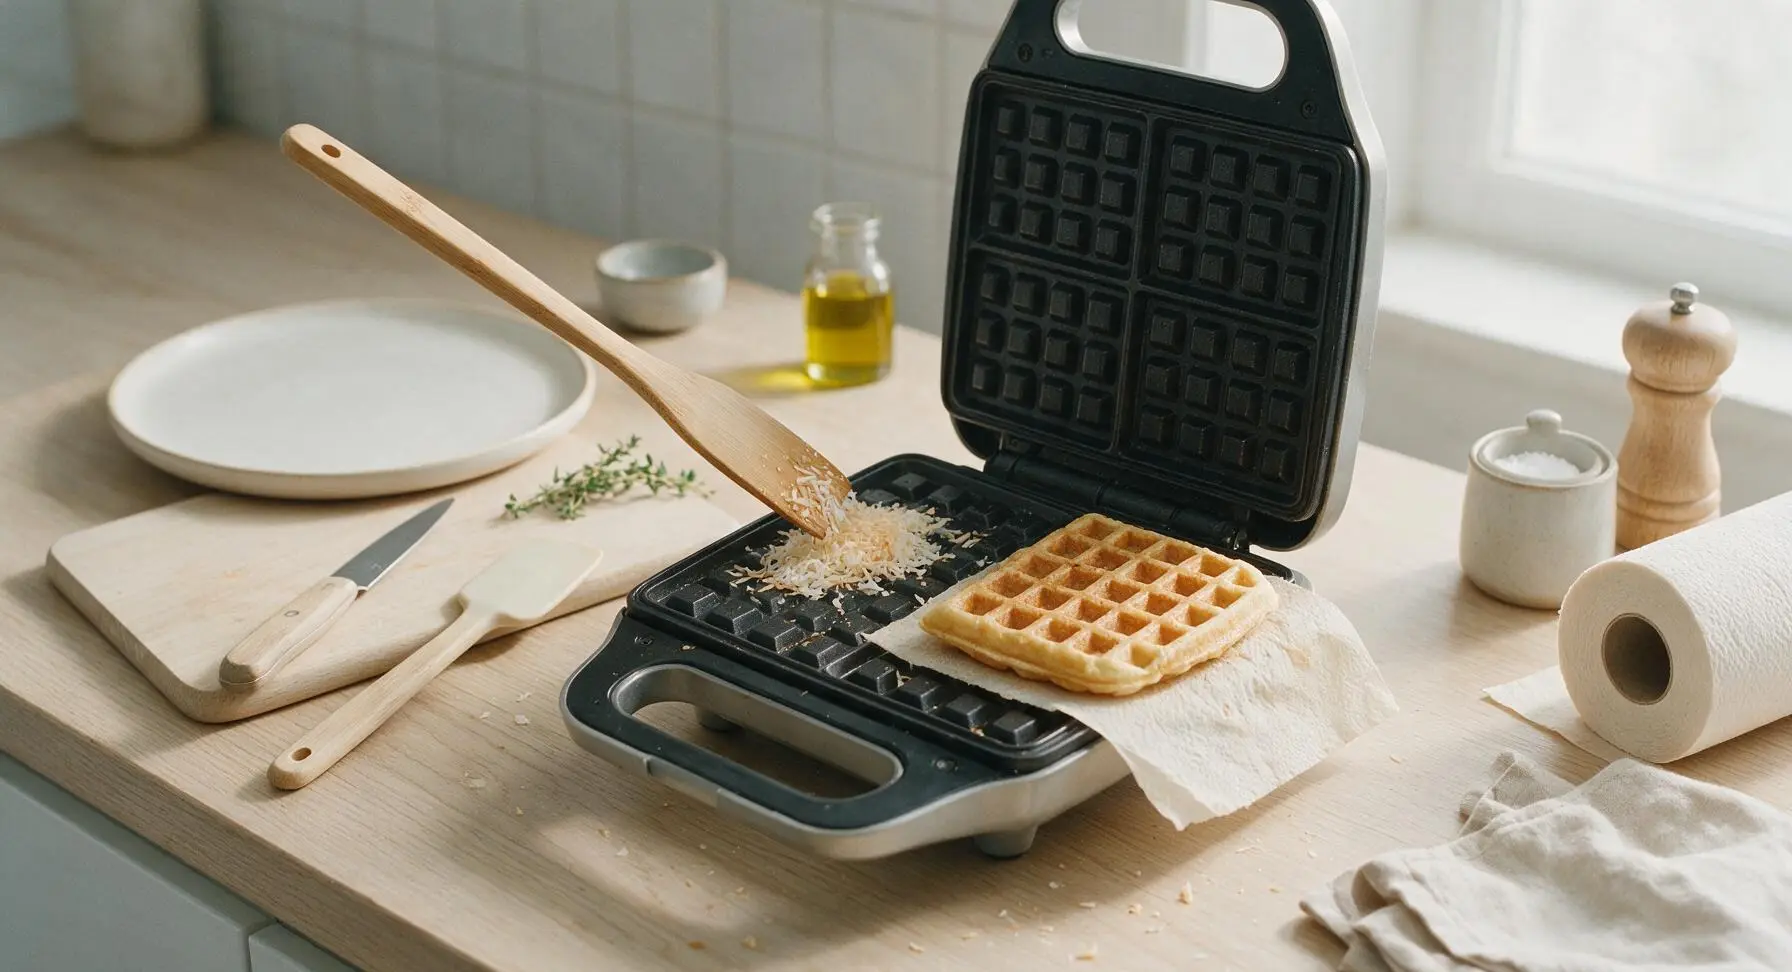
While cooking waffles in batches, scatter the remaining 2 tablespoons shredded unsweetened coconut across an empty corner of the preheated waffle iron plate (away from cooking batter) and toast for 1 minute, stirring occasionally with the tip of the silicone spatula, until light golden brown and fragrant. Immediately transfer the toasted coconut to a small dish to cool, as coconut burns very quickly once hot.
Step 6
step6:Toast Coconut Garnish
7

Plate and Serve Waffles

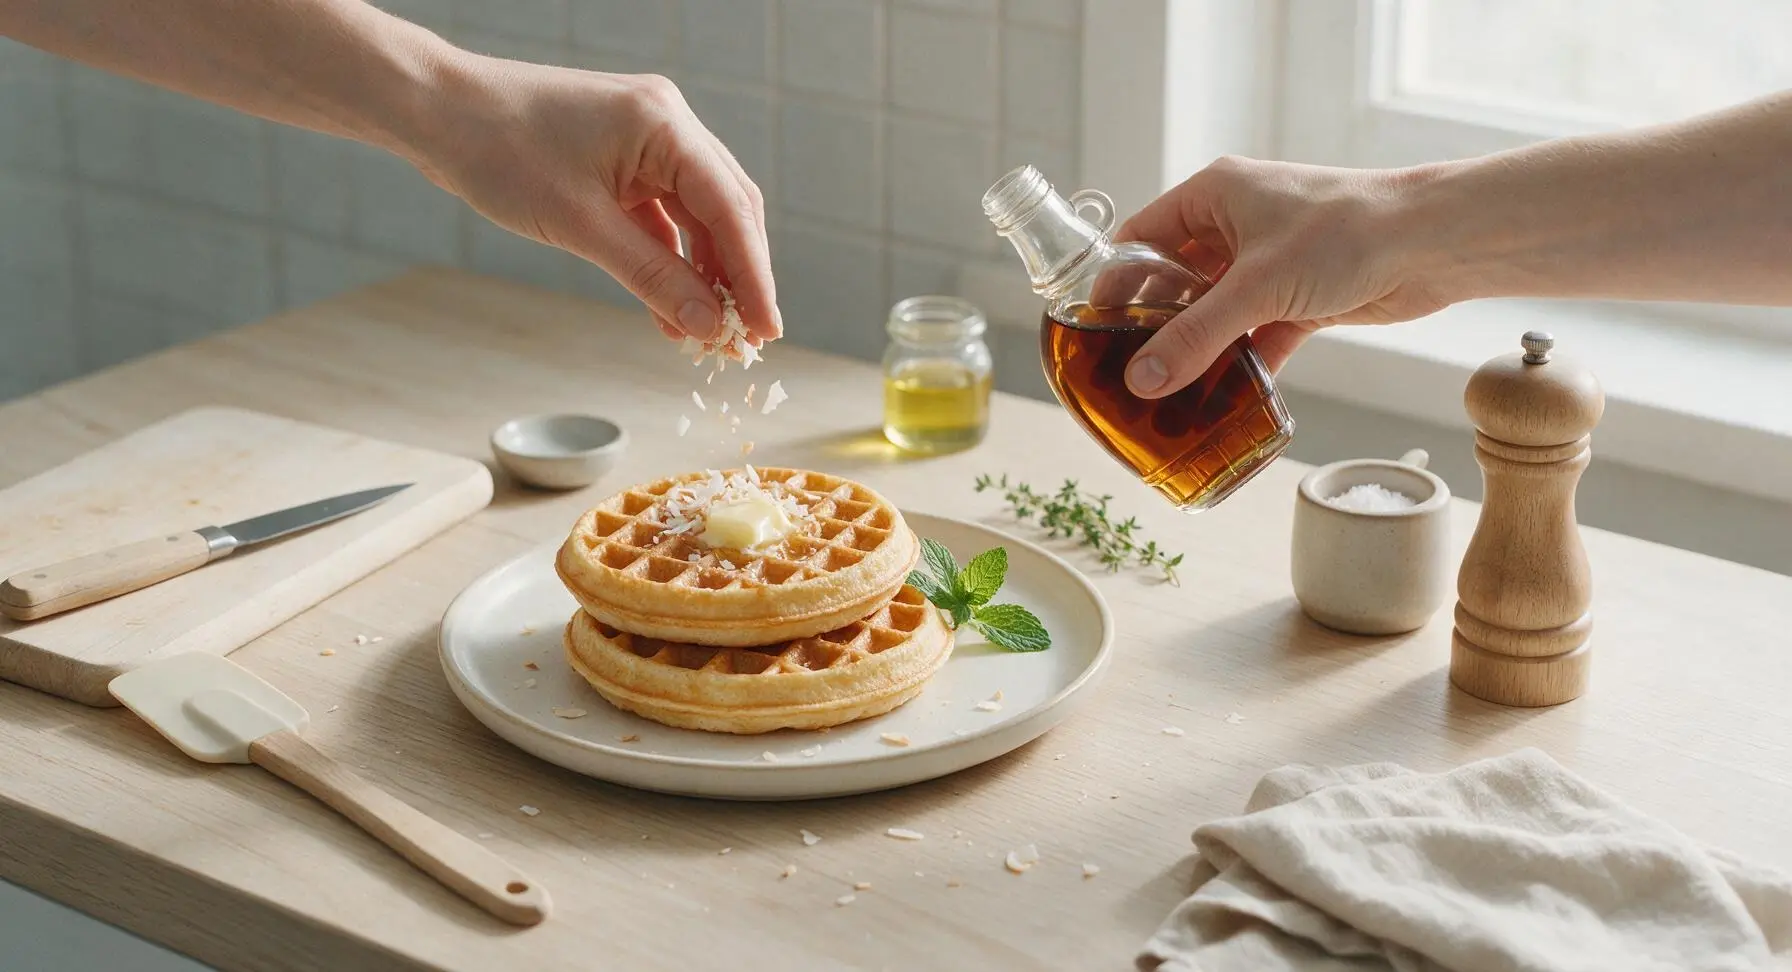
Transfer two cooked waffles to the matte cream ceramic dinner plate. Top the stack with a 1-teaspoon pat of salted butter, a light sprinkle of the cooled toasted shredded coconut, and a 1-tablespoon drizzle of pure maple syrup. Tuck 1-2 fresh mint sprigs beside the stack for a bright pop of color. Serve immediately while waffles are hot and crisp.
Step 7
step7:Plate and Serve Waffles

Tips

1.Shake canned coconut milk vigorously for 10 seconds before opening: thick coconut cream naturally separates from the lighter coconut water in the can, and shaking ensures a consistent, rich batter without greasy, streaky patches in finished waffles.
2.Avoid overmixing the batter: overworking the flour develops tough gluten strands, leading to chewy, dense waffles instead of light, fluffy centers. Small pea-sized lumps in the batter will dissolve completely as the waffles cook, so stop stirring as soon as no dry flour streaks remain.
3.Keep cooked waffles crisp while making batches by placing them on a wire rack set over a baking sheet in a 200°F (95°C) oven, instead of stacking them on a plate. Stacking traps hot steam between waffles, which softens crisp edges and makes waffles soggy in as little as 2 minutes.


✨ You May Also Like

Breakfast
🍜 United States

Crisp-edged, fluffy lard griddle cakes are a nostalgic homestyle staple, with rich savoriness from rendered lard, perfect topped with maple syrup or savory gravy.

⏱️ 25 minuteBreakfast ★ 4.8
Breakfast
🍜 United States

Flaky, buttery homemade buttermilk biscuits smothered in creamy, peppery pork sausage gravy: a beloved, hearty Southern American comfort food classic.

⏱️ 35 minuteBreakfast ★ 4.8
Breakfast
🍜 United States

Golden, custardy brioche stuffed with sweet cream cheese and fresh berries, pan-fried to crisp perfection. An indulgent, cozy breakfast perfect for slow weekend mornings.

⏱️ 30 minuteBreakfast ★ 4.7
Breakfast
🍜 United States

Flaky, buttery Southern-style biscuits stuffed with savory salty country ham, a portable, satisfying classic perfect for casual on-the-go meals.

⏱️ 25 minuteBreakfast ★ 4.8
Breakfast
🍜 United States

Iconic puffy baked pancake popularized in Seattle, with crisp golden edges and soft custardy center, served warm with classic sweet toppings.

⏱️ 35 minuteBreakfast ★ 4.6
Breakfast
🍜 United States

Fluffy, golden pancakes studded with juicy peak-summer mixed berries, drizzled with maple syrup for a bright, comforting, crowd-pleasing family breakfast.

⏱️ 25 minuteBreakfast ★ 4.7

coconut milk waffles:Frequently Asked Questions

1.Do I have to use full-fat canned coconut milk, or can I swap in light coconut milk? ▾
I strongly recommend sticking to full-fat canned coconut milk for that signature rich tropical flavor and perfect crisp-fluffy texture. Light coconut milk is heavily diluted with water, which produces soggy, less aromatic waffles. If that’s all you have, pour off 2 tablespoons of watery liquid per cup before measuring to concentrate it.
2.Why do my waffles turn out soggy instead of crisp around the edges? ▾
Soggy edges usually come from two easy-to-fix missteps: not preheating your waffle iron fully, or prying waffles out too early. Let your iron heat completely (wait for the ready indicator light!) before pouring batter, and cook until steam stops escaping from the iron sides, usually 3 to 4 minutes, for shatteringly crisp edges.
3.Can I mix up this waffle batter ahead of time to cut down on weeknight prep? ▾
You can pre-mix the dry ingredients (flour, sugar, baking powder) in an airtight container up to 1 week ahead for ultra-fast prep, but hold off on adding wet ingredients until right before cooking. Baking powder activates as soon as it hits coconut milk and eggs, so pre-mixed wet batter will lead to flat, dense waffles.
4.Do I need to separate eggs and whip the whites to get light, fluffy waffles? ▾
No extra egg-separating step is required here! The measured amount of baking powder in this recipe delivers enough lift for tender, fluffy waffle interiors without the extra work. Just whisk eggs fully into the coconut milk before combining with dry ingredients, and don’t overmix— a few small lumps are totally fine.
5.Can I swap the all-purpose flour for a gluten-free option for these waffles? ▾
Absolutely! Use a 1:1 gluten-free all-purpose baking blend that contains xanthan gum for the closest texture match to regular all-purpose flour. Skip single gluten-free flours like almond or coconut flour used alone, as those will produce dense, crumbly waffles that don’t hold up well to a drizzle of maple syrup.
6.What’s the best way to store leftover waffles and reheat them without sogginess? ▾
Let leftover waffles cool completely on a wire rack, then stack them between sheets of parchment paper in an airtight freezer bag for up to 3 months. Reheat straight from frozen in a toaster or 350°F oven for 5 to 7 minutes—skip the microwave, as it will turn crisp waffles soft and unpleasantly chewy.
7.My canned coconut milk is separated into thick cream and watery liquid when I open it—what should I do? ▾
Always give separated canned coconut milk a really good stir, or quick 10-second blitz with an immersion blender, to fully combine the solid cream and watery liquid before measuring it for batter. Skipping this step throws off the moisture ratio, leading to either dry, dense waffles or overly soggy ones that won’t crisp up.

Comments (5)

yesterday

Made these coconut milk waffles for our Sunday brunch potluck with the neighbors and everyone was begging for the recipe! I was worried the coconut milk would make them too heavy, but they were light, fluffy, and had that perfect subtle tropical twist. I topped mine with toasted coconut flakes and fresh pineapple chunks, and it felt like I was eating breakfast on a beach vacation. That 15 minute cook time is unbeatable for busy school mornings too — I’m definitely adding this to my weekly meal prep rotation!

2 hours ago

Wait the toasted coconut and pineapple topping idea is genius! I made these last week with just regular maple syrup and they were so good, but that combo sounds next level. Gotta grab a fresh pineapple on my grocery run tomorrow to try it!

1 hour ago

We’re so happy these were a hit at your potluck! Toasted coconut is one of our all-time favorite toppings too — it adds the perfect crunch without any extra sugar. Quick pro tip: you can make a big batch on Sunday and freeze individual waffles for quick weekday breakfasts, they reheat perfectly in a regular toaster!

3 days ago

These sound amazing! I made a test batch with regular all purpose flour last week and they were incredible, but has anyone tried making these with gluten free all purpose flour? My youngest has a gluten sensitivity and I’m always hunting for easy waffle recipes that don’t turn into gummy dense bricks when I swap out regular flour. The coconut milk sounds like it adds so much moisture, which is usually the thing missing from GF waffle recipes!

2 days ago

Great question! We’ve tested this recipe with a 1:1 gluten free all purpose flour blend and it works beautifully — no extra adjustments needed at all. Just skip using straight coconut flour for this one, it will soak up way too much of the coconut milk and make the waffles dense and dry.

1 week ago

Bro these are SO good. I live in a dorm with a tiny cheap countertop waffle maker and barely any cooking supplies, and this recipe was so easy to throw together. Used a can of coconut milk I grabbed from the corner bodega, no fancy ingredients required, and my roommate stole half the batch before I could even take a pic for my food Instagram. 10/10 would make again, game changer for late night study snacks too.

5 days ago

Wait same! I have that same $20 Target waffle maker and I was so worried the batter would overflow and make a mess, but it worked perfectly. These are way better than the frozen Eggo waffles I’ve been surviving on all semester, can’t wait to make them this weekend.

5 days ago

OMG, my kids loved it! I was so nervous to try a new waffle recipe because my 7 year old is the pickiest eater on the entire planet, but he ate three whole waffles and asked if we could have them for dessert after dinner too. I tossed a handful of mini chocolate chips into half the batch for the kids and kept the other half plain for my husband and I, and everyone was happy. So quick to throw together on a chaotic school morning too, zero fussy steps!

3 days ago

Yesss, my picky 6 year old ate two of these without complaining too, which is basically a miracle in my house! I added a tiny dash of cinnamon to the batter and it paired so well with the coconut flavor.

2 days ago

We love hearing that the kids approved! Mini chocolate chips are such a fun add-in for little ones, we’ll have to note that variation on the recipe. So glad these worked out for your busy morning!

just now

Just pulled my first batch out of the waffle iron and OMG, the kitchen smells incredible! The batter came together so easily, can’t wait to dig in with some fresh berries and syrup. Already know this is going to be a new weekend staple.



