
commercial waffle mix

intro
This shelf-stable, diner-style commercial waffle mix yields crisp, fluffy golden waffles in minutes. Make it ahead for fast, satisfying breakfasts with zero last-minute measuring.
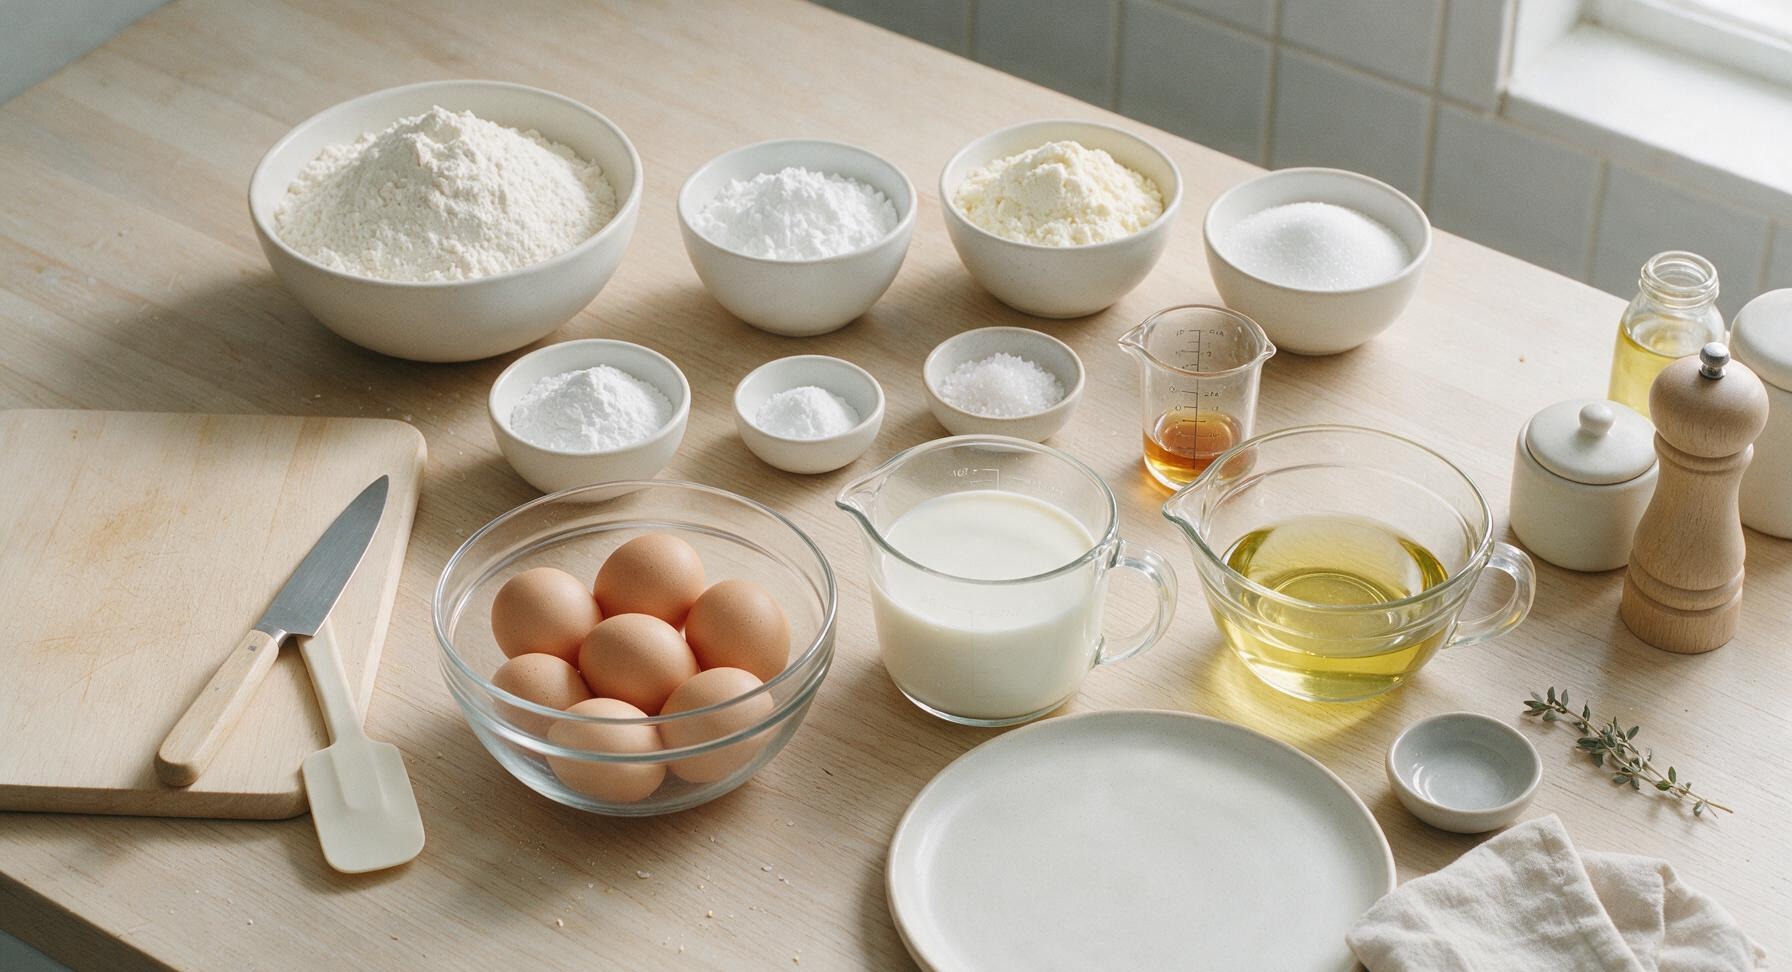
Ingredients
Steps
Sift Base Dry Ingredients
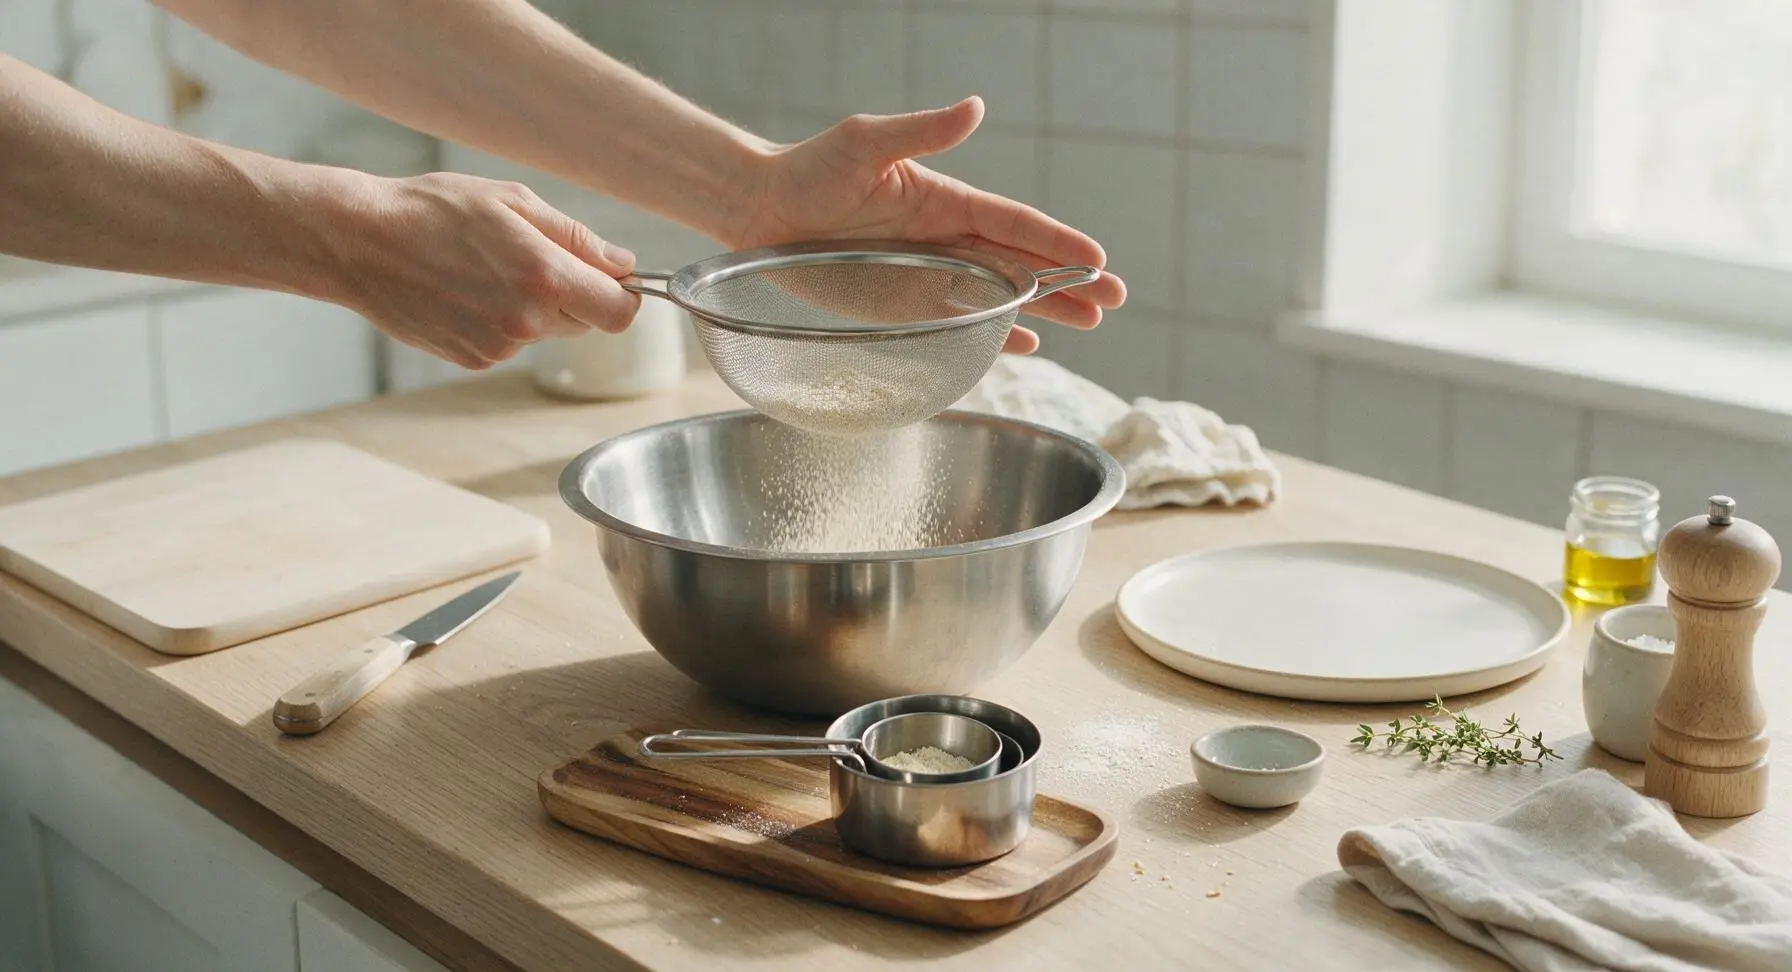
Set the 8-inch stainless steel fine-mesh sieve over the 14-inch stainless steel mixing bowl positioned center-counter. Measure 8 cups all-purpose flour, 1/2 cup cornstarch, 1 cup non-fat dry milk powder, 1/4 cup granulated sugar, 3 tbsp baking powder, 2 tsp baking soda, and 1 tbsp fine sea salt into the sieve, using the nested stainless steel measuring cups and spoons from the acacia wood tray. Tap the edge of the sieve gently to sift all ingredients into the bowl, breaking up any lumps of milk powder or baking powder with your fingertips if they catch in the mesh. The sifted mixture will fall as a fine pale powder into the bowl below.
Whisk to Combine
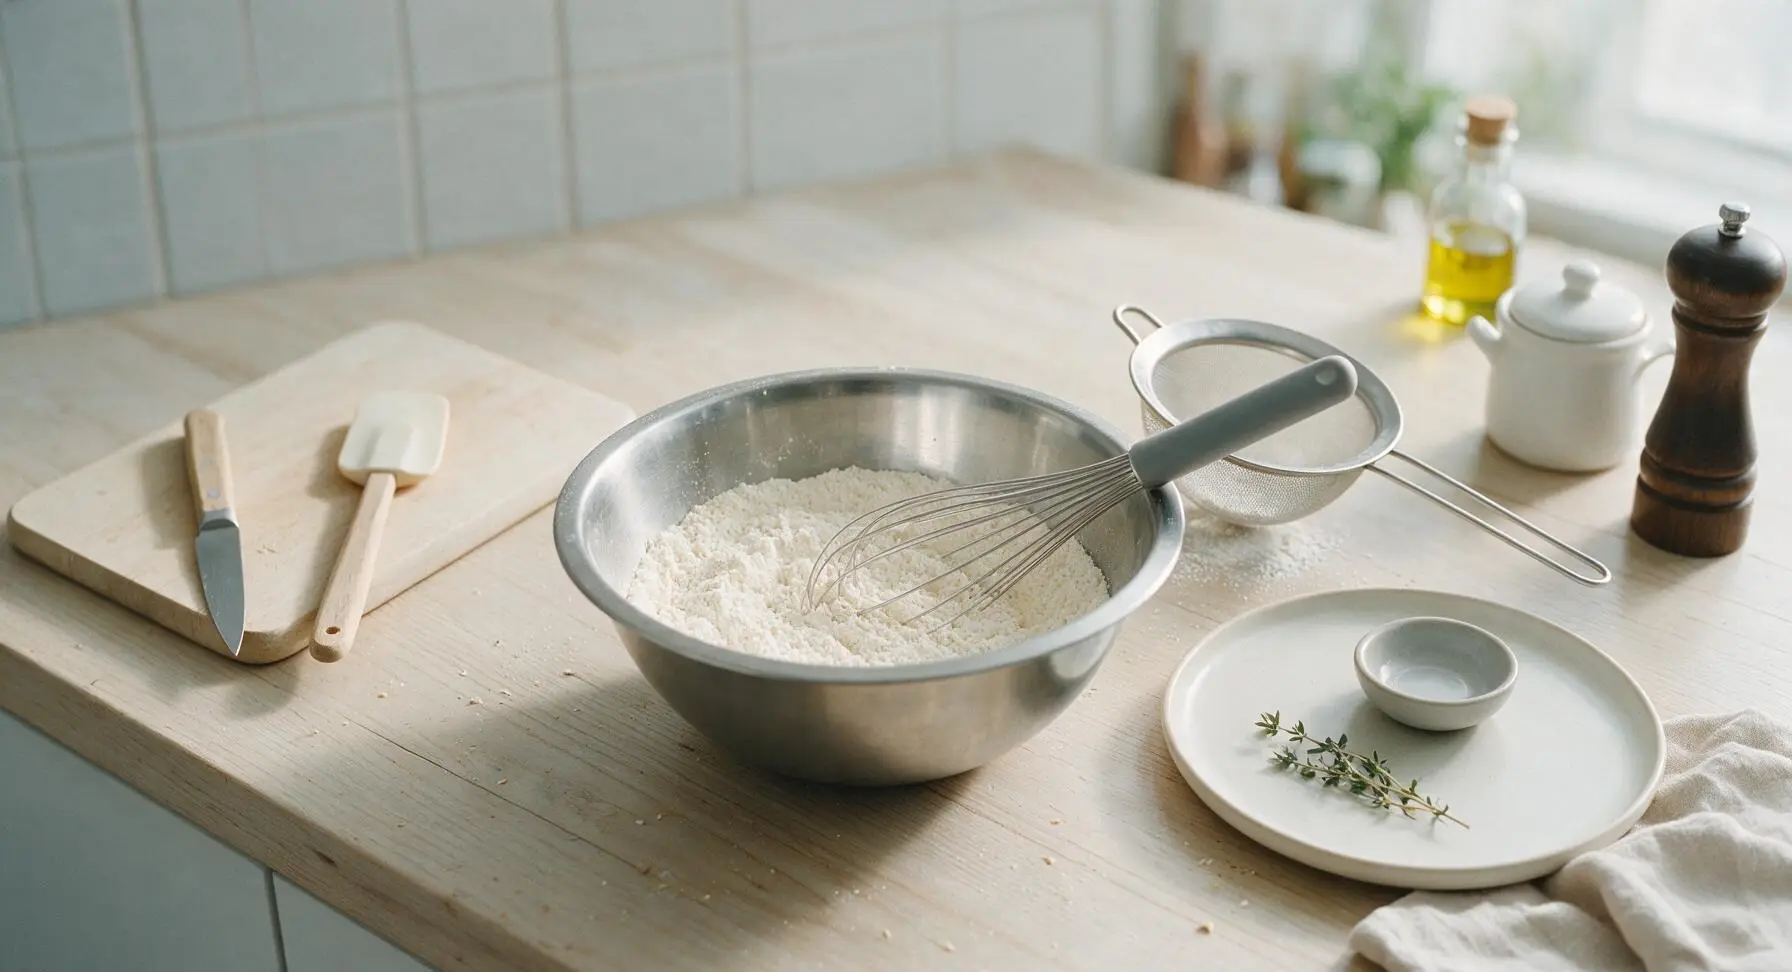
Remove the sieve from the top of the mixing bowl and set it to the right of the bowl. Use the 12-inch stainless steel whisk (with grey silicone grip) to stir the sifted dry ingredients for 60 to 90 seconds, scraping the bottom and sides of the bowl regularly to ensure no pockets of concentrated leavening, salt, or milk powder remain. The finished mix should be a consistent pale off-white, with no darker or lighter streaks visible when you drag the whisk through the center.
Transfer to Airtight Storage
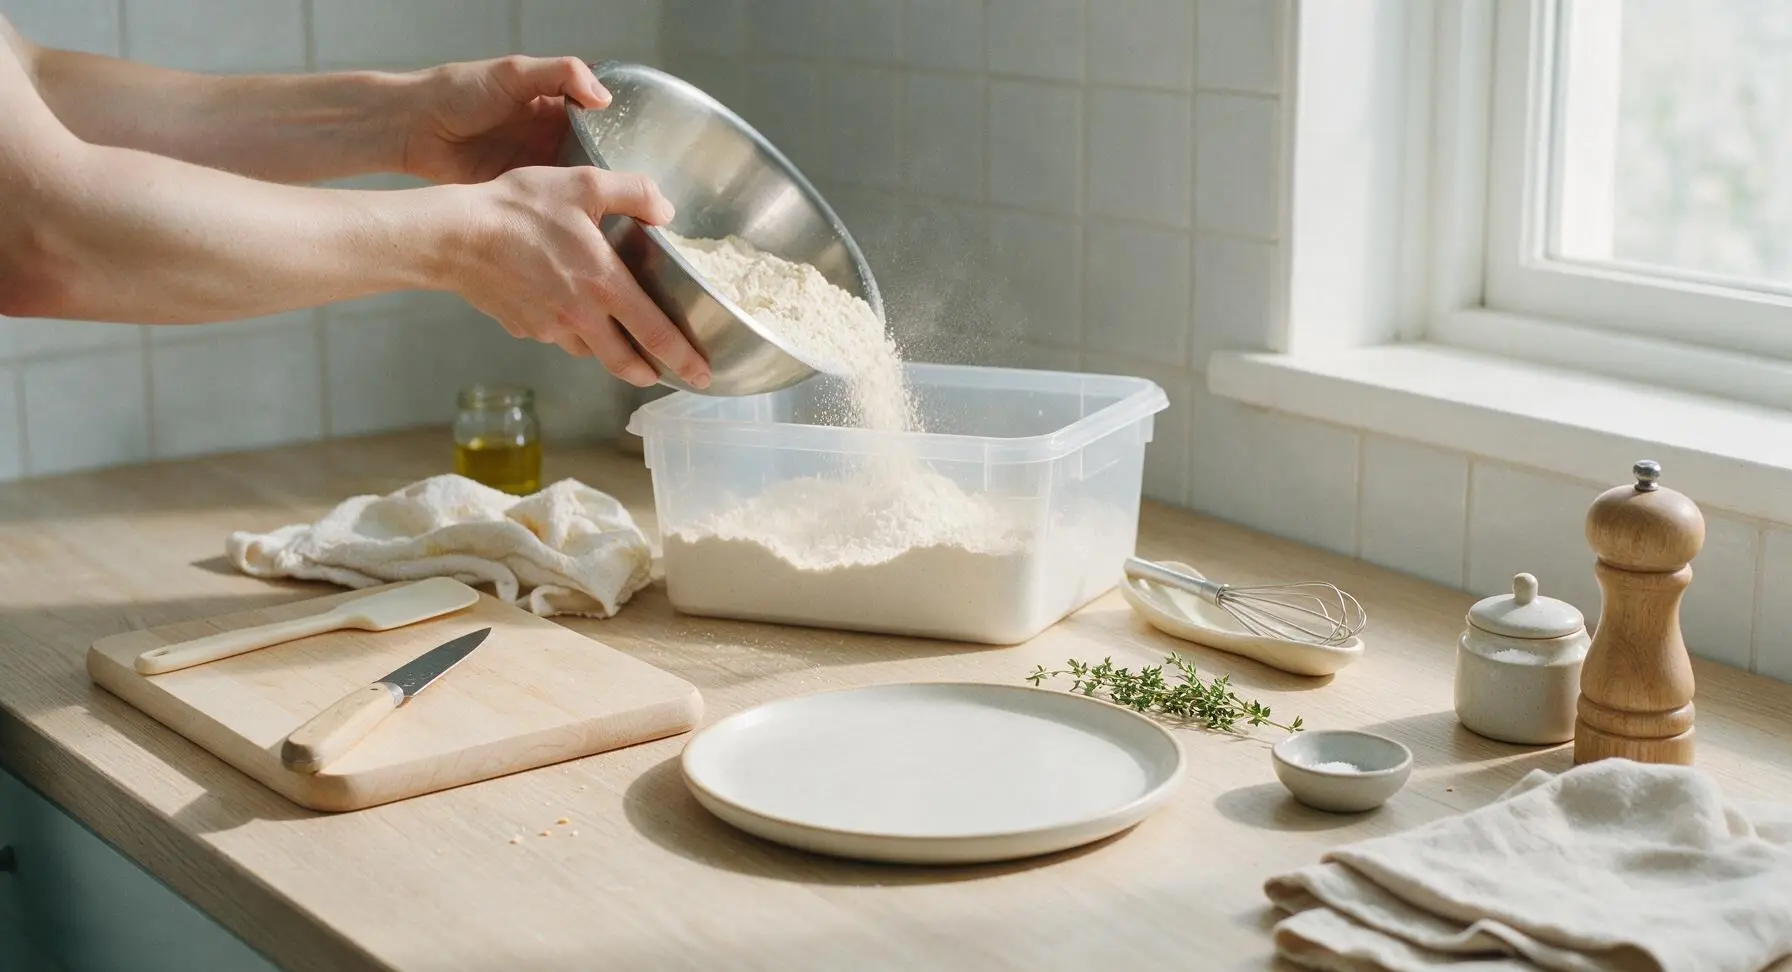
Carefully lift the mixing bowl and pour the fully combined dry waffle mix into the 12-quart clear plastic storage bin positioned center-back of the counter. Tap the bin gently on the counter 2 to 3 times to settle the mix and remove air pockets. Wipe any stray mix from the rim of the bin with the edge of the faded cream cotton kitchen towel to ensure a tight seal, then press the white lid firmly into place.
Portion Mix for Cooking
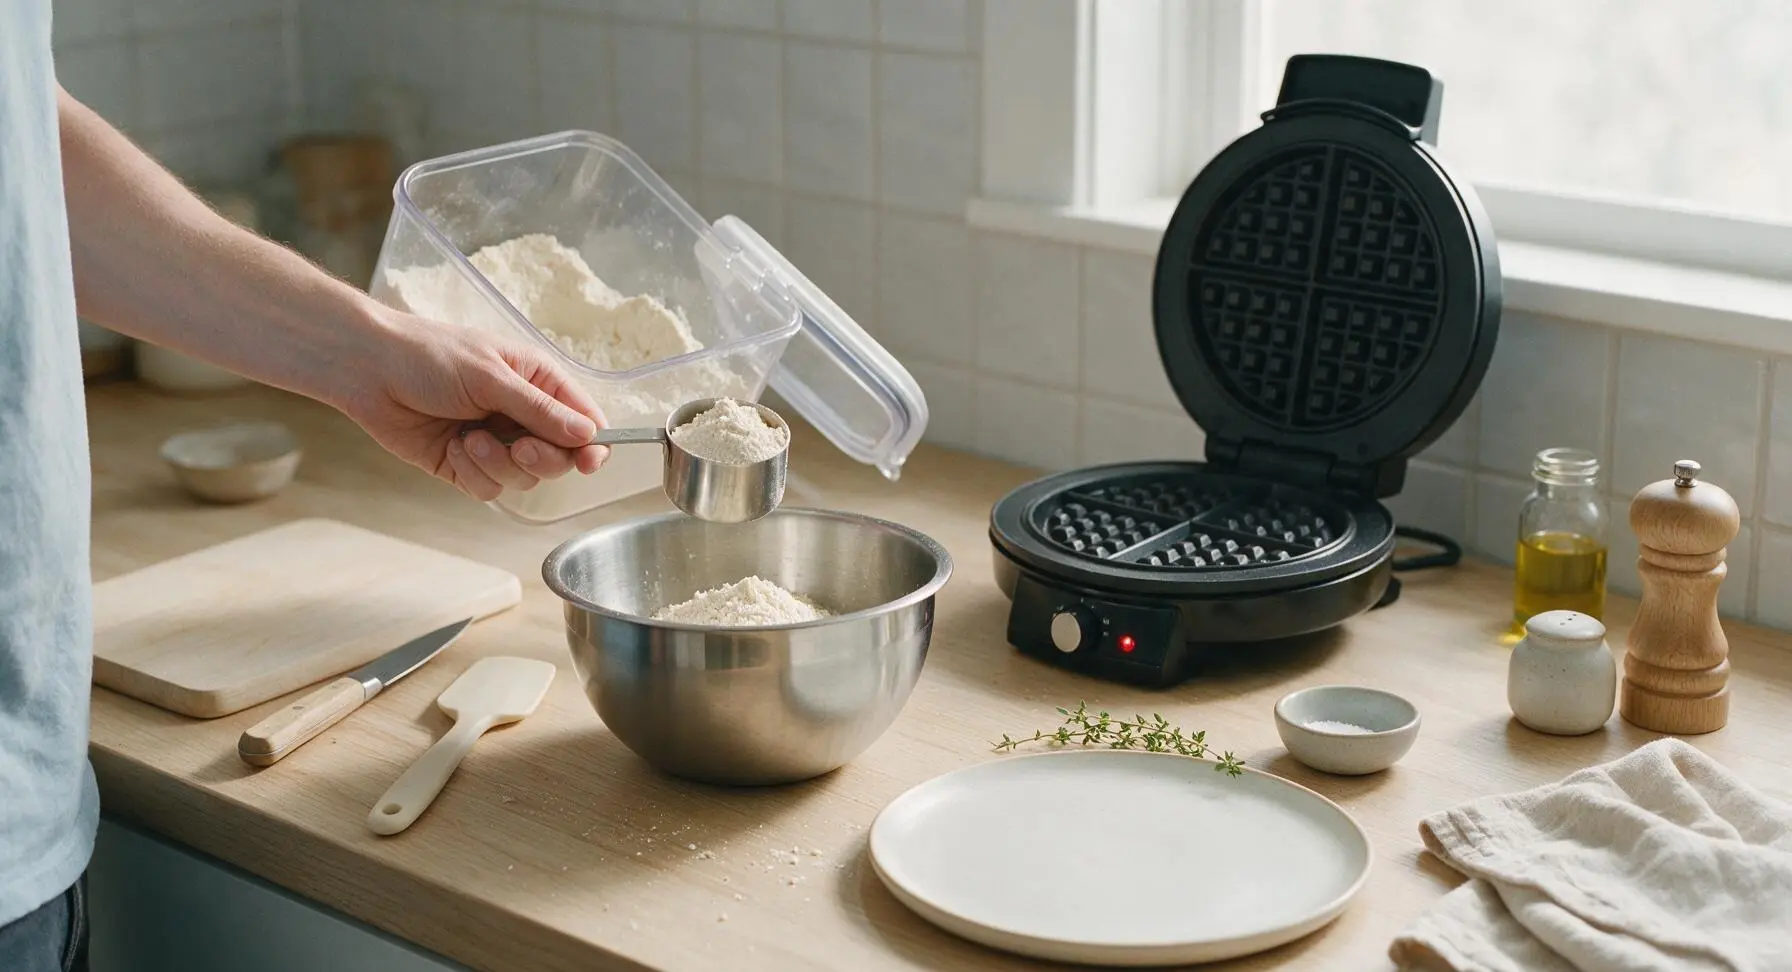
When ready to prepare waffles, plug in the 10-inch matte black waffle iron and preheat to 375°F (190°C). Open the sealed storage bin, use the 1-cup stainless steel measure to scoop 2 cups of the prepared dry waffle mix into the clean, dry stainless steel mixing bowl placed center-counter. Reseal the storage bin lid tightly and return it to its center-back position to keep remaining mix fresh.
Mix in Wet Ingredients
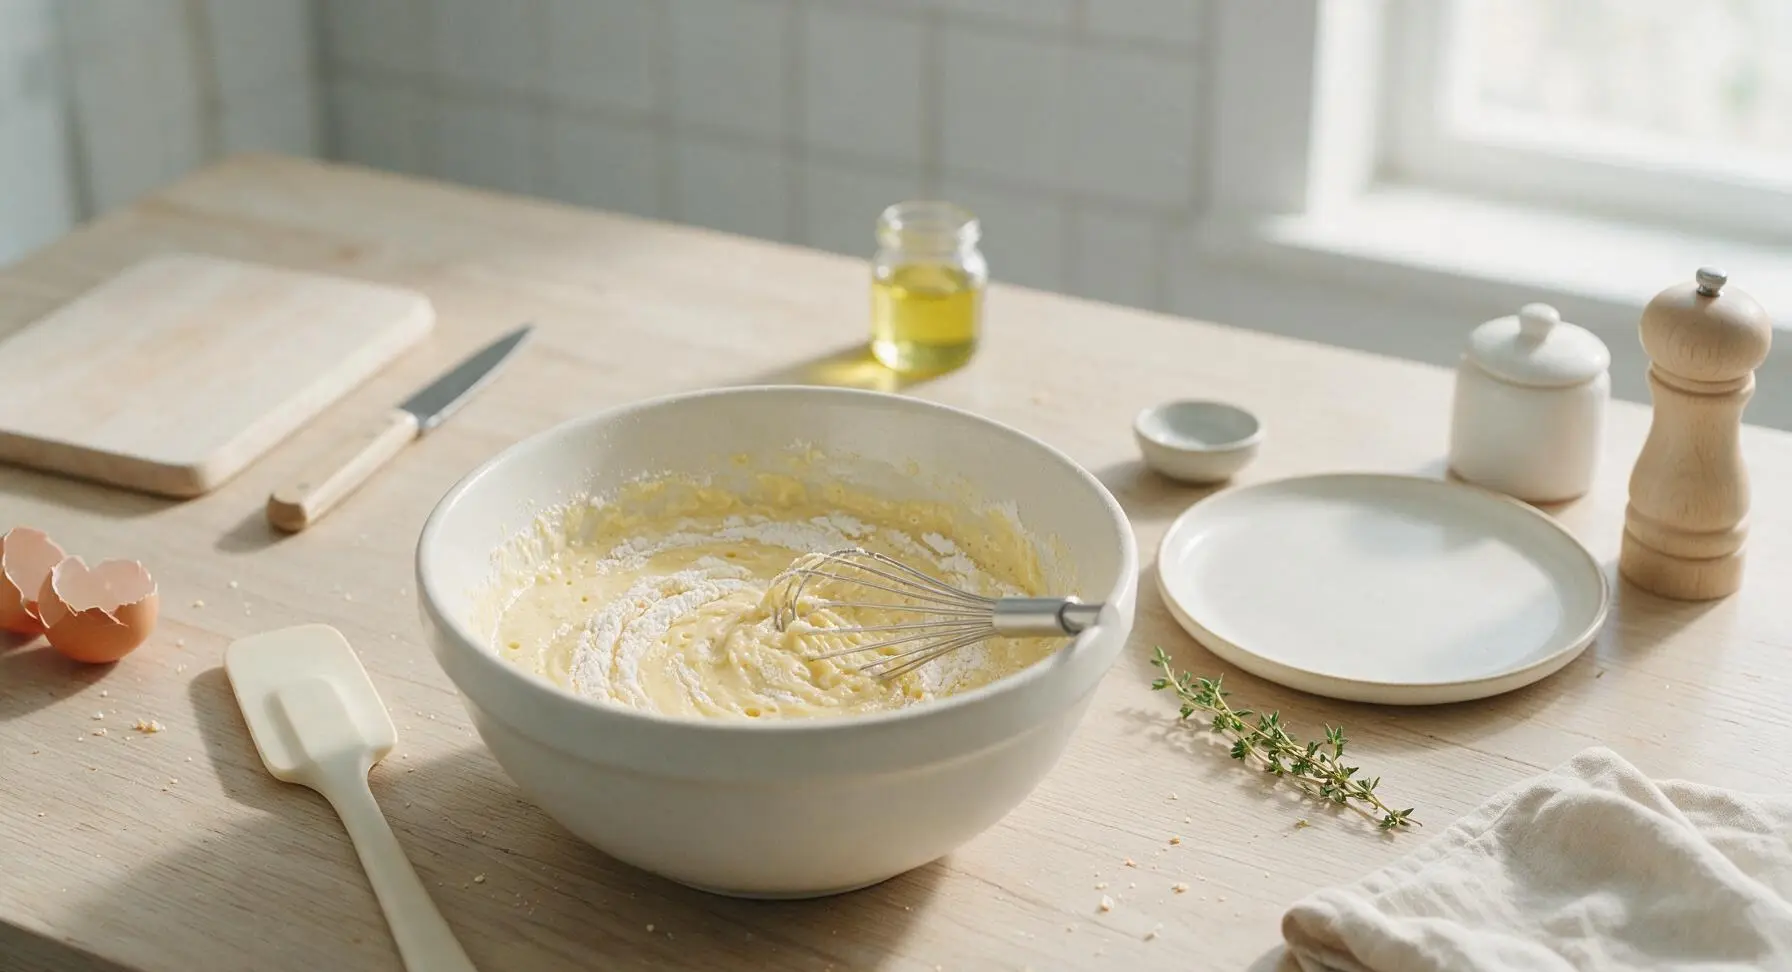
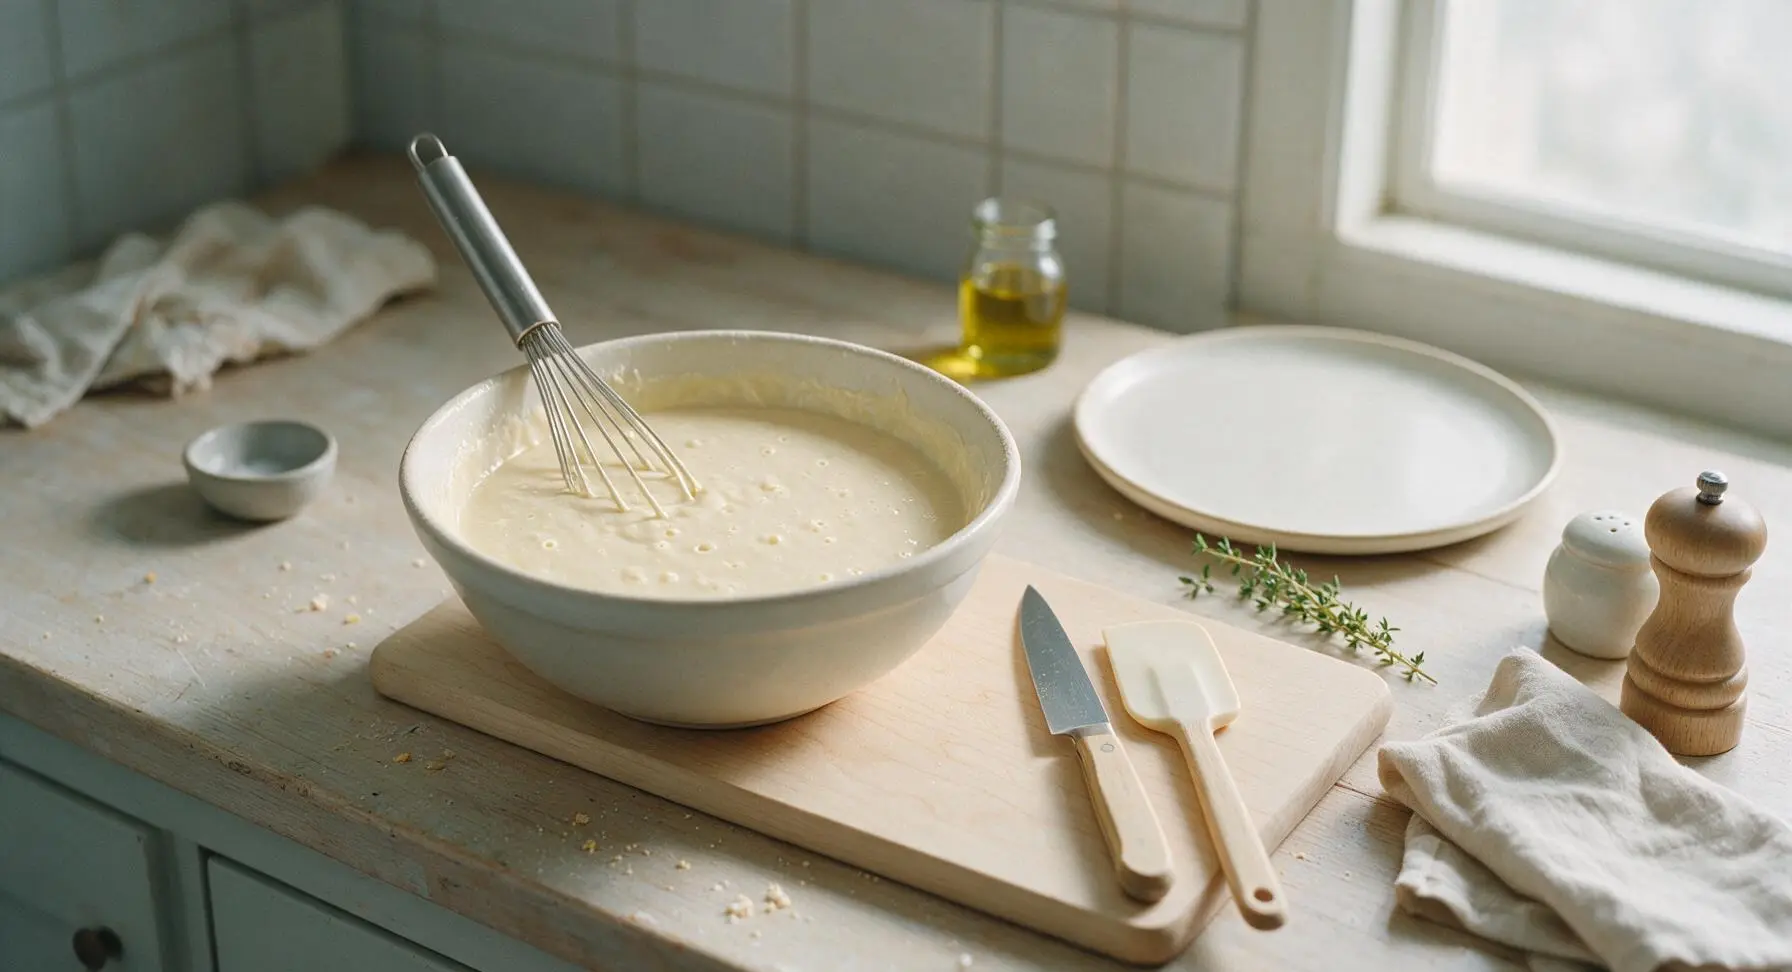
Add 2 large lightly beaten eggs, 1 3/4 cups whole milk, 1/3 cup neutral vegetable oil, and 1 tsp pure vanilla extract to the bowl with the measured dry mix. Whisk gently just until combined—stop as soon as no dry flour streaks remain; the batter will be slightly lumpy, and overmixing will result in tough, dense waffles. Let the batter rest for 5 minutes at room temperature to allow the leavening to activate; tiny bubbles will appear across the batter surface when it is ready to cook.
Pour Batter onto Iron
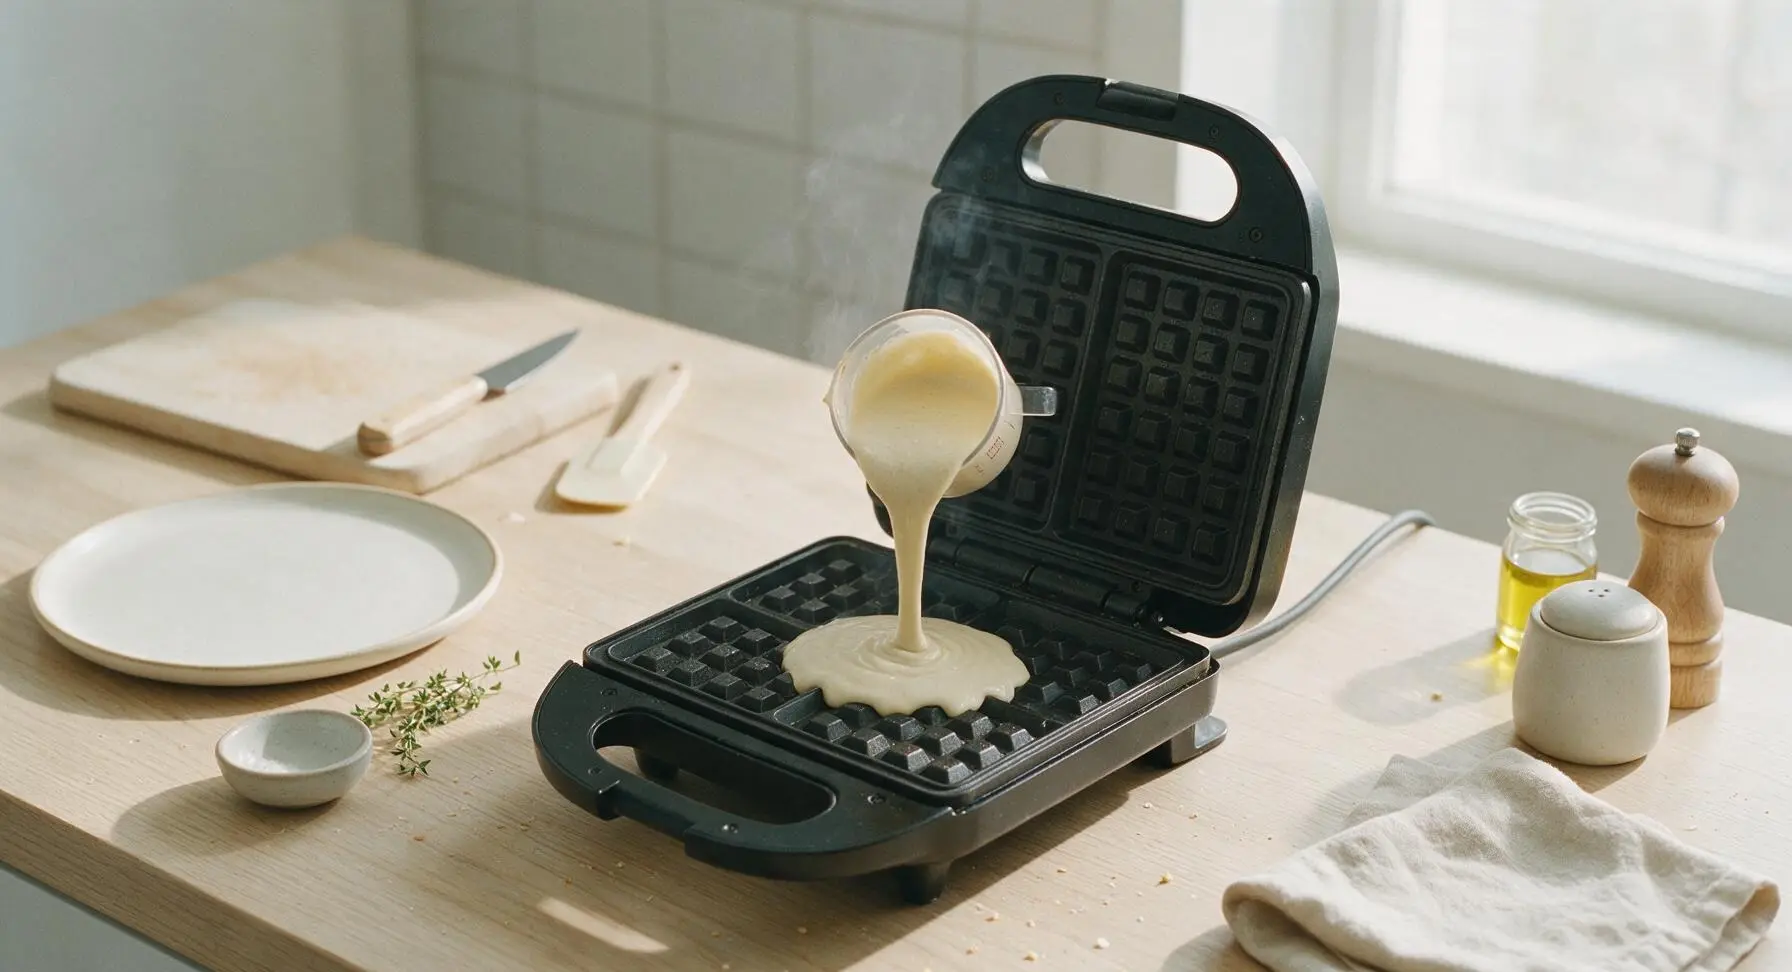
Once the waffle iron indicates it is fully preheated (green indicator light illuminates, or a drop of water sizzles and evaporates in 1 second on the plate), open the lid fully. Pour 2/3 cup of the rested batter directly onto the center of the lower waffle plate—do not spread it all the way to the edges, as it will spread and rise when the lid closes. Overfilling will cause batter to leak out the sides of the iron and burn.
Cook Until Golden Crisp
Close the waffle iron lid and cook for 3 to 3.5 minutes, without lifting the lid for the first 2 minutes (lifting early will cause the waffle to split and deflate). The waffle is done when thin streams of steam stop escaping from the edges of the iron, and the surface is a deep, even golden brown with crisp, defined edges.
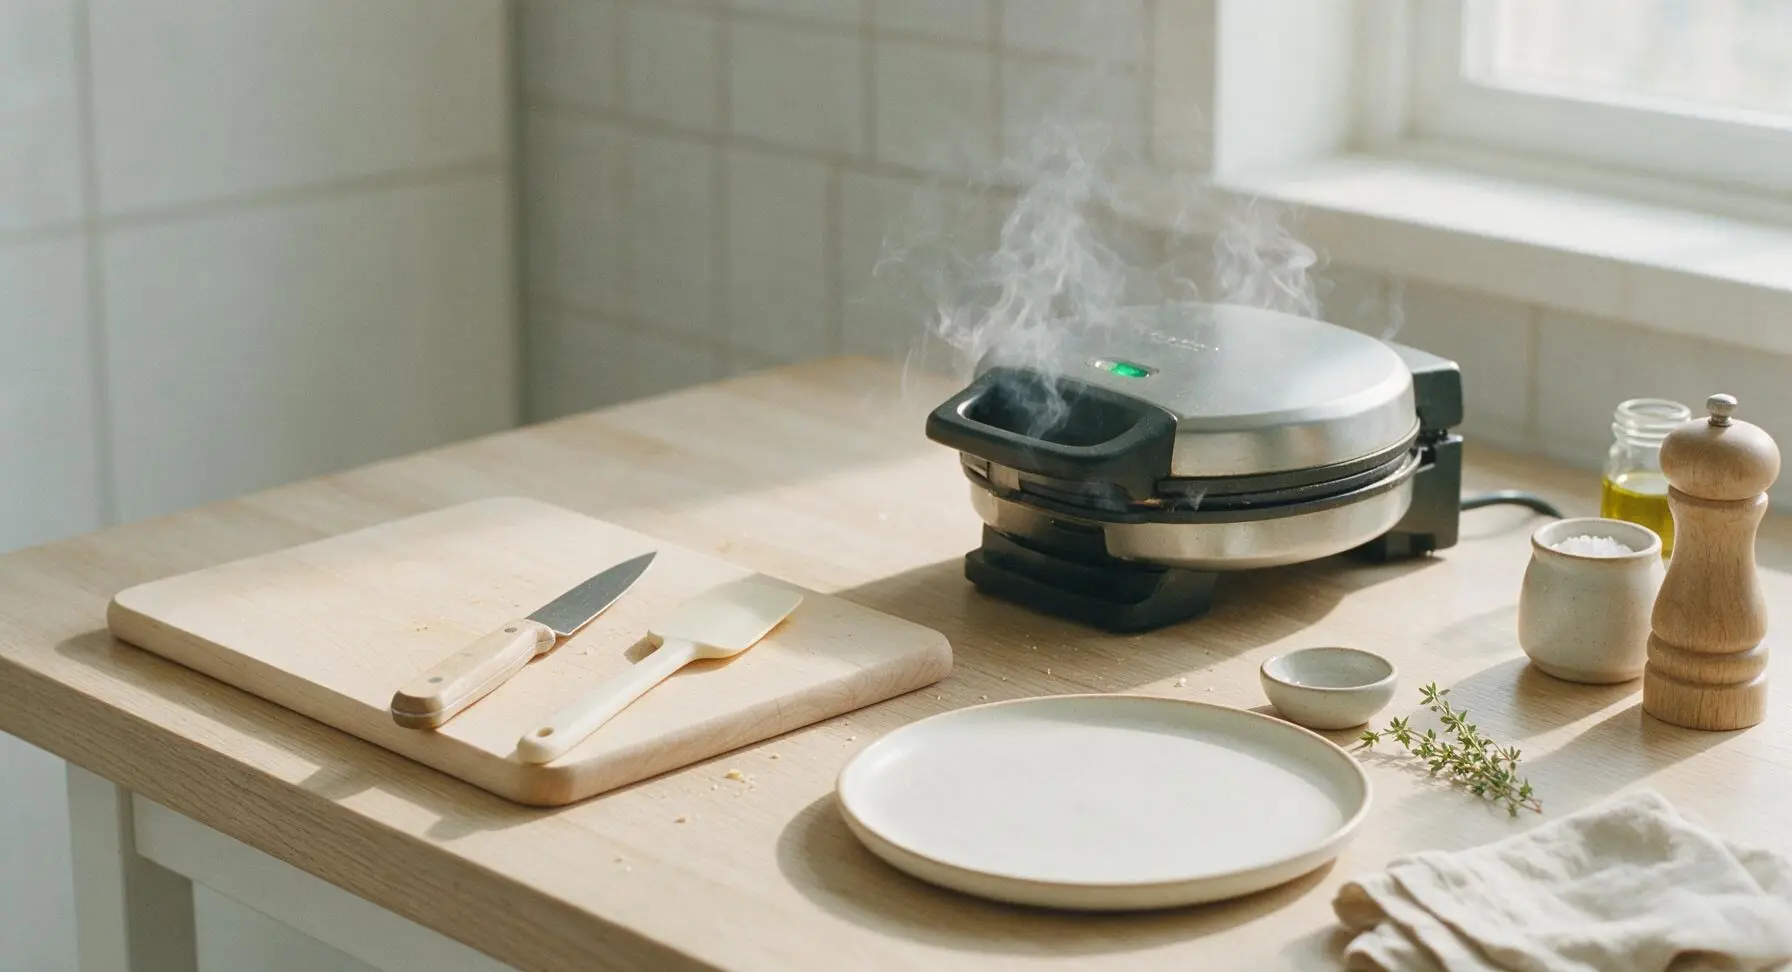
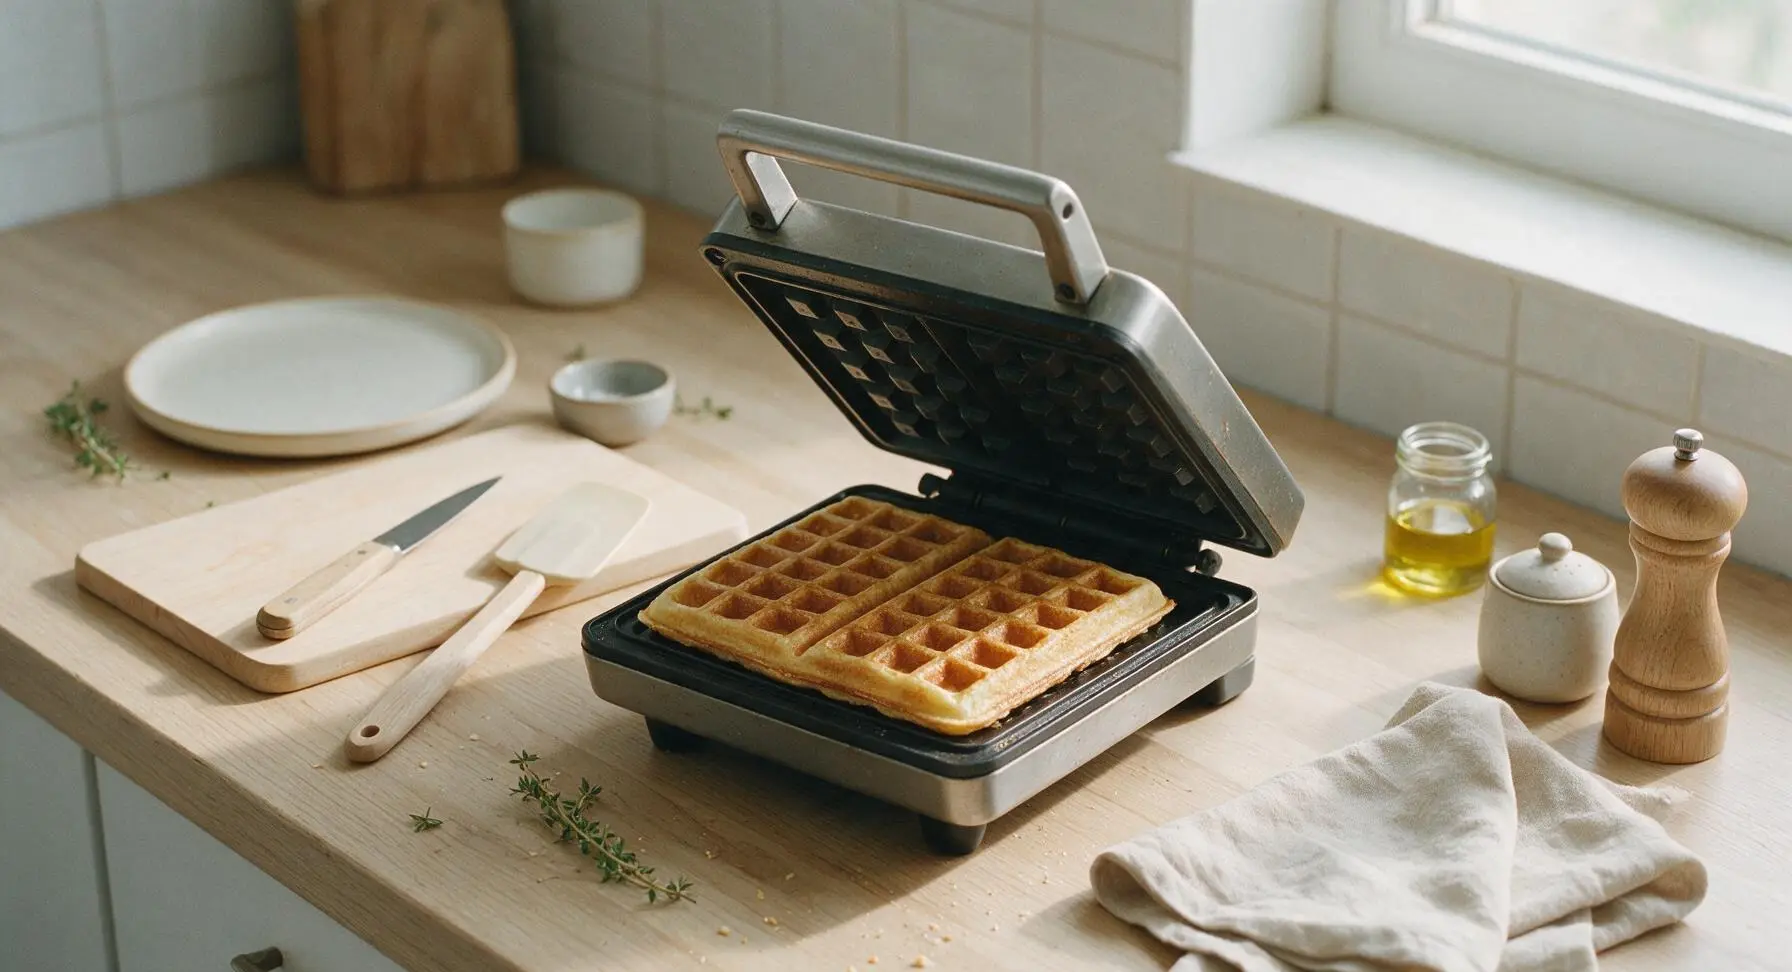
Plate and Serve Hot
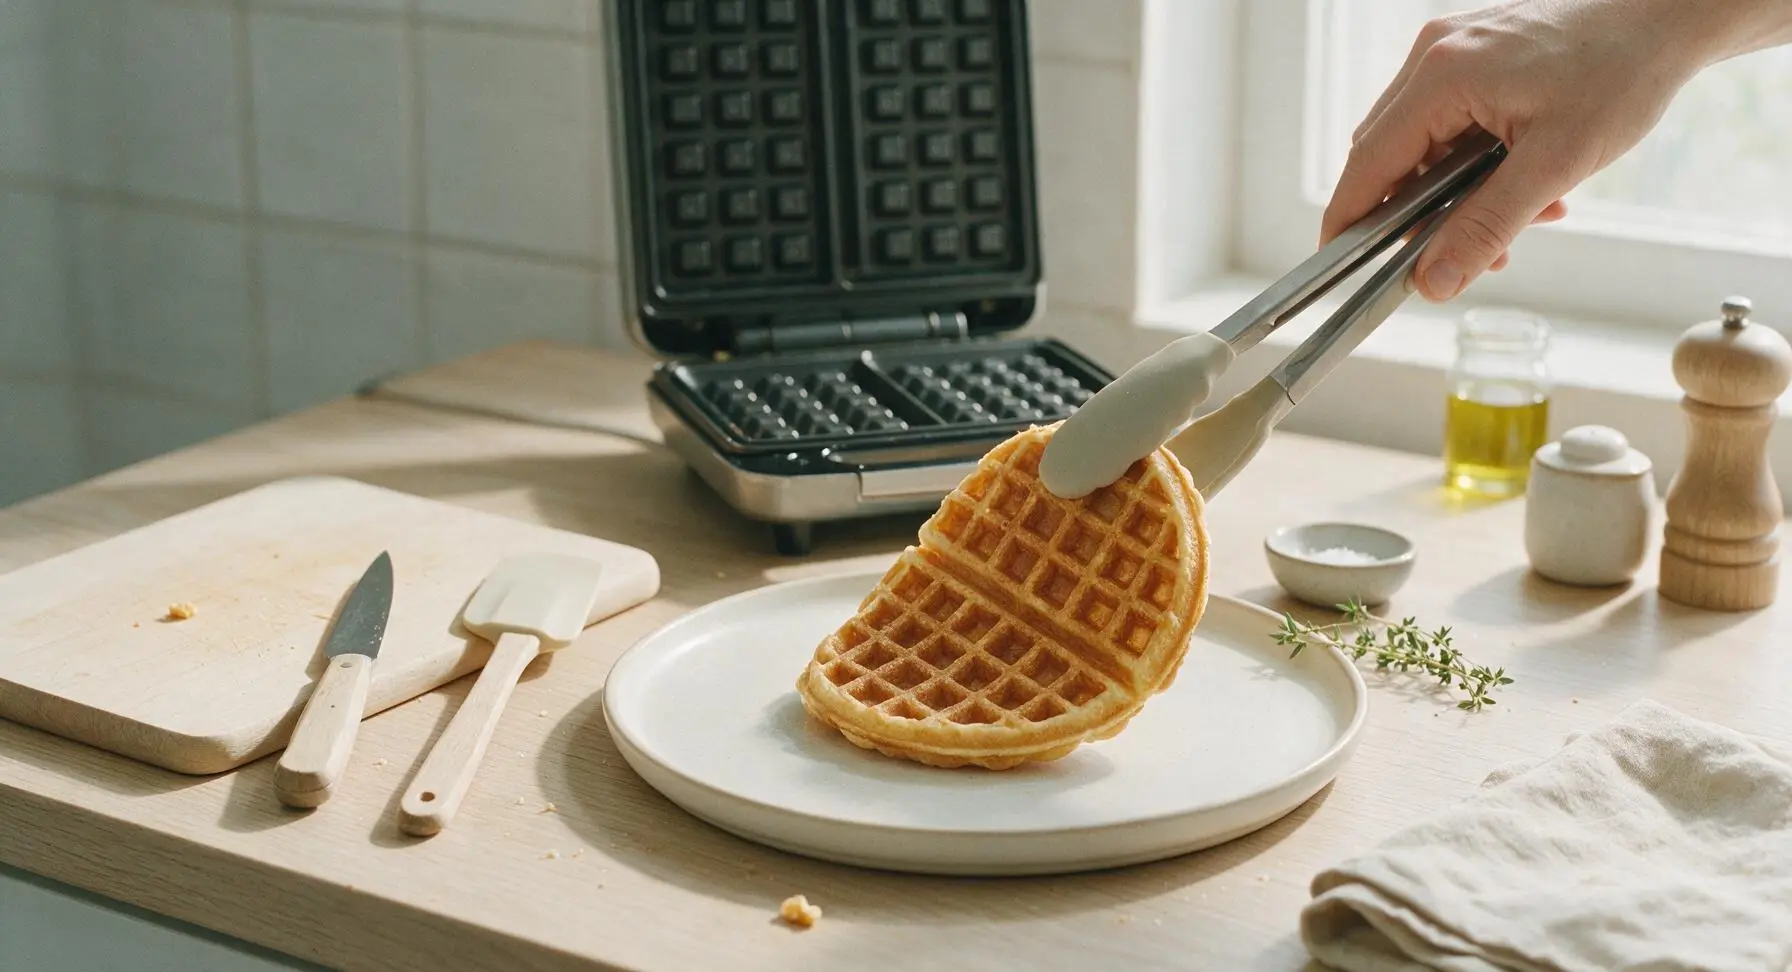
Use the 9-inch silicone-tipped tongs to carefully lift the cooked waffle from the iron, transferring it directly to the waiting 10-inch matte cream ceramic plate at front-right. Top with a 1-tbsp pat of softened butter, a light drizzle of maple syrup, a fine dusting of powdered sugar, and 3-4 fresh blueberries as desired. Serve immediately, as waffles lose their crispness quickly after cooking.
Tips
2.For restaurant-style extra-crispy waffles, separate egg whites when preparing batter, beat them to soft, billowy peaks, and fold them into the batter just before cooking. This adds extra lift and creates a shatteringly crisp outer crust.
3.Store the sealed dry mix in a cool, dark pantry away from heat or moisture for up to 3 months. Avoid storing it above the stove or near the dishwasher, as humidity will activate the leavening early and lead to flat, dense waffles.






OMG, this mix is a total game changer! I’ve been chasing that perfect crispy-on-the-outside, fluffy-on-the-inside diner waffle texture for literal years and this recipe nails it dead on. No weird soggy spots even after I loaded mine up with maple syrup, fresh whipped cream, and a handful of sprinkles. I mixed up a double batch of the dry stuff to keep in a glass jar in my pantry for quick weekday breakfasts, 10/10 no notes.
Super easy to throw together, and that 3 minute per waffle cook time is no joke! My three boys devoured these on Saturday morning, even my super picky 7 year old who normally only eats frozen pop tarts for breakfast asked for thirds. I’m definitely bringing a big batch of the dry mix to our next neighborhood potluck, these are gonna be a hit.
Tried a 50/50 split of all purpose and whole wheat flour when I mixed up my batch and it still turned out SO good! It’s a little nuttier and not quite as light as the full all-purpose version, but it’s perfect for meal prep. I keep a small jar of the dry mix at my desk for days I forget to grab breakfast on my way into work.
Brought a big bag of this pre-mixed dry stuff up to our mountain cabin last weekend and it was such a hit! No need to pack a million separate ingredients, just add the wet stuff when we were ready to fire up the waffle iron. Tasted exactly like the waffles we get at the tiny old diner off the highway near our place, zero complaints.
Made these for my monthly girls’ brunch yesterday and every single person was asking for the recipe! I set up a little DIY waffle bar with fresh berries, mini chocolate chips, peanut butter drizzle, and a few different syrup flavors, and the waffles held up to every topping without getting mushy. That’s my biggest pet peeve with homemade waffles, so color me impressed.
Super quick question — how long does the dry mix stay fresh in the pantry if I store it in an airtight container? I want to mix up a huge batch but I don’t want it to go bad before I work my way through it!
Y’all, these are SO good. I added a tiny pinch of cinnamon to the dry mix and a splash of extra vanilla to the wet ingredients and it tasted just like the waffles my grandma used to make for Sunday breakfast after church. Those crispy edges? *Chef’s kiss*
Worked at a small town diner for 6 years back in high school, and this mix is almost dead on to what we used back in the day. The only difference was we added a little extra malt powder to our batches, but that’s just our old house quirk. 10/10 for nailing that classic texture everyone chases.
This is so easy even for someone who burns toast half the time lmao. I live in a tiny dorm with a $10 mini waffle maker I got at the campus bookstore and these still came out perfect. Way cheaper than buying the pre-made boxed mix from the grocery store too, which is huge for my student budget.
Made these last night for our weekly breakfast-for-dinner night and my wife said these were better than the waffles we got on our honeymoon at that fancy beach brunch spot. Only mistake I made was not making a double batch, because we ate every last bite before I could even put leftovers away.
Has anyone tried making this with dairy-free milk and egg substitutes? My youngest has a dairy and egg allergy and I’ve been hunting for a waffle recipe that doesn’t taste like dry, bland cardboard.
Took this mix out to our college football tailgate last weekend with our portable waffle iron and it was the most popular item at the whole lot. People were coming over from neighboring tailgates to ask for a bite! It’s so easy to transport, no messy measuring required once you pre-mix the dry ingredients at home.
Wait, quick silly question — do I need a fancy commercial waffle iron to make these turn out right? I only have a cheap $20 waffle maker I picked up at a garage sale last summer, and I don’t want to waste a whole batch of mix if it won’t cook properly.
Can you freeze the cooked waffles for quick weekday breakfasts? I usually do a big meal prep session on Sundays and freeze stuff for the week, but I’ve had homemade waffles get all weird and freezer burnt on me before.
I stirred a half cup of mini chocolate chips into the batter when I made these yesterday and oh my GOD, they were incredible. Tasted exactly like the chocolate chip waffles I used to get at the diner after middle school sleepovers. My little cousin is already begging me to make them again when she visits this weekend.
Okay full transparency: I messed this up the first time I made it. I accidentally poured way too much milk and the batter was super runny, so the waffles came out flat and sad. Tried again today measuring everything properly and they were perfect! Don’t be like me and eyeball the measurements, folks, it actually matters.
Made a big batch of this mix for my annual holiday brunch last month and it was a total home run. I had multiple guests ask if I’d ordered the waffles from the local diner down the street! That 3 minute cook time per waffle was a total lifesaver when I had 12 people all trying to eat at the same time.
Wait, does this base mix work for savory waffles too? I love making waffles for fried chicken sandwiches but most homemade mixes are too sweet to pair with savory toppings and hot honey.