
cooked beef
intro
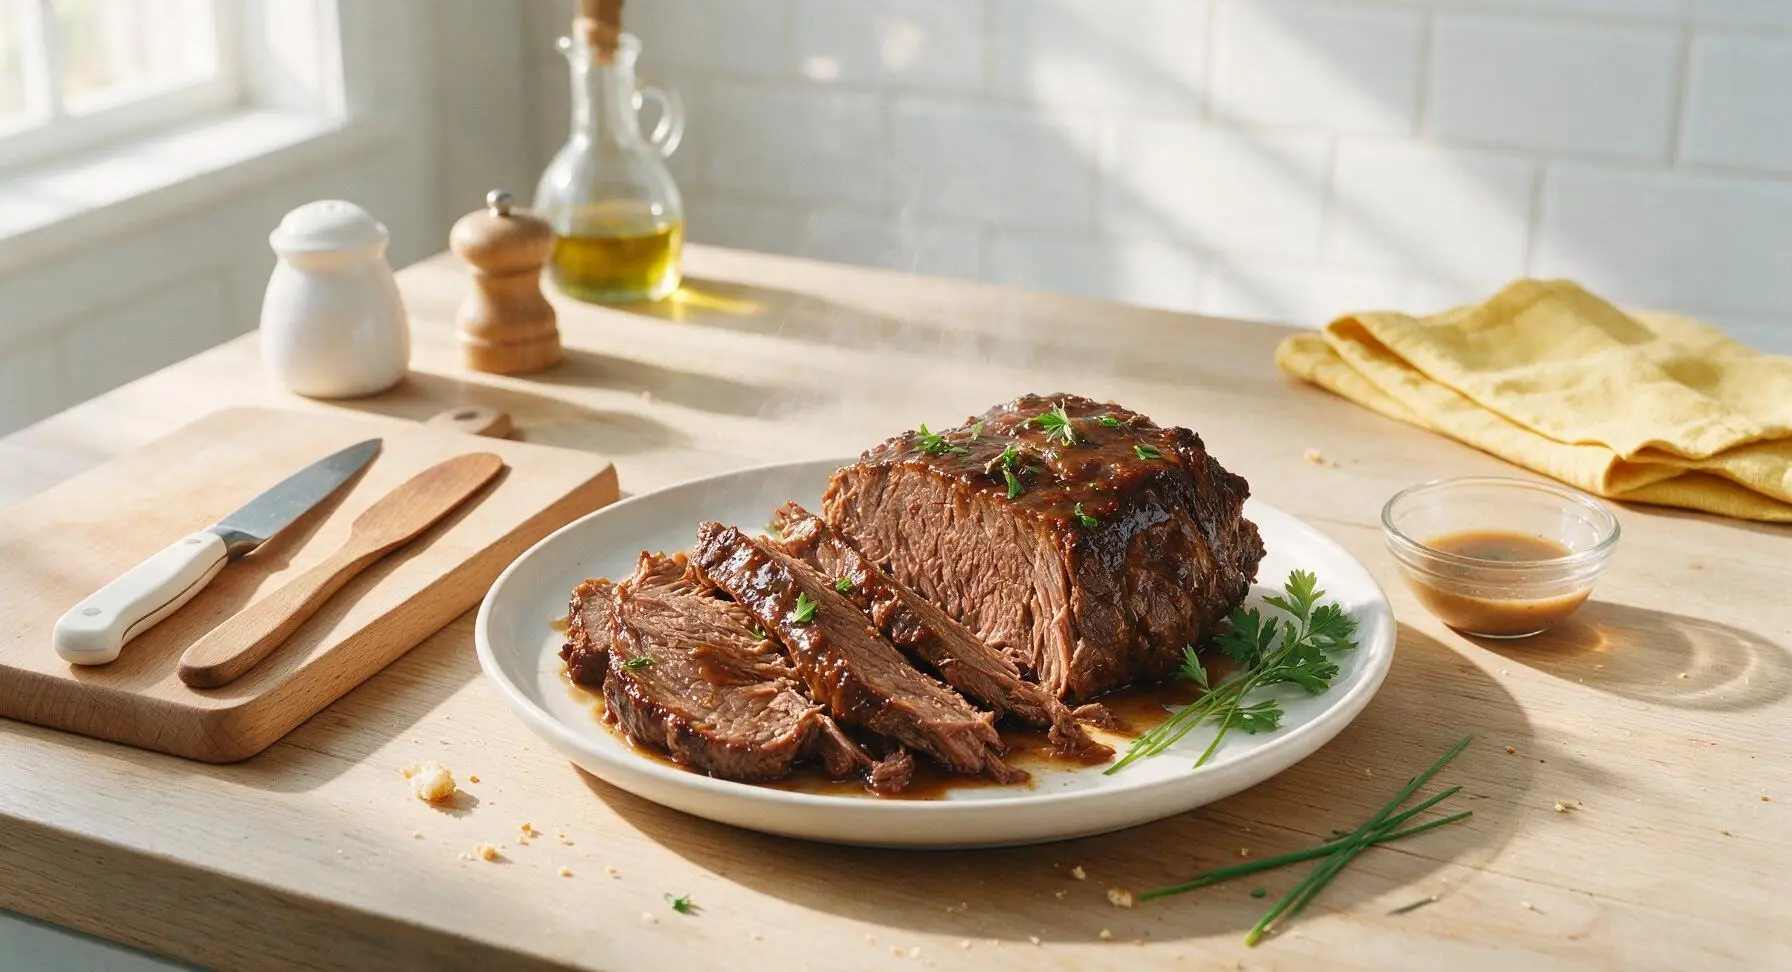
Fall-apart tender, deeply aromatic spiced braised beef, slow-simmered in soy and warm spices, perfect sliced for serving over rice, noodles, or as a cold appetizer.
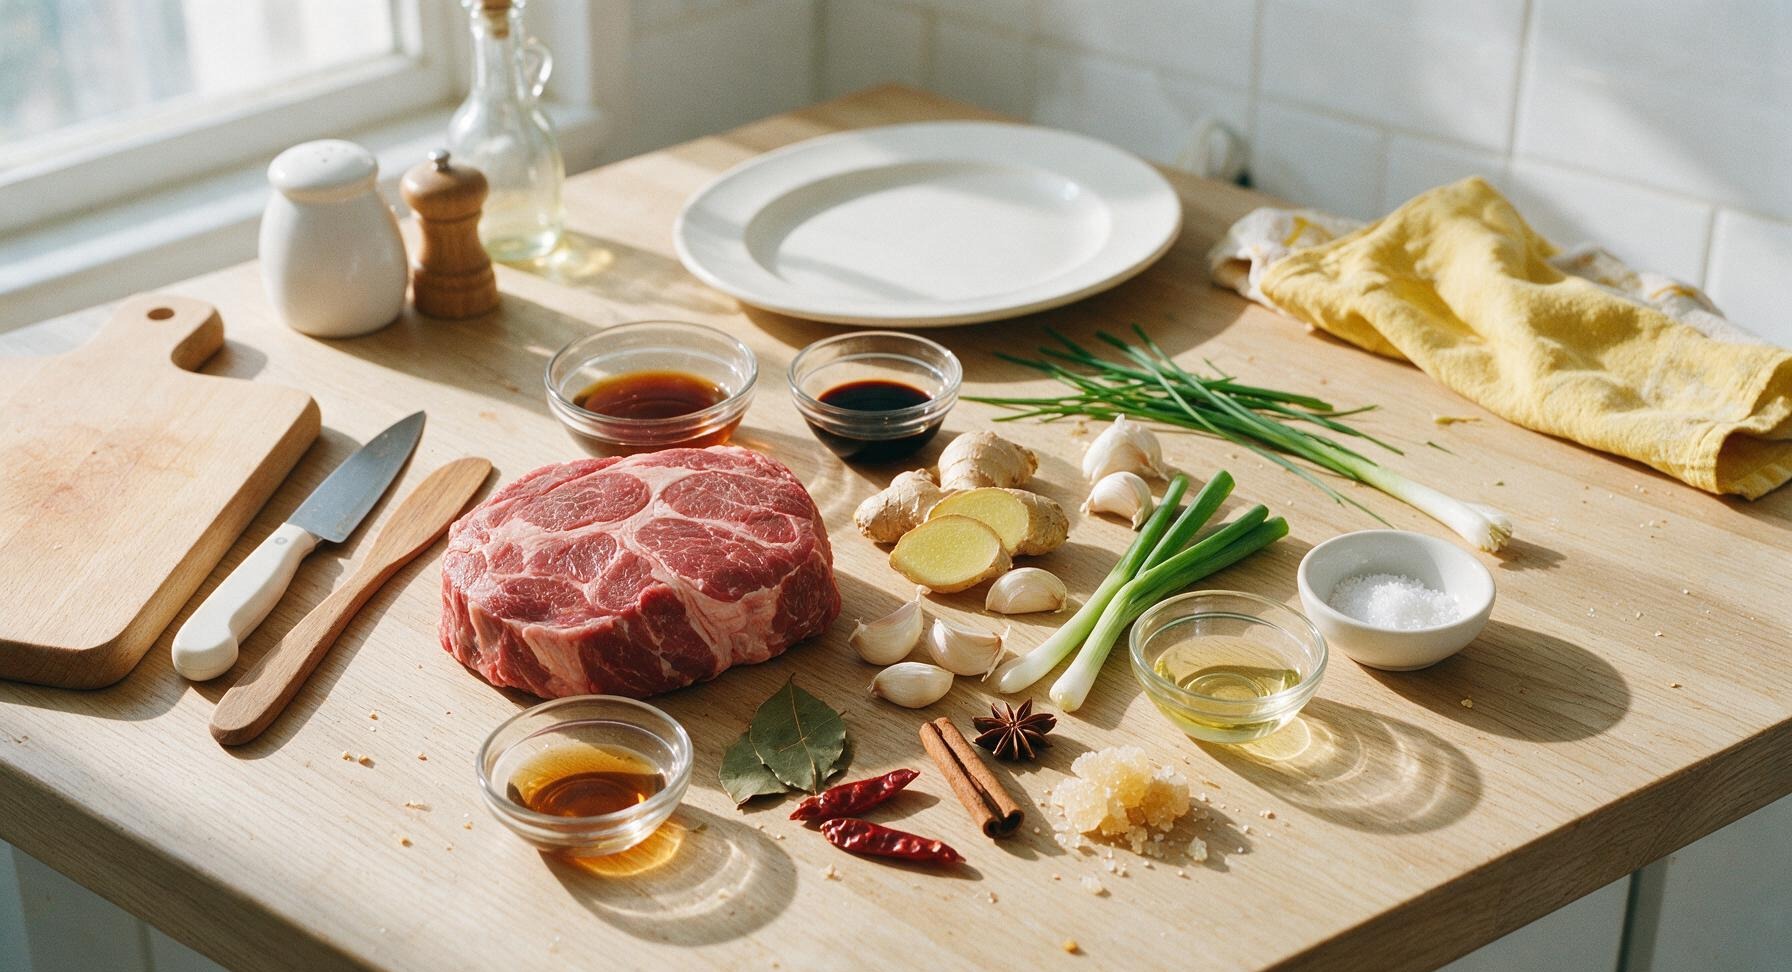
Ingredients
Steps
Blanch the Beef
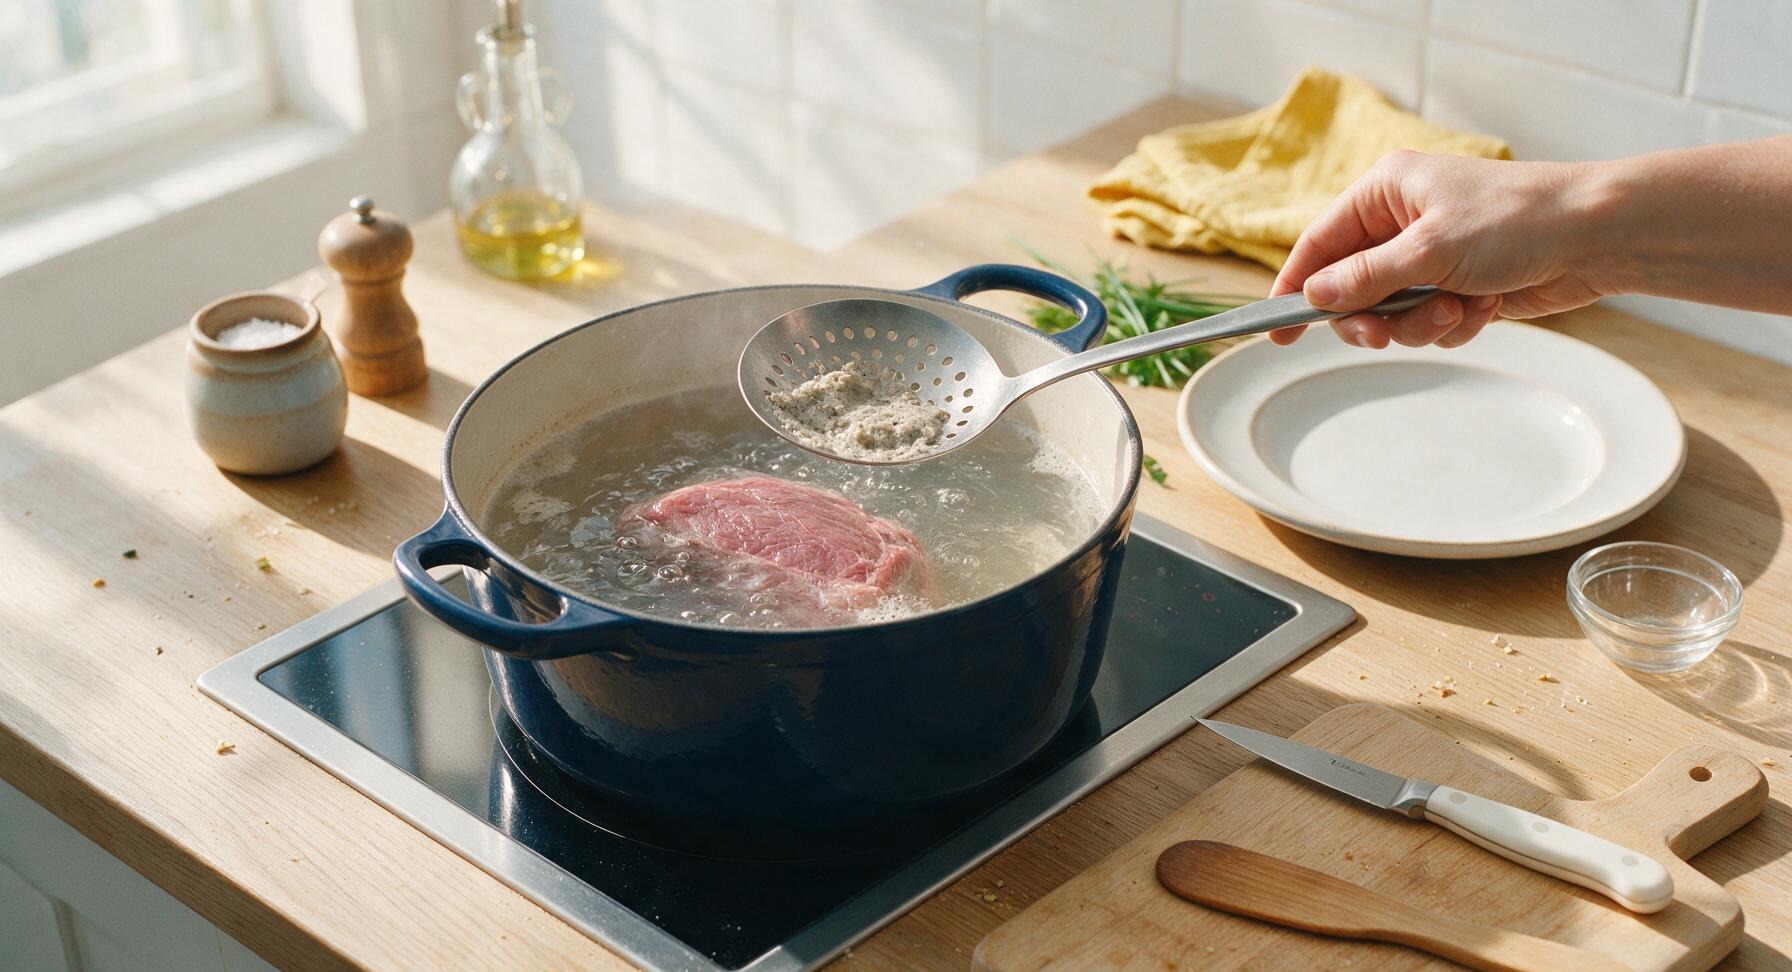
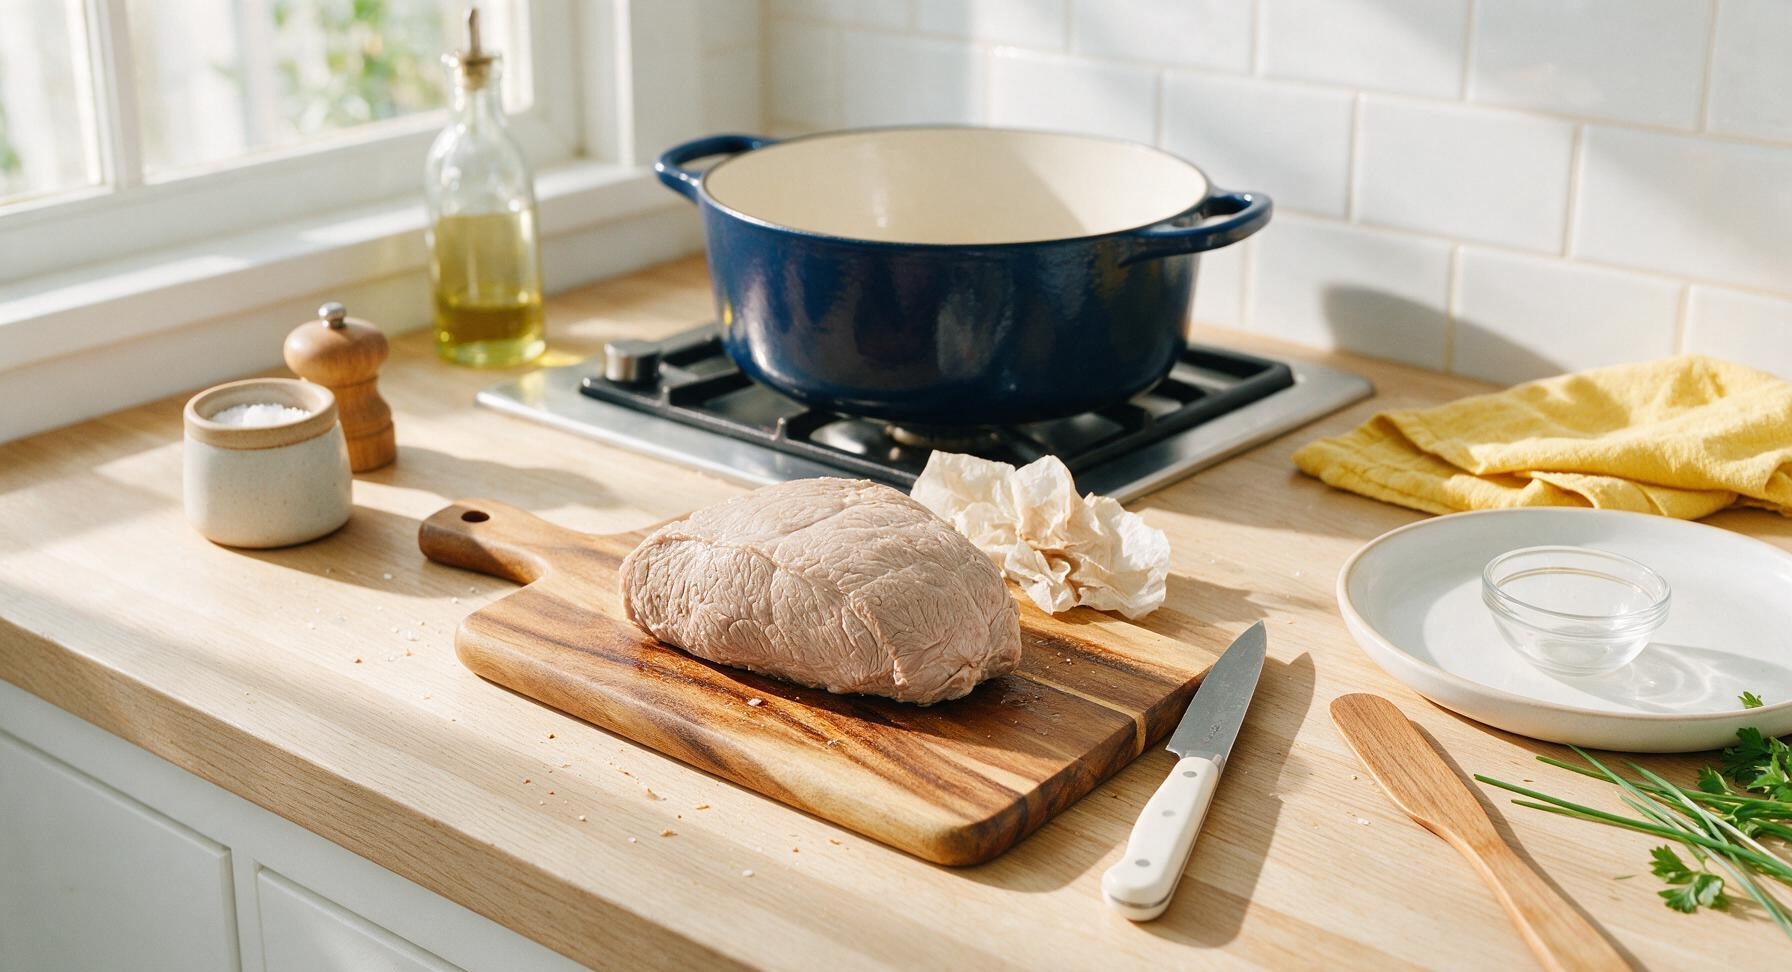
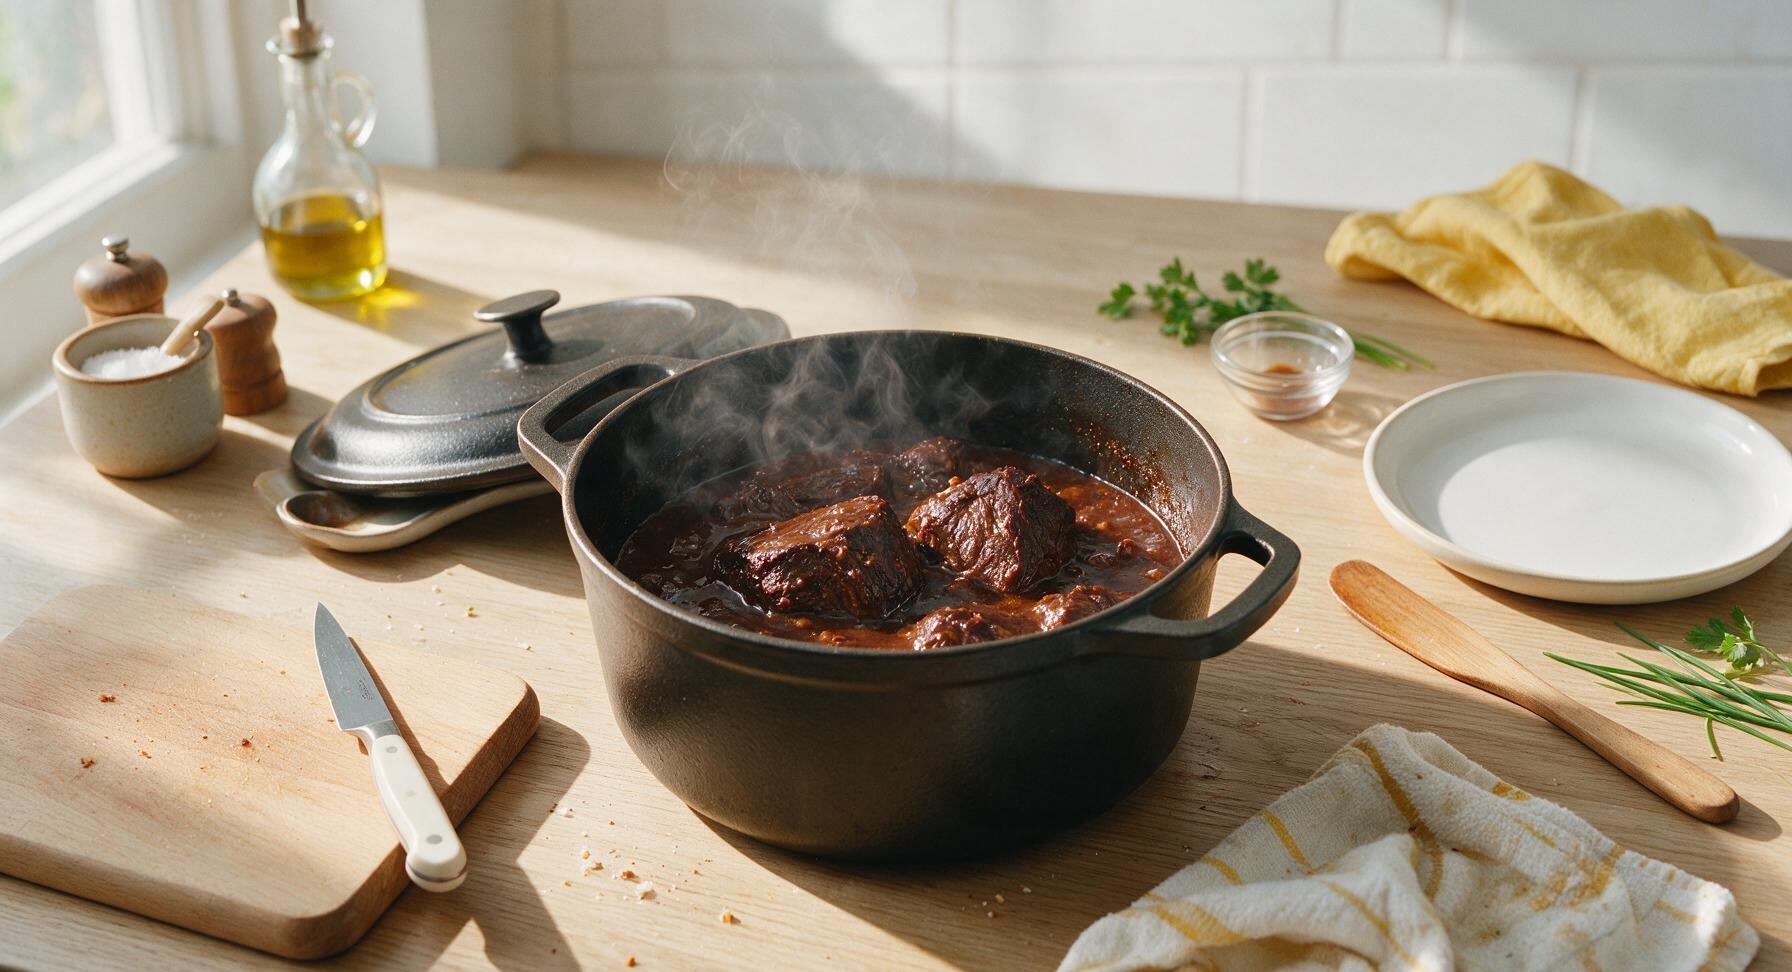
Place the whole beef chuck roast in the navy enameled Dutch oven, cover with cold water by 2 inches, add 1 sliced ginger coin and 1 green onion stalk. Bring to a rolling boil over high heat, then simmer for 8 minutes, using the slotted skimmer to remove all grey foamy scum that rises to the surface. Once blanched, lift the beef out with tongs, rinse under warm running water to wash away any remaining residue, then pat completely dry with paper towels. Discard the blanching water and wipe the Dutch oven clean.
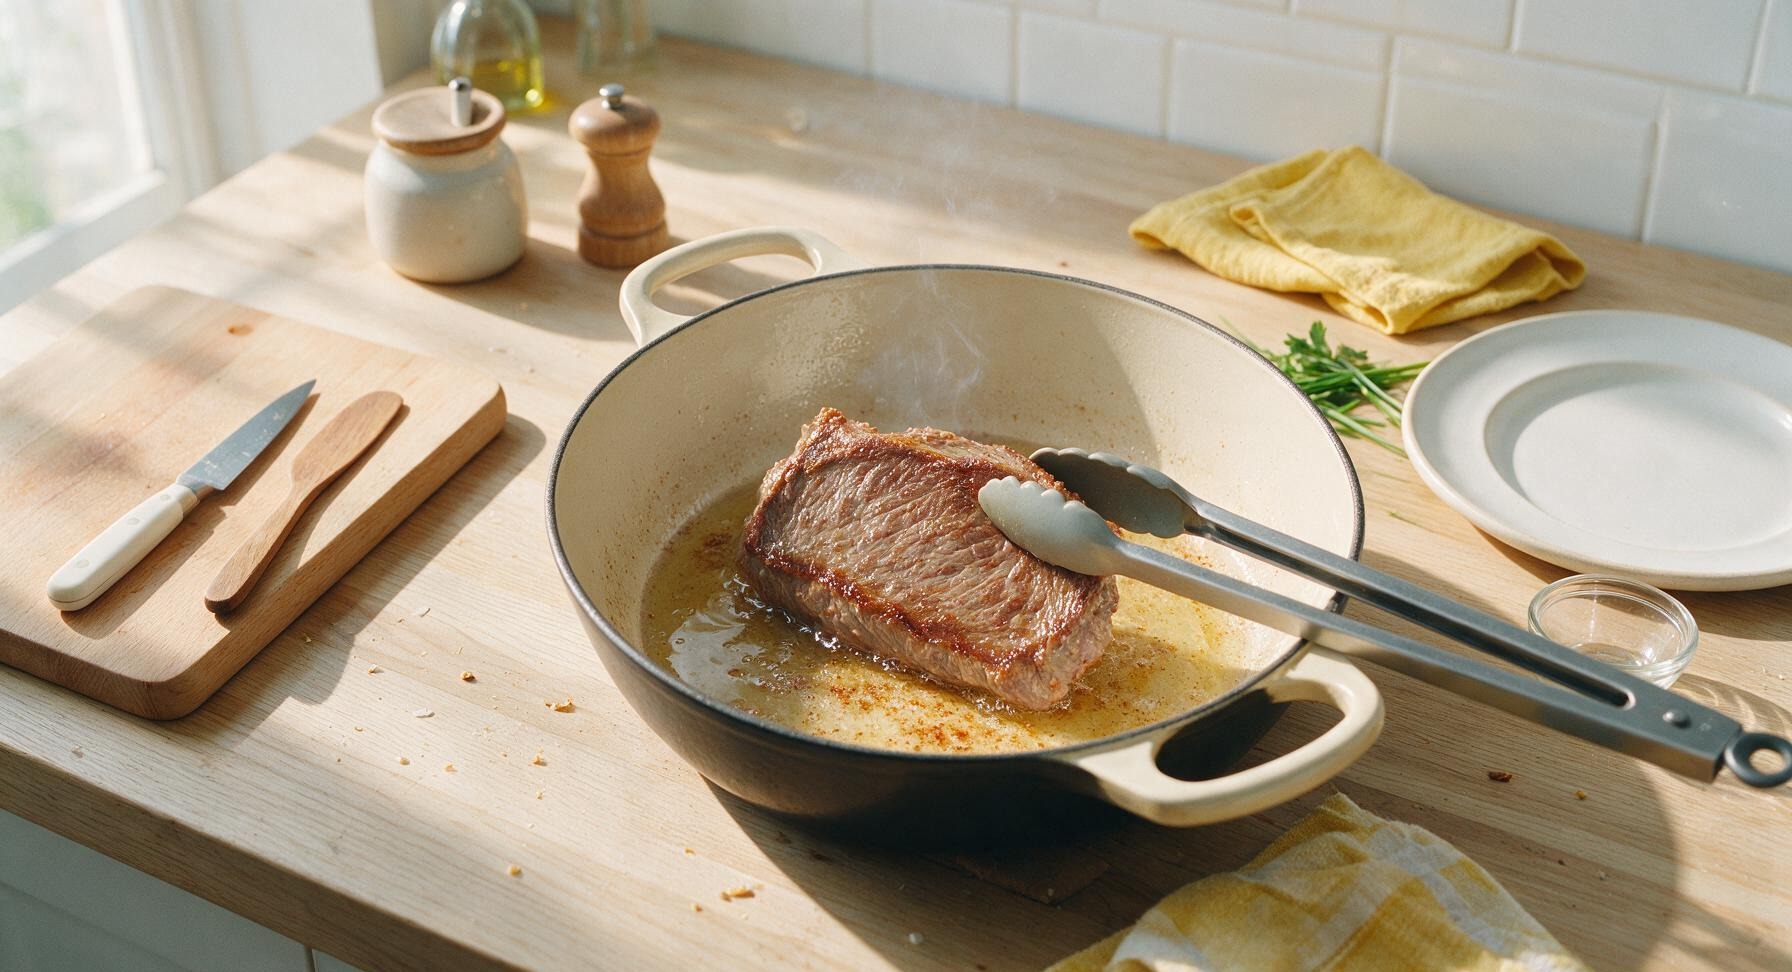
Sear All Beef Sides
Heat 1 tablespoon neutral cooking oil in the cleaned Dutch oven over medium-high heat until the oil shimmers (around 180C/350F). Carefully lower the dried beef into the pot using tongs, sear for 2-3 minutes per side until every surface is deep golden brown and slightly crisped at the edges. Do not move the beef while searing to build a good crust, as this deepens the savory flavor of the final dish.
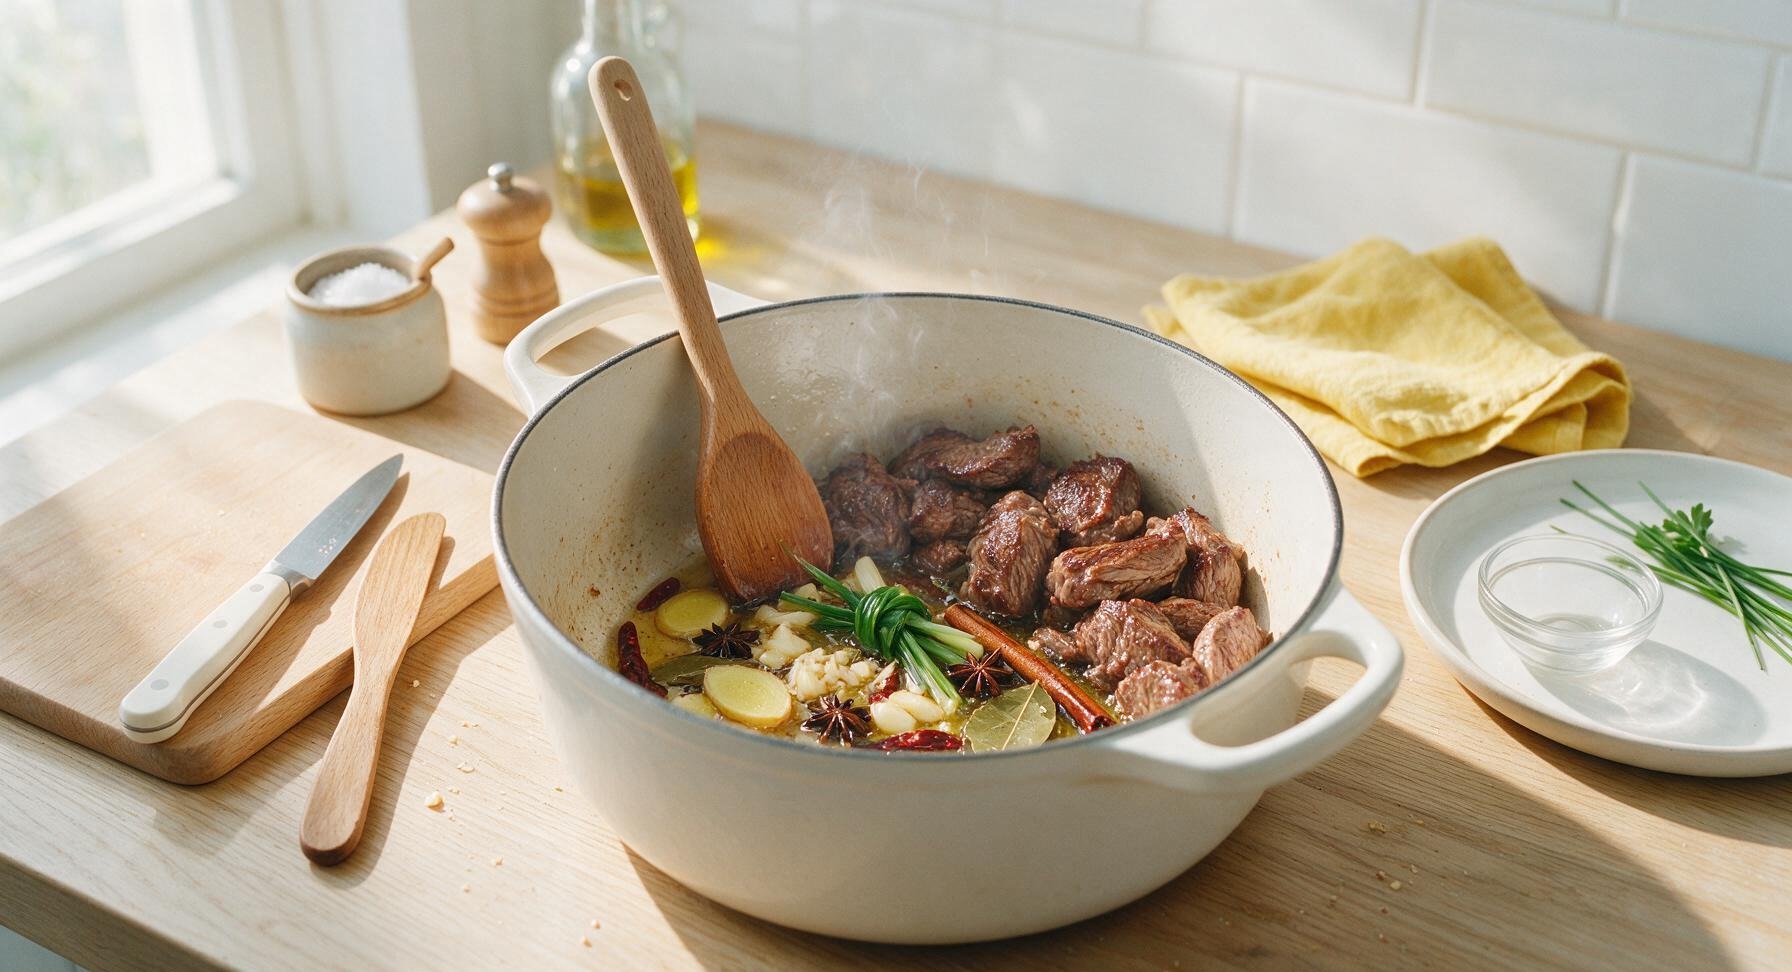
Toast Spices and Aromatics
Once the beef is fully seared, push it to one side of the pot. Tilt the pot to pool the hot oil, add the remaining ginger slices, crushed garlic, tied green onion knot, star anise, cinnamon stick, bay leaves, and dried red chilies (if using). Toast for 30-45 seconds until fragrant, taking care not to burn the spices (burnt star anise will make the broth bitter). Stir gently with the beechwood spoon to coat the aromatics in oil.
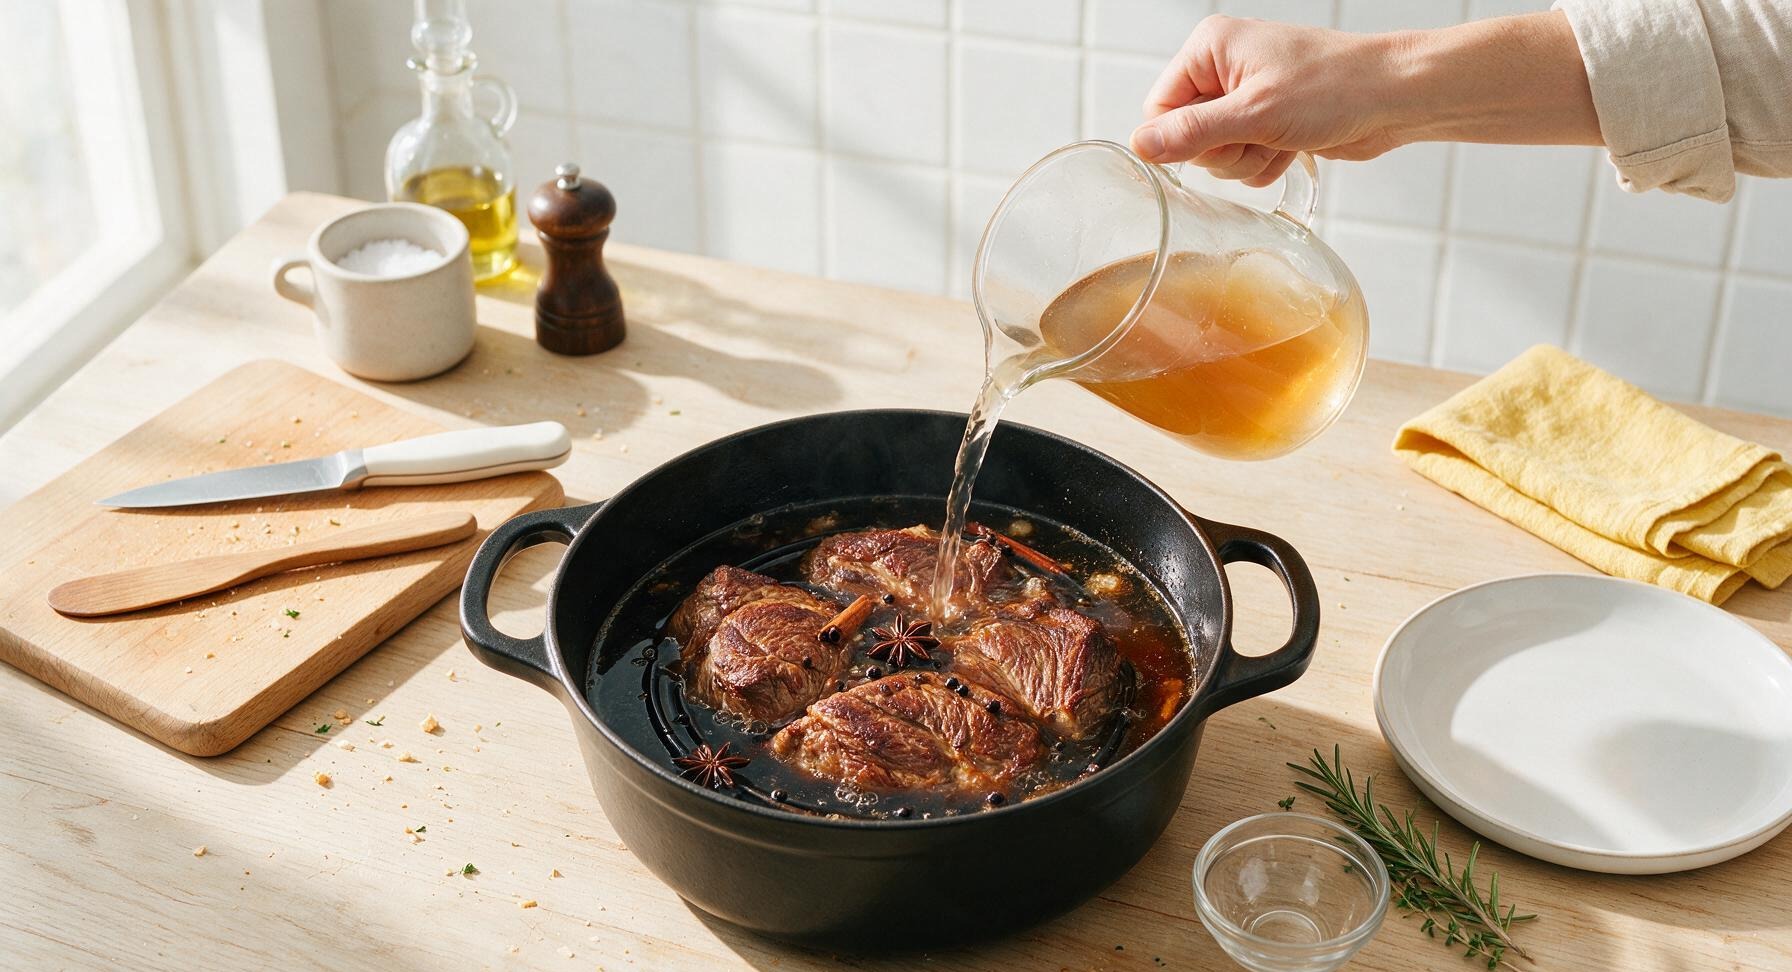
Pour in Braising Liquid
Pour in the light soy sauce, dark soy sauce, and rock sugar, then add enough hot boiling water to cover the beef by 1 inch (do not use cold water, as it will shock the meat and make it tough). Stir gently to dissolve the rock sugar, then bring the entire pot to a gentle simmer. Taste the liquid: it should taste slightly saltier than you want the final beef, as it will reduce and concentrate during cooking; add 1 tsp salt only if needed.
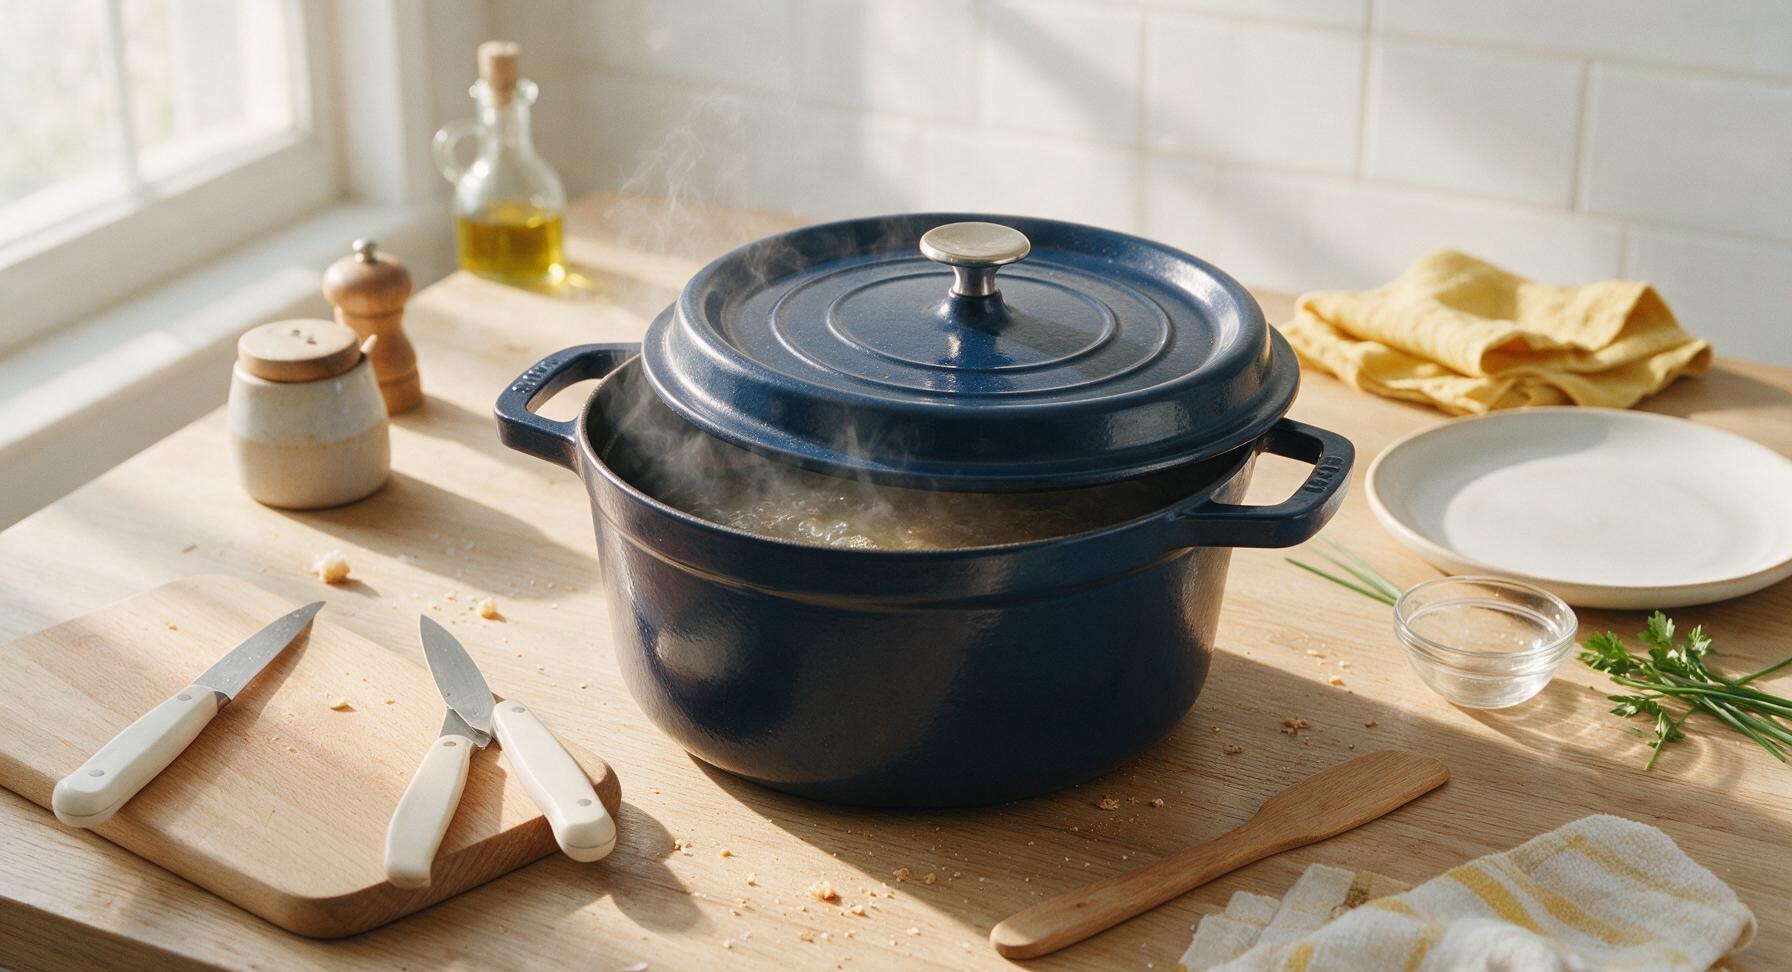
Slow Simmer Until Tender
Once the liquid reaches a gentle simmer (small bubbles breaking every 2-3 seconds, not a rolling boil), turn the heat to the lowest setting, cover the Dutch oven with its lid, and simmer for 2 hours. Turn the beef every 30 minutes using tongs to ensure even cooking and flavor absorption. The beef is done when a chopstick can pierce the thickest part with gentle resistance, no tough crunch when pushed through. Do not boil rapidly, as this will make the beef stringy and tough.
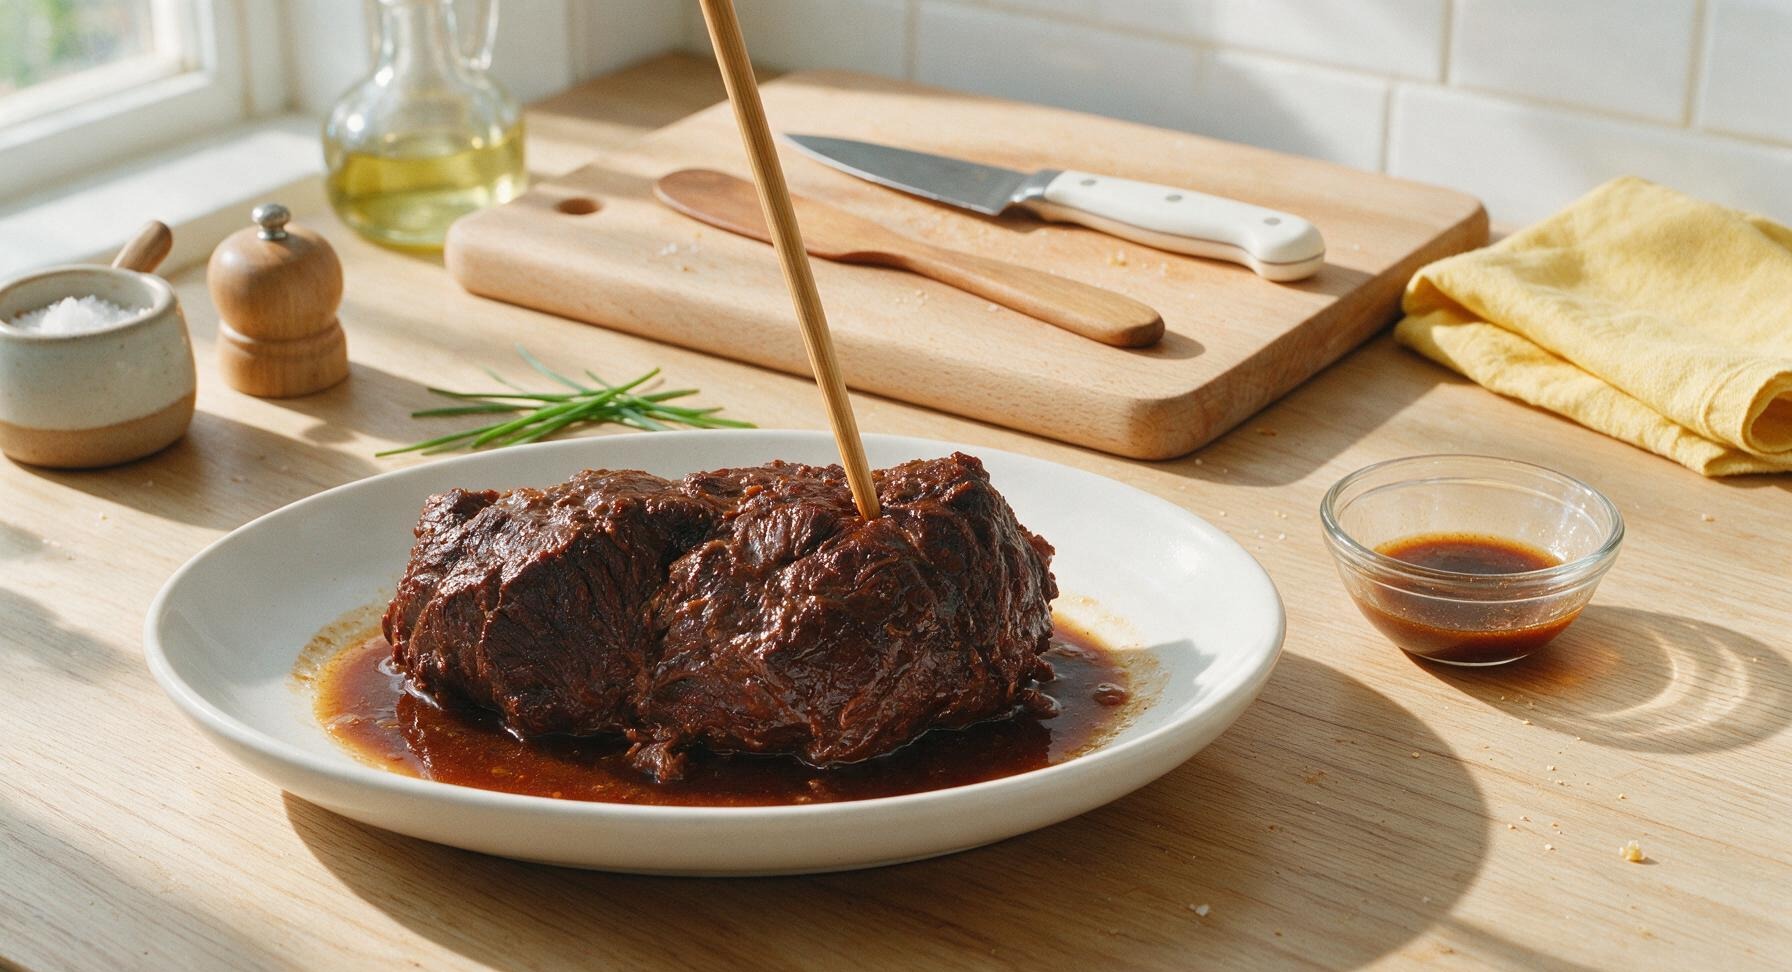
Rest Beef in Liquid
Once the beef is tender, turn off the heat, leave the lid on the pot, and let the beef rest in the braising liquid for a full 30 minutes at room temperature. This rest period allows the meat fibers to reabsorb moisture and flavor, so every slice is juicy instead of dry when cut. For deeper flavor, you can refrigerate the beef in the braising liquid overnight before slicing.
Slice Against the Grain
Lift the rested beef out of the braising liquid, letting excess liquid drip back into the pot, and place it on the acacia wood cutting board. Using the chef knife, slice the beef against the grain into 5mm (1/4 inch) thick even slices. Slicing against the grain shortens the meat fibers for a tender, non-chewy bite; uneven, thick slices will be tougher to eat.
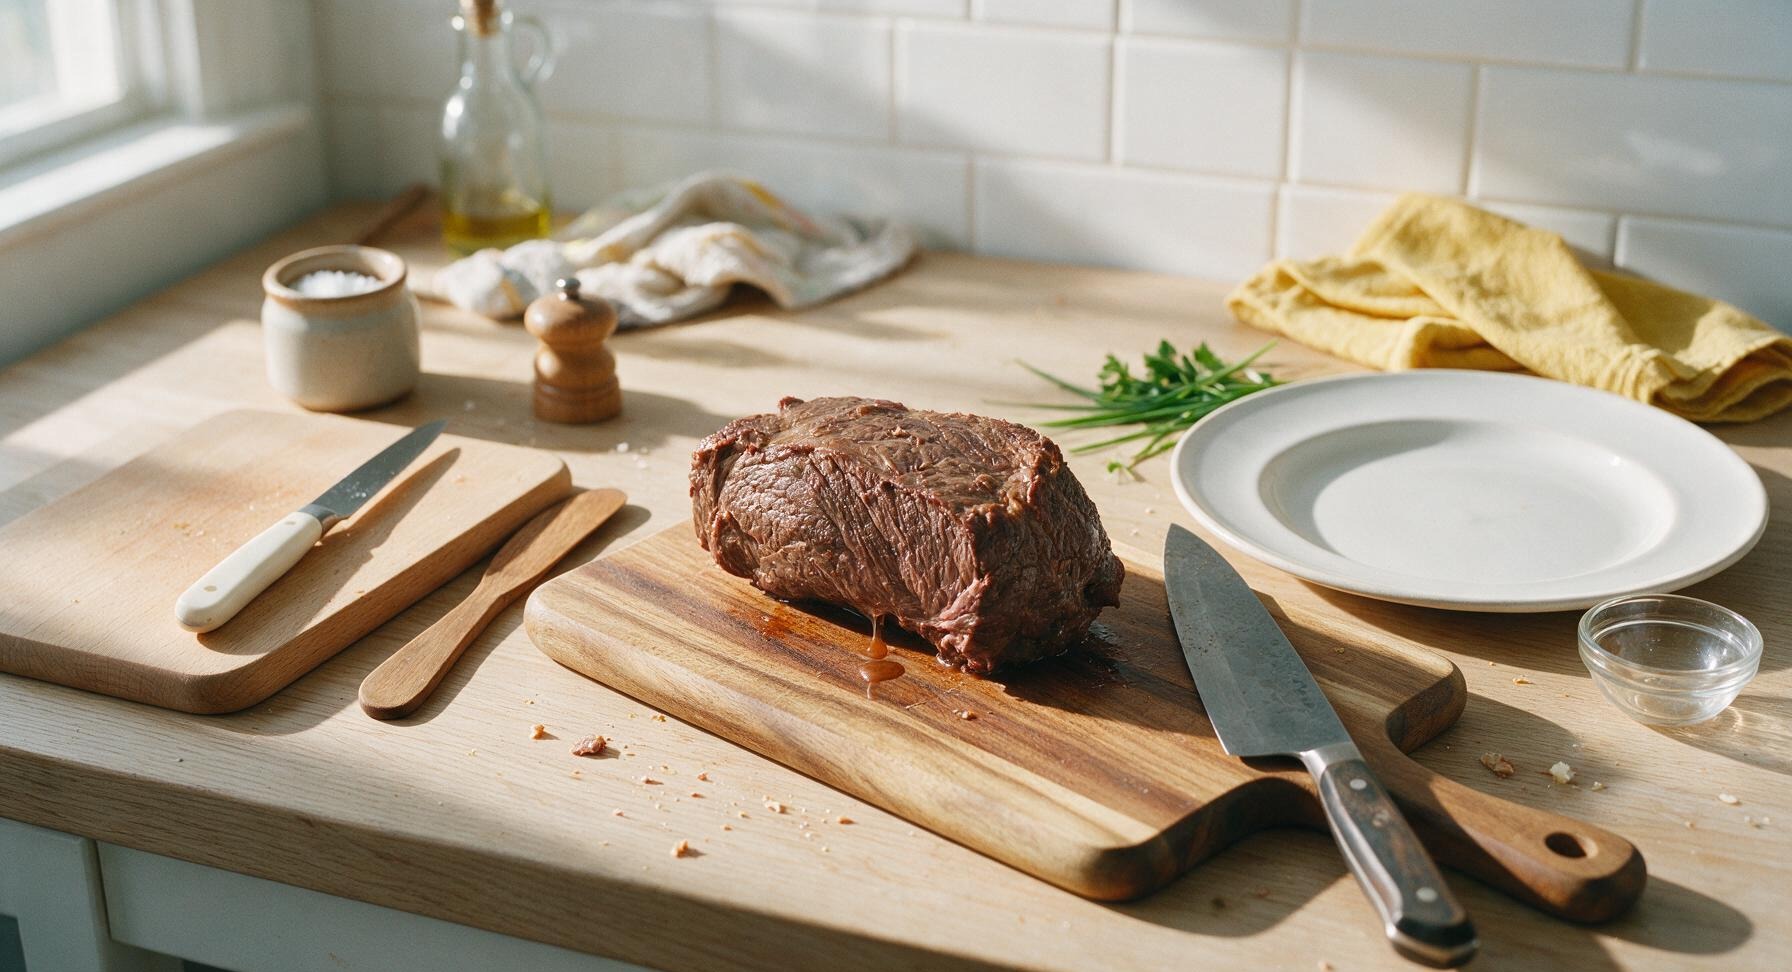
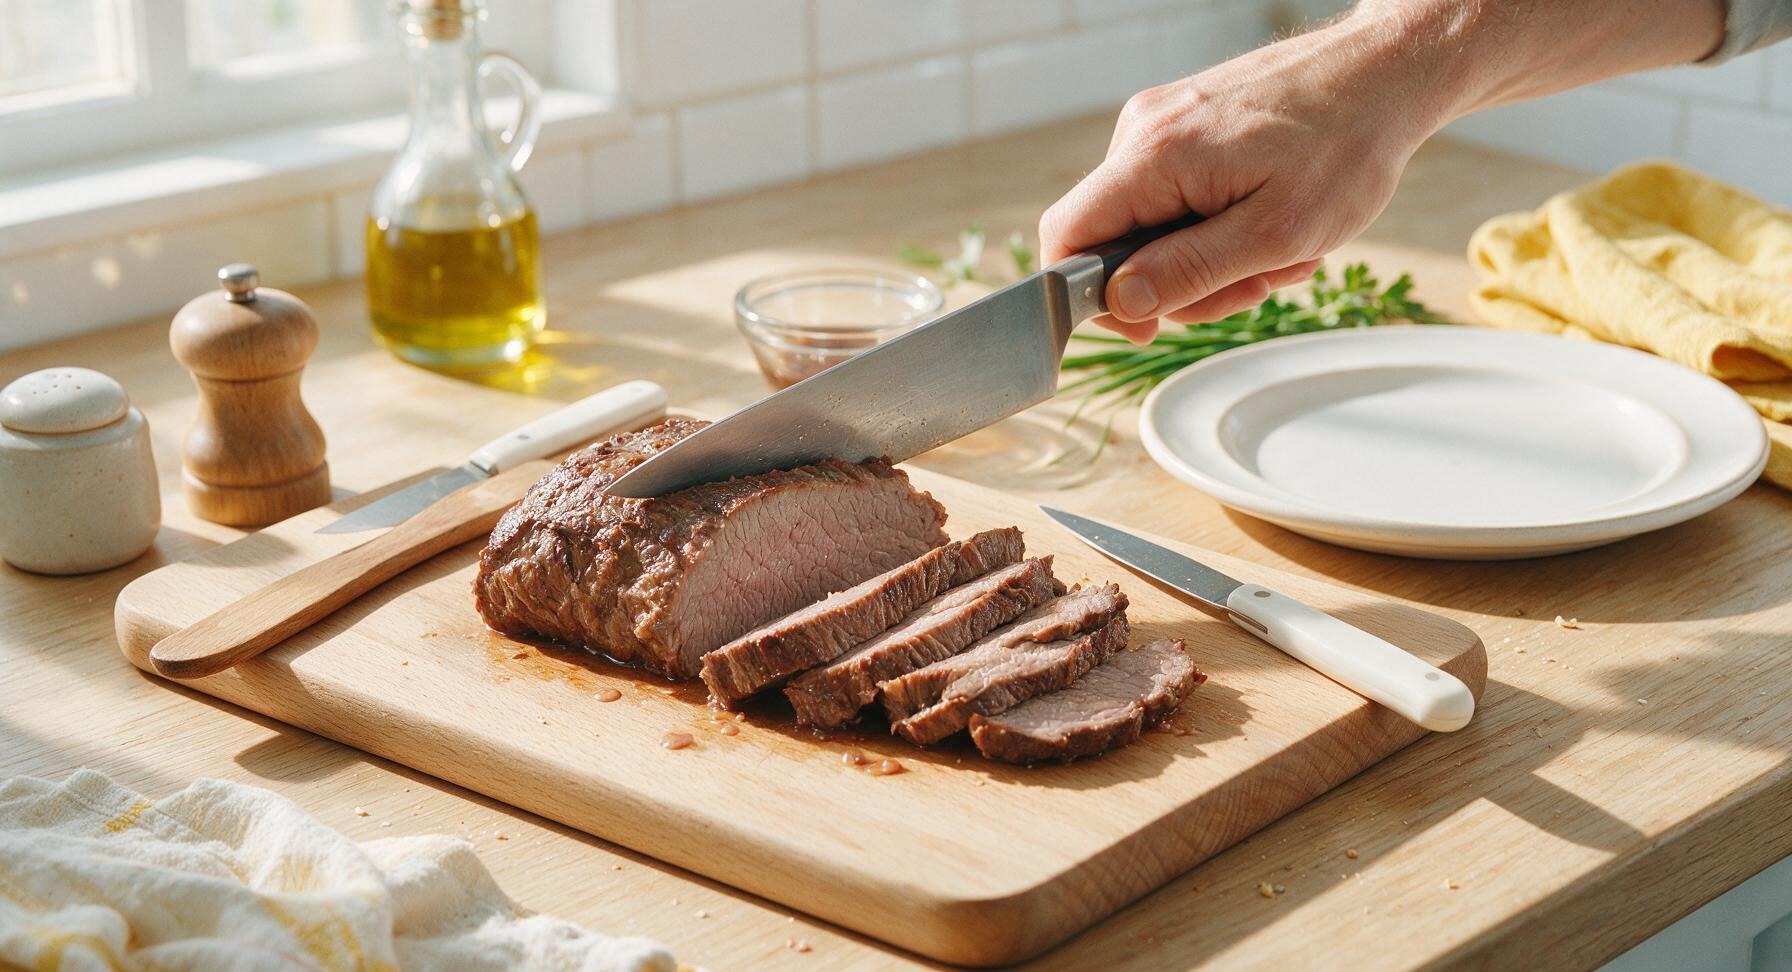
Plate and Serve
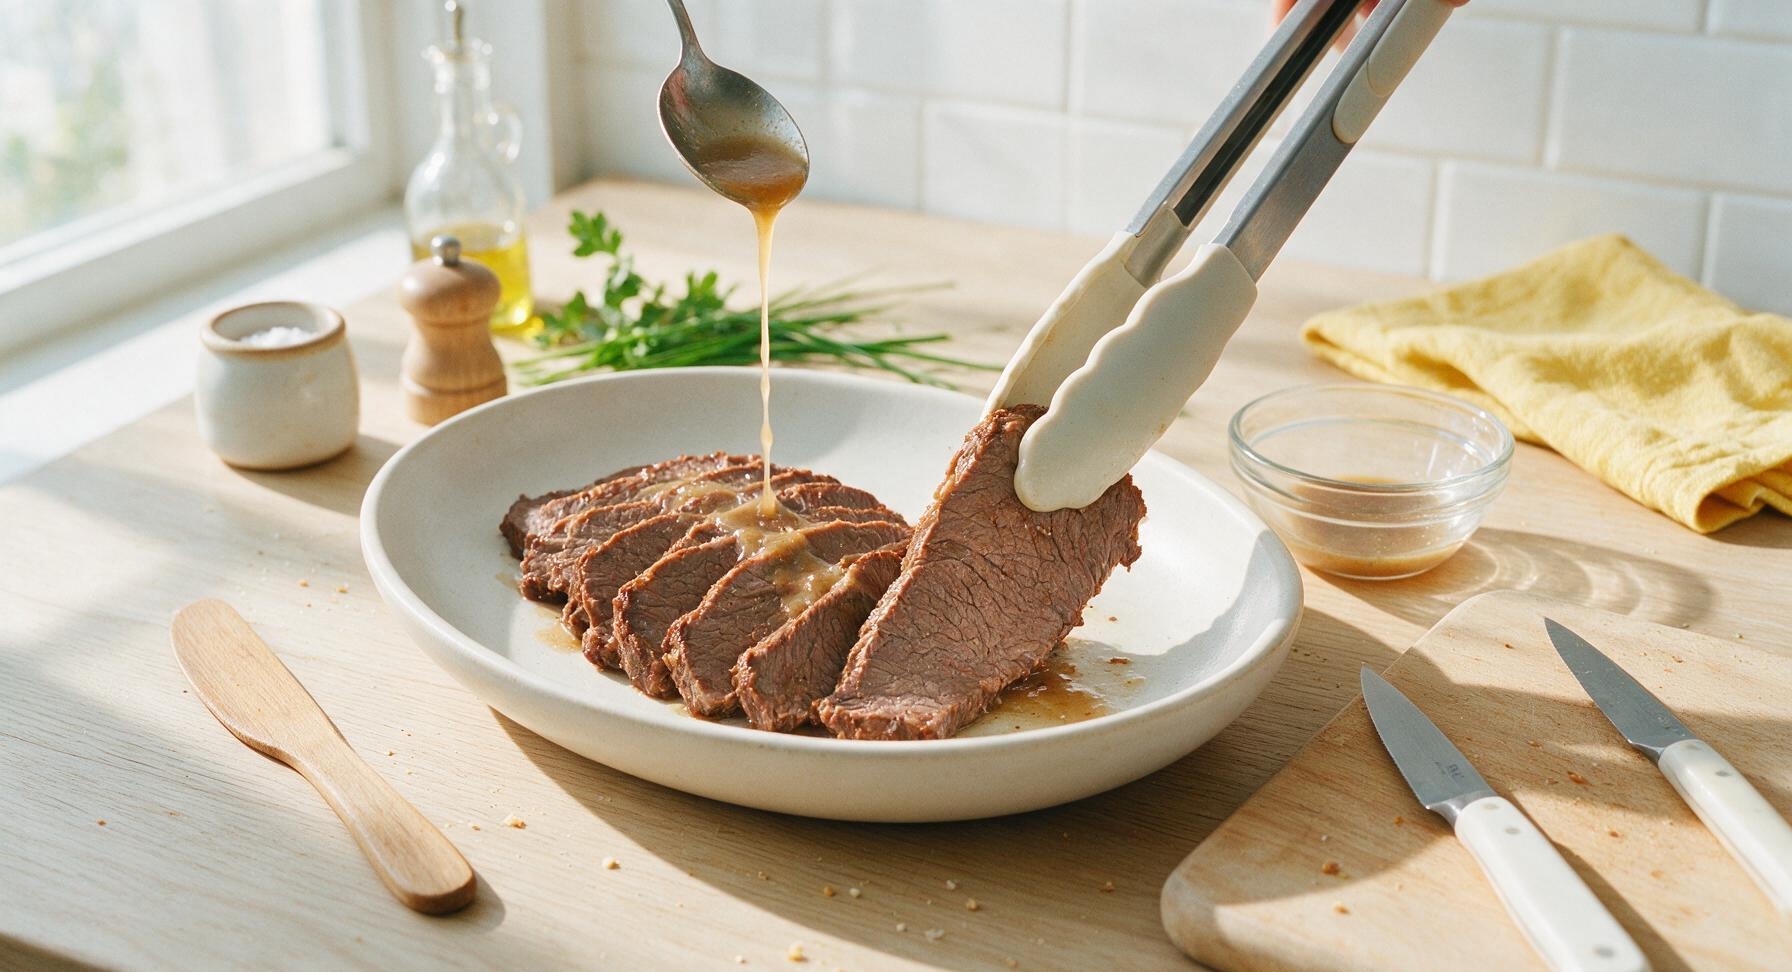
Fan the sliced beef neatly across the matte warm white serving platter. Spoon 2 tablespoons of the strained braising liquid over the top of the slices to add gloss and extra flavor. Serve with a small bowl of chili soy dipping sauce on the side, garnished with a small sprig of fresh thyme if desired. The beef can be served warm, or chilled and sliced thin for cold appetizer servings.
Tips
2.Keep the braise at a gentle, low simmer rather than a rolling boil: violent boiling agitates meat fibers and causes fat to separate too quickly, resulting in tough, stringy beef and a cloudy, greasy braising liquid. Adjust the stovetop heat as needed to maintain only small, occasional bubbles breaking the surface
3.Do not skip the 30-minute rest in the braising liquid after cooking: just like resting a grilled steak, this pause lets tight, heated meat fibers relax and reabsorb flavorful juices, so slices will stay moist instead of leaking all their juice onto the plate when cut. For even deeper flavor, chill the beef in its braising liquid overnight before slicing






OMG this braised beef was an absolute game changer for our Sunday family dinner! The meat was so fall-apart tender I didn’t even need a knife to cut it, and the gravy was perfect over mashed potatoes. My picky 7 year old asked for seconds, which never happens. 10/10 will be making this for our next potluck at church too!
Made this for my weekly meal prep and it held up so well all week! Only reason I’m not giving 5 stars is I think I over-salted the broth a tiny bit, but that was totally my bad. The beef was still super tender even after reheating in the microwave for lunch every day. Great recipe for folks who don’t have a ton of fancy cooking equipment.
I’ve been making braised beef for 40+ years and this recipe is hands down better than my old go-to! The blend of aromatics is just perfect, not too heavy on the soy or star anise like a lot of versions I’ve tried. My grandkids practically licked their plates clean.
Cooked this up after a long weekend of camping and it was the coziest meal ever. Pro tip: toss in some extra carrots and potatoes the last 45 minutes of braising so you don’t have to make separate sides! Saved me so much cleanup.
Made this for date night with my girlfriend and she was super impressed! Only note is that 2 hours 20 minutes felt a touch long on my stovetop — my meat got a little more tender than I wanted at the 2 hour mark, so I’d recommend checking it early if you have a gas range that runs hot. Flavor was 10/10 though, will make again.
Brought this to my office potluck yesterday and people were lining up for seconds before everyone even got through the first serving line! I served it over egg noodles and it was a total hit. Even the guy who never brings anything to work events asked me for the recipe.
First time attempting a slow braised meat dish and I’m a little stressed! I’m 40 minutes into the cook time and the liquid is bubbling way harder than I thought it should — is it supposed to be at a hard boil the whole time? I don’t want to ruin the meat!
This is such a great budget-friendly meal! I got a chuck roast on sale for $12 and it fed my family of 4 for two nights, plus I had leftover beef to make sandwiches for lunch the next day. The flavor tastes like something you’d pay $30 for at a restaurant, no lie.
Made this between my kid’s soccer games on Saturday and it was so easy to just let it braise low and slow while I ran errands. Walked back in the house and the whole place smelled incredible. Served it with roasted broccoli and rice, everyone cleaned their plates. Zero complaints, even from my teen who hates everything.
Has anyone tried freezing this after cooking? I’m stocking my freezer ahead of the baby coming and this seems like the perfect post-baby meal that I can just thaw and reheat without a ton of work.
Loved the texture of the beef, but I wished it had a little more kick! Next time I make it I’m going to toss in a diced jalapeño and a pinch of red pepper flakes to give it some extra heat. The base recipe is super solid though, easy to tweak to your taste preferences.
Just pulled this out of the oven and my dog has been camped out by the kitchen door for the last hour because the smell is so good. I snuck a tiny bite and it’s even better than I imagined — so rich and savory, the beef just pulls apart with a fork. Can’t wait to dig in for dinner tonight!
I live in a tiny studio apartment and I was worried this would make my whole place smell like braised beef for days, but it was so worth it. The smell dissipated by the next morning, and I had enough leftovers to skip takeout for 3 nights. Only thing I messed up was I didn’t brown the beef well enough first, so the color was a little pale, but flavor was still chef’s kiss.
This recipe is going straight into our permanent Sunday supper rotation! I served it with buttermilk biscuits to soak up all the delicious gravy, and my husband said it’s better than the braised beef his grandma used to make. That’s the highest possible compliment in our house.
So happy this recipe is naturally gluten free as long as you use tamari instead of regular soy sauce! I have celiac and it’s so hard to find cozy comfort food recipes that don’t require a million substitutions to be safe for me to eat. This was absolutely delicious, no weird aftertaste from the tamari at all.
I spent 20 years working in restaurants and I’m pretty picky about braised beef — a lot of home recipes cut corners on the searing step or skimp on aromatics, but this one nails it. Perfect balance of flavors, the cook time is spot on for that fork-tender texture without the meat turning mushy. Well done, this is a fantastic home-style recipe.