
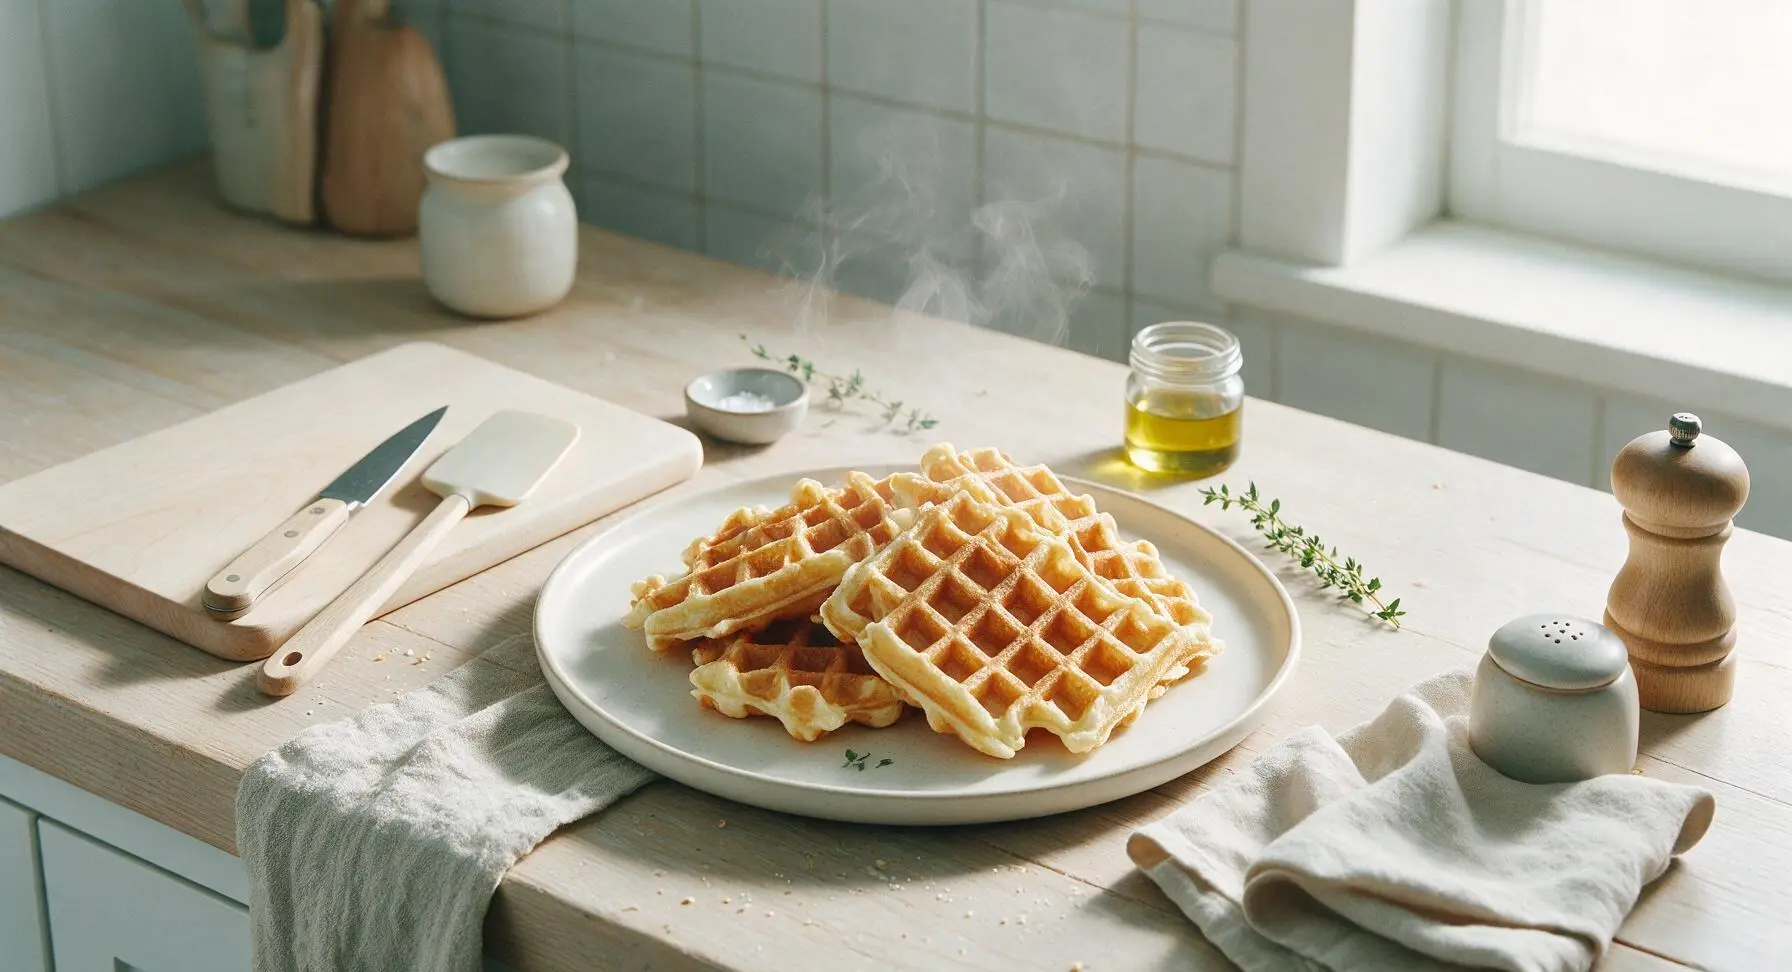
cooking waffles

title 1
cooking waffles
⏱️ cook time 15 minutes
🍽️ servings 4
⚡ Difficulty easy

intro

Crisp golden edges, light fluffy interiors, and a subtle buttermilk tang—these homemade waffles are a cozy, quick meal perfect for pairing with butter, maple syrup, or fresh fruit.

Ingredients
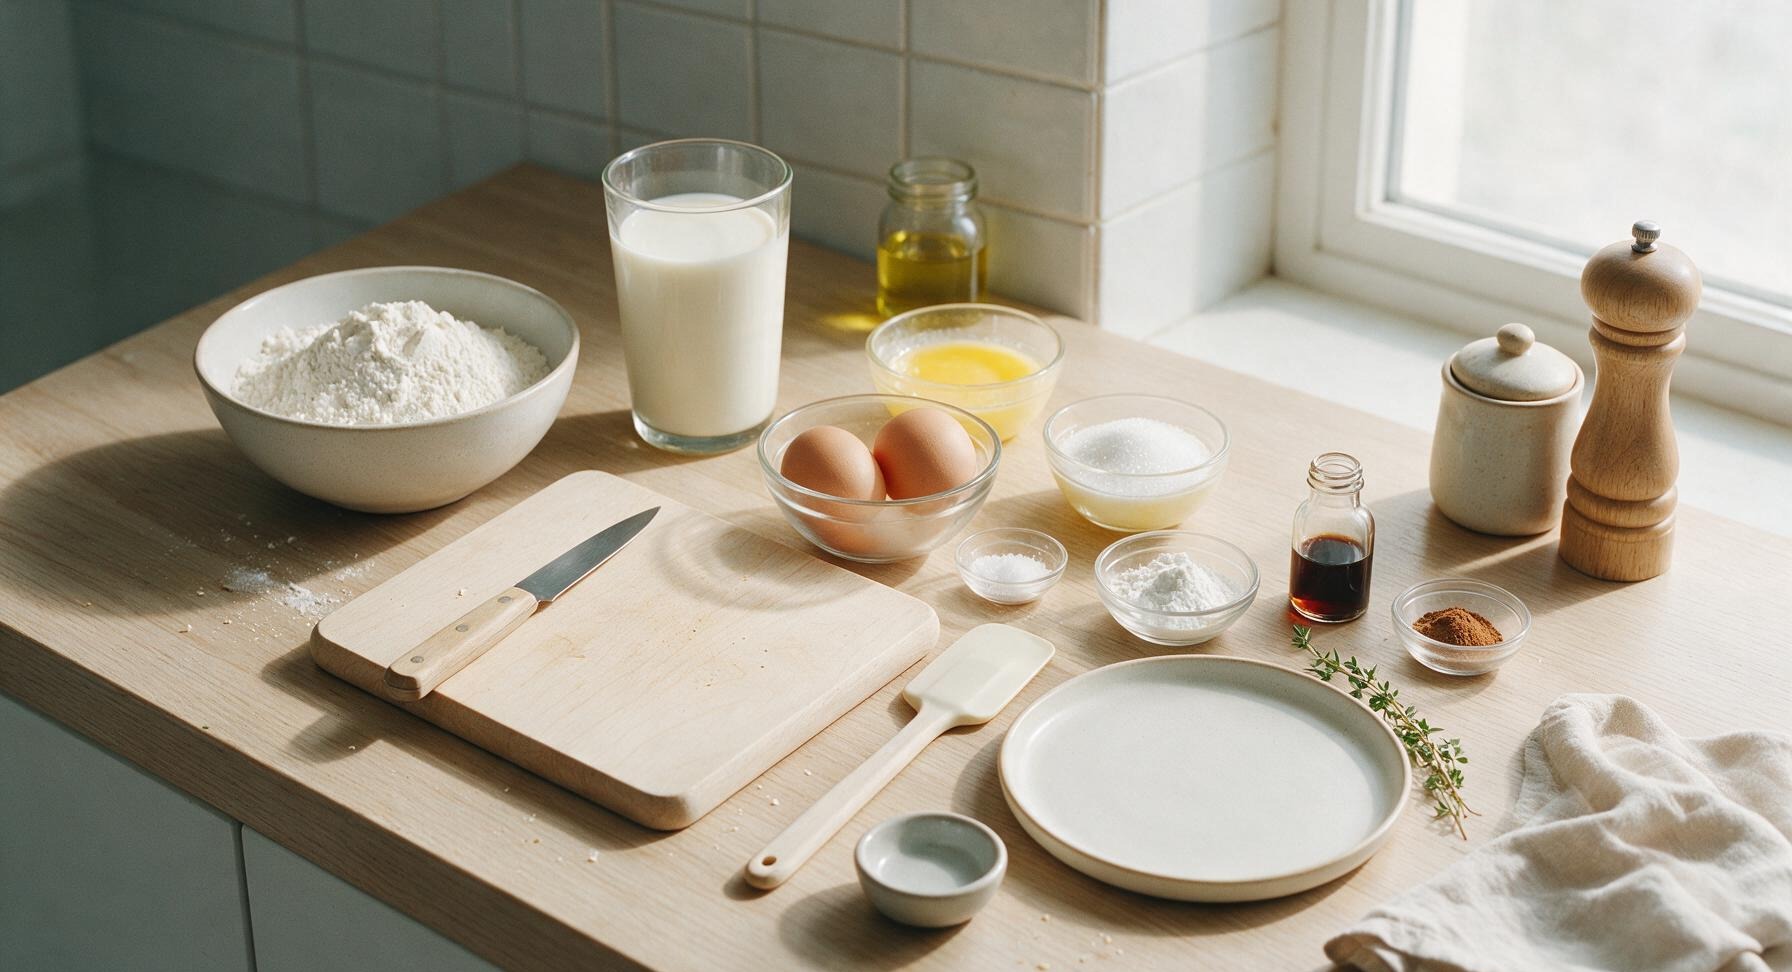
All-purpose flour 2 cups (240g)
Buttermilk 1 3/4 cups (420ml)
Large eggs 2 whole
Unsalted butter 1/3 cup (75g), melted and cooled
Granulated sugar 2 tbsp (25g)
Baking powder 2 tsp
Fine sea salt 1/2 tsp
Pure vanilla extract 1 tsp
Ground cinnamon 1/4 tsp

Steps

1

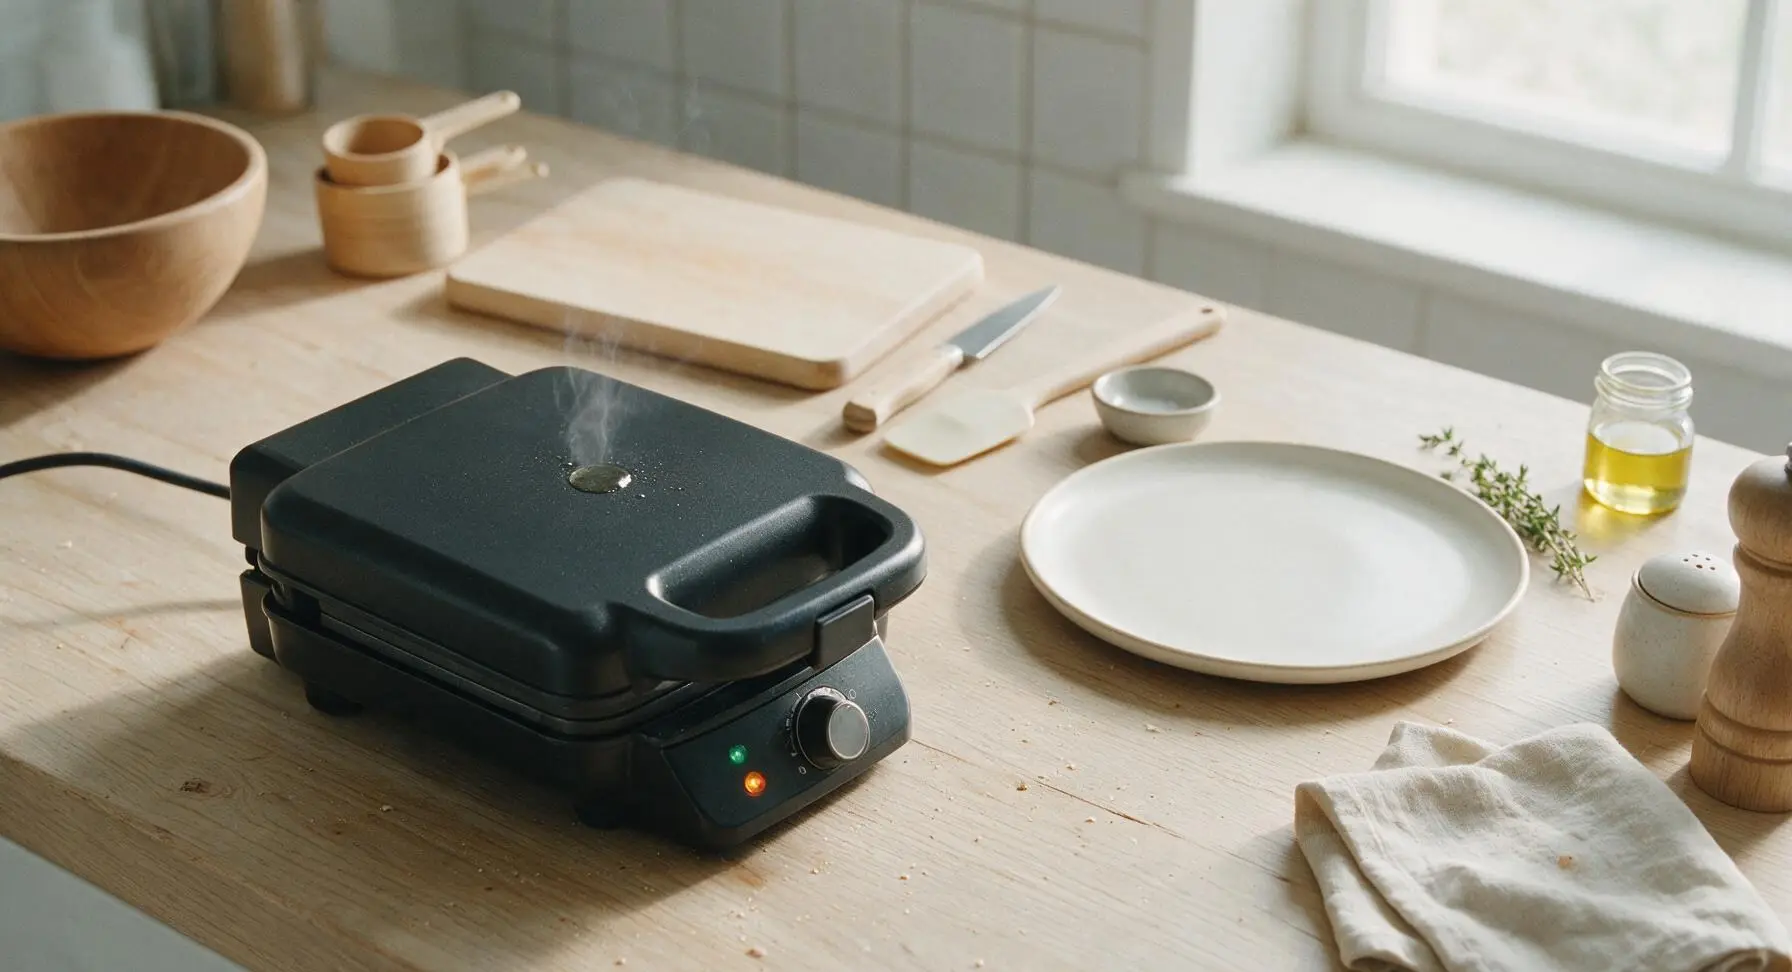
Preheat Waffle Maker

Plug in the matte black non-stick waffle maker and preheat to the medium-high setting (375°F/190°C). Let it heat for 3-4 minutes until the built-in ready indicator light illuminates; test the temperature by dropping a single tiny drop of water on the plate—it should sizzle and dance across the surface immediately. No additional grease is needed for high-quality non-stick waffle plates.
Step 1
step1:Preheat Waffle Maker
2

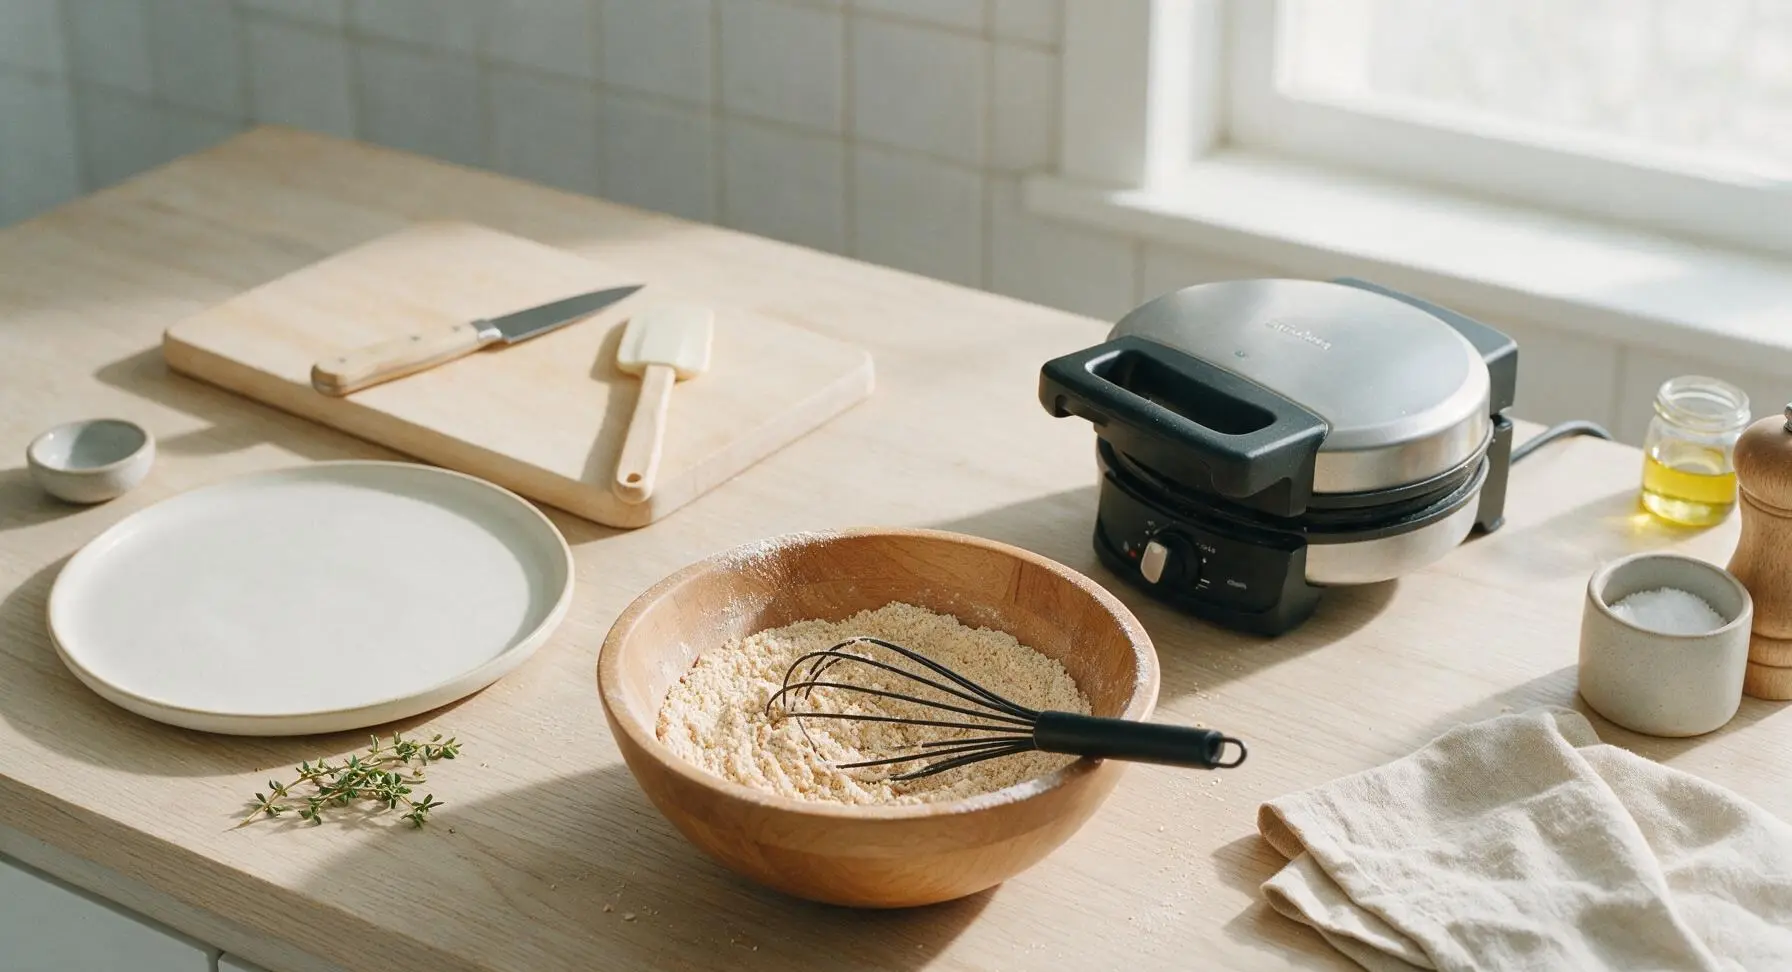
Whisk Dry Ingredients

Add the 2 cups all-purpose flour, 2 tbsp granulated sugar, 2 tsp baking powder, 1/2 tsp fine sea salt, and 1/4 tsp ground cinnamon to the honey beech wood mixing bowl. Use the matte black stainless steel wire whisk to stir the dry ingredients for 30 seconds until evenly combined, with no visible clumps of baking powder or cinnamon streaks.
Step 2
step2:Whisk Dry Ingredients
3

Add Wet Ingredients

Make a 4-inch wide well in the center of the whisked dry ingredients in the beech wood mixing bowl. Crack the 2 large eggs into the well, then pour in the 1 3/4 cups buttermilk, cooled melted unsalted butter, and 1 tsp vanilla extract. Do not stir the ingredients at this stage.
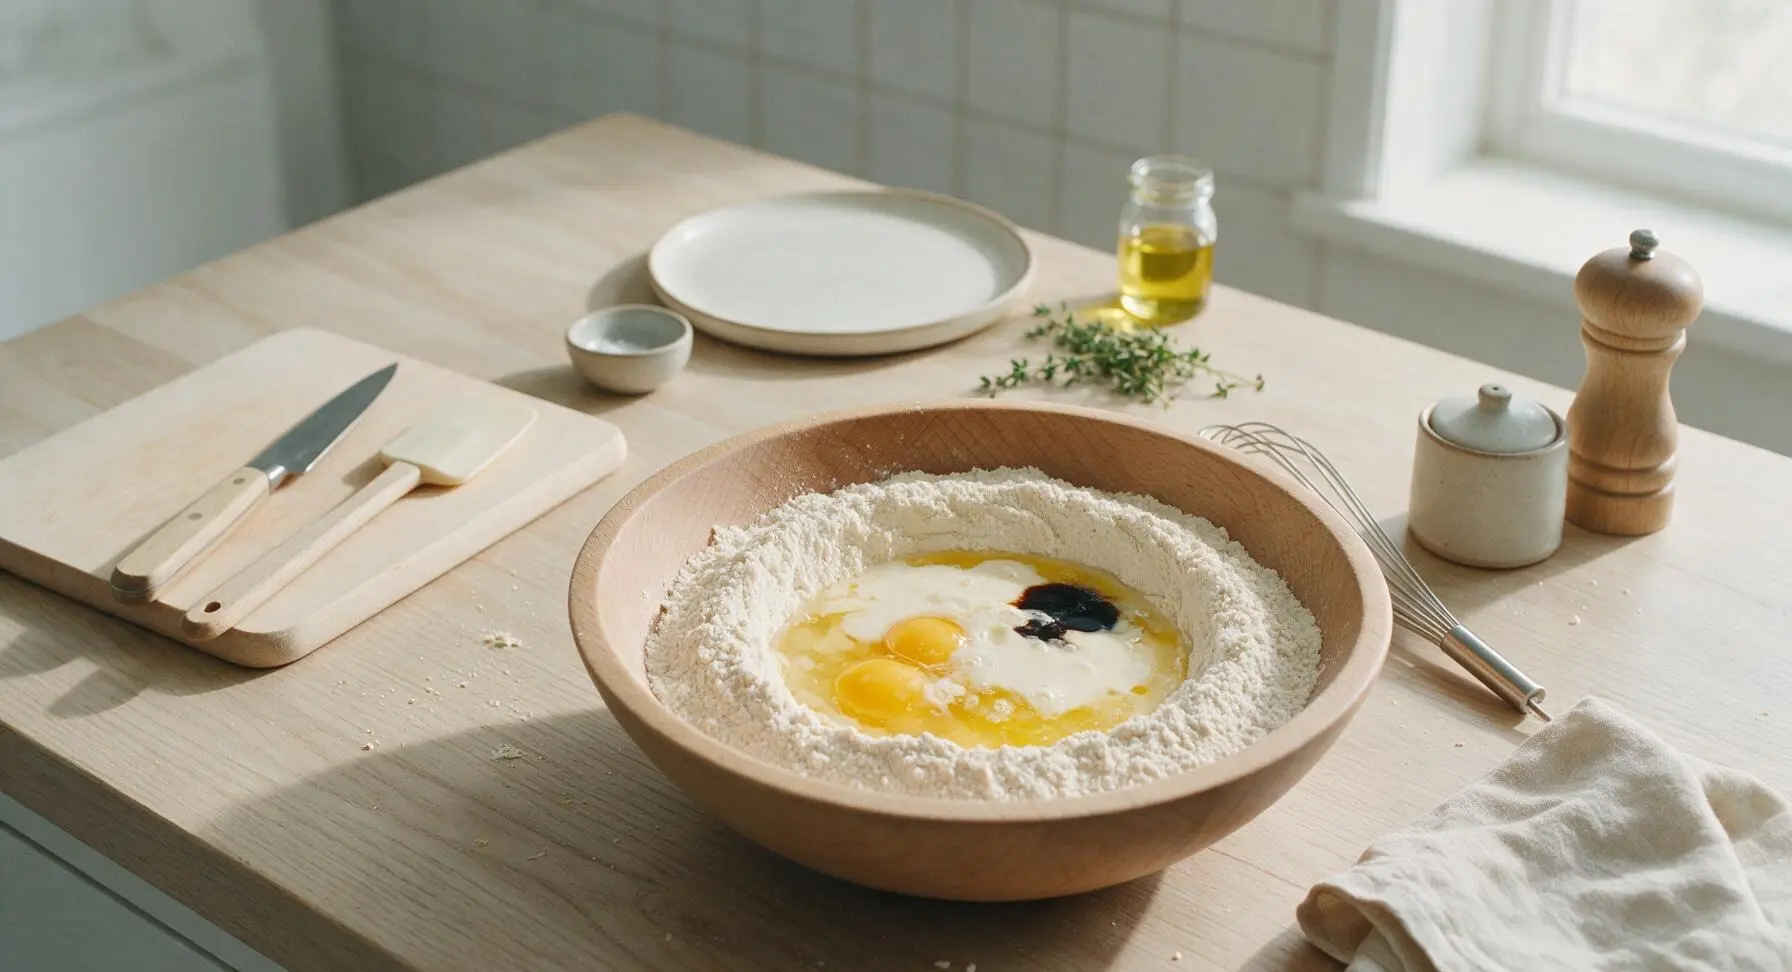
Step 3
step3:Add Wet Ingredients
4

Mix Waffle Batter

Use the matte black wire whisk to gently stir the wet and dry ingredients together, mixing only just until no large dry flour streaks remain. Stop stirring as soon as the batter comes together; the final batter should be thick and slightly lumpy, with small pea-sized flour lumps visible. Overmixing will develop gluten and create tough, dense waffles. Let the batter rest for 5 minutes at room temperature to activate the baking powder; small air bubbles will appear across the batter surface when ready.
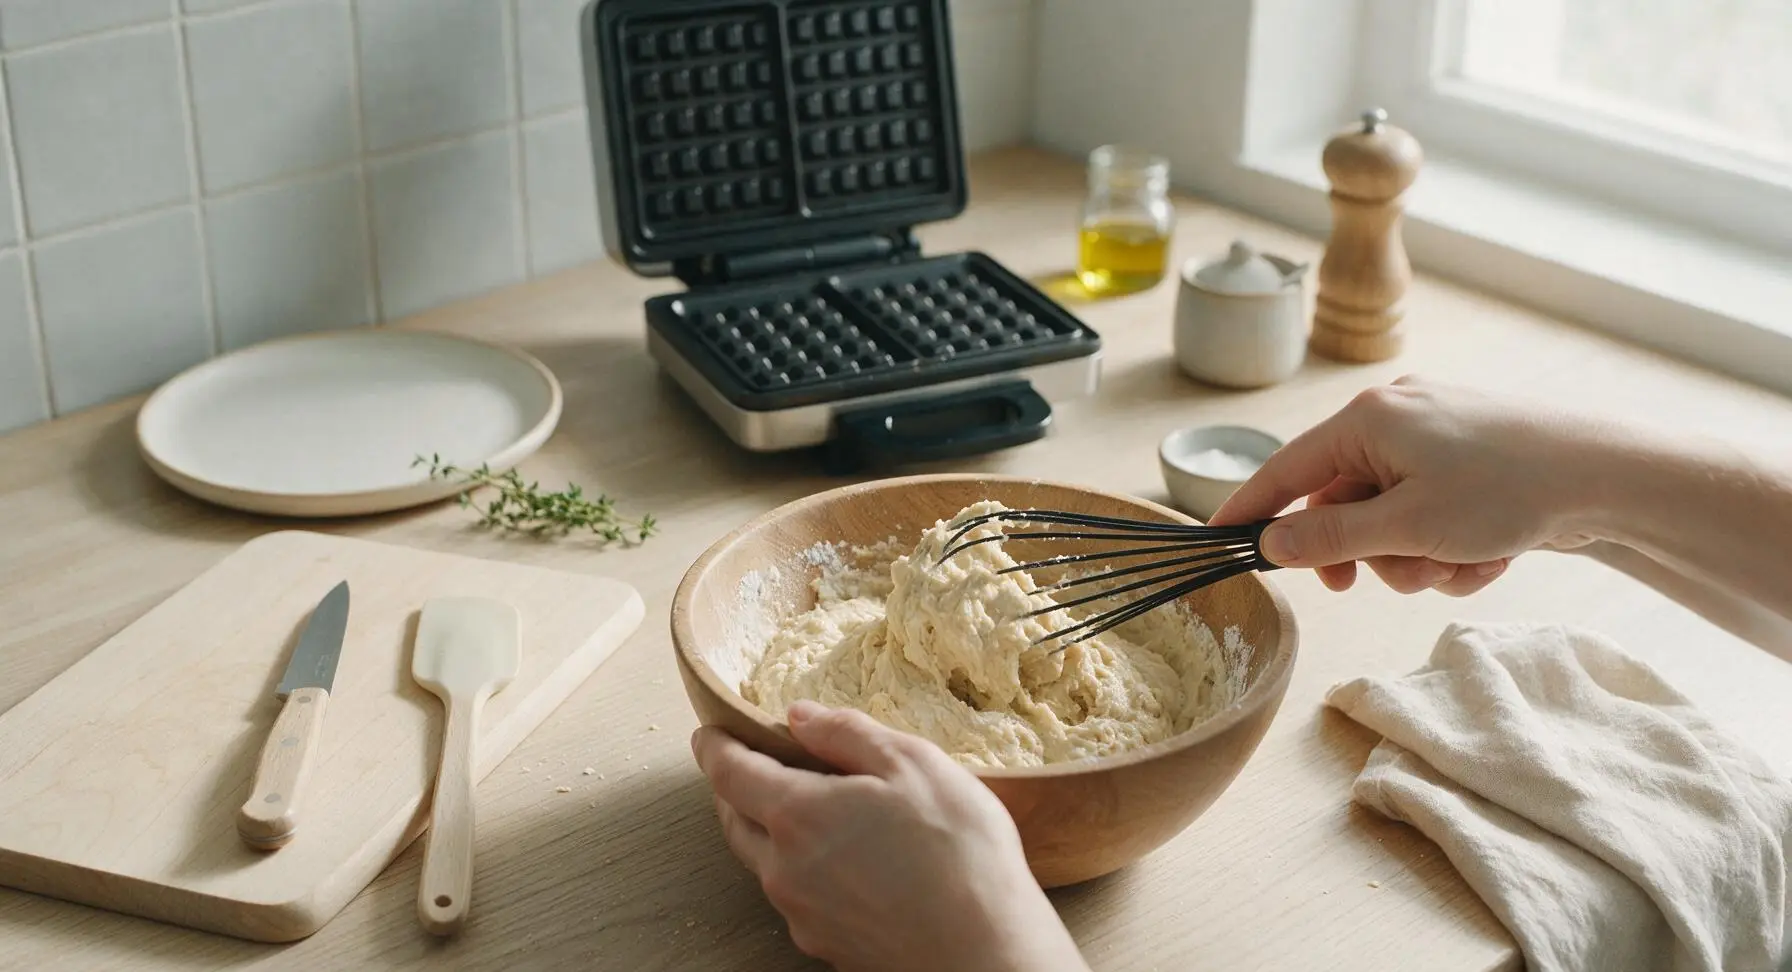
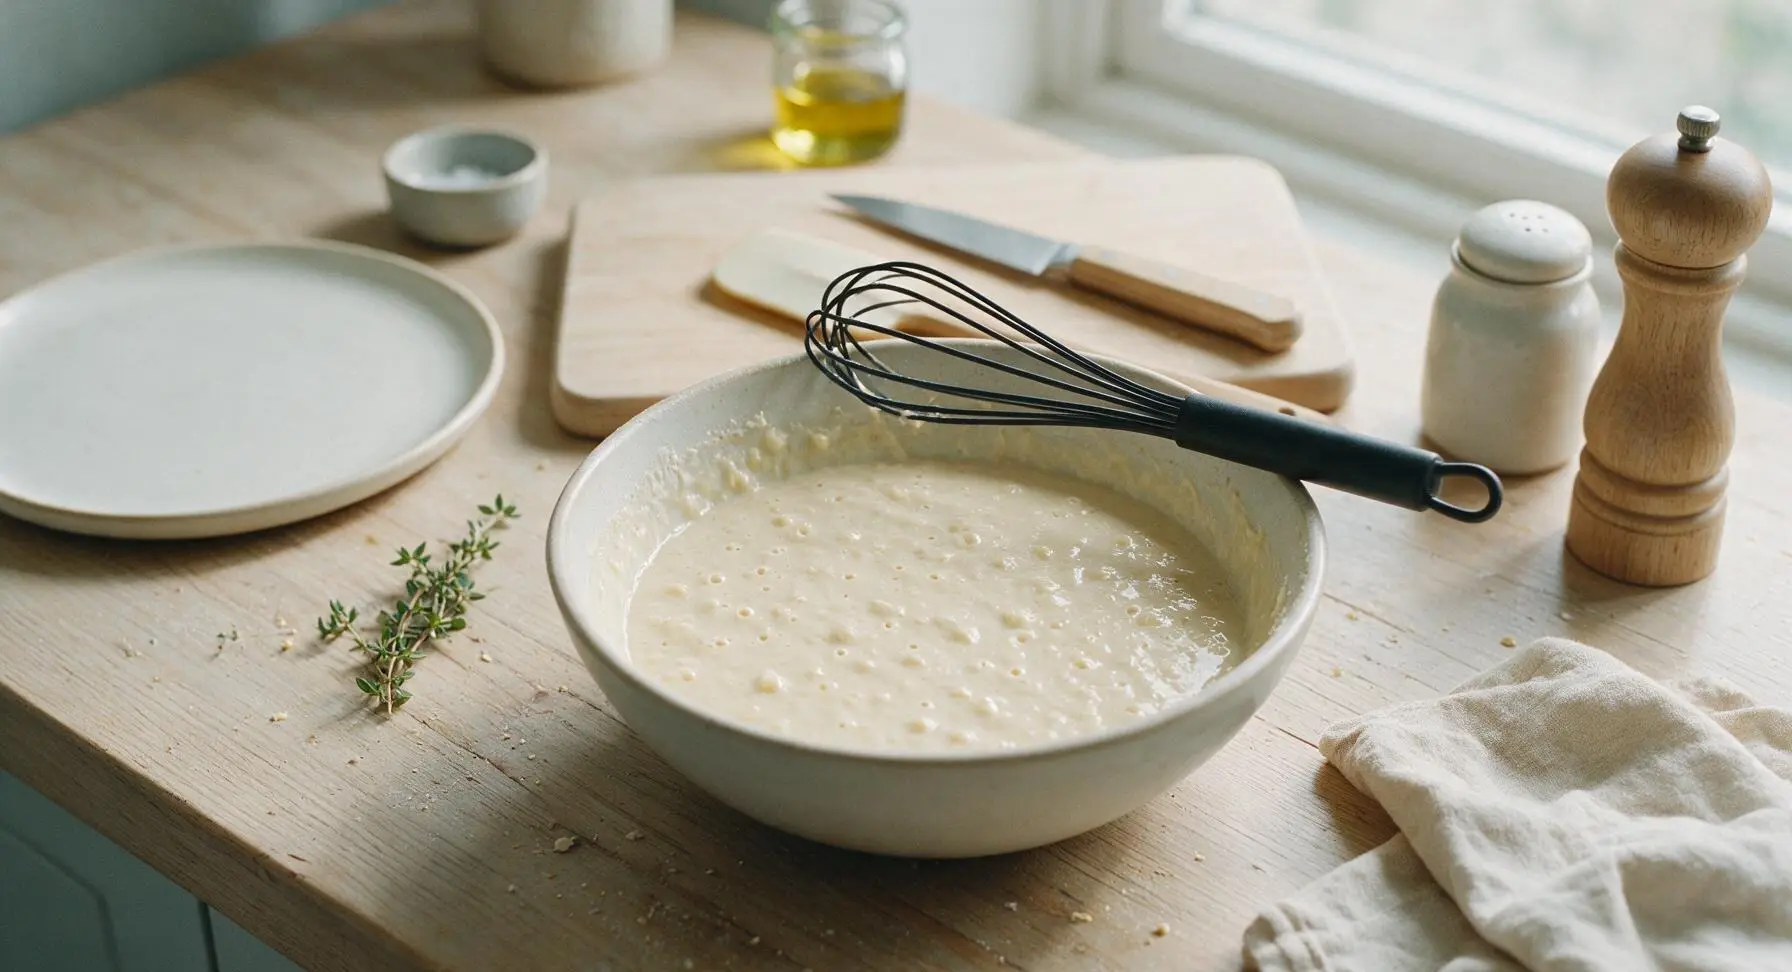
Step 4
step4:Mix Waffle Batter
Step 4
step4:Mix Waffle Batter
5

Pour Batter Onto Iron

Use the 1/2 cup stainless steel measuring cup to scoop 1/2 cup of rested batter, pouring it directly onto the exact center of the preheated waffle maker’s lower plate. Do not spread the batter—it will spread evenly across the plate when the lid is closed. Latch the waffle maker lid closed immediately after pouring.
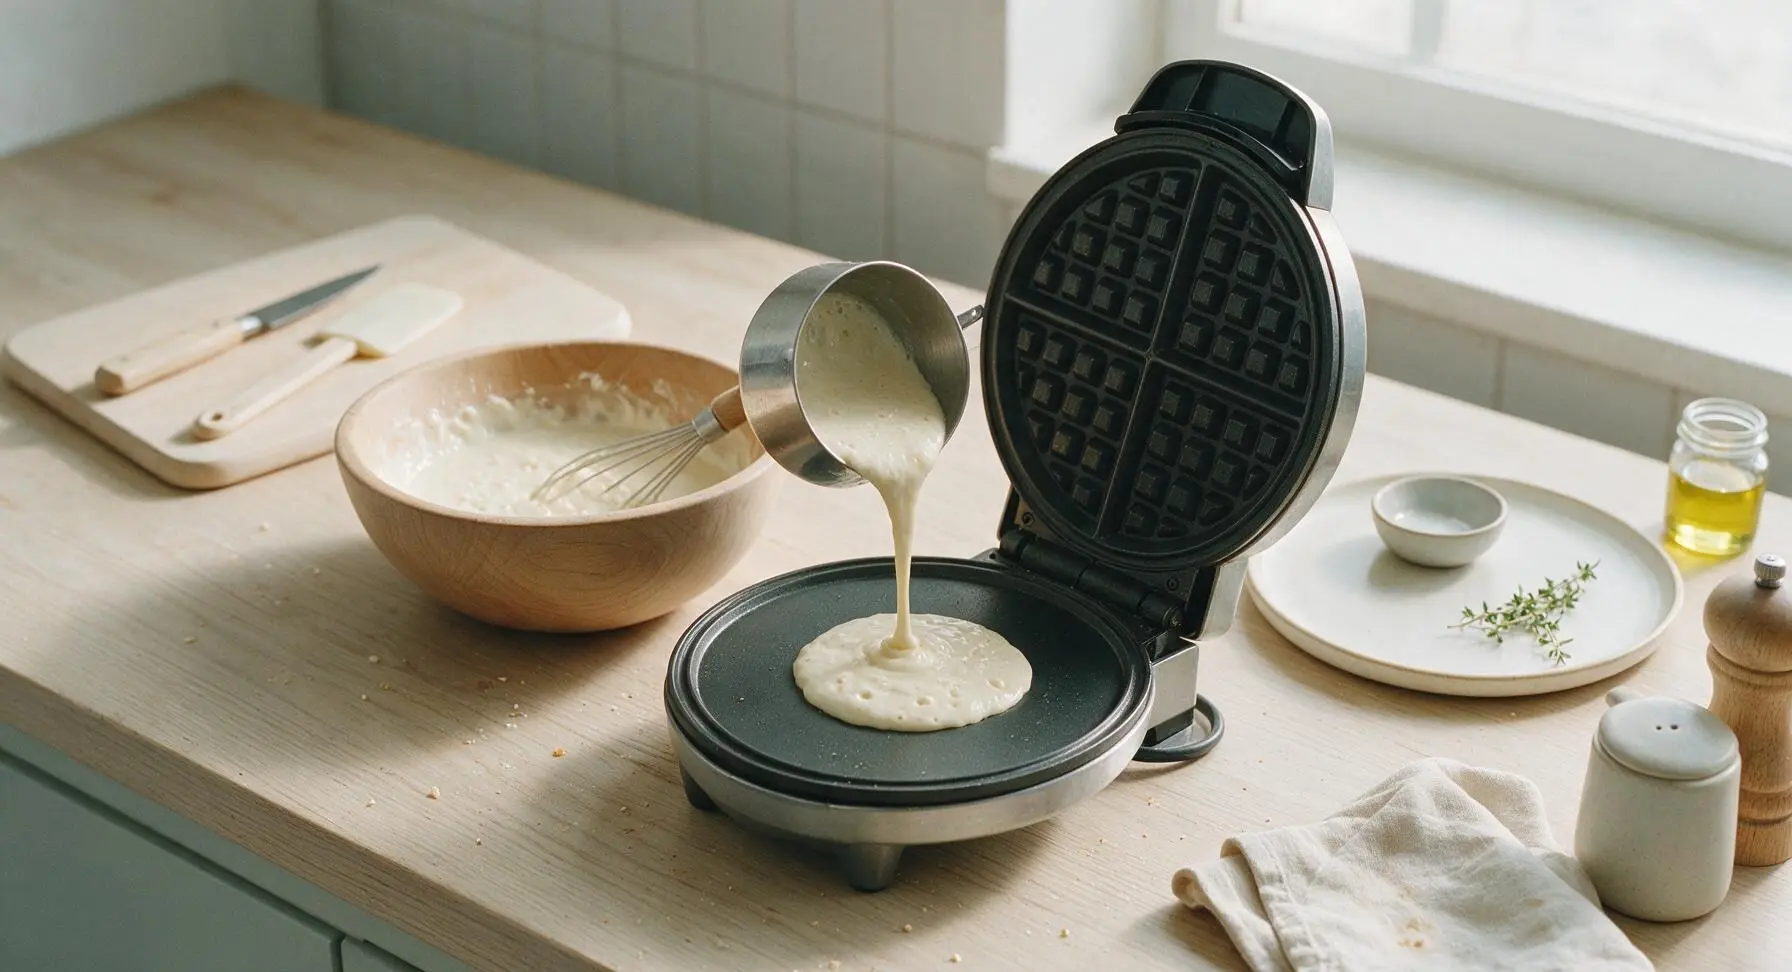
Step 5
step5:Pour Batter Onto Iron
6

Cook Until Golden

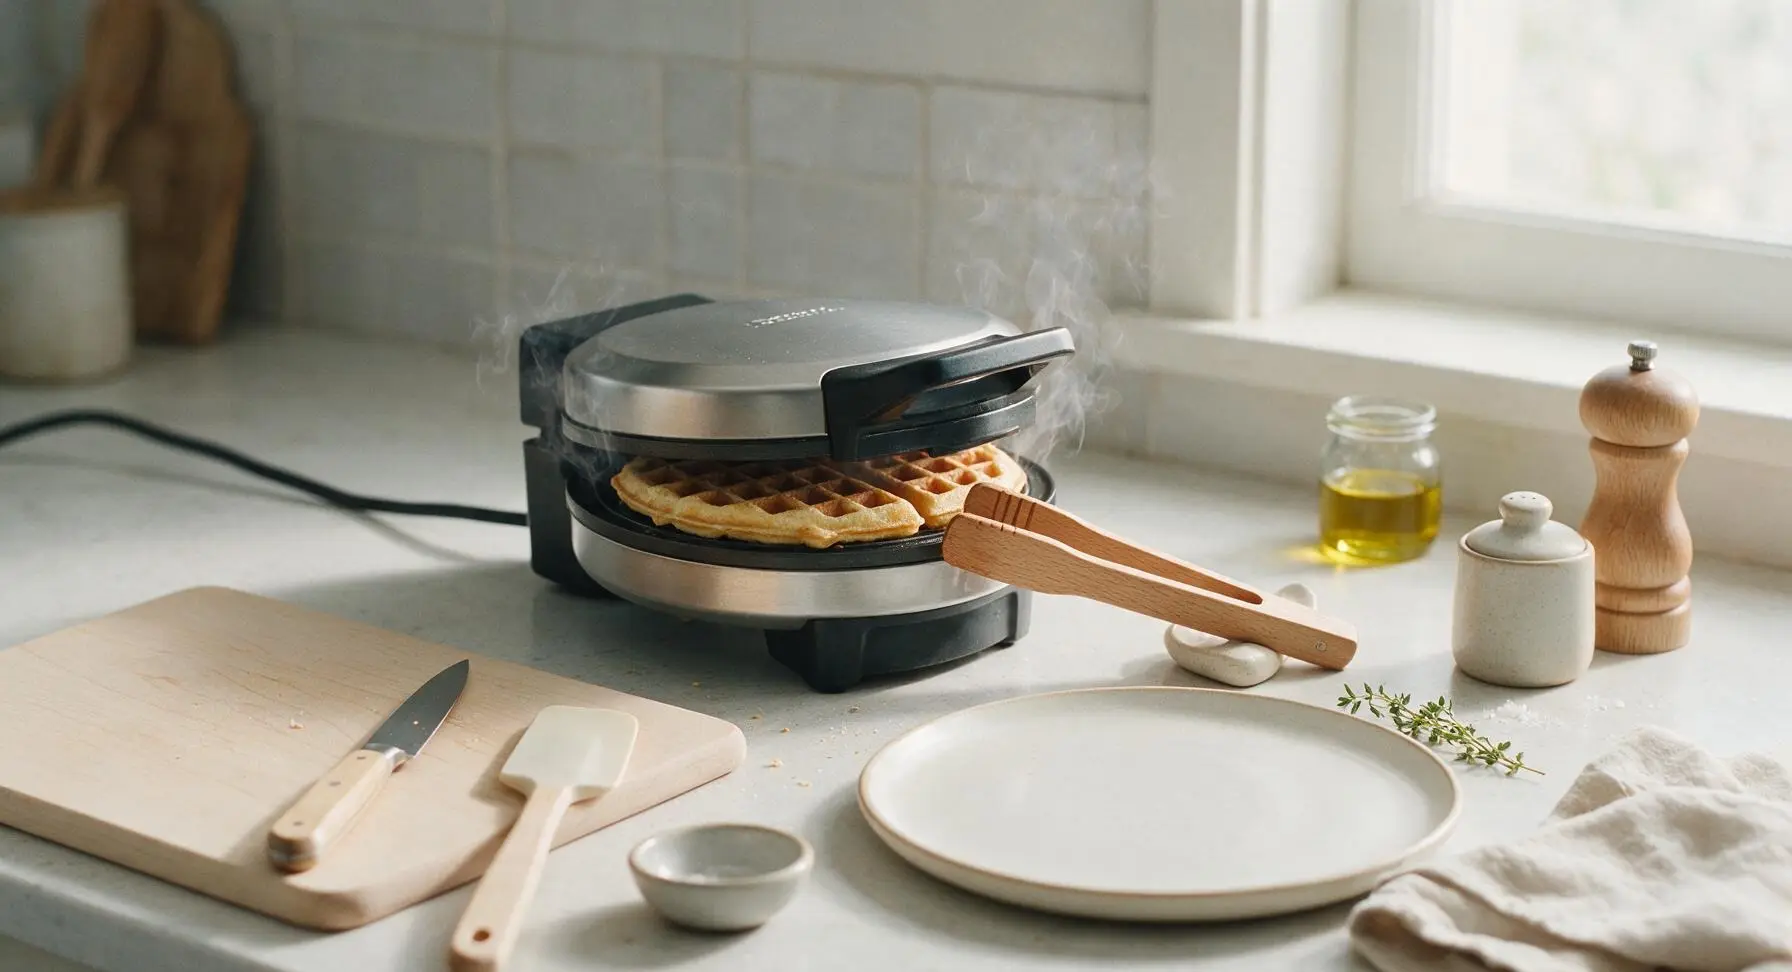
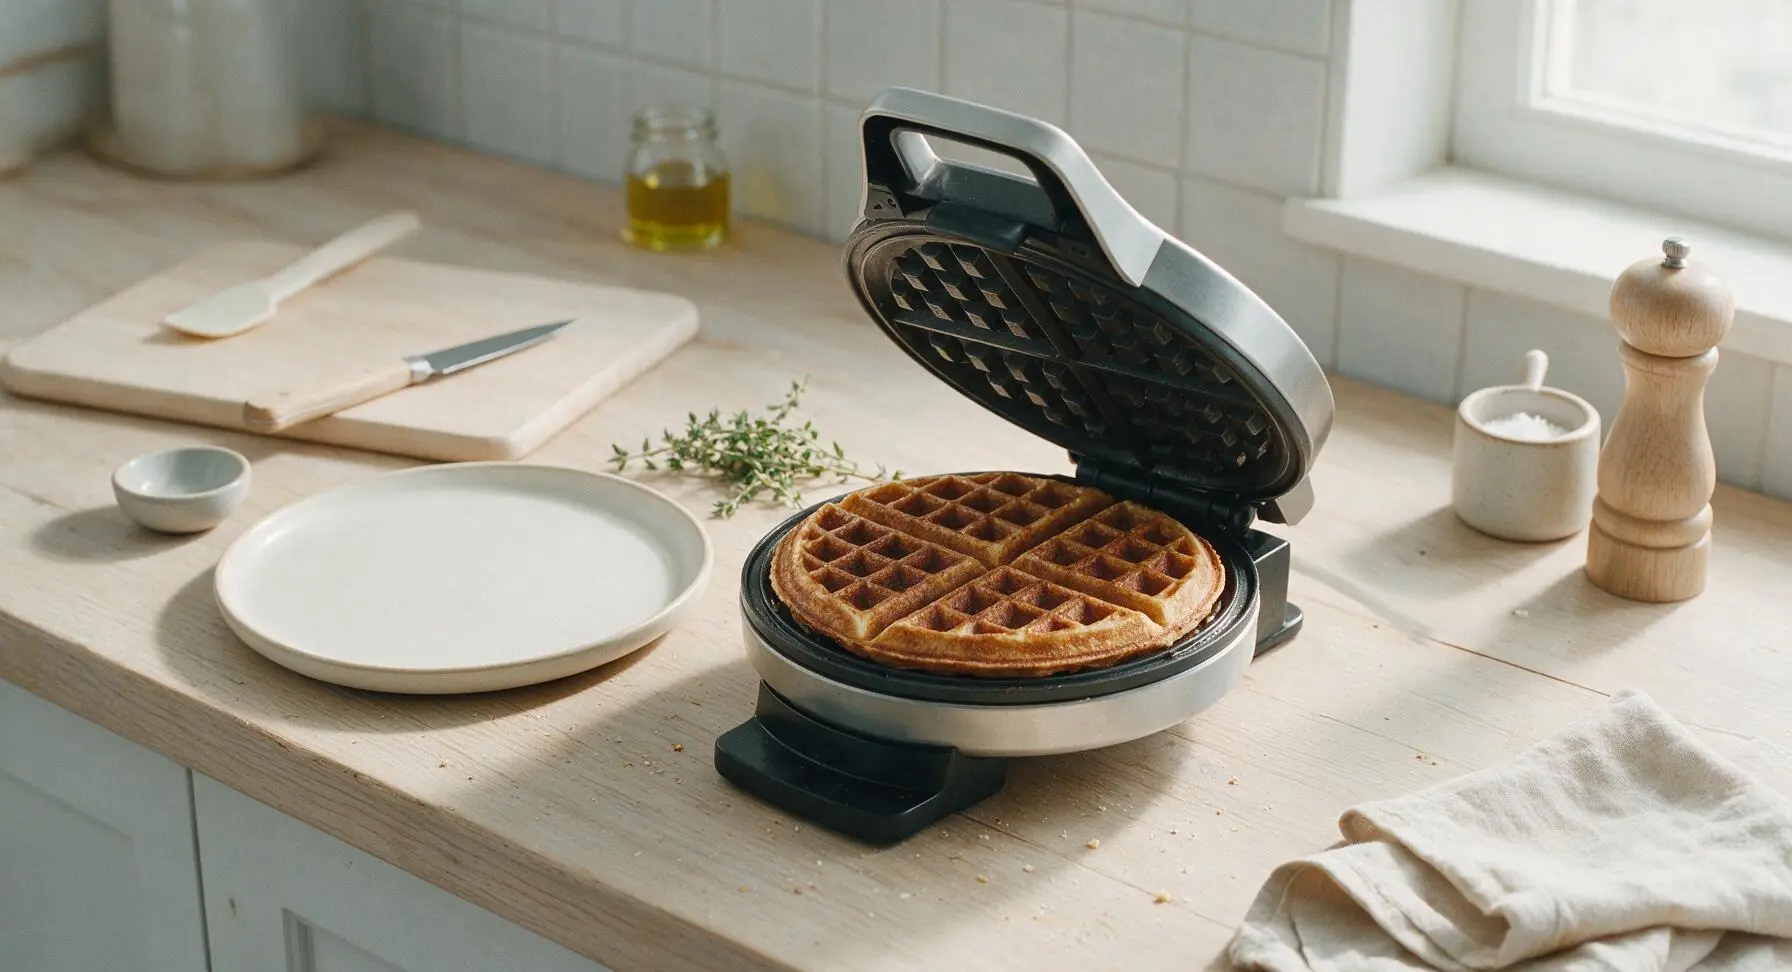
Let the waffle cook for 3 to 4 minutes, resisting the urge to open the lid for the first 2 minutes. The waffle is fully cooked when thin streams of steam stop escaping from the waffle maker edges, and the exterior is deep golden brown with crisp, defined grid lines. Undercooked waffles will be limp and soggy when removed.
Step 6
step6:Cook Until Golden
Step 6
step6:Cook Until Golden
7

Remove and Rest Waffles

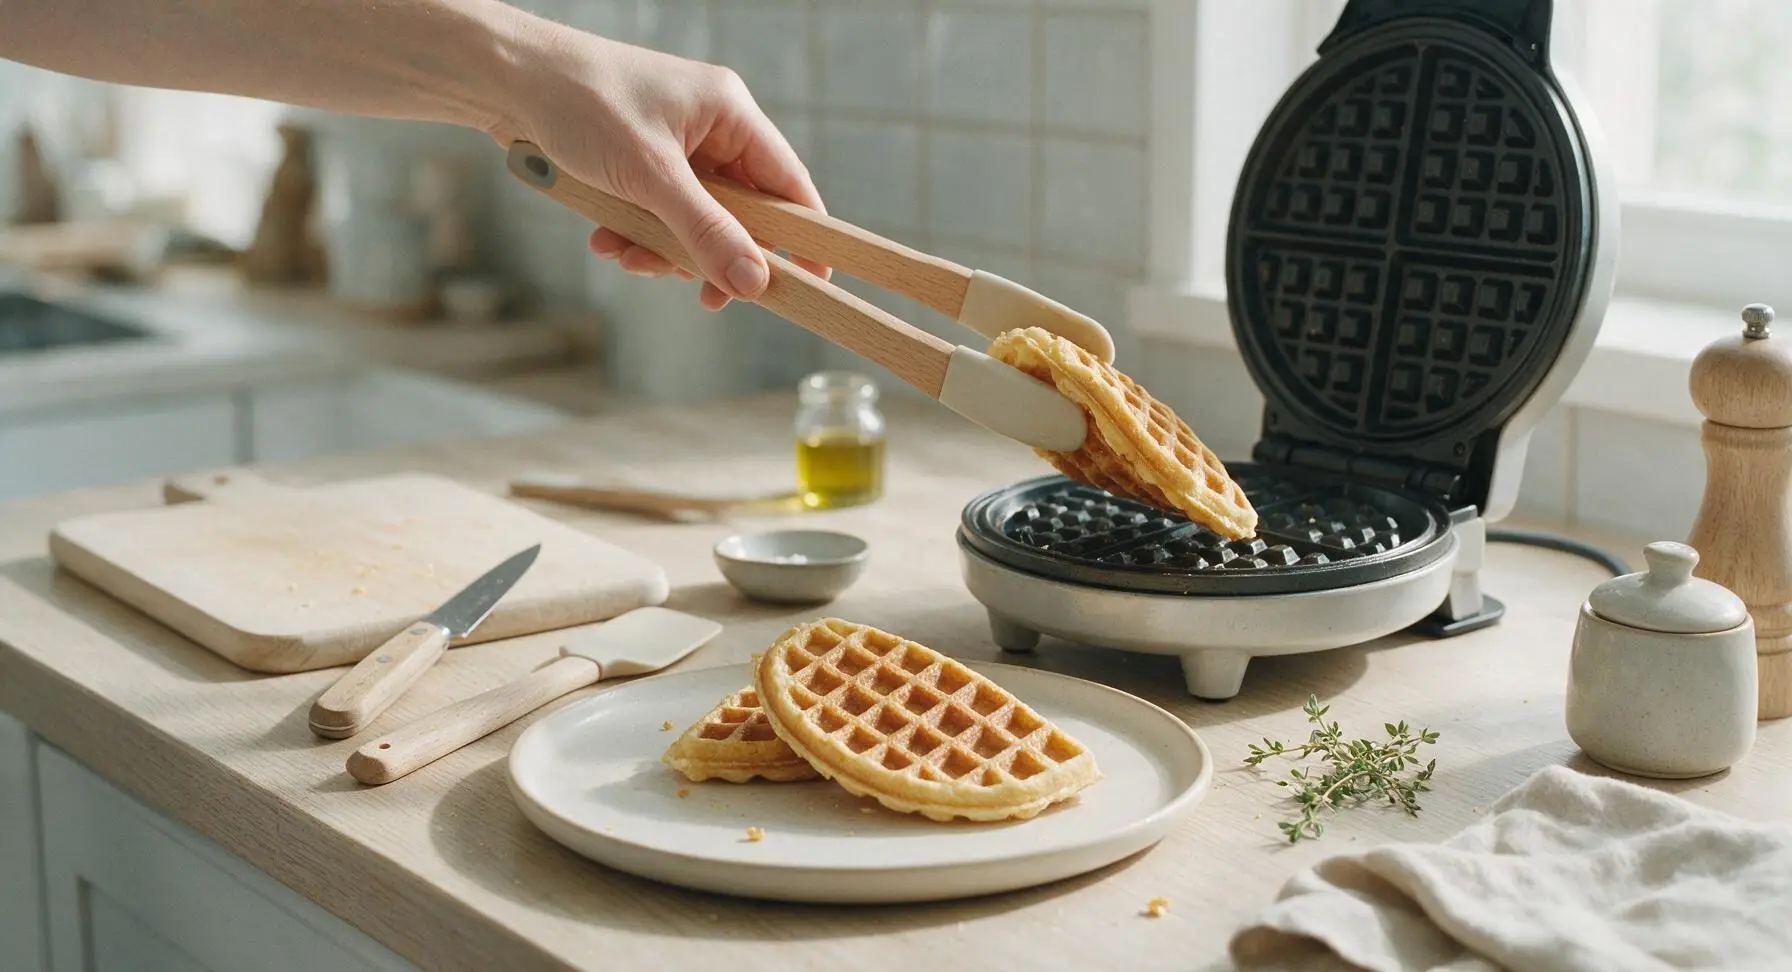
Use the beech wood silicone-tipped tongs to gently lift the finished waffle from the iron, transferring it to the cream white stoneware dinner plate. Prop waffles at a slight angle against each other on the plate rather than stacking flat immediately, to let trapped steam escape and preserve crisp edges. Repeat the pouring and cooking process with remaining batter to make 4 total waffles.
Step 7
step7:Remove and Rest Waffles
8

Plate and Serve Hot

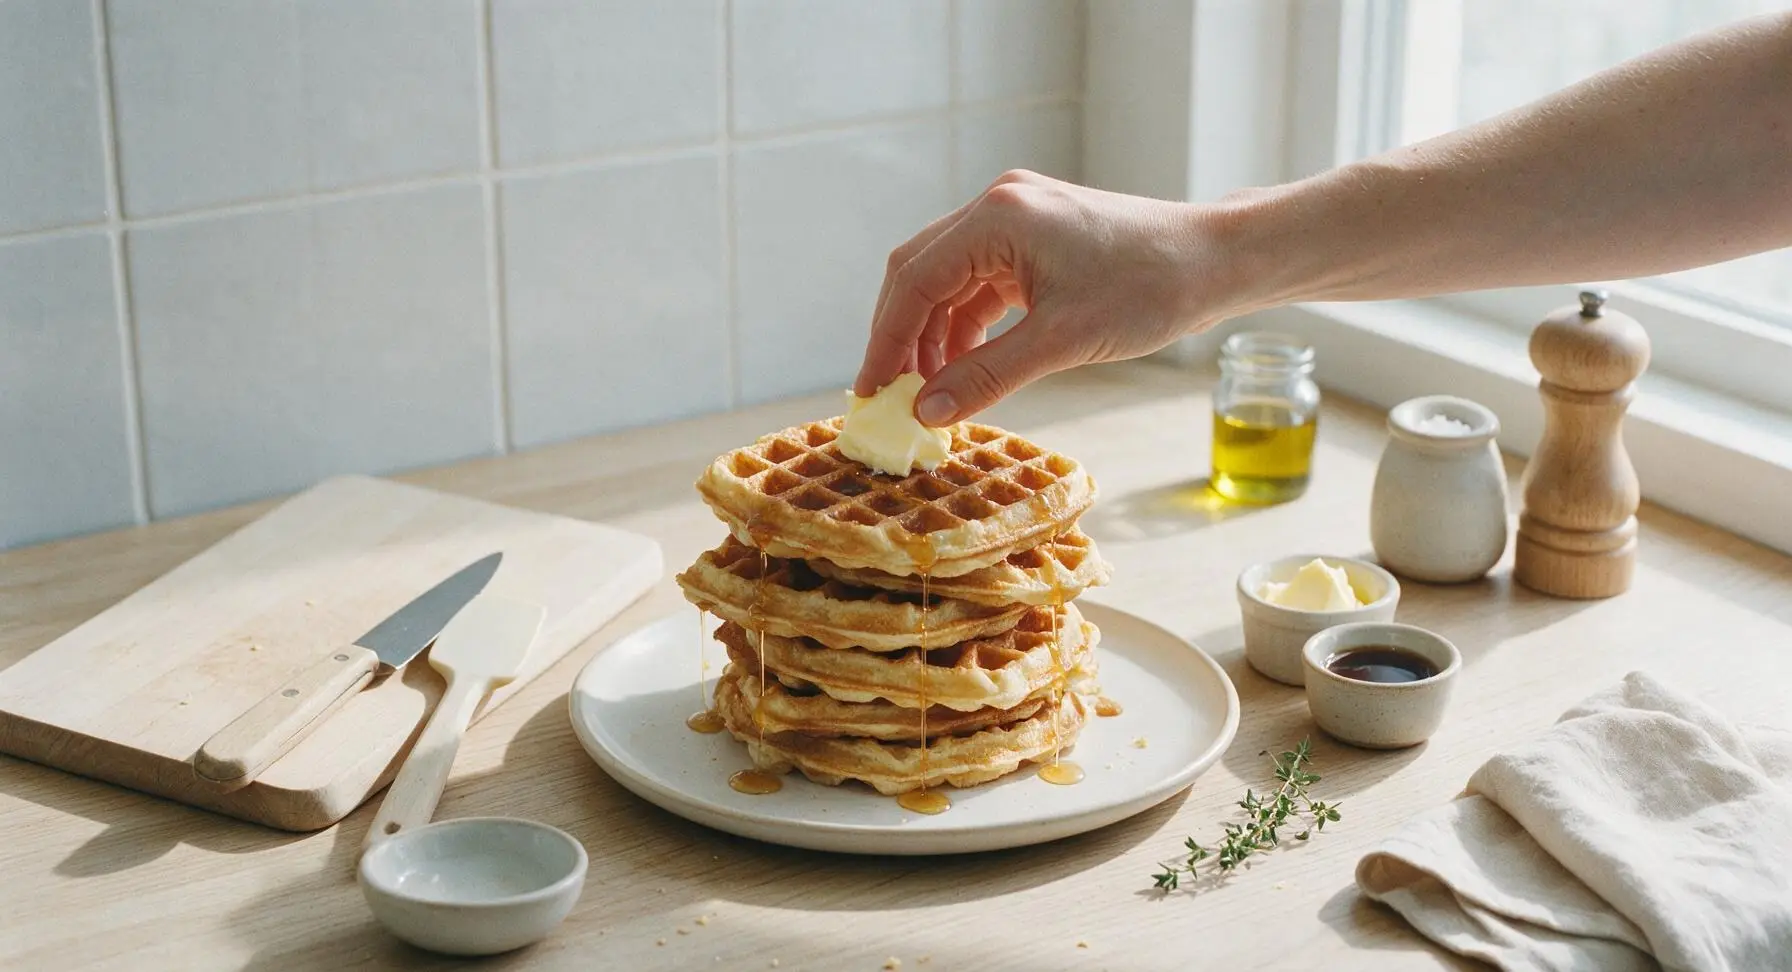
Stack the finished, rested waffles on the cream white stoneware dinner plate, top with a 1 tbsp pat of softened butter, and drizzle with 2 tbsp pure maple syrup. Tuck a small sprig of fresh thyme next to the stack for a subtle, fresh garnish if desired. Serve immediately while waffles are hot and crisp.
Step 8
step8:Plate and Serve Hot

Tips

1.Never overmix the batter: small, pea-sized lumps are completely normal and desirable. Overstirring develops gluten in the flour, which will turn waffles tough and chewy instead of tender and fluffy.
2.Keep cooked waffles crisp for a crowd by setting them on a wire rack inside a 200°F (95°C) oven instead of stacking them on a plate. Stacking traps steam between waffle layers, which softens crisp edges and leads to soggy texture.
3.For extra-light, restaurant-style crisp waffles, separate the egg whites before mixing, beat them to soft glossy peaks, and gently fold them into the finished batter right before cooking. The trapped air adds extra lift and creates a shatteringly crisp exterior.


✨ You May Also Like

Breakfast
🍜 United States

Crisp-edged, fluffy lard griddle cakes are a nostalgic homestyle staple, with rich savoriness from rendered lard, perfect topped with maple syrup or savory gravy.

⏱️ 25 minuteBreakfast ★ 4.8
Breakfast
🍜 United States

Flaky, buttery homemade buttermilk biscuits smothered in creamy, peppery pork sausage gravy: a beloved, hearty Southern American comfort food classic.

⏱️ 35 minuteBreakfast ★ 4.8
Breakfast
🍜 United States

Golden, custardy brioche stuffed with sweet cream cheese and fresh berries, pan-fried to crisp perfection. An indulgent, cozy breakfast perfect for slow weekend mornings.

⏱️ 30 minuteBreakfast ★ 4.7
Breakfast
🍜 United States

Flaky, buttery Southern-style biscuits stuffed with savory salty country ham, a portable, satisfying classic perfect for casual on-the-go meals.

⏱️ 25 minuteBreakfast ★ 4.8
Breakfast
🍜 United States

Iconic puffy baked pancake popularized in Seattle, with crisp golden edges and soft custardy center, served warm with classic sweet toppings.

⏱️ 35 minuteBreakfast ★ 4.6
Breakfast
🍜 United States

Fluffy, golden pancakes studded with juicy peak-summer mixed berries, drizzled with maple syrup for a bright, comforting, crowd-pleasing family breakfast.

⏱️ 25 minuteBreakfast ★ 4.7

cooking waffles:Frequently Asked Questions

1.Why do my buttermilk waffles come out soggy instead of crispy on the edges? ▾
Great question! First, make sure your waffle iron is fully preheated (it should sizzle when a drop of water hits the surface) before pouring batter. Avoid opening the iron too early—wait until steam stops escaping, usually 3–5 minutes. Don’t stack hot waffles directly on a plate; rest them on a wire rack in a 200°F oven to keep edges crisp.
2.Can I substitute regular milk for buttermilk if I don’t have any on hand? ▾
Absolutely! For every 1 cup of buttermilk the recipe calls for, add 1 tablespoon of white vinegar or fresh lemon juice to a liquid measuring cup, then pour in regular whole milk to reach the 1-cup line. Let it sit 5 minutes at room temperature until it curdles slightly, and it will deliver the same signature tang and tender lift.
3.How do I get that light, fluffy interior instead of dense, heavy waffles? ▾
The biggest culprit for dense waffles is overmixing the batter! Stir dry and wet ingredients only until just combined—lumps are totally fine, as overstirring develops gluten that makes waffles tough. For extra cloud-like fluff, separate egg whites, whip them to soft peaks, and gently fold them into the batter right before cooking.
4.Can I make this waffle batter ahead of time for busy weekday mornings? ▾
You can prep the dry ingredients in an airtight container up to 1 week ahead for super fast assembly, but I don’t recommend mixing full wet and dry batter more than 30 minutes before cooking. The leavening activates as soon as it hits buttermilk, so pre-mixed batter loses lift and leads to flatter, denser waffles.
5.Do I need to grease my waffle iron even if it has a non-stick coating? ▾
It’s always a smart move to lightly grease it, even for non-stick models! Use a pastry brush to coat grids with a thin layer of melted unsalted butter right before pouring batter—this adds extra golden crispness to edges and prevents sticking, even if your non-stick coating has minor wear. Skip cooking spray, as it leaves sticky buildup over time.
6.How do I store leftover waffles so they don’t get mushy? ▾
Let leftover waffles cool completely to room temperature on a wire rack first, then stack them between sheets of parchment paper in an airtight container or zip-top freezer bag. They’ll keep 3 days in the fridge, or up to 3 months in the freezer. Never seal warm waffles in a container, as trapped condensation will turn them soggy fast.
7.What’s the best way to reheat leftover waffles to bring back their crisp texture? ▾
Skip the microwave—it will turn waffles rubbery and soft! For best results, reheat refrigerated or frozen waffles directly on a 350°F oven rack for 5 to 7 minutes, or pop them back in a preheated waffle iron for 1 to 2 minutes. A toaster works for small portions, just use a medium setting to avoid burnt edges.
8.The recipe uses granulated sugar—will the waffles taste overly sweet? ▾
The small amount of granulated sugar here isn’t there to make waffles taste like dessert! It balances the bright tang of buttermilk, encourages golden browning on crispy outer edges, and adds subtle depth of flavor. The final waffles are neutral enough to pair with both sweet and savory toppings, with no cloying sweetness.
9.Can I add mix-ins like chocolate chips or blueberries to this batter? ▾
Of course! Fold up to ½ cup of your favorite mix-ins into the batter right after combining wet and dry ingredients. For blueberries or chocolate chips, toss them in a tiny bit of all-purpose flour first to keep them from sinking to the bottom of the waffle grid, so you get even distribution in every bite.
10.What size or style of waffle iron works best for this recipe? ▾
This recipe works great with any standard 7-inch round or square home waffle iron, whether it makes thin classic waffles or thicker Belgian-style waffles. Just adjust cook time slightly: thinner waffles take 3 to 4 minutes, while deeper Belgian waffle grids need 4 to 6 minutes to cook through and crisp up fully.
11.Do I have to use unsalted butter, or can I use salted butter instead? ▾
Unsalted butter lets you control the exact salt level for the most balanced flavor, but salted butter works perfectly if that’s what you have on hand. Just cut any added salt in the dry ingredient mix by ¼ teaspoon per stick of salted butter you use, to avoid overly salty waffles that overpower your favorite toppings.
12.Why do these homemade waffles taste so much better than ones made from boxed mix? ▾
These waffles get their signature crisp-fluffy contrast from fresh leavening, real melted butter, and the tangy acid in buttermilk that reacts with baking soda to create light, airy pockets. Boxed mixes often rely on artificial flavors and preservatives that leave a flat, gummy texture, and skip the fresh egg white lift that makes interiors so cloud-like.

Comments (3)

2 days ago

OMG these are the BEST waffles I’ve ever made at home! I’ve tried so many buttermilk waffle recipes that came out soggy or rock-hard dense, but these were perfectly crispy on the edges and so light and fluffy inside? Total game changer. My kids devoured theirs in 10 minutes flat and begged me to add these to our regular weekend brunch rotation. I tossed a handful of mini chocolate chips into half the batter for my youngest and that worked like a charm, no weird texture issues at all!

1 day ago

Wait, did you do anything extra to get that perfect crisp? I tried this recipe last Saturday and mine came out a little softer than I wanted even after cooking the full recommended time! Wondering if I need to turn my waffle iron heat up a notch?

1 day ago

So thrilled you and your family loved the waffles, MamaBear2024! @BrunchBabe92 great question—for next-level crisp, make sure you don’t over-mix the batter (small lumps are totally expected and good here!) and give your waffle iron a full 2-3 minutes to fully preheat before pouring batter in. Skipping melted butter on the iron in favor of a light spritz of nonstick spray also helps avoid soggy spots!

3 days ago

Such an easy recipe, that 15 minute cook time is no joke! I whipped a full batch up on Sunday morning, froze the leftover waffles between sheets of parchment paper, and they reheat perfectly in the toaster for quick weekday breakfasts before my commute. Way better than the sad frozen waffles from the grocery store, and I love that I can tweak the sugar level to cut down on added sweeteners. Only swap I made was using whole milk with a splash of white vinegar because I realized last minute I was out of buttermilk, and they still turned out SO good.

2 days ago

Love that you turned these into a meal prep win, Matt! That milk + vinegar swap is exactly the quick buttermilk substitute we recommend when you don’t have the real thing on hand, so we’re stoked it worked out for you. Quick pro tip: reheat frozen waffles in a toaster oven instead of the microwave to keep that perfect crispy-fluffy texture on busy mornings!

1 week ago

Brought a double batch of these to my neighborhood block party potluck last weekend and people were hounding me for the recipe before I even finished setting up my plate! I set up a little waffle topping bar with fresh whipped cream, sliced strawberries, pure maple syrup, and even a tray of crispy fried chicken tenders for folks who wanted to do chicken and waffles. The recipe is so easy to scale up for a crowd, no fancy ingredients or tricky steps. 10/10, will be making these for every brunch and potluck I host from now on.



