
cook's country tater tot hotdish
intro
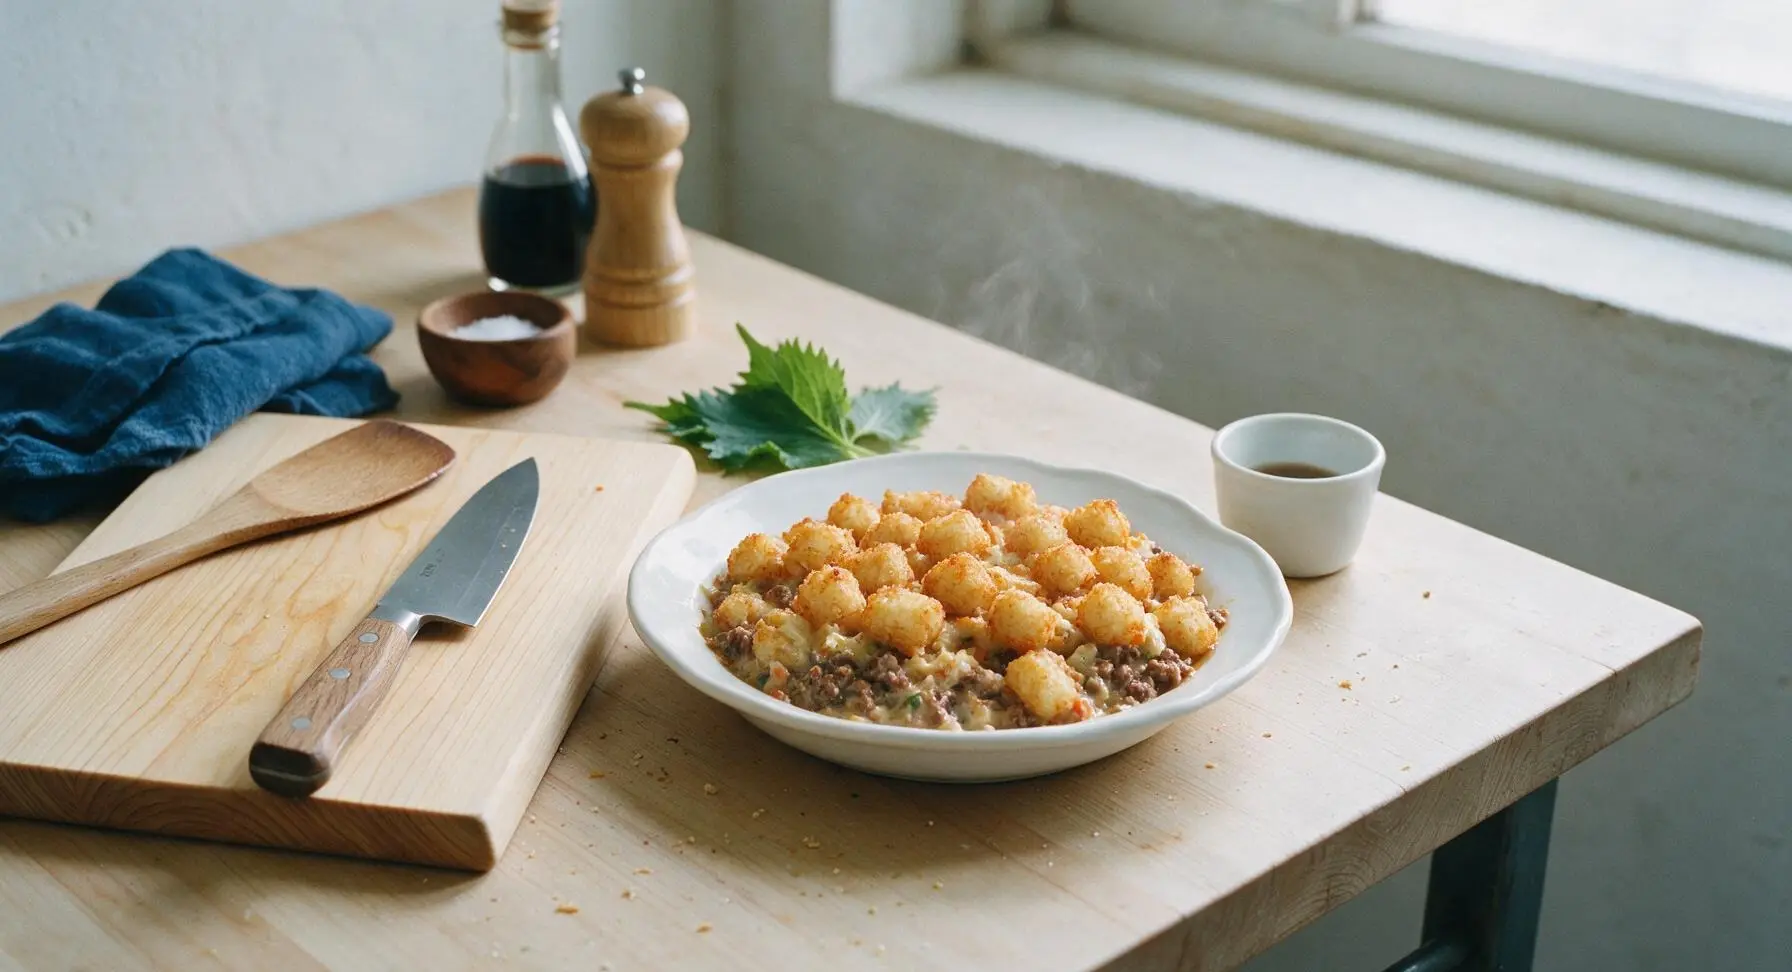
Crispy golden tater tots top a creamy, umami-rich ground beef and vegetable filling in this iconic Cook’s Country take on the classic Midwestern hotdish, built for cozy shared meals.
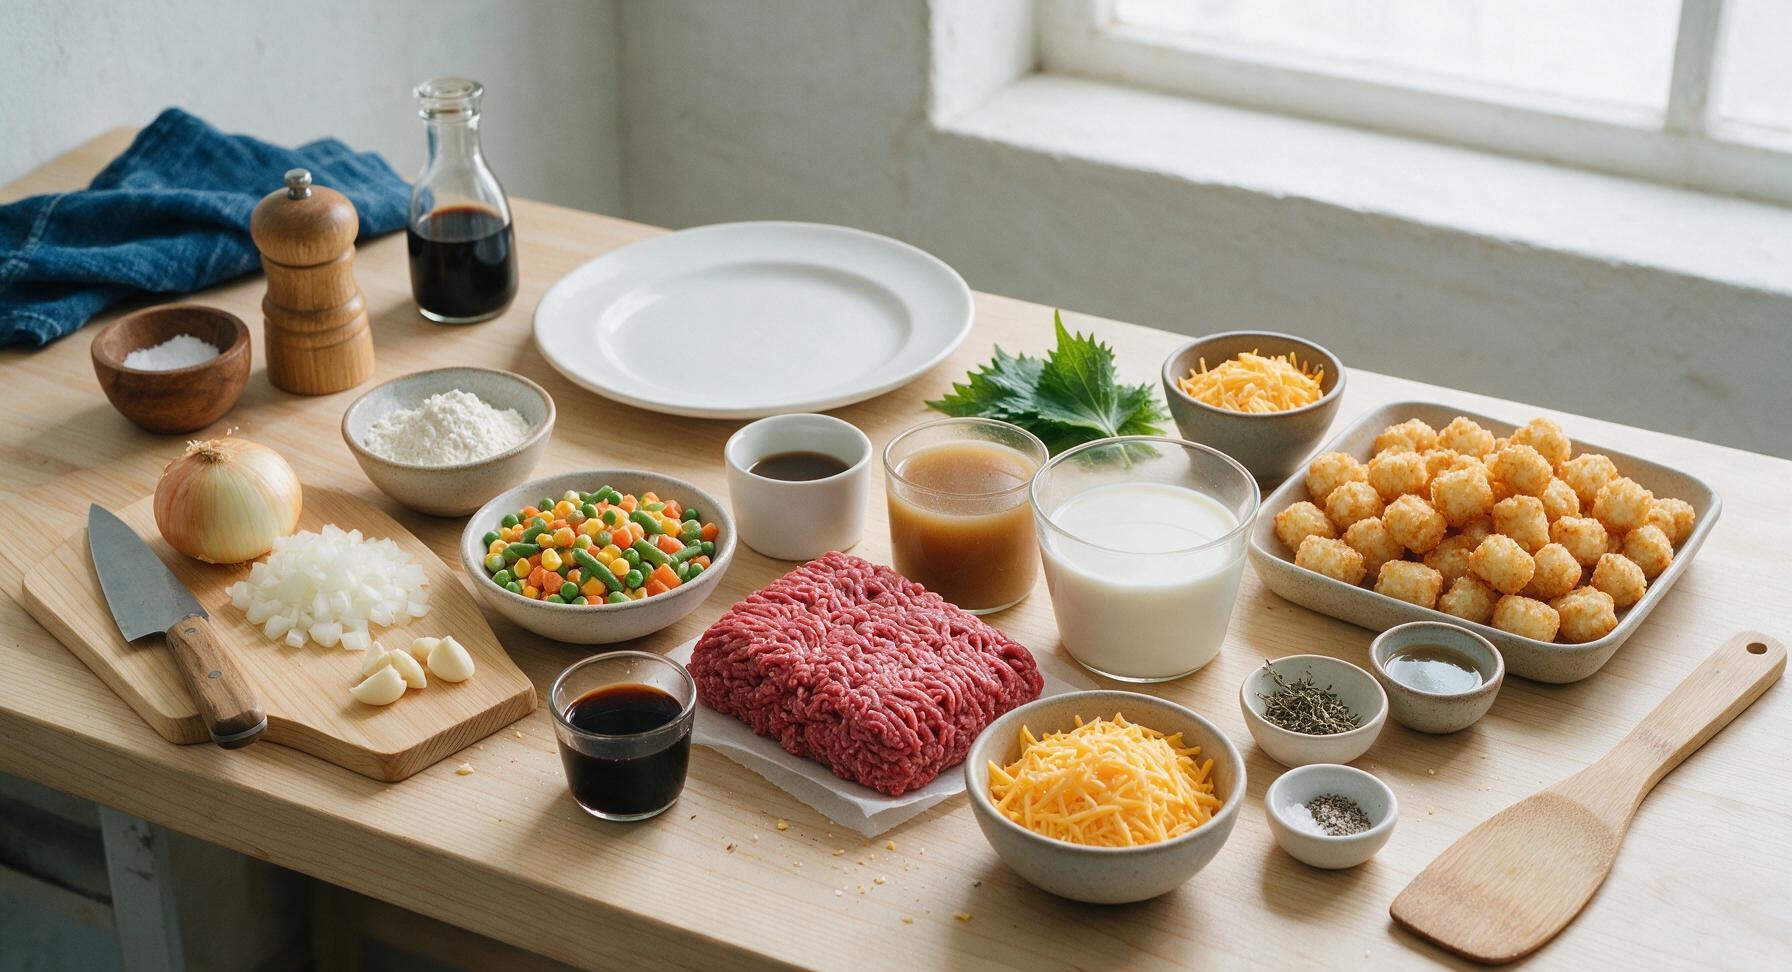
Ingredients
Steps
Prep Ingredients, Preheat Oven
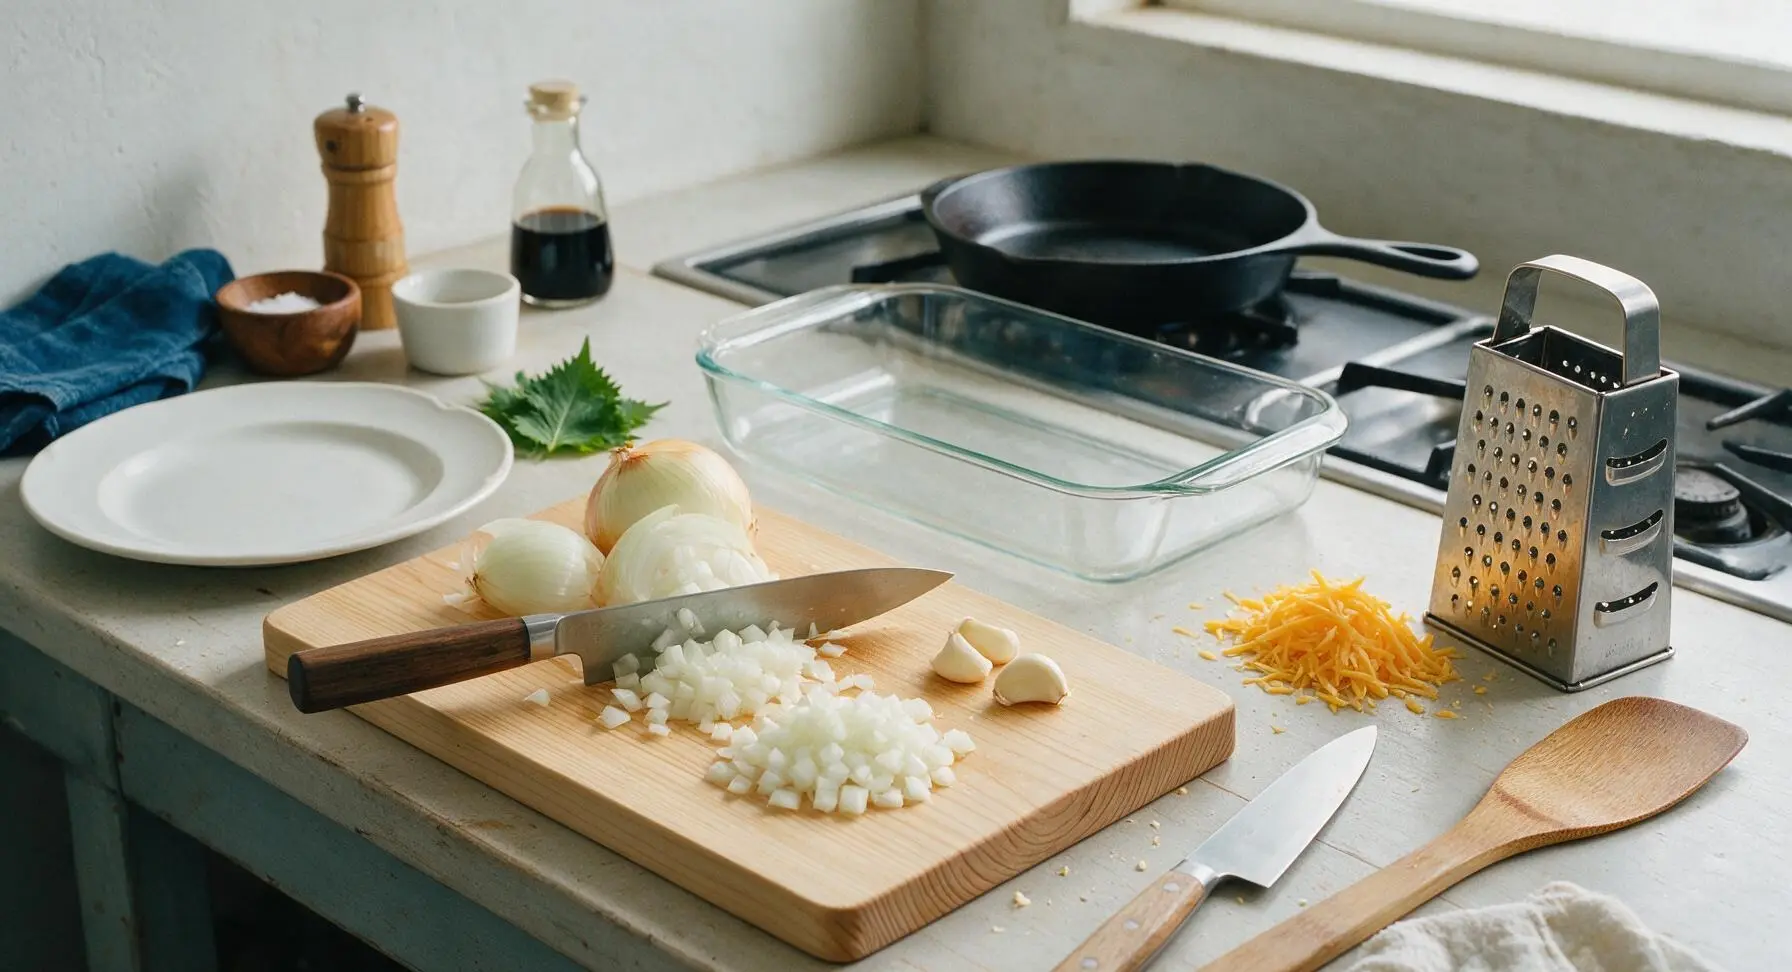
Adjust oven rack to the middle position and preheat oven to 400°F (200°C). Set the yellow onion and garlic cloves on the light birch cutting board. Using the 8-inch chef knife, dice the onion into uniform ¼-inch pieces, mince garlic finely, and transfer to a small prep bowl. Use the stainless steel box grater to shred the block of sharp cheddar, dividing it into two equal 113g (4oz) portions, and set aside. Pat thawed mixed vegetables thoroughly dry with paper towels to remove excess surface moisture, which prevents a soggy final filling.
Brown Ground Beef
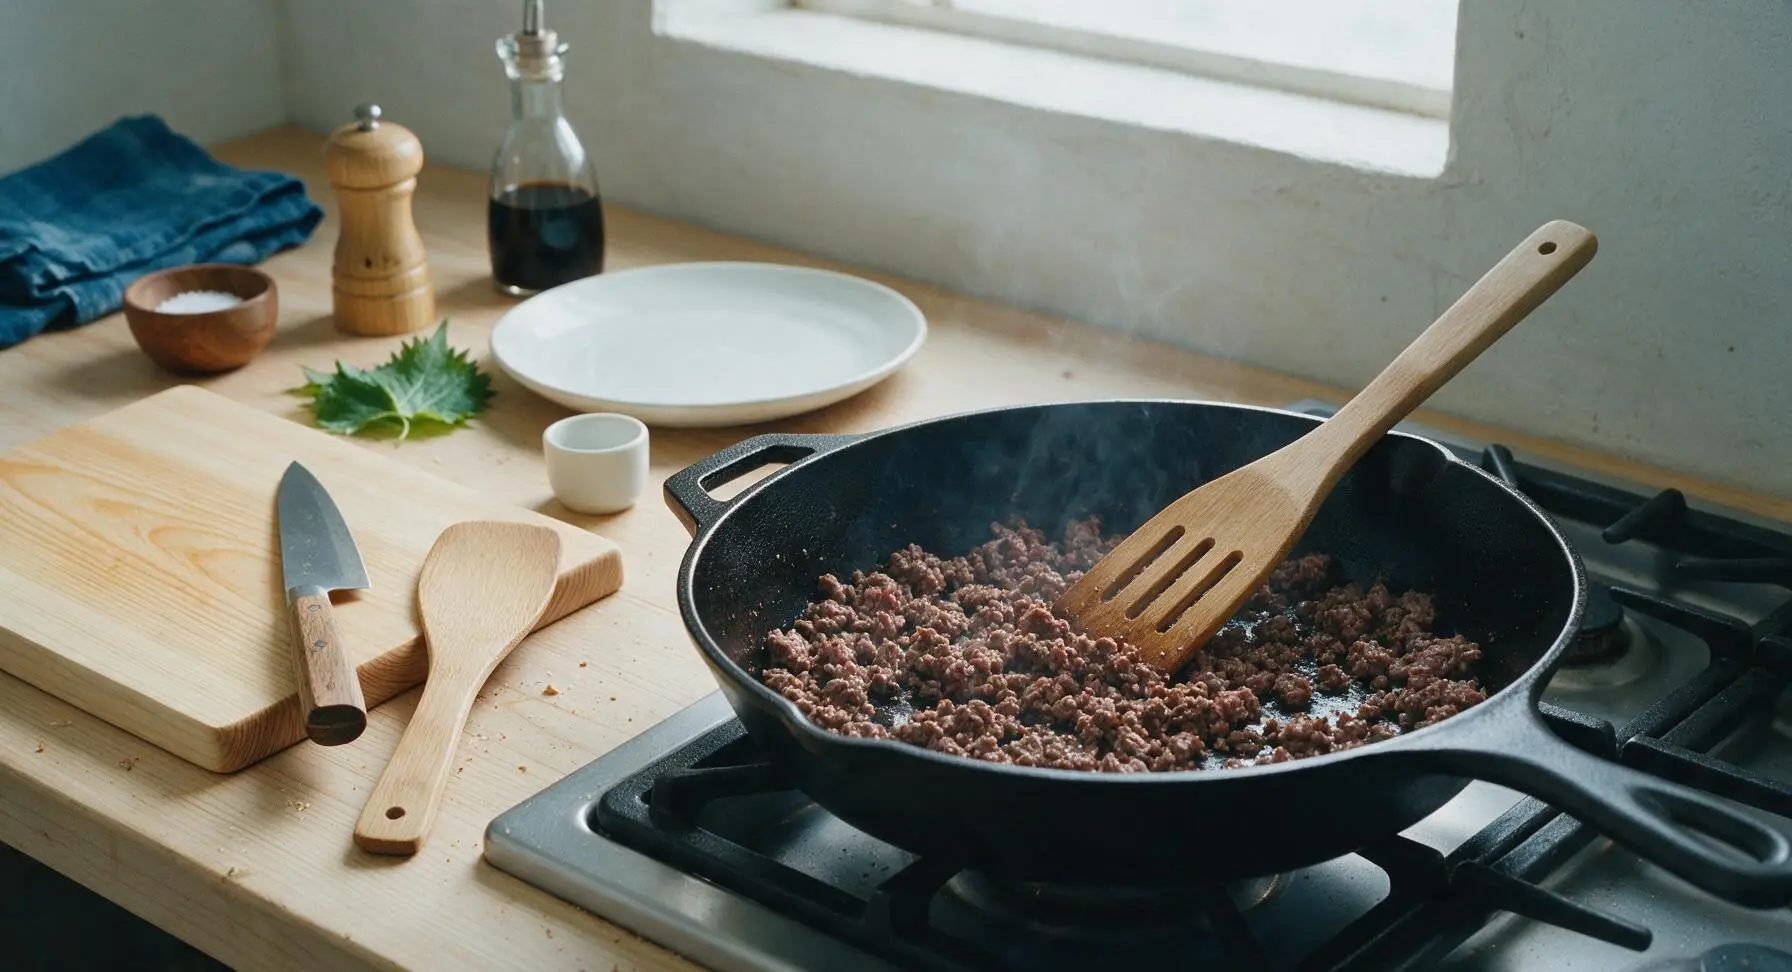
Place the 12-inch cast iron skillet on the stovetop over medium-high heat. Add the ground beef, breaking it apart into small crumbles with the slotted turner as it cooks. Cook for 6-7 minutes, until the beef is fully browned with no visible pink remaining and fat has rendered out. Use the slotted turner to transfer beef to a clean small plate, leaving 2 tablespoons of rendered fat in the skillet; pour off and discard any excess fat.

Cook Aromatic Vegetable Base
Return the skillet with rendered beef fat to medium heat. Add the diced onion, cooking for 4 minutes until soft and translucent. Add minced garlic, dried thyme, salt, and pepper, stirring constantly for 30 seconds until fragrant. Sprinkle the all-purpose flour over the onion mixture, stirring to fully coat all vegetables, and cook for 1 minute to remove raw flour taste. Stir in the patted-dry mixed vegetables, cooking for 2 minutes until heated through.
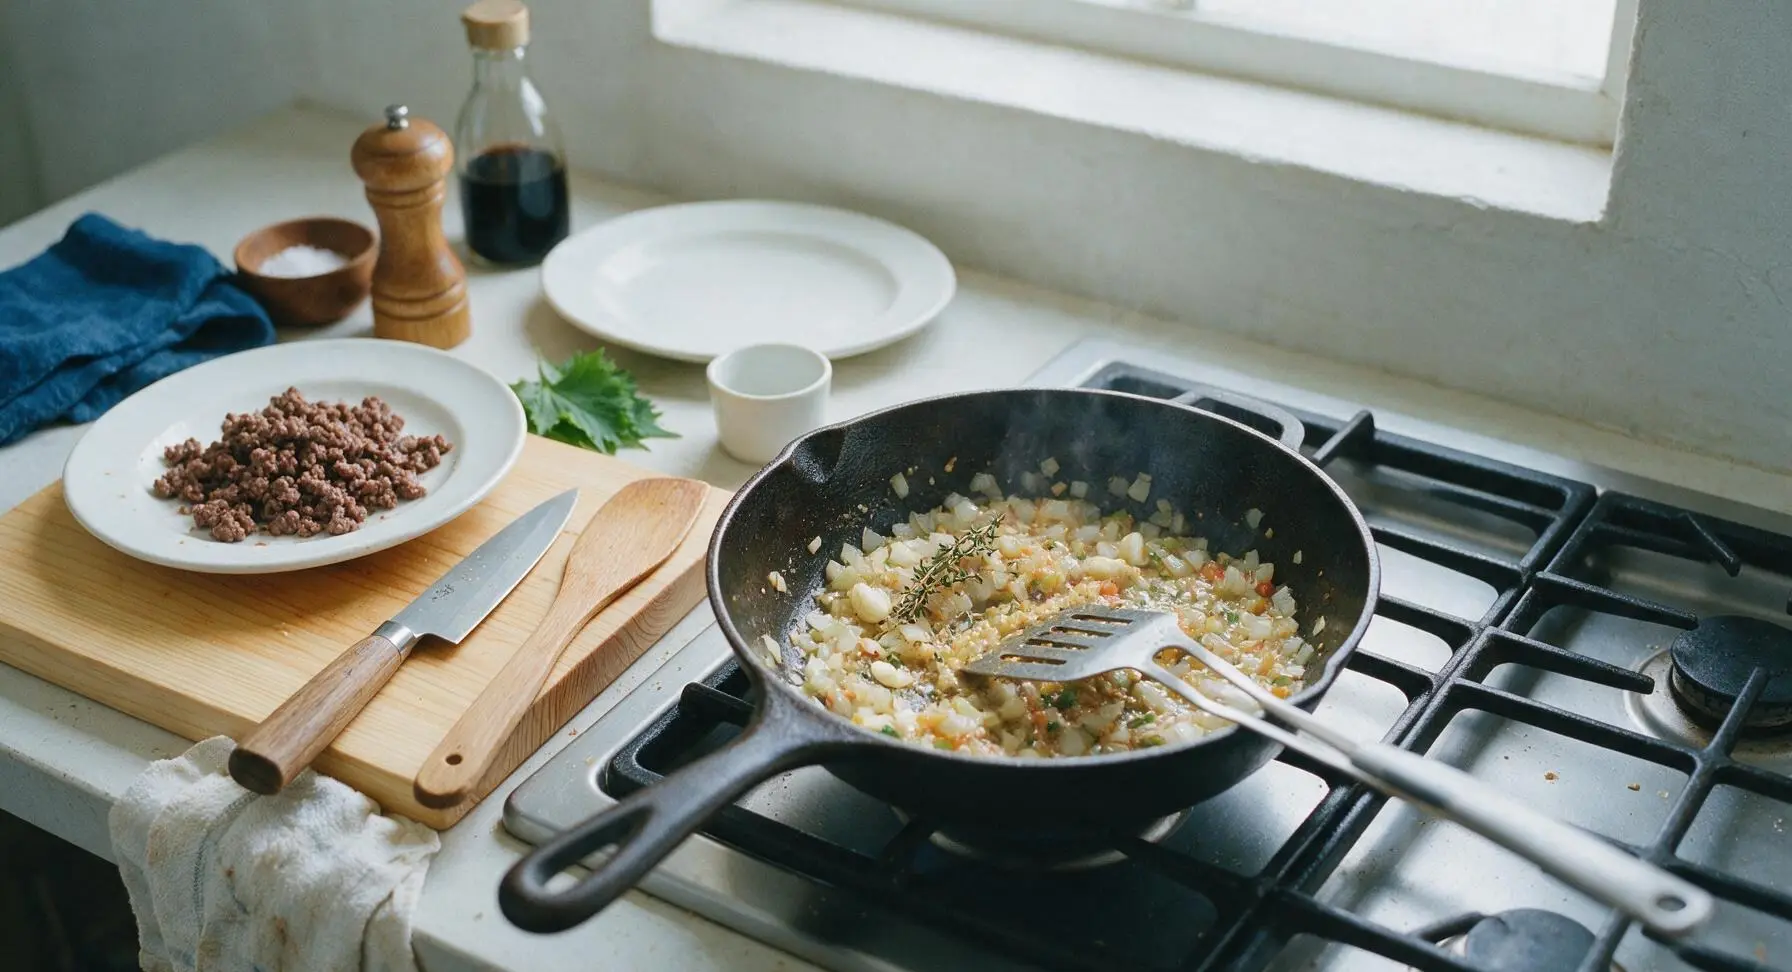
Make Creamy Filling Sauce
Slowly pour the beef broth into the vegetable and roux mixture, stirring constantly with the slotted turner to avoid lumps. Add the whole milk, Worcestershire sauce, and soy sauce, bringing the mixture to a gentle simmer. Cook for 3-4 minutes, stirring occasionally, until the sauce thickens enough to coat the back of the turner—running a finger across the coated turner will leave a clear, clean line that does not run. Stir the reserved browned ground beef back into the sauce, mixing to combine evenly, then remove the skillet from heat.

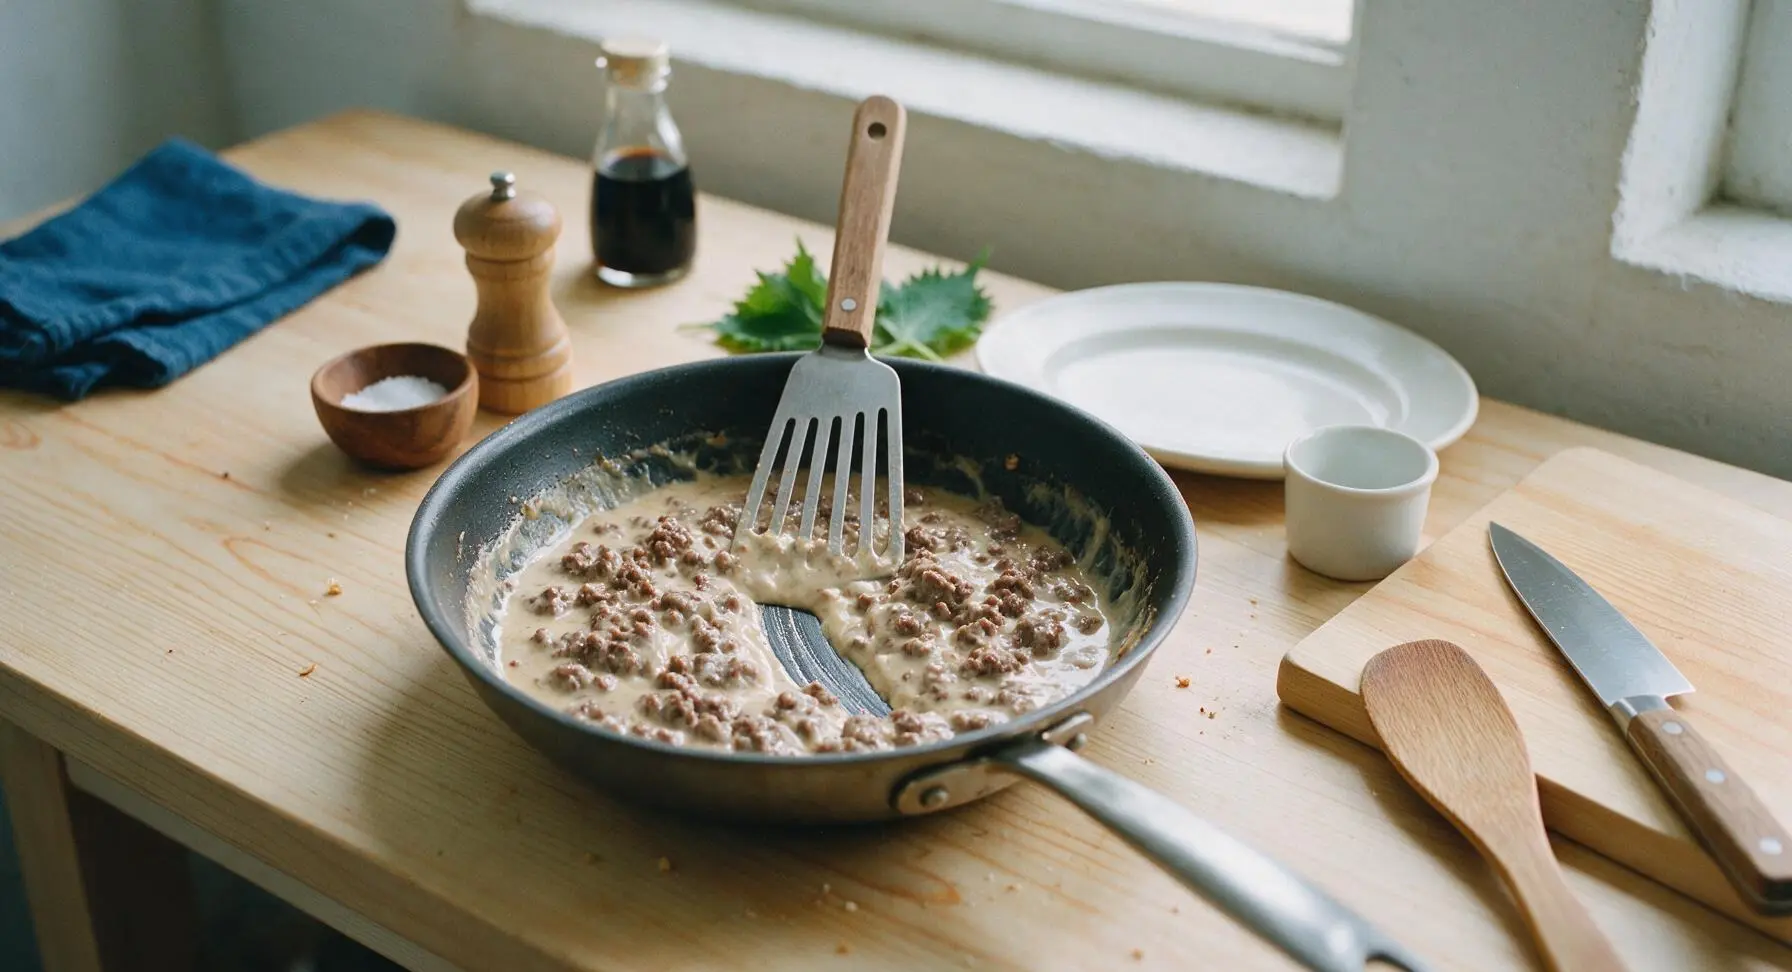
Assemble Hotdish Layers
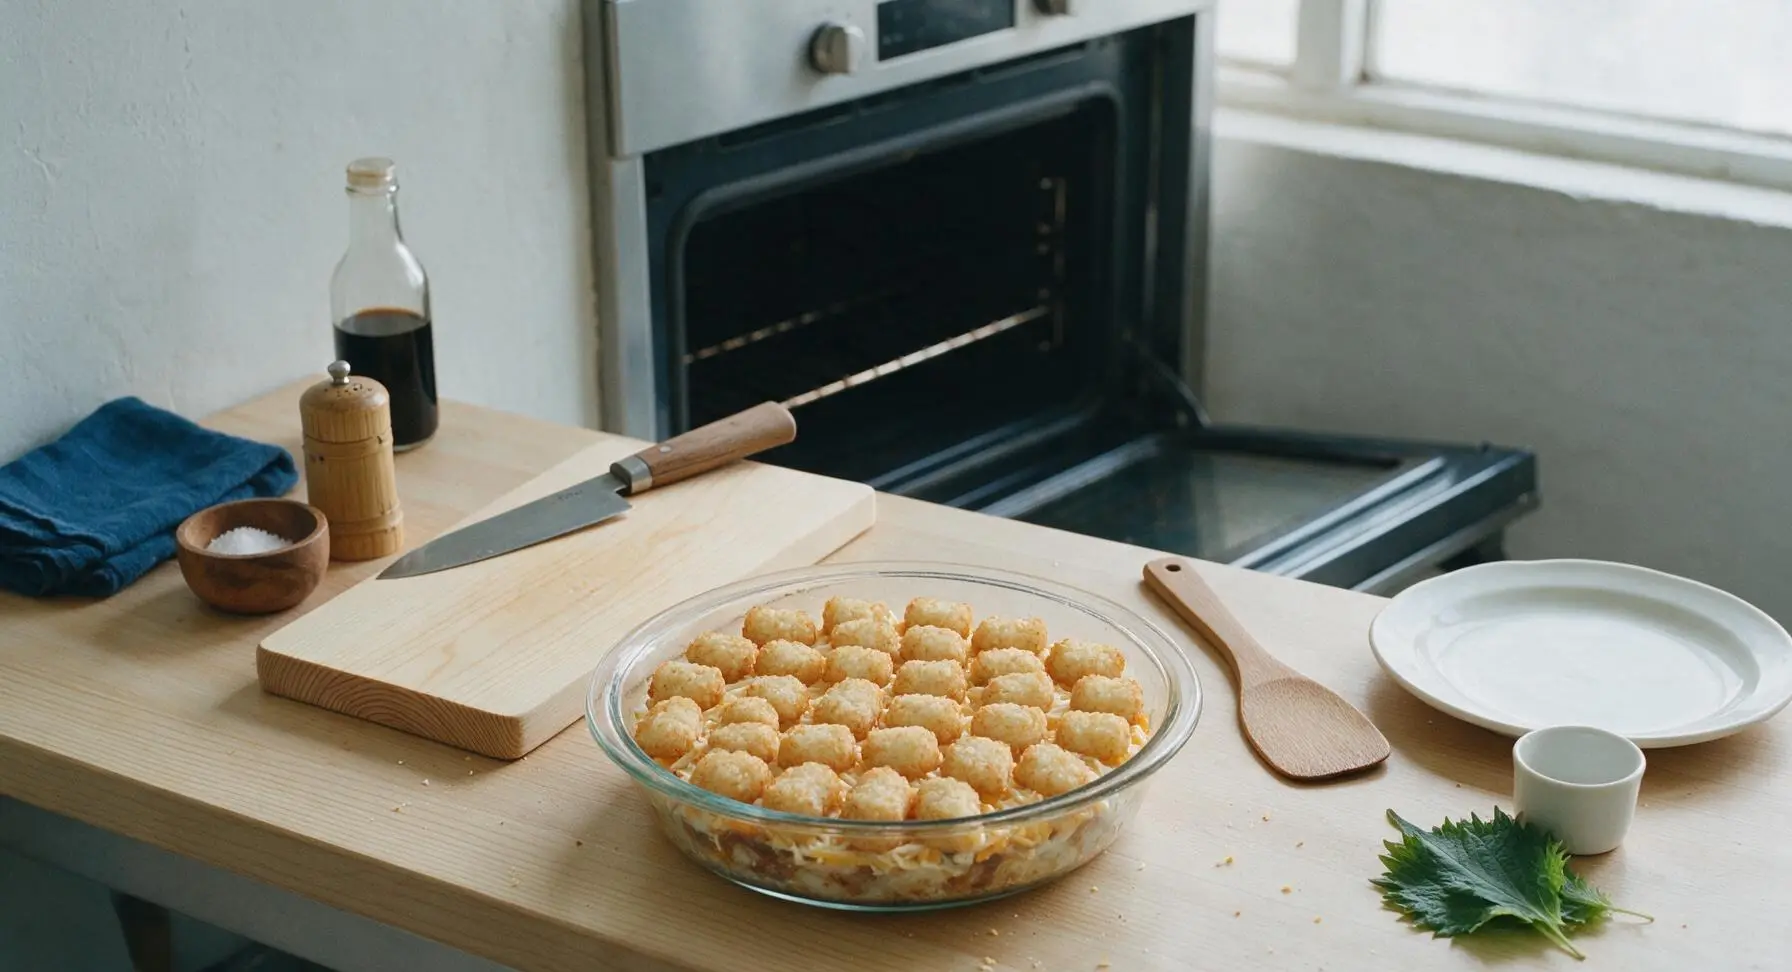
Transfer the entire creamy beef and vegetable filling from the skillet into the 9x13 inch clear glass baking dish, spreading it into a smooth, even layer with the slotted turner. Sprinkle half (113g / 4 oz) of the shredded sharp cheddar evenly over the top of the filling. Arrange the still-frozen tater tots in tight, neat rows across the entire surface of the cheese, overlapping slightly as needed to cover every spot. Do not thaw tots first, as this causes them to absorb moisture and turn mushy instead of crisping.
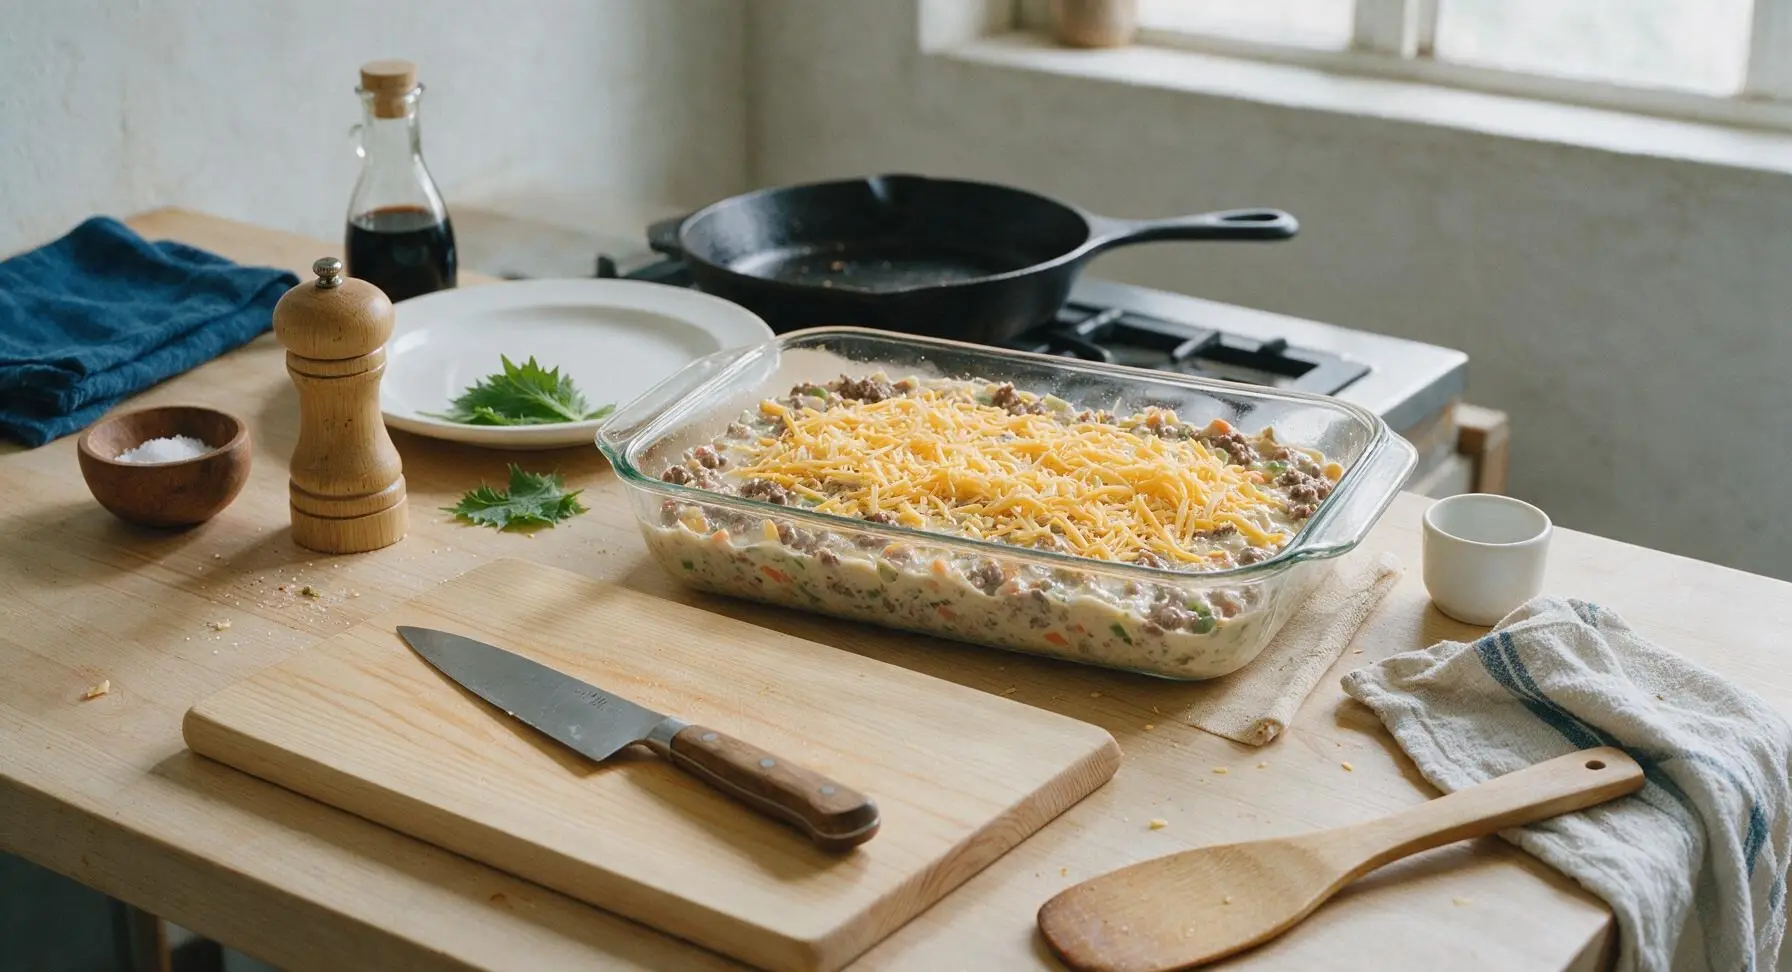
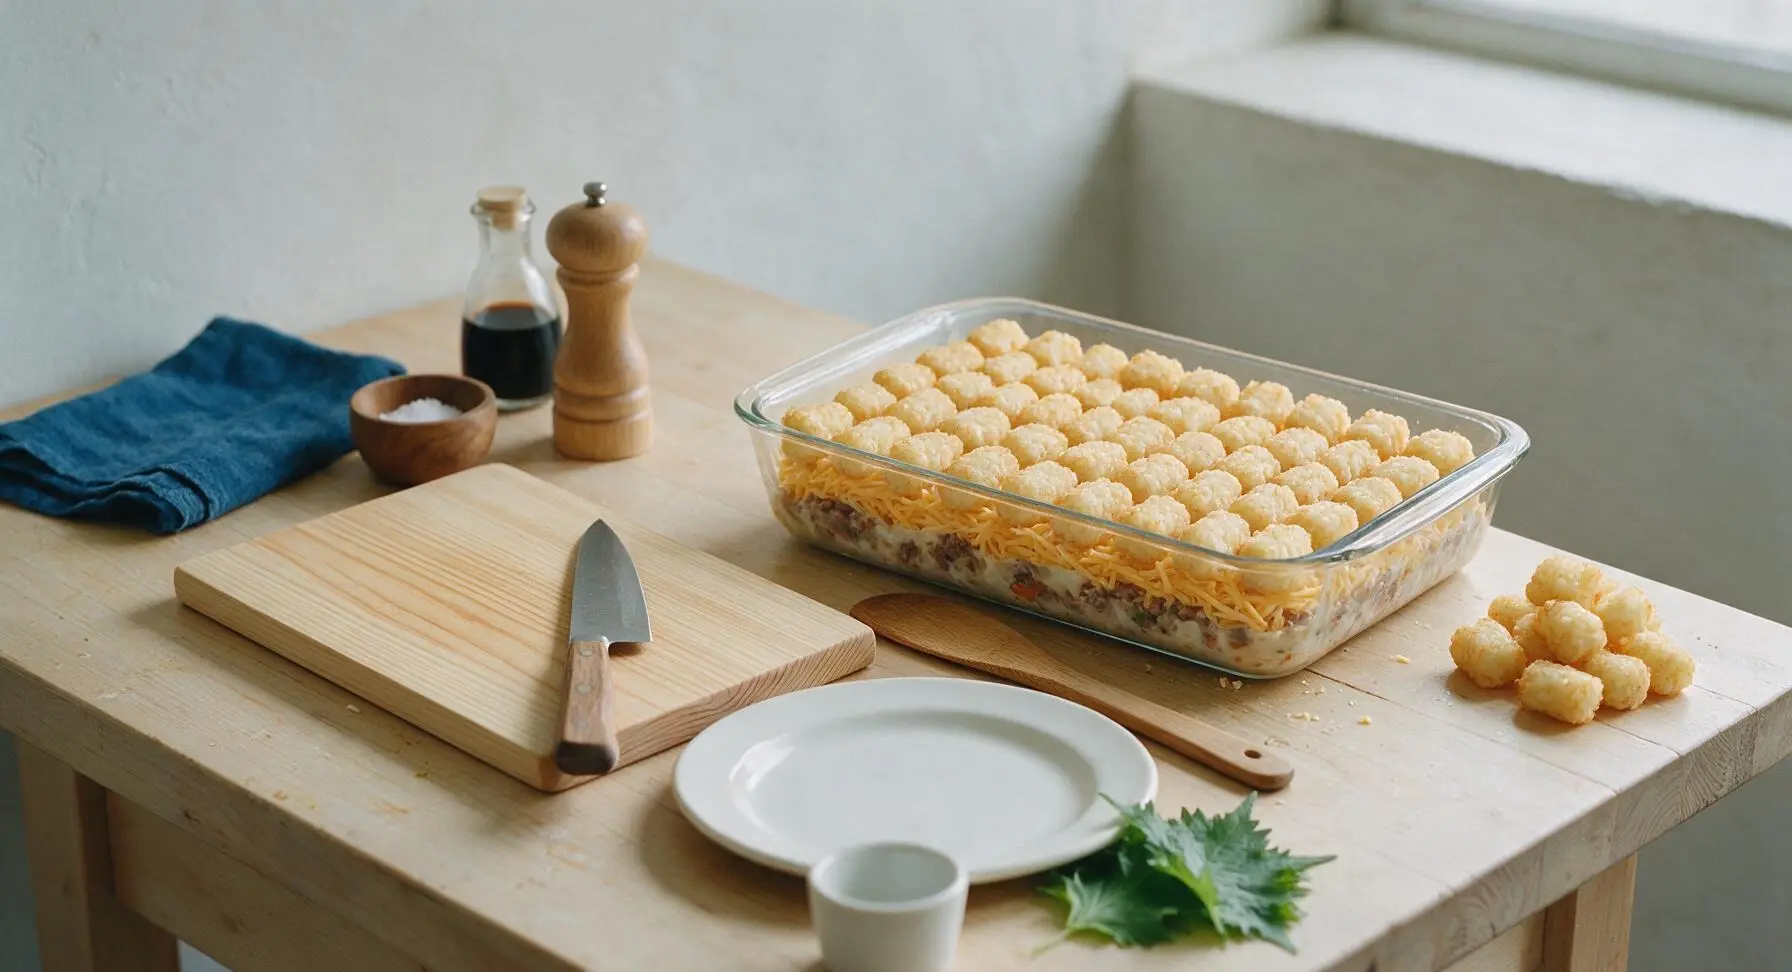
Bake Hotdish Until Crispy
Place the assembled baking dish on the middle oven rack, leaving it uncovered, and bake for 35 minutes at 400°F (200°C). After 35 minutes, carefully pull the oven rack out slightly, sprinkle the remaining half (113g / 4 oz) of shredded cheddar over the tater tots, then push the rack back in to bake for an additional 15-20 minutes. The hotdish is done when tater tots are deep golden brown and crispy on all edges, the filling is actively bubbling around the dish edges, and the cheese is fully melted and lightly browned in spots.

Rest Before Serving
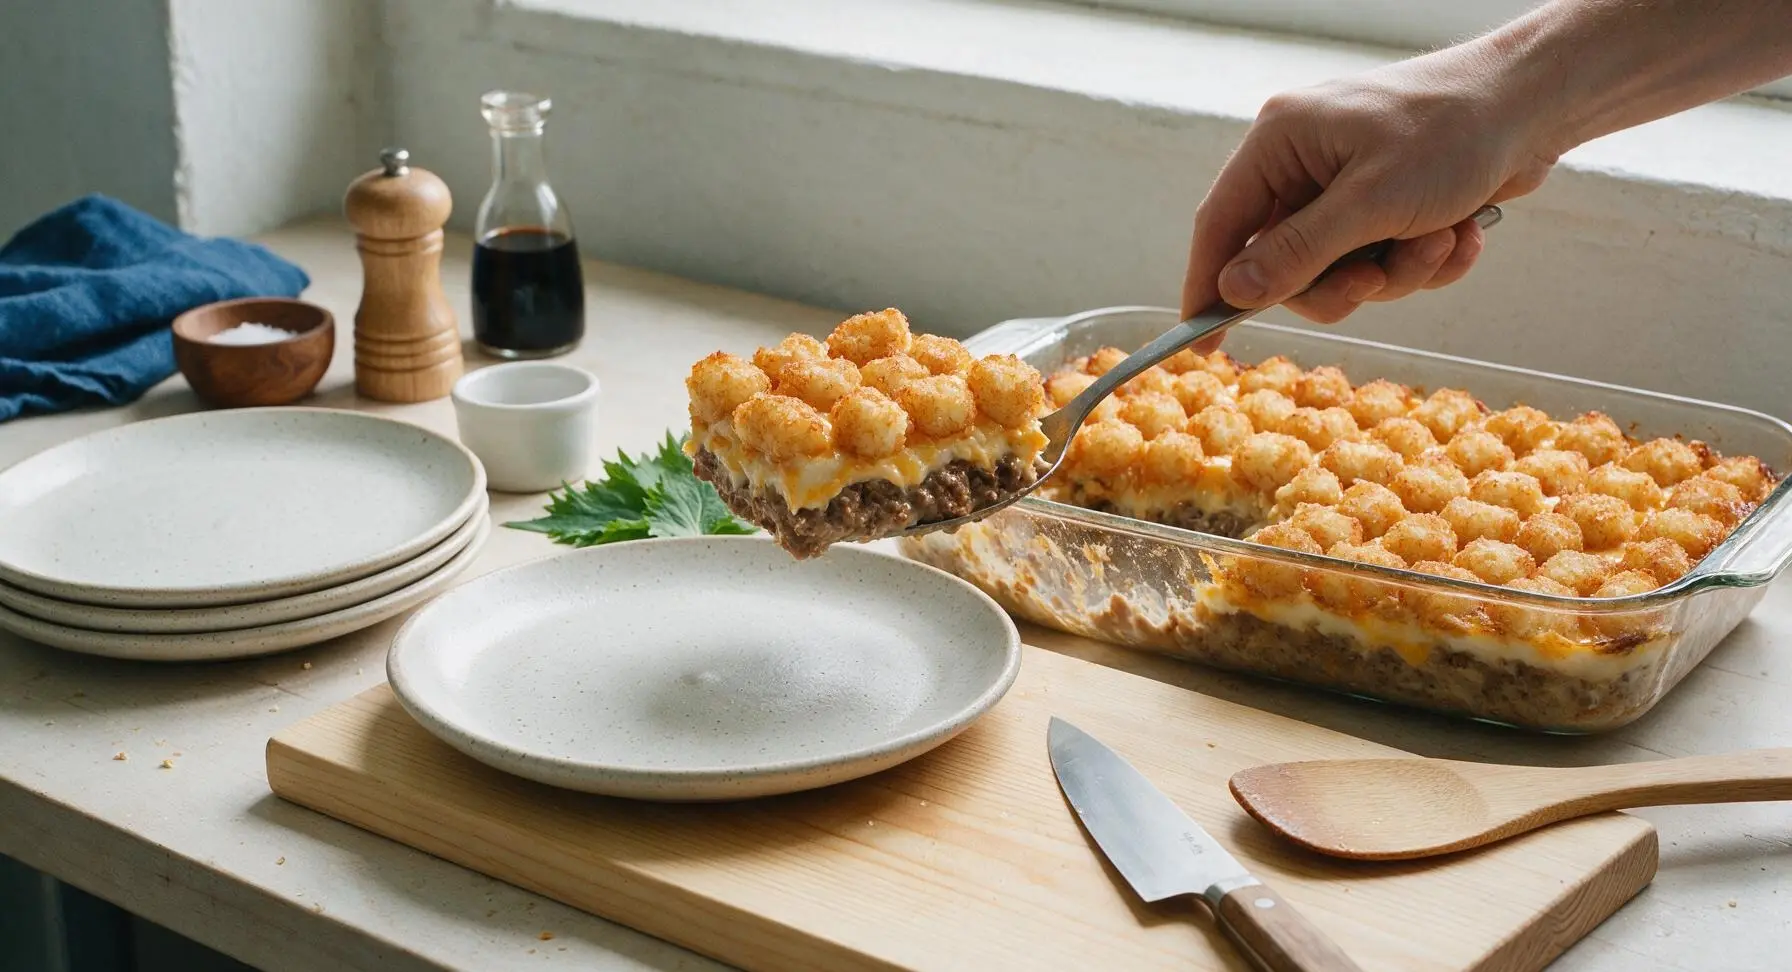
Remove the finished hotdish from the oven and transfer it to the counter to rest for 10 minutes. This resting period allows the creamy filling to set, so portions hold their clean square shape instead of running when scooped. Serve warm, with ketchup for dipping if desired.
Tips
2.Shred your own sharp cheddar instead of using pre-shredded cheese: Pre-shredded cheese is coated in anti-caking starch that prevents smooth, even melting, leading to a grainy cheese layer instead of the gooey, melted texture that binds the tots to the filling.
3.Pat thawed mixed vegetables completely dry with paper towels before adding them to the filling: Frozen vegetables hold large amounts of trapped ice melt and surface water, which will thin the creamy sauce and make the hotdish watery if not removed before assembly.






OMG this is the exact tater tot hotdish my mom made growing up in Minnesota! I brought it to our church potluck last Sunday and every single bite was gone before I even got through the first line at the serving table. The cream of mushroom mix with the ground beef is perfectly seasoned, no extra salt needed! My 3 kids asked for seconds before they even finished their first helping. SO good, will be on our weekly dinner rotation for sure.
As a single dad who can barely boil water without burning it, this recipe was foolproof! 55 minutes total, super easy steps, and my teen who lives off energy drinks and chips actually said it was “fire”. Win in my book. Did meal prep on Sunday and portioned it out for lunches all week, held up great in the fridge.
This was so tasty! I swapped the regular cream of mushroom for gluten-free cream of mushroom and used GF tater tots to fit my dietary needs, and it turned out perfect. Only thing is I wish it had a little more crunch on top? Next time I might add some fried onions right at the end.
Game changer. I’ve tried probably 8 different tater tot hotdish recipes over the years and this one is hands down the best. No weird canned vegetable overload, the ratio of tot to filling is perfect, and the little bit of Worcestershire in the beef mix? Chef’s kiss. My roommate ate half the pan in one sitting.
I’ve been making tater tot hotdish for my grandkids for over 40 years, and I have to say this recipe is just as good as my old handwritten one! I added a small can of drained corn like I always do, and it was perfect. Reminds me of Friday night dinners when my own kids were little.
Made this yesterday for my weekly meal prep and it’s so hearty! Super easy to throw together after work, I didn’t even have to run to the grocery store because I had all the ingredients in my pantry and freezer already. 10/10 comfort food.
Brought this to our college football tailgate last weekend and people were coming back for thirds. I added a layer of diced pickles on top before baking like I saw on TikTok and it slapped. 10/10 will make again for the next home game.
I swapped the ground beef for plant-based crumbles and used vegan cream of mushroom soup, and it was still incredible! My meat-eating boyfriend didn’t even notice the difference until I told him after he ate two plates. Easy, customizable, perfect comfort food for cold nights.
First time ever making a hotdish and I was so nervous I’d mess it up! The instructions were super clear, no weird fancy techniques, and it came out golden brown and bubbly just like the photo. My roommate said it’s better than the dining hall food, which is the highest compliment possible from a college senior lol.
Made this for dinner last night and my kids devoured it! I added a bag of frozen mixed veggies like peas and carrots because I always sneak veggies in where I can, and no one complained at all. Even my super picky 7 year old asked if we could have it for his birthday dinner next month.
Made this on a snowy Colorado night last week and it was exactly what I needed. Warm, savory, filling, and the leftovers tasted even better the next day. I topped my serving with a little ketchup like I did when I was a kid and it was pure nostalgia.
This recipe saved me when I forgot I was supposed to bring a main dish to our office potluck! I threw it together in 10 minutes before work, popped it in the office oven, and it was done by lunchtime. Got three people asking for the recipe before I even left the break room. Only note: I wish I’d made two pans, it went so fast!