
corned beef instant pot

title 1
corned beef instant pot
⏱️ cook time 1 hour 50 minutes
🍽️ servings 4
⚡ Difficulty easy

intro

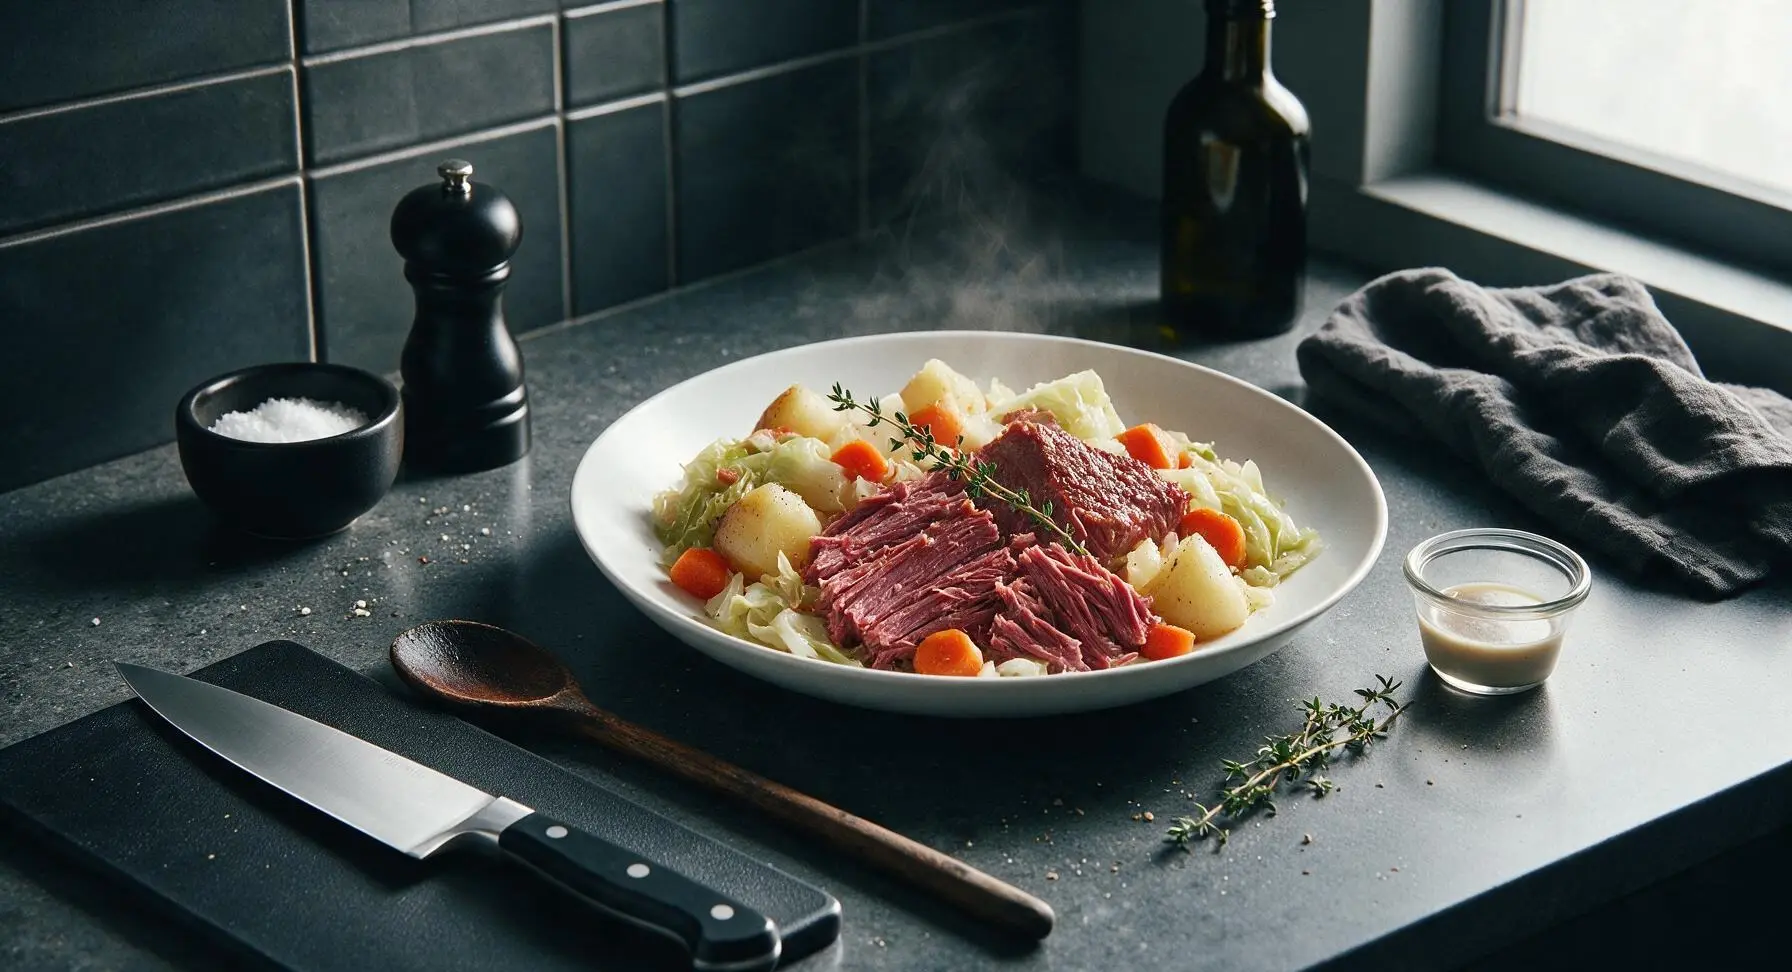
Tender, fall-apart cured corned beef cooked fast in the Instant Pot, paired with buttery potatoes, carrots, and cabbage for a cozy, no-fuss classic family meal.

Ingredients
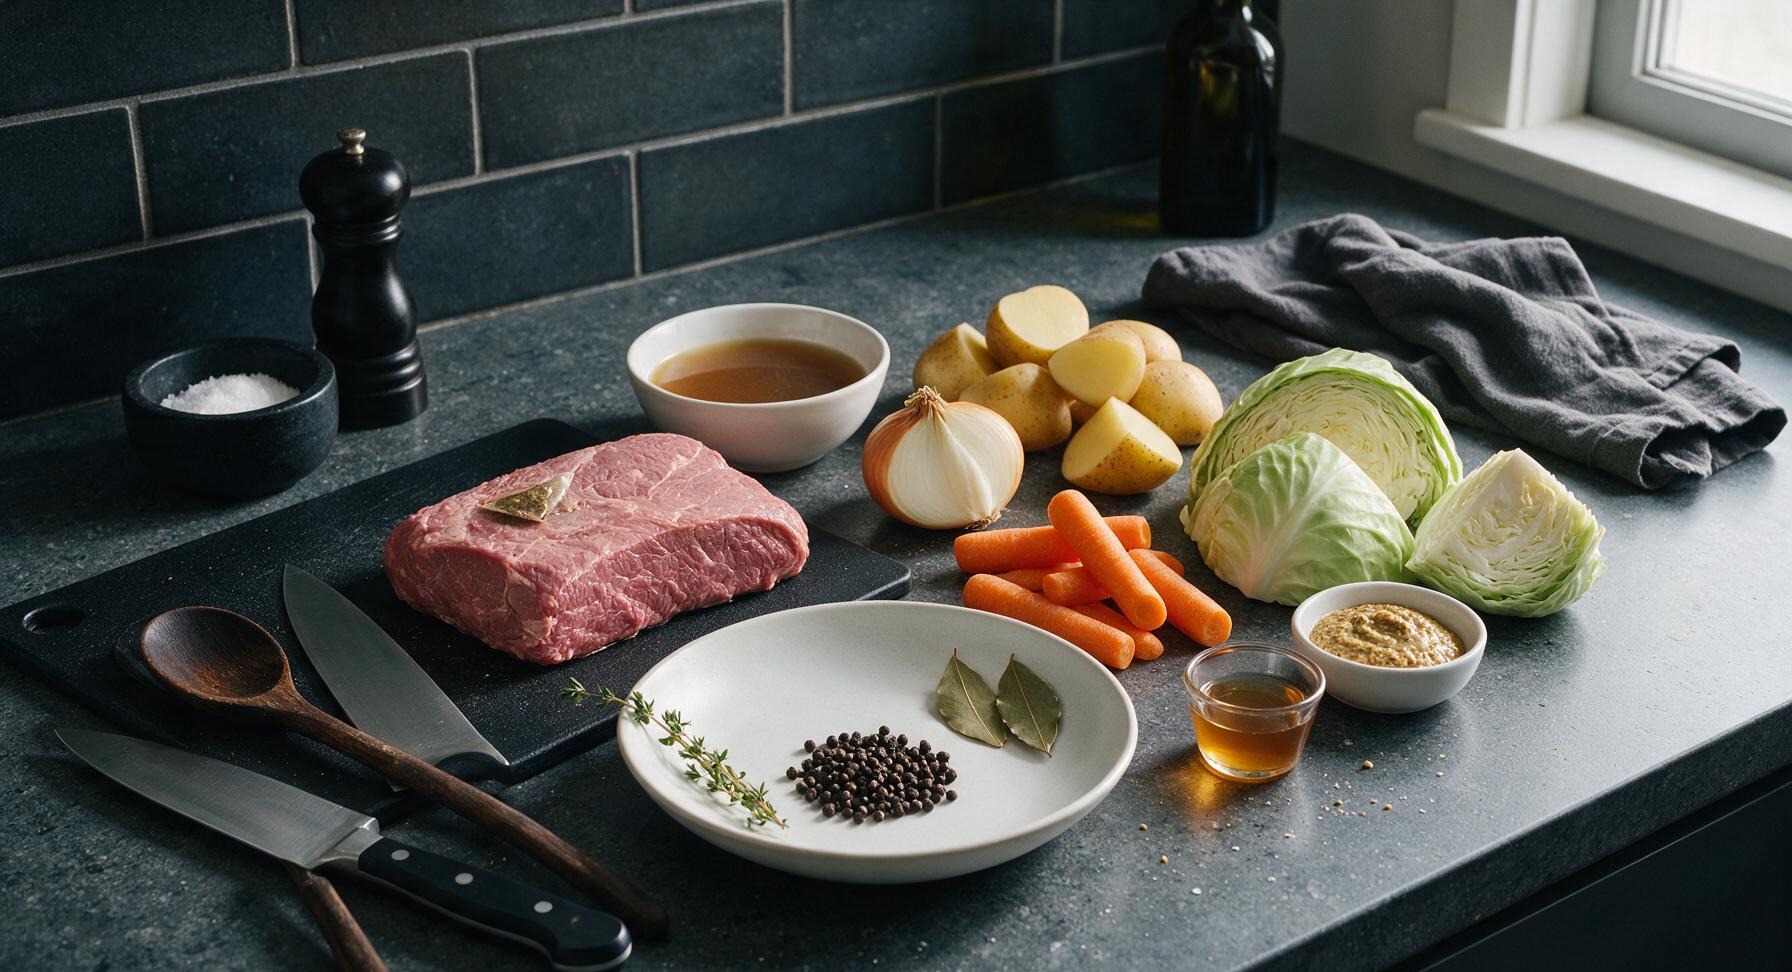
Corned beef brisket (with included spice packet) 3 lb (1.3 kg)
Low-sodium beef broth 1 cup (240ml)
Yellow onion, quartered 1 large (250g)
Yukon gold potatoes, cut into 2-inch chunks 4 medium (600g)
Carrots, peeled and cut into 2-inch chunks 3 medium (220g)
Green cabbage, cut into 4 wedges 1 small (900g)
Whole-grain mustard 2 tablespoons (30g)
Bay leaves 2 whole
Whole black peppercorns 1 teaspoon
Apple cider vinegar 1 tablespoon (15ml)

Steps

1

Rinse and Prep Beef

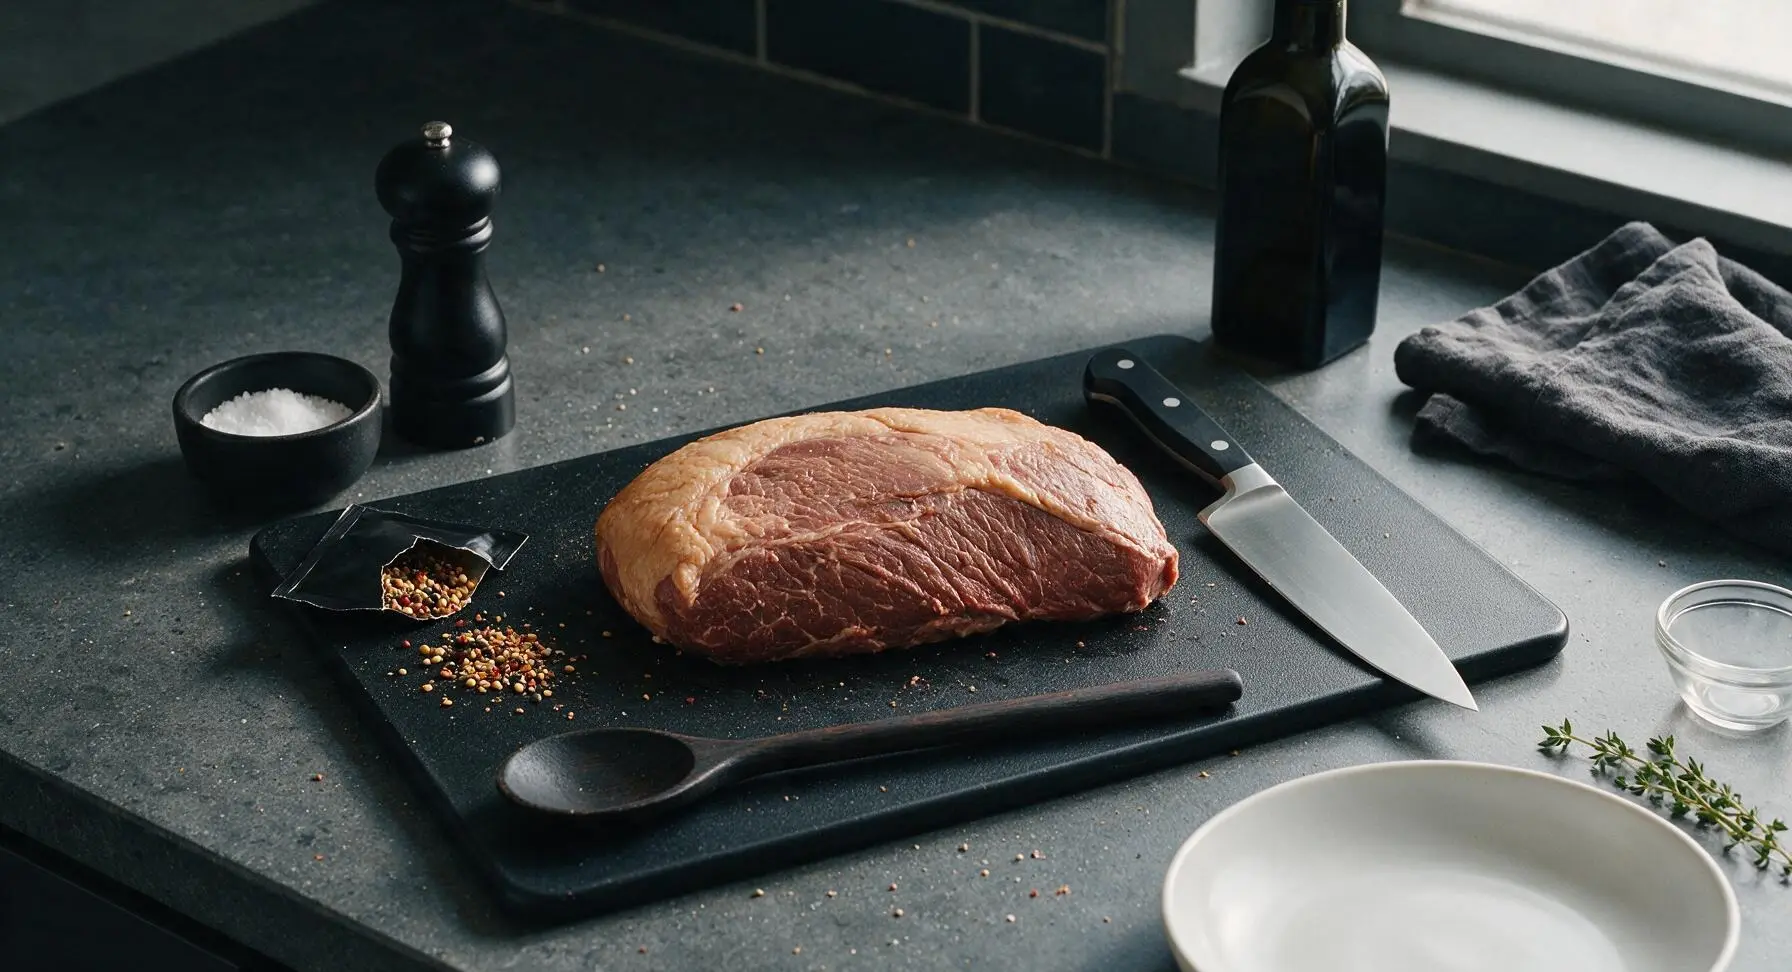
Remove the corned beef brisket from its packaging, discard any excess brine, and rinse thoroughly under cold running water to remove surface salt. Pat completely dry with paper towels, and open the included spice packet to set aside. Trim any excessively thick hard fat cap to 1/4-inch thickness using the chef knife on the maple cutting board, leaving a thin fat layer to add flavor during cooking.
Step 1
step1:Rinse and Prep Beef
2

Load Pot Aromatics

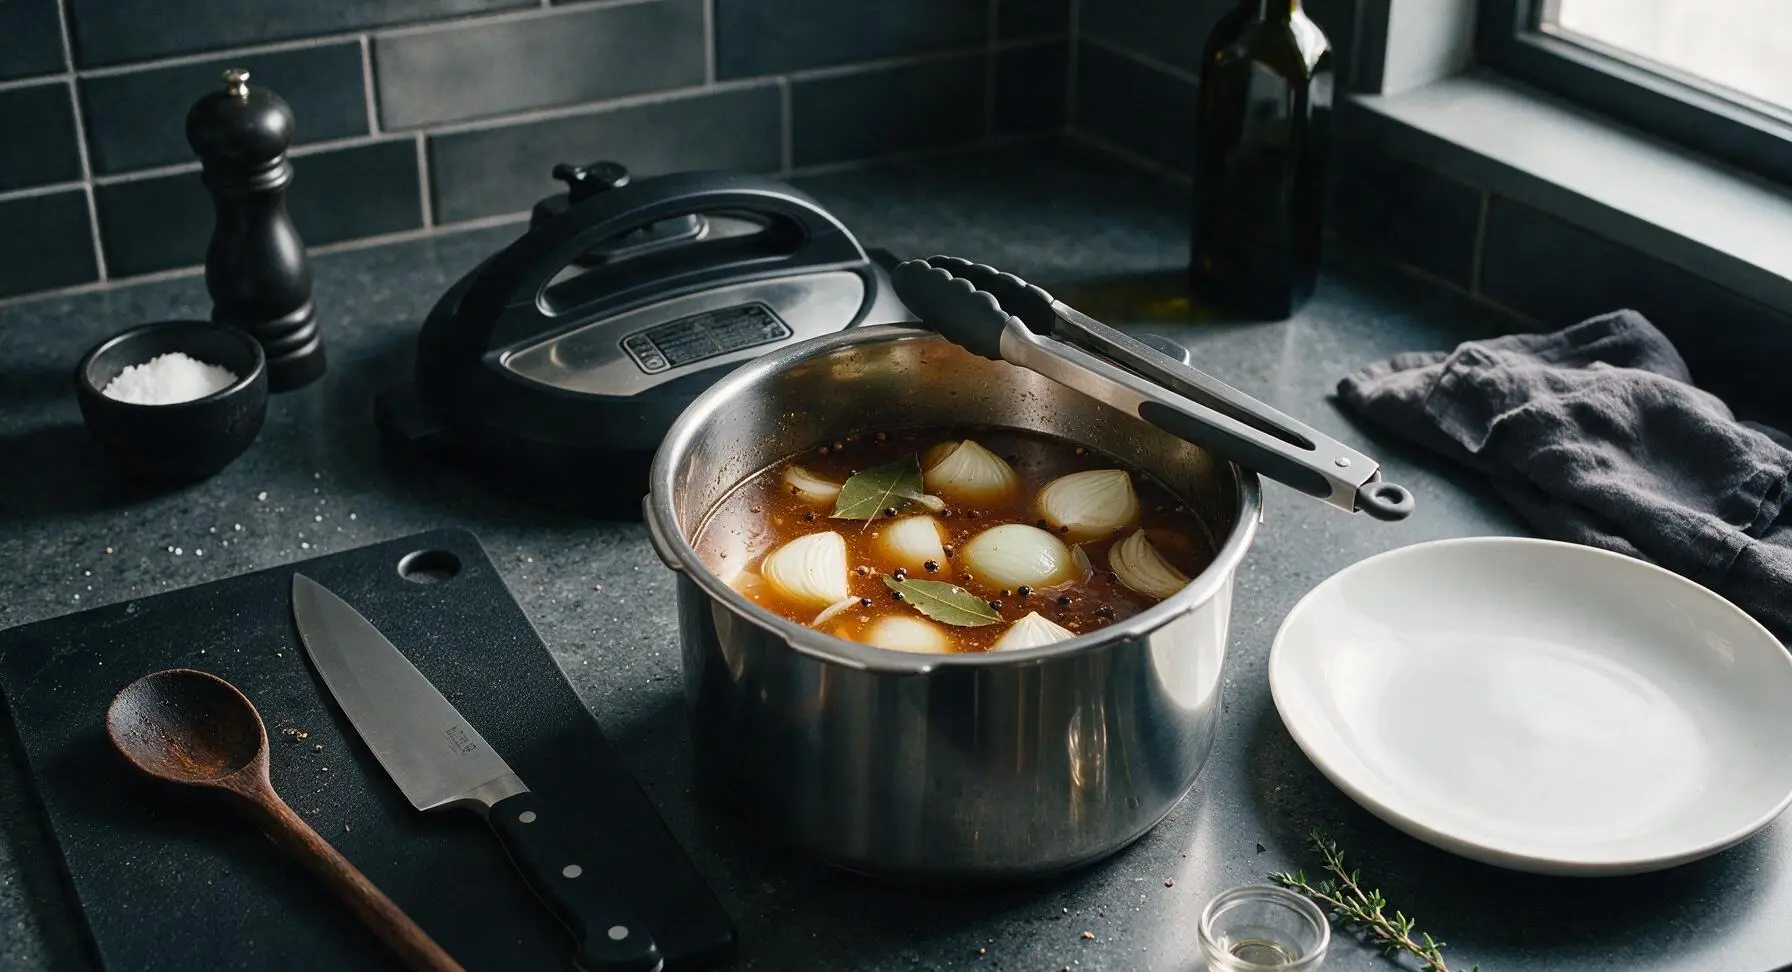
Place the stainless steel inner pot into the Instant Pot base. Pour in the beef broth and apple cider vinegar, then add the quartered onion, bay leaves, whole black peppercorns, and the contents of the corned beef spice packet. Stir once with the silicone-tipped tongs to combine the liquid and aromatics evenly.
Step 2
step2:Load Pot Aromatics
3

Cook Beef Under Pressure

Place the prepared corned beef brisket fat-side up on top of the aromatic base in the inner pot. Seal the Instant Pot lid, turn the pressure release valve to the Sealing position, and set to cook on High Pressure for 75 minutes. Once the cook time completes, allow a full 15-minute natural pressure release before carefully switching the valve to Venting to release remaining pressure.
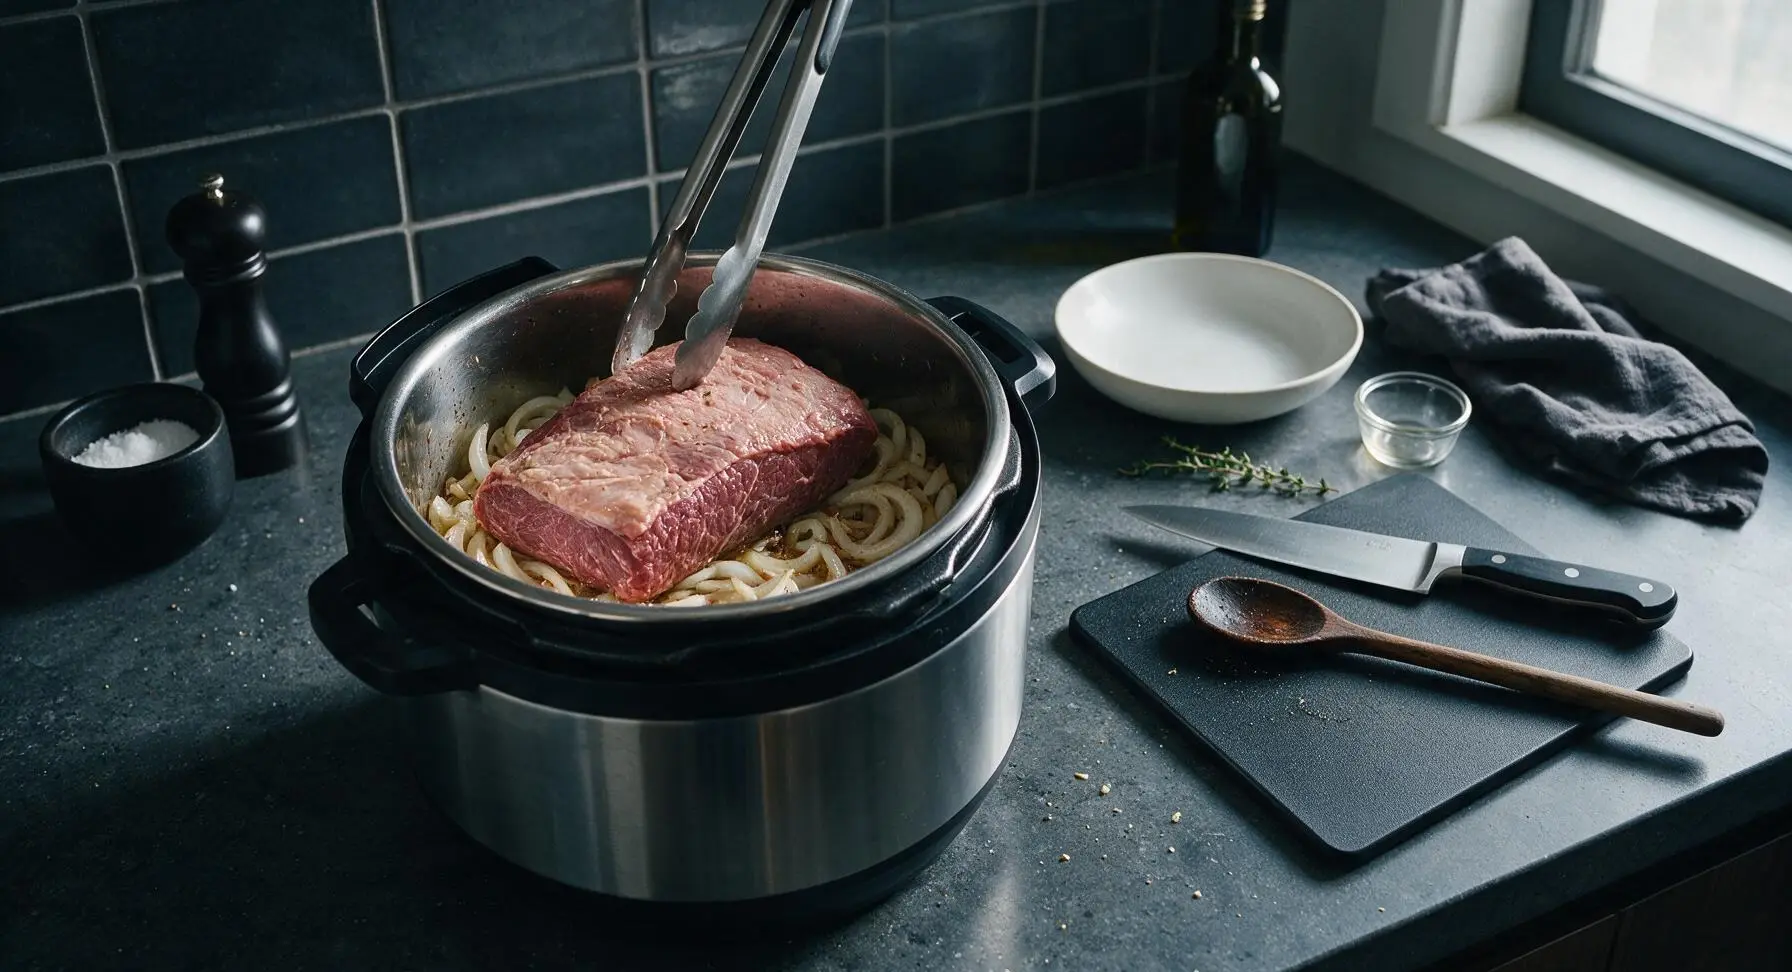
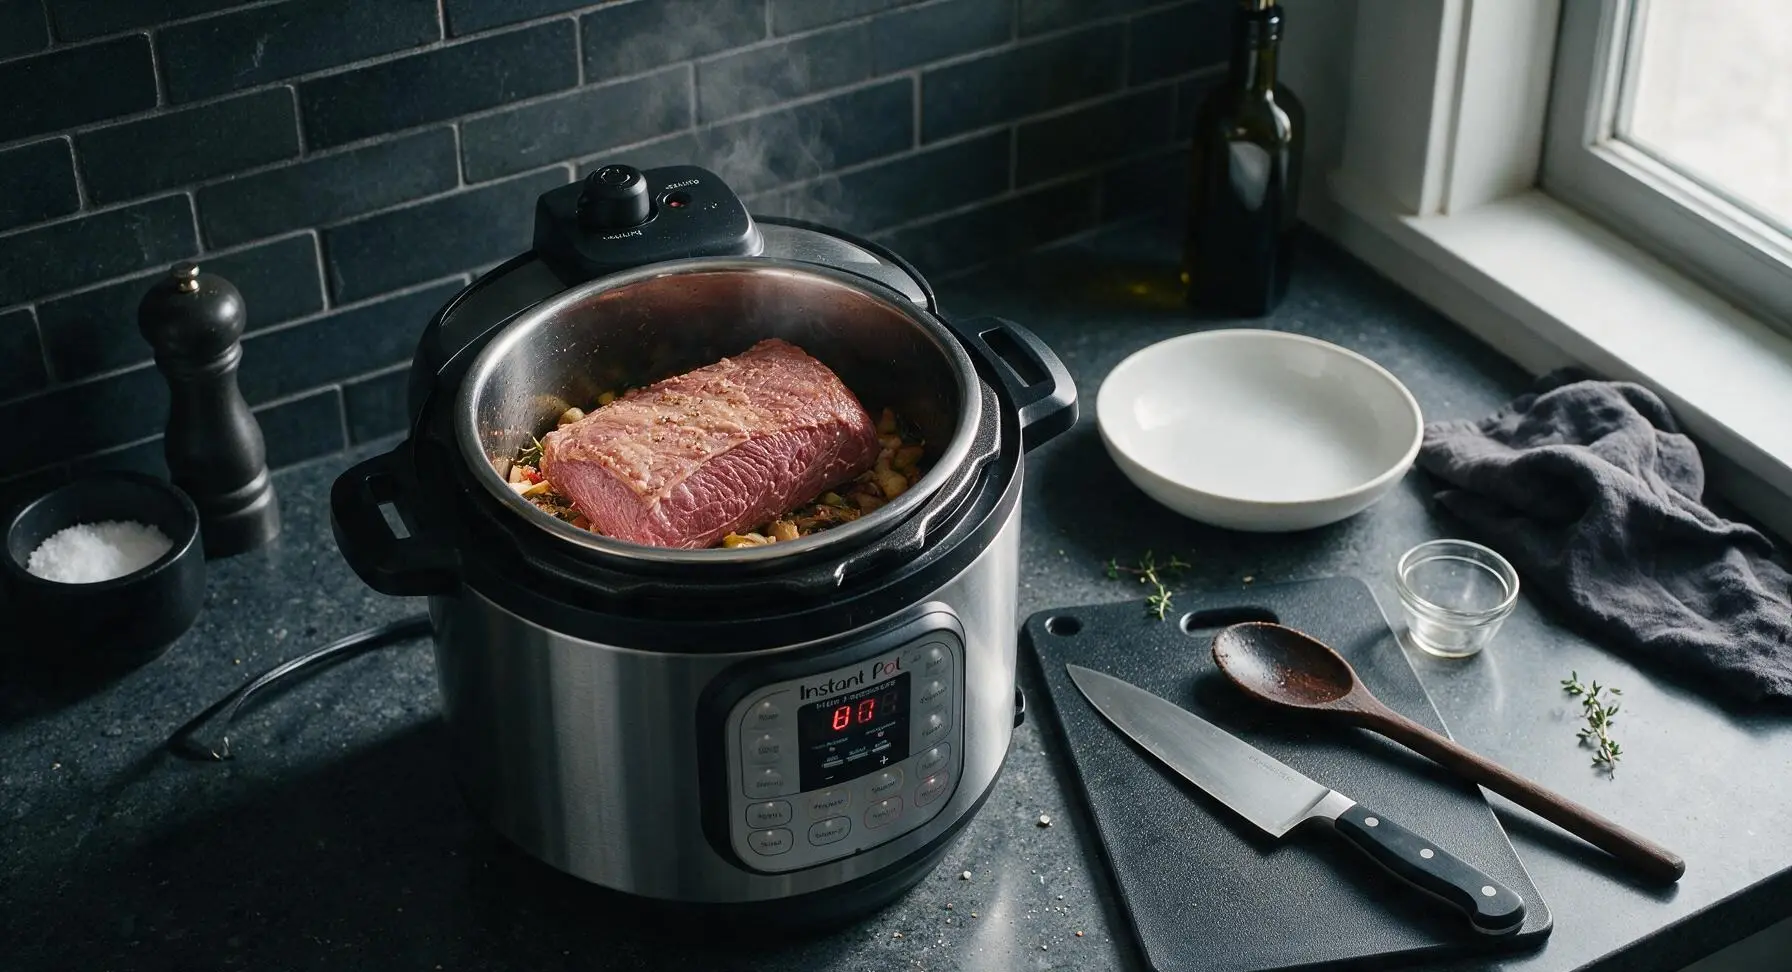
Step 3
step3:Cook Beef Under Pressure
Step 3
step3:Cook Beef Under Pressure
4

Add Root Vegetables

Once the 15-minute natural pressure release for the beef is complete, carefully switch the pressure valve to Venting to release any remaining steam. Open the Instant Pot lid, tilting it away from your face to avoid hot steam burns. Use the dinner fork to check early beef tenderness: the tines should pierce the outer meat layer with gentle pressure. Arrange the prepared potato chunks and carrot pieces around the sides of the beef, nestling them down into the hot cooking liquid.
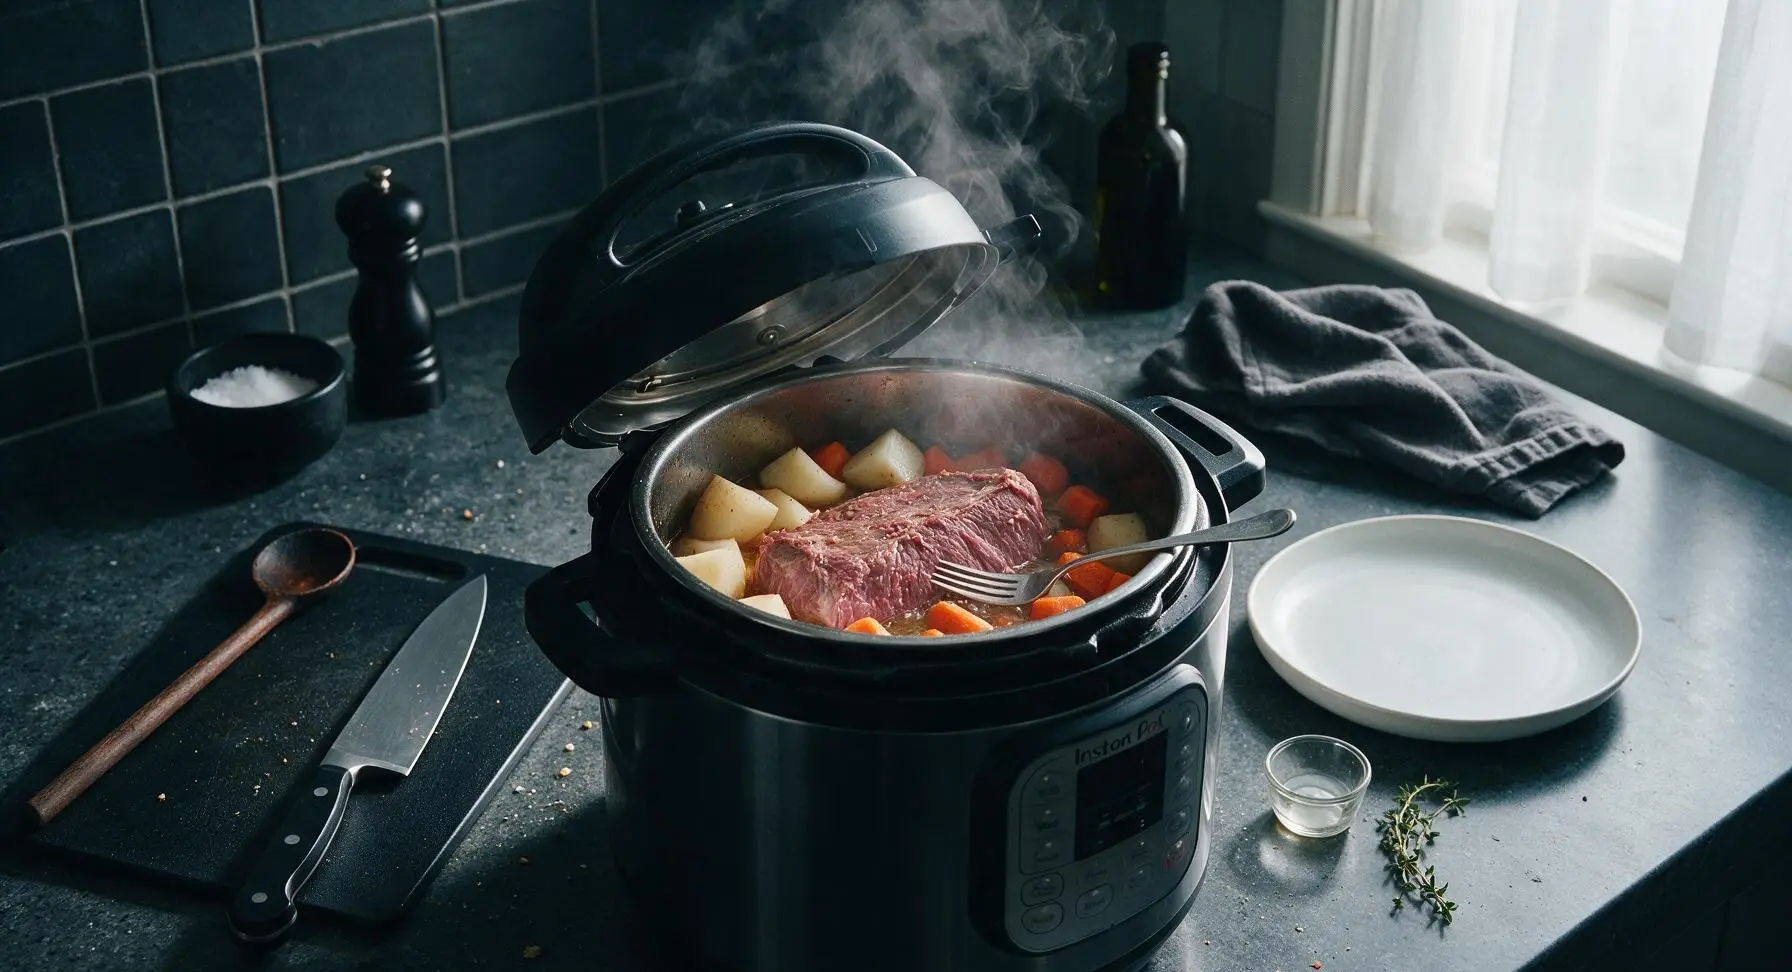
Step 4
step4:Add Root Vegetables
5

Pressure Cook Vegetables

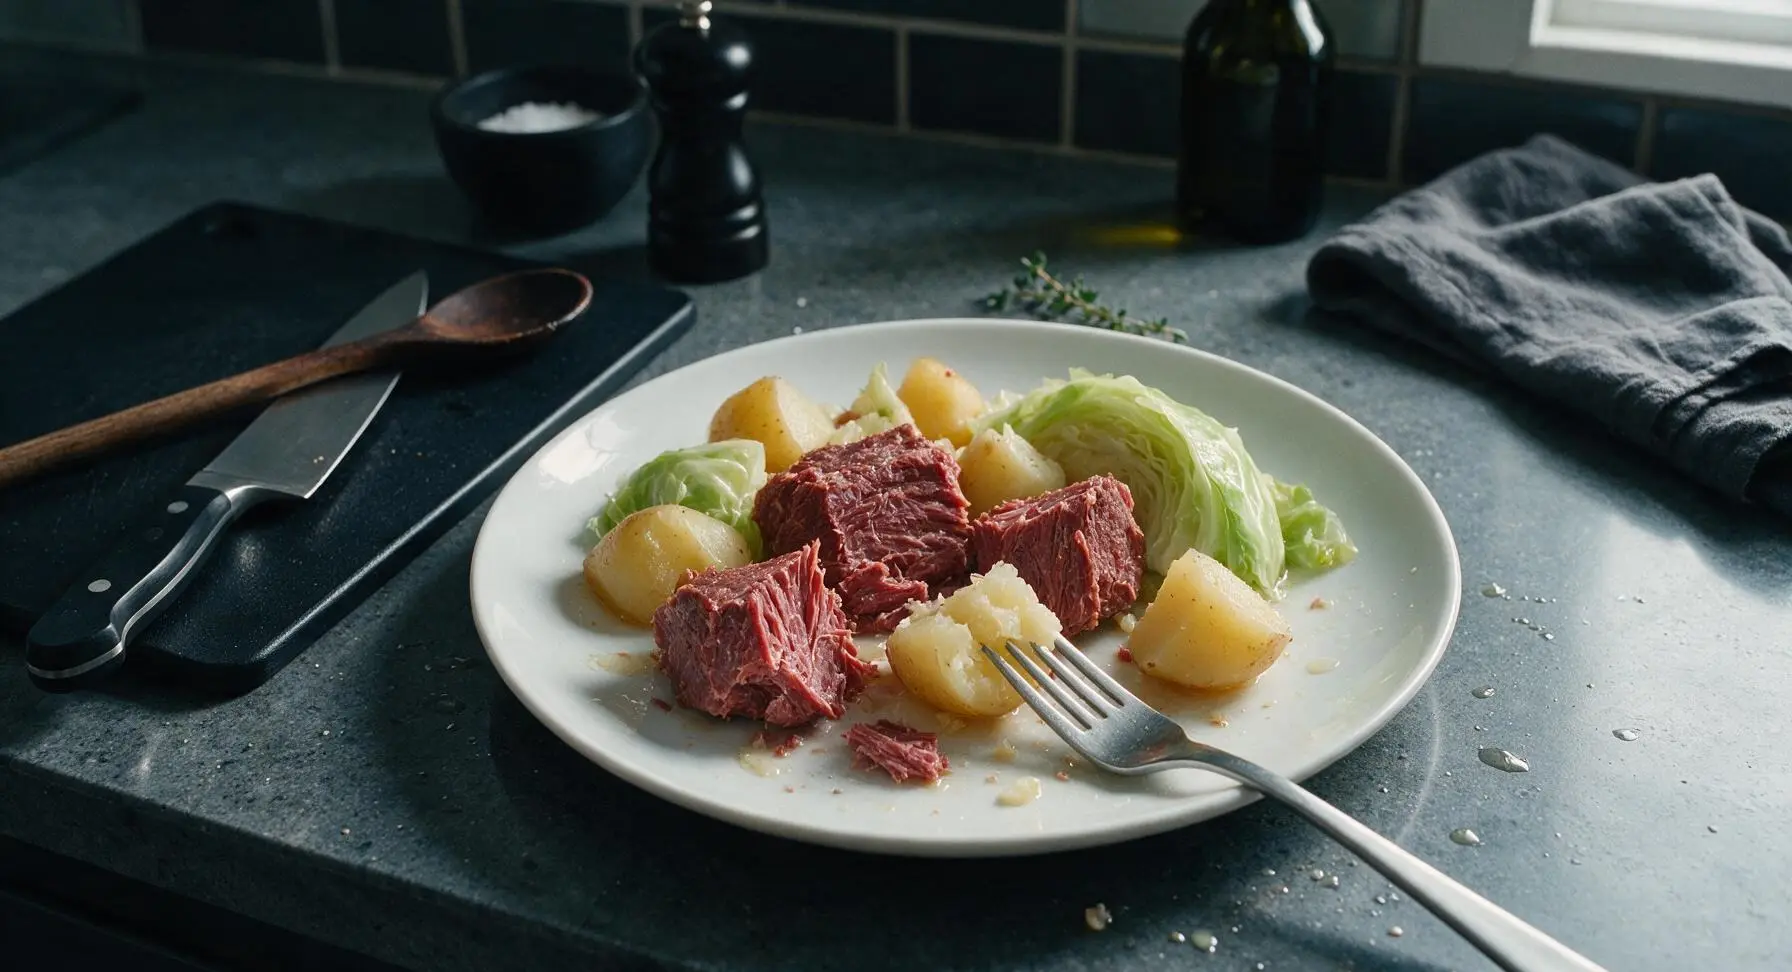
Reseal the Instant Pot lid, return the pressure valve to the Sealing position, and cook on High Pressure for 5 minutes. When the cook time ends, perform a quick pressure release by carefully turning the valve to Venting, keeping hands and face clear of the hot steam jet. Once pressure is fully released, open the lid and arrange the cabbage wedges on top of the beef and root vegetables, pressing them lightly into the cooking liquid. Reseal the lid, return the valve to Sealing, and cook on High Pressure for 3 more minutes, followed by another quick pressure release. Use the dinner fork to confirm vegetables are tender: potatoes should pierce easily with no hard core, and cabbage should be soft but not mushy.
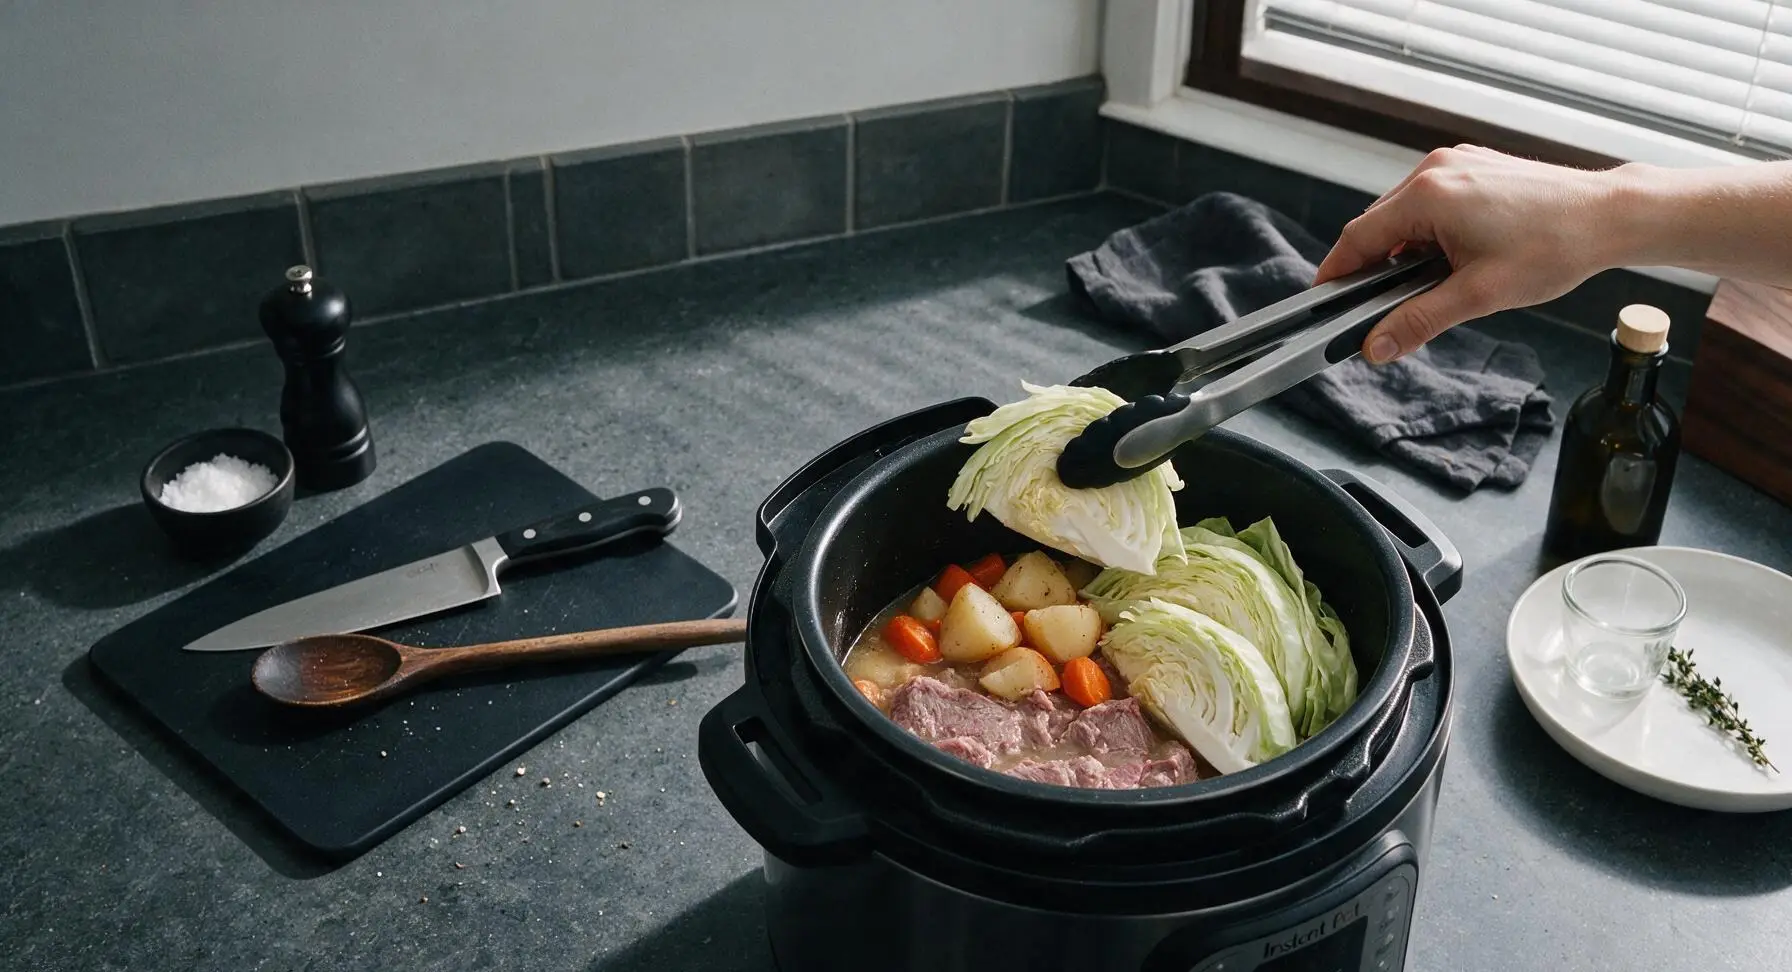
Step 5
step5:Pressure Cook Vegetables
Step 5
step5:Pressure Cook Vegetables
6

Rest the Cooked Beef

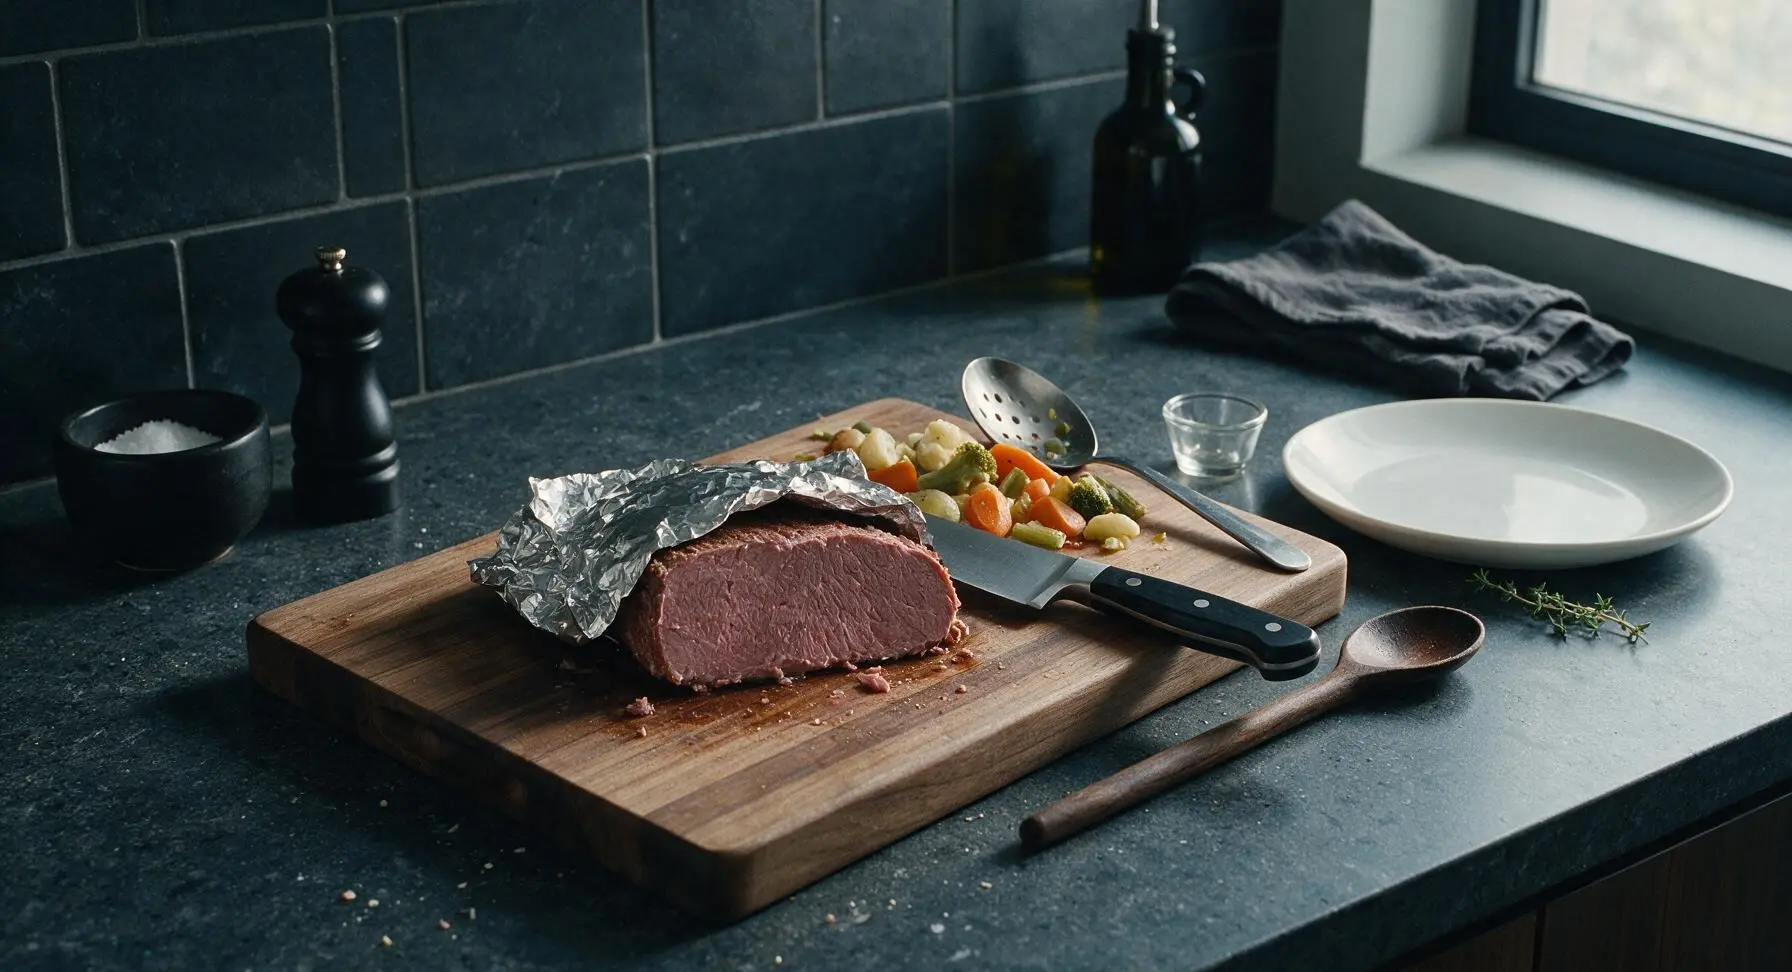
Use the tongs and slotted spoon to carefully lift the fully cooked corned beef out of the pot and transfer it to the center of the maple cutting board. Loosely tent the beef with a small sheet of aluminum foil, and let it rest for 10 minutes to allow meat juices to redistribute (this prevents juicy slices from drying out when cut). Use the slotted spoon to transfer all cooked vegetables to a warm spot on the edge of the cutting board, leaving the savory cooking liquid in the inner pot.
Step 6
step6:Rest the Cooked Beef
7

Slice Against the Grain

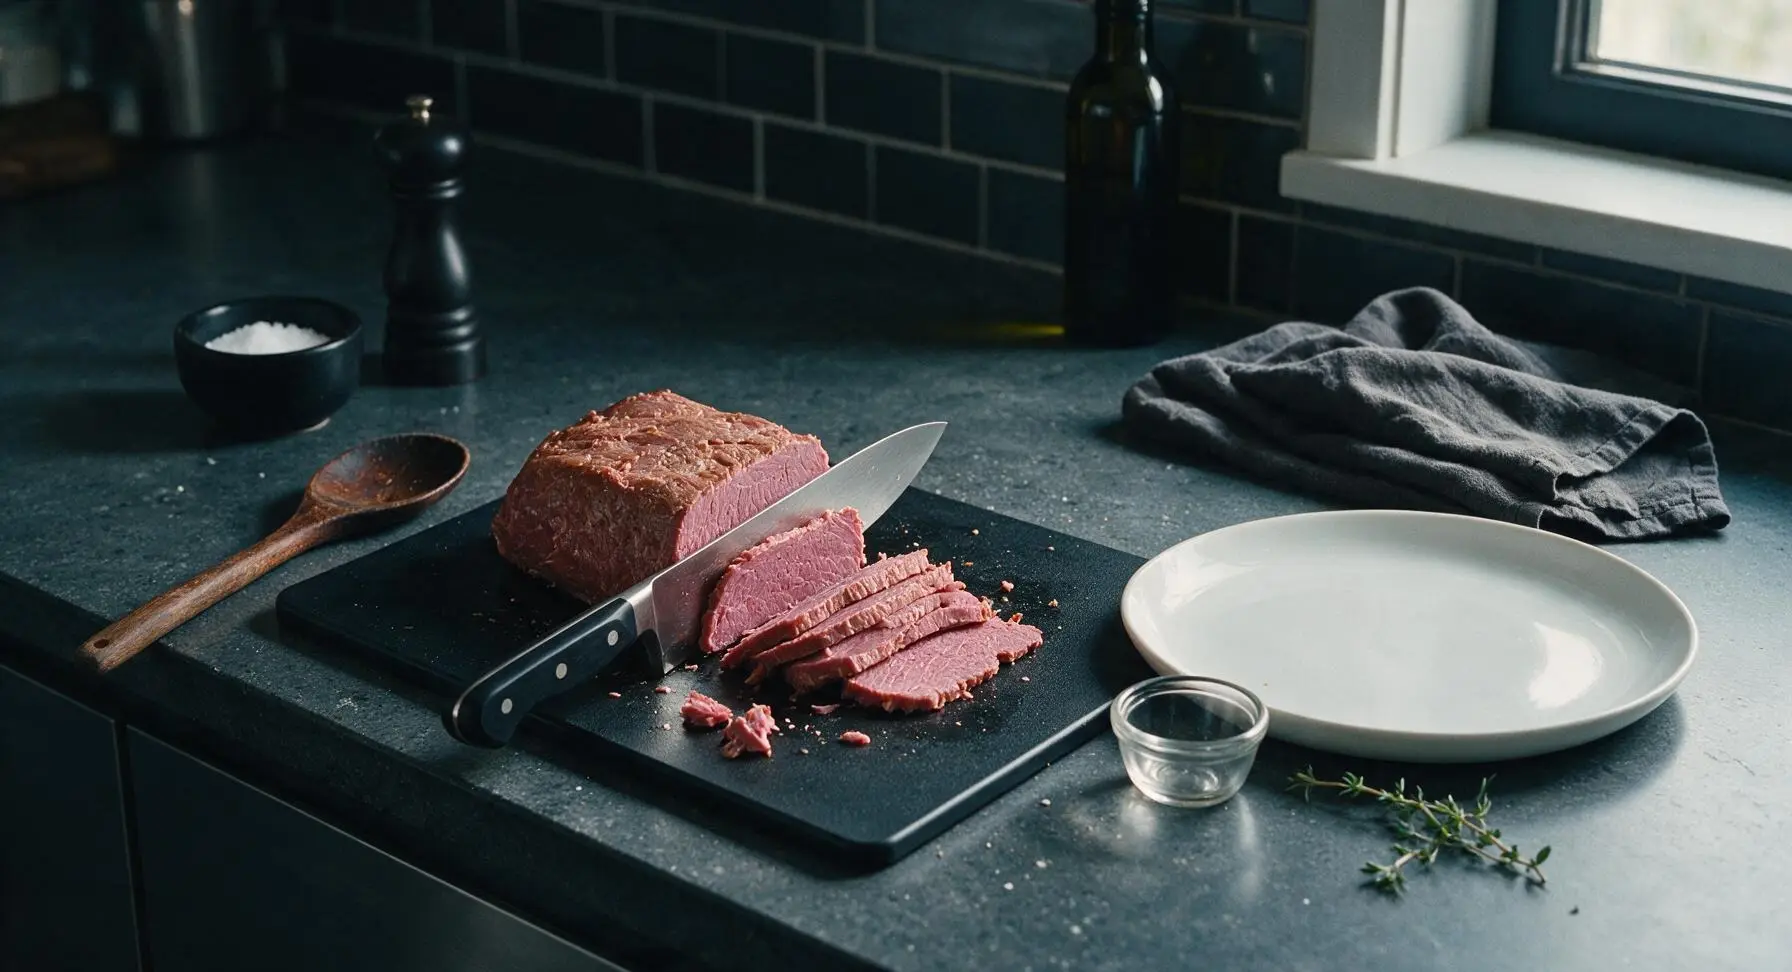
After resting, identify the direction of the meat grain (the long, parallel lines of muscle fiber running across the brisket). Use the chef knife to cut the corned beef into uniform 1/4-inch thick slices, cutting firmly across the grain to ensure maximum tenderness. Discard any overly thick, tough fat pieces as you slice. Serve slices alongside the cooked vegetables, with whole-grain mustard for dipping.
Step 7
step7:Slice Against the Grain

Tips

1.Always rinse packaged corned beef under cold water before cooking: the brining solution used to cure the meat is very high in salt, and skipping this step will result in an unpalatably salty final dish, even when using low-sodium broth.
2.Slice rested corned beef strictly against the grain: corned beef comes from the brisket, a well-exercised muscle with long, tough parallel fibers. Cutting across these fibers shortens them, guaranteeing tender, easy-to-chew slices instead of stringy, chewy bites.
3.Add vegetables in timed stages rather than all at once: dense potatoes and carrots need only a few minutes of pressure cooking to turn tender, while delicate cabbage cooks in mere minutes. Adding all vegetables at the start of the long beef cook time will turn them to mushy, flavorless pulp.


✨ You May Also Like

Main Course
🍜 United Kingdom

A showstopping classic of tender seared beef, savory mushroom duxelles, and crisp prosciutto wrapped in flaky golden puff pastry, baked to juicy perfection.

⏱️ 2 hours 1Main Course ★ 4.7
Main Course
🍜 India

Tender charred marinated chicken simmered in a rich, spiced creamy tomato sauce, this iconic Anglo-Indian curry pairs perfectly with basmati rice or warm naan.

⏱️ 50 minuteMain Course ★ 4.6
Main Course
🍜 Thailand

Classic tangy, sweet, and savory Thai stir-fried rice noodles with shrimp, tofu, and crunchy garnishes, balancing all five core Thai flavor profiles.

⏱️ 30 minuteMain Course ★ 4.5
Main Course
🍜 United Kingdom

Crispy golden beer-battered cod and fluffy double-fried chips, served with tangy tartar sauce and malt vinegar: the timeless, beloved British pub comfort classic.

⏱️ 45 minuteMain Course ★ 4.7
Main Course
🍜 Mexico

Smoky, chile-marinated pork tacos with caramelized pineapple, fresh cilantro, and lime: a beloved classic Mexican street food perfect for casual summer gatherings.

⏱️ 1 hour 45Main Course ★ 4.8
Main Course
🍜 United States

Crunchy Fritos corn chips layered with savory beef chili and melted cheddar, topped with cool, zesty fixings for a beloved, cozy Tex-Mex comfort food.

⏱️ 35 minuteMain Course ★ 4.8

corned beef instant pot:Frequently Asked Questions

1.How long do I need to cook corned beef in the Instant Pot to get that tender, fall-apart texture? ▾
For a standard 3–4 pound corned beef brisket, cook on high pressure for 90 minutes, then let pressure release naturally for 15 minutes before quick-releasing any remaining steam. This timing breaks down tough brisket connective tissue without turning the meat mushy, so it hits that perfect fall-apart texture the recipe promises.
2.Do I need to rinse corned beef before putting it in the Instant Pot? ▾
Absolutely yes. Corned beef is cured in a heavily salted brine, so a quick cold-water rinse and light pat dry before cooking cuts down on excess salt that would otherwise make the beef and accompanying veggies overly salty. You don’t need to scrub off surface seasoning, just rinse away loose brine residue.
3.When should I add the potatoes, carrots, and cabbage so they don’t turn mushy? ▾
Don’t add potatoes, carrots, or cabbage at the start! The quartered onion can go in with the beef and broth to build flavor, but wait until the beef finishes its initial 90-minute cook and 15-minute natural release to nestle in your 2-inch potato and carrot chunks for 4 minutes of high-pressure cook time. Add cabbage for the final 1 minute to avoid mushy veggies.
4.Should I use the spice packet included with the corned beef, or make my own seasoning? ▾
The included spice packet is totally convenient and works perfectly for this recipe—just sprinkle it directly over the brisket before sealing the Instant Pot. If you want bolder flavor, you can supplement it with a teaspoon of whole black peppercorns, a bay leaf, and a pinch of mustard seed, but homemade seasoning isn’t required.
5.Why does this recipe call for low-sodium beef broth instead of regular? ▾
Even after rinsing, corned beef leaches a fair amount of salt into the cooking liquid as it pressure cooks. Regular beef broth would tip the dish into overly salty territory, making the beef and veggies taste briny instead of balanced. If you only have regular broth on hand, dilute it half and half with water to cut sodium levels.
6.Should I place the corned beef fat side up or down in the Instant Pot? ▾
Place the brisket fat side up for this recipe. As the fat renders during pressure cooking, it bastes the top of the meat as it drips down, keeping leaner sections of the brisket moist and flavorful. You can trim off excess rendered fat after cooking if you prefer a leaner final bite.
7.Can I cook a frozen corned beef brisket in the Instant Pot without thawing it first? ▾
You can, but you’ll need to adjust cook time to 120 minutes on high pressure, with the same 15-minute natural release at the end. Skip any searing step if cooking from frozen, and double-check the internal temperature hits 145°F in the thickest part of the brisket before serving to confirm it’s fully cooked.
8.What’s the best way to store leftover corned beef and veggies? ▾
Let the beef and veggies cool completely within 2 hours of cooking, then store them in airtight containers in the fridge for up to 4 days. For easiest reheating, slice the beef against the grain before storing. Reheat portions in the microwave or a small pan with a splash of broth to keep meat from drying out.

Comments (4)

2 days ago

OMG this Instant Pot corned beef was a total game changer for our St. Patrick's Day family dinner! I was so stressed I’d mess it up since I’ve only had my IP for 2 months, but it came out fall-apart tender, no tough bits at all. My kids even asked for seconds, which never happens with cabbage! Cook time was spot on too, 1 hour 50 minutes was perfect, no extra time needed.

1 day ago

This looks amazing! Quick question – did you use just the pickling spice packet that came with the corned beef, or add extra? I tried IP corned beef once before and it came out super bland, I’m determined to get it right this time.

2 hours ago

So glad your whole family loved it! Great question too – for anyone worried about blandness, feel free to toss an extra teaspoon of whole black pepper and a bay leaf in with the included spice packet for a bolder, more flavorful result. You can also throw in a couple crushed garlic cloves if that’s your vibe!

1 week ago

SO good, super easy even for a total newbie like me. I made a big batch Sunday for meal prep, sliced it up thin, and it’s been perfect for reuben sandwiches all week. Way better than the deli counter stuff, and way cheaper too. Only note is I did a 15 minute natural release then quick released the rest instead of waiting for full natural release because I was running late, and it still turned out perfect.

5 days ago

Love the meal prep hack for reubens! Thanks for the note on the partial natural release – that’s a great time-saver for folks who are crunched for time, I’m glad it worked out so well for you.

3 days ago

Brought this to my neighborhood potluck last weekend and people were hounding me for the recipe all night! I was worried because I usually braise corned beef for 3+ hours in the oven, but the Instant Pot version was juicier and way less hands on. Total crowd pleaser, 10/10 will make again for next year’s St. Patty’s gathering.

30 minutes ago

Wait a second, the cook time says 1 hour 50 minutes total? I’m used to simmering corned beef on the stove for half the day, is that actually enough time for it to get that soft, fall-apart texture? I’m making this for my in-laws this weekend and low key panicking I’ll serve them tough meat lmao.

5 minutes ago

Honey don’t you worry one bit! I made this exact recipe last month when my grandkids came to visit, followed the cook time to the letter, and it was so tender you didn’t even need a knife to cut it. Just make sure you don’t skip the natural release step like my grandson tried to tell me to do, and you’ll impress those in-laws for sure.



