
Cornflake Crusted Fried Chicken

title 1
Cornflake Crusted Fried Chicken
⏱️ cook time 25 minutes
🍽️ servings 4
⚡ Difficulty medium

intro

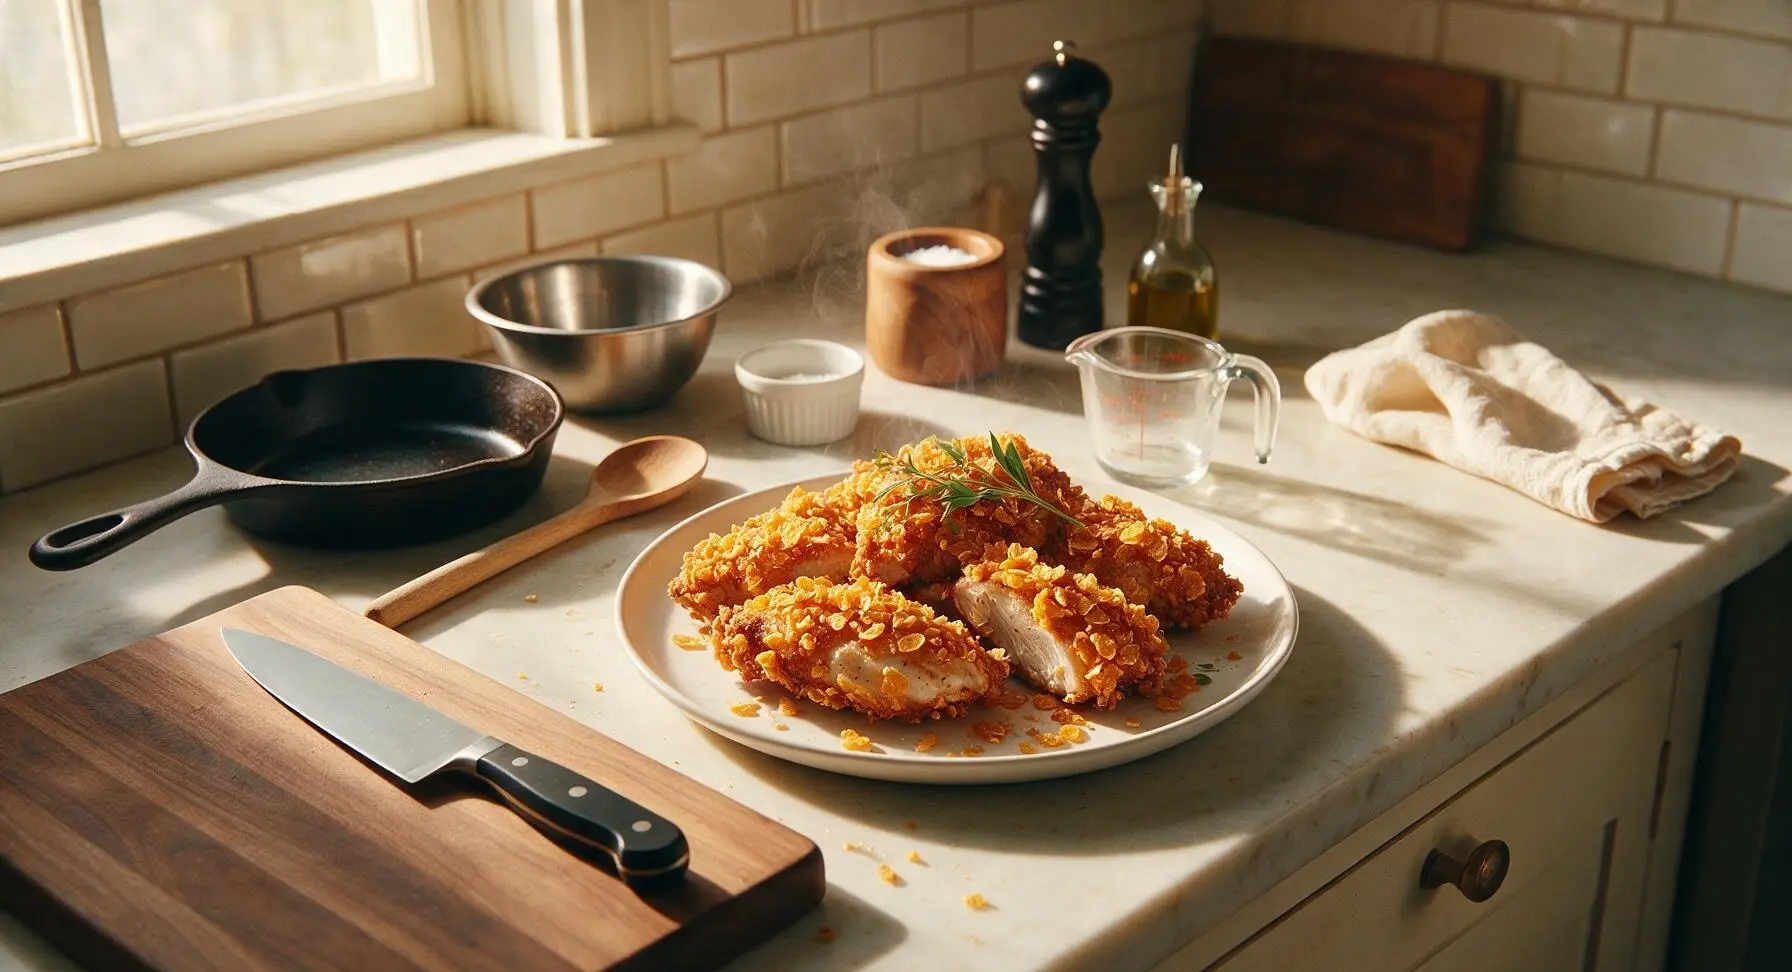
Shatteringly crisp cornflake-crusted fried chicken with juicy, well-seasoned meat, boasting a crunchy golden coating that stays crisp bite after bite. A beloved comfort food classic for family gatherings.

Ingredients
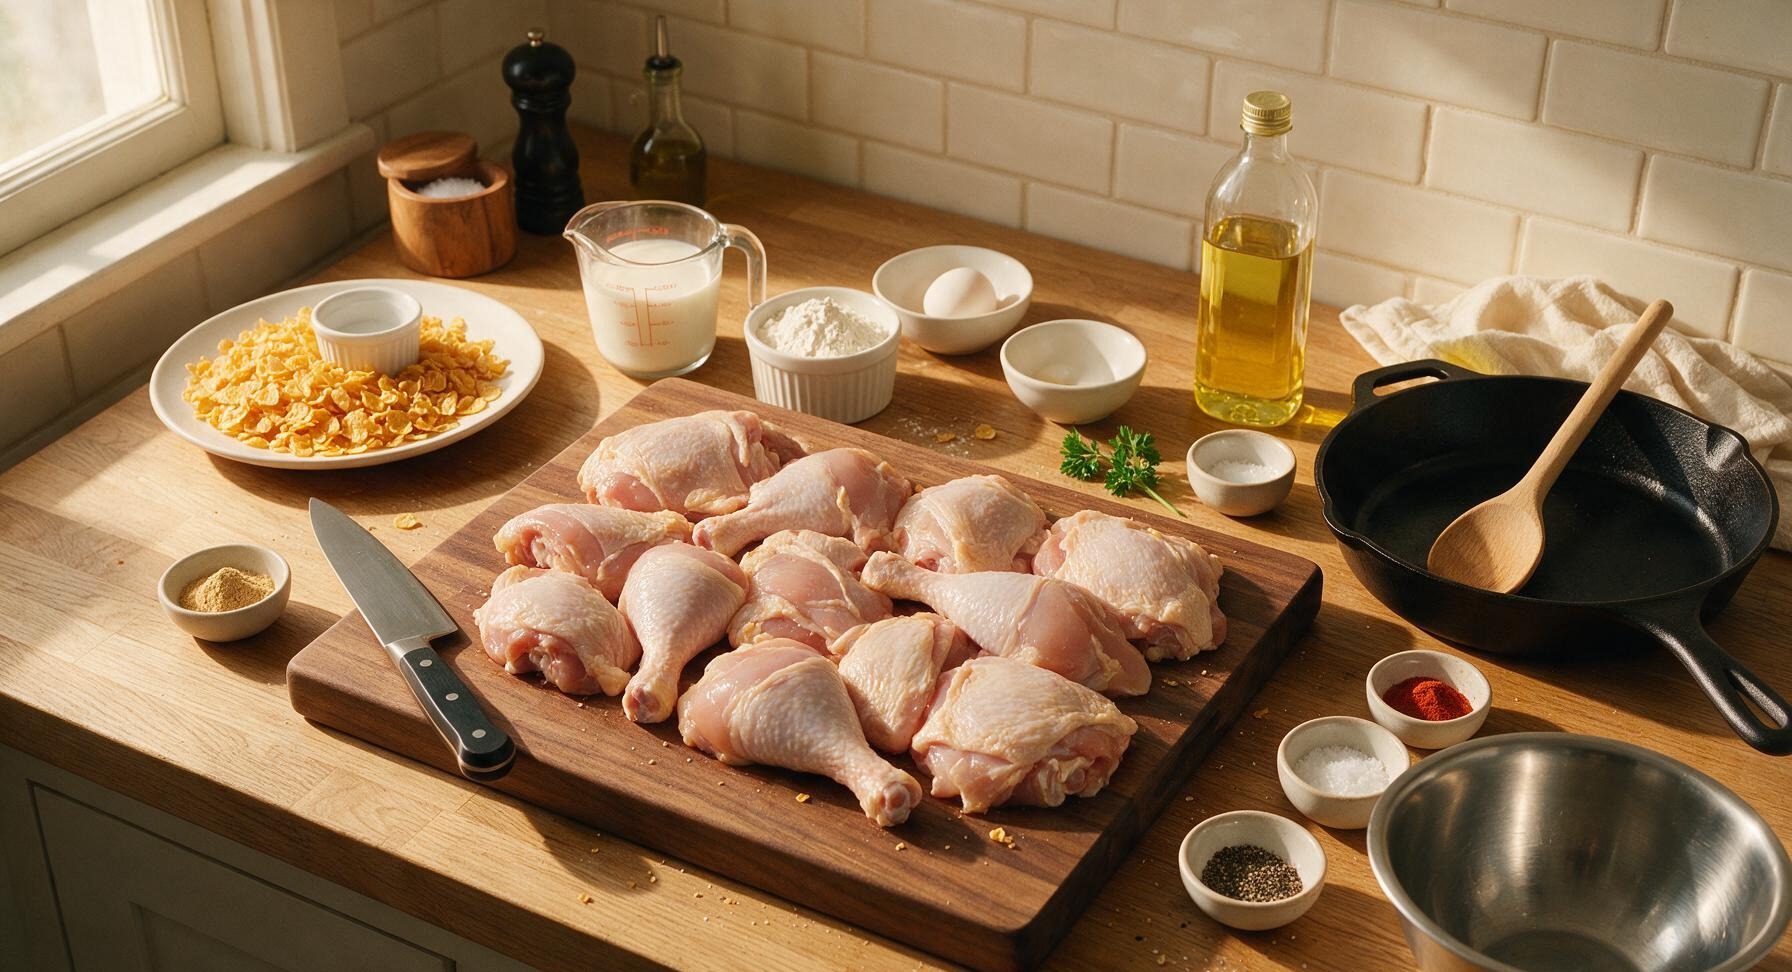
Bone-in, skin-on mixed chicken pieces (thighs, drumsticks, split breasts) 1.2kg
Plain unsweetened cornflakes 4 cups (120g)
Buttermilk 2 cups (480ml)
Large eggs 2
All-purpose flour 1/2 cup (65g)
Garlic powder 1 tablespoon
Smoked paprika 1 teaspoon
Kosher salt 2 teaspoons
Freshly ground black pepper 1 teaspoon
Cayenne pepper (optional) 1/4 teaspoon
Canola oil (for frying) 1.5L
Fresh curly parsley (for garnish) 2 sprigs

Steps

1

Brine the Chicken

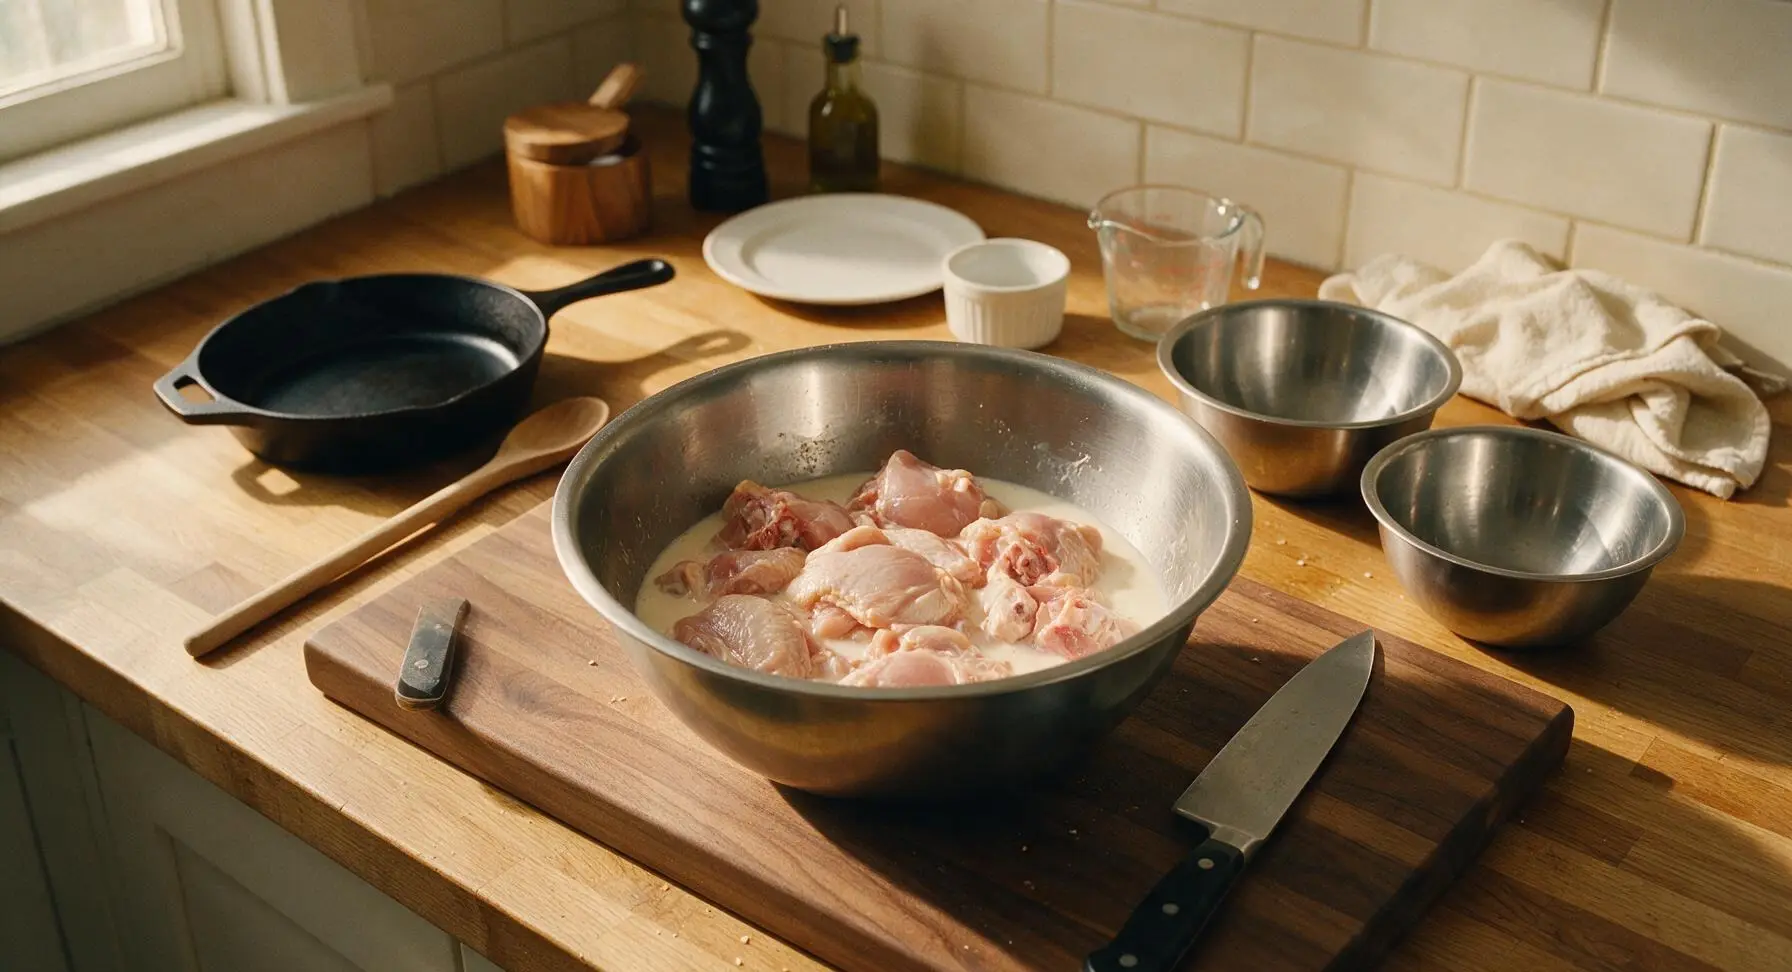
Pat 1.2kg of mixed bone-in, skin-on chicken pieces completely dry with paper towels, then place in the largest (24cm) brushed stainless steel mixing bowl. Pour 2 cups buttermilk over the chicken, add 1 teaspoon kosher salt, and turn pieces to coat fully. Let rest at room temperature for 30 minutes (chill if brining longer than 1 hour) to tenderize the meat and help the coating adhere.
Step 1
step1:Brine the Chicken
2

Crush Cornflake Crumbs

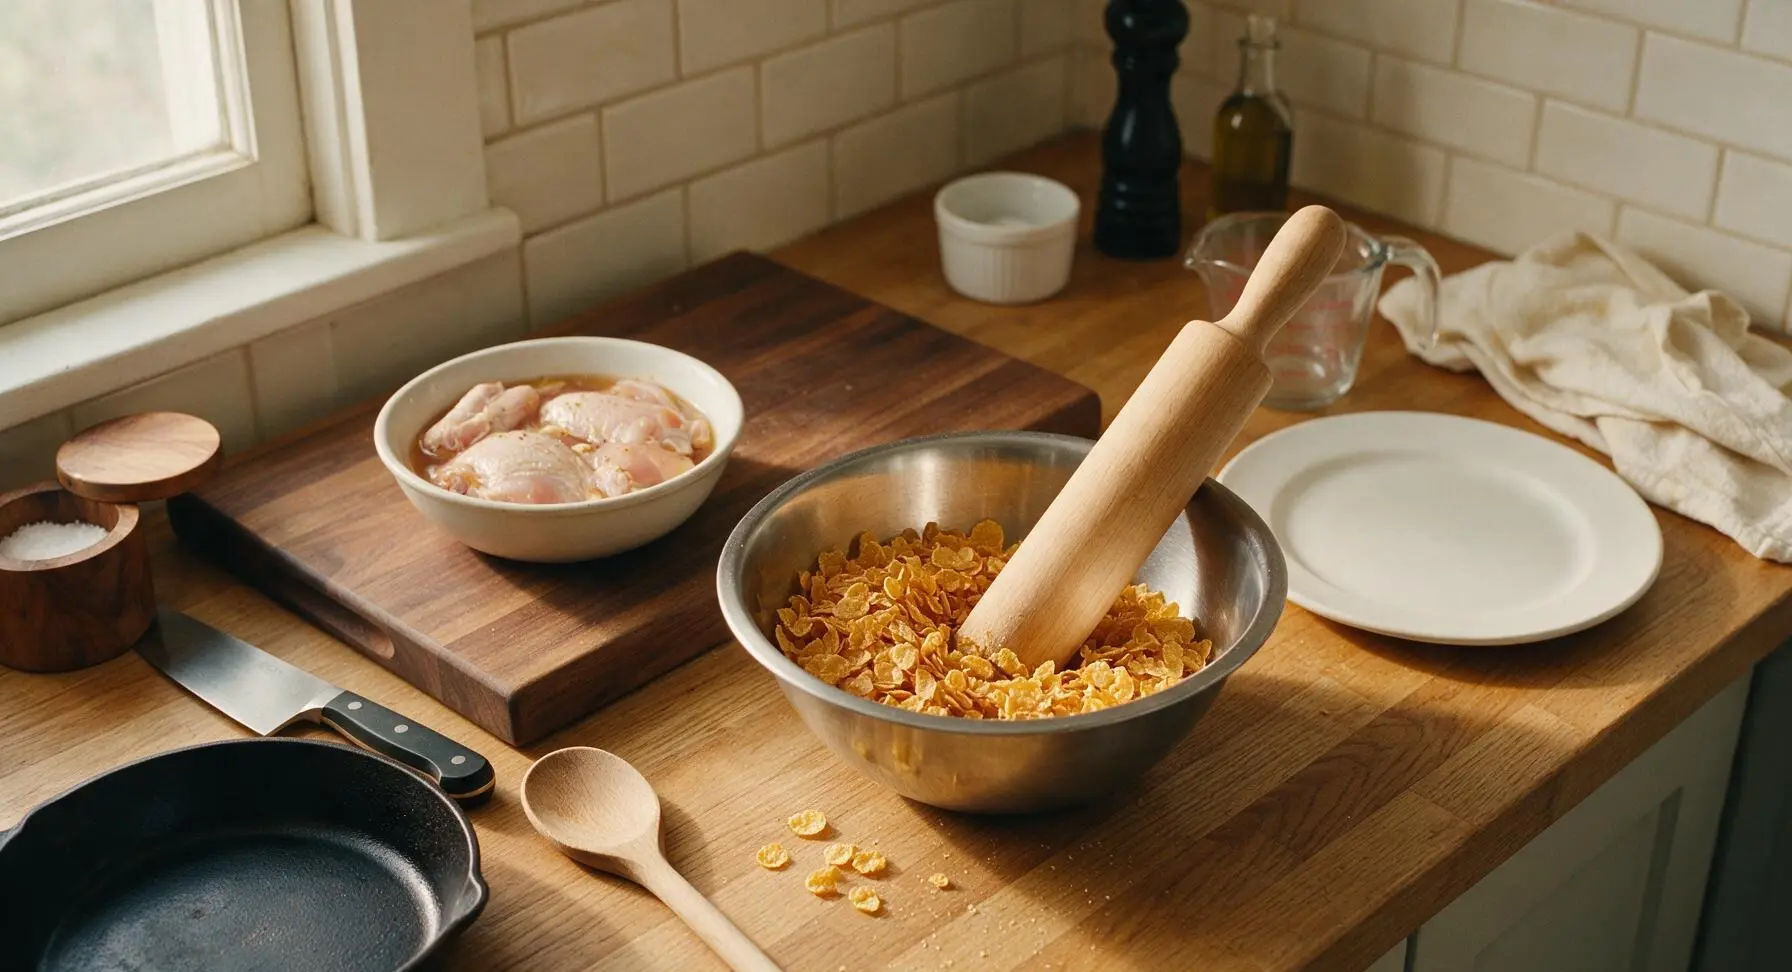
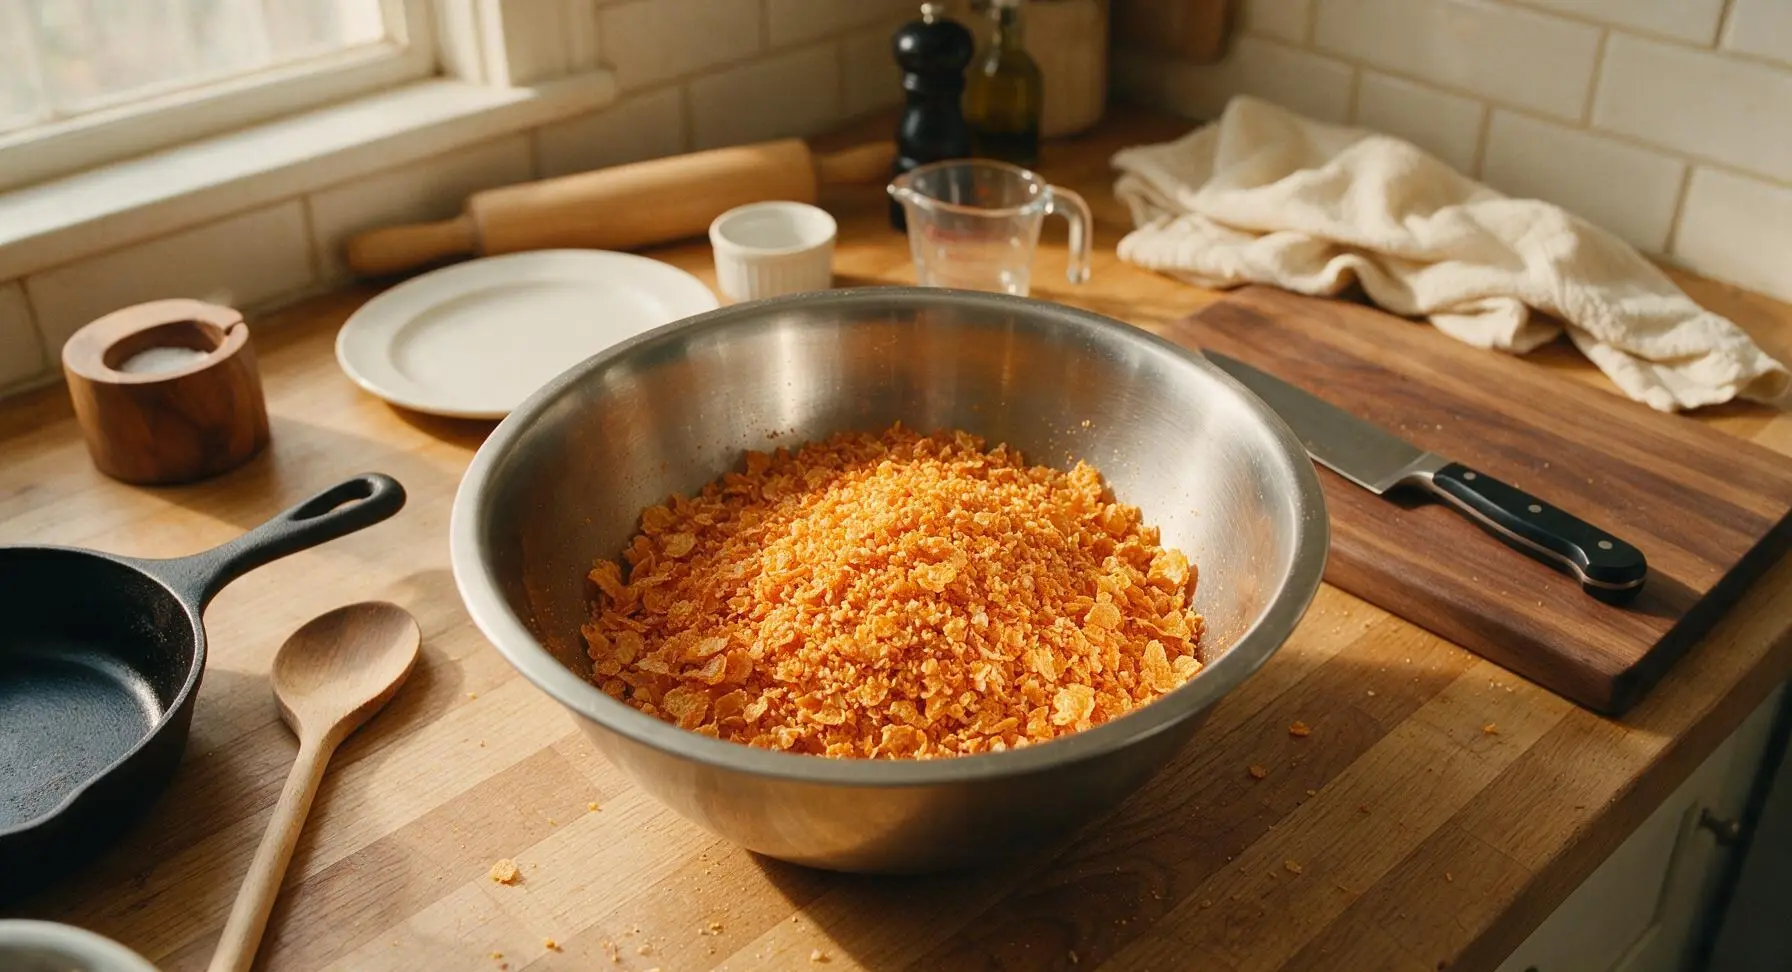
Pour 4 cups plain unsweetened cornflakes into the middle (20cm) stainless steel mixing bowl. Use the solid maple rolling pin to gently crush the flakes into coarse, uneven crumbs (aim for a mix of rice-sized fine crumbs and pea-sized larger flake pieces; do not crush into a fine powder, as this will make the coating dense instead of crispy). Stir in 1 tablespoon garlic powder, 1 teaspoon smoked paprika, 1 remaining teaspoon kosher salt, 1 teaspoon black pepper, and 1/4 teaspoon cayenne pepper (if using) until spices are evenly distributed through the crumbs.
Step 2
step2:Crush Cornflake Crumbs
Step 2
step2:Crush Cornflake Crumbs
3

Set Up Breading Station

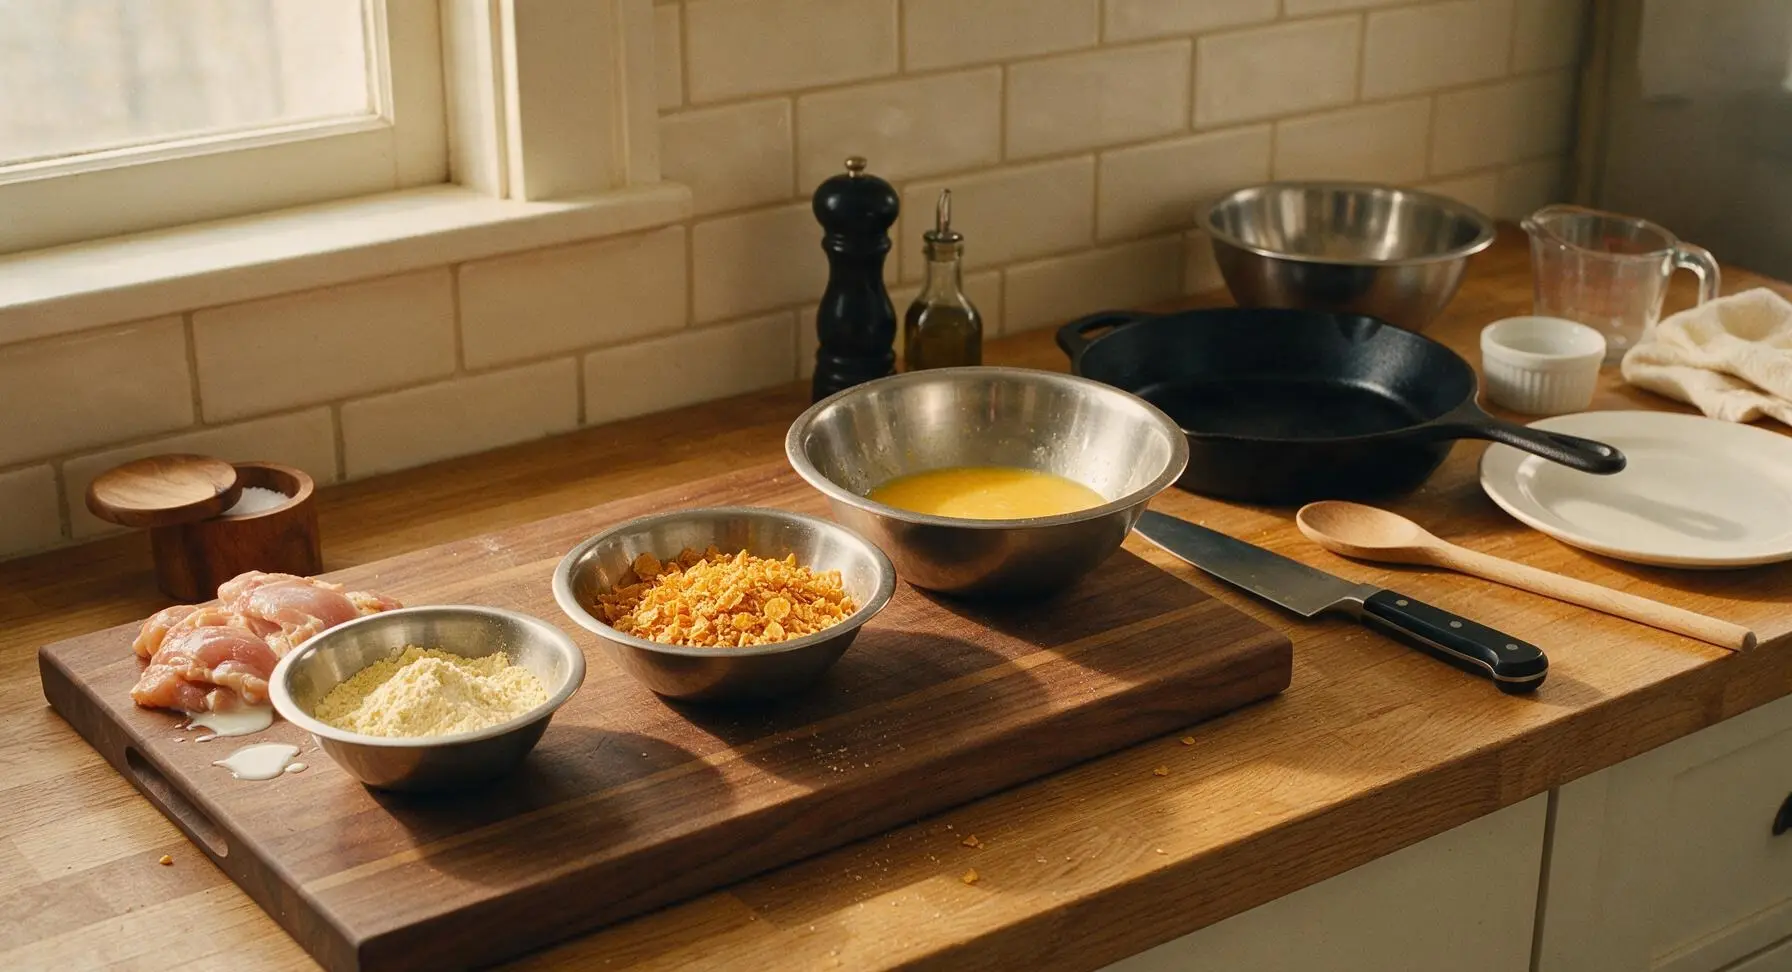
After the chicken finishes its 30-minute brine, pour off excess buttermilk from the largest mixing bowl. Crack 2 large eggs into the bowl, add 2 tablespoons water, and whisk until fully smooth with no visible streaks of egg white. Arrange the three breading components in a left-to-right line on the acacia cutting board to create a low-mess workflow: the smallest (16cm) bowl holding 1/2 cup all-purpose flour, the largest bowl holding egg wash, the middle bowl holding spiced cornflake crumbs.
Step 3
step3:Set Up Breading Station
4

Coat Chicken Evenly

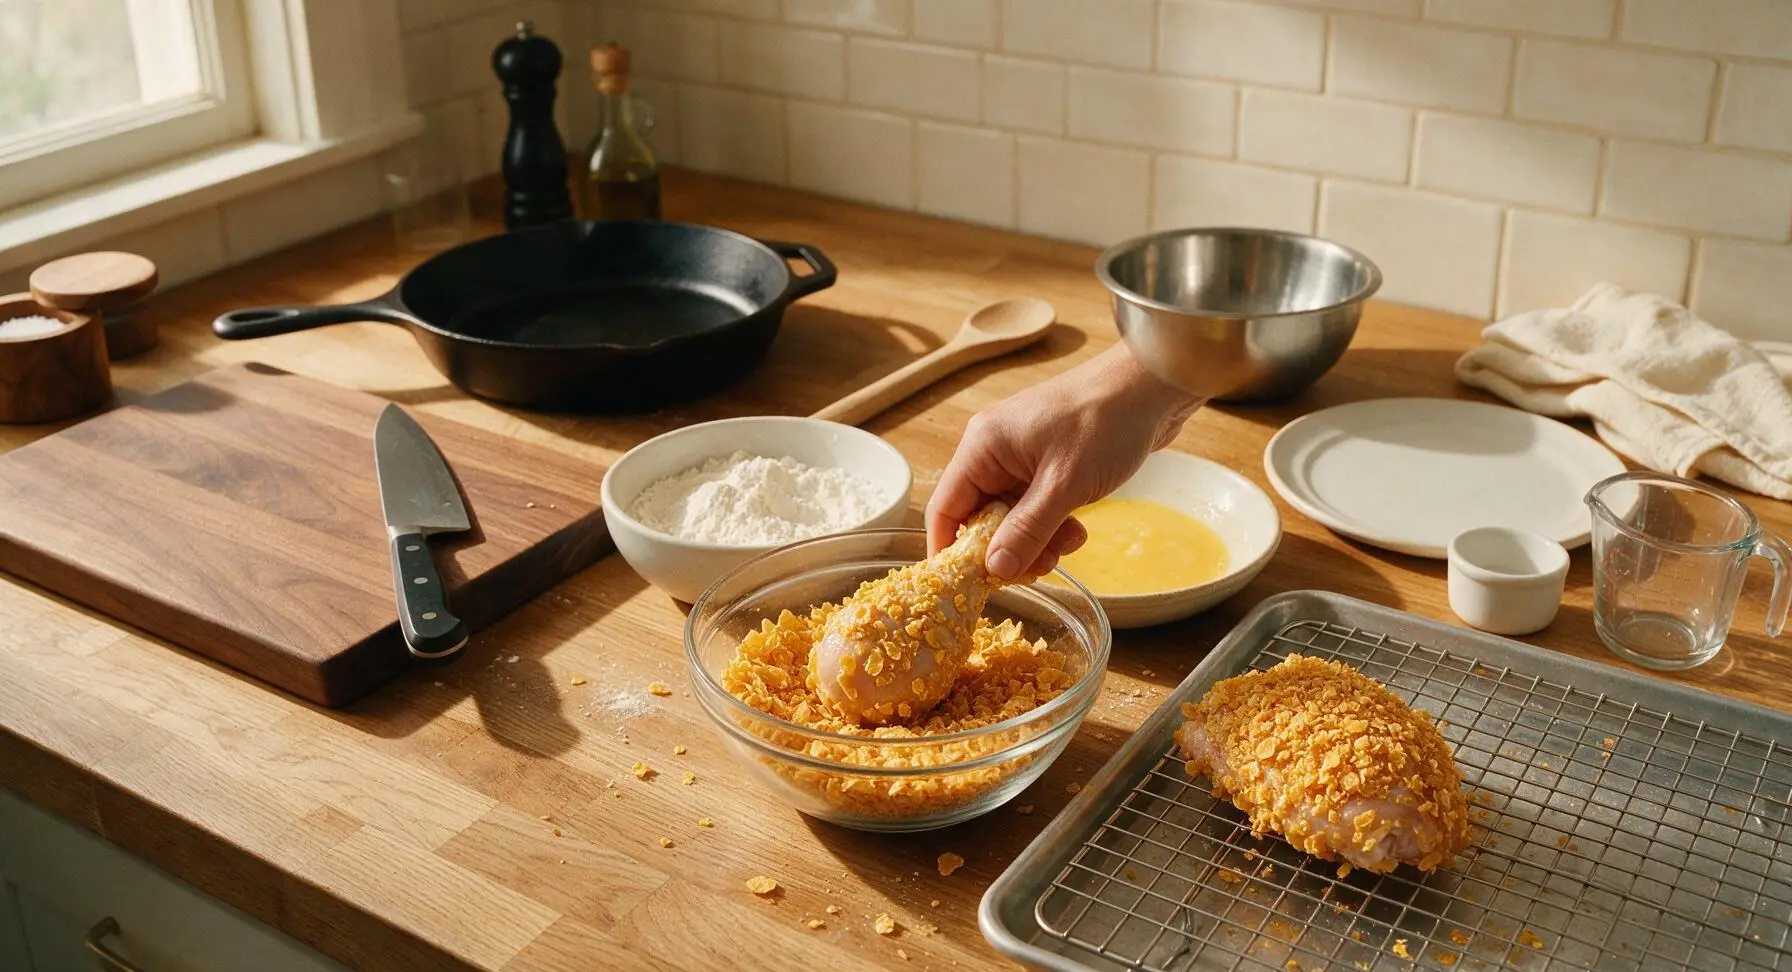
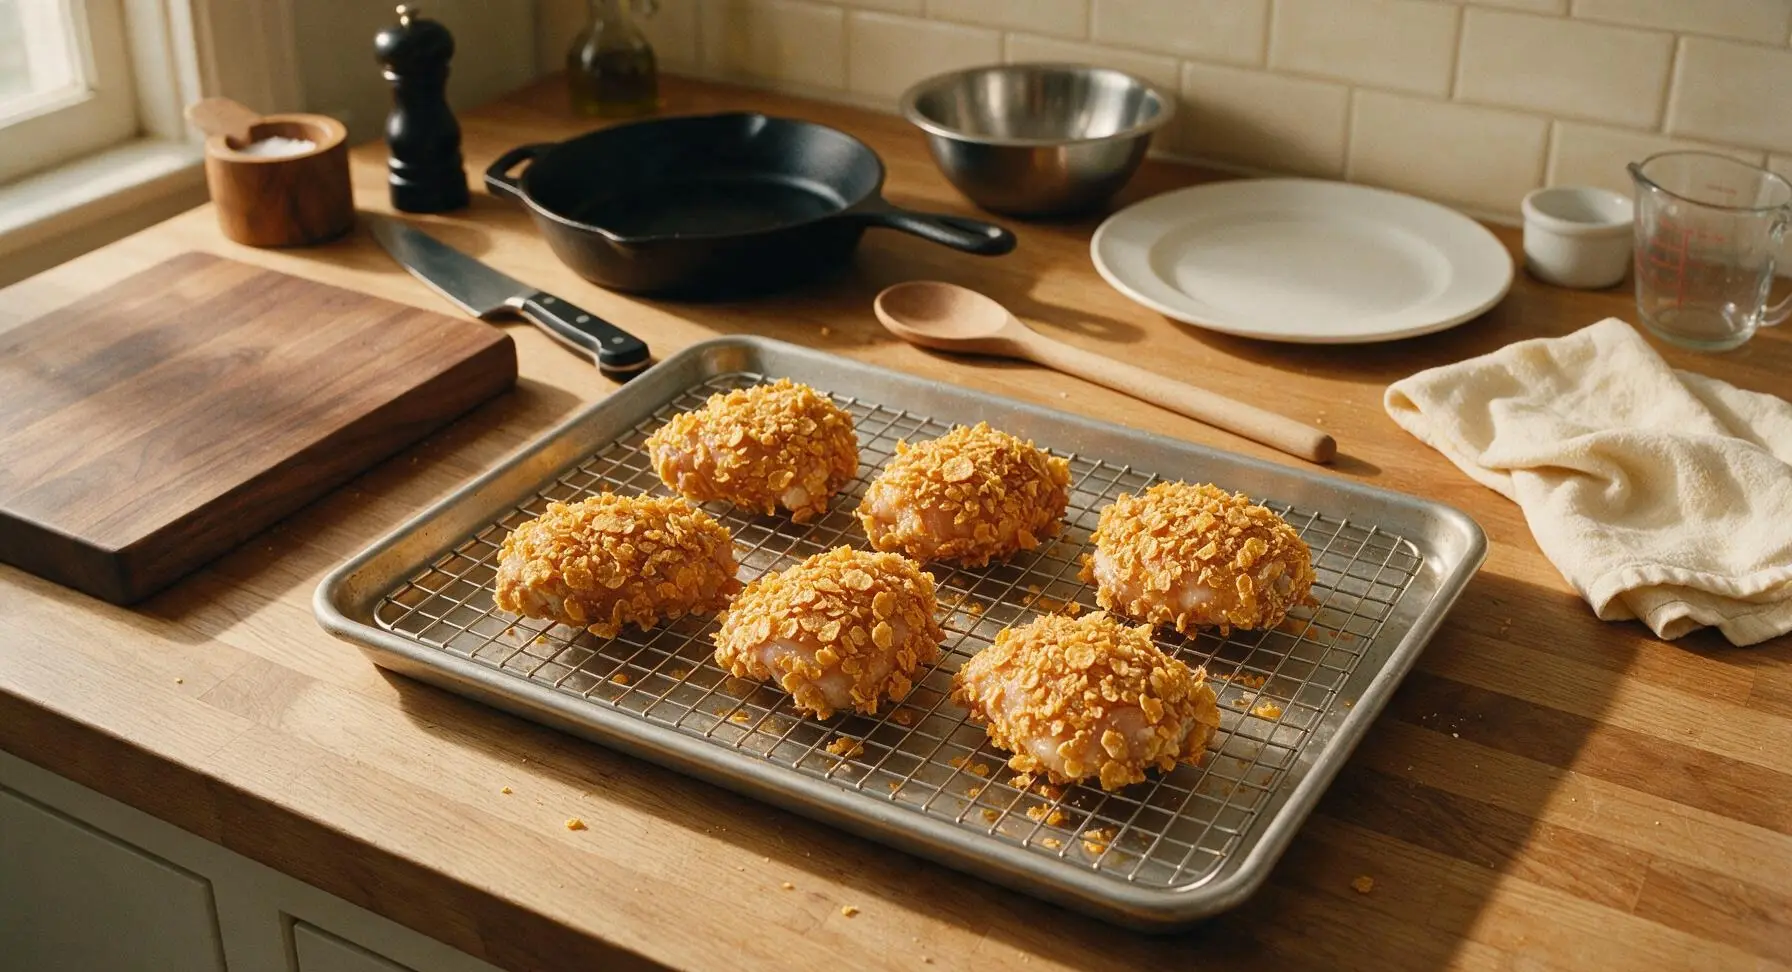
Working one piece at a time, lift a chicken piece and dredge fully in all-purpose flour, pressing lightly to create a thin, even coating, and shaking off all excess flour. Next, dip the floured chicken fully into egg wash, letting excess egg drip off for 2 seconds. Finally, press the chicken firmly into the cornflake crumbs, turning to coat every surface, pressing crumbs into the skin to ensure full adhesion. Place breaded pieces on the chrome wire rack set over the aluminum baking sheet, and let rest 10 minutes at room temperature to set the coating (this prevents crumbs from falling off during frying).
Step 4
step4:Coat Chicken Evenly
Step 4
step4:Coat Chicken Evenly
5

Heat Oil for Frying

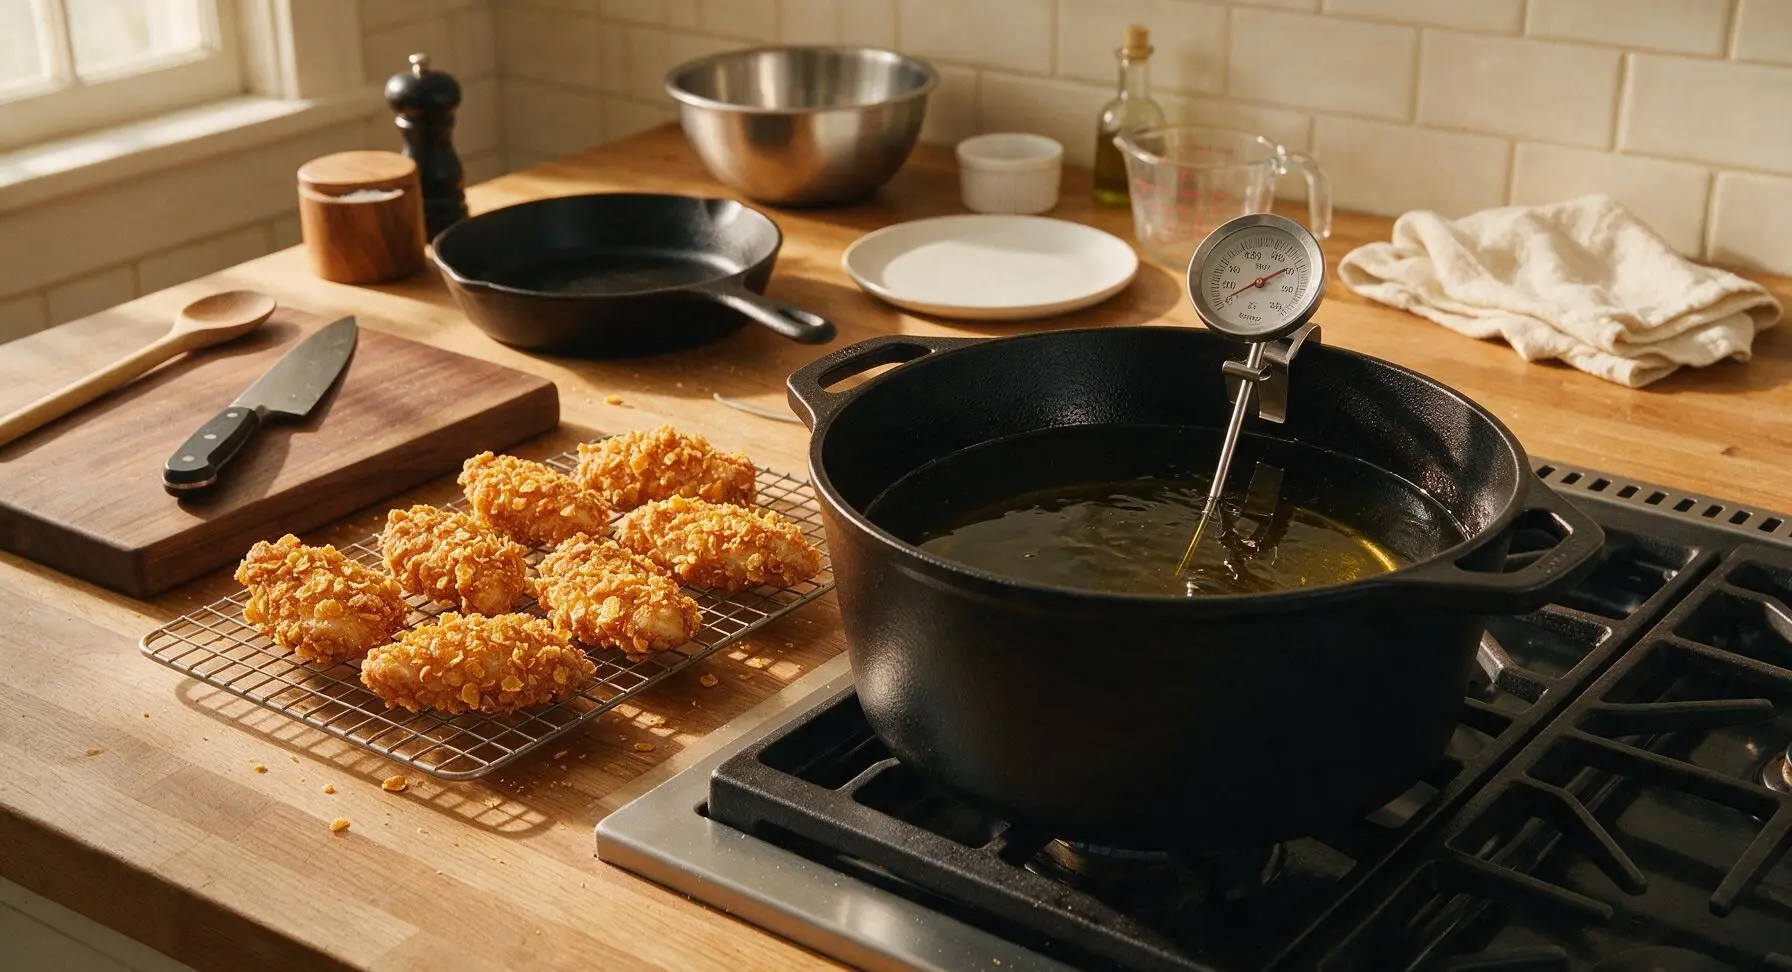
Pour 1.5L canola oil into the 6-quart matte black cast iron Dutch oven, set on the stovetop over medium heat. Clip the stainless steel deep-fry thermometer to the side of the pot, ensuring the probe is submerged in oil but not touching the pot bottom. Heat the oil until it reaches a steady 175C (350F), adjusting burner heat as needed to maintain this temperature throughout cooking.
Step 5
step5:Heat Oil for Frying
6

Fry Chicken Until Crisp

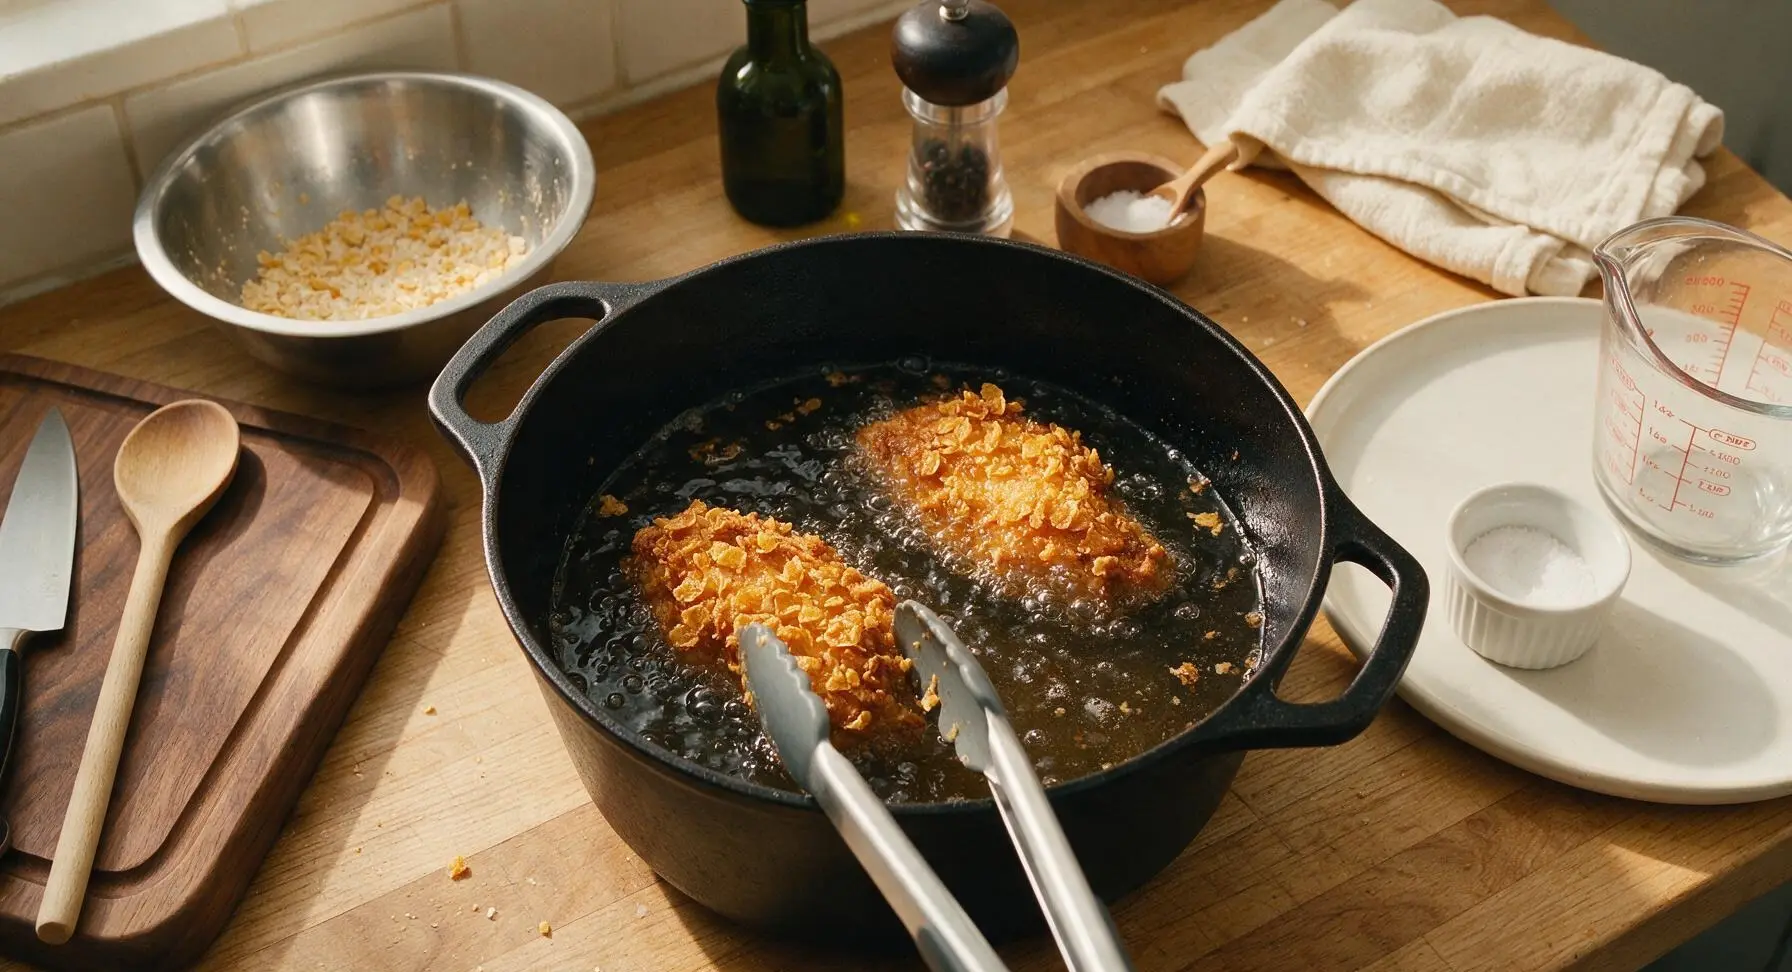
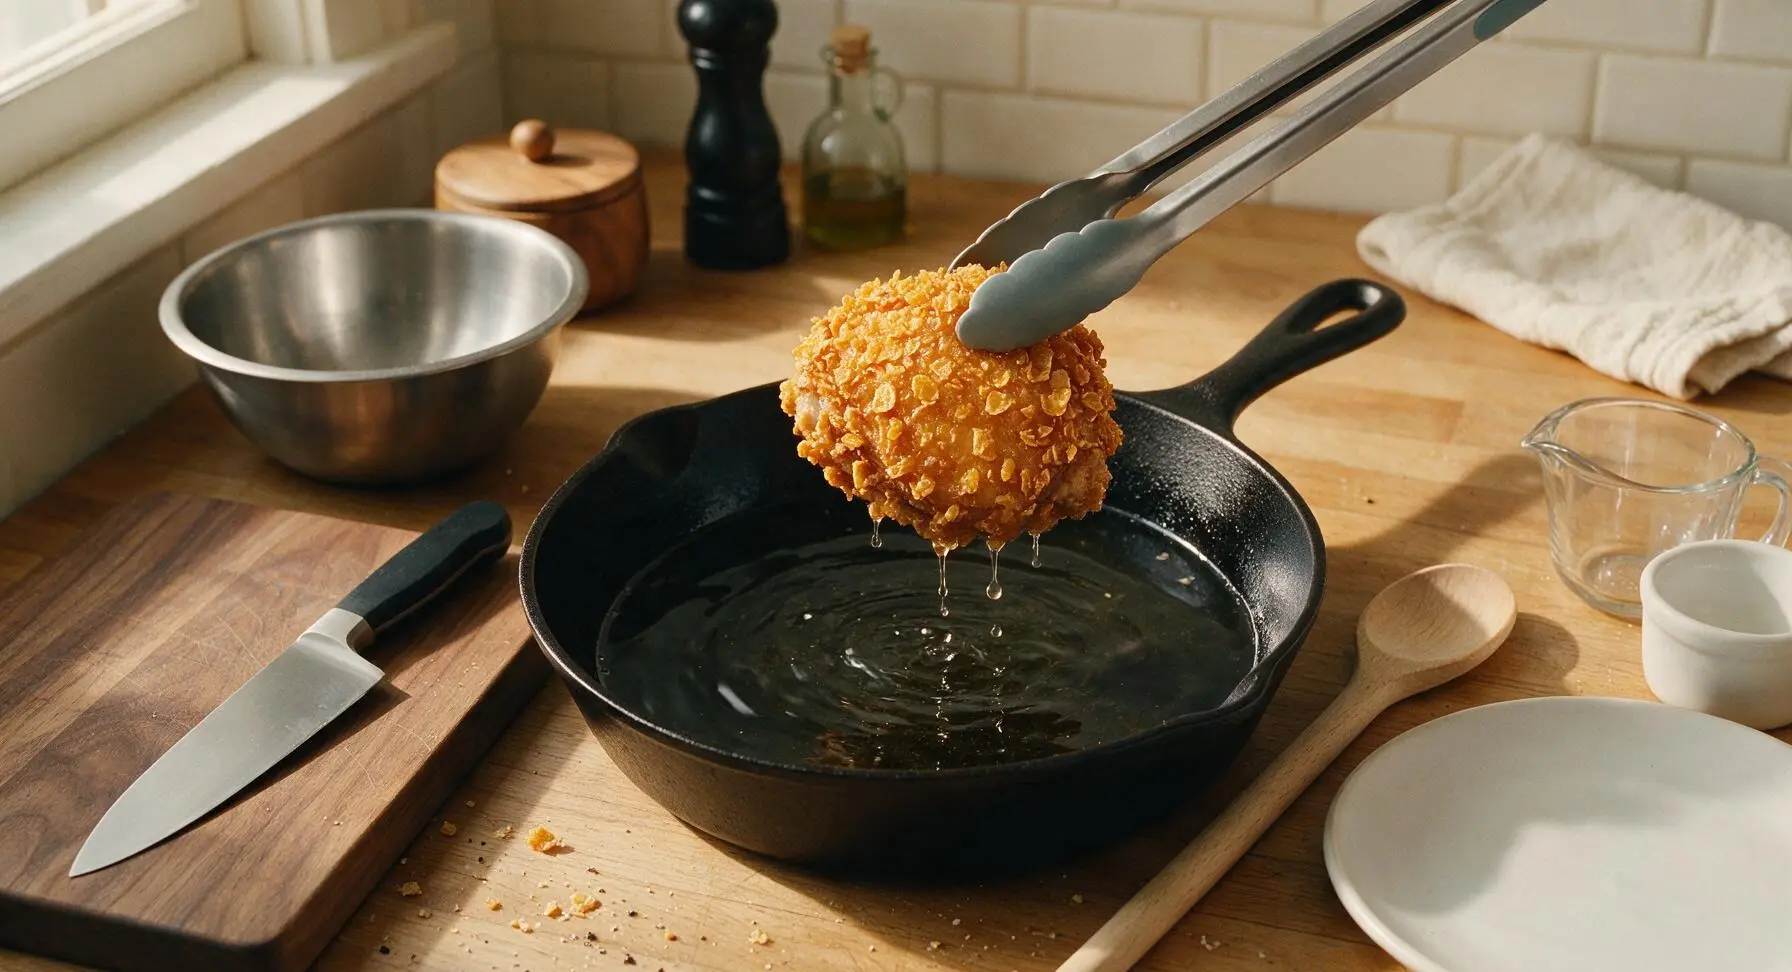
Using the silicone-tipped stainless steel tongs, carefully lower 2-3 chicken pieces into the hot oil, taking care not to overcrowd the pot (overcrowding drops oil temperature and leads to soggy, greasy coating). Fry for 10-15 minutes total, turning pieces every 3 minutes: split breast pieces cook in 10-12 minutes, while thighs and drumsticks take 13-15 minutes. Cook until the cornflake coating is a deep, even golden brown and the chicken reaches an internal temperature of 75C (165F) at its thickest point, not touching bone.
Step 6
step6:Fry Chicken Until Crisp
Step 6
step6:Fry Chicken Until Crisp
7

Rest Chicken to Crisp

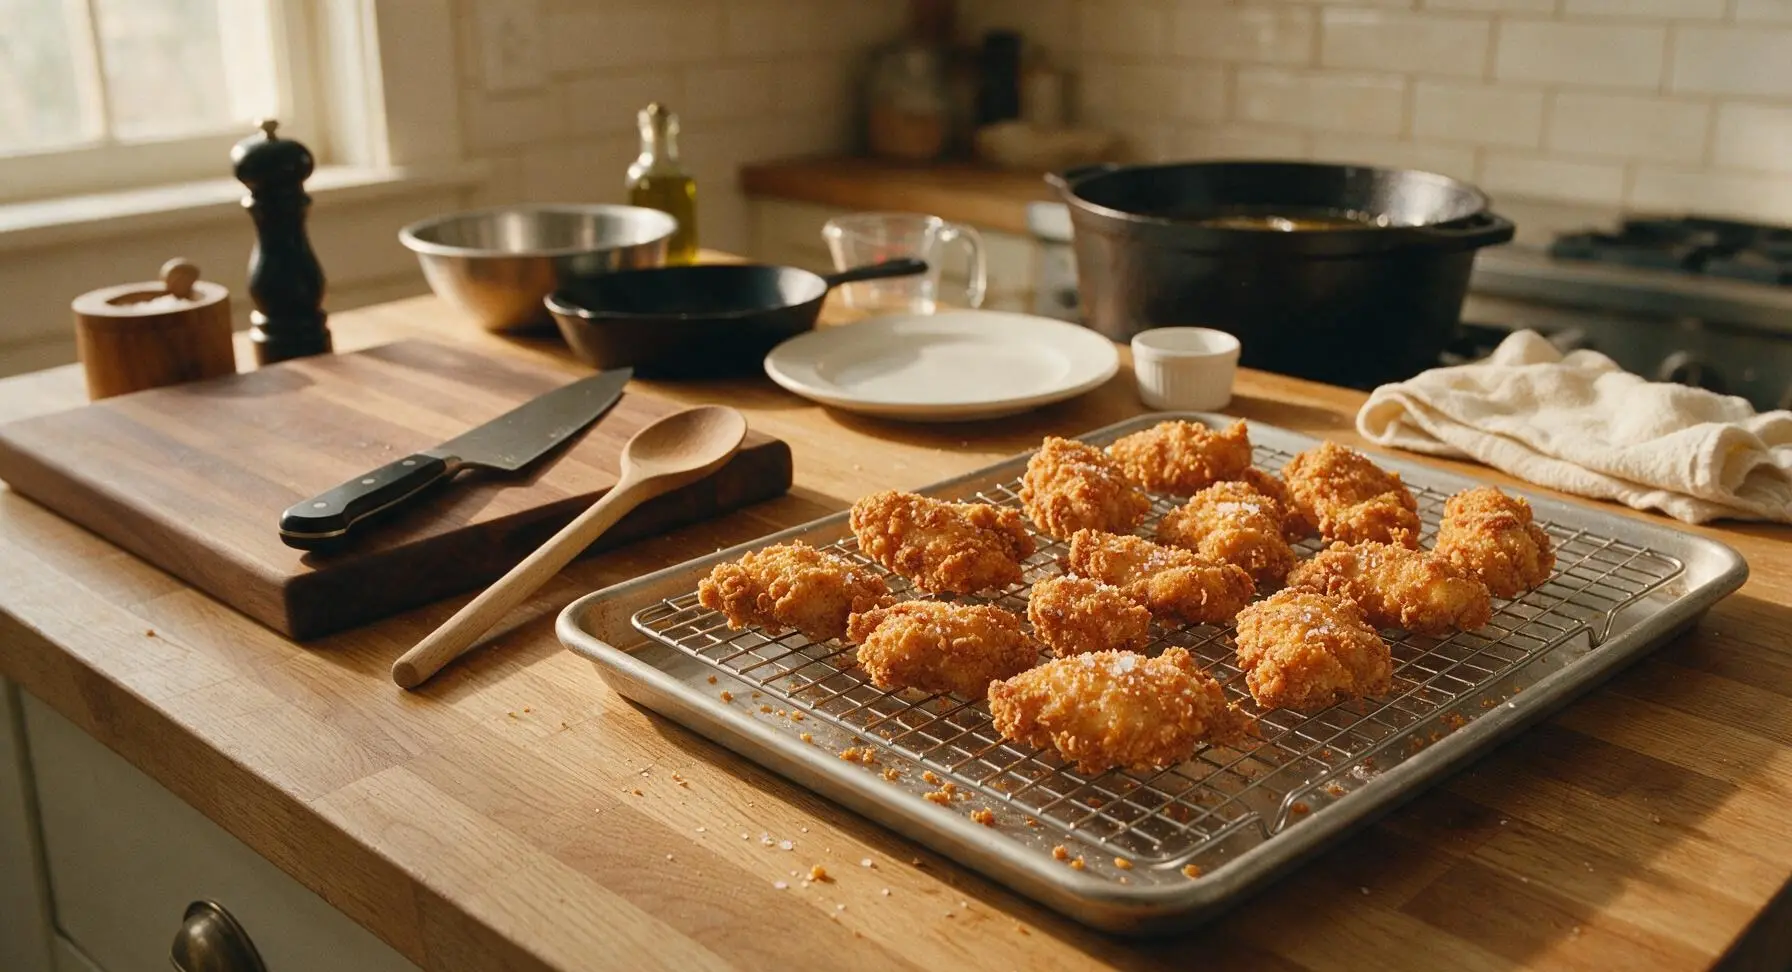
As each batch finishes frying, use tongs to lift chicken pieces out of the oil, letting excess oil drain for 2 seconds over the pot, then transfer them back to the chrome wire rack set over the aluminum baking sheet. Sprinkle lightly with a pinch of flaky kosher salt immediately while the coating is hot. Let rest 5 minutes before serving to allow excess oil to drain and the coating to set.
Step 7
step7:Rest Chicken to Crisp

Tips

1.Let breaded chicken rest for 10 minutes before frying: This rest time allows the flour, egg, and cornflake layers to bind into a single cohesive coating, preventing crumbs from falling off into the oil and leaving bare, uncoated spots on the chicken.
2.Hold oil temperature steady at 350°F (175°C) during frying: Oil that is too hot will burn the cornflake coating to a dark brown before the chicken cooks through, while oil that is too cool will cause the coating to absorb excess oil, resulting in soggy, greasy chicken.
3.Rest fried chicken on a wire rack instead of paper towels: Lining a plate with paper towels traps steam against the hot crispy coating, making it soft and chewy within minutes; an elevated wire rack allows air circulation to keep the crust shatteringly crisp while excess oil drains away.


✨ You May Also Like

Main Course
🍜 United Kingdom

A showstopping classic of tender seared beef, savory mushroom duxelles, and crisp prosciutto wrapped in flaky golden puff pastry, baked to juicy perfection.

⏱️ 2 hours 1Main Course ★ 4.7
Main Course
🍜 India

Tender charred marinated chicken simmered in a rich, spiced creamy tomato sauce, this iconic Anglo-Indian curry pairs perfectly with basmati rice or warm naan.

⏱️ 50 minuteMain Course ★ 4.6
Main Course
🍜 Thailand

Classic tangy, sweet, and savory Thai stir-fried rice noodles with shrimp, tofu, and crunchy garnishes, balancing all five core Thai flavor profiles.

⏱️ 30 minuteMain Course ★ 4.5
Main Course
🍜 United Kingdom

Crispy golden beer-battered cod and fluffy double-fried chips, served with tangy tartar sauce and malt vinegar: the timeless, beloved British pub comfort classic.

⏱️ 45 minuteMain Course ★ 4.7
Main Course
🍜 Mexico

Smoky, chile-marinated pork tacos with caramelized pineapple, fresh cilantro, and lime: a beloved classic Mexican street food perfect for casual summer gatherings.

⏱️ 1 hour 45Main Course ★ 4.8
Main Course
🍜 United States

Crunchy Fritos corn chips layered with savory beef chili and melted cheddar, topped with cool, zesty fixings for a beloved, cozy Tex-Mex comfort food.

⏱️ 35 minuteMain Course ★ 4.8

Cornflake Crusted Fried Chicken:Frequently Asked Questions

1.Can I use sweetened cornflakes instead of plain unsweetened ones for this recipe? ▾
I don’t recommend it—sweetened cornflakes have added sugar that burns quickly at standard frying temperatures, leaving a bitter, burnt caramel flavor instead of the clean golden crunch this recipe is known for. If that’s all you have on hand, gently rinse off the sugar coating first, pat the flakes fully dry, then crush them for use to avoid off-flavors.
2.How long should I soak chicken in buttermilk for the juiciest, most flavorful results? ▾
For the best texture and even seasoning, soak your bone-in chicken pieces in buttermilk for a minimum of 4 hours, and up to 24 hours covered in the fridge. The mild lactic acid in buttermilk tenderizes chicken gently without making it mushy, and creates a sticky base that helps the cornflake coating adhere tightly during frying.
3.What’s the proper dredging order to get the cornflake coating to stick instead of falling off while frying? ▾
Work in this simple order for the best adhesion: first, shake excess buttermilk off soaked chicken, then dredge lightly in seasoned all-purpose flour, dip in beaten egg thinned with a splash of buttermilk, then press gently into crushed cornflakes. Skipping the flour or egg layer will make the cornflake coating slip right off during frying, no matter how carefully you cook.
4.How should I crush cornflakes to get the perfect crispy, not too dense, crust texture? ▾
Skip the food processor—it will turn flakes to powdery dust far too quickly, leading to a dense, hard crust. Instead, pour cornflakes into a sealed zip-top bag, press out excess air, and roll a rolling pin over them until you have a mix of coarse crumbs and pea-sized flake pieces. This craggy mix creates that signature shatteringly crisp coating.
5.What oil temperature should I maintain to fry this chicken perfectly? ▾
Hold your frying oil steady at 350°F for the most consistent, even results. If the oil is too hot, the cornflake crust will burn long before the thick bone-in chicken cooks through; if it’s too cool, or you overcrowd the pot, the coating will soak up excess oil, turn soggy, and slide off the meat. Use a clip-on candy thermometer to track temperature easily between batches.
6.Can I bake this cornflake-crusted chicken instead of frying it for a lighter version? ▾
Absolutely! For a crispy baked take, arrange coated chicken pieces on a wire rack set over a rimmed baking sheet, spritz lightly with neutral cooking oil, and bake at 400°F for 40–45 minutes, flipping halfway, until the internal temp hits 165°F. The elevated rack keeps air circulating so the crust stays crisp instead of getting soggy against the pan.
7.Do I have to use skin-on, bone-in chicken pieces for this recipe, or will other cuts work? ▾
I strongly recommend using bone-in, skin-on mixed pieces for the best results. The bone keeps meat juicy as it cooks, and the skin renders flavorful fat to help the cornflake coating adhere evenly. Boneless, skinless cuts will work, but they cook faster, are less juicy, and are more prone to coating slippage.
8.How do I keep the chicken crispy while I fry batches for a crowd? ▾
Don’t set freshly fried chicken directly on paper towels—that traps steam and softens the crust fast, even right after cooking. Instead, transfer cooked pieces to a wire rack set over a baking sheet, and hold them in a 200°F oven while you finish frying remaining batches. This lets excess oil drip off and keeps air circulating to preserve crunch.
9.What internal temperature tells me the chicken is safely cooked without being dry? ▾
Pull your chicken from the fryer when the thickest part of each piece (positioned away from the bone) hits 160°F on an instant-read thermometer. Residual carryover heat will bring it up to the food-safe 165°F as it rests for 5–10 minutes before serving. This prevents overcooked, dry breast meat while ensuring dark meat is tender and fully cooked.
10.Can I bread the chicken ahead of time to fry right before a family gathering? ▾
You can bread chicken pieces up to 4 hours ahead of frying, arranged in a single layer on a wire rack, covered loosely, and stored in the fridge. Don’t stack the breaded pieces, as that will crush the delicate cornflake coating and make it soggy. Avoid breading more than 4 hours in advance, as crumbs will absorb moisture and lose their signature crunch.
11.What’s the best way to reheat leftover fried chicken so the crust stays crispy? ▾
Skip the microwave—it turns the cornflake crust rubbery and the meat soggy in seconds, ruining that signature crisp texture. Instead, arrange leftover pieces on a wire rack over a baking sheet, and reheat in a 375°F oven for 12–15 minutes, until the meat is warmed through and the crust is crisp again. For extra crunch, spritz the crust with a tiny bit of neutral cooking oil before reheating.

Comments (8)

1 week ago

Made this for our neighborhood potluck last weekend and people were literally coming up to me for the recipe all night! The cornflake crust stays crispy even after it cools down, which is perfect for serving a crowd. I used boneless thighs instead of breasts because they’re juicier, 10/10 no notes.

3 days ago

Wait, do you think this crust holds up if I make it ahead for meal prep? I usually prep 4 days of lunches on Sunday and I’m tired of sad, soggy fried chicken from the meal prep containers. This looks so good but I don’t want to waste the ingredients if it gets mushy.

2 days ago

I did this last week! Let it cool completely before you put it in airtight containers, and reheat it in the oven or toaster oven instead of the microwave — stays almost as crispy as day 1!

2 days ago

Great tip from Liz! If you’re prepping ahead, I also recommend undercooking it by just 2-3 minutes when you first fry it, then finishing it in the oven when you’re ready to eat to lock in that crunch and keep the chicken juicy.

5 days ago

As someone who grew up on classic buttermilk fried chicken, I was skeptical the cornflake crust would live up to the hype, but y’all. It is SO crunchy and has that perfect salty-sweet edge from the cornflakes that I didn’t even know I needed. Only thing is I had to turn my oil temp down a little because my first batch got a touch too dark before the chicken cooked through.

3 days ago

So glad you gave it a try! Great call on adjusting the oil temp — every stovetop runs a little hot, so keeping it steady at 350°F is key to getting that golden crust without burning before the chicken is done. Next time try adding a pinch of cayenne for a little kick if you like heat!

2 weeks ago

Made this for my teen son’s birthday cookout and even his picky friends went back for seconds. I doubled the recipe and still barely had leftovers. The crust didn’t slide off the chicken like some other fried chicken recipes I’ve tried, which is my biggest pet peeve. Will absolutely be adding this to the regular rotation.

yesterday

Quick question — can I use gluten-free cornflakes for this? My youngest has celiac and I’ve been hunting for a gluten-free fried chicken recipe that actually gets crispy, not that weird gritty texture you get with rice flour crusts.

2 hours ago

I made this with GF cornflakes last month! Just make sure you crush them up a little finer than regular cornflakes so they stick better, it turned out perfect. My non-GF husband didn’t even notice a difference!

30 minutes ago

Absolutely! Gluten-free cornflakes work perfectly here, just make sure your seasoning mix and buttermilk don’t have any hidden gluten if you’re cooking for celiac guests. The tip about crushing them a little finer is spot on to help the coating adhere.

30 minutes ago

OMG this is better than the $22 fried chicken I get at the trendy spot down the street from my apartment! I didn’t have regular paprika so I used smoked paprika and it gave the crust such a deep, cozy flavor. My roommate walked in the door and immediately asked what smelled so good before she even took her coat off.

5 minutes ago

Smoked paprika swap is genius! I’m definitely trying that next time — I’ve been making this recipe every other week for months and I’m always looking for little ways to mix it up.

2 hours ago

Took this to my book club potluck and everyone raved! I followed the recipe exactly except I added a little garlic powder to the cornflake crumbs, and it turned out perfectly crispy on the outside, juicy on the inside. Even the ladies who say they “don’t eat fried food” had a piece. SO good!

30 minutes ago

That’s wonderful to hear! Garlic powder is such a great addition — it pairs so well with the toasty cornflake flavor. So glad your book club loved it!

5 minutes ago

Wait, I tried making this last night and my cornflake coating kept falling off when I put the chicken in the oil! Did I do something wrong? I dipped it in buttermilk then pressed the crumbs on like the recipe said, but half the crust came off in the fryer 😭

just now

Oh I had that happen the first time too! You have to let the coated chicken rest on a wire rack for 10-15 minutes after you bread it so the crumbs have time to stick, don’t drop it straight into the oil right after breading. Total game changer when I did that!

just now

That’s exactly the tip! Letting the breaded chicken rest for 15 minutes helps the coating adhere so it doesn’t slide off during frying. Also, make sure you don’t overcrowd the pan — too many pieces at once drops the oil temp and can make the crust fall off too. Give it another try, I promise it works!



