
cornstarch for fried chicken
intro
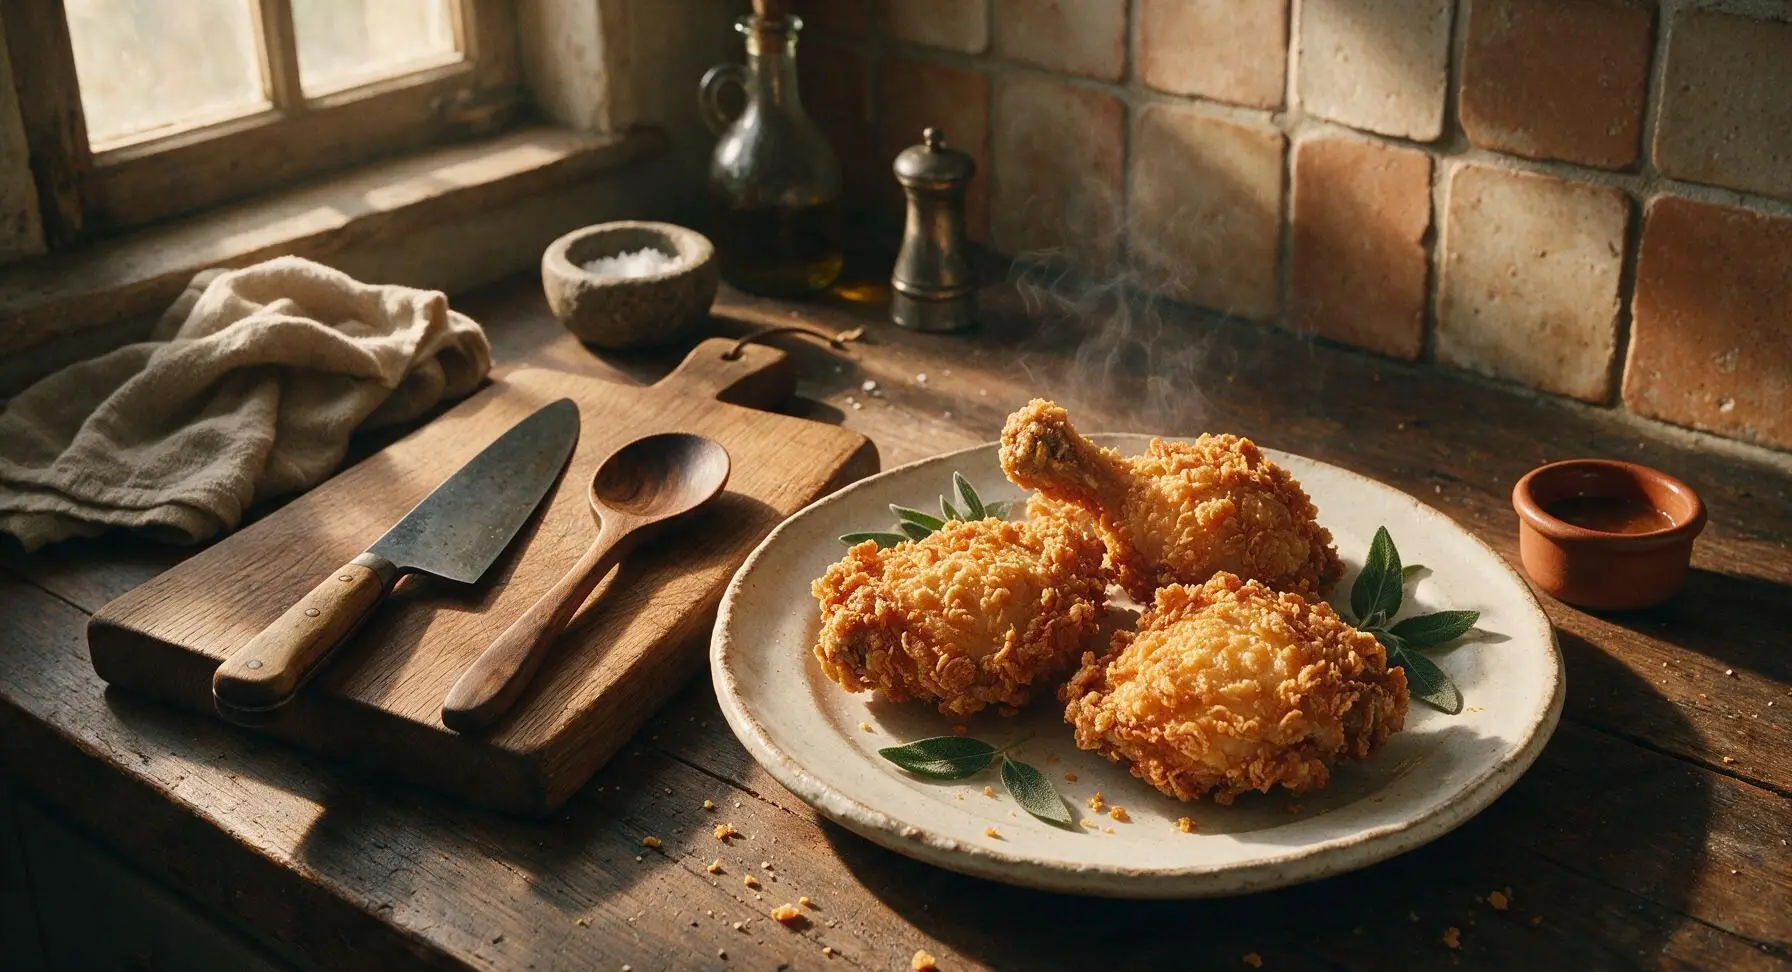
Shatteringly crisp, juicy bone-in fried chicken with a cornstarch crust that stays crunchy even after cooling, simply seasoned for bold, comforting flavor perfect for casual gatherings.
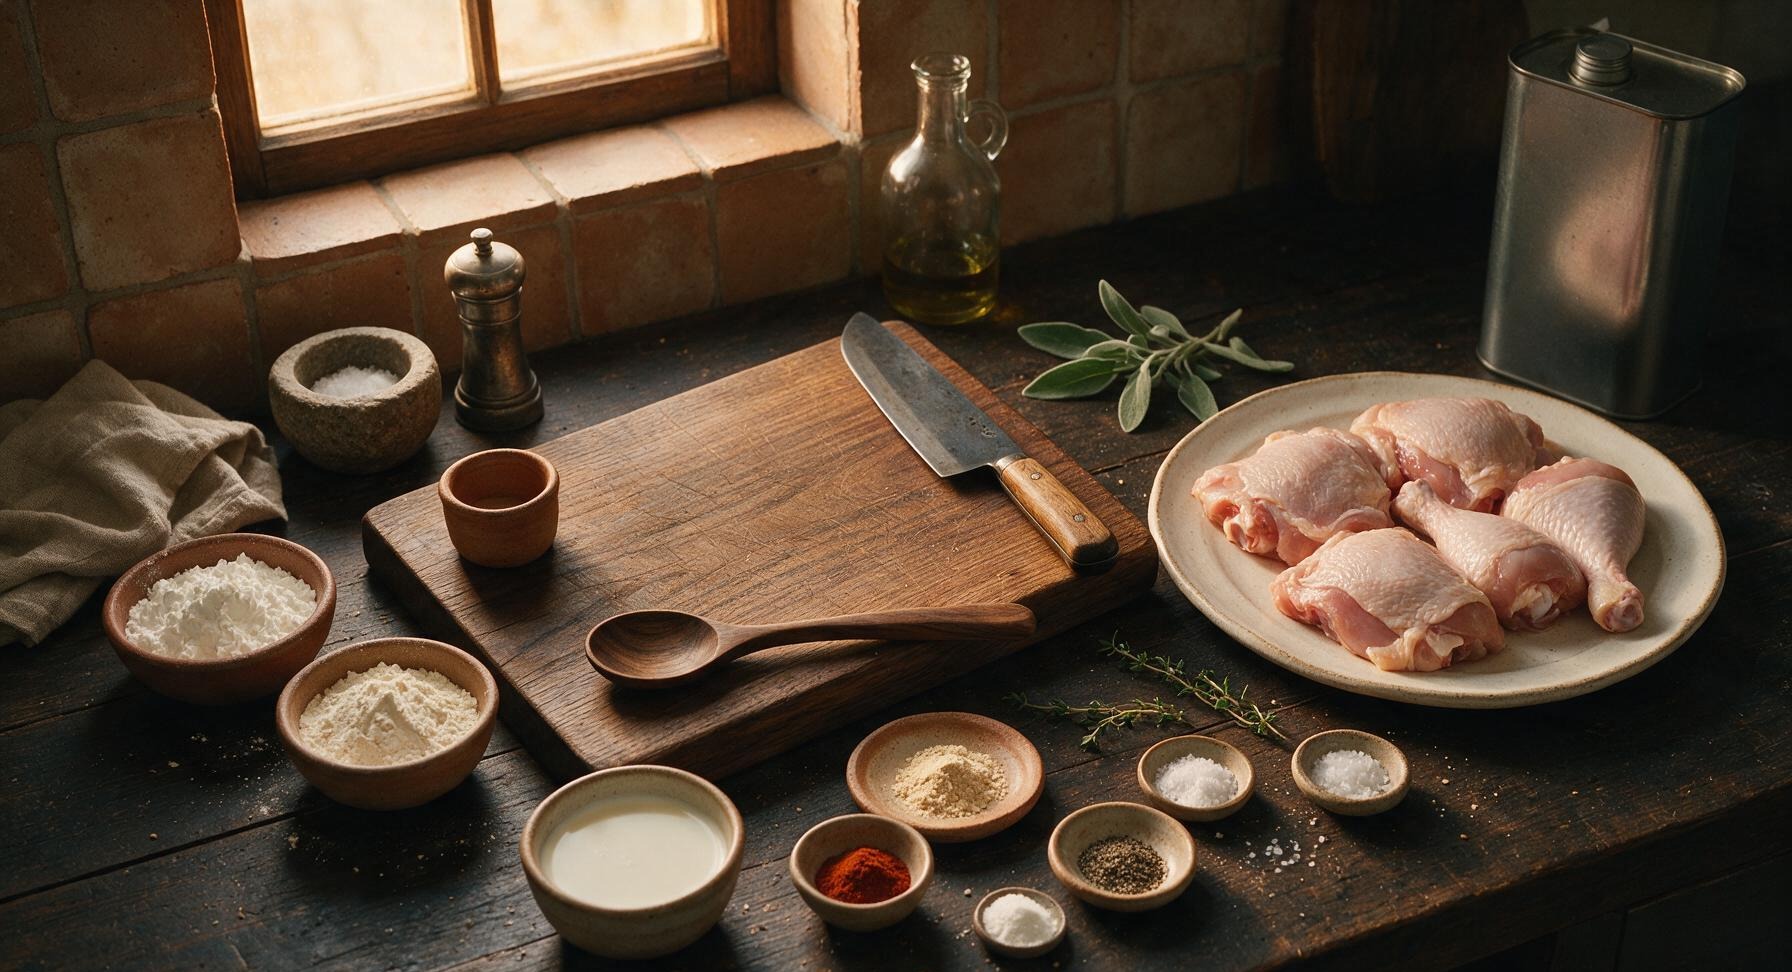
Ingredients
Steps
Brine the Chicken Pieces
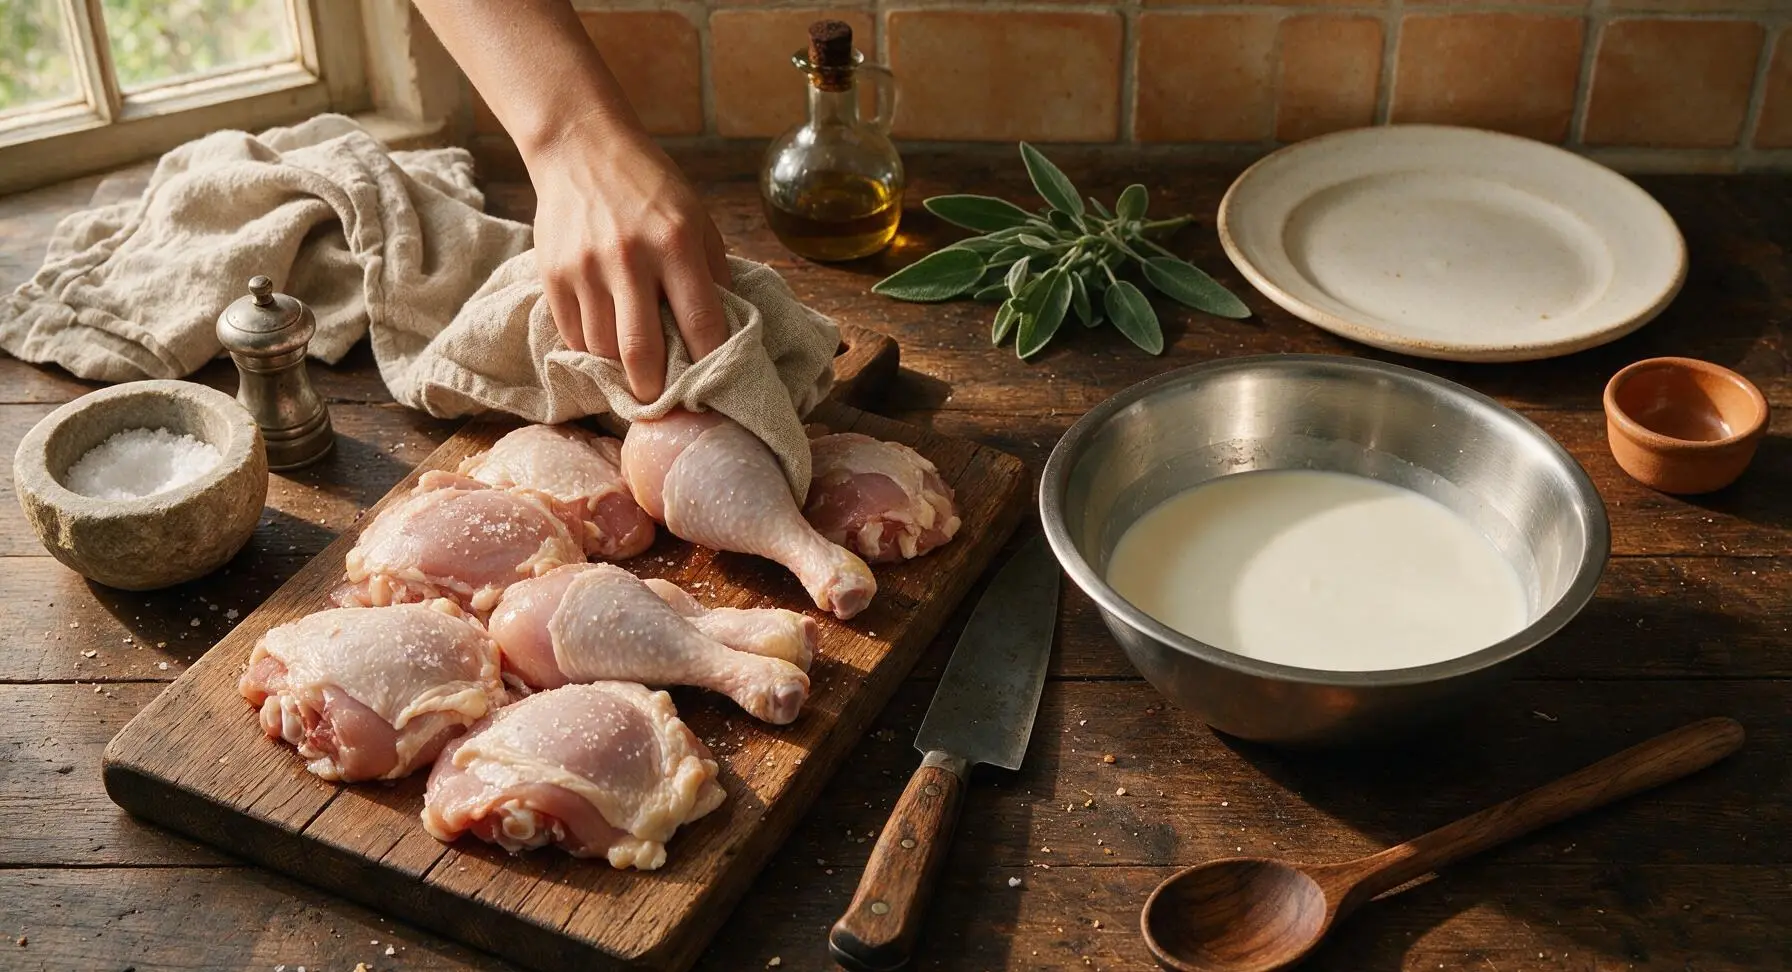
Pat the 900g bone-in, skin-on chicken thighs and drumsticks completely dry with the linen kitchen towel, then place them in the 3-quart stainless steel mixing bowl. Pour 240ml buttermilk over the chicken, add 1 tsp of the kosher salt, and stir to coat every piece fully. Let rest at room temperature for 15 minutes (or refrigerate for up to 4 hours for extra juiciness). Visual cue: All chicken surfaces are slick with buttermilk, with no dry, exposed skin patches remaining.
Mix Cornstarch Dredge
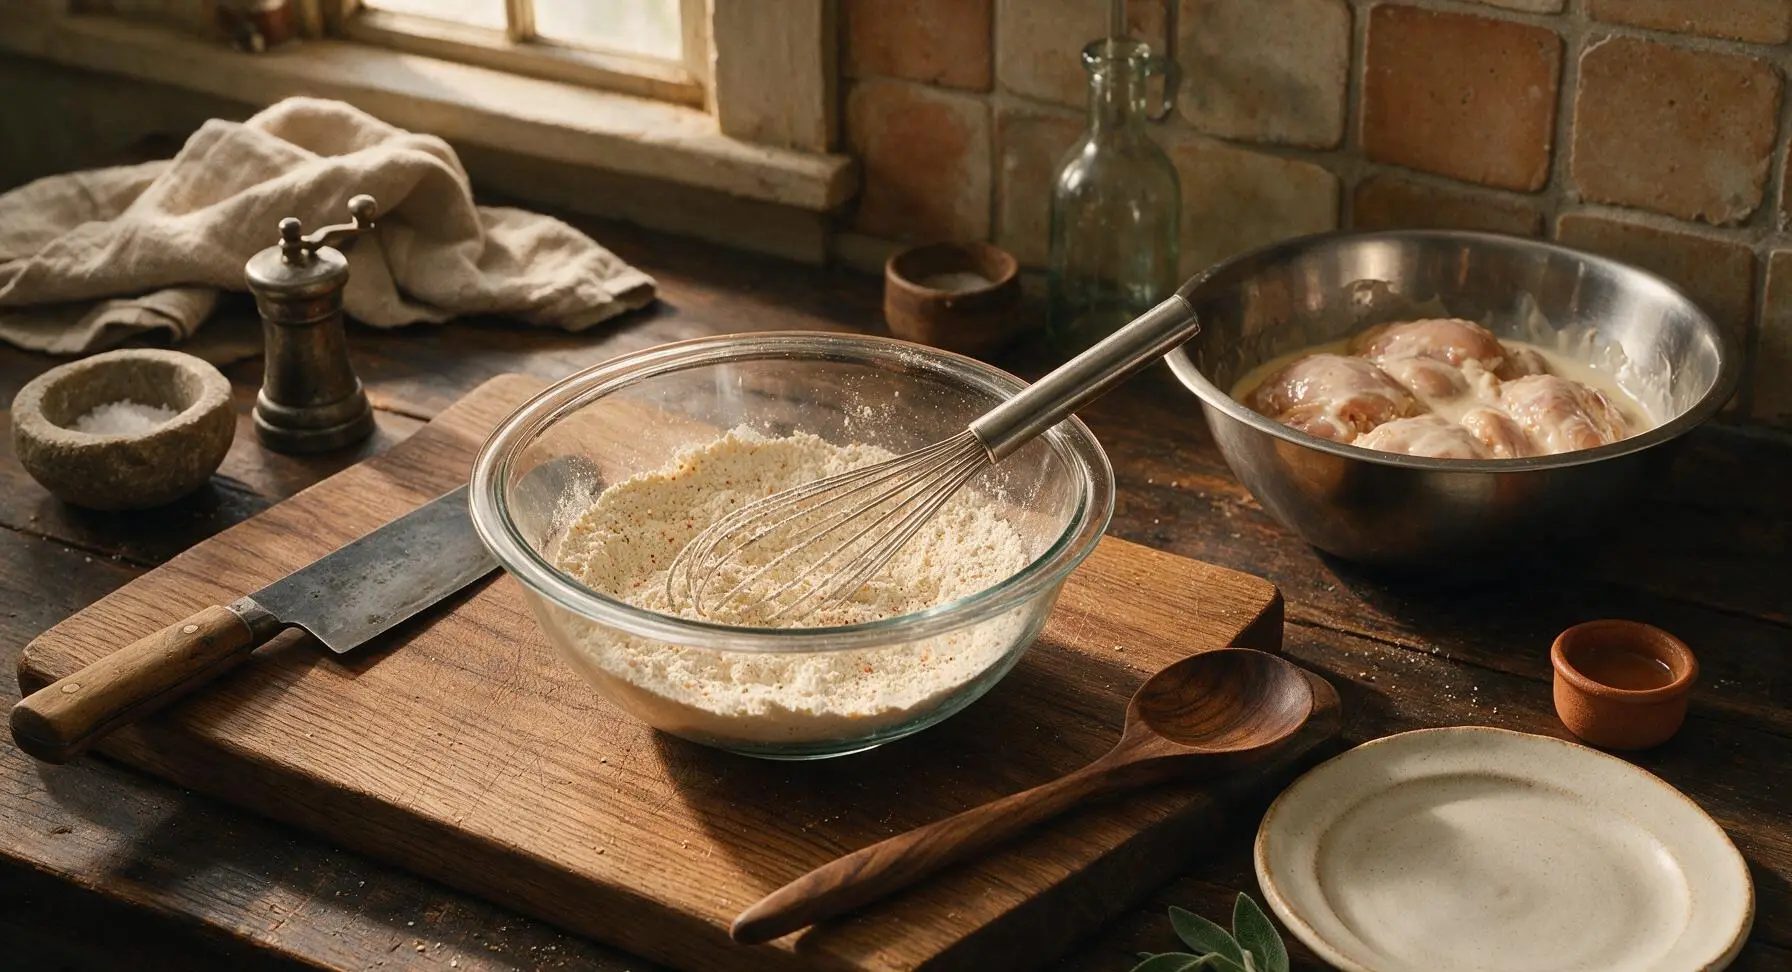
In a clean clear glass prep bowl, combine 120g cornstarch, 40g all-purpose flour, 1 tbsp garlic powder, 1 tsp smoked paprika, remaining 1 tsp kosher salt, 1 tsp freshly ground black pepper, and 1/2 tsp baking powder. Whisk thoroughly for 30 seconds with the stainless steel whisk until all seasonings are evenly distributed, with no clumps of cornstarch remaining. Visual cue: The pale off-white dredge has faint, evenly distributed specks of red paprika and black pepper throughout.
Coat Chicken Evenly
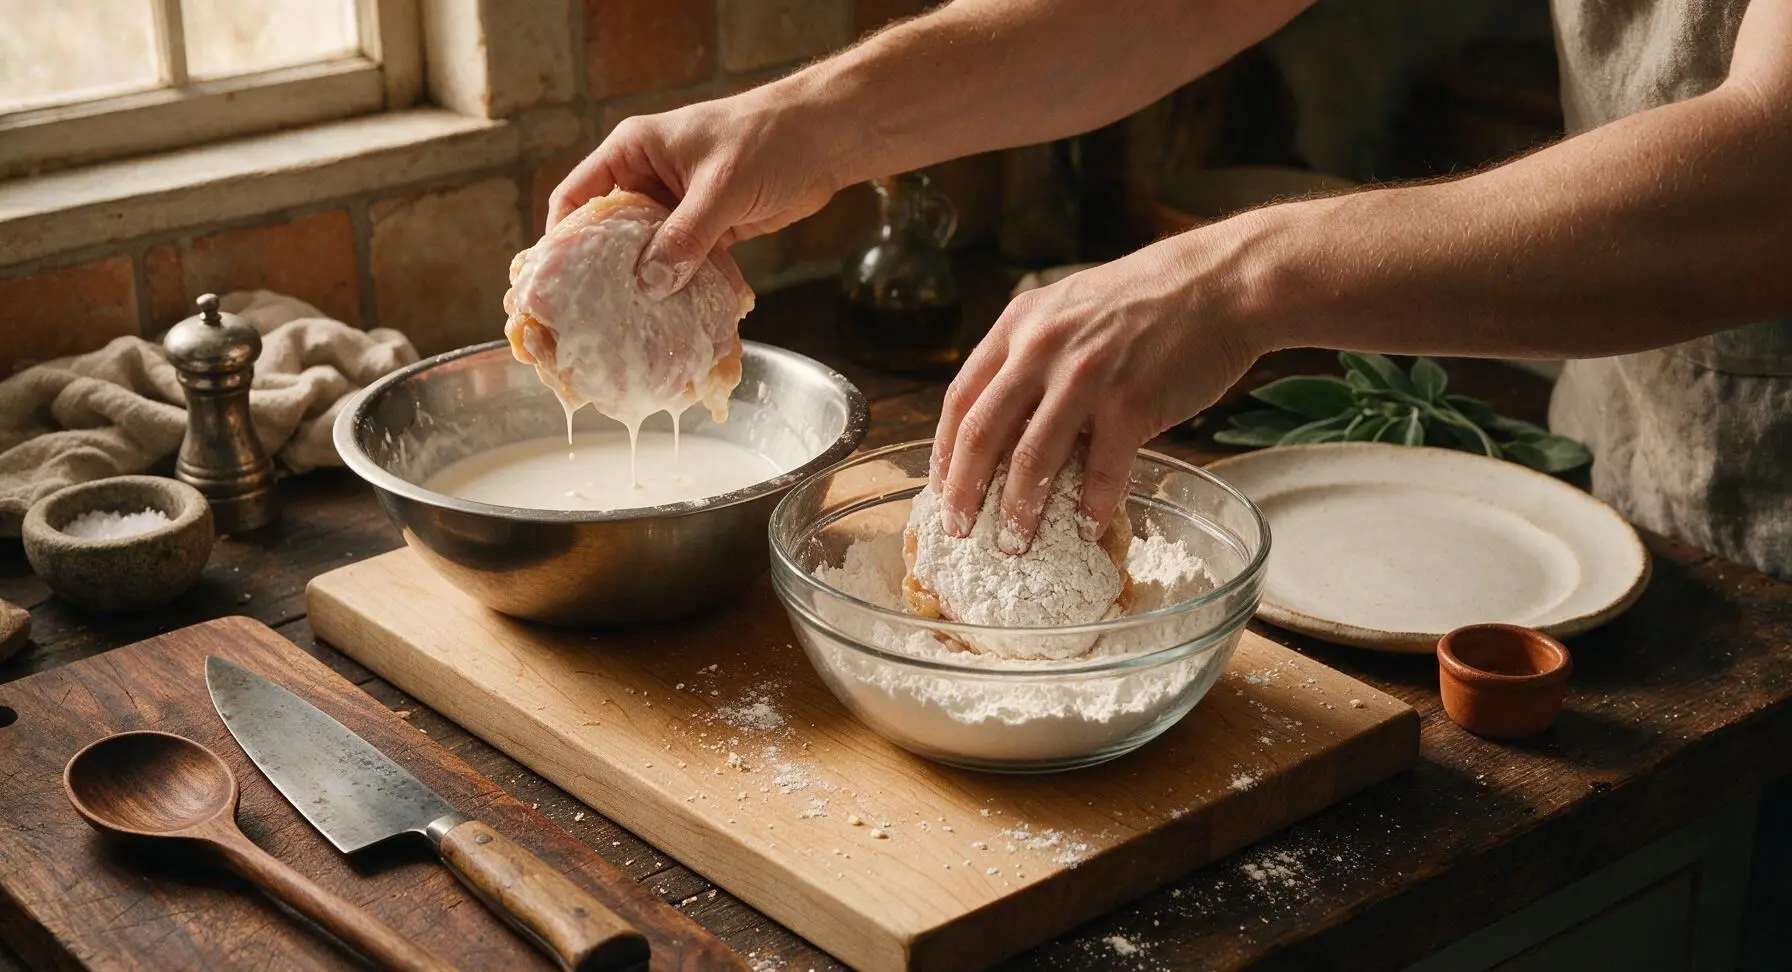
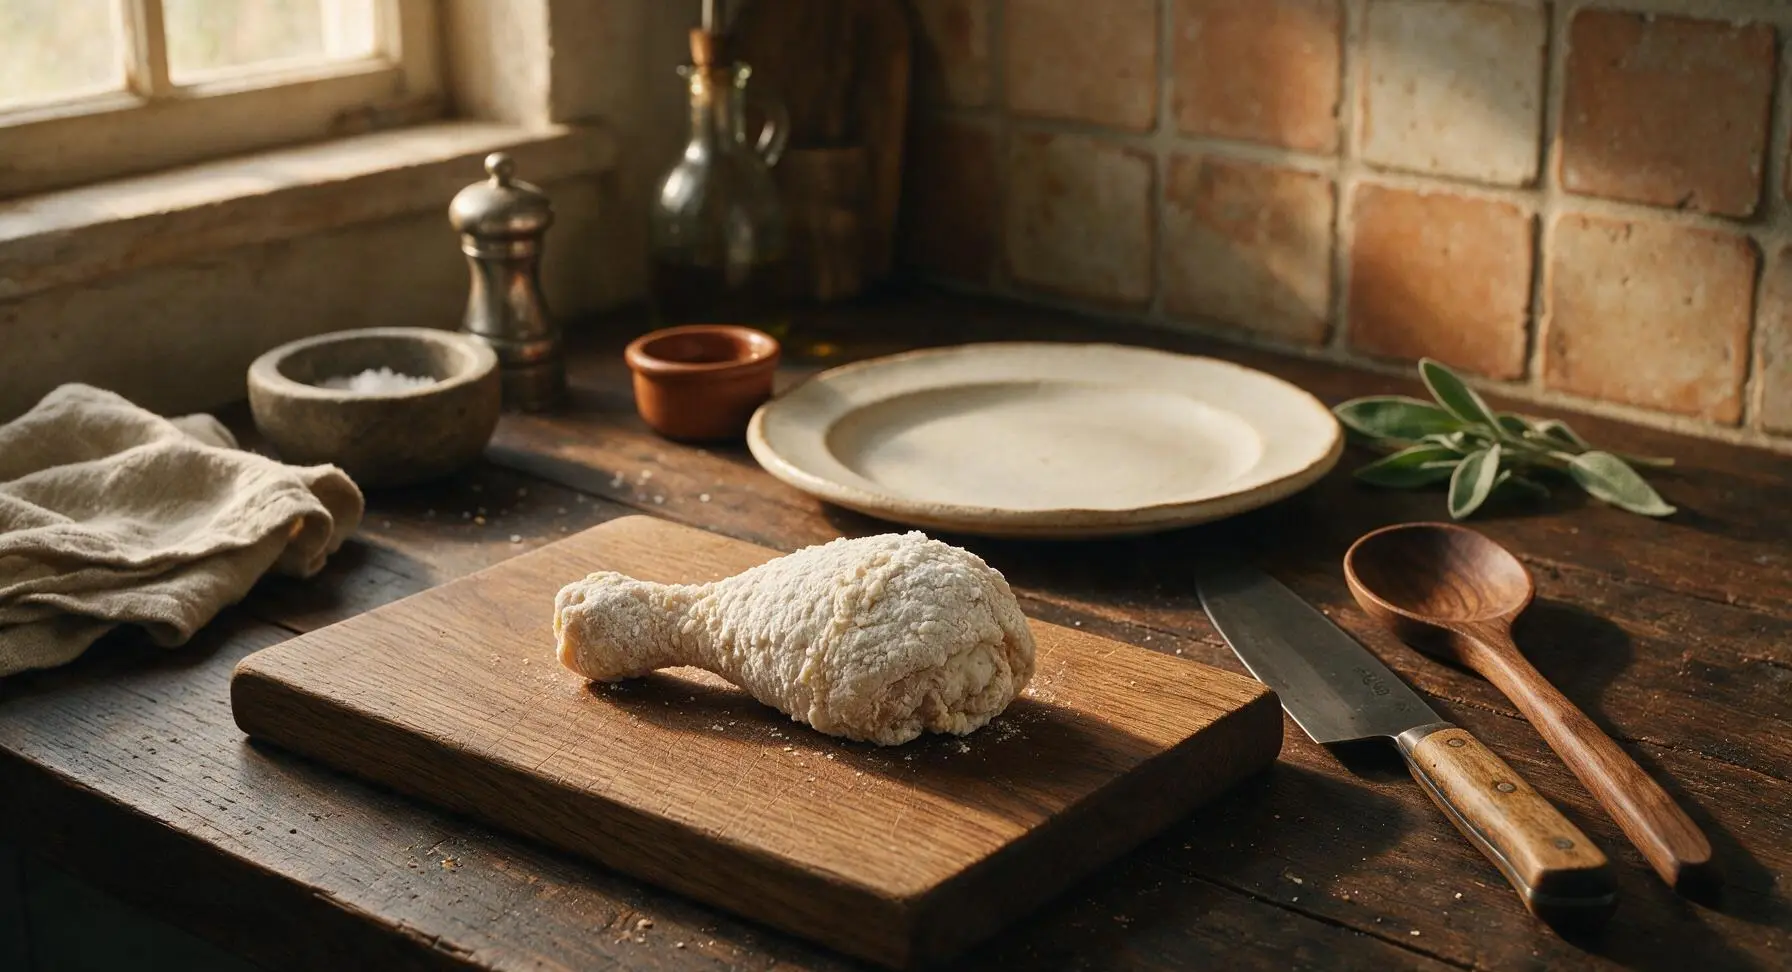
Working one piece at a time, lift chicken from the buttermilk, letting excess buttermilk drip off for 3 seconds. Drop the piece into the cornstarch dredge, pressing firmly to coat every surface, including under loose skin flaps and joint crevices. Lift the coated piece, tap gently against the bowl edge to remove loose dredge, then set on a clean section of the cutting board for 5 minutes to let the coating set. Visual cue: The coating is matte, powdery, and evenly covers every part of the chicken, with no bare wet spots showing through.
Heat Oil to Temperature
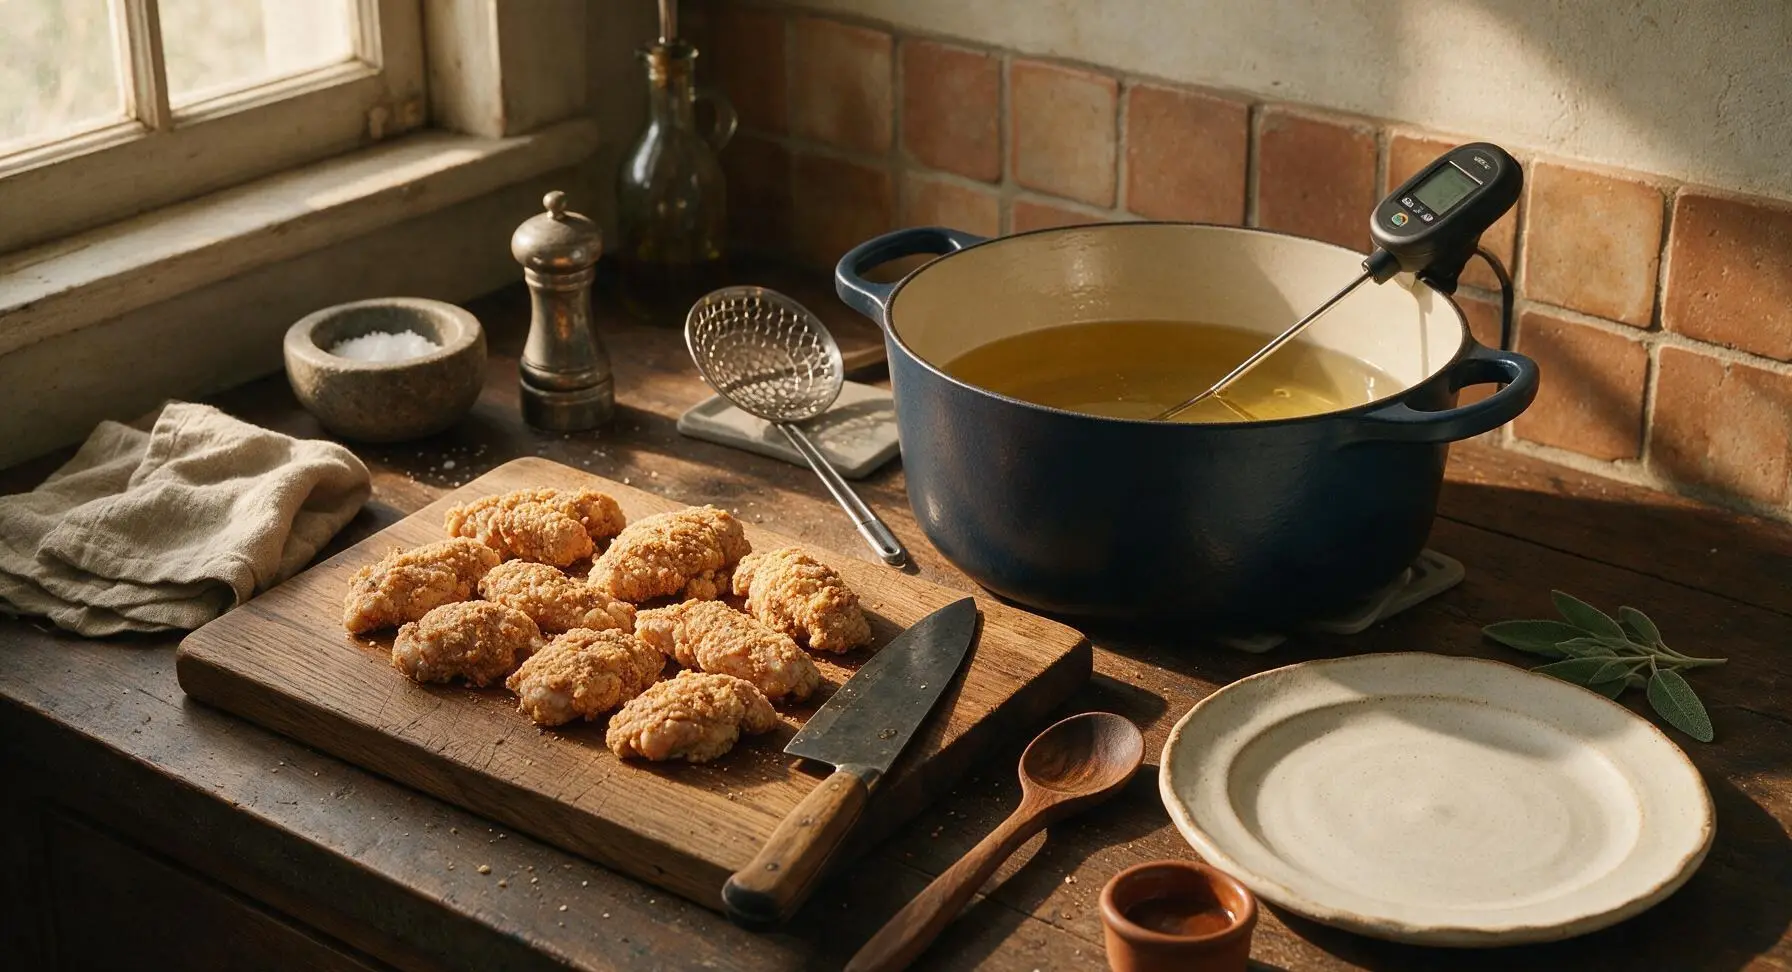
Retrieve the 5.5-quart matte navy enameled Dutch oven from the lower cabinet and place it on the counter’s back right burner area. Pour in 1.5L neutral canola oil to a depth of 5cm. Heat over medium heat until the oil reaches exactly 175C (350F), measured with the digital instant-read thermometer. Adjust heat as needed to hold a steady temperature, and do not let the oil smoke. Visual cue: The oil shimmers slightly, and a pinch of dredge dropped into the oil sizzles immediately and rises to the surface in 2 seconds.
Fry Chicken in Batches
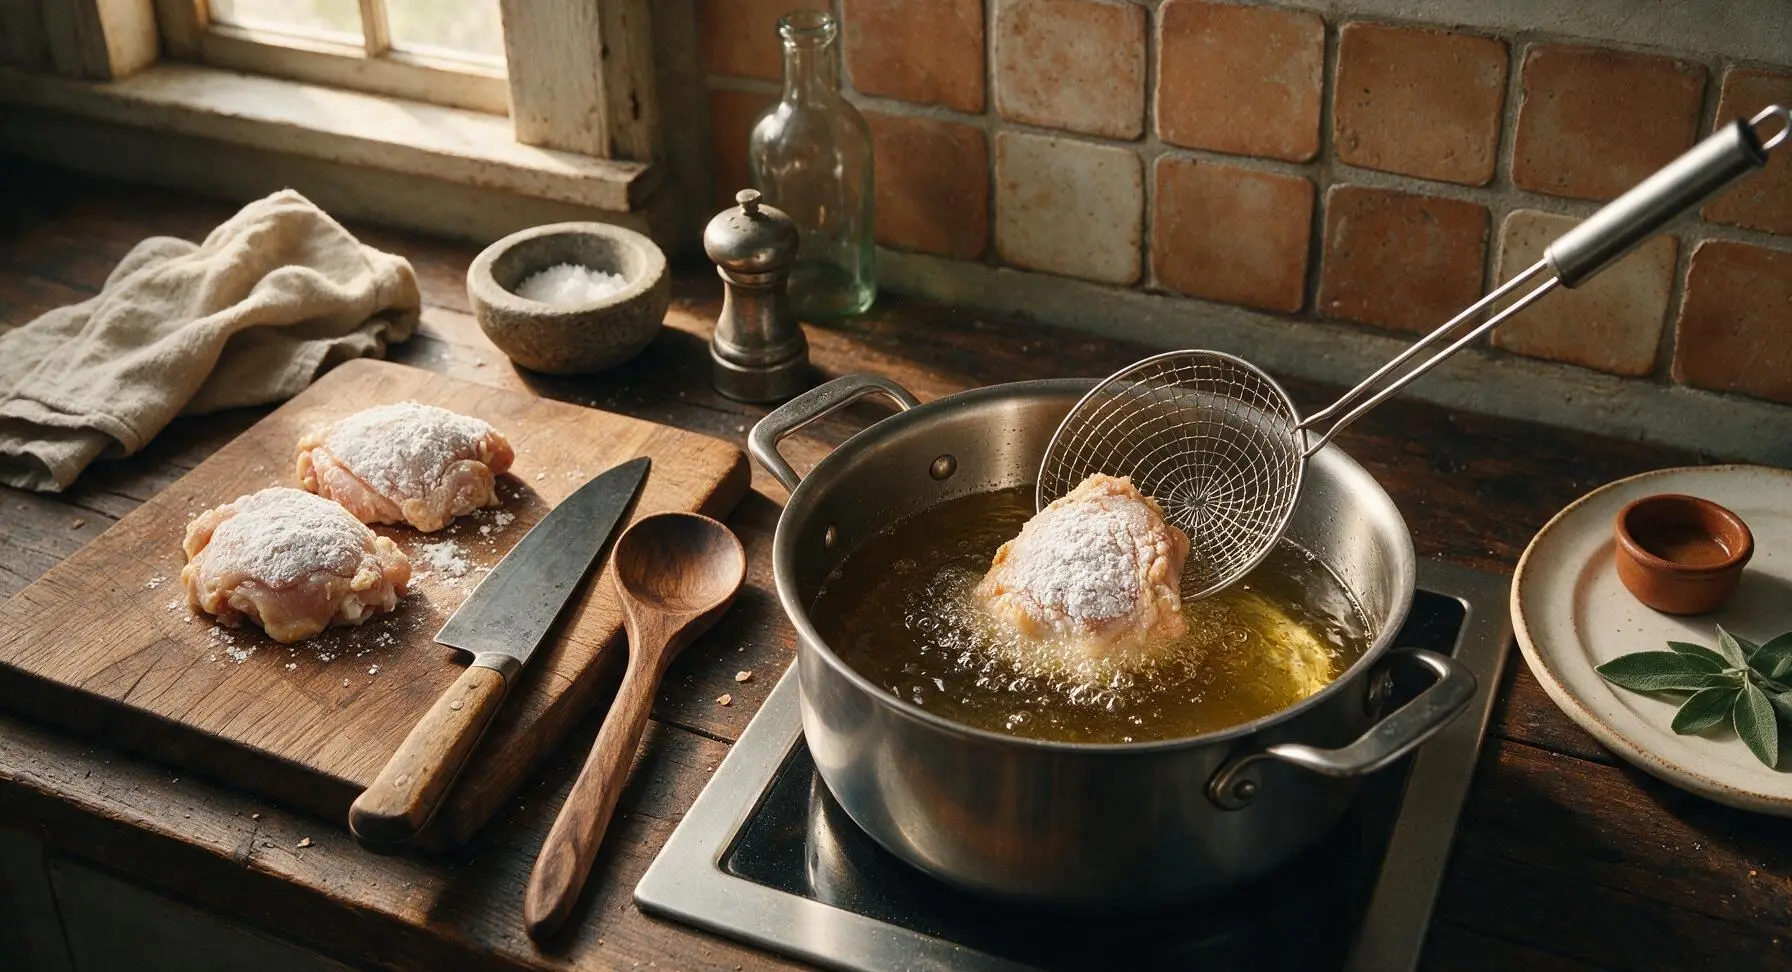
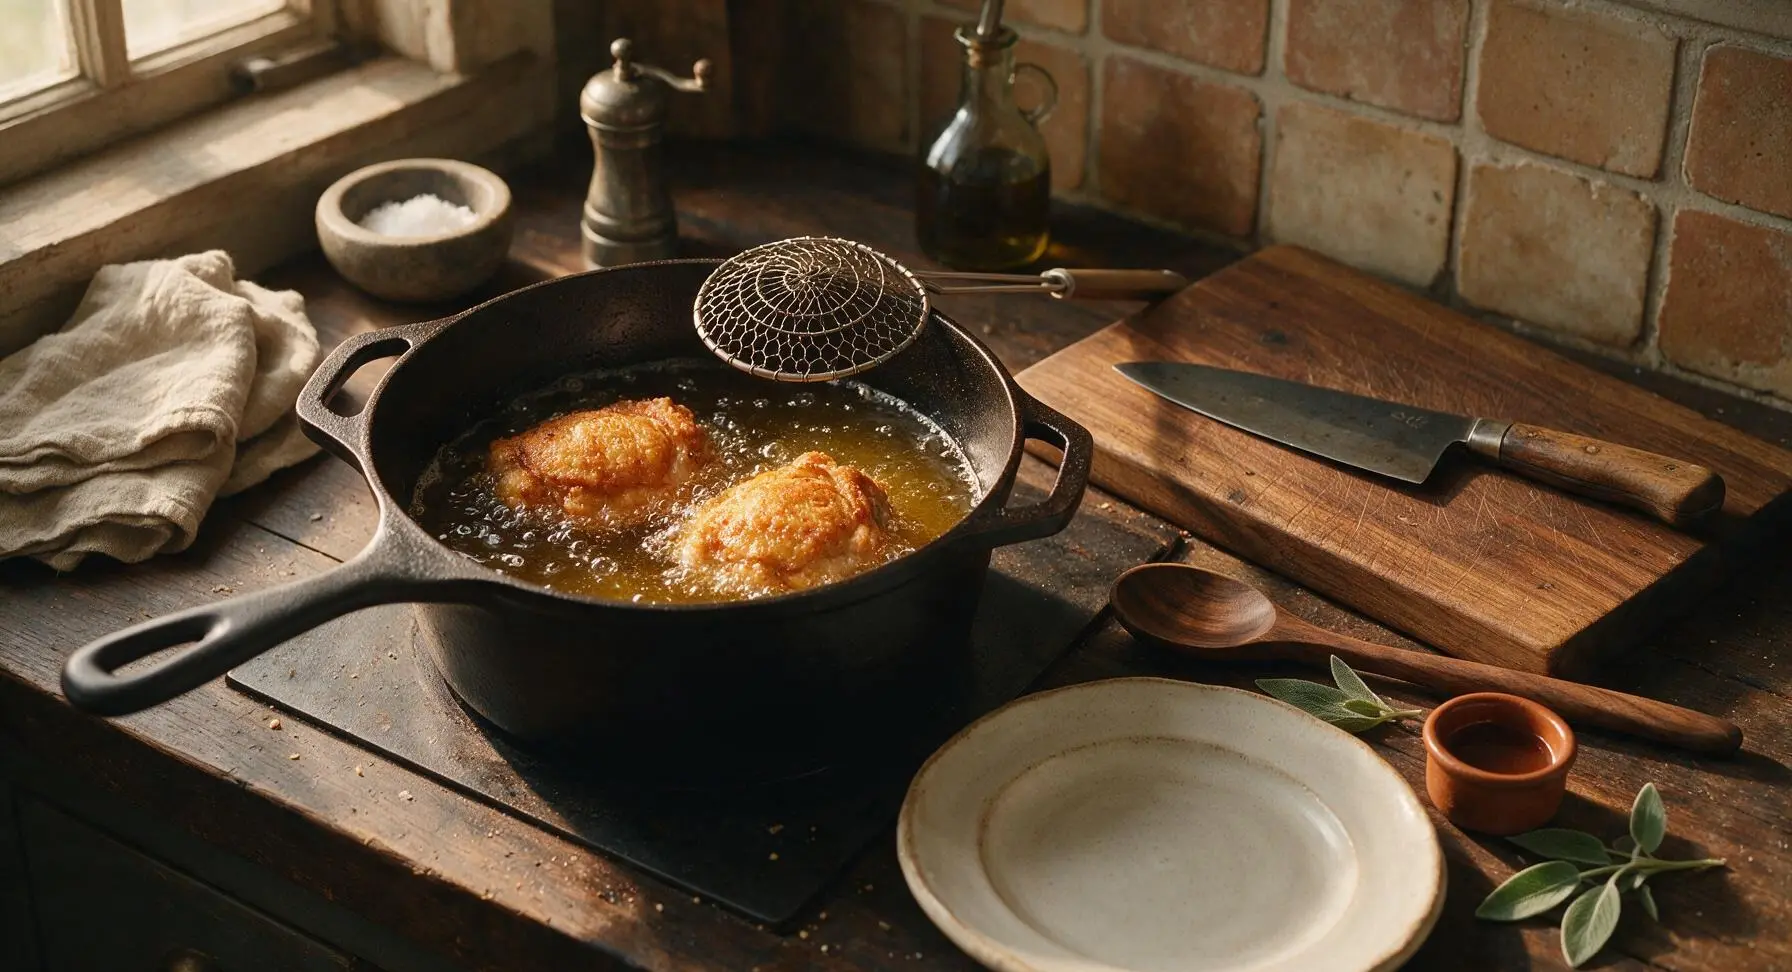
Carefully lower 2 pieces of chicken into the hot oil using the spider skimmer, taking care not to splash hot oil. Do not overcrowd the pot, as this drops oil temperature rapidly and causes soggy, greasy crust. Fry for 12 minutes per batch, turning pieces every 3 minutes with the skimmer, until the crust is deep golden brown and the internal temperature at the thickest part of the chicken reaches 75C (165F). Maintain oil temperature between 160-175C (325-350F) throughout frying by adjusting the stovetop heat as needed. Visual cue: Bubbles around the chicken slow from vigorous, fast fizz to smaller, gentler bubbles as the chicken finishes cooking, and the crust is a uniform deep golden color.
Drain and Season Chicken
Use the spider skimmer to lift finished chicken pieces from the oil, letting excess oil drip back into the pot for 5 seconds. Transfer the chicken to the chrome wire cooling rack set over the rimmed aluminum baking sheet, positioned to the right of the Dutch oven. Immediately sprinkle lightly with flaky sea salt from the salt cellar while the crust is still hot and oil is glistening, so salt crystals stick properly. Let rest 5 minutes before serving to allow the crust to set and juices to redistribute. Visual cue: The crust glistens slightly, salt crystals are visible on the surface, and no excess oil pools under the chicken on the rack.
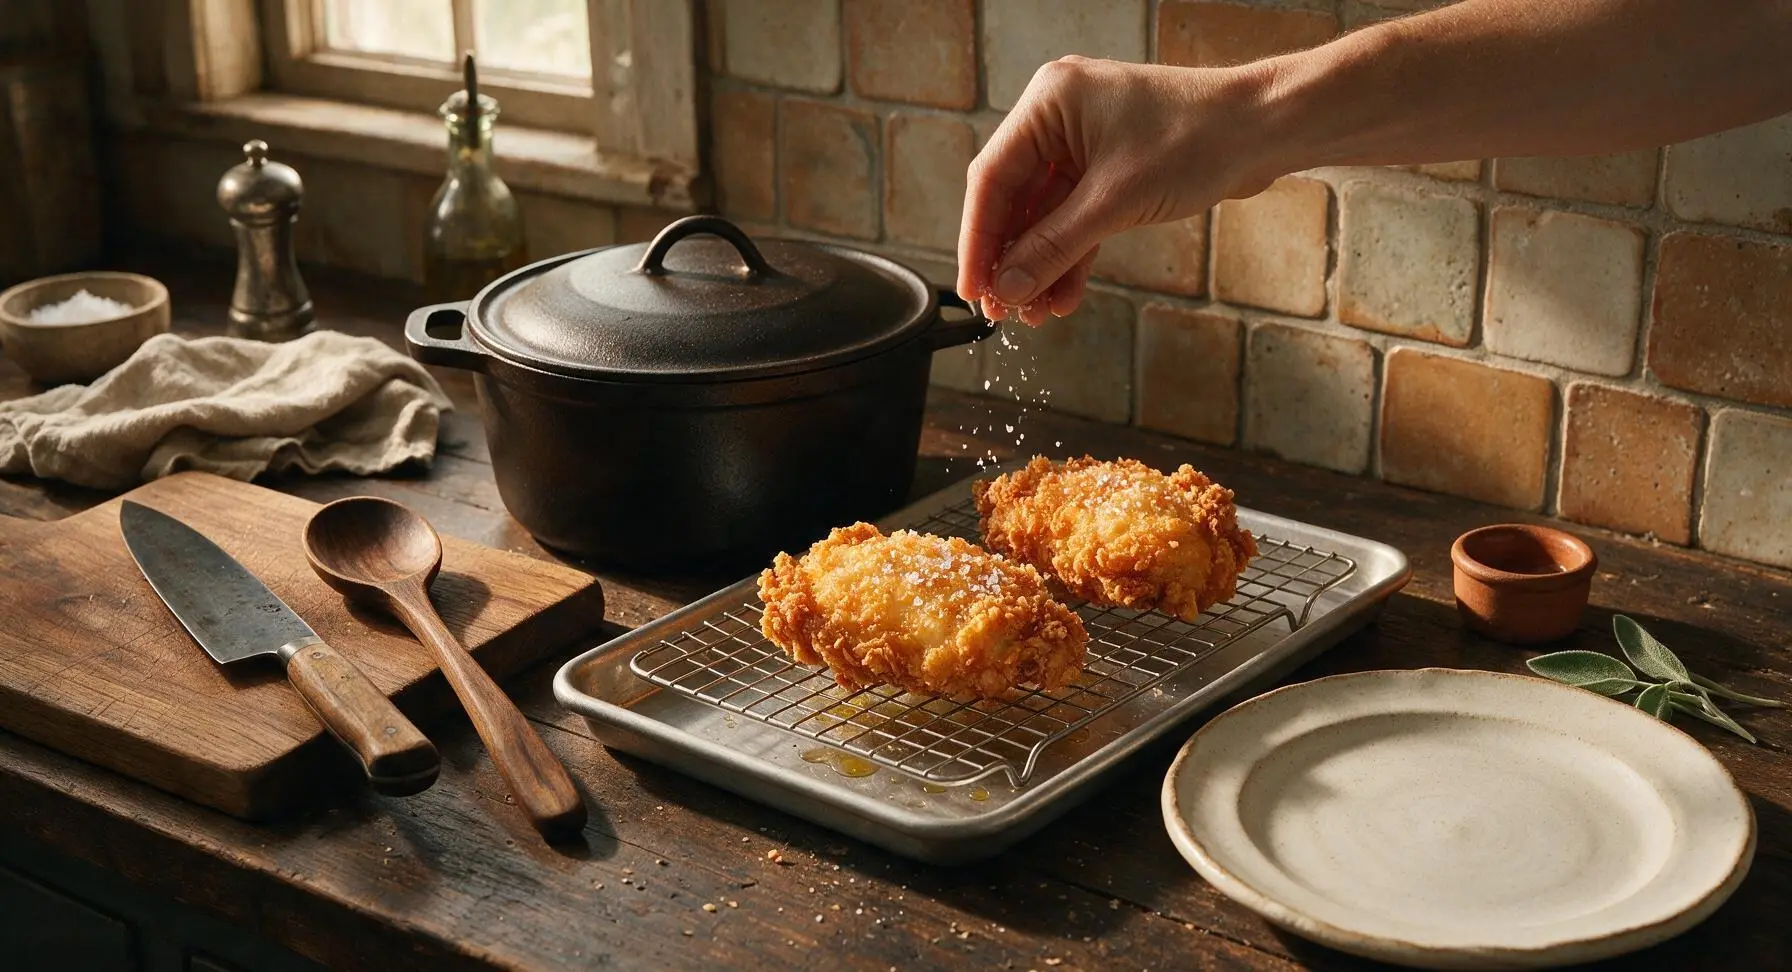
Plate and Garnish
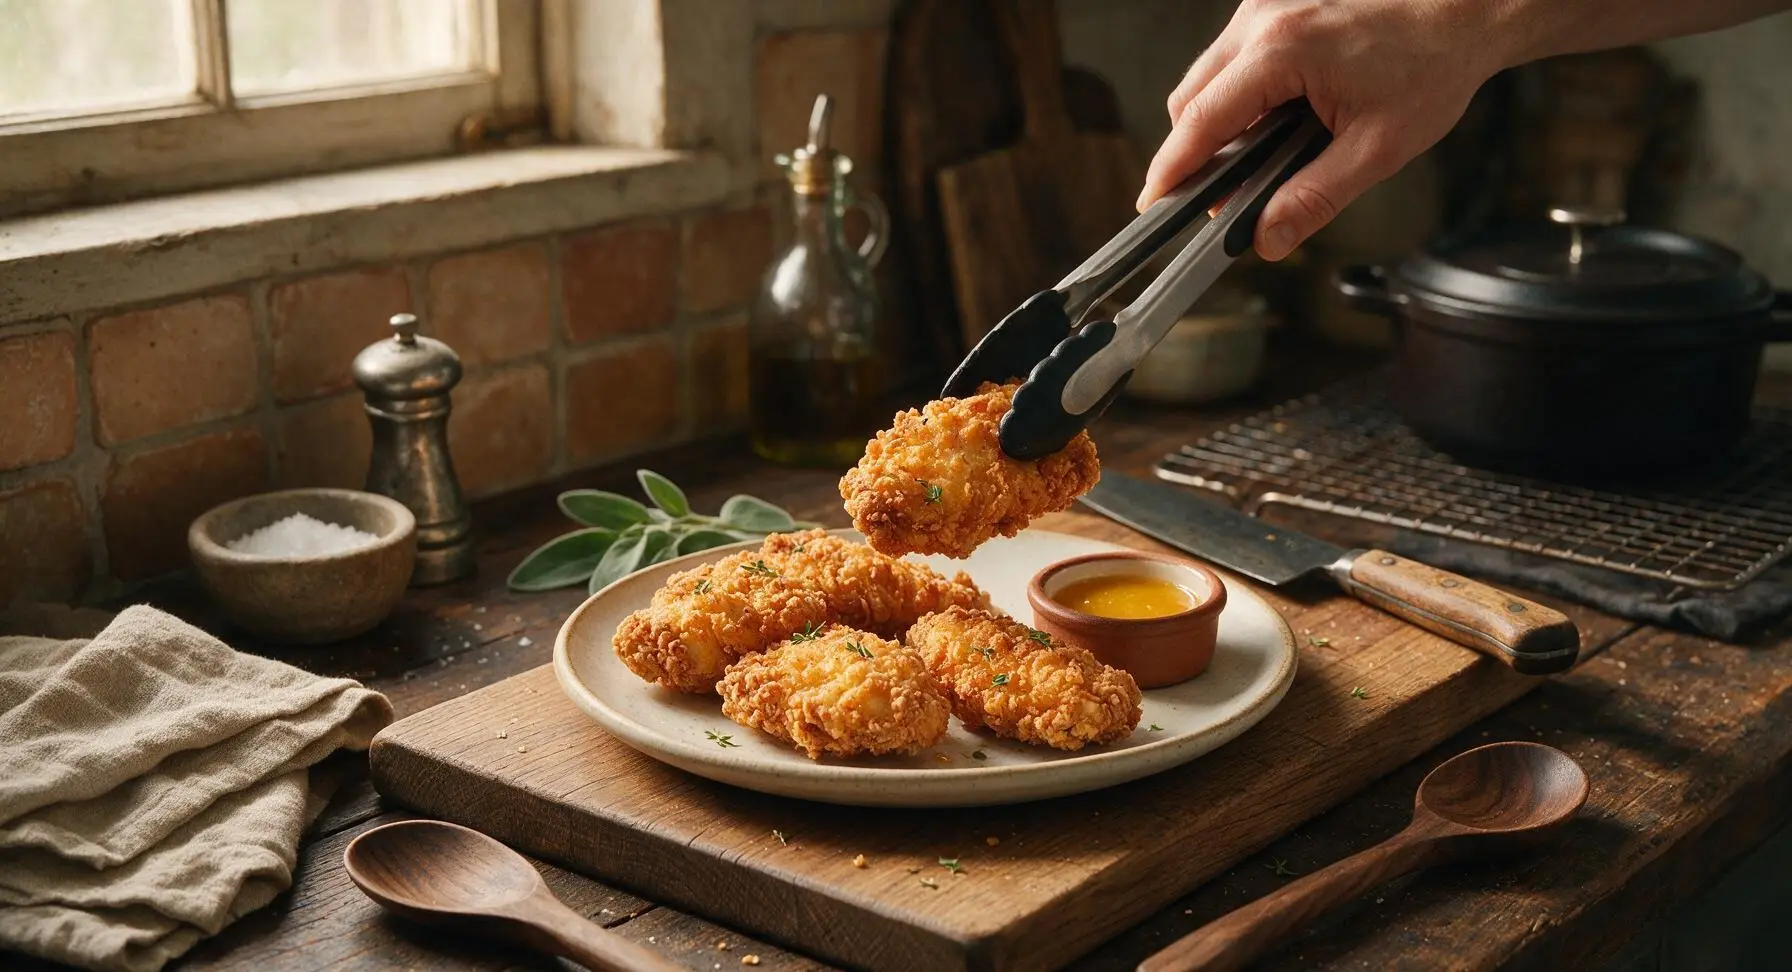
Use the silicone-tipped tongs to transfer the rested fried chicken pieces to the matte cream stoneware dinner plate, arranging them in a loose, natural pile. Scatter a few fresh thyme leaves over the top of the chicken, and fill the terracotta ramekin with hot honey (or your preferred dipping sauce) to place beside the plate. Do not cover the chicken, as trapped steam will quickly soften the crisp cornstarch crust. Visual cue: The craggy crust texture is clearly visible, with no soggy patches, and the green thyme provides a bright color contrast against the golden chicken.
Tips
2.Add a small amount of flour and baking powder to the cornstarch dredge: 100% cornstarch creates a crust that is overly hard and brittle, while a small ratio of flour adds structure and baking powder creates tiny air pockets for a light, shatteringly crisp crust that does not turn tough.
3.Drain fried chicken on a wire rack instead of paper towels: Paper towels trap steam against the bottom of the chicken, softening the crust to sogginess in as little as 60 seconds; a wire rack allows full air circulation to keep every side of the crust crisp during the rest period.






OMG, made this for our Sunday family dinner last night and every single piece was gone in 10 minutes! The crunch is insane, way better than the fast food fried chicken we usually grab on busy weekends. I added a little extra paprika to the cornstarch mix and it was chef’s kiss. My kids are already begging me to make it again this weekend.
Game. Changer. I’ve tried so many fried chicken recipes that promise crispy skin only to have it get soggy 2 minutes after pulling it out of the oil. The cornstarch trick here actually works! I brought a batch to my buddy’s football watch party and everyone was asking for the recipe. Only thing I’ll note is make sure your oil temp stays consistent, I let mine drop a little on the first batch and it wasn’t quite as crispy.
Wait, who knew cornstarch could make chicken this crispy? I meal prepped this on Sunday and even reheated in the air fryer throughout the week, the crunch held up way better than I expected. Perfect for quick work lunches, way cheaper than buying takeout fried chicken every day. 10/10 will be in my regular rotation.
Made this for our neighborhood potluck last weekend and I lost count of how many people asked for the recipe! The crust is so shatteringly crisp, even after sitting out on the potluck table for almost an hour. I used boneless thighs instead of bone-in because that’s what I had in the fridge, worked like a charm.
I was skeptical that cornstarch alone could get that good crunch, color me impressed. Usually I do a half flour half cornstarch mix, but this all-cornstarch coating is next level. I smoked the chicken for 20 minutes before frying to add a little extra smoky flavor, highly recommend that hack if you’ve got a smoker.
As someone who’s still pretty new to cooking, I was nervous to try frying for the first time but this recipe was so straightforward! Cook time was exactly as written, no guesswork. I messed up the seasoning a little (added too much salt oops) but the crust was still so crispy my roommates thought I ordered takeout. Will absolutely make again, just gonna go easier on the salt next time.
Finally, a gluten free fried chicken recipe that doesn’t taste like cardboard!!! I can’t tell you how many GF fried chicken recipes I’ve tried that have a weird gritty texture or fall right off the chicken. This cornstarch coating is perfect, no weird aftertaste, crunch for days. My whole family (even the non-GF folks) loved it.
This is the perfect weeknight dinner! 24 minutes cook time is no joke, I had this on the table faster than I could get delivery. I served it with coleslaw and mac and cheese, total comfort food win after a long day of work. Only note is I wish I’d made double, my partner ate three pieces before I even sat down.
I’ve been making fried chicken for over 50 years and I have to say, this cornstarch method gives the crunchiest crust I’ve ever had. I thought my old buttermilk and flour recipe was unbeatable, but I’ll be adding this to my recipe box for sure. My grandkids went crazy for it, said it’s better than the fast food place down the road.
I run a small fried chicken food truck and I tested this recipe out as a limited special last weekend – we sold out in 45 minutes! The crisp hold is unreal, even when customers took it to go and ate it 20 minutes later. I did add a little garlic powder and cayenne to the coating for a little kick, customers were raving.
Solid recipe, great crunch, but I found the seasoning a little bland for my taste. I added a tablespoon of Old Bay to the cornstarch mix on my second batch and that kicked it up perfectly. If you’re a fan of that classic savory, spicy kick, definitely give that a try.
Made this for date night last night and my boyfriend thought I spent hours in the kitchen. Little does he know it was so easy! We paired it with waffles for a homemade chicken and waffle night, the sweet and salty combo was unbeatable. 10/10, will be making this for future date nights for sure.
Help! I tried making this last night and the cornstarch coating slid right off half my chicken pieces. What did I do wrong? The parts that stayed on were so crispy and delicious, I just couldn’t get the coating to stick consistently.
SO good! I made these as chicken strips for my kids’ school lunches this week and they came home asking for more every single day. No sad soggy chicken strips here! The crunch held up even after being in their lunch boxes for a few hours, which is a total win in my book.
I tried this in my air fryer instead of deep frying because I hate dealing with pots of hot oil, and it still got so crispy! I sprayed the coated chicken with a little olive oil spray, cooked at 400°F for 18 minutes flipping halfway, and it was perfect. No messy oil, same great crunch.
Made this for our weekly board game night with friends and everyone was fighting over the last piece. The crisp is absolutely insane, even after I let it rest on a wire rack for 10 minutes while I finished making the dipping sauces. I served it with honey sriracha dip and ranch, both paired perfectly.