
Creme Brulee
intro
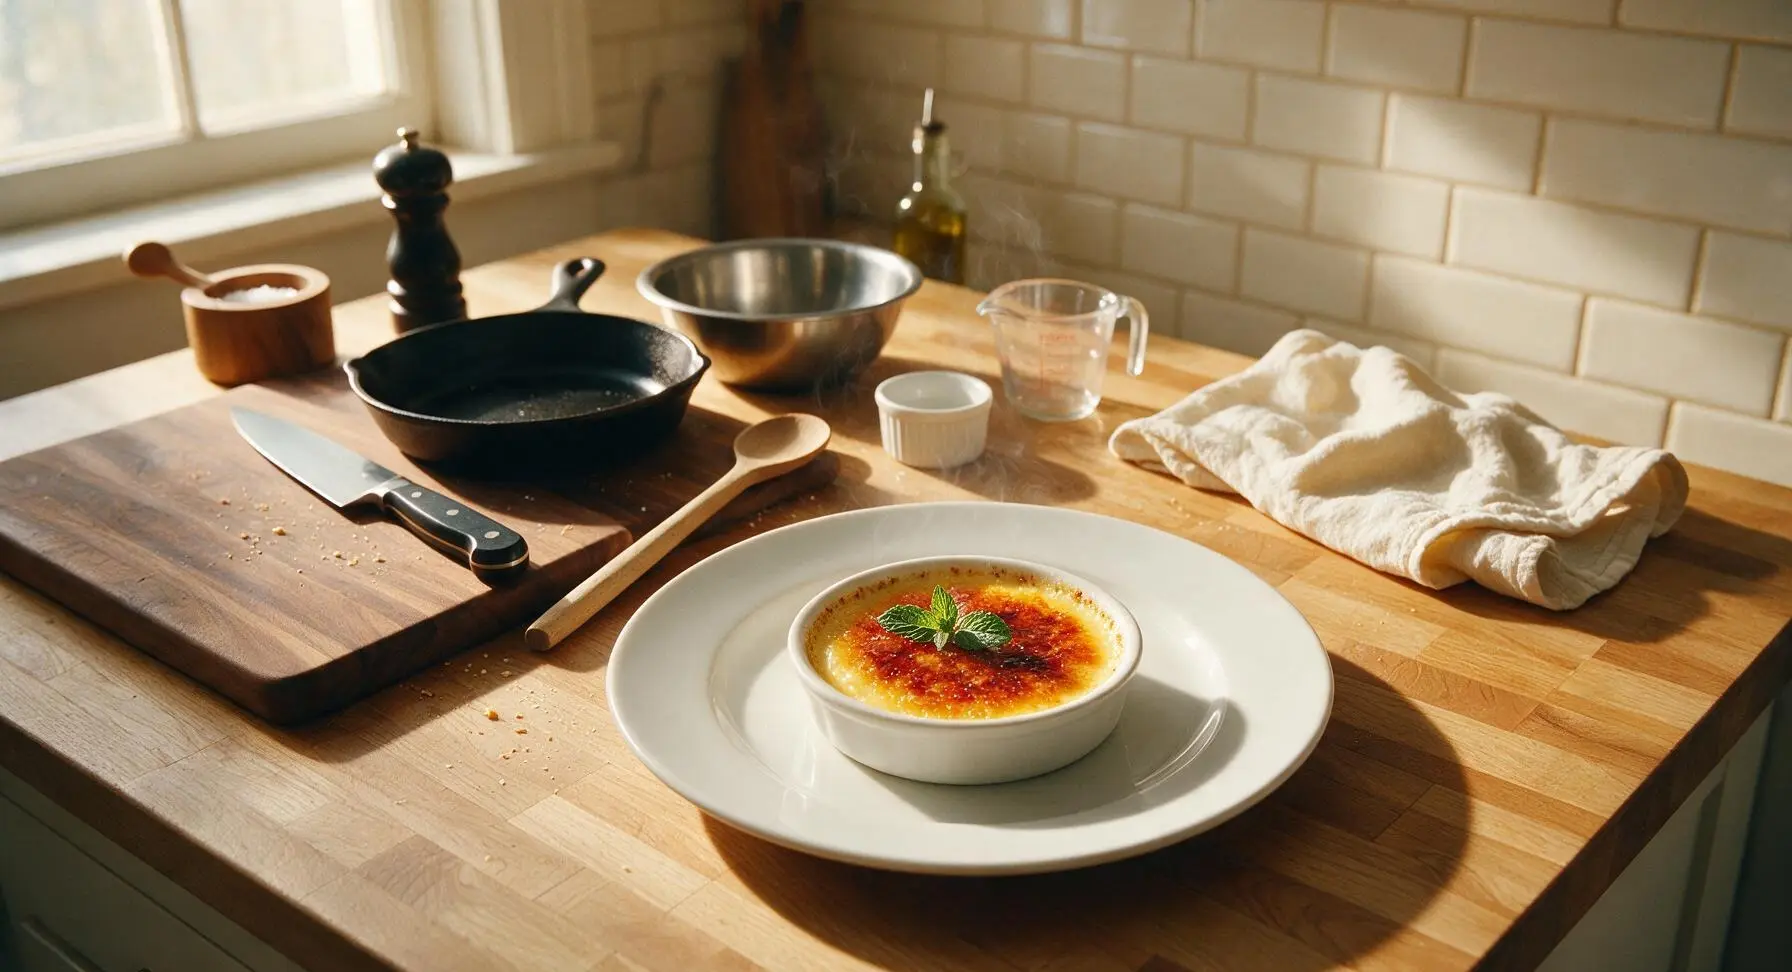
Silky, vanilla-kissed baked custard topped with a shatteringly crisp caramelized sugar crust, this iconic French dessert feels indulgent and restaurant-worthy, perfect for special nights in.
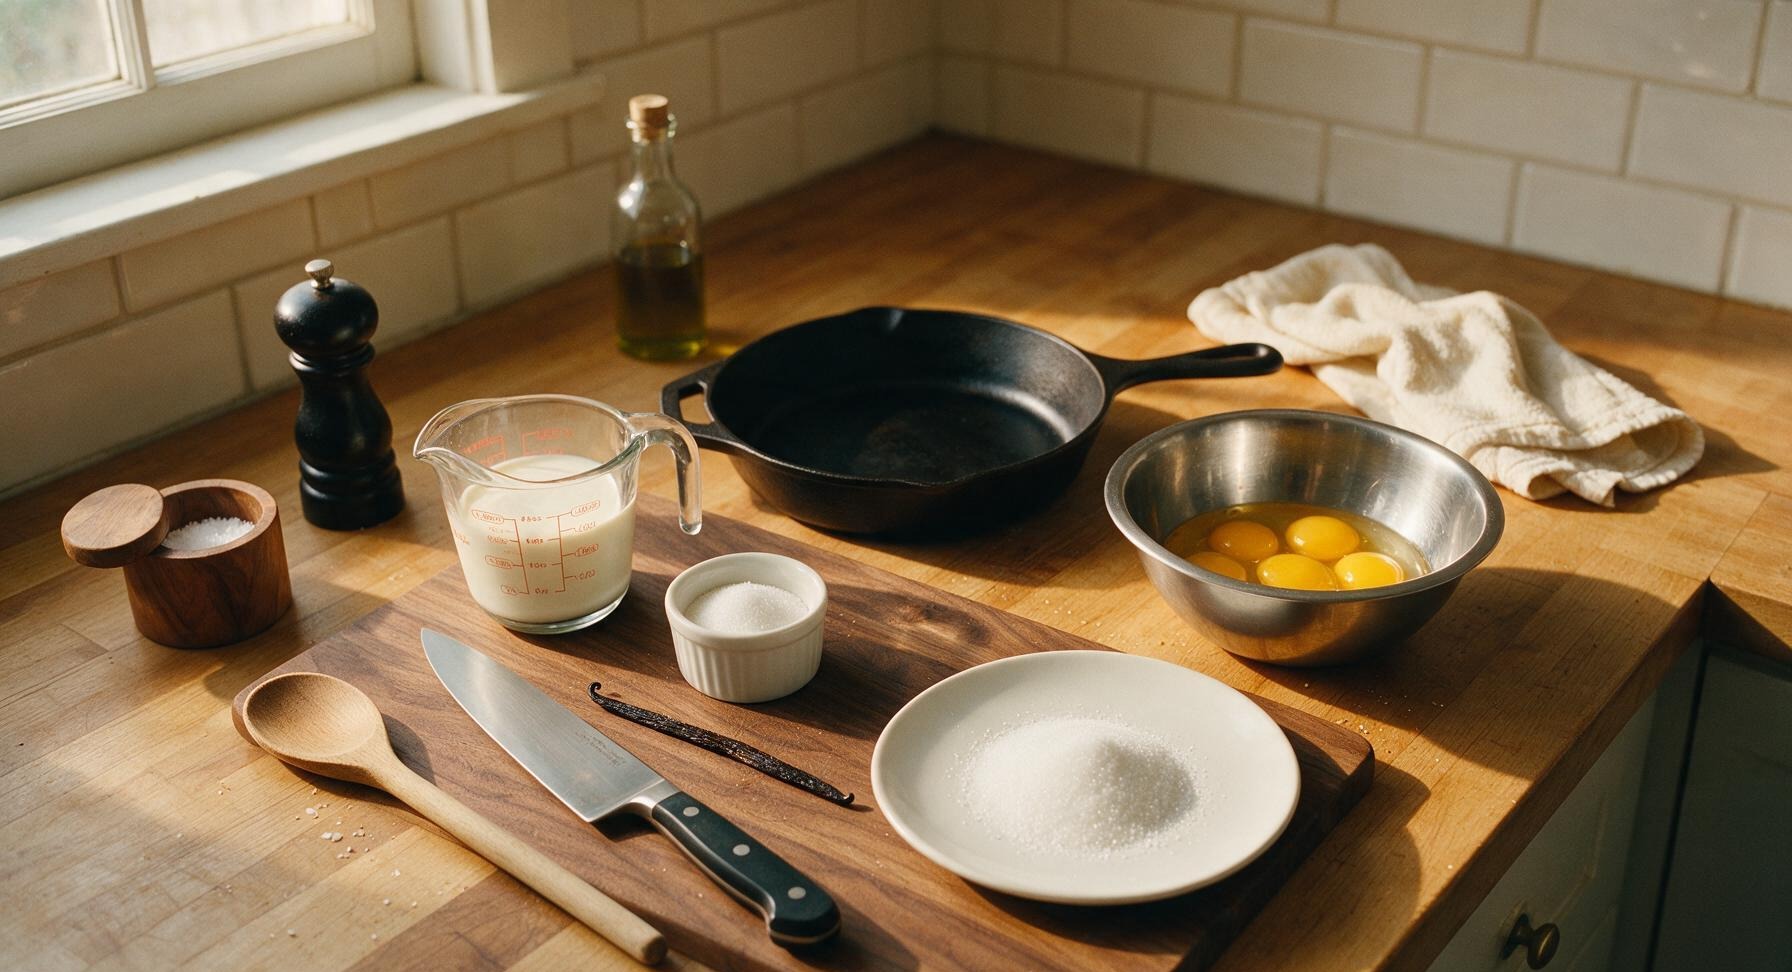
Ingredients
Steps
Warm Cream with Vanilla
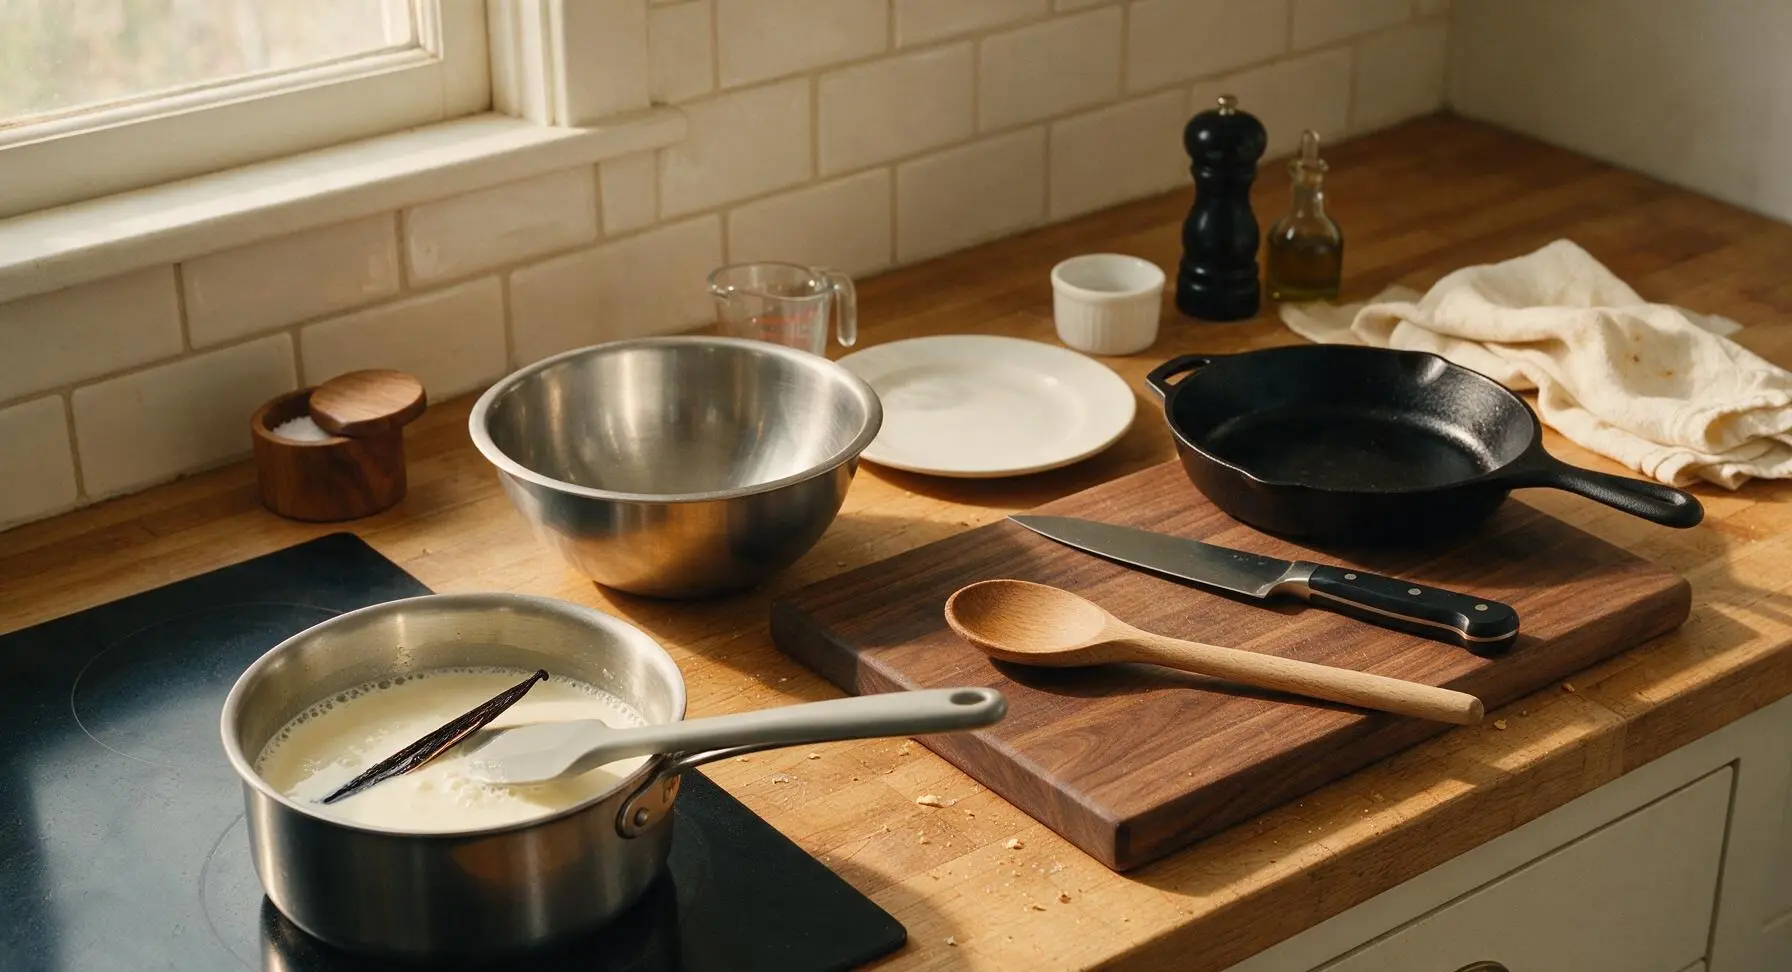
Pour 480ml heavy cream into the small stainless steel saucepan. Split the vanilla bean lengthwise, scrape out the tiny black seeds, and add both the seeds and pod to the cream. Heat over medium-low heat on the induction burner, stirring occasionally with the light grey silicone spatula, until the cream reaches a gentle simmer (82°C / 180°F), with small bubbles forming around the pan edge and no rolling boil. Remove from heat, cover, and let infuse for 10 minutes to deepen vanilla flavor, then remove the vanilla bean pod from the cream.
Whisk Yolk Sugar Base
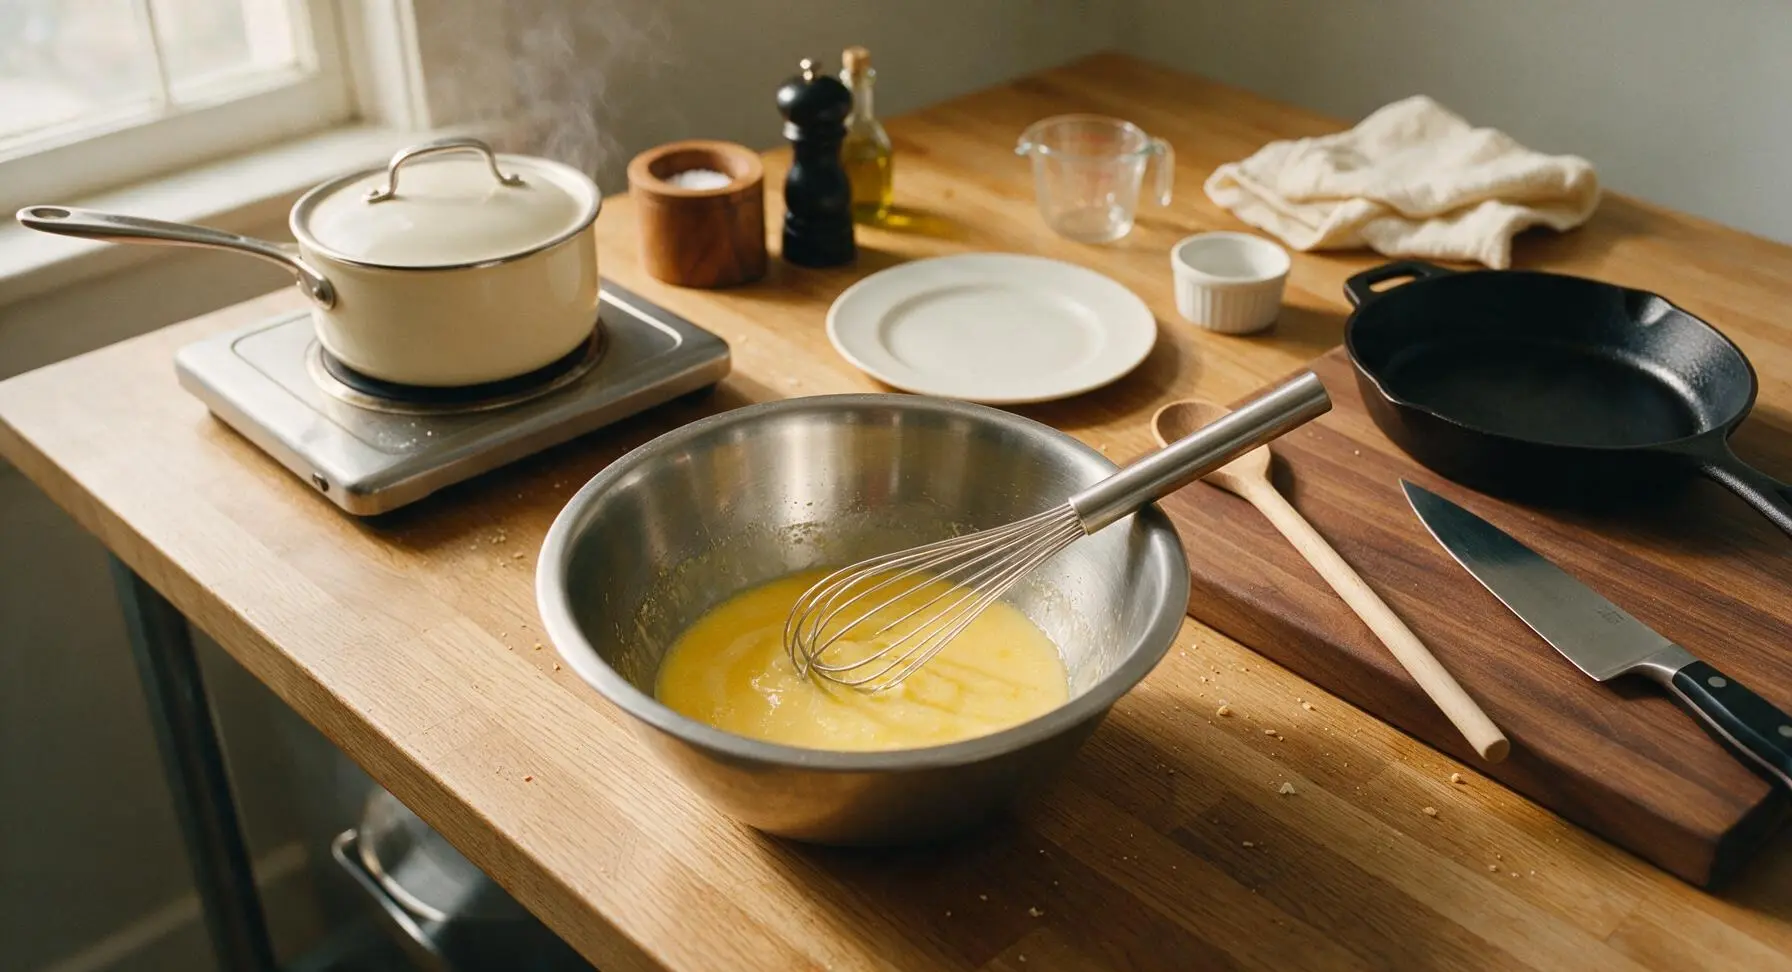
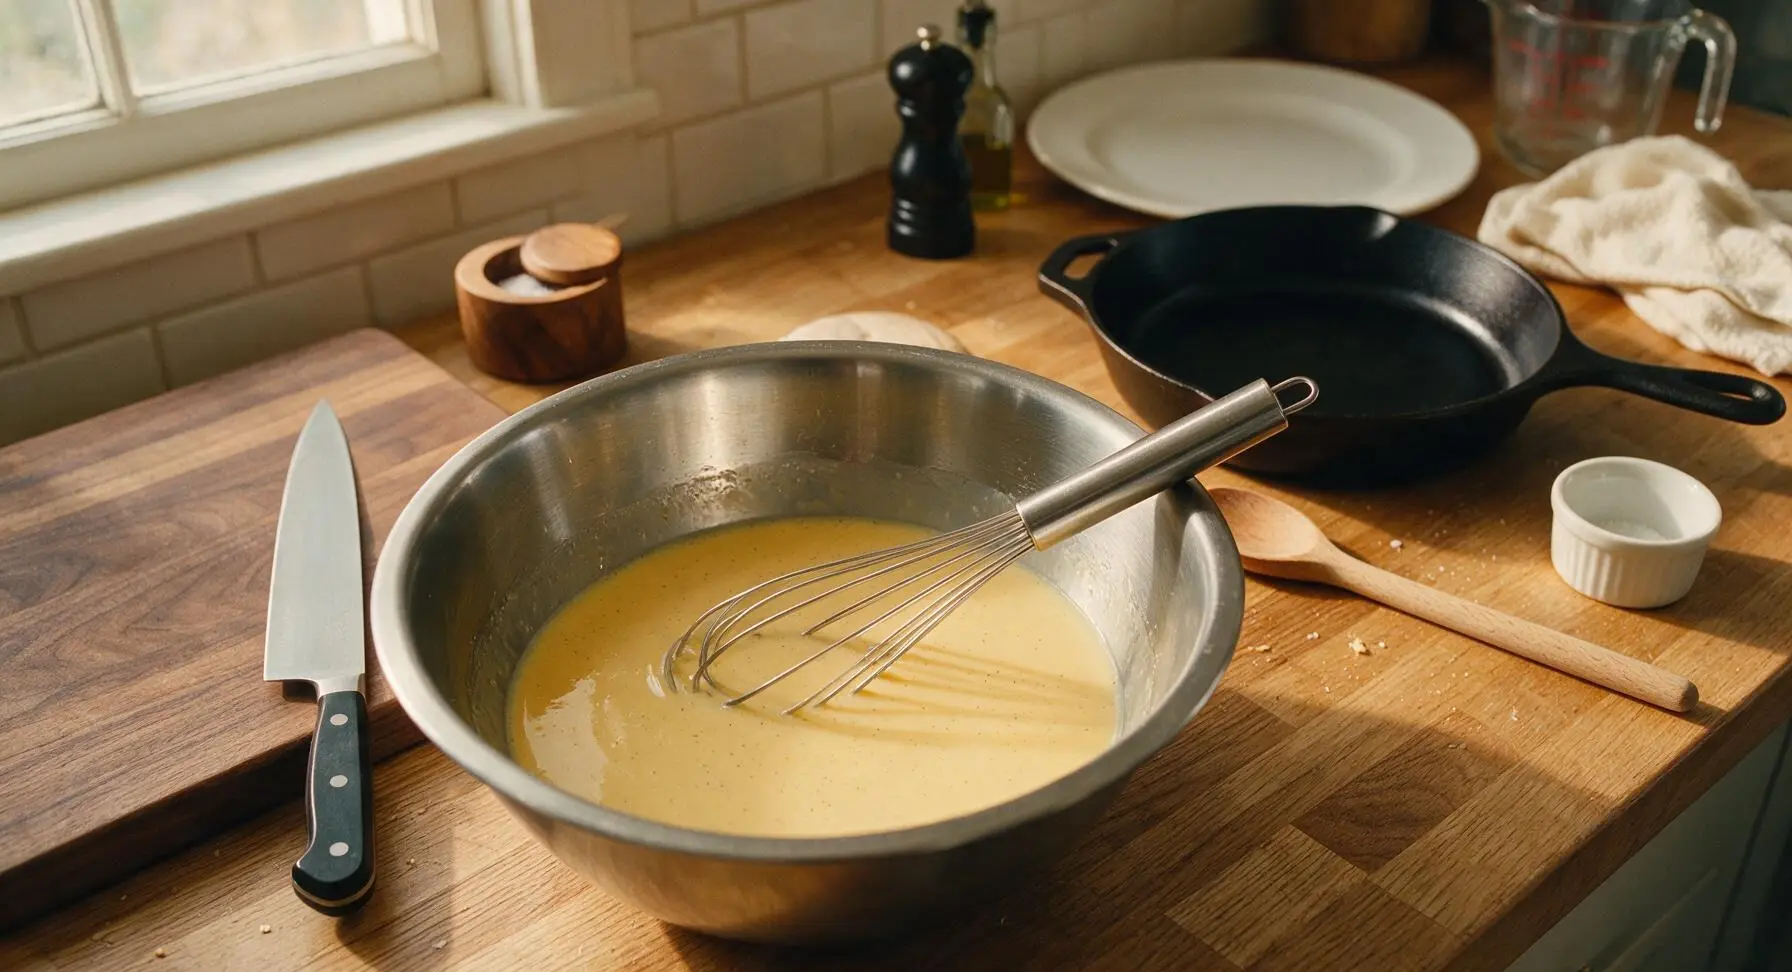
While the cream infuses, add 5 large egg yolks, 1/3 cup granulated sugar, and 1/8 tsp fine sea salt to the medium stainless steel mixing bowl. Whisk slowly and steadily with the stainless steel balloon whisk for 2-3 minutes, until the mixture is pale lemon yellow, slightly thickened, and sugar is fully dissolved (no gritty texture when you rub a drop between your fingers). Do not whisk fast enough to create large air bubbles, as these will cause holes in the finished custard.
Temper Eggs with Cream
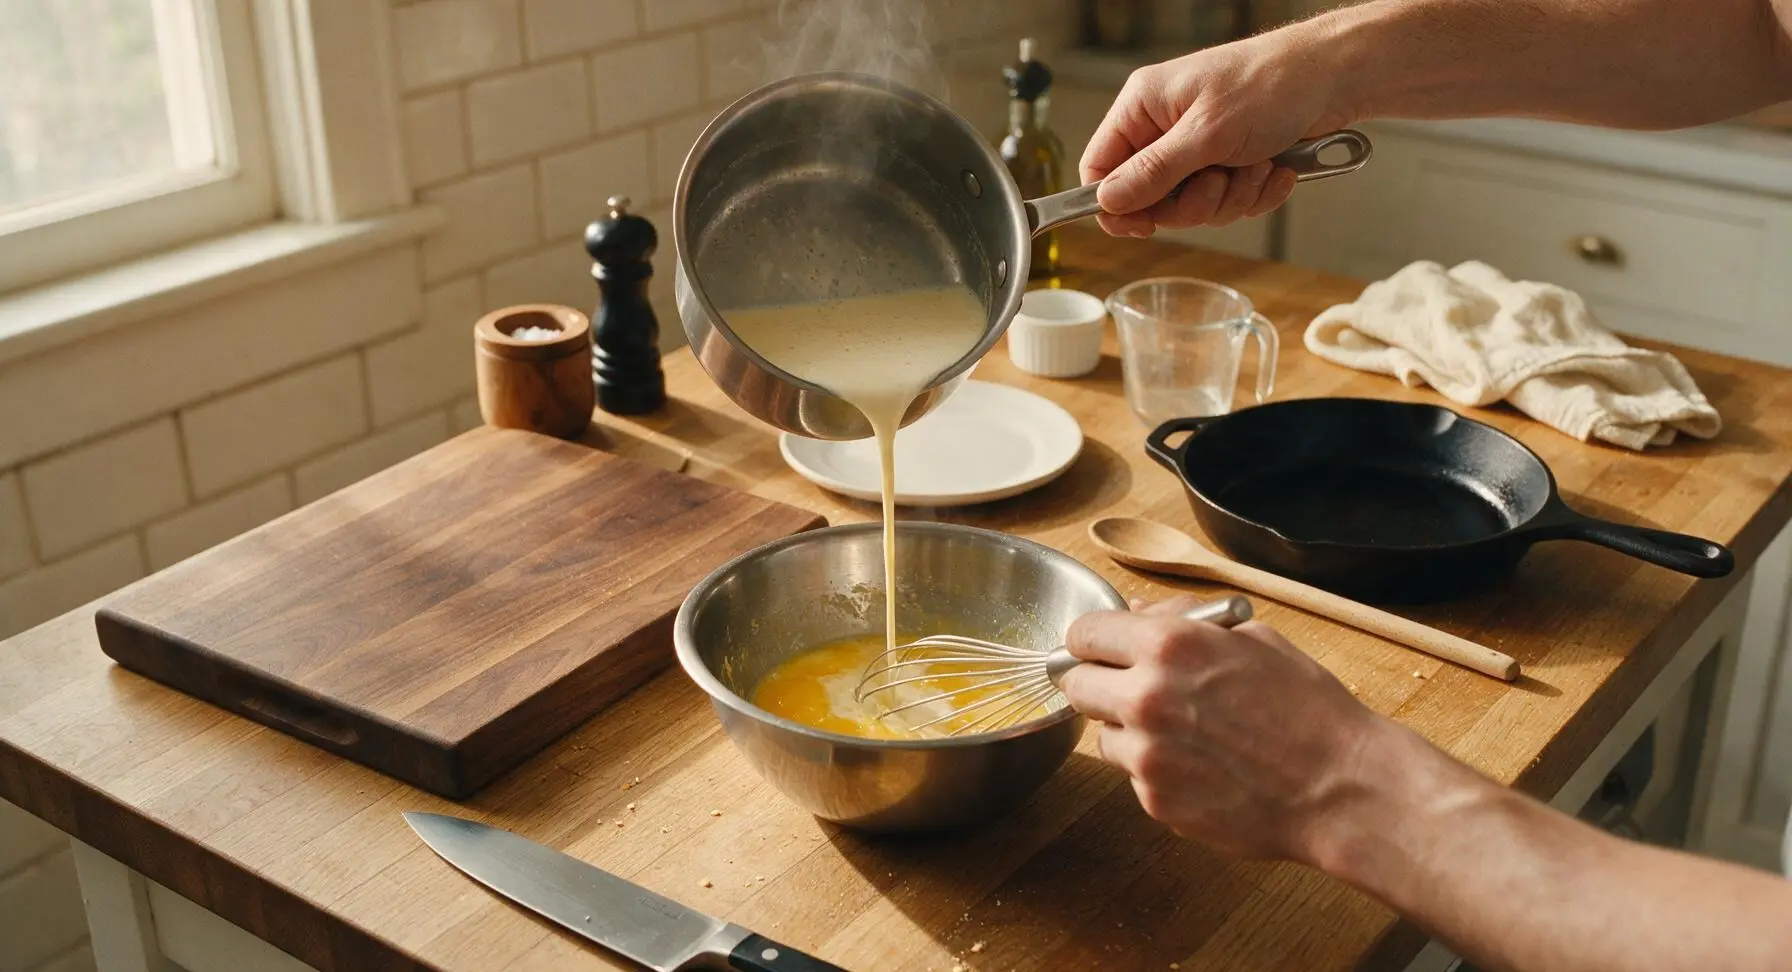
Remove the lid from the warm infused cream. Slowly pour 1/4 cup of warm cream into the egg yolk mixture while whisking constantly and quickly, to prevent eggs from curdling from heat. Continue adding cream in 1/4 cup increments, whisking nonstop, until all cream is fully incorporated into the egg base for a smooth, uniform custard.
Strain Custard Mixture
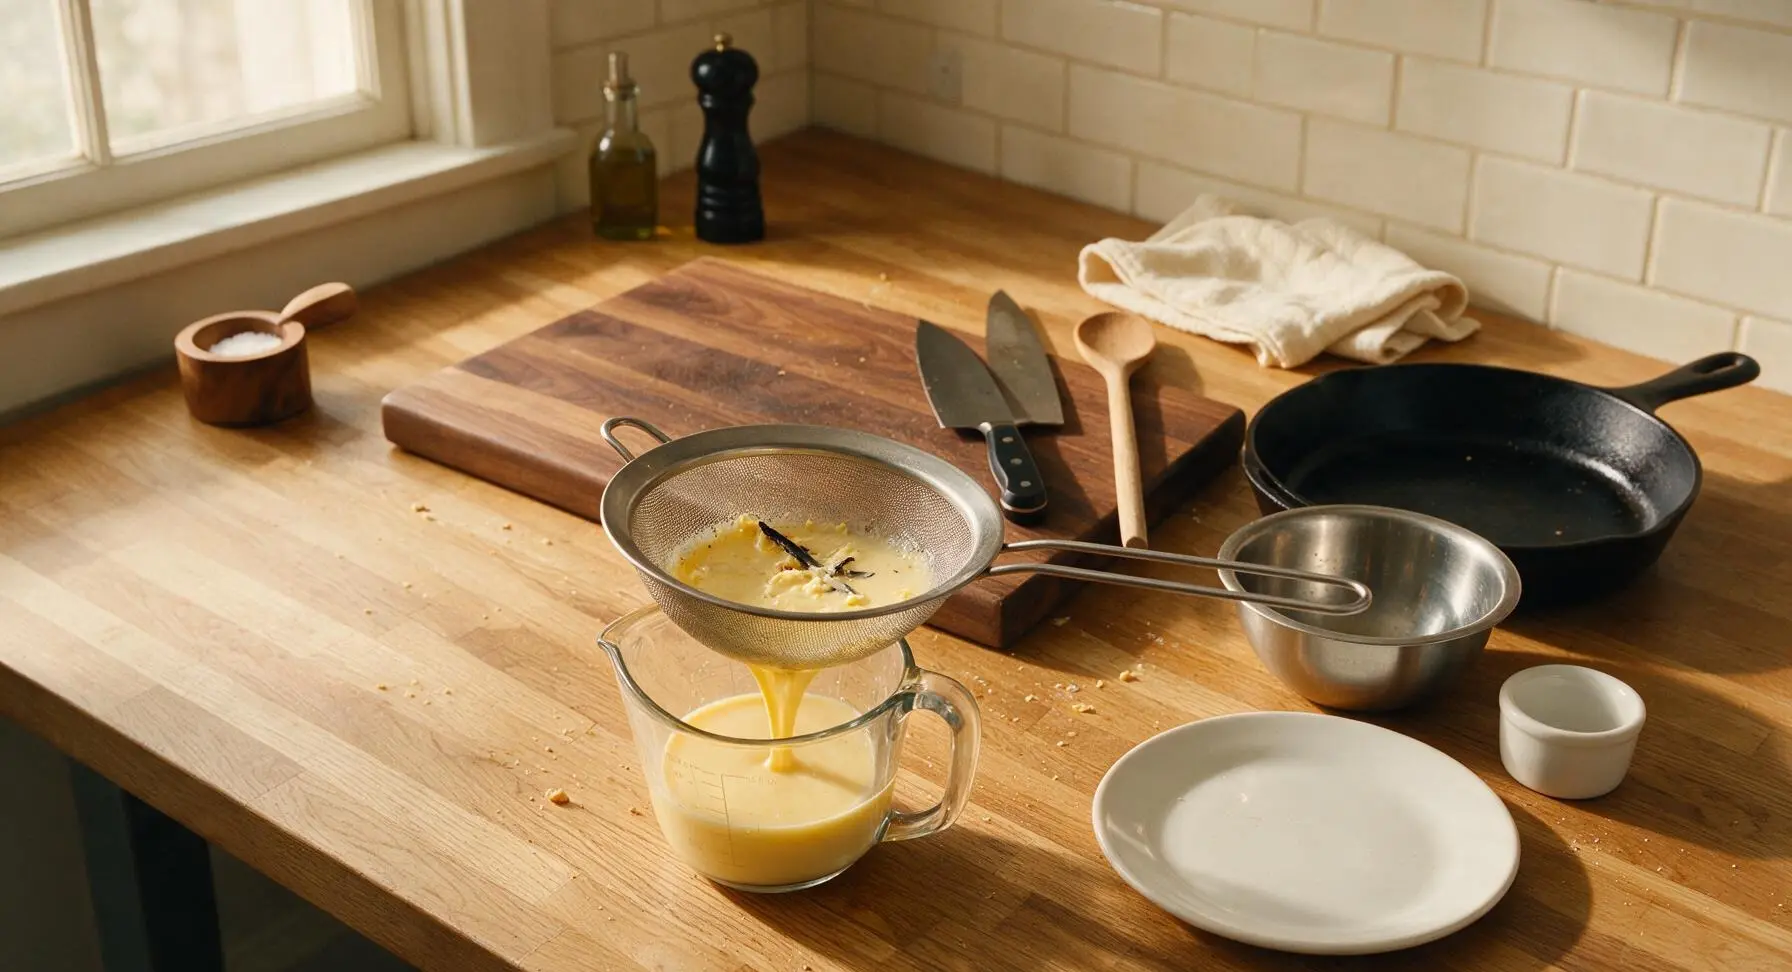
Place the stainless steel fine-mesh sieve over the 1L clear glass measuring cup. Slowly pour the warm custard base through the sieve to catch any curdled egg bits, vanilla pod fragments, or large air bubbles. Discard any solids left in the sieve. Let strained custard rest for 5 minutes, then skim any small remaining bubbles from the surface with a spoon to ensure a perfectly smooth finished custard top.
Bake in Water Bath
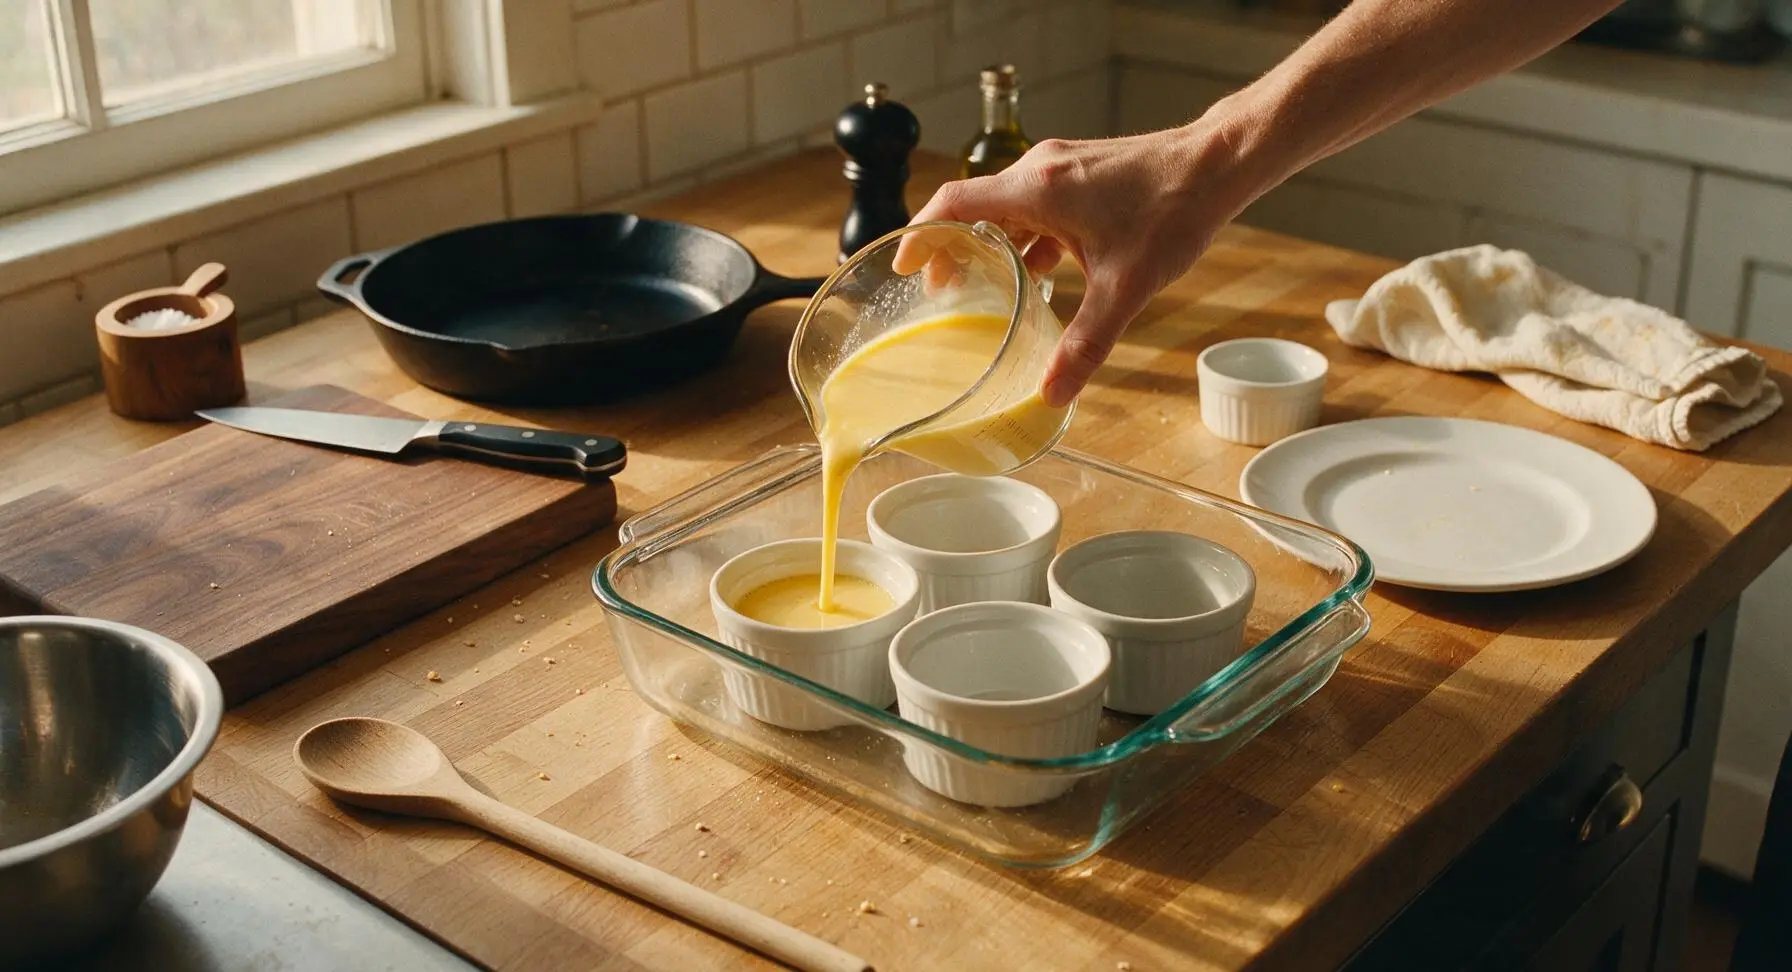
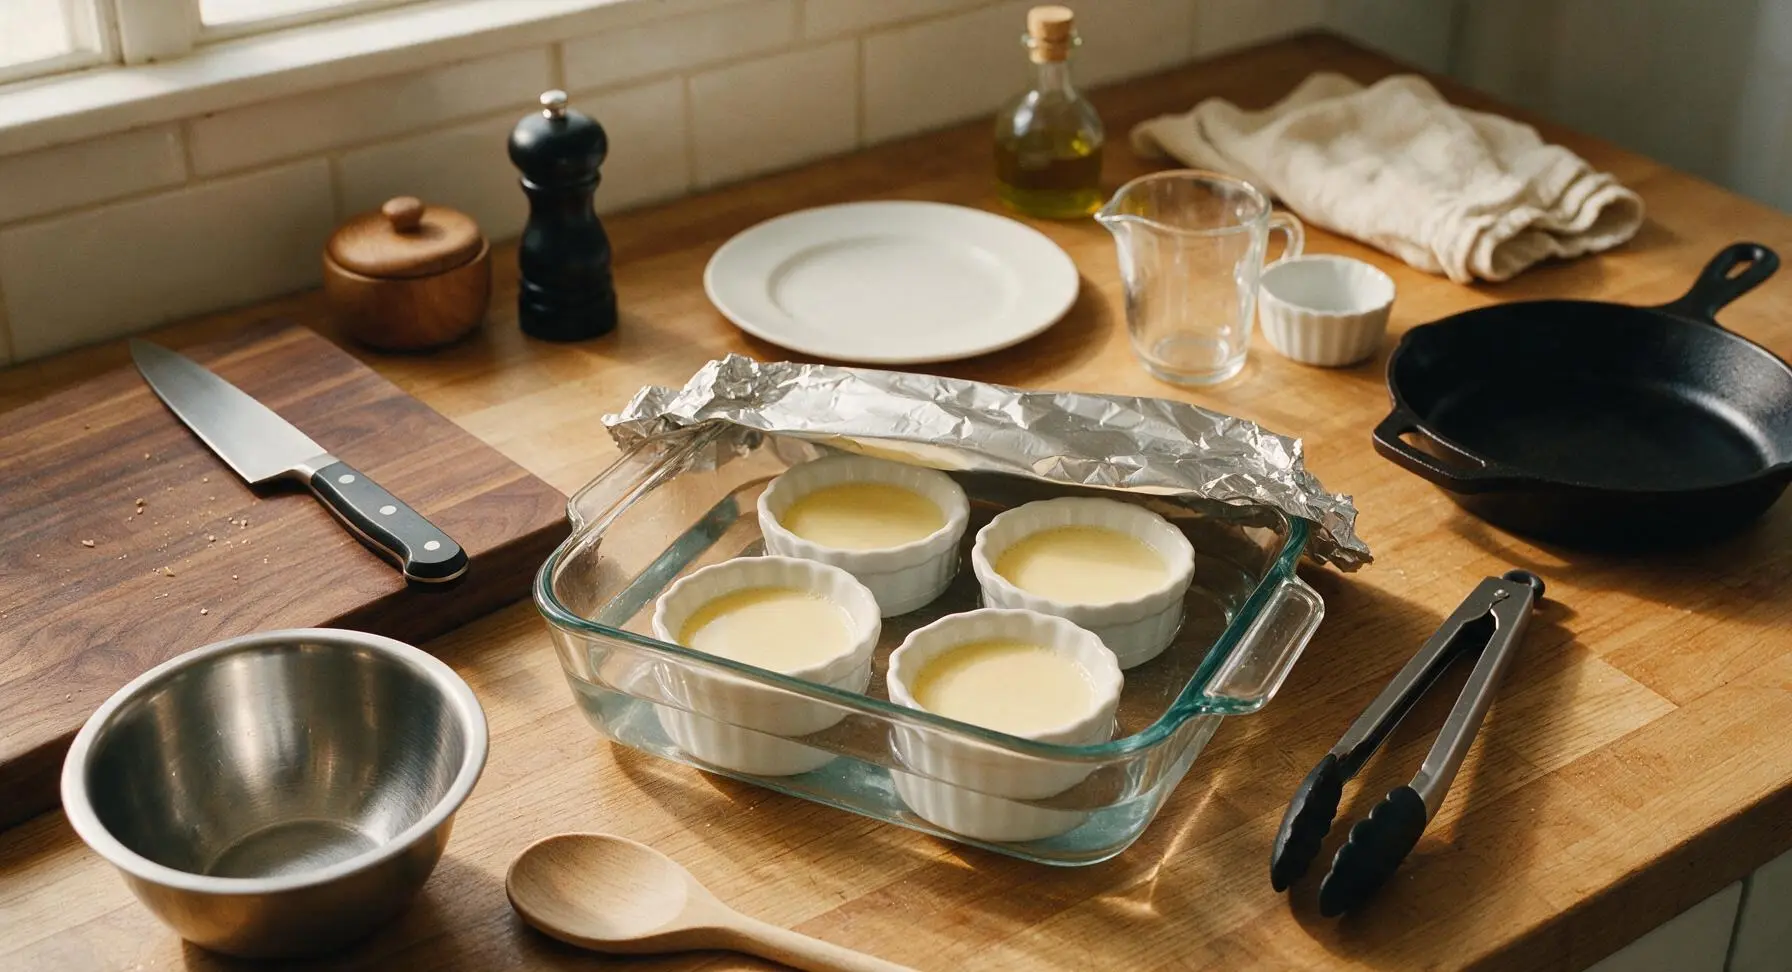
Arrange the 4 white ceramic ramekins in the bottom of the deep clear tempered glass baking dish. Divide strained custard evenly between the ramekins, filling each to 1cm below the rim. Carefully pour hot tap water into the baking dish until water reaches halfway up the ramekin sides, taking care not to splash water into the custard. Cover the baking dish tightly with aluminum foil, then bake in a preheated 160°C / 325°F oven for 40-45 minutes. Custard is done when edges are fully set but the center 2cm jiggles slightly like firm Jell-O when gently nudged, not sloshy liquid.
Chill Custard Thoroughly
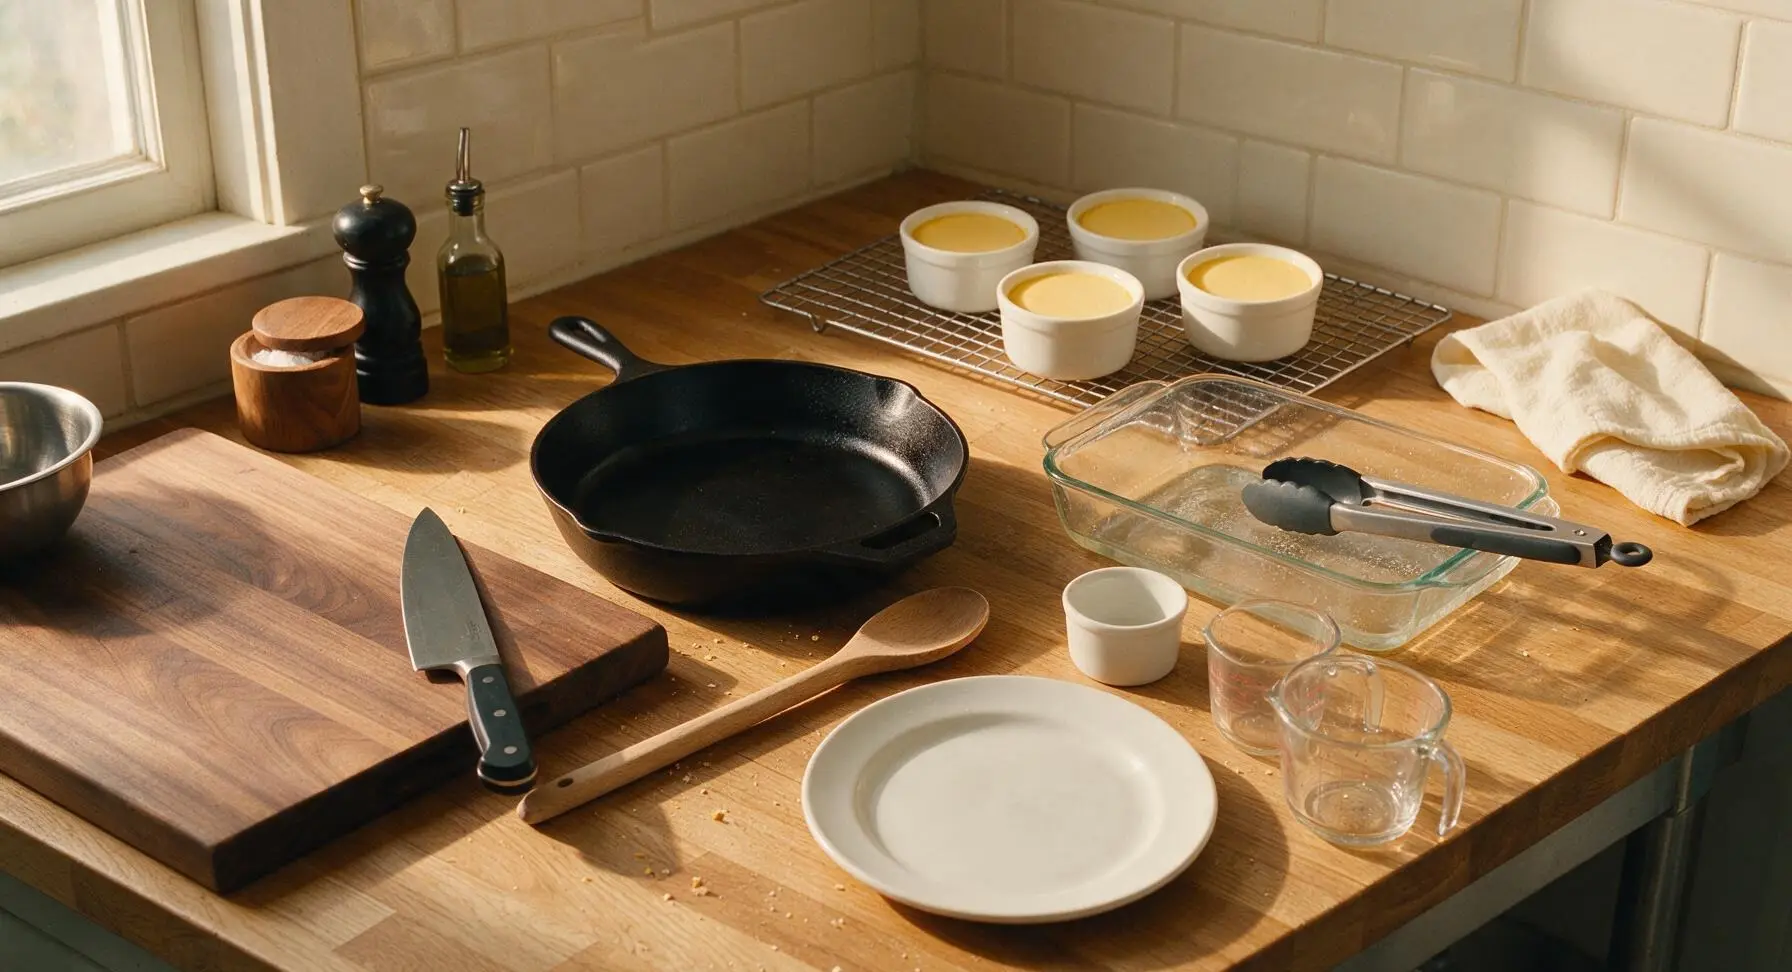
Remove the baking dish from the oven, carefully lift ramekins out of the hot water bath using the silicone-tipped tongs, and set them on the stainless steel wire cooling rack in the back right corner. Let come to room temperature for 30 minutes, then cover each ramekin tightly with plastic wrap and refrigerate for at least 4 hours, preferably overnight, until custard is completely cold and firm. Do not add the sugar topping until right before serving.
Torch Sugar Crust
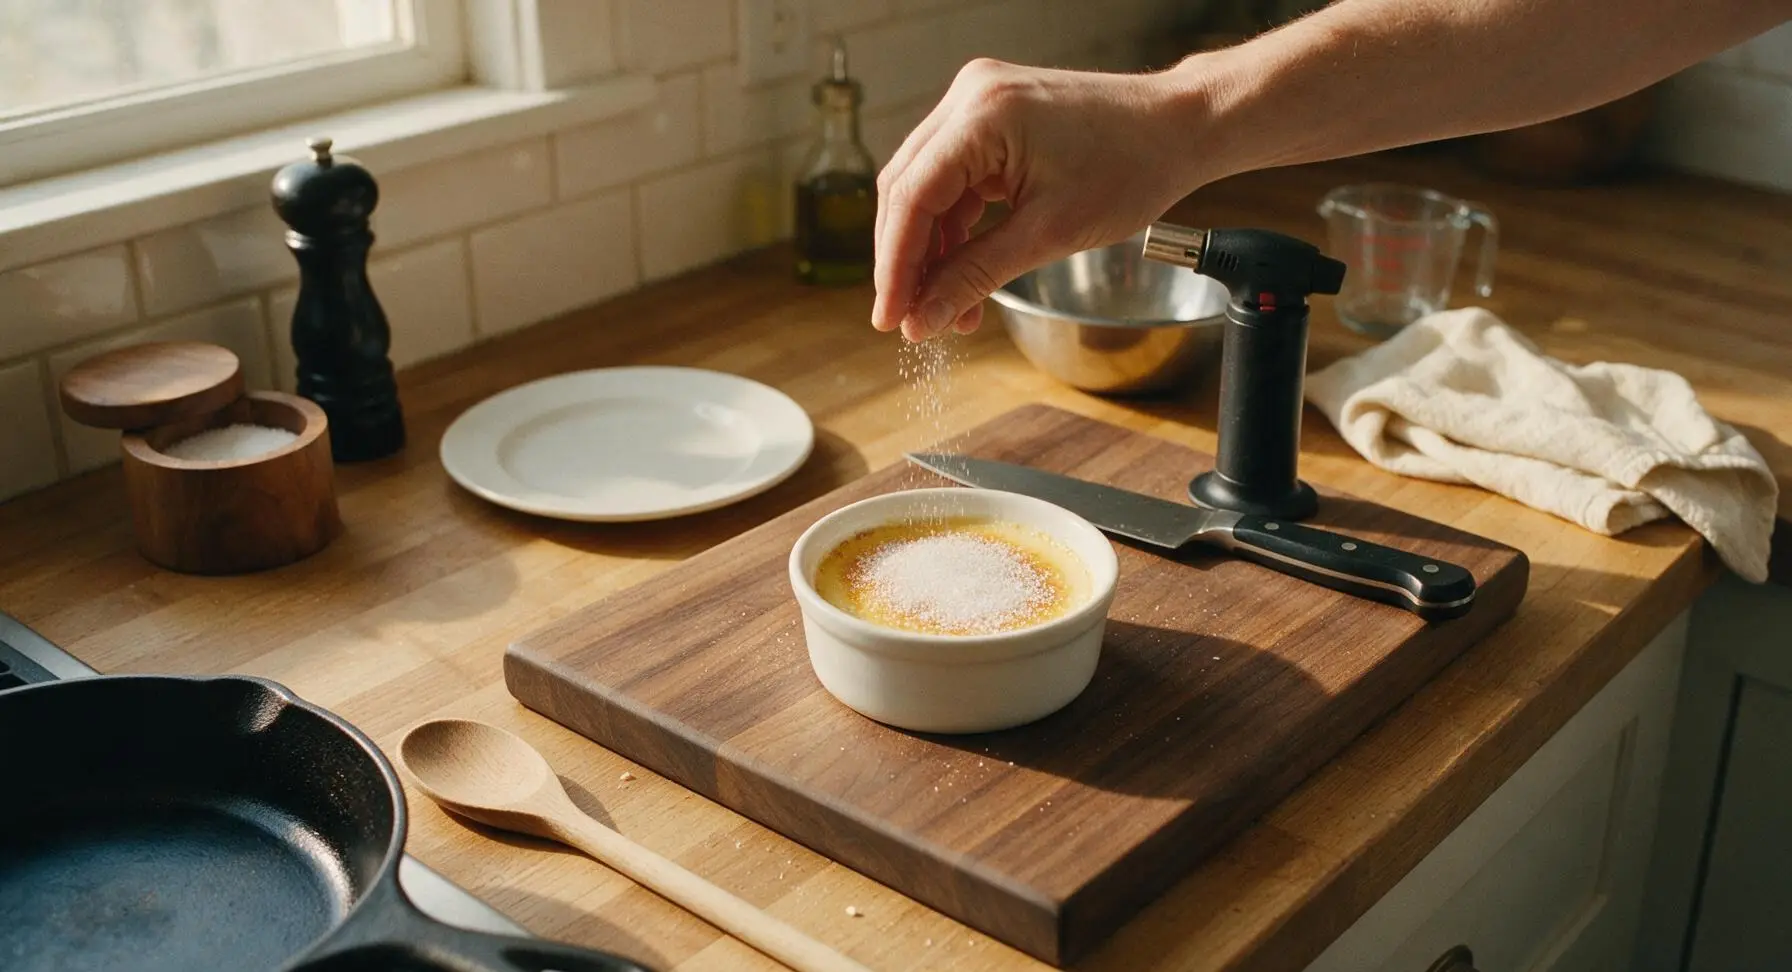
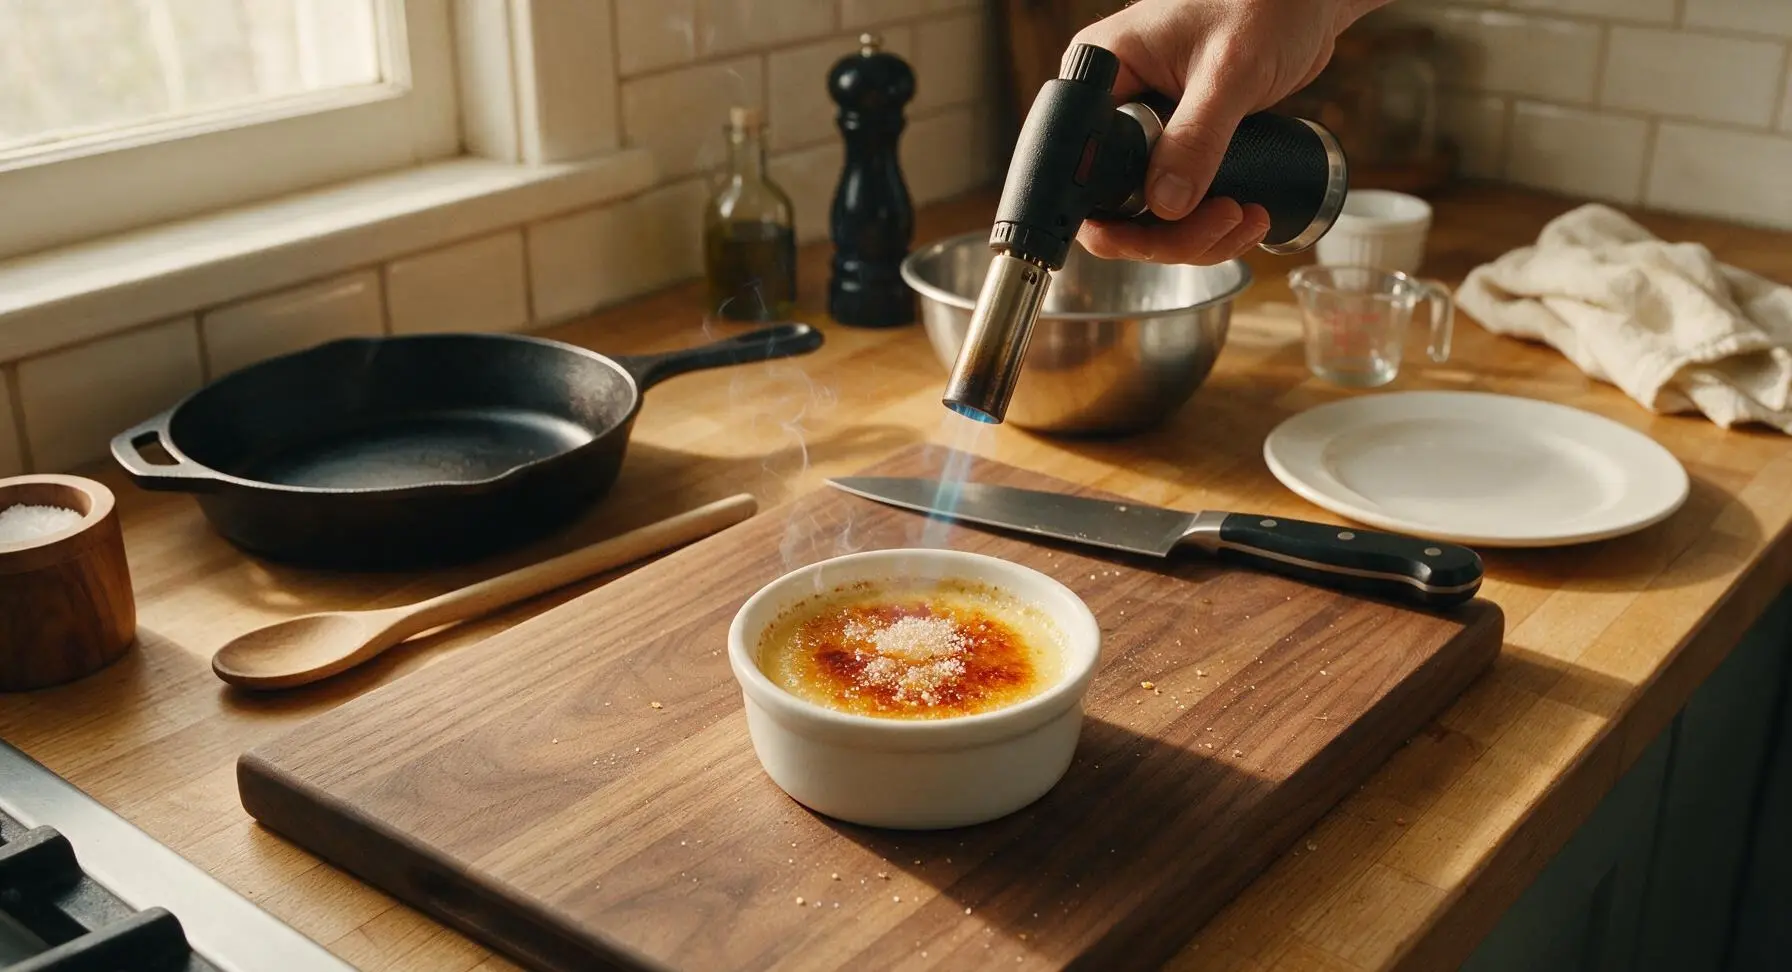
When ready to serve, unwrap the chilled ramekins. Sprinkle 1 tablespoon of remaining granulated sugar evenly over the top of each cold custard, tilting the ramekin to spread sugar in a thin, even layer across the entire surface. Hold the butane kitchen torch 8-10cm away from the sugar top, moving the flame constantly in slow circular motions to melt sugar evenly, until it turns a deep amber golden color and bubbles across the entire surface. Let caramel rest for 1 minute to harden into a crisp, shattery crust before serving.
Tips
2.Chill custard for a minimum of 4 hours (preferably overnight) before torching: warm or partially chilled custard will melt under torch heat, turning runny and preventing the sugar crust from setting into a crisp layer.
3.Use an even, thin layer of sugar for the crust: too thick a layer of sugar will create a hard, chewy caramel instead of the signature shatteringly crisp top, and may leave gritty undissolved sugar granules on the custard surface.






OMG, this creme brulee was a total game changer for my family dinner last Sunday! My kids usually turn up their noses at fancy desserts, but they begged for seconds. The sugar crust cracked perfectly every single time, and the vanilla custard was so silky, no weird grainy texture at all. Only thing I did wrong was pull it out a couple minutes too early the first batch, so the center was a little runnier than I wanted — totally my bad, not the recipe! 10/10 will make for our next potluck.
Tried this for date night with my girlfriend last night, and she thought I ordered it from the fancy French place downtown! Only note is that 45 minutes cook time was spot on for me, but I had to let it chill for almost 6 hours in the fridge before it was set enough, so don't skip that chill time if you're making this last minute. SO good, will absolutely make again.
Made this in my tiny dorm oven and it actually turned out! I was convinced I didn't have the skills for a medium difficulty recipe, but the steps were super straightforward. Used cheap vanilla extract since I couldn't afford a bean, and it still slapped. 10/10, no notes.
I've been making creme brulee for 40 years, and this recipe is hands down one of the best versions I've ever tried. The ratio of cream to egg yolks is perfect, not too eggy, not too rich. I added a tiny splash of Grand Marnier to mine, like I always do, and it was divine. Served it at my bridge club luncheon and everyone asked for the recipe.
Flavor was absolutely incredible, but I ran into a little trouble with my custards curdling when I poured the hot cream into the eggs. I think I poured too fast! Once I strained it, it was totally fine, but I was panicking for a minute there. Still ended up with a great dessert, I'll just go slower next time.
Y'all, I made this for our weekend cookout and even my die-hard 'I only eat peach cobbler for dessert' father-in-law went back for a second serving. Who knew a fancy French dessert would be such a hit at a Texas BBQ? I used a vanilla bean like the recipe said, and you could really taste the difference compared to extract. Worth every penny.
Meal prepped these for the week in little ramekins, and they held up perfectly in the fridge for 4 days! I just torched the sugar right before eating each one, so the crust stayed crisp instead of getting soggy. Absolute game changer for when I need a fancy little weeknight treat without all the fuss.
Bro, I followed this recipe exactly and my creme brulee came out with that weird rubbery top layer? What did I do wrong? I baked it in the water bath like it said, checked the temp, everything. Flavor was great, texture was off though.
My teen daughter asked for creme brulee for her birthday dessert this year, and this recipe did not disappoint! We had a little torching party at the dining table, everyone got to crack their own crust, and it was such a fun memory. The custard was so smooth, no lumps at all. We'll be making this a birthday tradition for sure.
I have a whole cabinet full of random ramekins that I never use, so I finally pulled them out for this recipe and they were the perfect size! Made 8 servings instead of 6 because my ramekins are a little smaller, adjusted the cook time down by 8 minutes and they came out perfect. No leftovers, which is always a good sign.
I was so intimidated to make creme brulee because I thought it was restaurant-only food, but this recipe made it feel totally doable as a medium-difficulty pick, not some impossible pro-level dish. The water bath instructions were super clear, which I was the most nervous about. Ended up with perfectly smooth custard, I was so proud of myself!
Okay, hot tip: if you don't have a kitchen torch, you can use the broiler, but put your ramekins on a baking sheet full of ice for a couple minutes first! It keeps the cold custard from getting warm and runny while the sugar on top caramelizes. I learned that the hard way after my first broiler attempt turned into custard soup. This recipe is chef's kiss once you get the crust method down.
I made these for a potluck at work last week, and people were coming up to me for two days after asking for the recipe! I used a little extra sugar on top for a thicker crust, which is my personal preference, and it was chef's kiss. The cook time was exactly 45 minutes for my oven, which is always a little hot, so I was impressed how accurate the timing was.
Tried making this with oat milk instead of heavy cream because I'm lactose intolerant, and while it wasn't quite as rich as the original, it was still really good! I added a little extra egg yolk to thicken it up, and it set perfectly. Great base recipe to tweak for dietary needs, honestly.
I've tried so many creme brulee recipes over the years that are either too sweet, too eggy, or impossible to get set right, and this one is the new gold standard for me. Not overly sweet, the vanilla shines through, the texture is like silk if you follow the steps exactly. I already passed the link along to my whole baking group chat, everyone needs to try this.