
Creme Caramel
intro
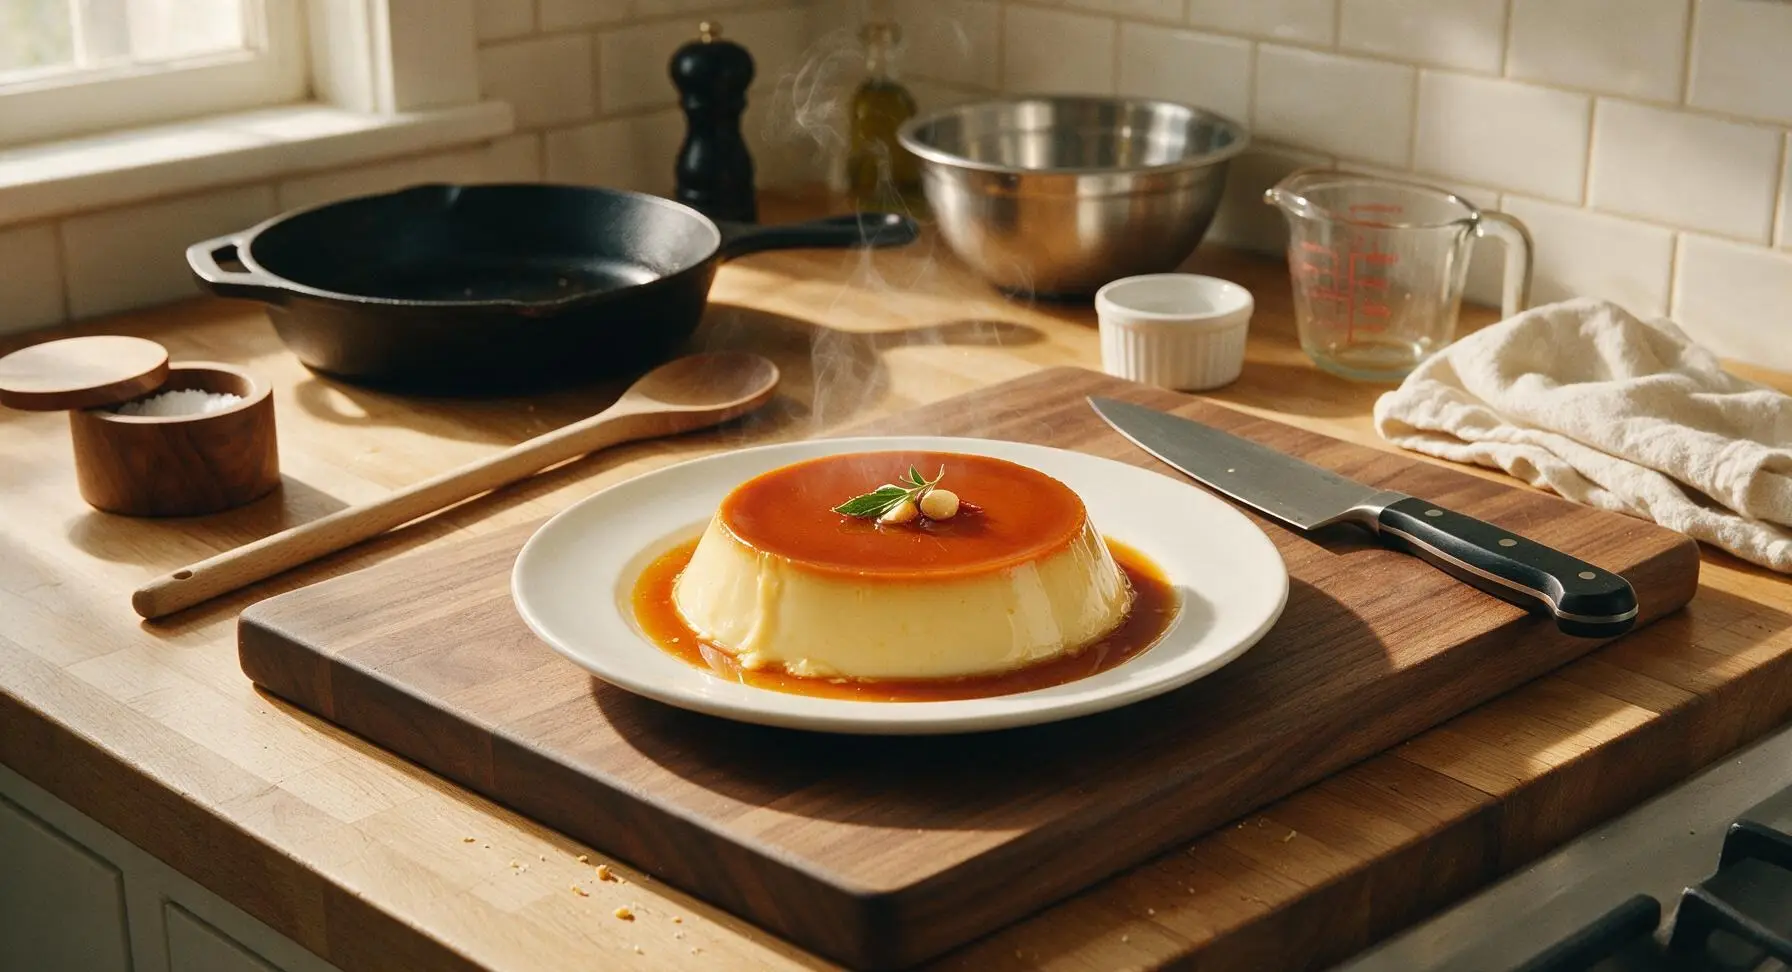
Silky, wobbly vanilla custard crowned with glossy, bittersweet amber caramel, this timeless French dessert melts on the tongue for an effortlessly elegant, make-ahead sweet treat.
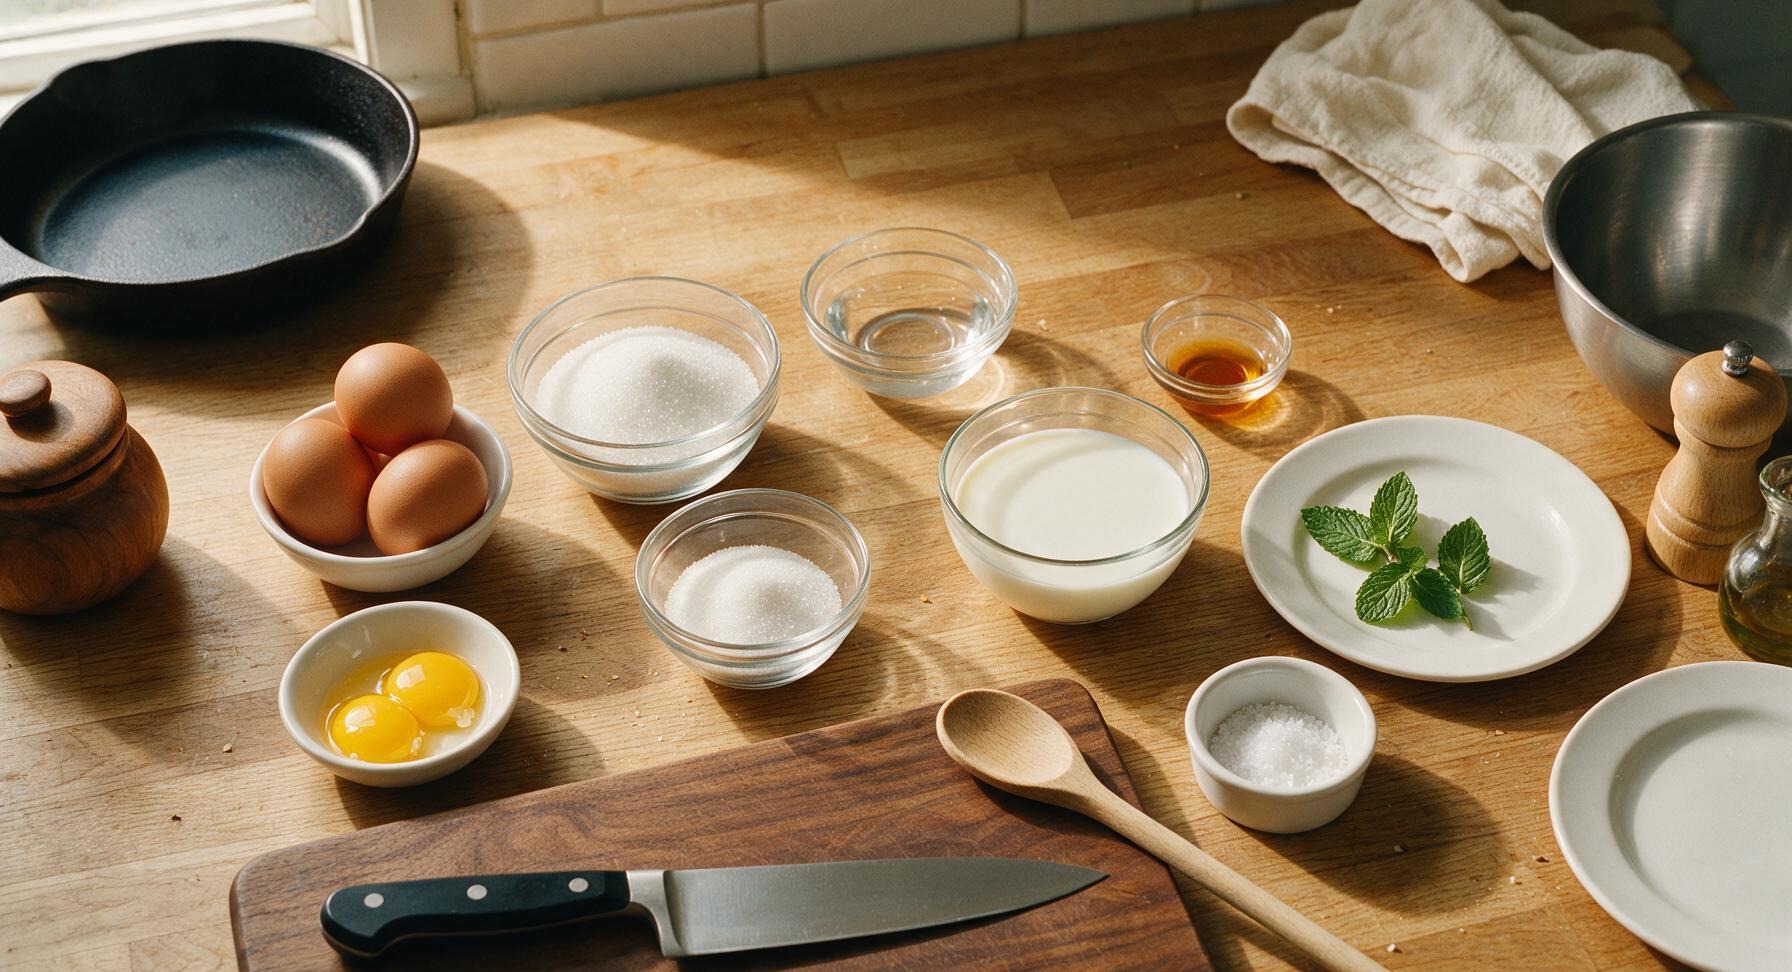
Ingredients
Steps
Cook the Amber Caramel
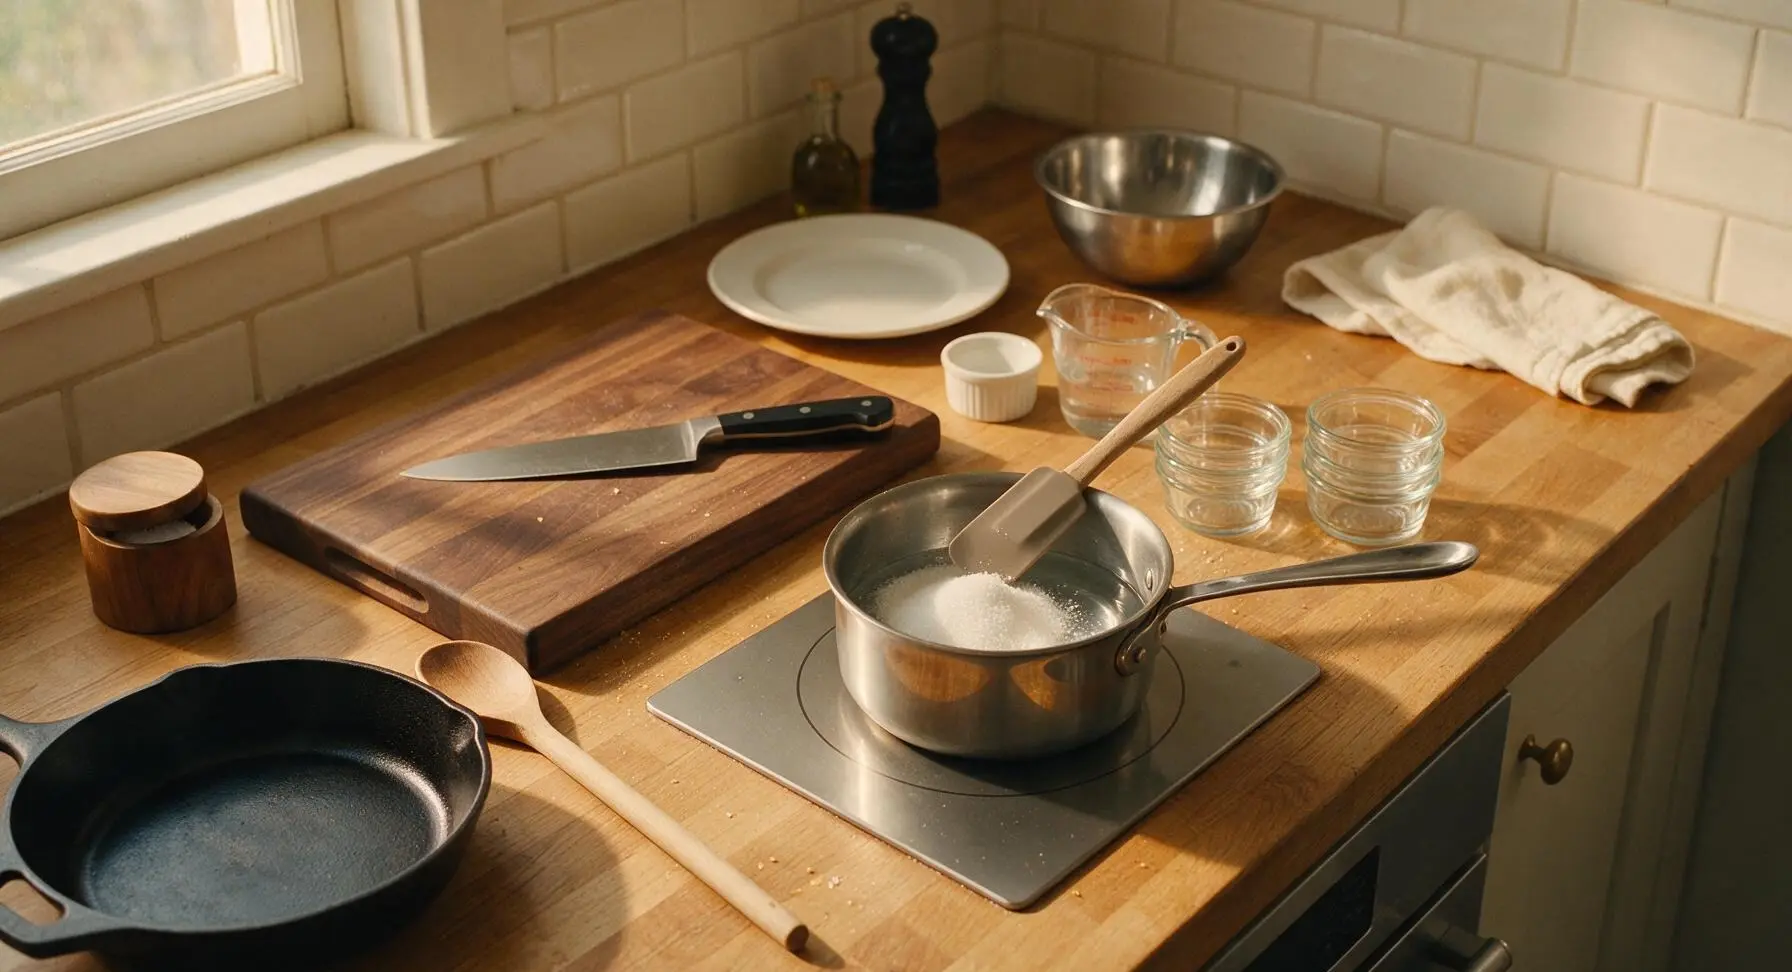
Place the small stainless steel saucepan over medium-low heat on the induction cooktop, add 100g granulated sugar and 2 tablespoons water. Stir gently with the silicone spatula until sugar fully dissolves into a clear syrup, then stop stirring and let the syrup simmer for 6-8 minutes. Swirl the pan occasionally as the sugar cooks, watching closely until it turns a deep warm amber (170C/340F) with a rich, toasty aroma. Remove from heat immediately to avoid burning, as caramel can turn bitter in as little as 30 seconds once it reaches temperature.
Coat Ramekin Bases
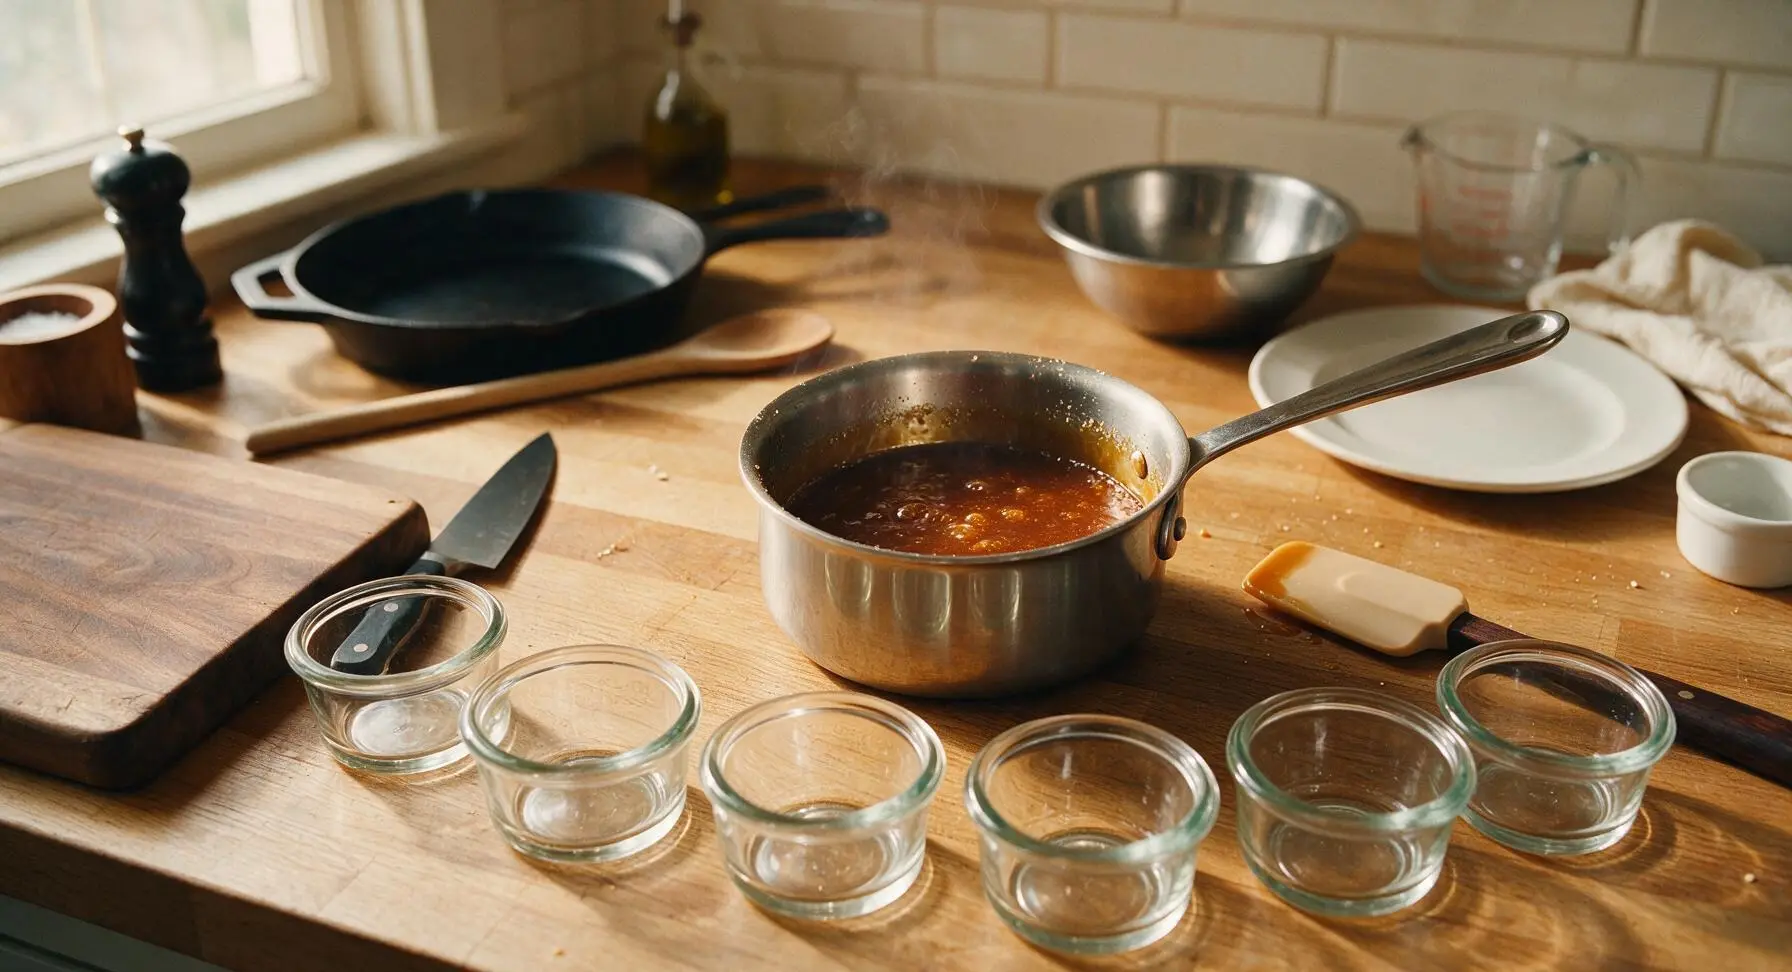
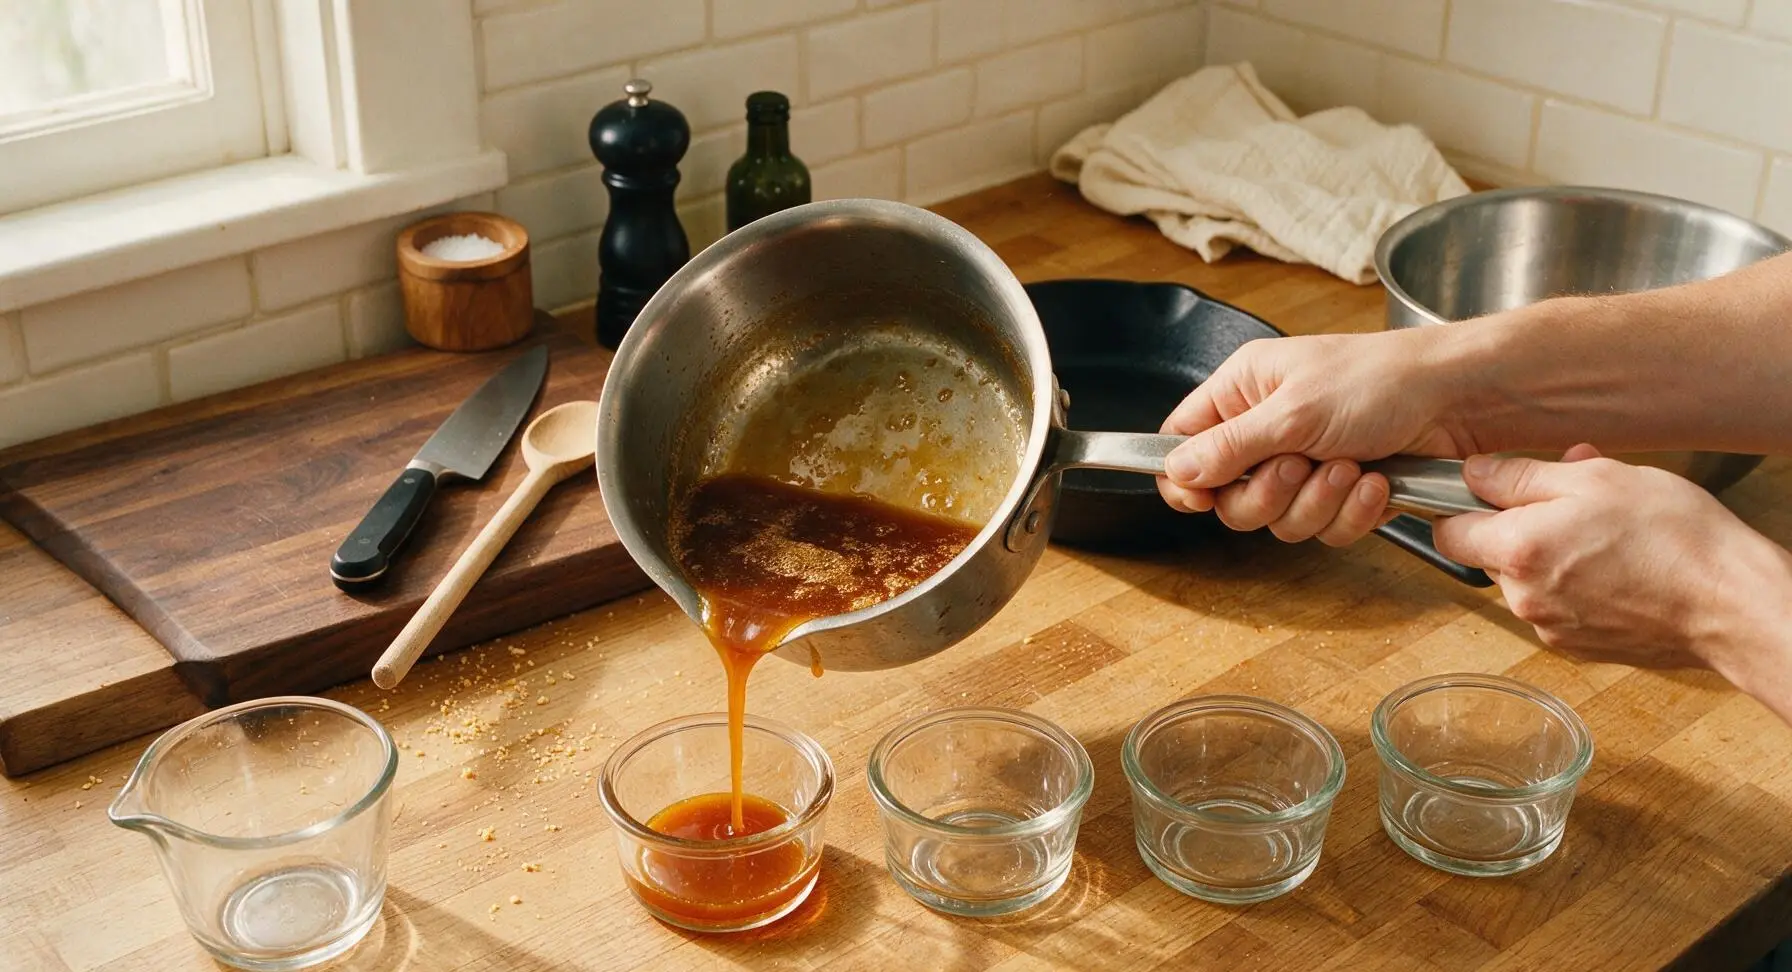
Working quickly before the caramel hardens (it will set in 2-3 minutes as it cools), pour equal amounts of hot amber caramel into the base of each of the four clear glass ramekins. Tilt each ramekin gently to swirl the caramel 1cm up the inner sides, then set them upright on the counter to let the caramel cool and harden for 5 minutes. The caramel will form a glossy, solid amber layer at the bottom of each ramekin once set.
Mix the Custard Base
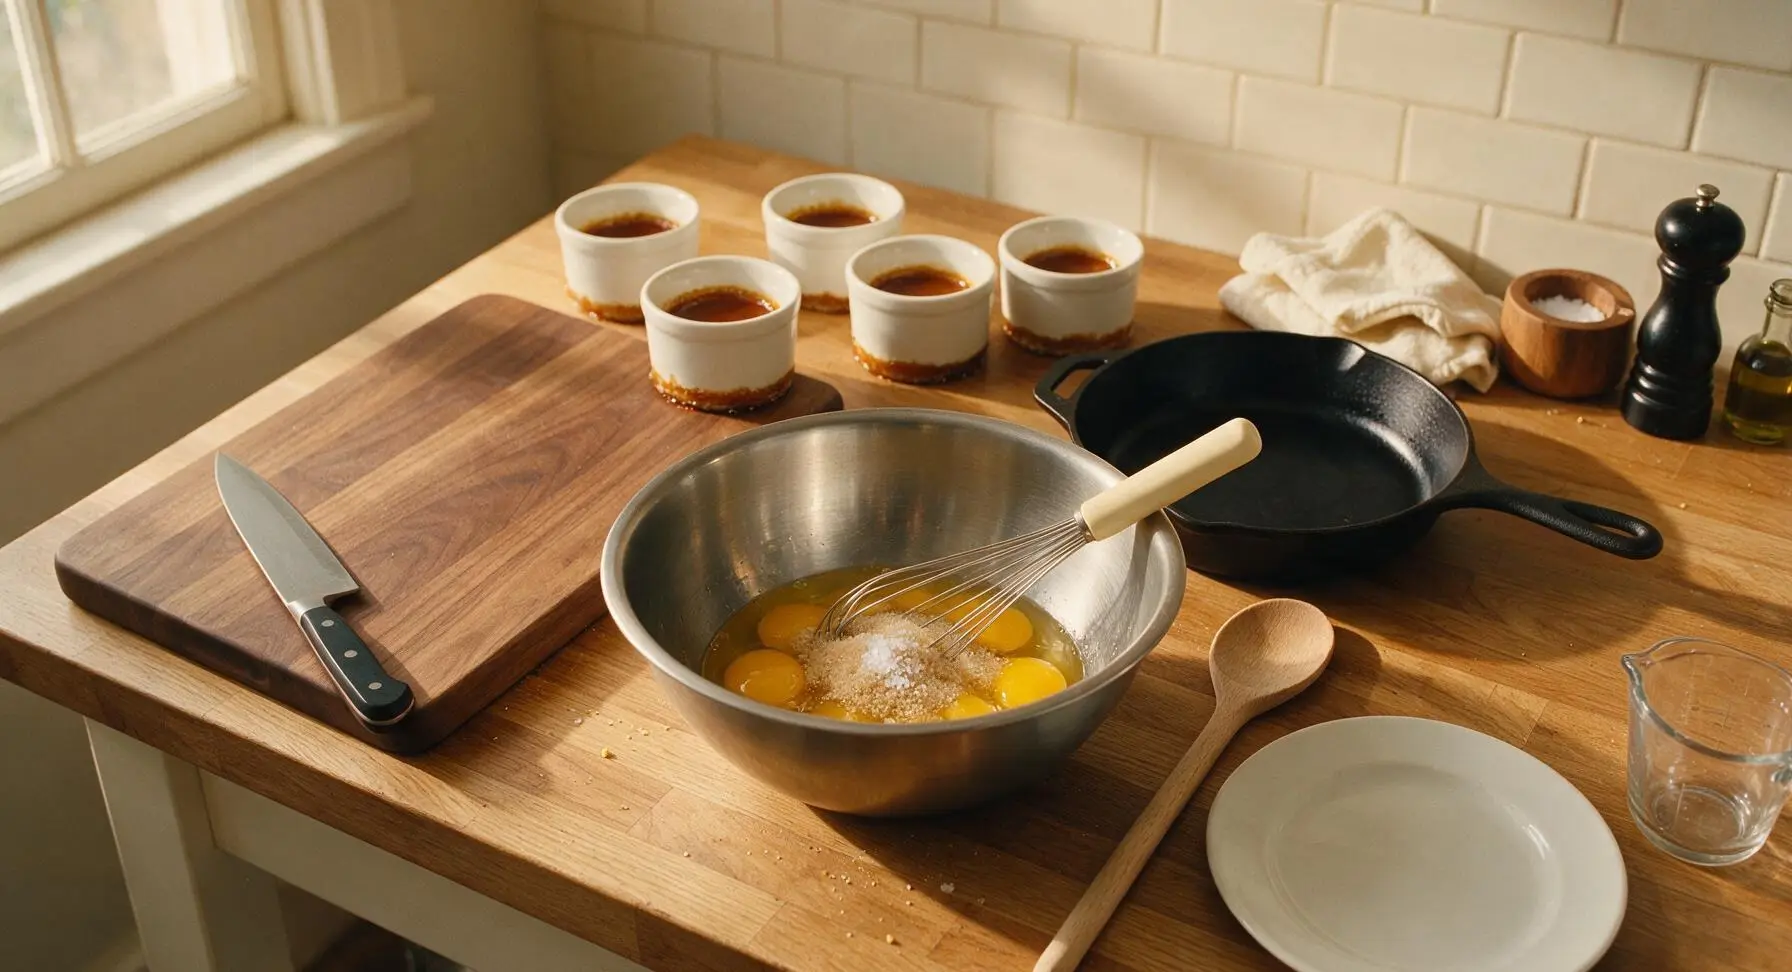
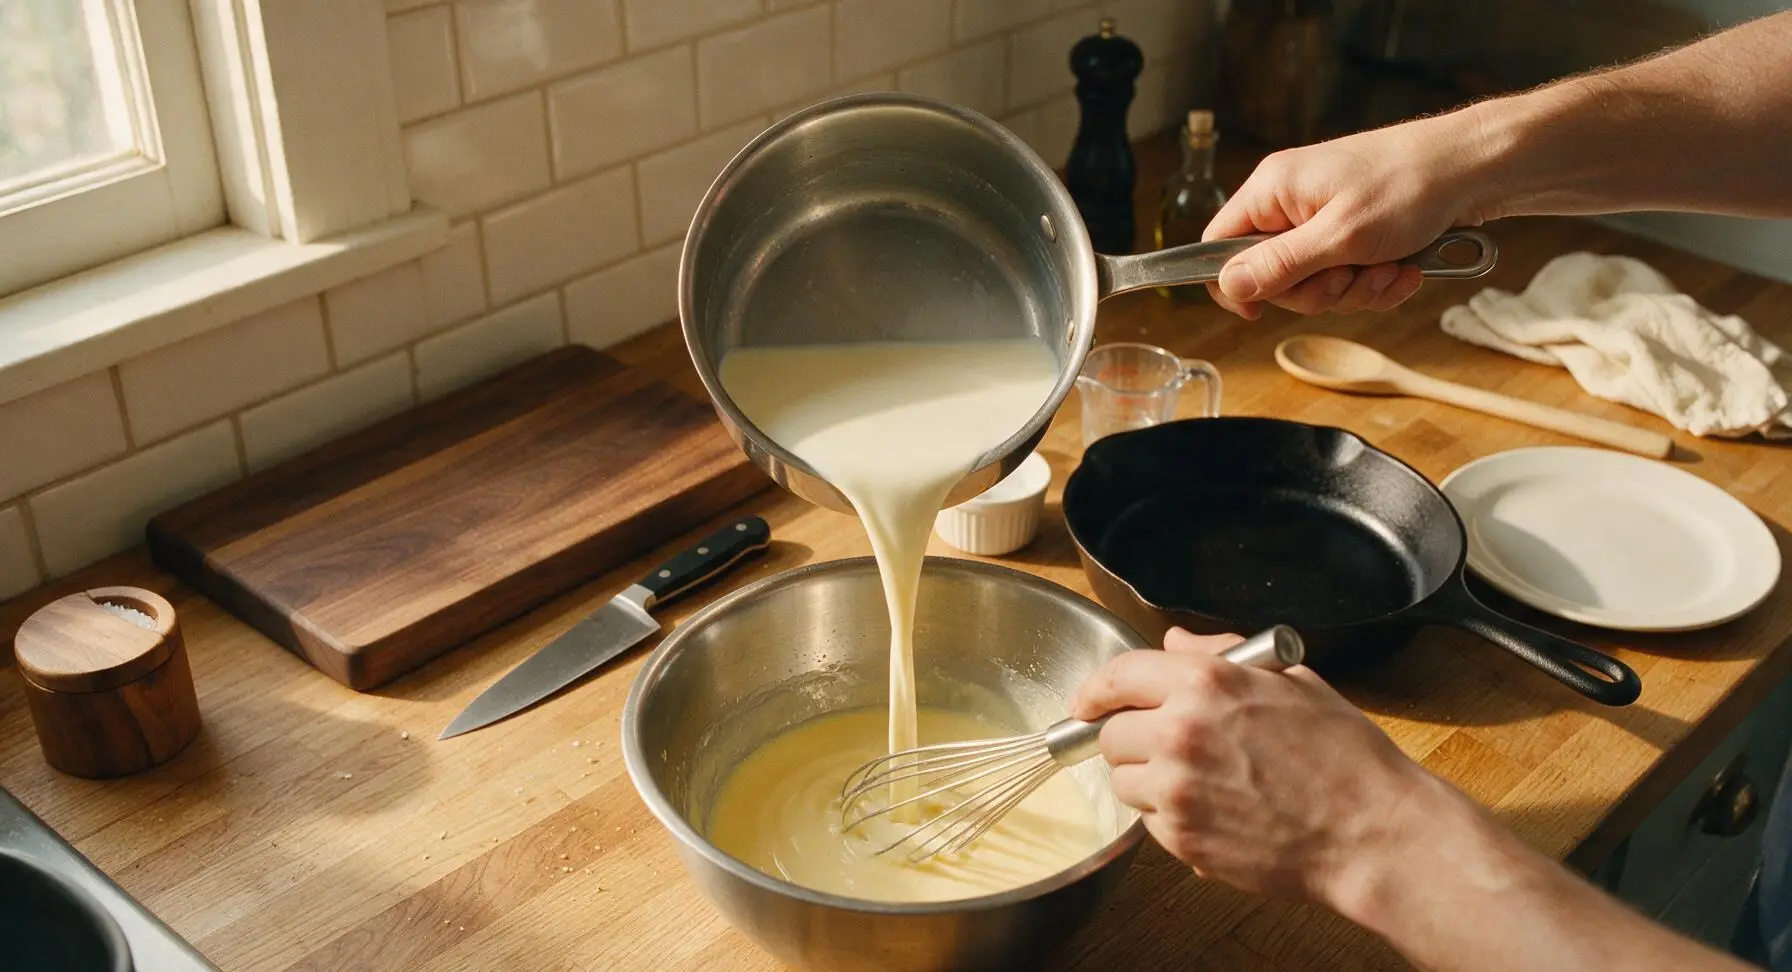
In the medium brushed stainless steel mixing bowl, combine 3 whole eggs, 2 egg yolks, 50g granulated sugar, and a tiny pinch of flaky sea salt. Use the stainless steel whisk to stir gently (avoid aggressive whisking that creates bubbles) for 1 minute until the sugar dissolves and the mixture is smooth, pale yellow, and fully combined. Wipe the caramel saucepan clean, add 400ml whole milk, and warm over low heat until it reaches just below a simmer (82C/180F), then stir in 1 teaspoon vanilla extract.
Strain Custard Into Ramekins
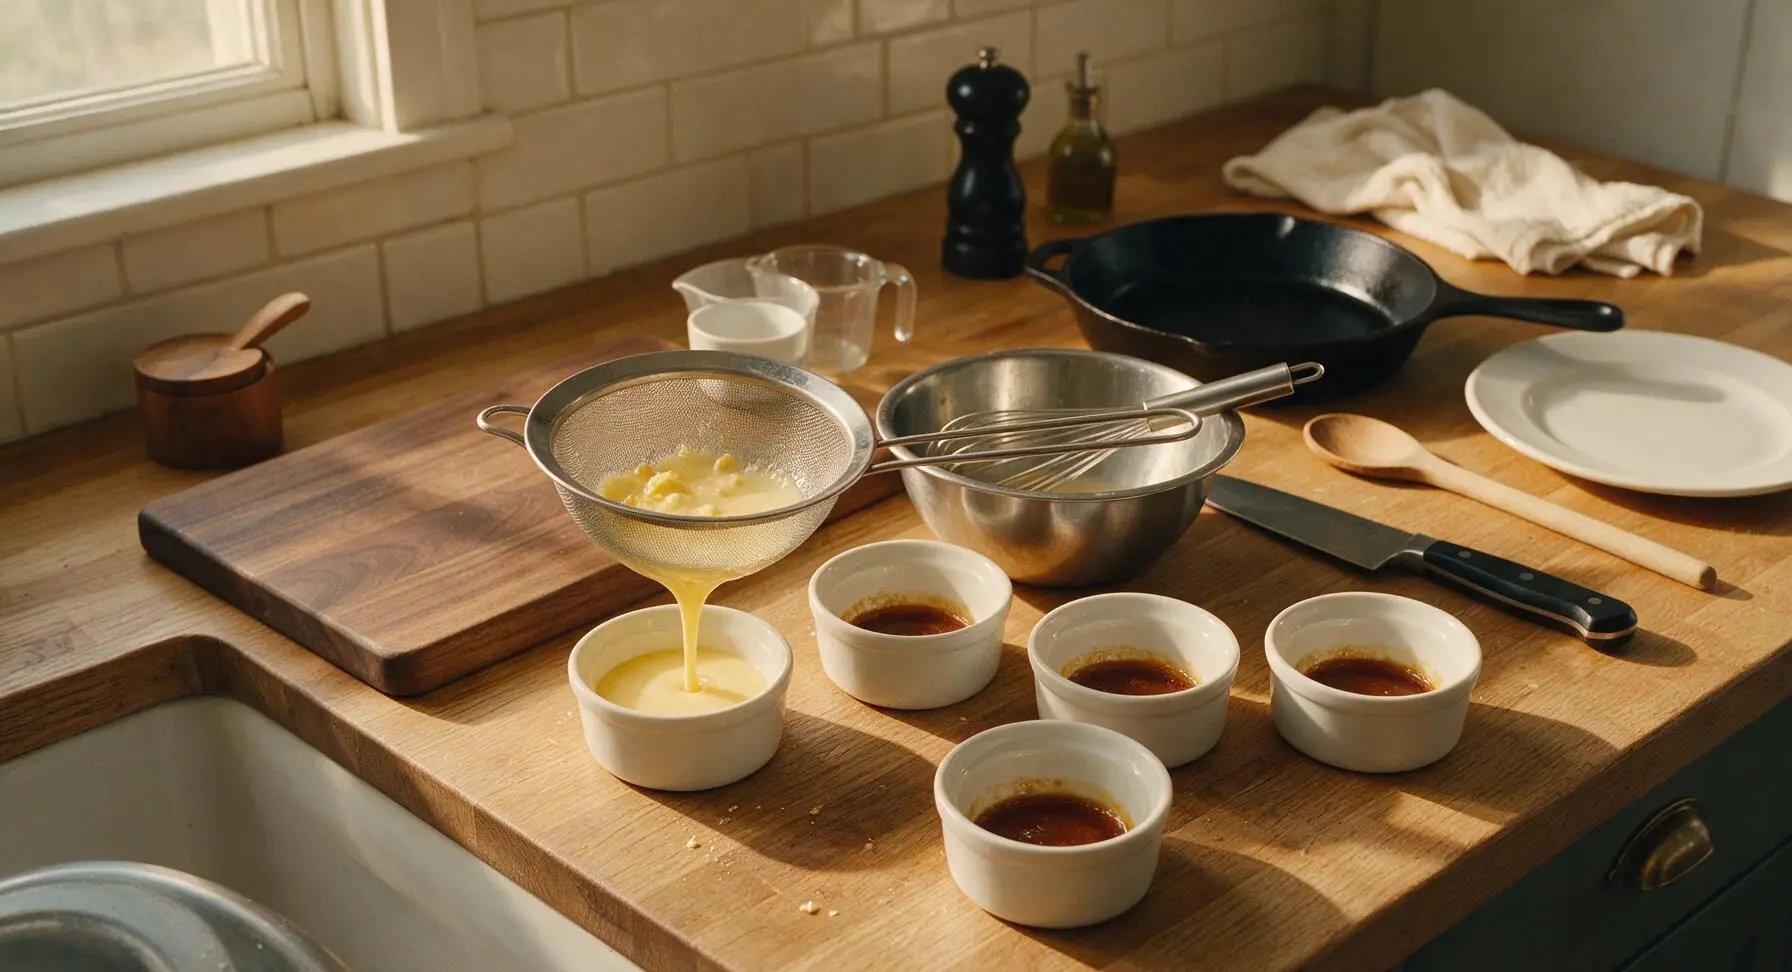
Place the fine-mesh sieve over the top of the first caramel-lined ramekin. Slowly pour the warm custard through the sieve to remove any lumps, cooked egg strands, or air bubbles, dividing the custard equally between all four ramekins. The strained custard should be perfectly smooth; pop any visible small surface bubbles with the tip of the paring knife for a flawless final texture.
Bake in Water Bath
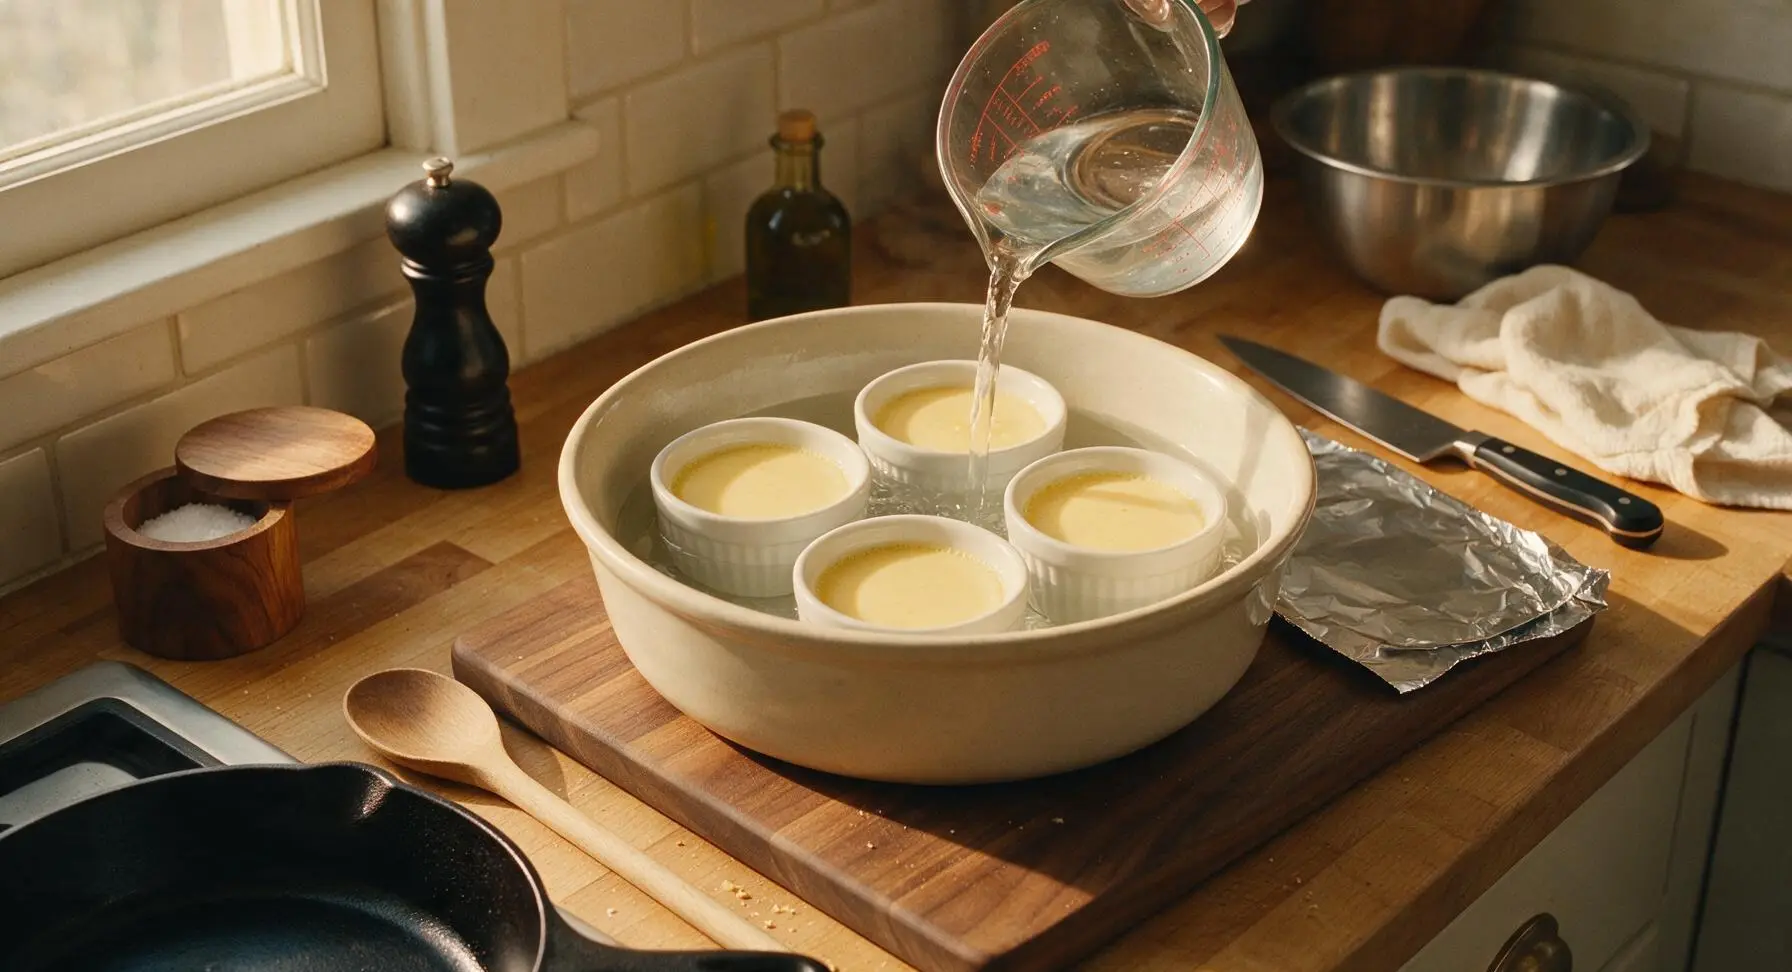
Arrange the filled ramekins inside the large matte cream ceramic baking dish. Use the clear glass measuring cup to pour hot (not boiling) water into the baking dish until the water reaches halfway up the outer sides of the ramekins. Cover the baking dish tightly with the cut aluminum foil sheet, then transfer to a preheated 160C/320F oven to bake for 40-45 minutes. The custard is done when the edges are fully set but the very center has a soft, Jell-O-like wobble when gently jiggled.
Cool and Chill Custards
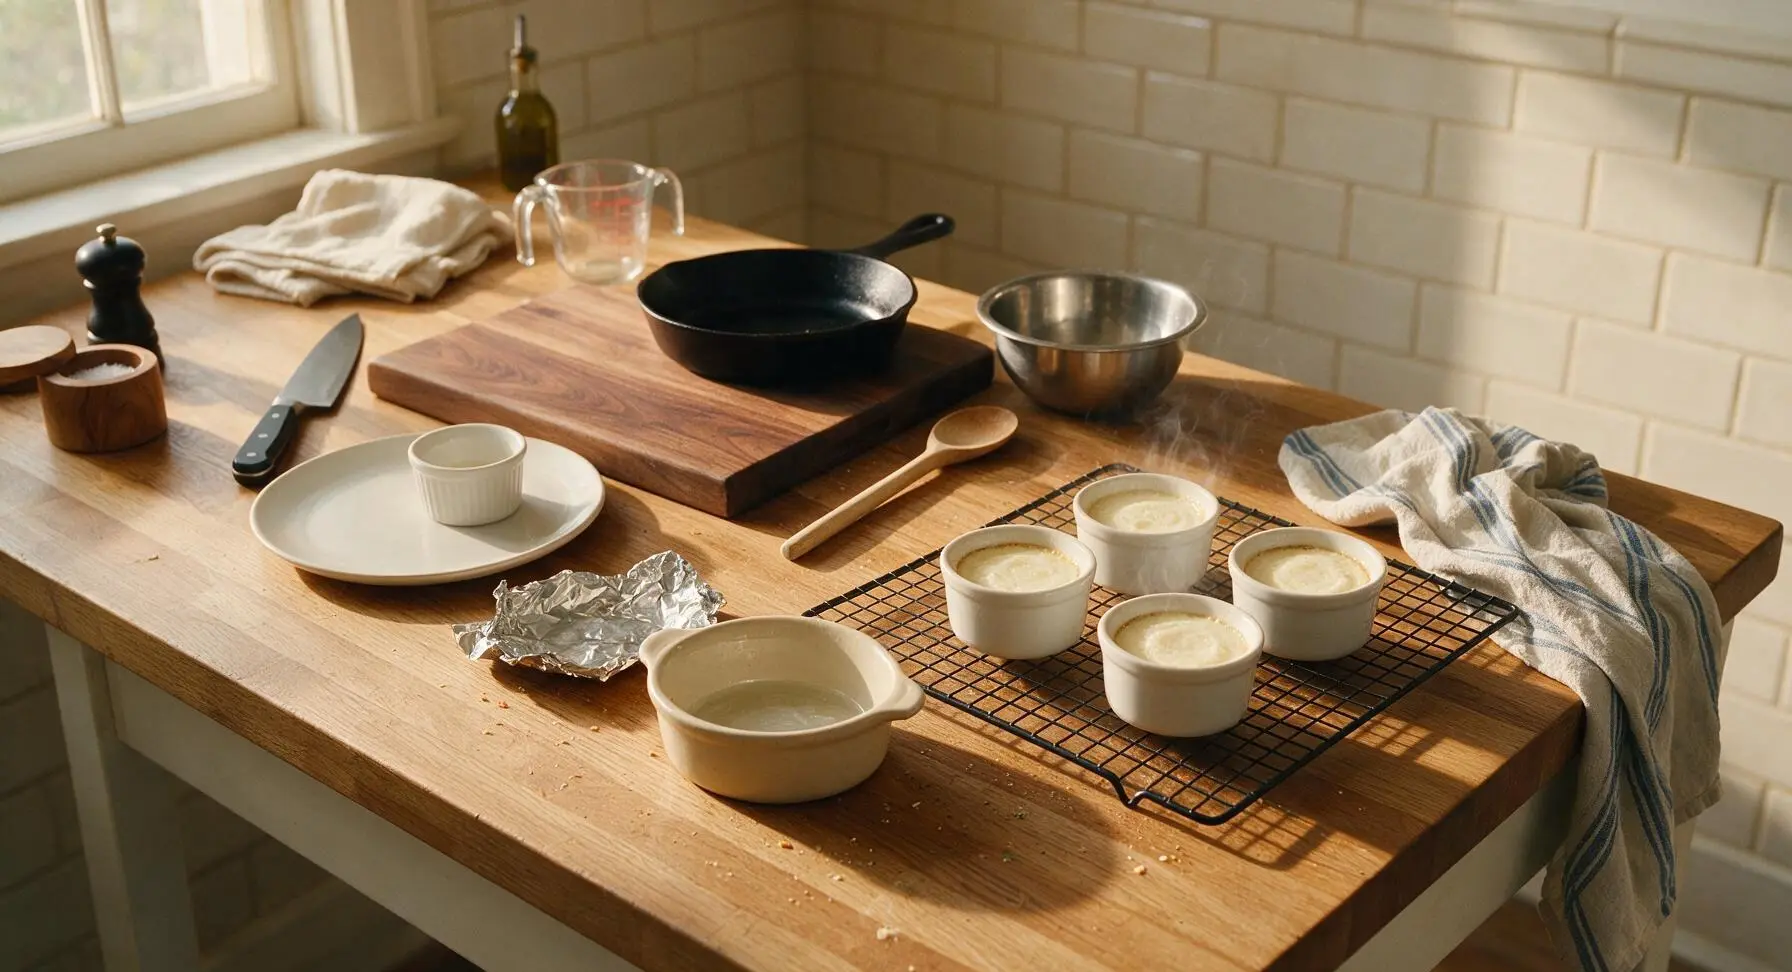
Once baked, carefully remove the baking dish from the oven. Use the linen towel to lift each ramekin out of the hot water bath, and set them on the matte black wire cooling rack to come to room temperature for 30 minutes. Once cool, cover each ramekin loosely with plastic wrap and transfer to the refrigerator to chill for a minimum of 4 hours (preferably overnight) until completely firm. Never unmold warm custard, as it will break and lose its shape.
Unmold and Serve
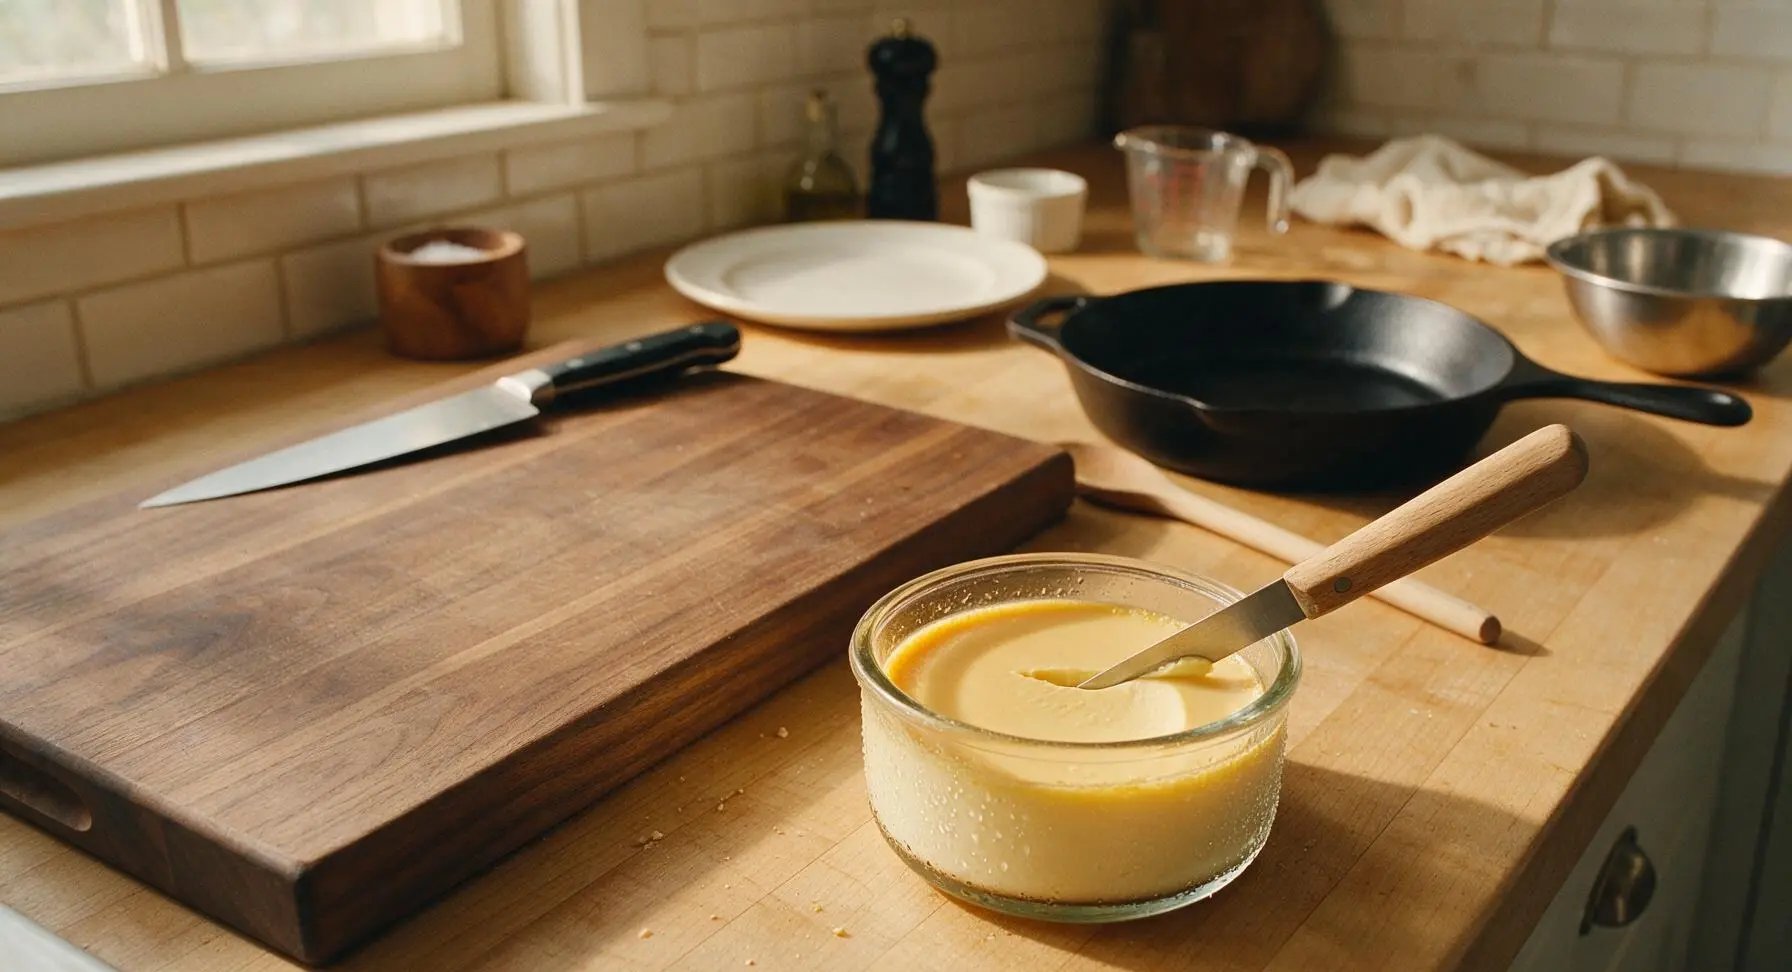
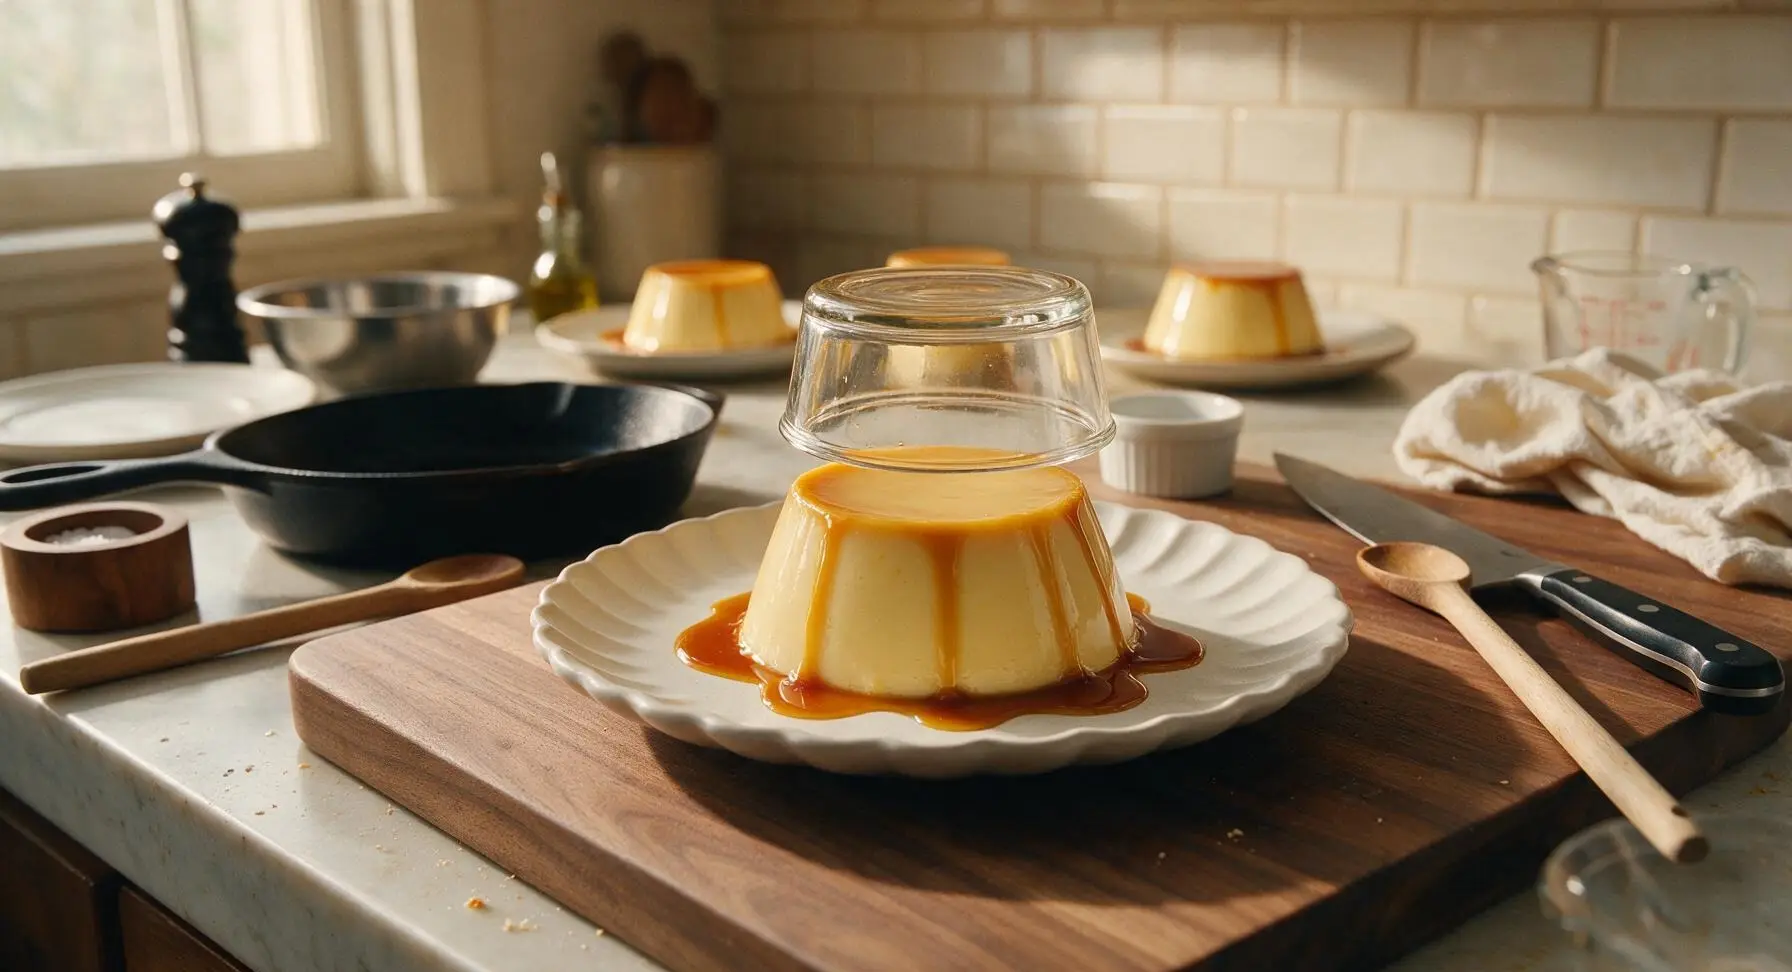
When ready to serve, remove the chilled ramekins from the refrigerator. Run the tip of the light oak-handled paring knife around the inner edge of each ramekin, pressing gently against the glass to avoid cutting the custard, to loosen the sides. Place one matte white fluted dessert plate upside down over the top of a ramekin, hold the plate and ramekin firmly together, and flip both over in one smooth, quick motion. Let rest for 10 seconds to allow the caramel to flow down and coat the custard, then lift the ramekin straight up to release the perfectly formed creme caramel. Garnish with a single small mint leaf if desired.
Tips
2.When combining warm milk with eggs, pour the milk in a slow, thin stream while whisking constantly: adding hot milk too quickly will shock and curdle the eggs, creating lumpy, uneven custard. Taking 30 seconds to add the milk gradually ensures a perfectly smooth base.
3.For the cleanest unmold, chill the custard for a full 8 hours (overnight) before serving: this allows the caramel to soften slightly and melt into a pourable sauce, and helps the custard hold its shape when flipped. If the custard sticks, dip the base of the ramekin in 1cm of hot water for 5 seconds to loosen the caramel before flipping.






OMG this creme caramel was SO good! I made it for our Sunday family dinner last weekend and everyone asked for seconds, even my super picky 7 year old. The caramel layer came out perfectly golden, not burnt at all, and the custard was so silky no weird lumps. I was nervous it’d be too fussy for a weeknight practice run but the 45 minute cook time was totally manageable. Will absolutely be making this again for our next potluck!
Really solid recipe, but I ran into a little trouble when I was pouring the caramel into the ramekins — it hardened so fast I couldn’t spread it evenly before it set! Did I do something wrong? Flavor was still 10/10 even if it looked a little lopsided, my roommate ate half the batch in one sitting.
Game changer!! I’ve tried 3 other creme caramel recipes before and they all turned out rubbery or had weird bubbles all through the custard, but this one came out perfectly smooth first try. I did use a water bath like the recipe said, and I made sure not to overmix the eggs, and wow. I brought these to my office happy hour yesterday and people were literally begging for the recipe. 10/10 no notes.
I was worried this would be way over my skill level since it’s marked medium difficulty, but I followed the steps exactly and it turned out restaurant quality! The caramel had that perfect slightly bitter edge to balance the sweet creamy custard, not cloyingly sweet like the store bought versions I’ve had. My partner said it tasted better than the creme caramel we got on our Paris trip last year, which is the highest compliment possible tbh.
My kids loved it!! I was looking for a make-ahead dessert for our soccer team end-of-season potluck and this was perfect. I made it the night before, let it chill in the fridge overnight, and it popped right out of the ramekins no problem when it was time to serve. The only change I made was adding a tiny splash of vanilla bean paste instead of regular vanilla extract, and it added such a nice depth. Will be adding this to my regular rotation!
Taste was incredible, but my custard was still totally jiggly in the middle after 45 minutes in the oven! I ended up leaving it in for almost 15 extra minutes and it turned out fine, but I’m wondering why that happened? My oven temp is usually pretty accurate so I was confused.
First off, let me say I made this last month for my birthday dinner and it was a total hit, SO good! Quick question — has anyone tried making this with oat milk instead of whole milk for a dairy free version? I’m hosting a dinner party next weekend and two of my guests are lactose intolerant, I’d love to serve this if I can make it work without weird grainy texture.