
crispy baked burritos
intro
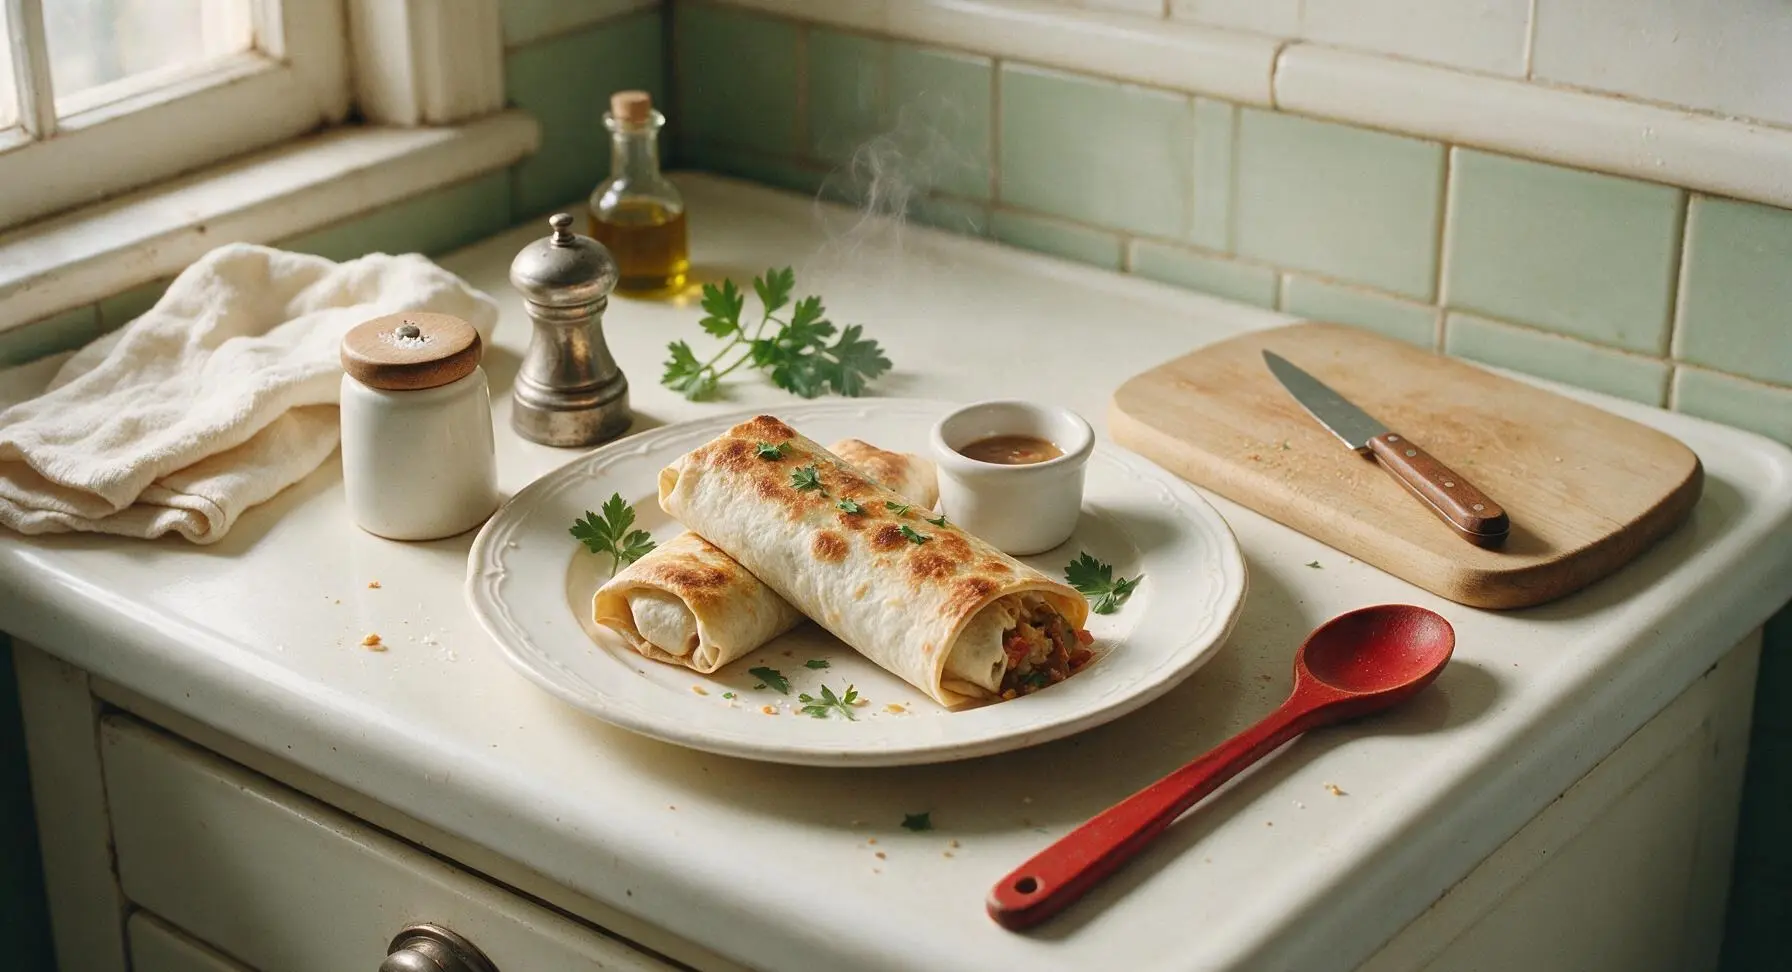
Golden, shatteringly crisp baked burritos stuffed with spiced beans, fluffy rice, and melted cheese—no deep frying required, for a fast, satisfying weeknight Tex-Mex meal.
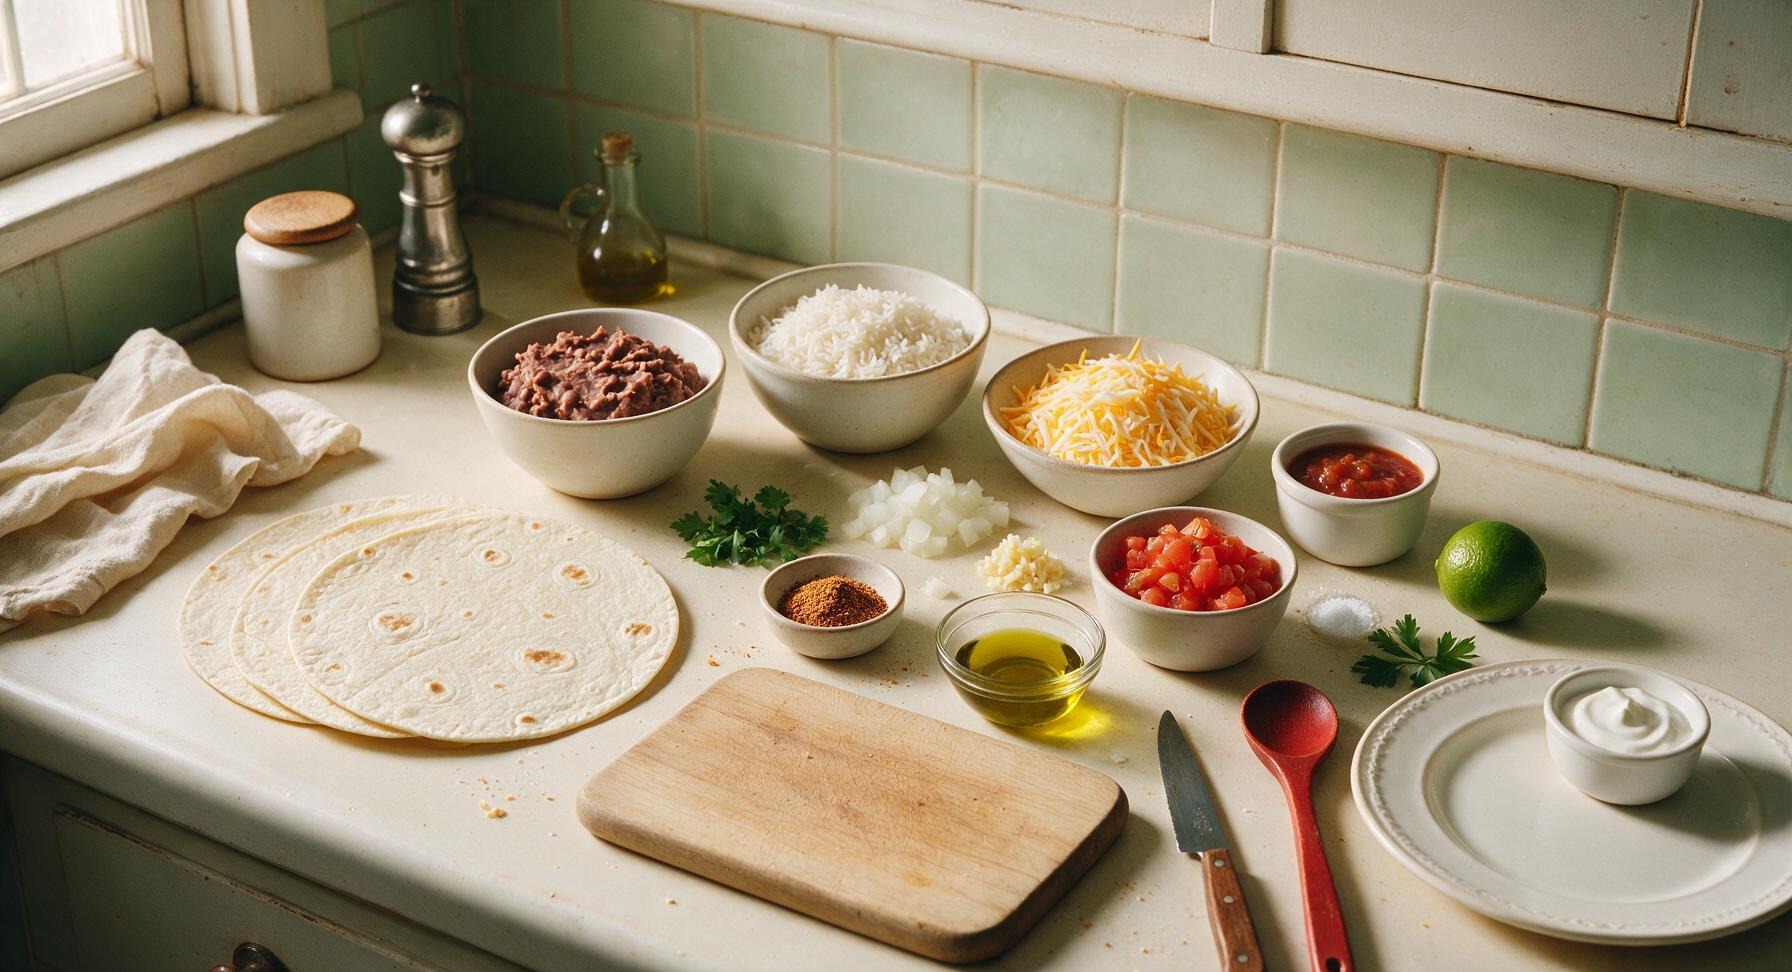
Ingredients
Steps
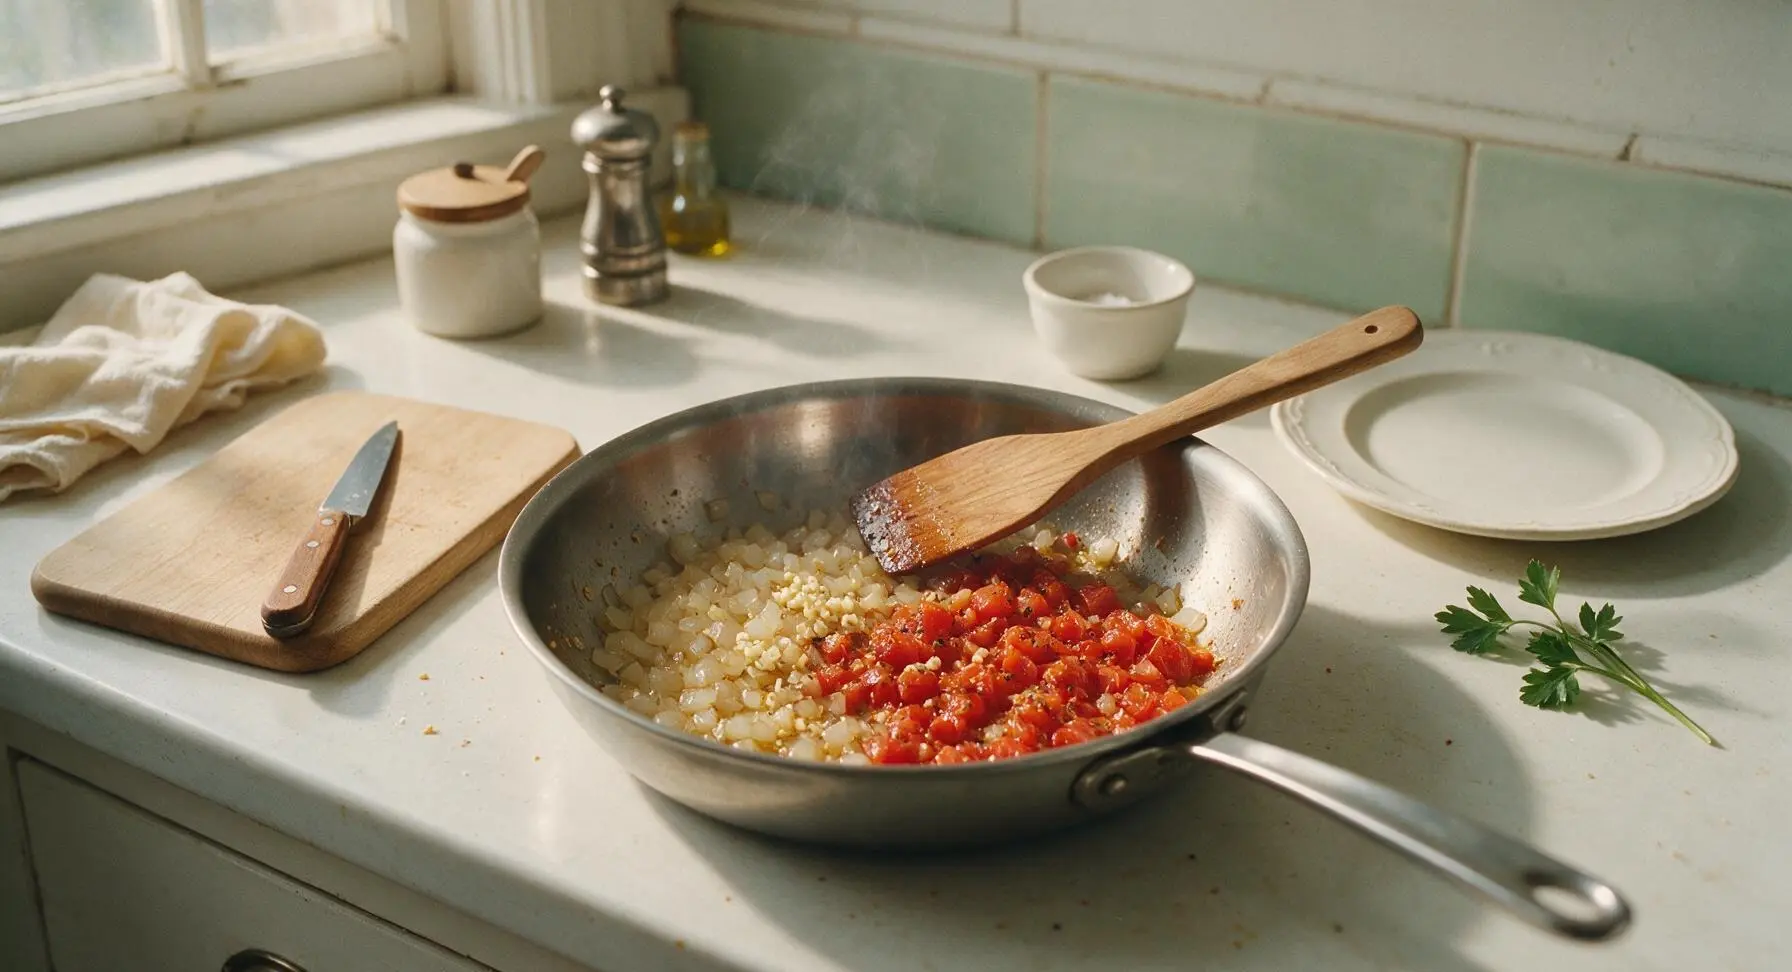
Sauté Aromatic Base
Heat 1 tablespoon of olive oil in the 10-inch stainless steel skillet over medium heat (350°F/175°C). Add diced yellow onion, sauté for 3 minutes until soft and translucent, then add minced garlic and cook for 30 seconds more until fragrant—do not let the garlic turn brown, as it will become bitter. Stir in drained fire-roasted diced tomatoes and taco seasoning, cooking for 1 additional minute until the spices release a warm, earthy aroma.
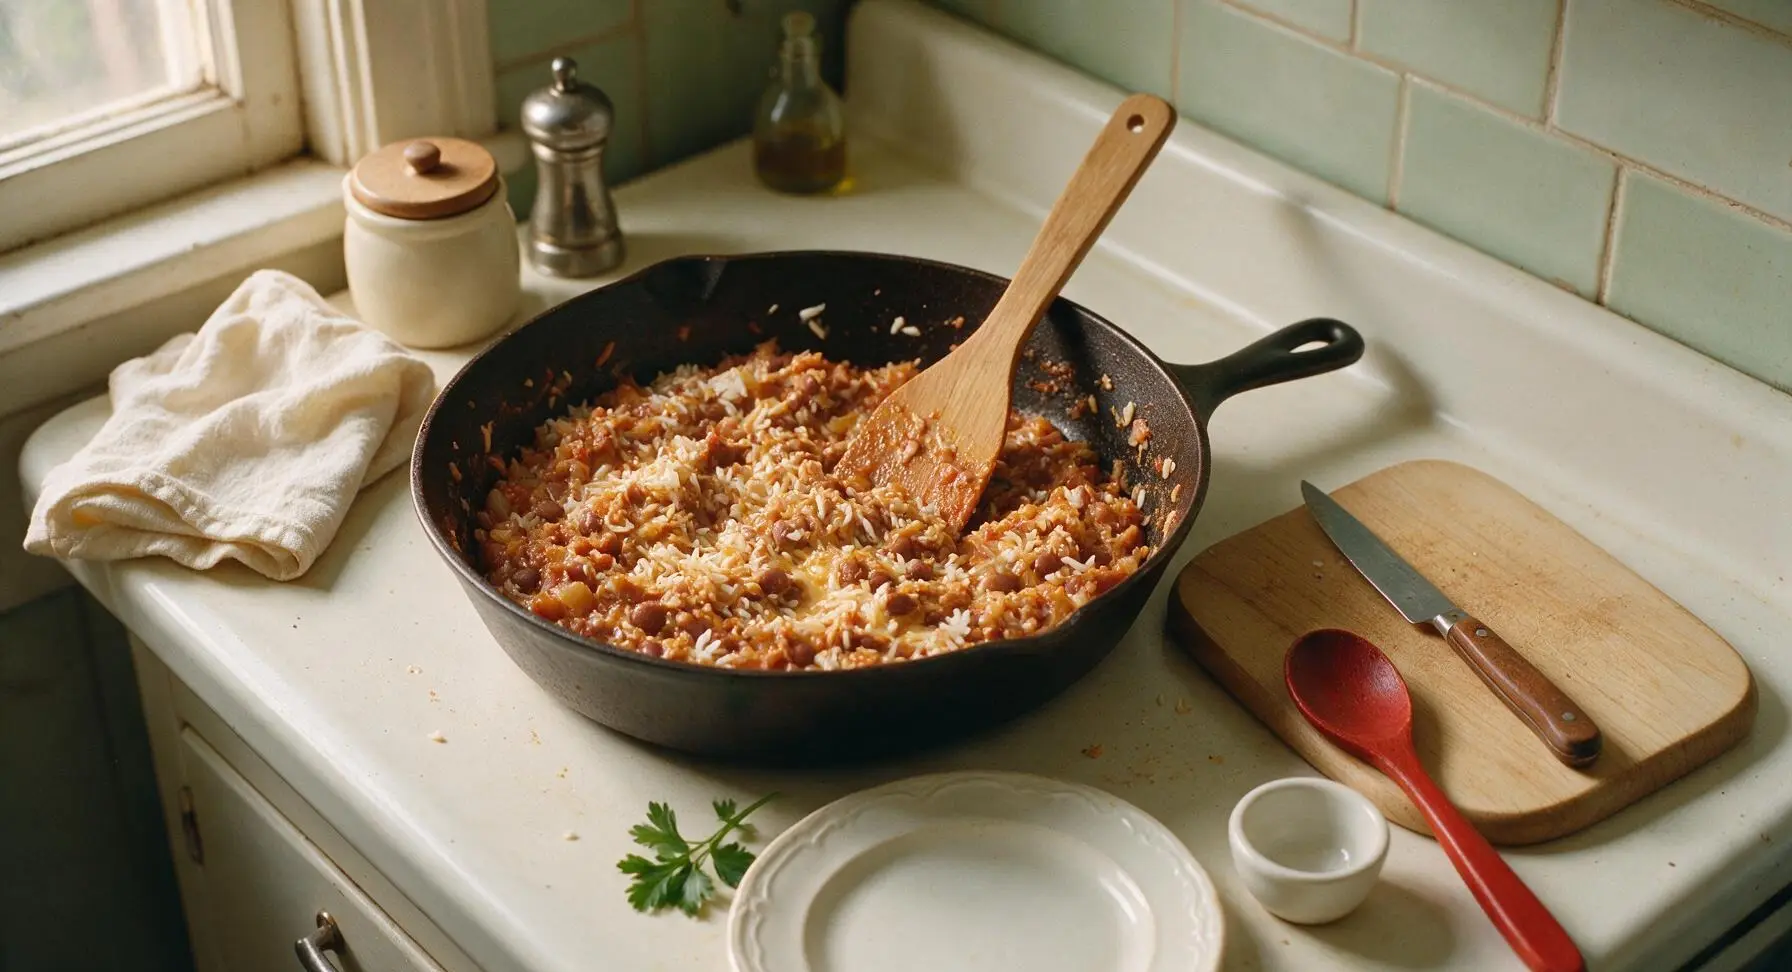
Mix Warm Filling
Add refried pinto beans and cooked long-grain white rice to the skillet with the aromatic base, stirring with the maple turner spatula until fully combined. Cook for 2 minutes over medium-low heat until the filling is heated through, then season with 1/2 teaspoon kosher salt. Remove the skillet from heat, stir in 1/2 cup of the shredded cheese blend until just melted, then set the filling aside to cool for 5 minutes (hot filling will tear tortillas and create soggy spots).
Prep Baking Station
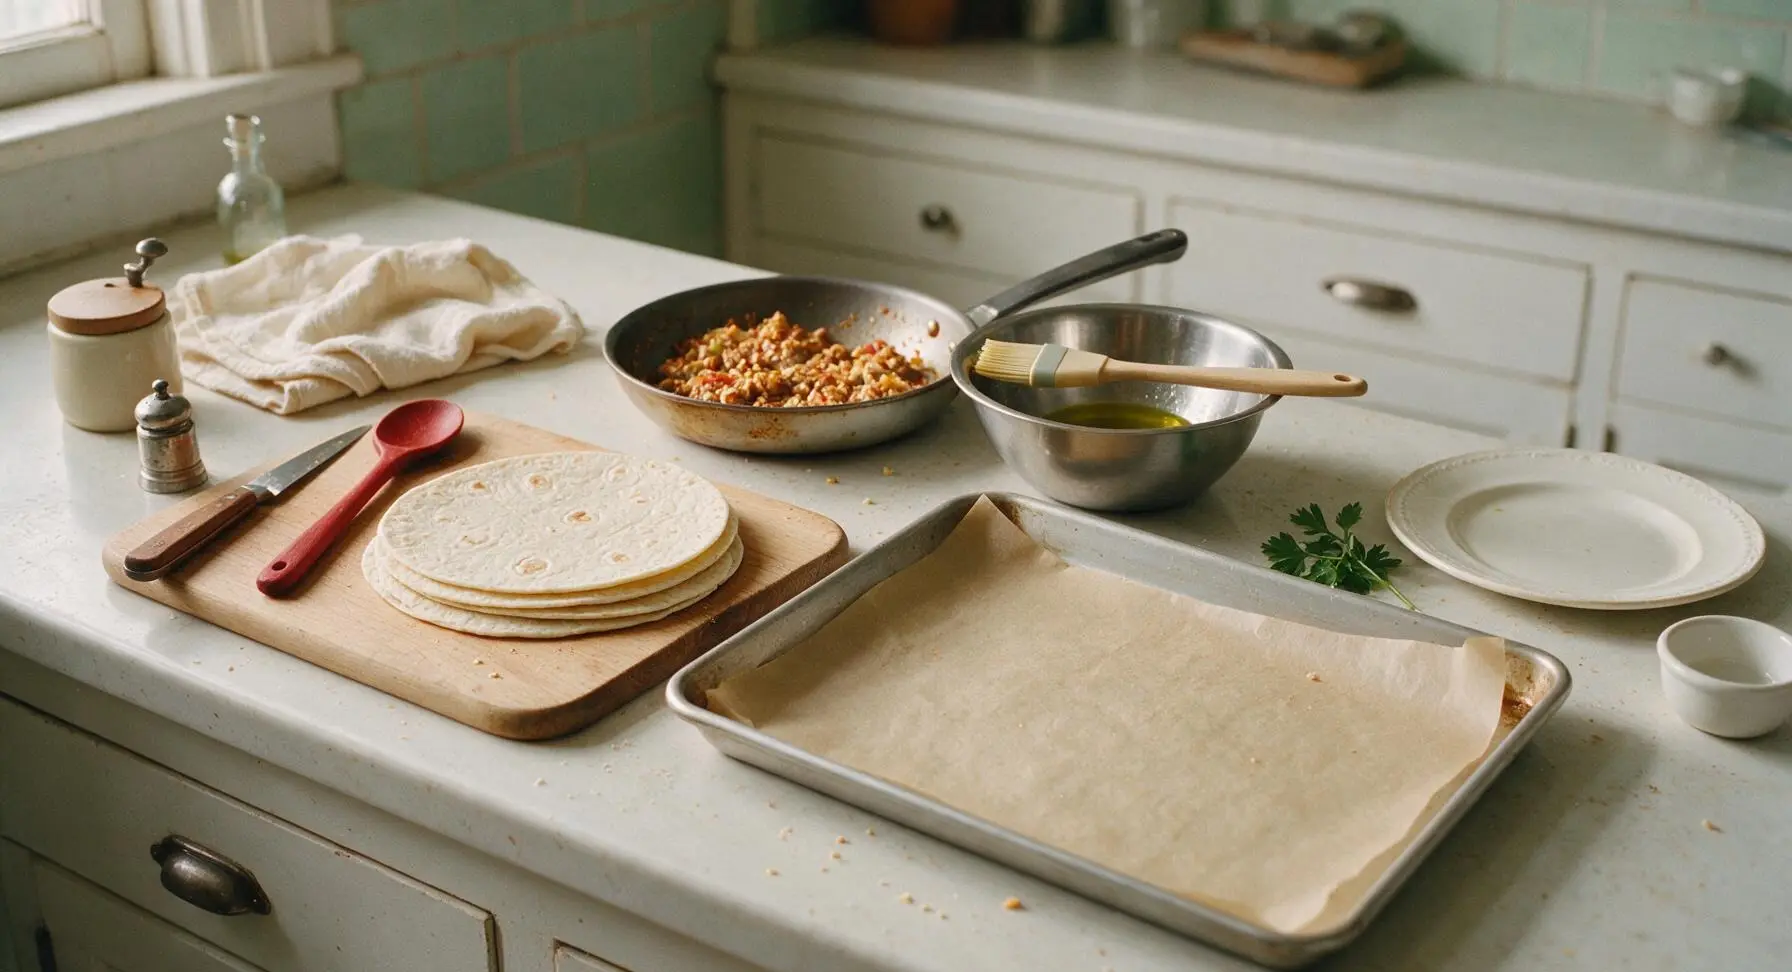
Place the parchment-lined rimmed aluminum baking sheet in its fixed center-right counter position. Stack the 4 flour tortillas flat on the honey-toned bamboo cutting board. Pour the remaining 2 tablespoons of olive oil into the medium stainless steel mixing bowl, resting the silicone basting brush across the bowl rim for easy access.
Fill and Roll Burritos
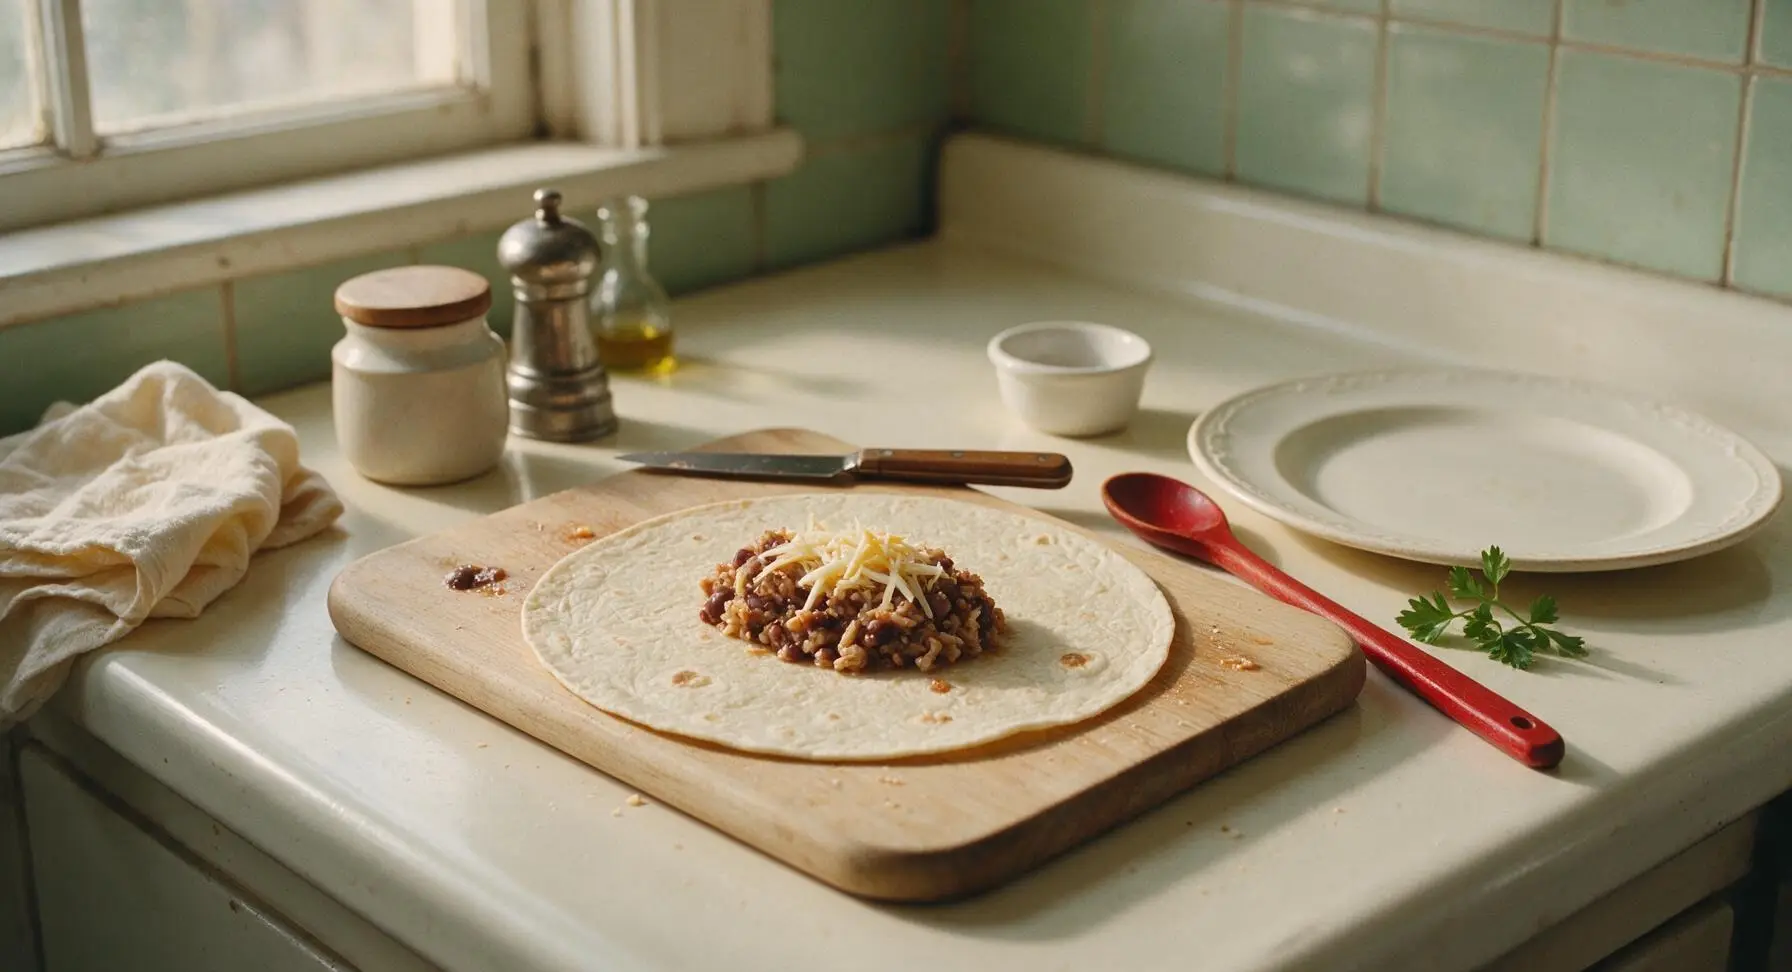
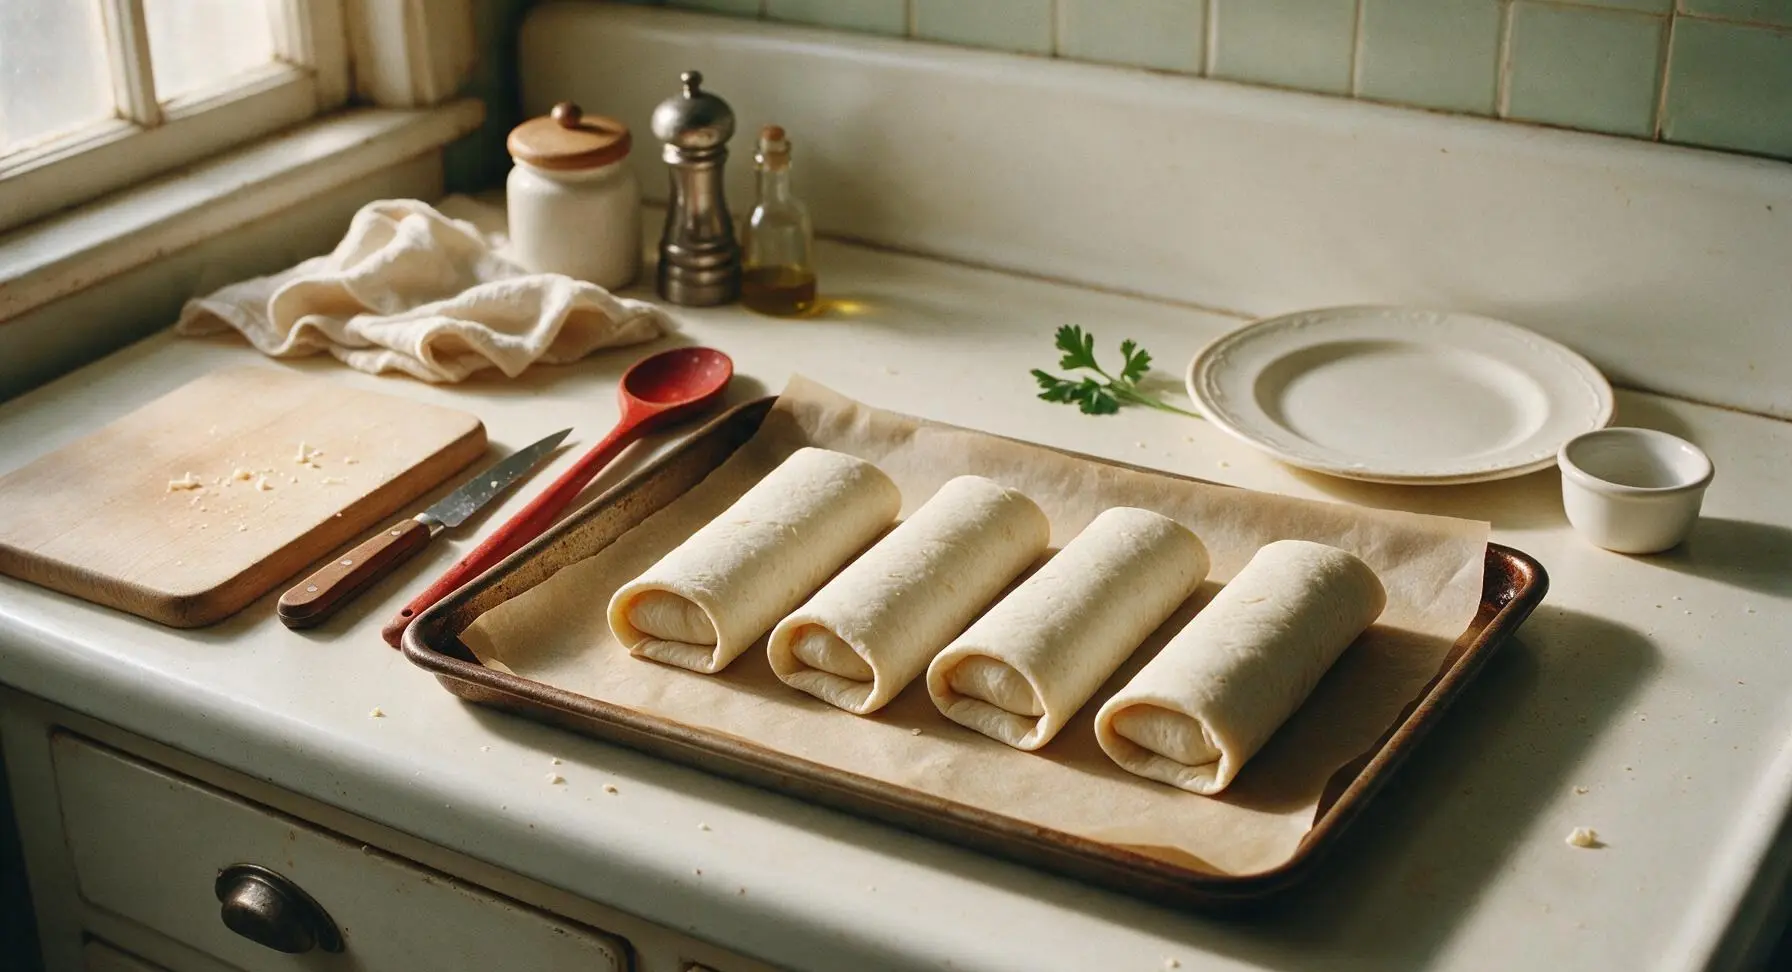
Lay one tortilla flat on the bamboo cutting board. Scoop exactly 1/2 cup of the cooled bean-rice filling into the center of the tortilla, then top with 1 tablespoon of the remaining shredded cheese. Fold the left and right edges of the tortilla 1 inch inward over the filling, then roll tightly from the bottom edge up to form a sealed cylinder, placing the burrito seam-side down on the parchment-lined baking sheet. Repeat with all remaining tortillas, spacing burritos 1 inch apart to allow air circulation.
Coat for Extra Crisp
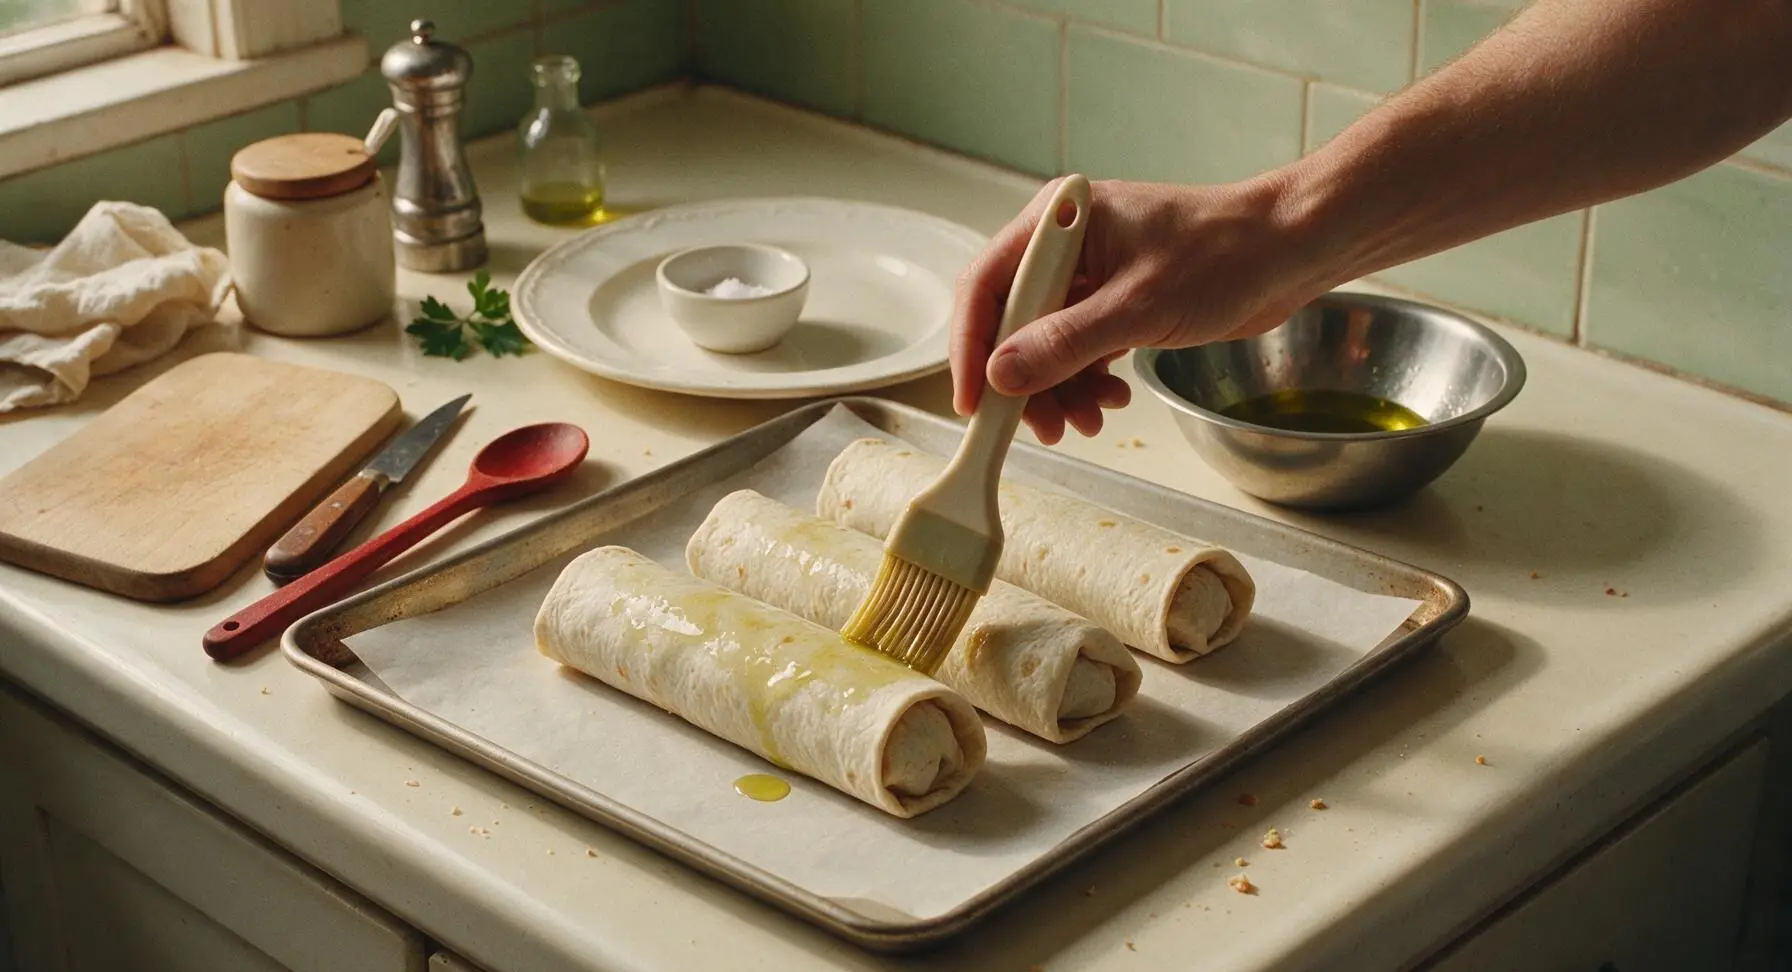
Use the silicone basting brush to spread a thin, even layer of olive oil over the entire exposed surface of each rolled burrito, making sure to cover the seams and rounded ends (this creates a moisture barrier that leads to a shatteringly crisp crust, rather than a soft, chewy tortilla). Sprinkle a tiny pinch of kosher salt over the oiled burrito tops for extra flavor.
Bake Until Golden
Place the baking sheet on the middle rack of a preheated 400°F (200°C) oven. Bake for 20 minutes total, using the maple turner spatula to flip each burrito seam-side up at the 10 minute mark to ensure even crisping on all sides. The burritos are done when tortillas are deep golden brown, with slightly crackled, blistered surfaces, no pale soft patches remaining, and feel firm to the touch.
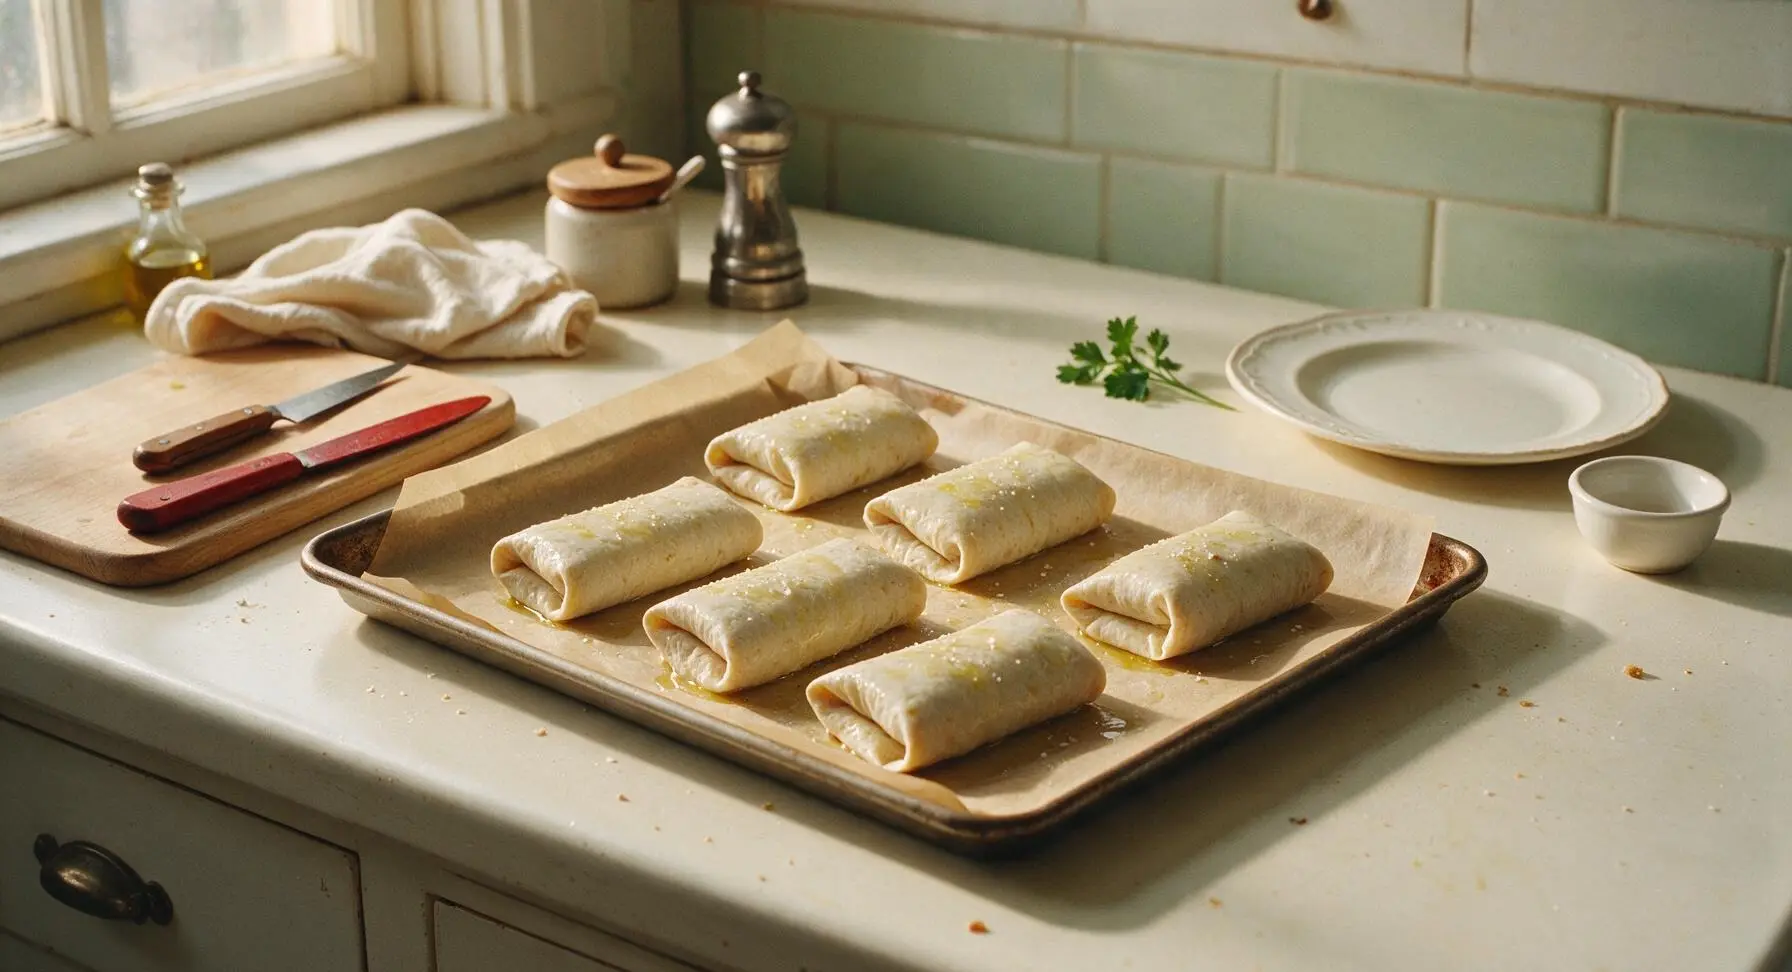
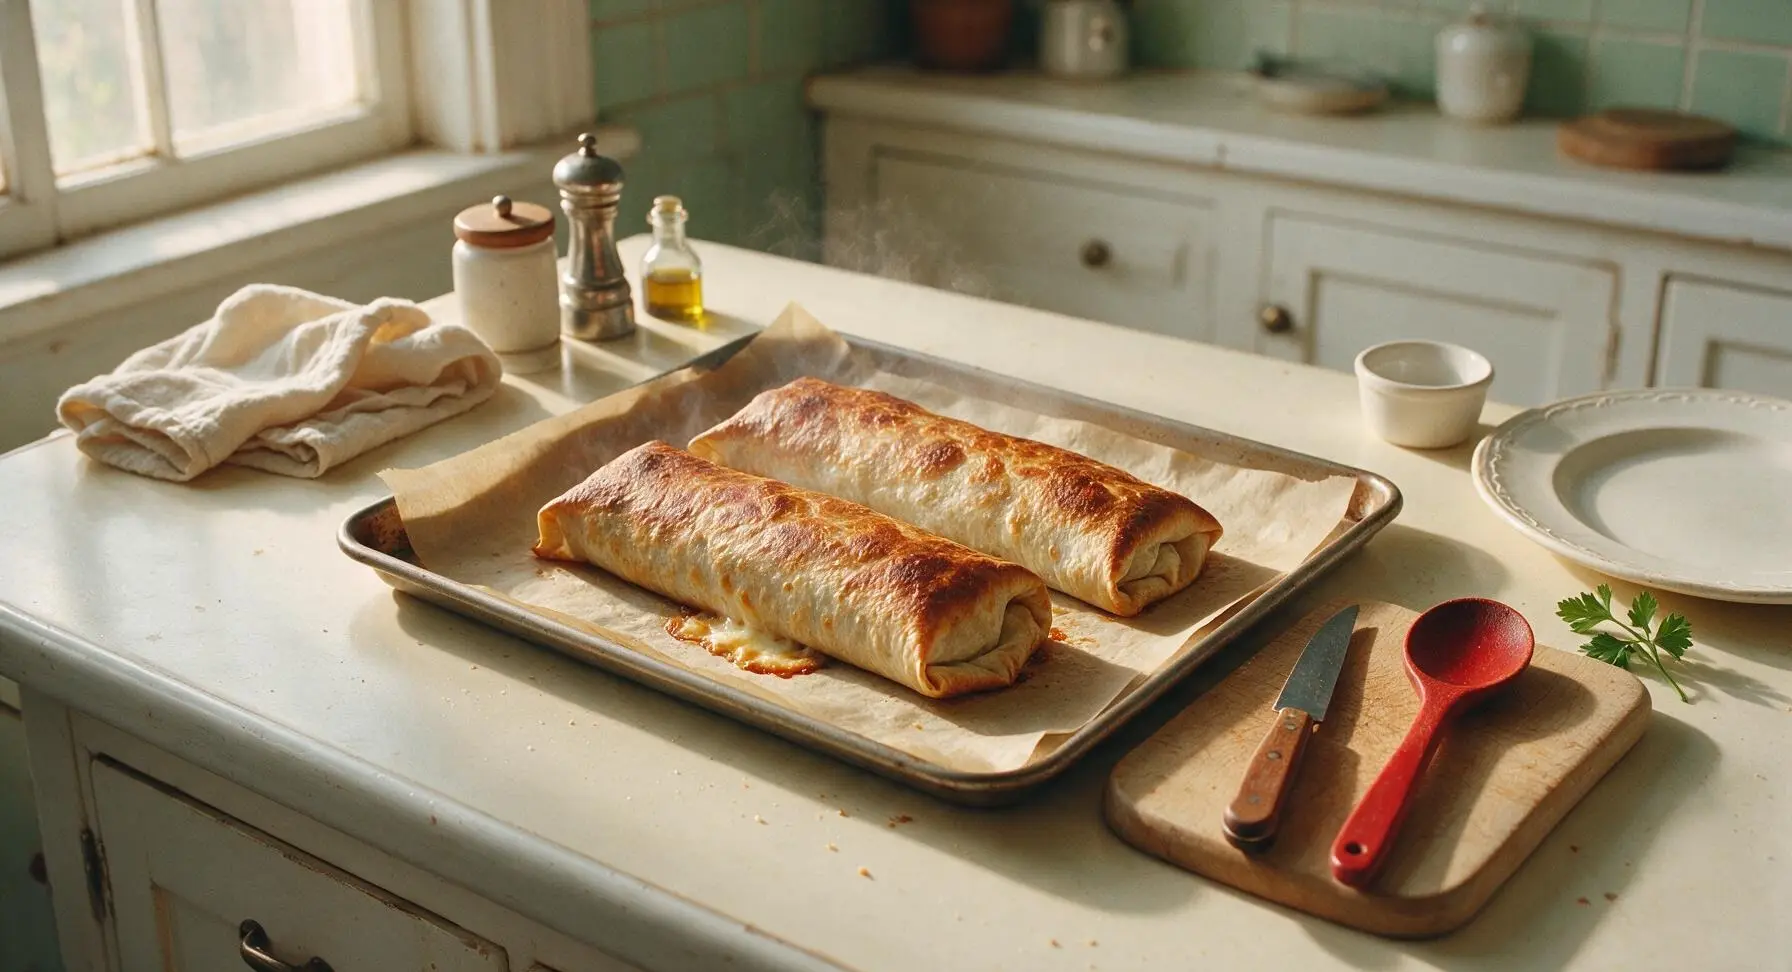
Plate and Serve
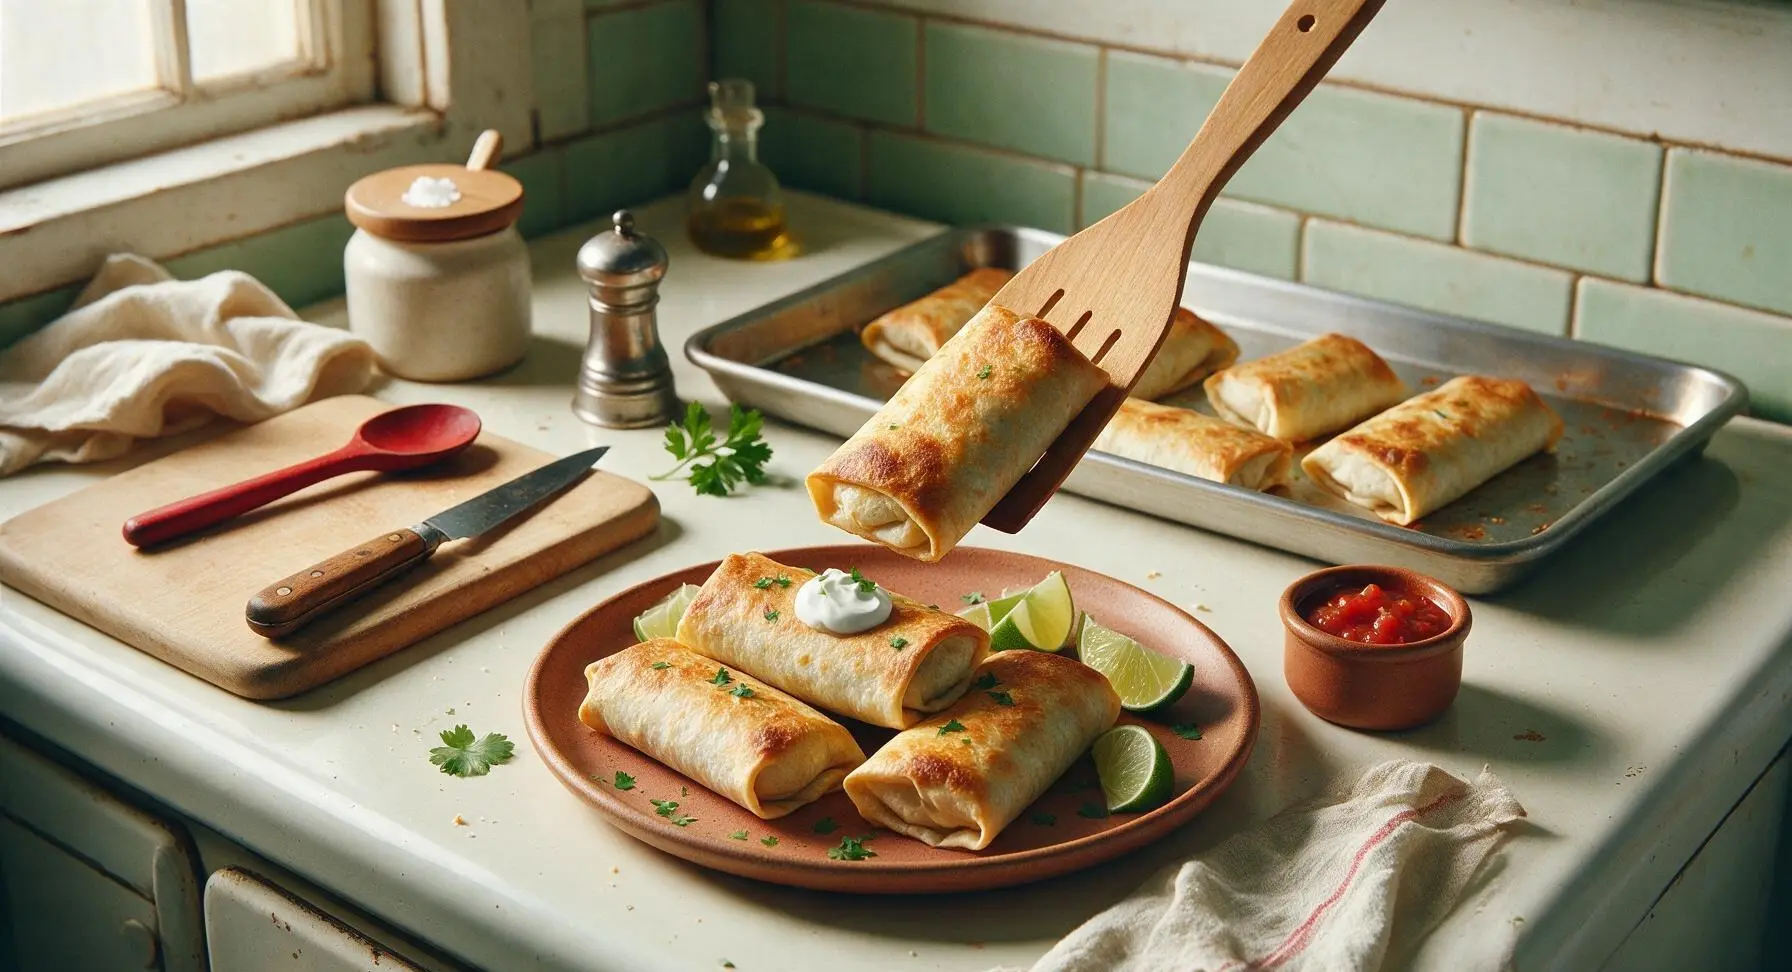
Use the maple turner spatula to transfer the hot crispy burritos to the matte terracotta dinner plate. Garnish with a sprinkle of chopped fresh cilantro, add a small dollop of sour cream to the top of one burrito, and fill the small terracotta condiment cup with red salsa. Serve with lime wedges for squeezing over top.
Tips
2.Stick to exactly 1/2 cup of filling per 10-inch tortilla: overstuffed burritos will burst at the seams during baking, leak melted cheese and filling onto the parchment, and leave soft, un-crisped patches where the tortilla is stretched too thin.
3.Flip burritos halfway through the baking time: this ensures hot oven air reaches every surface of the tortilla, preventing a soft, steamy bottom and creating an evenly golden, shatteringly crisp crust all the way around.






OMG these were such a game changer for our weekly Taco Tuesday! My 3 kids devoured them in 10 minutes flat, no complaints about veggies being hidden inside. I added a little extra taco seasoning to the ground beef and they got perfectly crispy in the oven without being greasy. 10/10 will be adding these to our regular meal prep rotation!
Brought these to my office potluck last week and people were begging me for the recipe! So much easier than standing over the stove frying burritos for an hour, and the crunch is actually better? I stuffed mine with black beans, rice, cheese, and leftover pulled pork and they came out chef’s kiss. Only thing I’d change is adding a little side of queso for dipping next time.
As someone who barely has time to boil pasta, this recipe was SO easy! 25 minutes total, minimal cleanup, and it tastes way better than the $12 takeout burritos I grab down the street. I froze half the batch for quick late-night study snacks and they reheat perfectly in the air fryer. Obsessed!
Wait, has anyone tried these with gluten free flour tortillas? I was so pumped to make these for dinner tonight when I realized I accidentally picked up GF almond flour tortillas on my last grocery run! I have celiac so regular flour is off the table for me anyway, but I’m worried the GF tortillas will crack when I roll them up and all the filling will leak out. The recipe looks amazing otherwise, I’m sure it’ll be a hit once I sort out the tortilla situation!
Made these for family dinner last night and even my super picky 7 year old asked for seconds! I used ground turkey instead of beef to lighten it up a little, and added a can of diced green chiles for a tiny kick. The broil step at the end is genius — got the cheese all melty and the edges perfectly crispy.
These are a staple in my Sunday meal prep! I make a big batch, wrap them individually in foil, and grab one on my way out the door for work every morning. They hold up so well all week, and the crispy shell doesn’t get soggy even after 4 days in the fridge. Total game changer for anyone who hates cooking on weeknights!
Made these fully vegan with refried black beans, roasted corn, vegan cheese, and fajita veggies, and they came out SO good! Even my meat-obsessed roommate stole half of one and said it was better than the fast food burritos he gets all the time. The bake method is way less messy than frying, I’ll never make burritos another way.
I’m literally terrible at cooking and I pulled these off first try! The instructions were so straightforward, no fancy ingredients, and they looked exactly like the photo when they came out of the oven. My roommate thought I ordered takeout lmao. 10/10 for beginner cooks, will make again.