
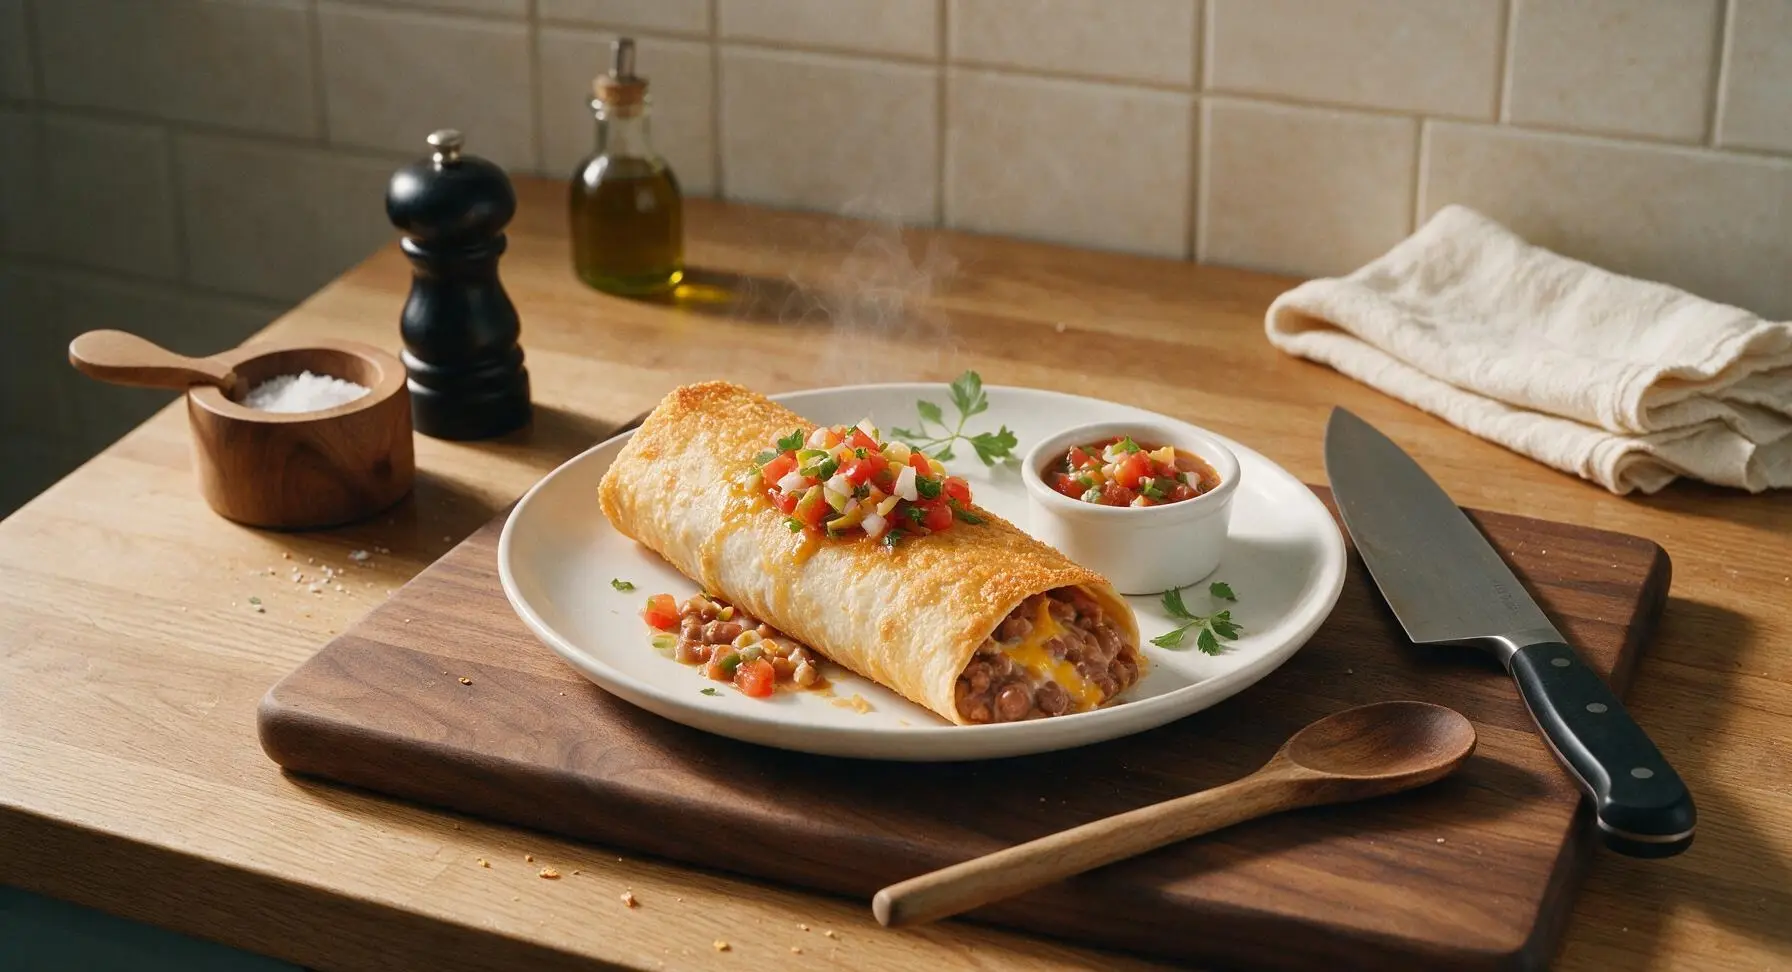
crispy bean burrito

title 1
crispy bean burrito
⏱️ cook time 20 minutes
🍽️ servings 4
⚡ Difficulty easy

intro

Golden, shatteringly crisp flour tortillas wrapped around creamy seasoned refried beans and melted cheddar, served with bright zesty toppings for a satisfying handheld Tex-Mex meal.

Ingredients
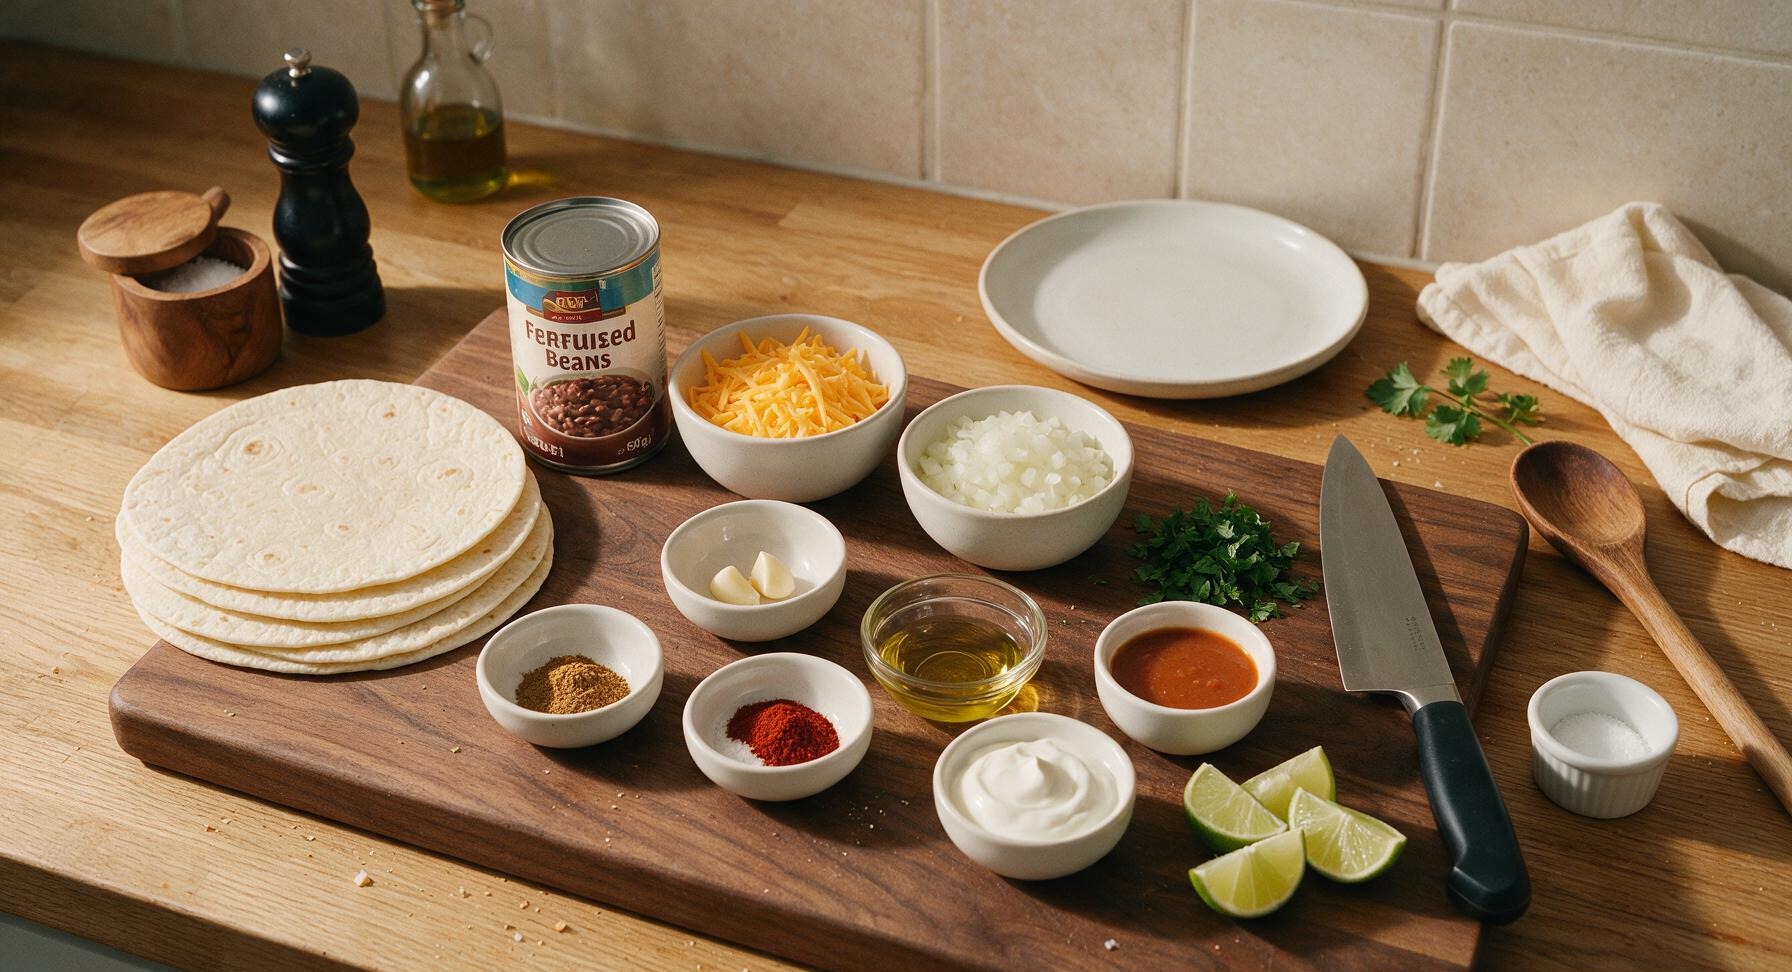
10-inch flour tortillas 4 each
Canned refried beans 450g (1 can)
Sharp cheddar cheese 120g
Yellow onion 1 small (100g, finely diced)
Garlic cloves 2, minced
Ground cumin 1 tsp
Smoked paprika 1/2 tsp
Kosher salt 1/2 tsp
Neutral cooking oil (canola/avocado) 2 tbsp
Sour cream 60g (1/4 cup)
Mild taco sauce 60ml (1/4 cup)
Fresh cilantro 10g, chopped
Fresh lime 1, cut into 4 wedges

Steps

1

Grate Cheese and Chop Aromatics

Place the birch cutting board at counter center. Use the box grater to shred the sharp cheddar cheese into coarse shreds, transfer to one of the small white ramekins. Use the chef knife to finely dice the small yellow onion and mince the 2 garlic cloves, transferring each to separate ramekins. Chop 2 tablespoons of fresh cilantro, set aside in the third ramekin. This prep takes approximately 6 minutes.
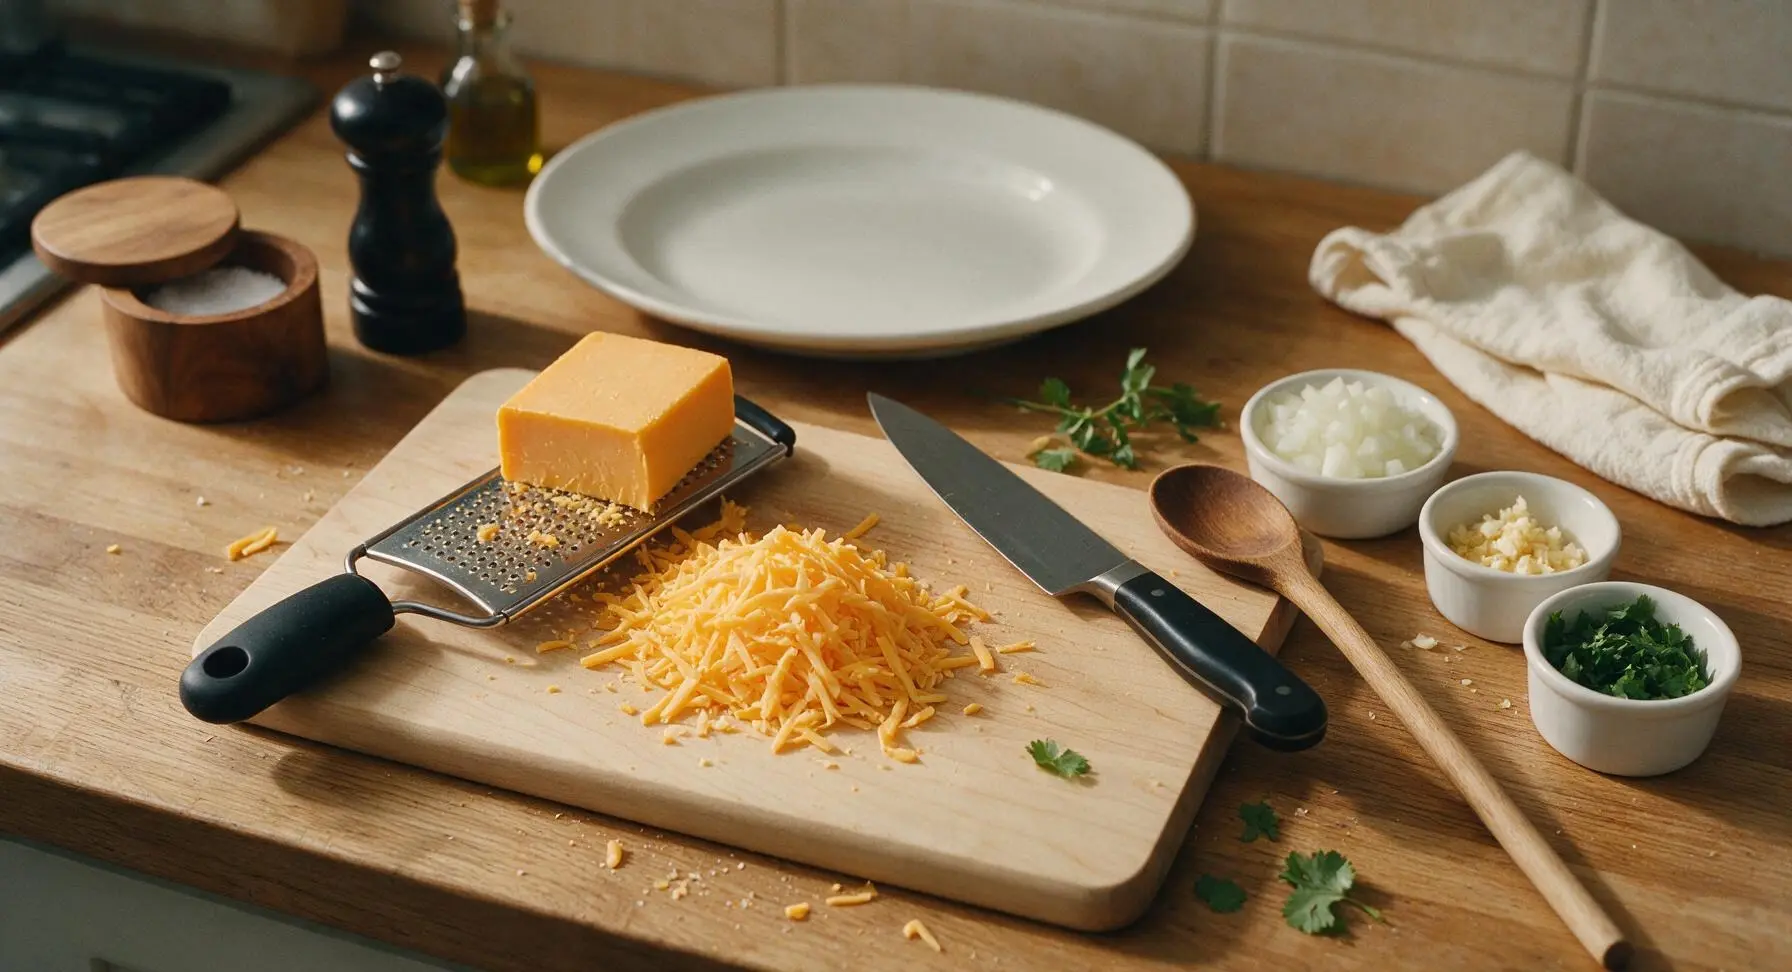
Step 1
step1:Grate Cheese and Chop Aromatics
2

Sauté Aromatic Base

Set the induction cooktop to medium heat (350°F / 175°C). Add 1 teaspoon of neutral oil to the 26cm non-stick skillet, then add the diced onion. Sauté for 3 minutes until soft and translucent, then add the minced garlic, ground cumin, and smoked paprika. Cook for 30 seconds more until fragrant, being careful not to burn the garlic. The mixture should smell warm and earthy, with no sharp raw garlic bite.
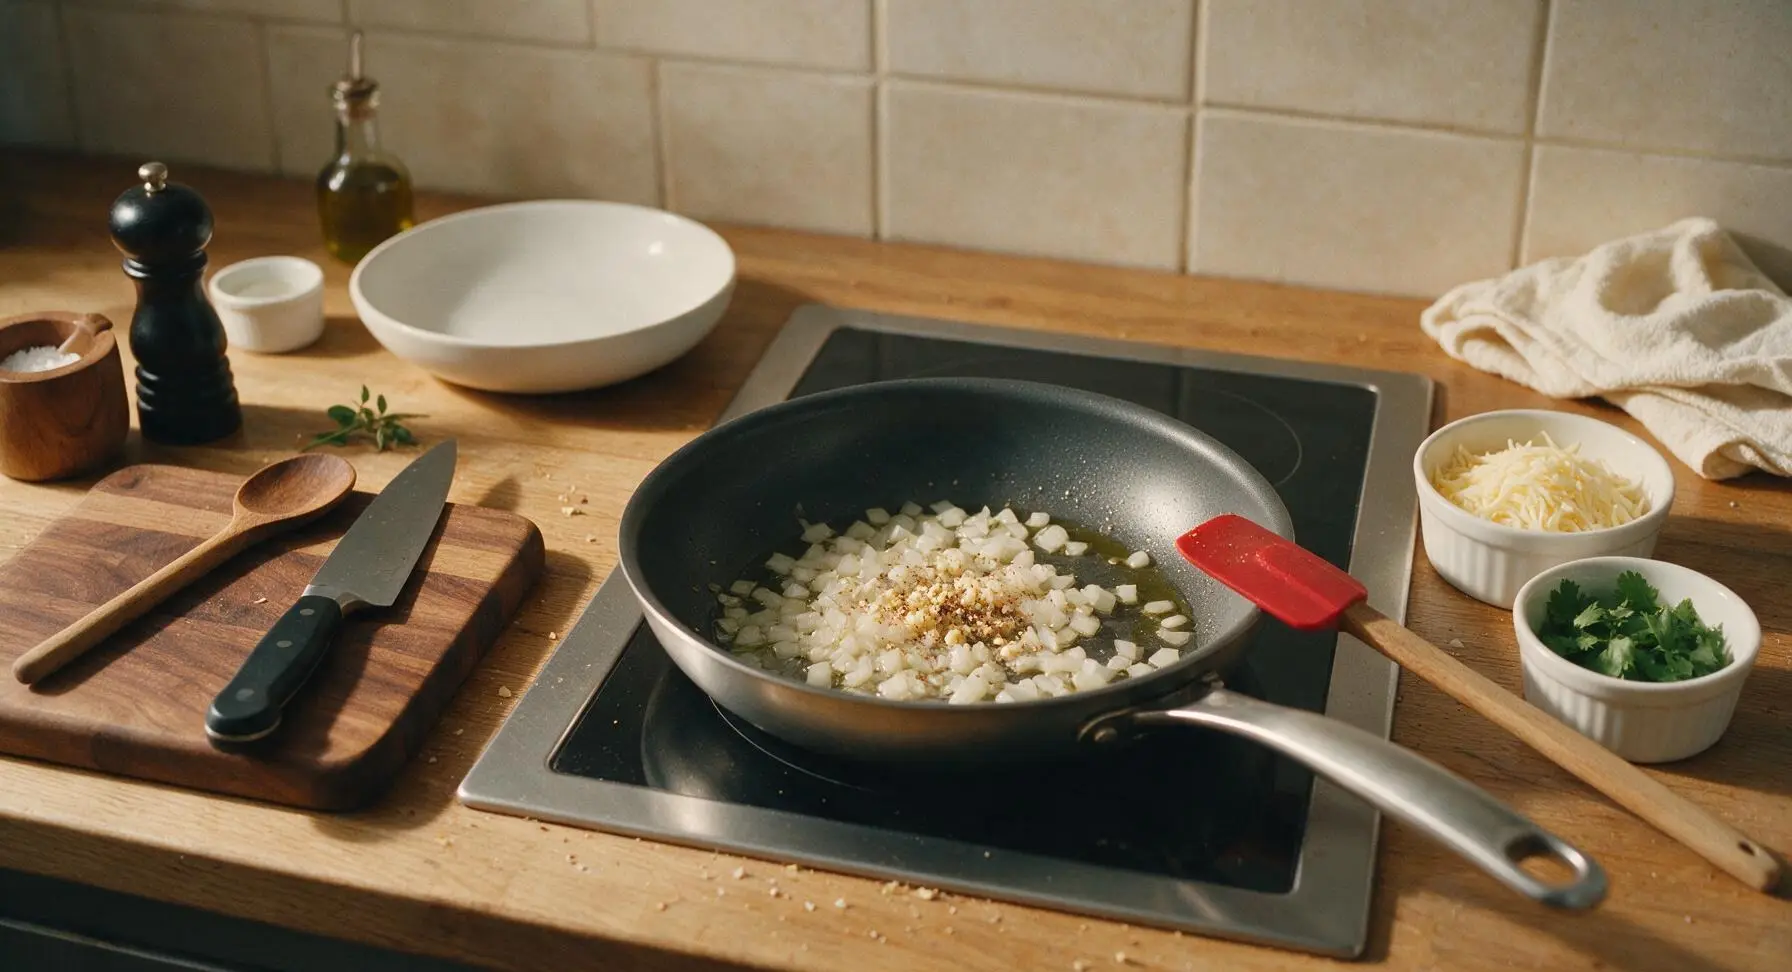
Step 2
step2:Sauté Aromatic Base
3

Warm Refried Bean Filling

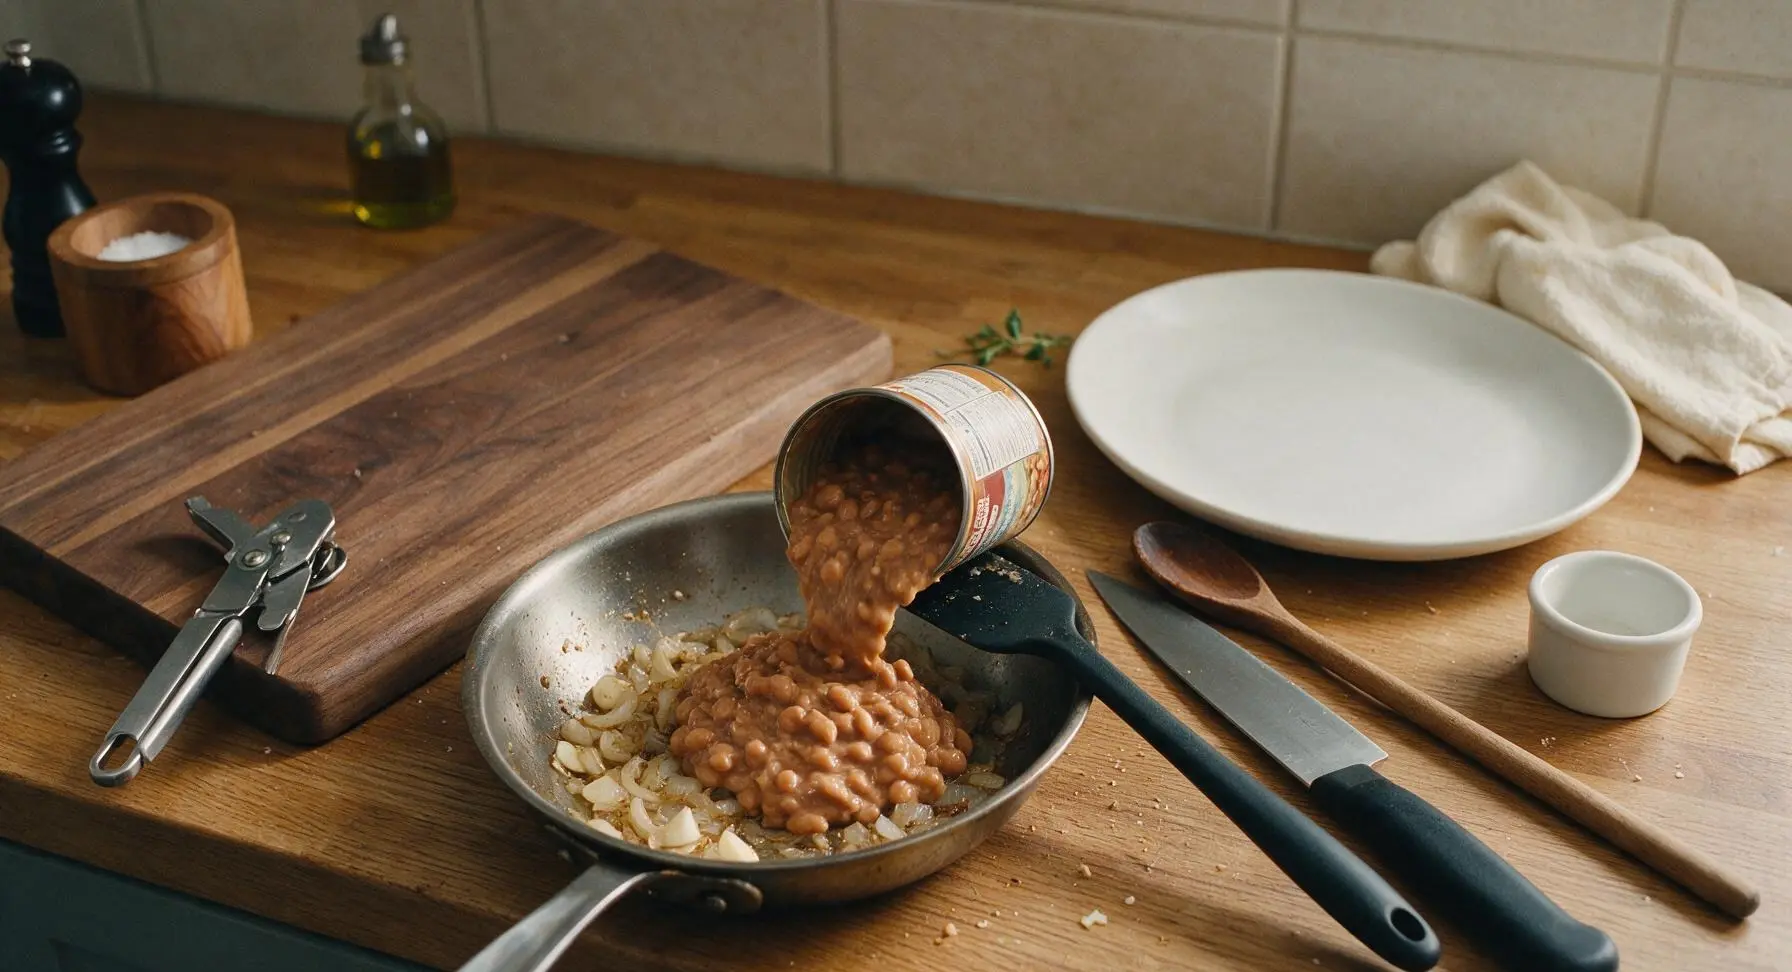
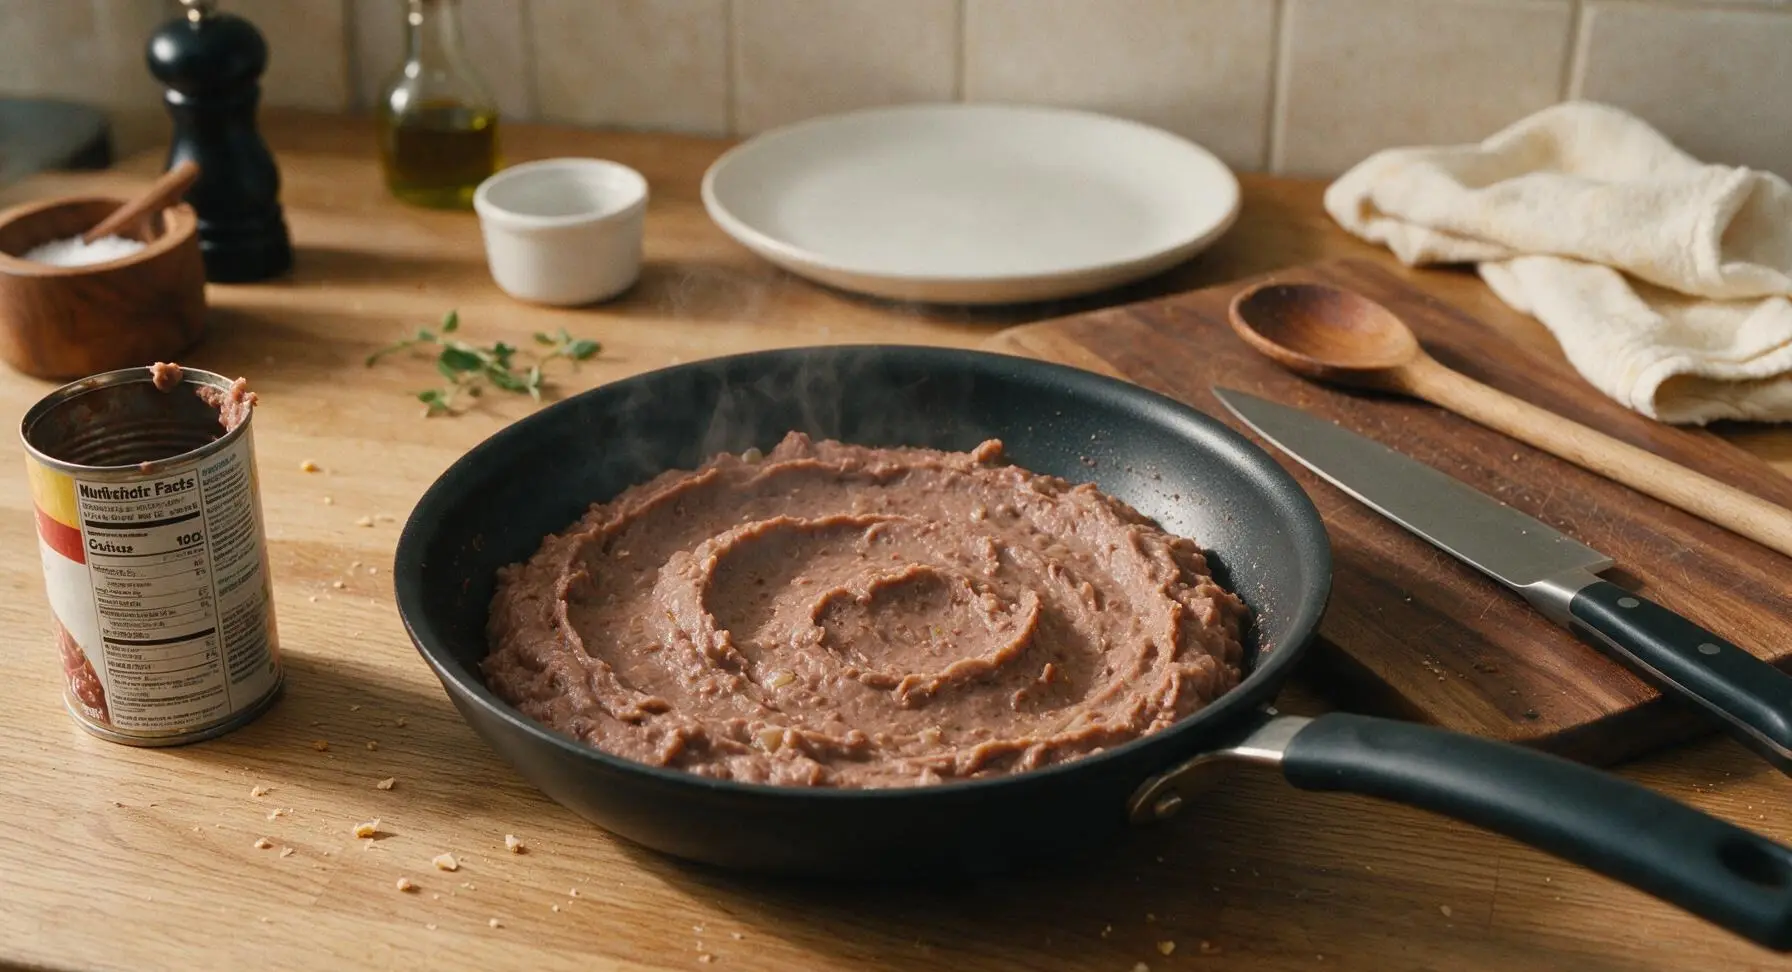
Open the can of refried beans using the can opener, then scoop the entire contents into the skillet with the sautéed aromatics. Stir with the silicone spatula to fully combine, cooking for 4 minutes over medium heat until the beans are smooth, heated through, and thick enough to hold their shape when stirred (it will mound slightly on the spatula when lifted, not run off in a thin stream). Stir in 1/2 teaspoon of kosher salt, then taste and adjust salt if needed. Remove the skillet from the heat, set aside to cool slightly for 2 minutes. The bean mixture should be spreadable, not runny, to prevent burritos from leaking during frying.
Step 3
step3:Warm Refried Bean Filling
Step 3
step3:Warm Refried Bean Filling
4

Fill and Fold Burritos

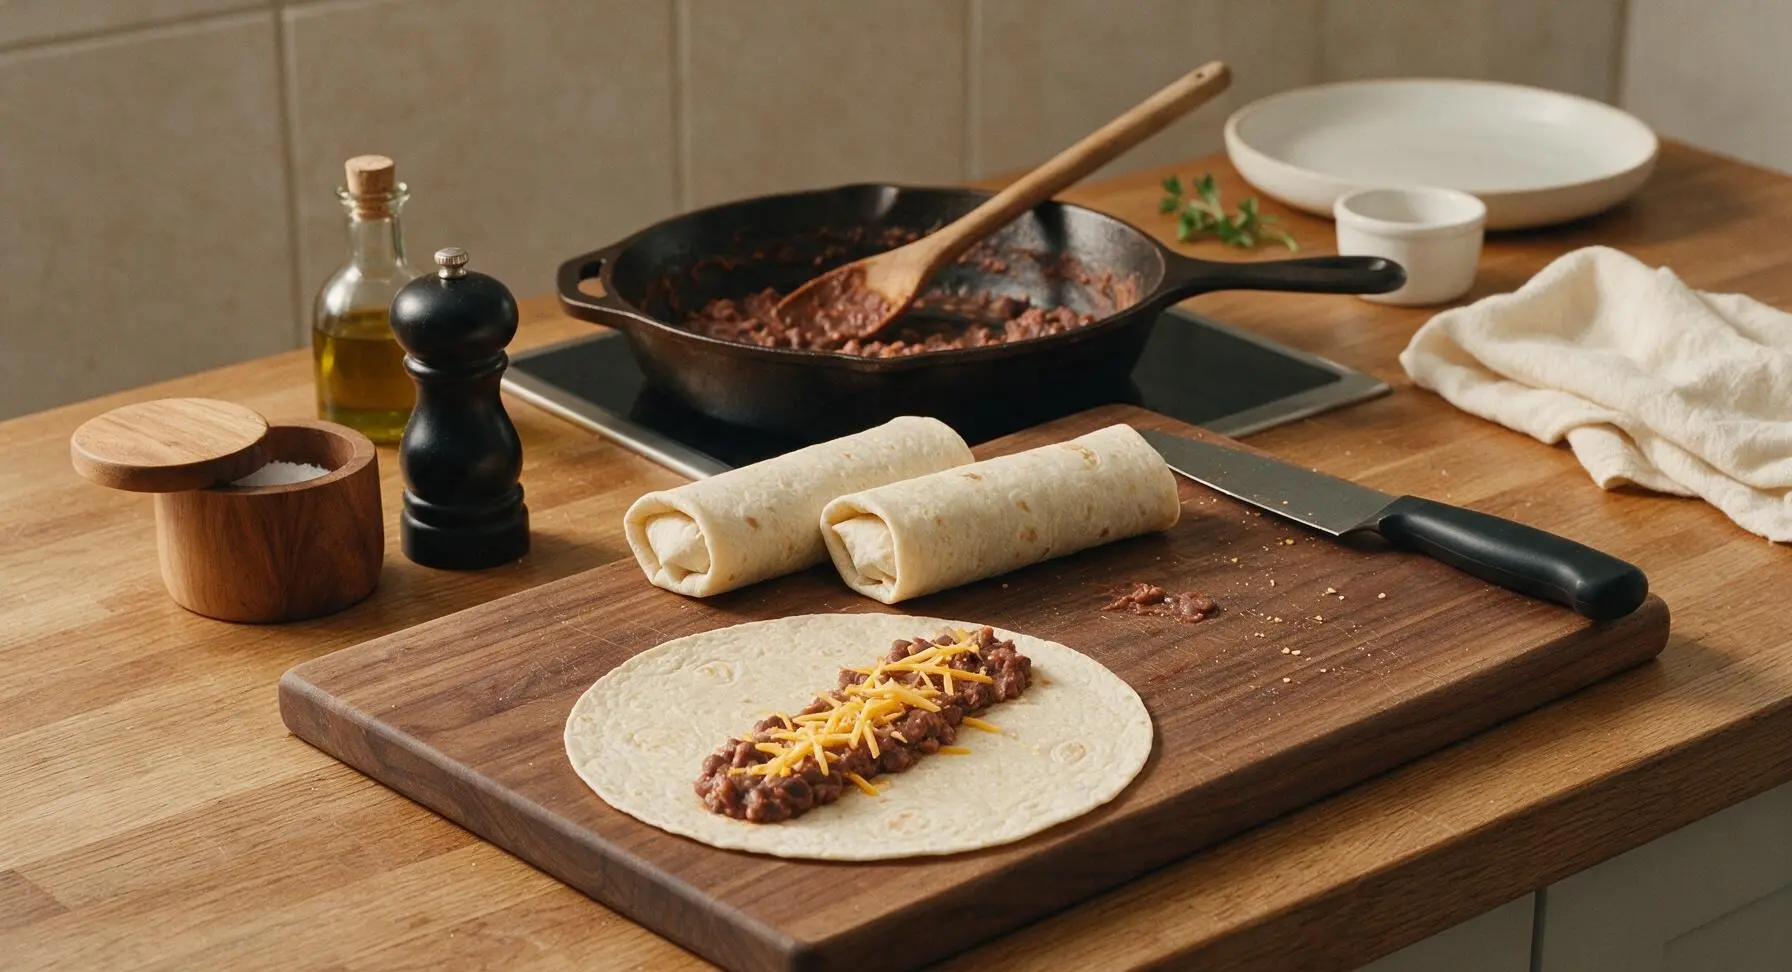
Lay one flour tortilla flat on the birch wood cutting board. Spread 1/4 of the warm bean mixture in a thick 4-inch line down the center of the tortilla, leaving 2 inches of space at the top and bottom. Sprinkle 1/4 of the shredded cheddar cheese directly over the bean line. Fold the short top and bottom edges of the tortilla over the filling, then roll tightly from one long edge to the other to form a sealed, compact log. Repeat with the remaining 3 tortillas, placing each folded burrito seam-side down on the cutting board as you work. Tight rolls prevent filling from leaking out during frying.
Step 4
step4:Fill and Fold Burritos
5

Pan-Fry for Crisp Shell

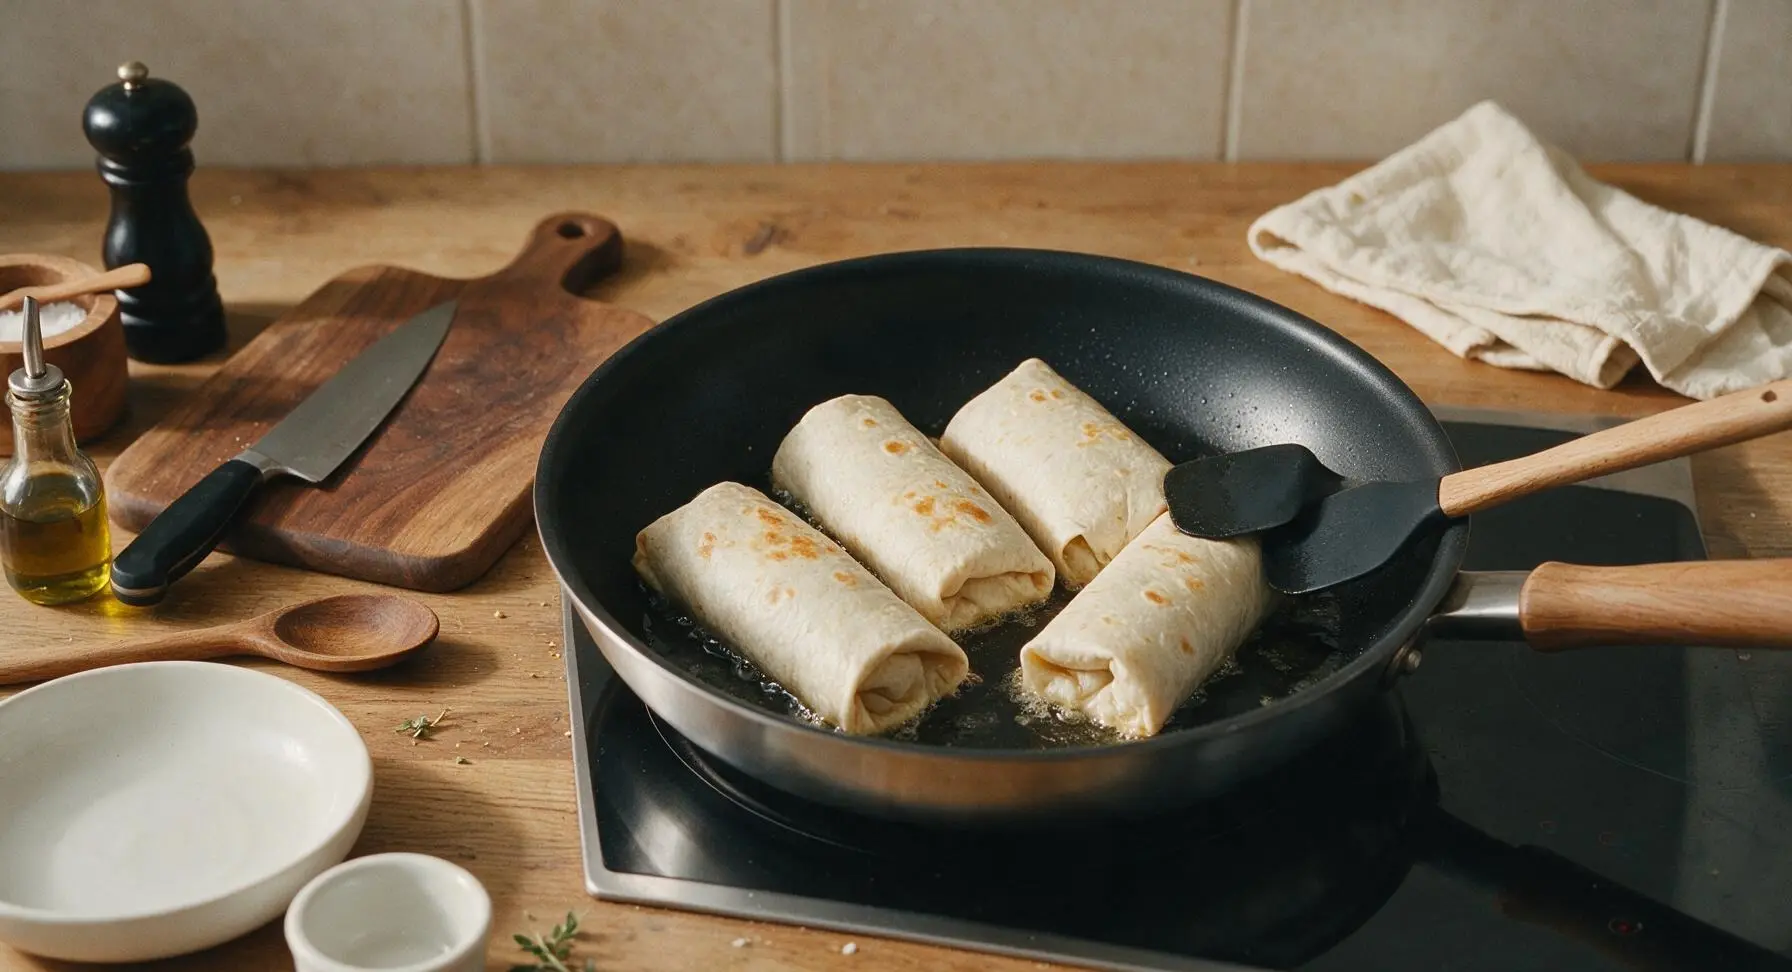
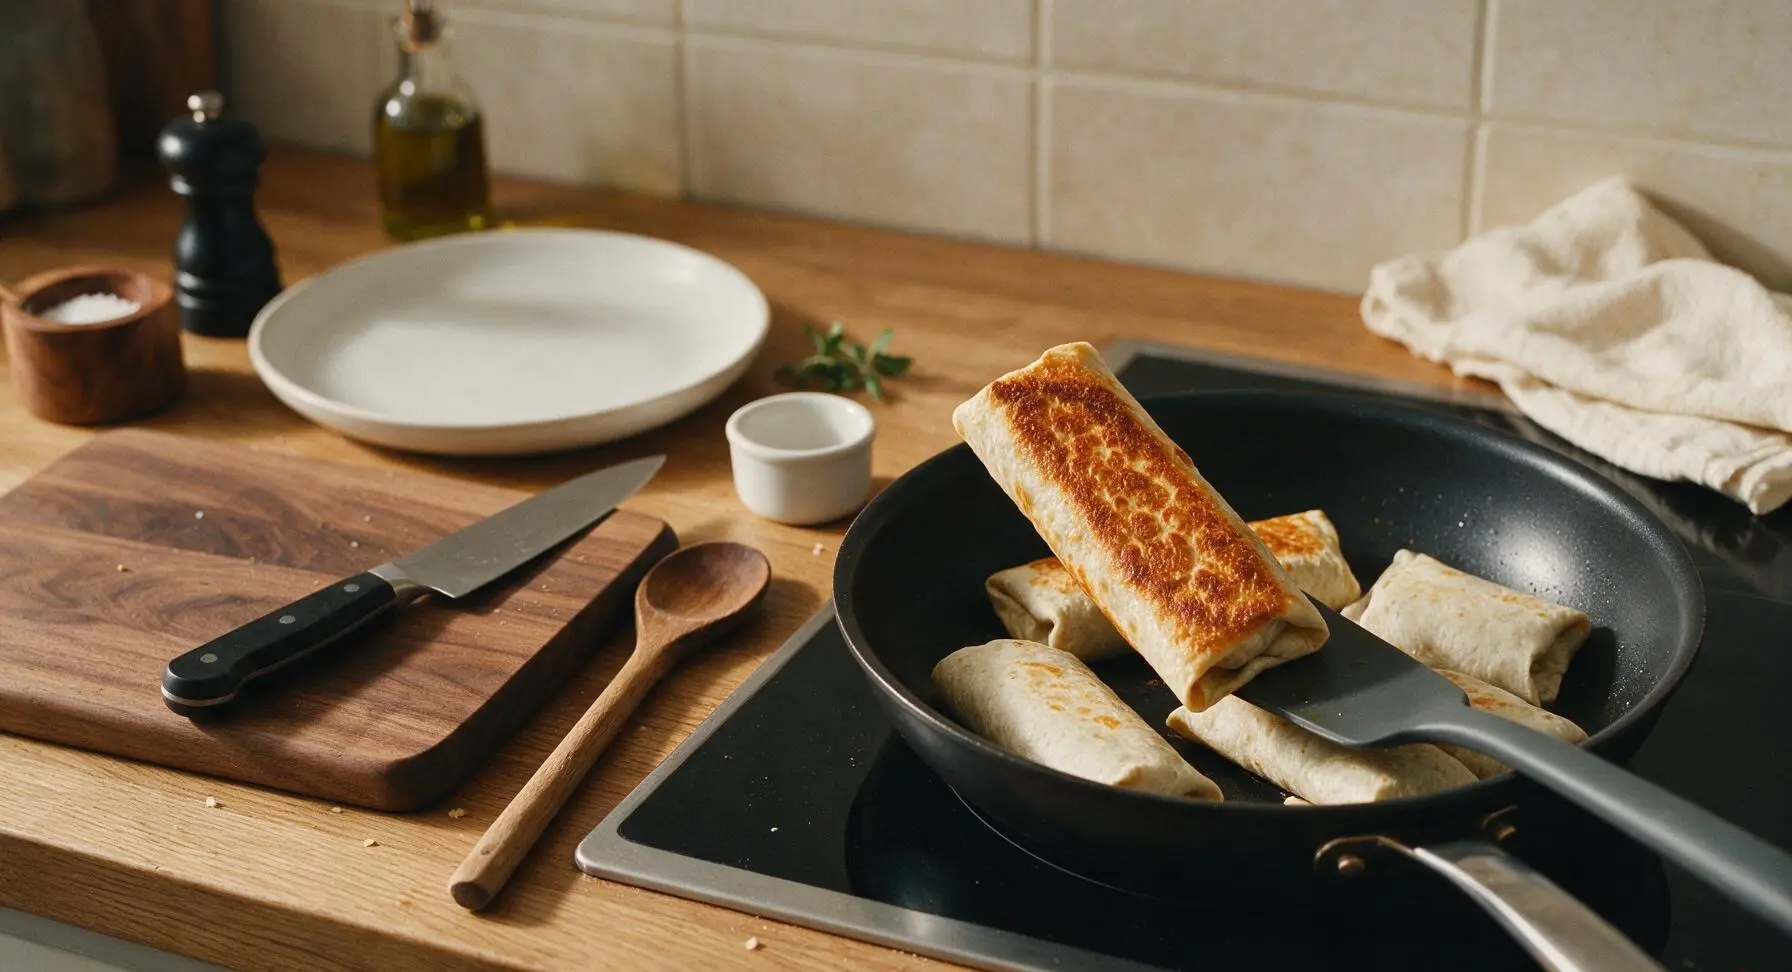
Wipe the skillet clean with a paper towel, then return it to the induction cooktop set to medium heat (350°F / 175°C). Add the remaining 1 tablespoon + 2 teaspoons of neutral oil, swirling to coat the pan bottom evenly. Place the burritos in the skillet seam-side down, working in two batches if needed to avoid crowding the pan (leave 1 inch of space between burritos for even crisping). Cook for 2 minutes per side, using the silicone spatula to turn them gently, until all four sides are deep golden brown, crispy, and dotted with small bubbled blisters. The cheese inside will be fully melted once the exterior is crisp, about 8 minutes total cooking time for the batch.
Step 5
step5:Pan-Fry for Crisp Shell
Step 5
step5:Pan-Fry for Crisp Shell
6

Rest and Serve Burritos

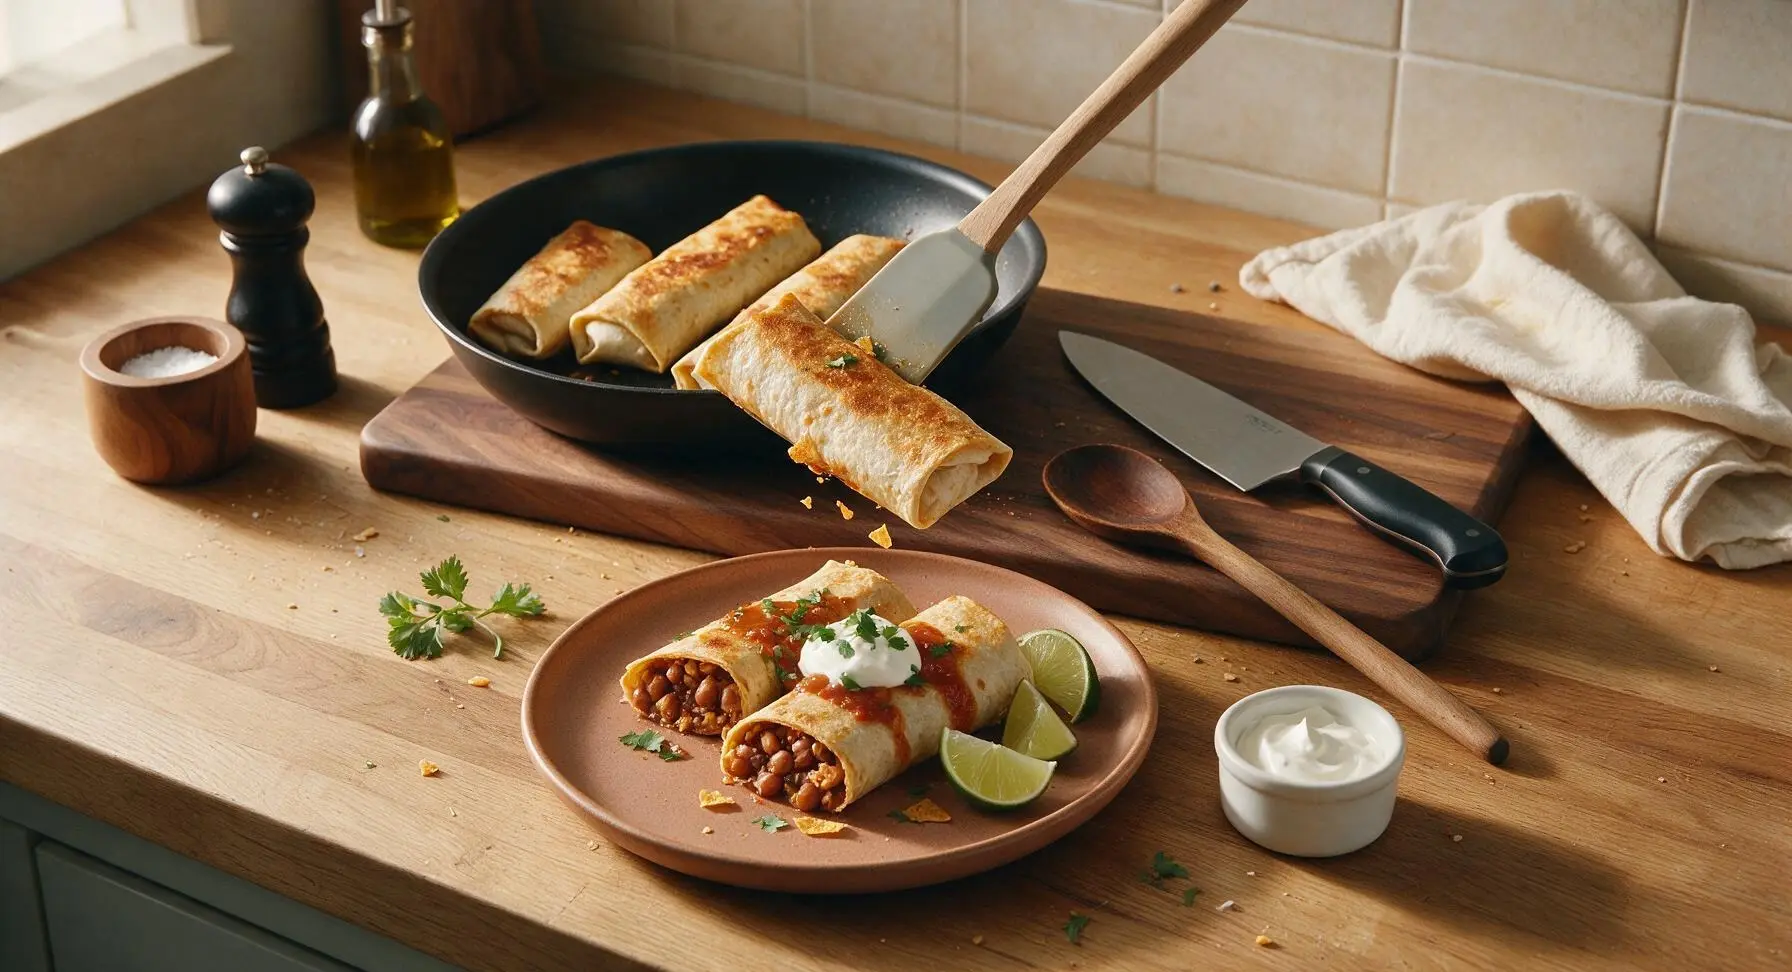
Transfer the cooked crispy burritos to the matte terracotta dinner plate, letting them rest for 2 minutes to allow the filling to set (this prevents oozing when cut). Cut each burrito in half on a slight diagonal, arranging them cut-side up on the plate. Drizzle with taco sauce, add a dollop of sour cream, and sprinkle with chopped cilantro. Serve with lime wedges on the side for squeezing over top.
Step 6
step6:Rest and Serve Burritos

Tips

1.Avoid overfilling burritos: Use no more than 1/2 cup of bean and cheese filling per tortilla, as overstuffing will split seams during frying, cause filling to leak, and leave you with burnt cheese residue in the pan. Tight, modestly filled rolls stay sealed and crisp evenly.
2.Cook burritos seam-side down first: The direct pan heat will seal the folded tortilla edge shut within 30 seconds, preventing the burrito from unrolling as you flip it to crisp the remaining three sides.
3.Let burritos rest 2 minutes before cutting: Slicing immediately after frying will cause molten cheese and hot bean filling to ooze out of the crisp shell; the short rest allows the filling to set slightly for clean, neat slices that hold their shape when picked up.


✨ You May Also Like

Main Course
🍜 United Kingdom

A showstopping classic of tender seared beef, savory mushroom duxelles, and crisp prosciutto wrapped in flaky golden puff pastry, baked to juicy perfection.

⏱️ 2 hours 1Main Course ★ 4.7
Main Course
🍜 India

Tender charred marinated chicken simmered in a rich, spiced creamy tomato sauce, this iconic Anglo-Indian curry pairs perfectly with basmati rice or warm naan.

⏱️ 50 minuteMain Course ★ 4.6
Main Course
🍜 Thailand

Classic tangy, sweet, and savory Thai stir-fried rice noodles with shrimp, tofu, and crunchy garnishes, balancing all five core Thai flavor profiles.

⏱️ 30 minuteMain Course ★ 4.5
Main Course
🍜 United Kingdom

Crispy golden beer-battered cod and fluffy double-fried chips, served with tangy tartar sauce and malt vinegar: the timeless, beloved British pub comfort classic.

⏱️ 45 minuteMain Course ★ 4.7
Main Course
🍜 Mexico

Smoky, chile-marinated pork tacos with caramelized pineapple, fresh cilantro, and lime: a beloved classic Mexican street food perfect for casual summer gatherings.

⏱️ 1 hour 45Main Course ★ 4.8
Main Course
🍜 United States

Crunchy Fritos corn chips layered with savory beef chili and melted cheddar, topped with cool, zesty fixings for a beloved, cozy Tex-Mex comfort food.

⏱️ 35 minuteMain Course ★ 4.8

crispy bean burrito:Frequently Asked Questions

1.Why do my burritos turn out soggy instead of shatteringly crisp? ▾
Sogginess almost always comes down to excess moisture or overstuffing. Simmer runny canned refried beans for 2-3 minutes to thicken them first, don’t overpack tortillas with filling, and always cook seam-side down first to seal the wrap so filling doesn’t leak out and soften the tortilla as it cooks.
2.Can I use homemade refried beans instead of canned? ▾
Absolutely! Homemade refried beans work beautifully, just make sure they’re thick enough with no excess pooling liquid, and seasoned well with cumin, chili powder, and a pinch of salt for depth. Let them cool slightly before wrapping, so trapped steam doesn’t soften your tortillas before they crisp up.
3.How do I get a perfectly crisp tortilla without burning it? ▾
Cook over medium heat (not high!) in a thin layer of neutral oil or melted butter, 2-3 minutes per side. Press gently with a spatula as you cook to make sure the entire tortilla surface makes even contact with the pan, and flip only once the first side is deep golden to avoid uneven cooking or charring.
4.Can I make these crispy bean burritos ahead for meal prep? ▾
You can prep the seasoned bean and cheese filling up to 3 days ahead, stored airtight in the fridge, but wait to assemble and crisp tortillas until right before serving. Pre-assembled uncooked burritos turn soggy fast, but fully cooked, cooled burritos freeze well for up to 3 months for quick, easy meals.
5.I don’t have sharp cheddar—what cheese swaps work best? ▾
Pepper jack is a fantastic swap if you want a little spicy kick, or a pre-mixed Mexican cheese blend of cheddar, asadero, and queso quesadilla for extra smooth melt. Avoid soft, high-moisture cheeses like fresh mozzarella, though—they release too much water and will make tortillas soggy.
6.How much filling should I use per burrito to avoid it bursting while cooking? ▾
Stick to roughly ⅓ cup of seasoned bean filling plus 2 tablespoons of shredded cheese per 10-inch flour tortilla. Pile filling down the center, leave 1 inch of empty space on both ends, fold the sides in first, then roll tightly to keep everything contained as it crisps.
7.Do I have to pan-fry these, or can I bake them for a lower-oil version? ▾
Baking works great for a lighter, less oily take! Brush assembled burritos lightly with neutral oil, arrange them seam-side down on a baking sheet, and bake at 425°F for 18-22 minutes, flipping halfway through, until tortillas are evenly golden and crisp with no soggy bottoms.
8.Do I need to cook the yellow onion and garlic before adding them to the bean filling? ▾
Yes, always sauté finely diced yellow onion over medium heat for 3 minutes until soft, then add minced garlic and cook 30 seconds until fragrant before stirring into refried beans. Adding raw onion and garlic will leave a harsh, sharp bite that throws off the filling’s creamy, balanced flavor.
9.What are the best bright, zesty toppings to serve with these burritos? ▾
My go-to picks are fresh pico de gallo, tangy sour cream or Mexican crema, pickled jalapeños, a squeeze of fresh lime, sliced ripe avocado, and chopped cilantro. Keep wet, runny toppings on the side instead of tucking them inside, so they don’t make your crisp tortilla soggy.
10.Can I add extra fillings like rice or ground beef to these burritos? ▾
You absolutely can, just make sure any added fillings are well-drained and not overly moist. Seasoned ground beef, Spanish rice, or roasted corn work beautifully, but cut back slightly on the bean portion to avoid overstuffing, and never add saucy, runny fillings inside the wrap.
11.How do I reheat leftover burritos so they stay crisp instead of getting soggy? ▾
Skip the microwave entirely—it makes tortillas rubbery and soggy fast. Instead, reheat leftovers in a 375°F oven for 10-12 minutes, or in a dry skillet over medium-low heat for 2-3 minutes per side, until the filling is hot and the tortilla crisps back up.
12.Why is my cheese not fully melted even when the tortilla is perfectly crisp? ▾
This usually happens if you use pre-shredded cheese, which is coated in anti-caking starch that prevents smooth melting. Shred cheddar fresh off the block, and tuck it right against the warm tortilla when assembling so it heats evenly, instead of clumping in the cold center of the bean filling.

Comments (9)

2 hours ago

OMG these crispy bean burritos are a total weeknight game changer! I threw them together in 20 minutes flat after soccer practice, and my two picky kids devoured them without a single complaint. I added a little extra shredded cheddar inside and dipped them in sour cream, SO good. Already added this to our weekly dinner rotation!

1 hour ago

Wait did you bake them or pan fry them? I tried a similar recipe once and they got soggy instead of crispy 😩

45 minutes ago

So happy your family loved them! For maximum crispiness, make sure your pan is fully preheated before adding the burritos, and don’t overstuff them — that’s the #1 cause of sogginess! A light spritz of cooking oil on the tortilla before cooking helps too.

yesterday

As someone who’s surviving on a dorm grocery budget, this recipe is chef’s kiss. Used canned refried beans, a pack of cheap flour tortillas, and leftover taco seasoning I had in my drawer. Crisped them up in my tiny countertop air fryer and they tasted better than the fast food burritos I used to get after late study sessions. 10/10 would make again.

12 hours ago

Wait air fryer temp and time? I have the same tiny dorm air fryer and always burn tortillas lmao

6 hours ago

Great call using the air fryer! For dorm air fryers, 375°F for 8-10 minutes, flipping halfway, works perfectly — keep an eye on them the first time since all models run a little hot!

3 days ago

Made a big batch of these for my weekly meal prep! They held up really well in the fridge for 4 days, and I just reheated them in the toaster oven to get the crisp back. Only reason I’m not giving 5 stars is I wish the recipe had a note about freezing — I froze half the batch and haven’t tested them yet, but overall super easy and tasty.

2 days ago

I froze a batch last month! Reheat straight from frozen in the oven at 400 for 15 mins, they get just as crispy as fresh. No sogginess at all!

1 day ago

So glad these worked for meal prep! We’ll add a freezer note to the recipe soon — thanks for the great feedback, and Tina thanks for sharing that reheating hack, it works perfectly!

1 week ago

Brought these to my neighborhood block party potluck last weekend and they were gone in 10 minutes! People kept asking for the recipe, I can’t believe how easy they were to make. I set out a little topping bar with guac, pico, and queso so people could customize, it was perfect.

6 days ago

That sounds like such a fun potluck spread! So happy these were a hit with the neighbors, the custom topping bar is such a smart idea.

5 days ago

As a lifelong vegetarian, I’m always on the hunt for quick meatless meals that actually fill me up, and these hit the spot! I swapped the regular refried beans for black refried beans and added a little pickled jalapeño for a kick, the crunch on the tortilla is unreal. Will be making these nonstop.

3 days ago

Ooh the pickled jalapeño addition sounds chef’s kiss! I’m definitely adding that when I make these tomorrow, thanks for the tip!

2 days ago

Really solid recipe! Super easy to follow, cook time was spot on at 20 minutes. My only note is that I wish there was a little more seasoning recommendation for the bean filling — I added a bit of cumin and garlic powder to punch it up, but otherwise the texture was perfectly crispy.

1 day ago

Thanks for the honest feedback! We’ll add a note about optional extra seasonings (cumin, garlic powder, even a pinch of smoked paprika) for the bean filling to make it even more flavorful!

30 minutes ago

My 7 year old who refuses to eat literally any bean-based food ate two of these last night. I didn’t even tell him there were beans inside until after he finished, he was shocked. The crispiness totally sold him. Thanks for saving dinner for this tired dad!

2 weeks ago

Used gluten free flour tortillas for this and it worked perfectly! Just had to cook them a tiny bit longer to get that same crispy crunch as regular tortillas. Great easy recipe for quick GF dinners, will definitely make again.

just now

Made these at 1am after getting home from a concert because I had zero groceries except tortillas and a can of beans. Turned out way better than any takeout I could’ve ordered. The crunch is no joke, even when you’re half asleep cooking. 10/10 drunchie approved.



