
bread cheese sandwich

title 1
bread cheese sandwich
⏱️ cook time 6 minutes
🍽️ servings 2
⚡ Difficulty easy

intro

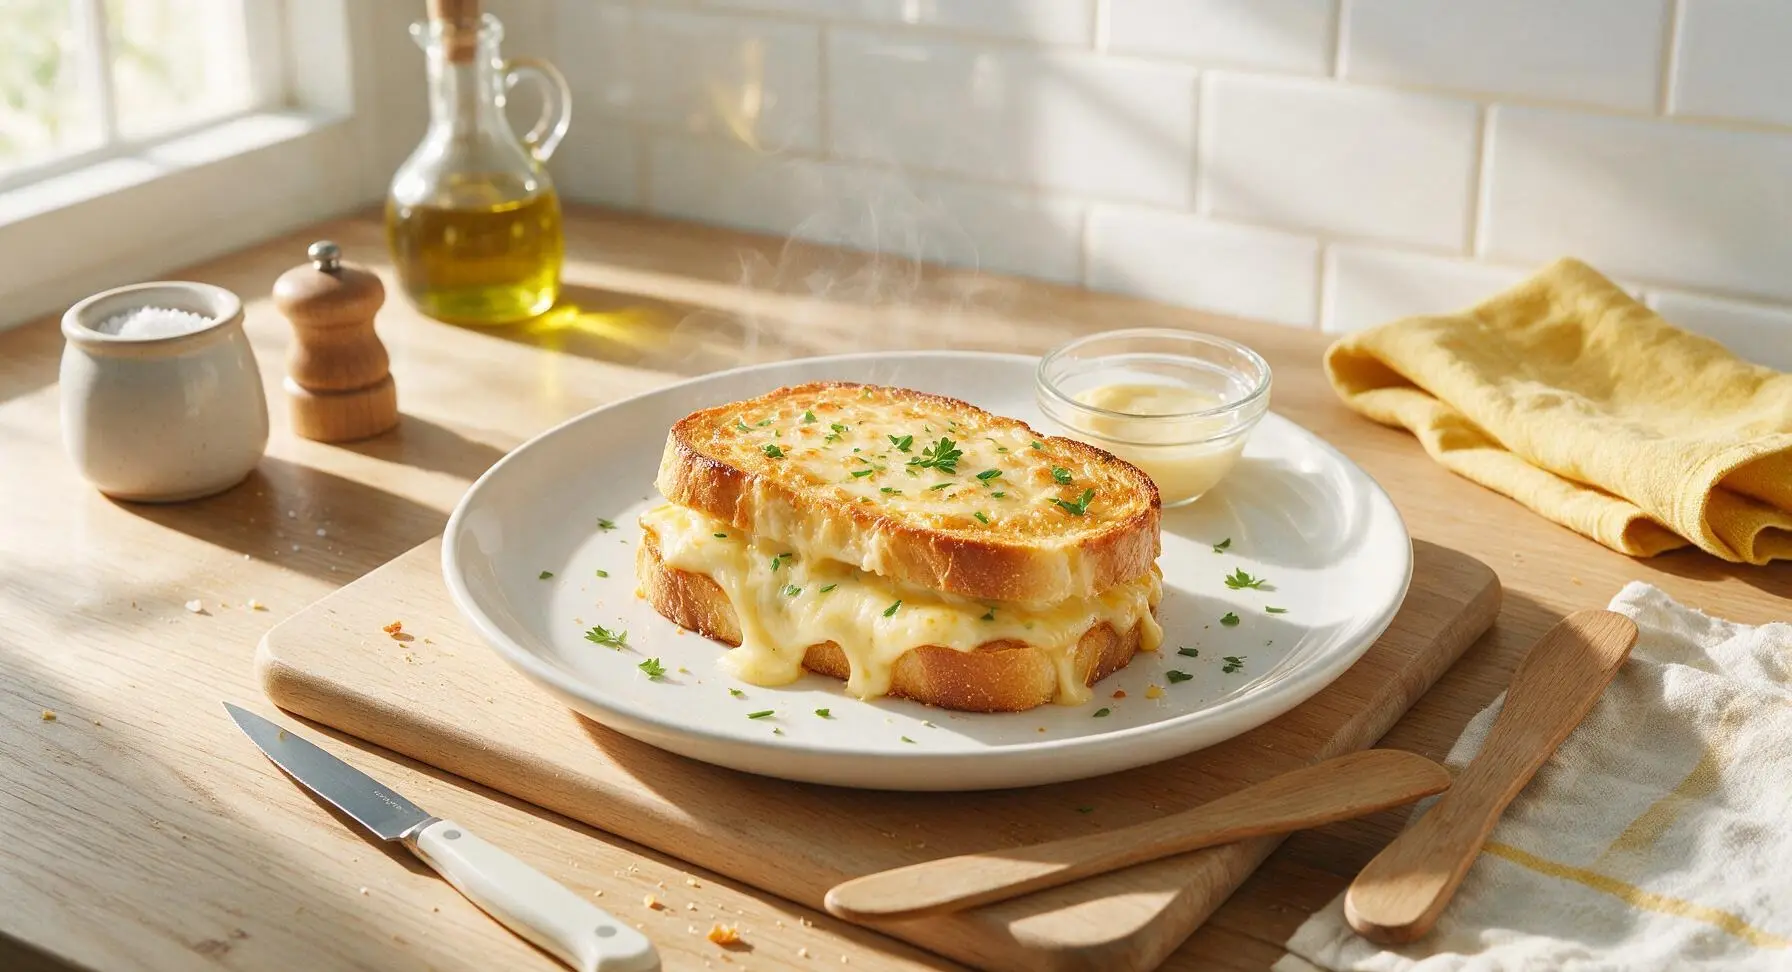
Crispy golden buttery bread oozing with warm, melted stretchy cheese—this timeless, no-fuss sandwich delivers pure cozy comfort in every bite.

Ingredients
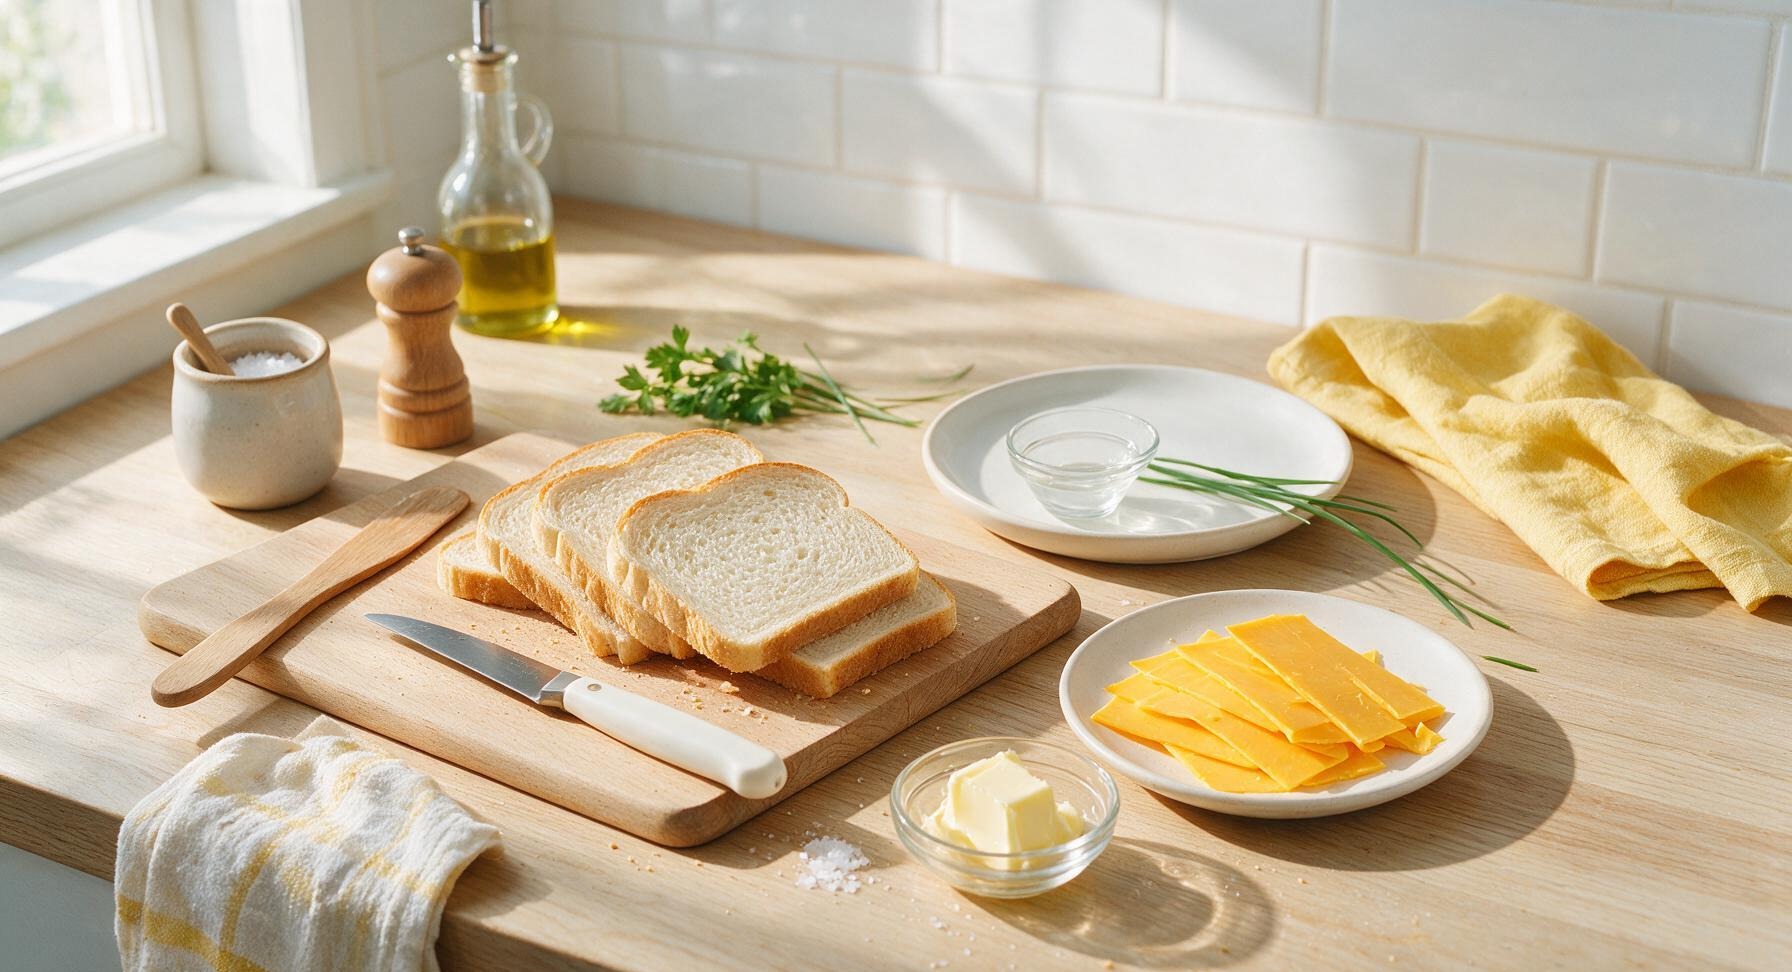
Sliced white sandwich bread 4 slices (120g total)
Sharp yellow cheddar cheese 80g, thinly sliced
Unsalted butter, softened 2 tablespoons (28g)
Flaky sea salt 1/4 teaspoon

Steps

1

Prep sandwich components

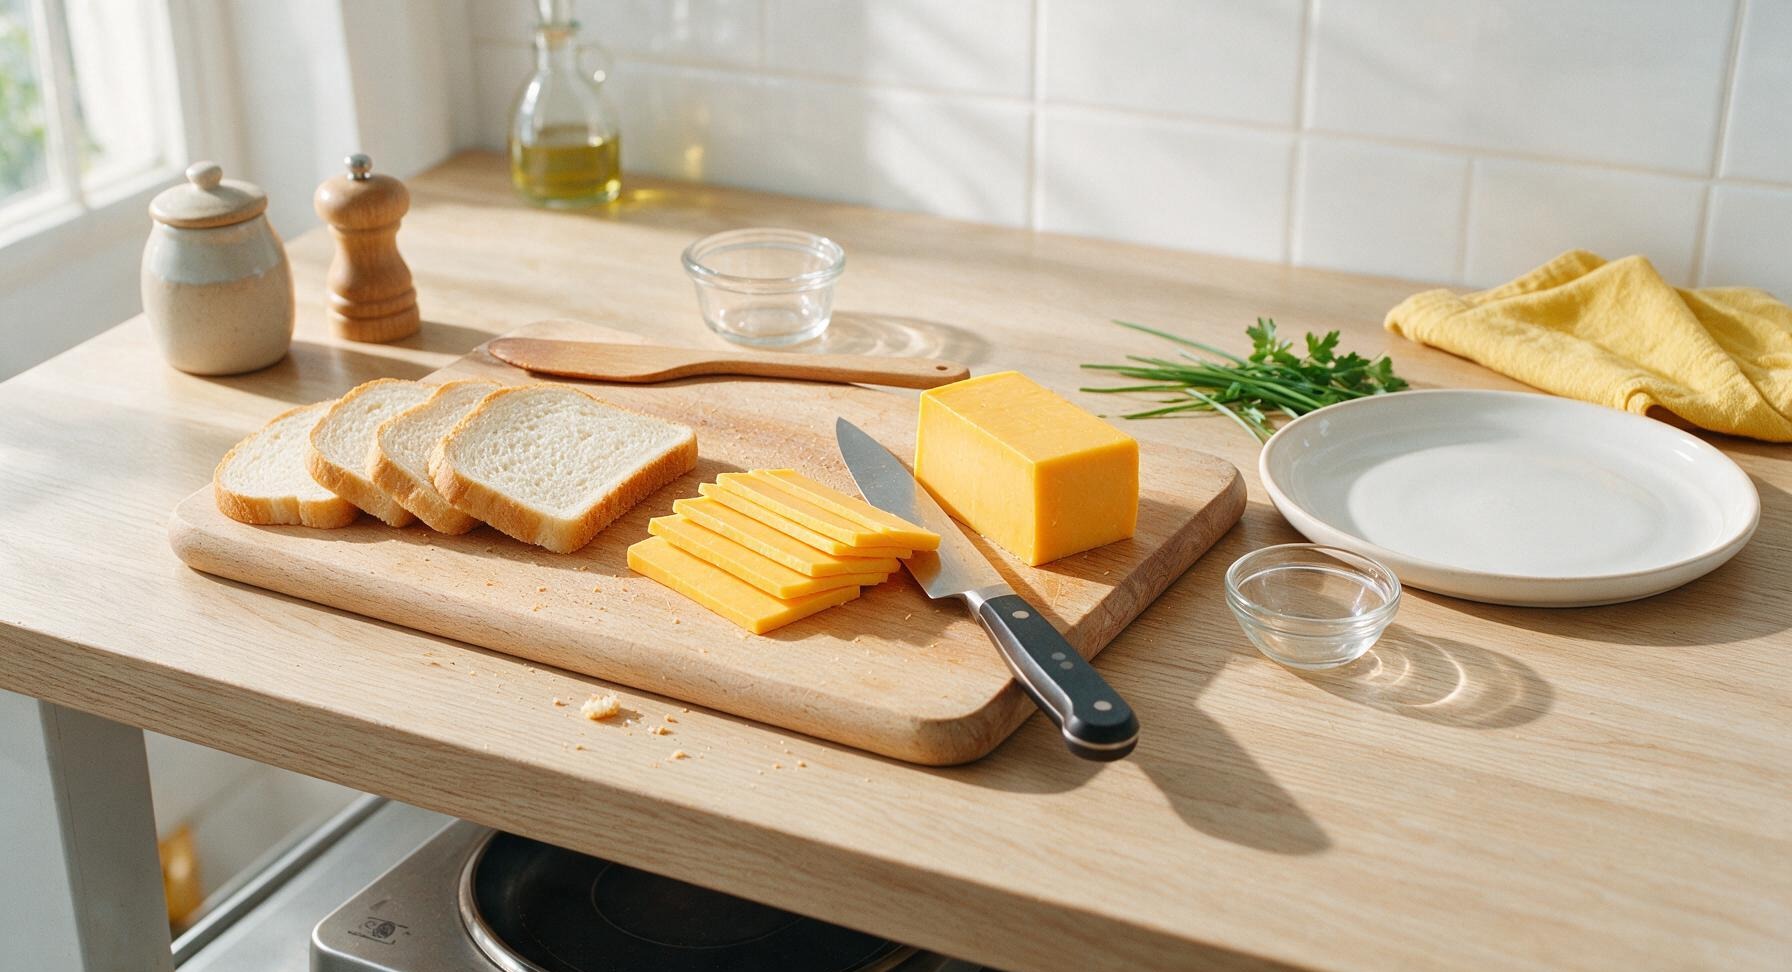
Lay the 4 slices of white sandwich bread flat on the light maple cutting board. Use the chef knife to slice the sharp cheddar into uniform 3mm thick slices, enough to fully cover 2 slices of bread without hanging over the edges (overhanging cheese will burn and leave sticky residue on the pan). Set sliced cheese aside next to the bread.
Step 1
step1:Prep sandwich components
2

Butter bread evenly

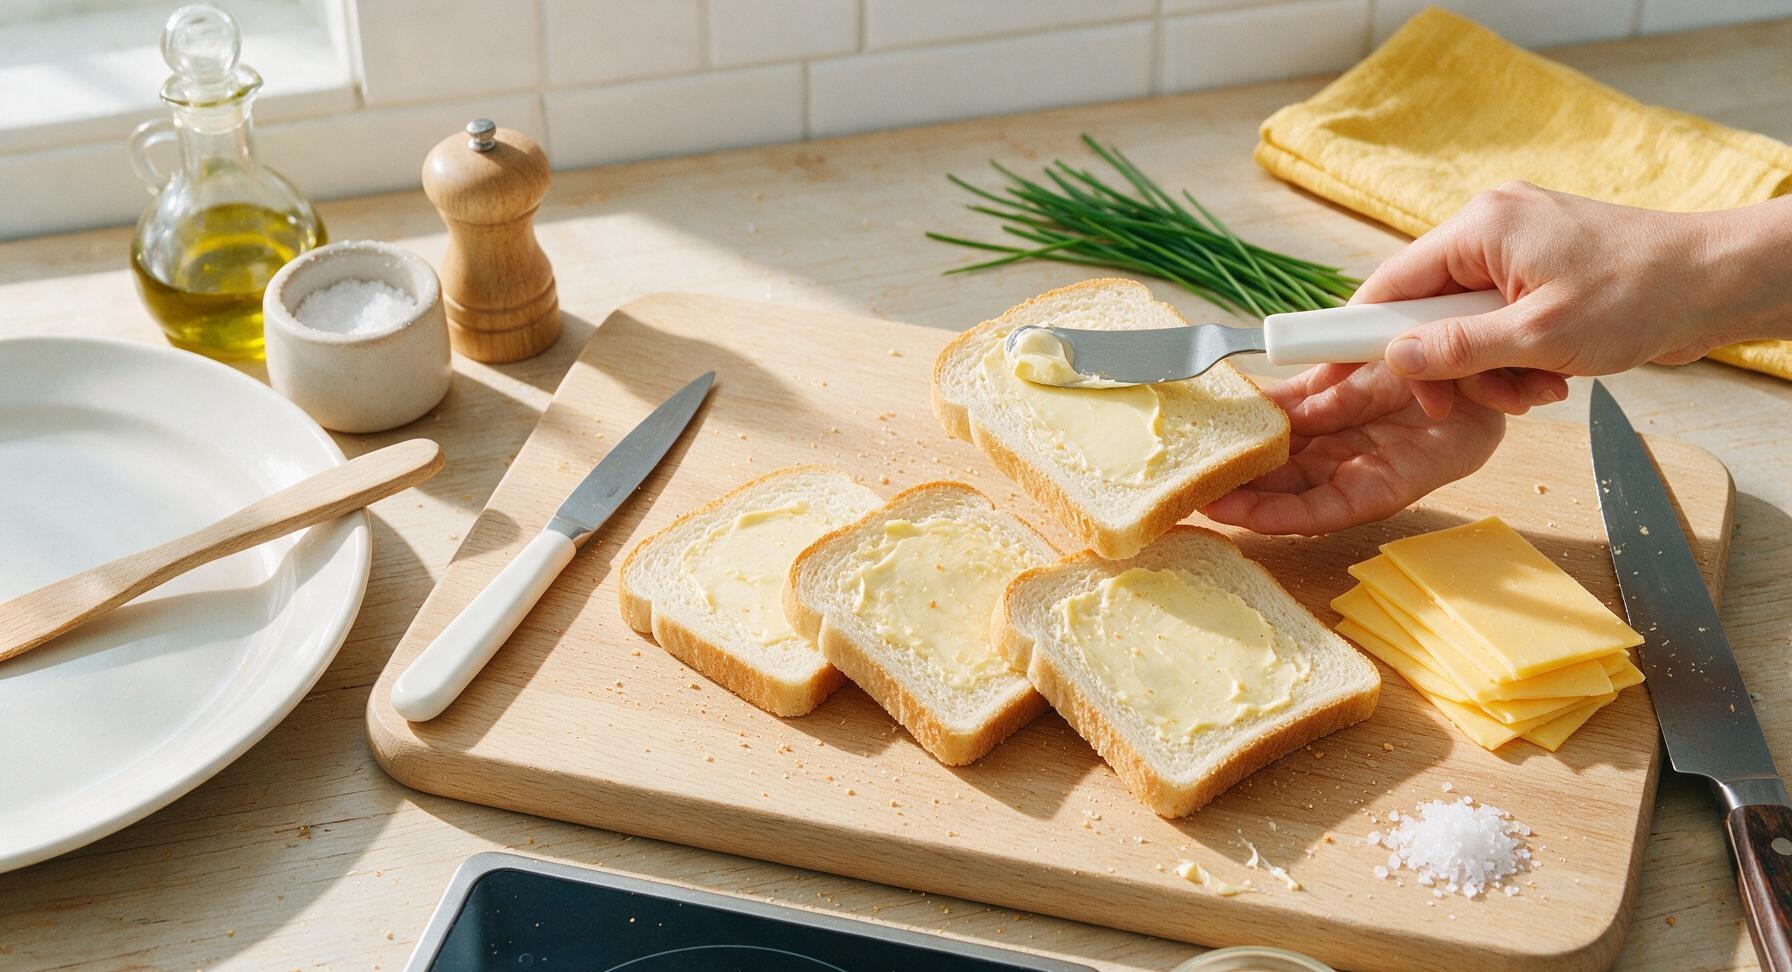
Scoop the softened butter into the clear glass ramekin. Use the offset butter spatula to spread 1.5 teaspoons of butter evenly across one entire side of each bread slice. The butter layer should be thin, uniform, and extend all the way to the crust edges—patchy butter coverage leads to uneven browning, with pale soft spots next to burnt dark patches. Sprinkle a tiny pinch of flaky sea salt over the buttered surface of each slice for subtle flavor depth.
Step 2
step2:Butter bread evenly
3

Assemble sandwich layers

Flip 2 of the buttered bread slices over so the buttered side faces down against the cutting board. Arrange the sliced cheddar in an even, single layer across the unbuttered side of these 2 slices, ensuring no cheese hangs over the bread edges. Top with the remaining 2 bread slices, keeping the buttered side facing up, so both outer surfaces of each sandwich are buttered. Press down gently on each sandwich with the palm of your hand to help the layers adhere and prevent sliding while cooking.
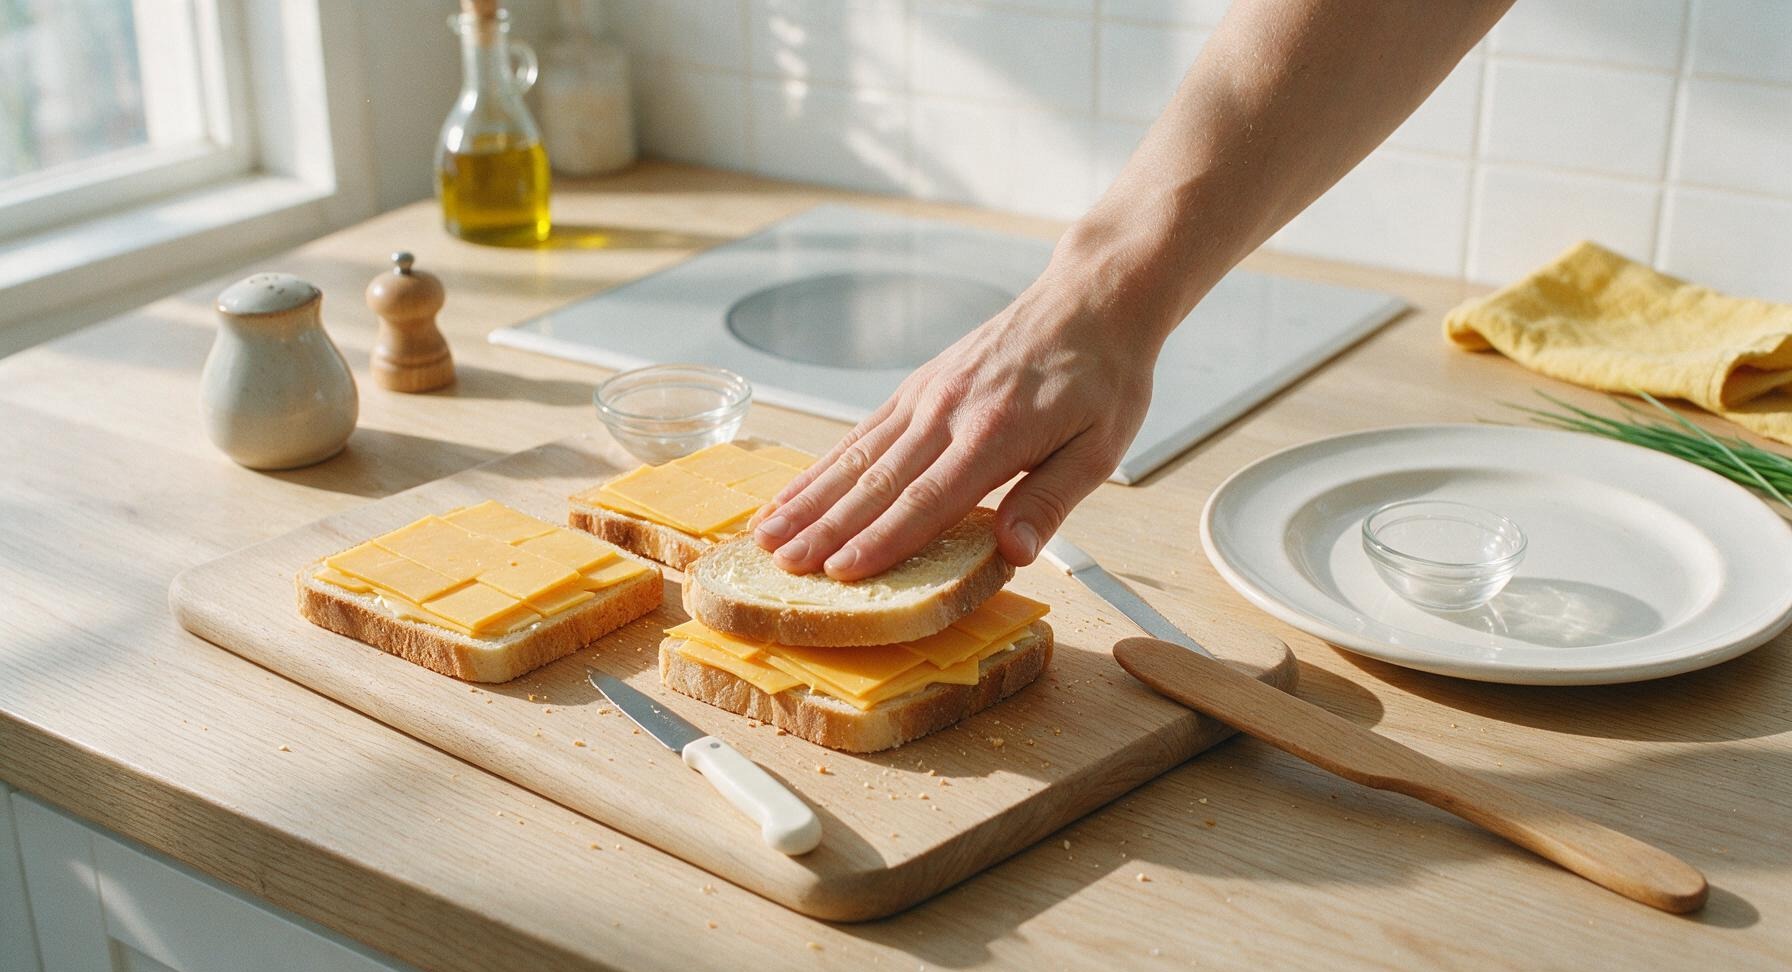
Step 3
step3:Assemble sandwich layers
4

Preheat cooking skillet

Retrieve the 10-inch non-stick carbon steel skillet and place it centered on the front induction burner. Set heat to medium-low (325°F / 160°C) and let the pan preheat for 2 full minutes. Do not use high heat, as this will burn the bread exterior before the cheese in the center has time to fully melt. No extra butter is needed in the pan, as the butter coating on the bread will create the crispy crust.
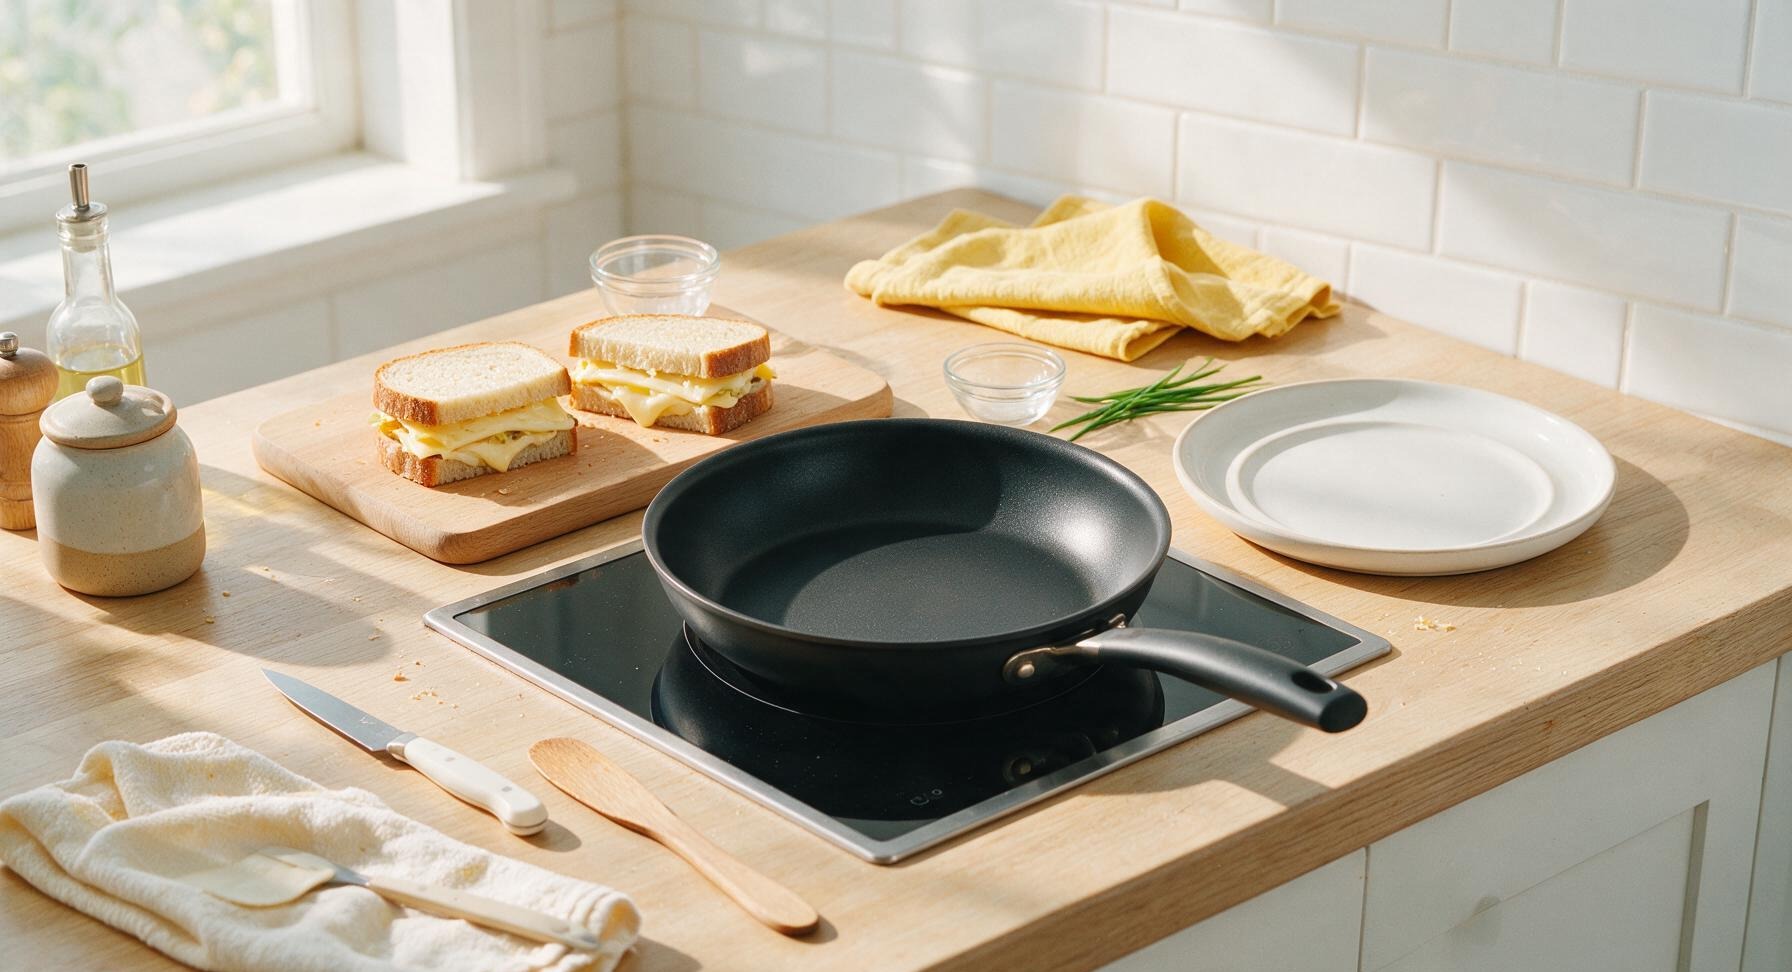
Step 4
step4:Preheat cooking skillet
5

Cook first sandwich side

Carefully slide the turner spatula under one assembled sandwich and lift it gently into the preheated skillet. Cook for 3 full minutes, until the bottom bread slice is deep golden brown and crispy, and the cheese closest to the pan has started to soften and melt. Do not press down hard on the sandwich with the spatula while cooking, as this squeezes melted cheese out from between the slices and creates a dry, less gooey sandwich.
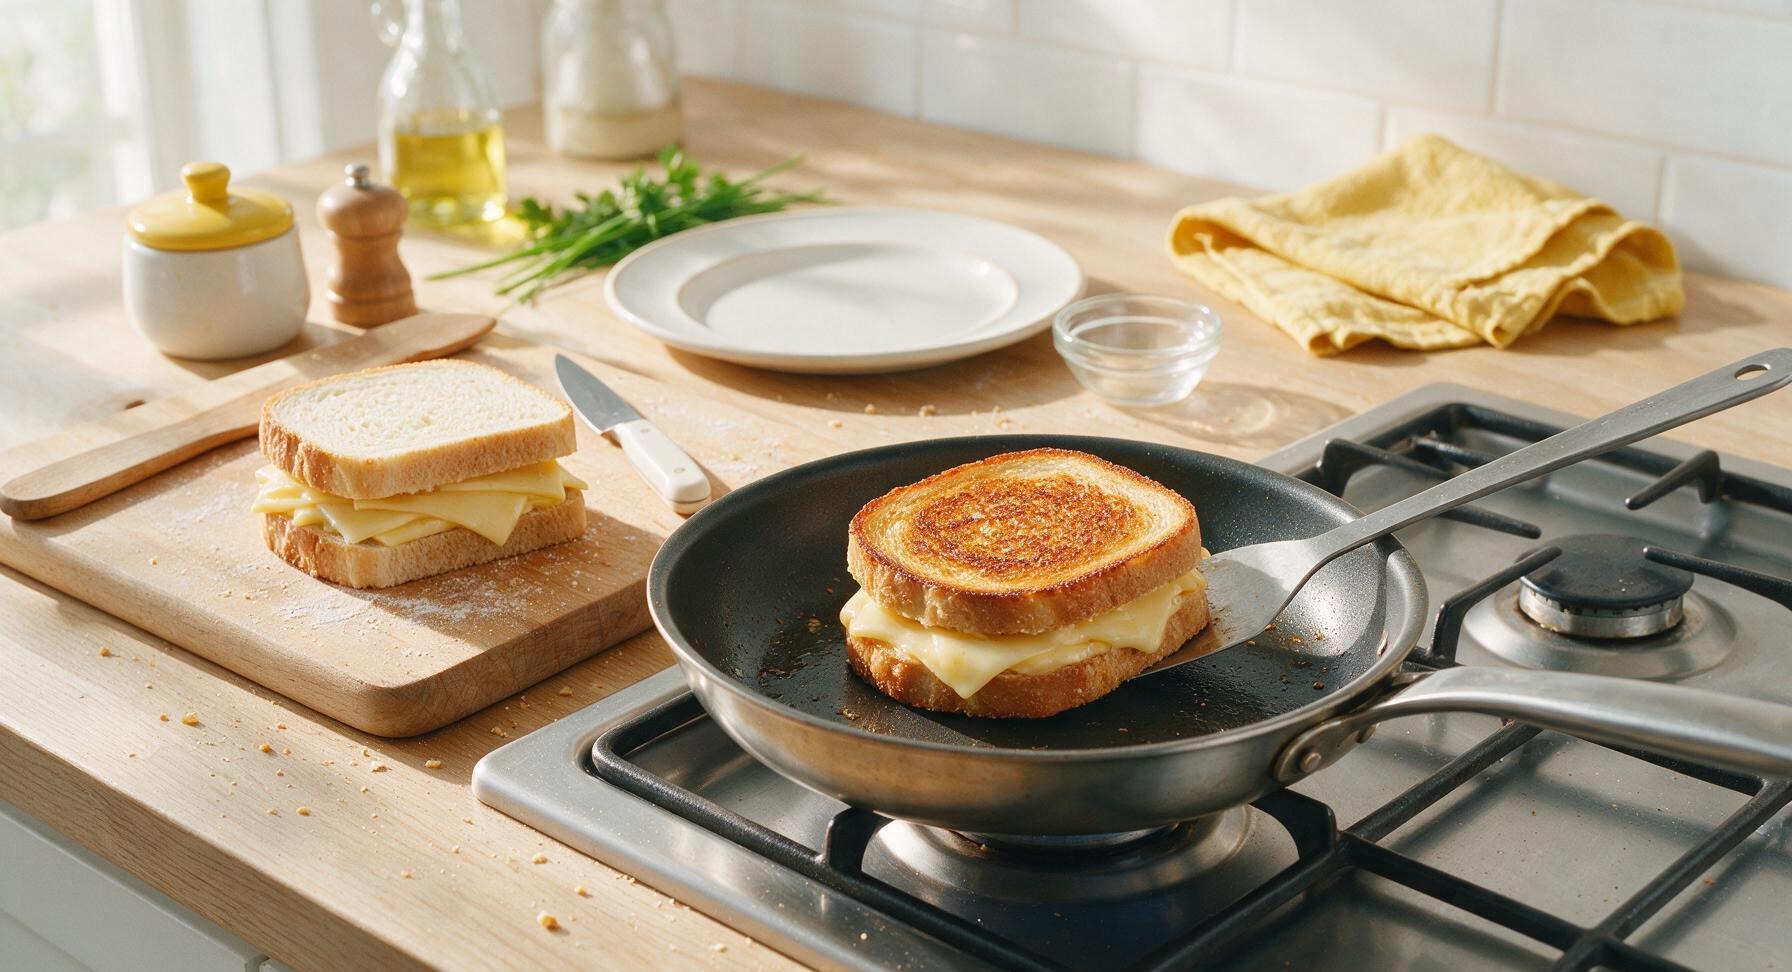
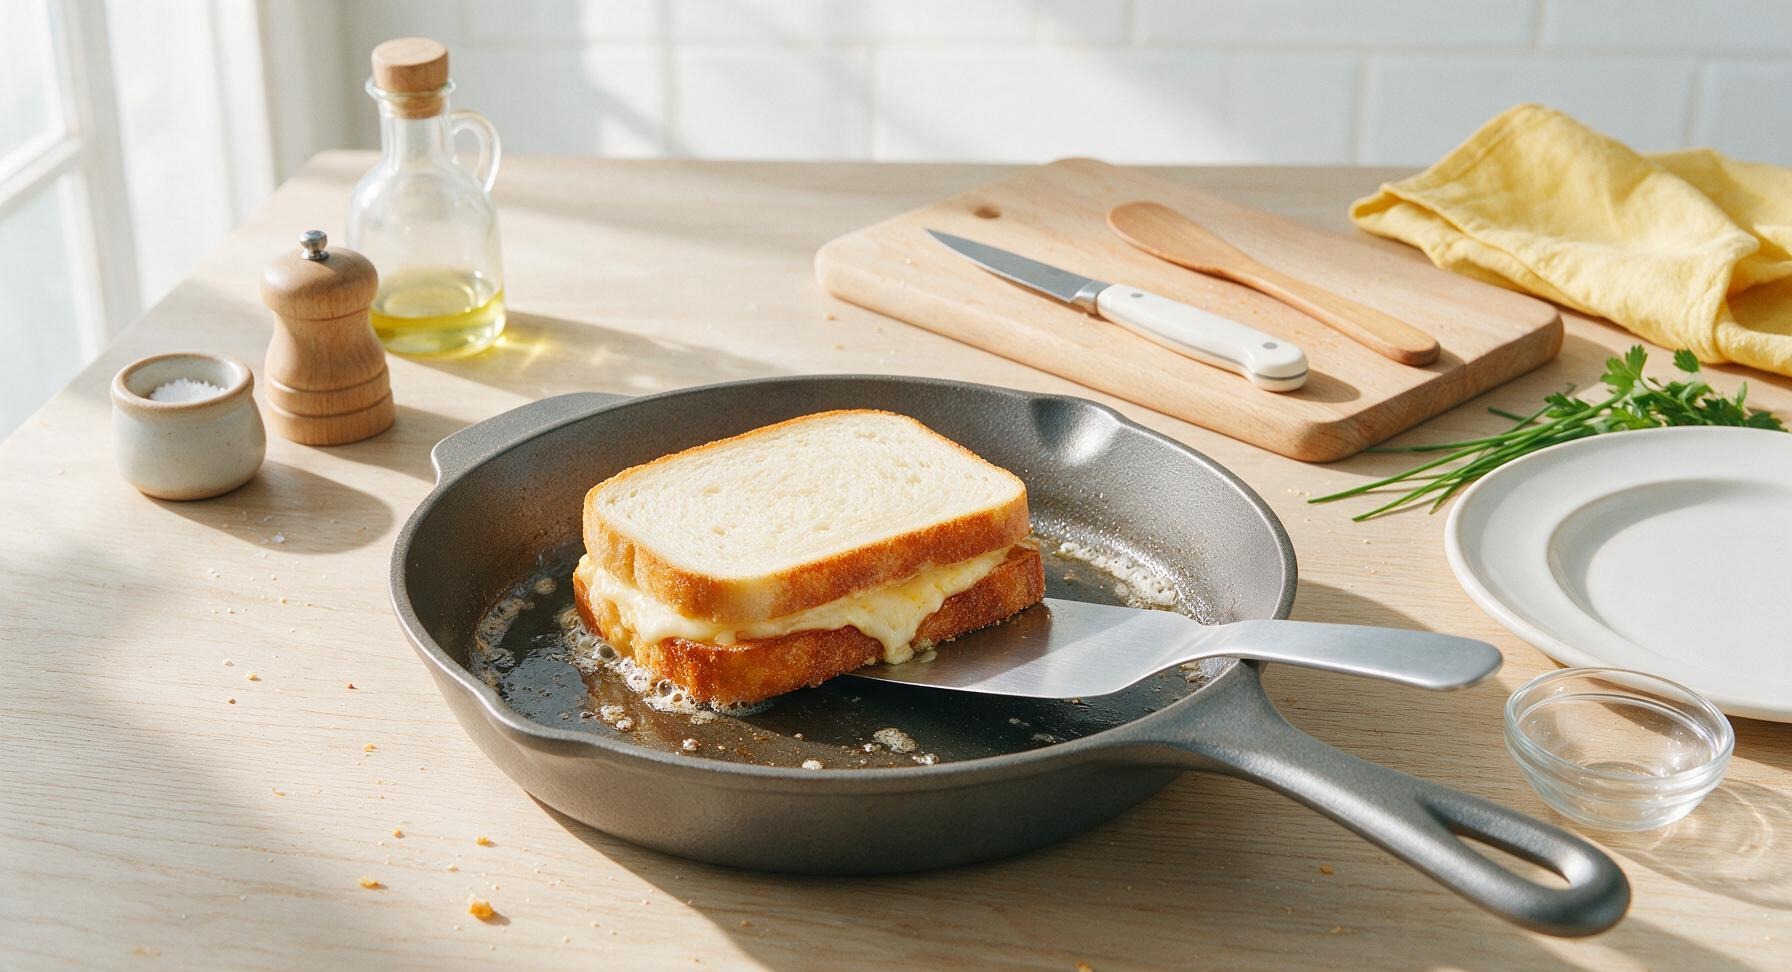
Step 5
step5:Cook first sandwich side
Step 5
step5:Cook first sandwich side
6

Flip sandwich carefully

Slide the turner spatula fully under the center of the partially cooked sandwich, then flip it in one smooth, quick motion to avoid splattering hot butter or shifting the bread layers. Cook the second side for 2.5 to 3 minutes, until it matches the deep golden brown color of the first side, and the cheese in the center is fully melted and stretchy when you gently lift a corner of the top bread slice.
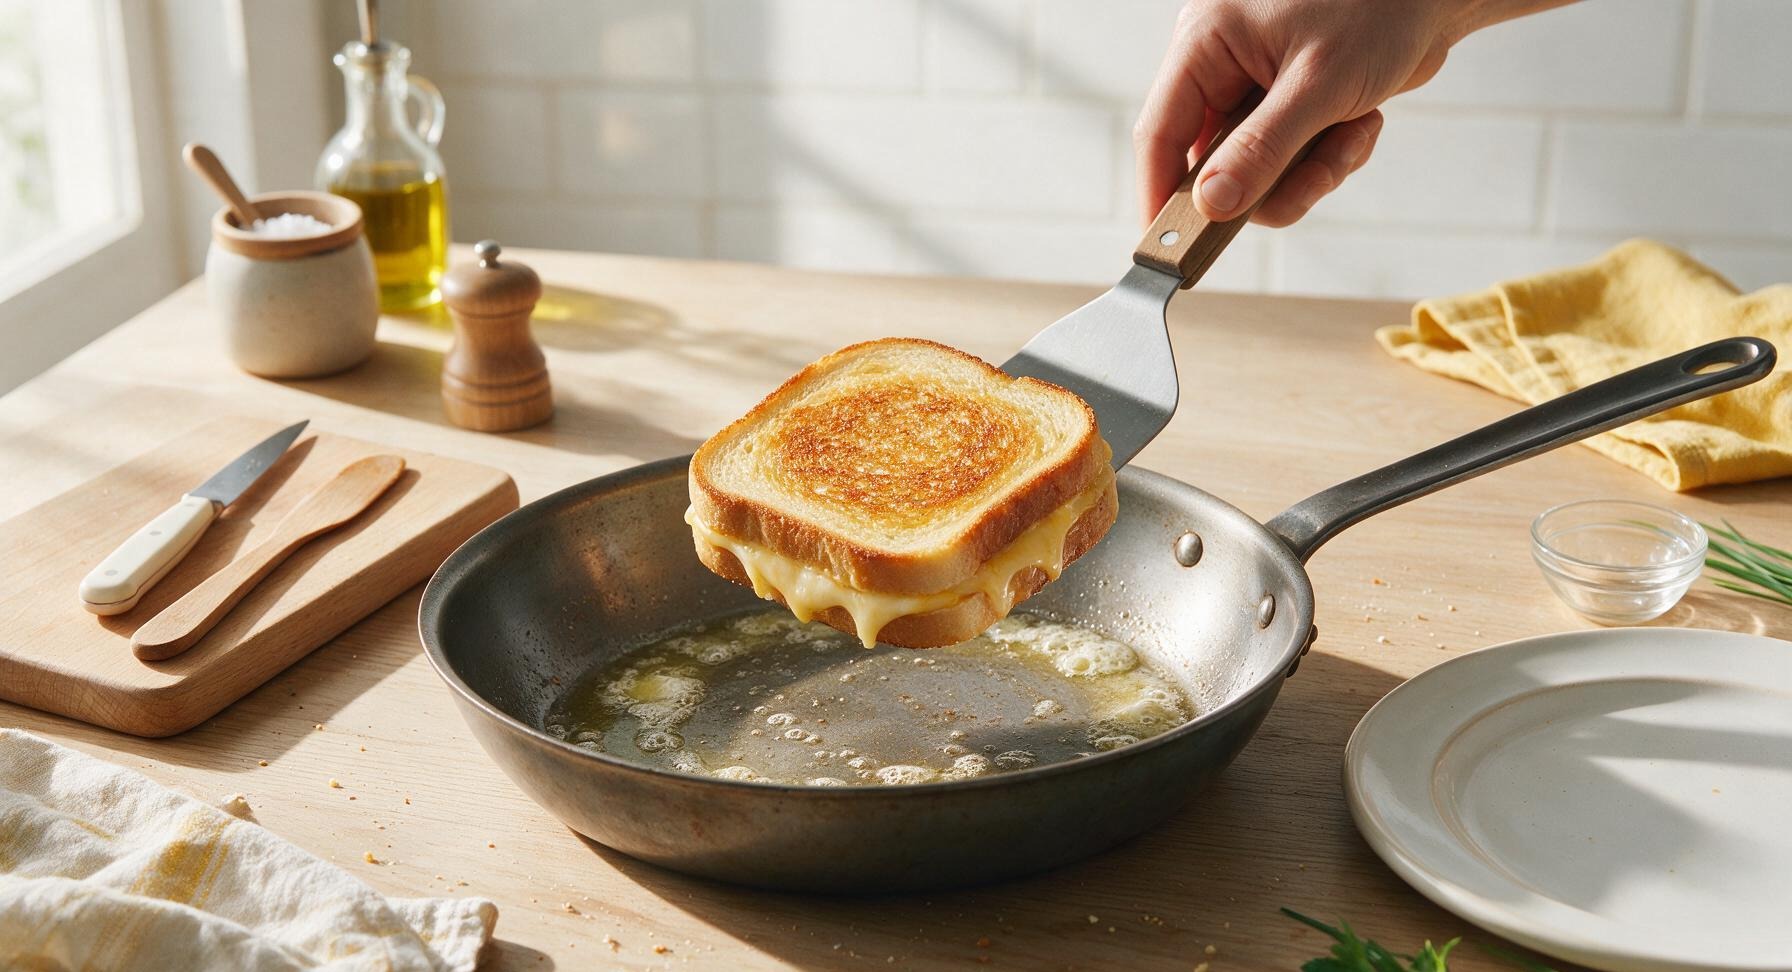
Step 6
step6:Flip sandwich carefully
7

Cook remaining sandwich

Transfer the finished first sandwich to the matte off-white ceramic plate to rest for 1 minute (this short rest lets the cheese set slightly so it does not run out when cut). Repeat the cooking process with the second assembled sandwich: 3 minutes on the first side, 2.5 to 3 minutes on the second side, until golden and crispy on both sides with fully melted, gooey cheese.
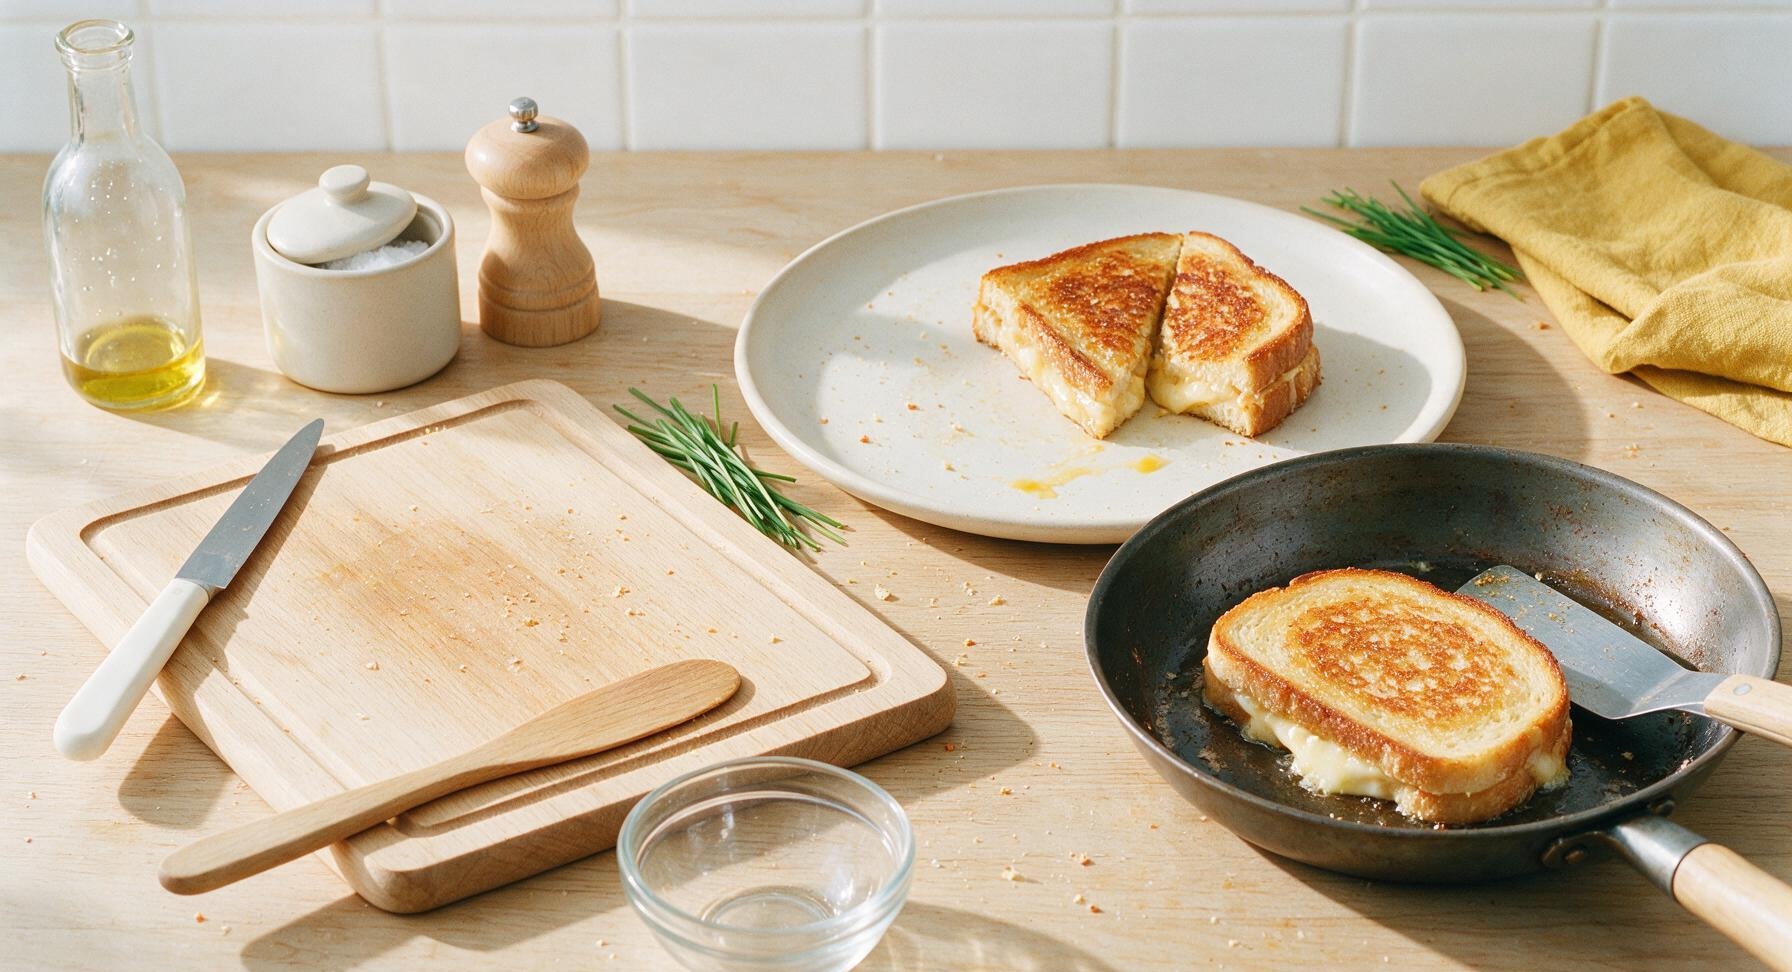
Step 7
step7:Cook remaining sandwich
8

Cut and plate sandwiches

Transfer the second finished sandwich to the plate next to the first one. Use the chef knife to cut both sandwiches diagonally into triangles—this angled cut creates more crispy crust edge and shows off the melted cheese center. Use a gentle sawing motion rather than pressing straight down, to avoid squeezing melted cheese out of the sandwich edges.
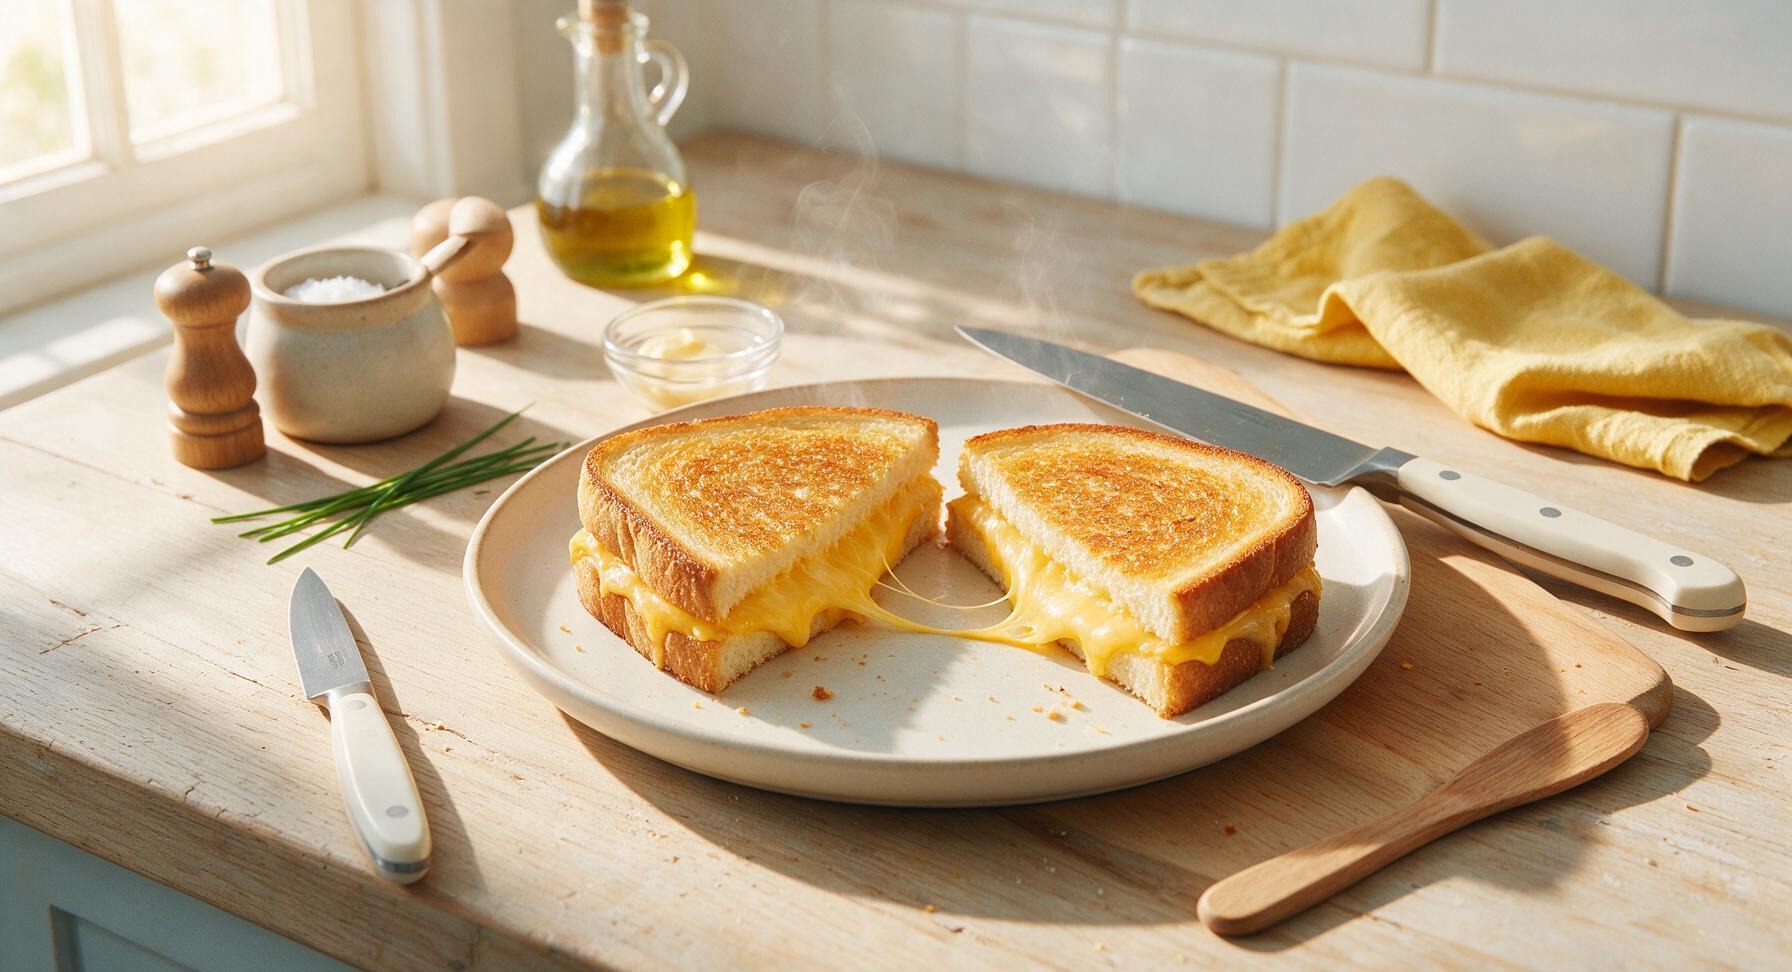
Step 8
step8:Cut and plate sandwiches

Tips

1.Use room-temperature softened butter instead of cold hard butter for spreading: cold butter tears soft bread and creates uneven, thick patches that burn faster, while softened butter spreads in a thin, uniform layer for consistent golden crispness across every bite of crust.
2.Stick to medium-low heat for cooking: high heat will char the bread exterior in 60 seconds while the cheese in the center stays solid and unmelted, while medium-low heat slowly toasts the bread as the cheese melts into a smooth, gooey texture.
3.Let cooked sandwiches rest for 60 seconds before cutting: this short rest lets the melted cheese thicken slightly, so it does not gush out the sides when you slice, and stays perfectly stretchy rather than running all over the plate.


✨ You May Also Like

Lunch
🍜 United States

Creamy, salty, tangy nostalgic Midwestern sandwich pairing rich peanut butter with crisp briny dill pickles for a fast, satisfying no-cook meal.

⏱️ 5 minutesLunch ★ 4.6
Lunch
🍜 United States

Crispy, melty pressed sandwich layered with savory roast pork, ham, Swiss cheese, pickles, and tangy mustard: a beloved Cuban-American comfort classic.

⏱️ 25 minuteLunch ★ 4.9
Lunch
🍜 United States

Hearty, briny New Orleans pressed sandwich stacked with cured Italian meats, provolone, and zesty olive salad, served cold for bold, portable flavor.

⏱️ 1 hour 20Lunch ★ 4.7
Lunch
🍜 United States

A tangy, creamy Southern American staple, this no-cook cheesy sandwich is packed with sharp cheddar and sweet pimentos for a satisfying, portable bite.

⏱️ 1 hour 15Lunch ★ 4.8
Lunch
🍜 United States

Crispy Cajun-spiced fried shrimp piled on crusty French bread with tangy remoulade and fresh toppings, the iconic Louisiana street food sandwich.

⏱️ 35 minuteLunch ★ 4.4
Lunch
🍜 United States

Stacked, savory deli-style corned beef sandwich with melted Swiss, tangy mustard, and crisp griddled rye— a fast, hearty, satisfying classic.

⏱️ 15 minuteLunch ★ 4.9

bread cheese sandwich:Frequently Asked Questions

1.Why do you call for softened unsalted butter instead of melted butter for this sandwich? ▾
Softened butter spreads smoothly and evenly across every inch of the bread surface without creating soggy, grease-soaked patches, which is key for a uniform, crisp golden crust. Using unsalted butter lets you fully control sodium levels, so you can add a perfect pinch of flaky sea salt at the end without over-salting the final sandwich.
2.Can I use pre-sliced packaged sharp yellow cheddar instead of slicing it fresh from a block? ▾
Pre-sliced packaged cheddar works in a pinch, but it often has anti-caking agents that make it melt less smoothly than freshly sliced cheese. For that ideal stretchy, oozing melt, slice your cheddar 1/8-inch thick fresh off the block, and arrange it to cover the bread edge to edge to avoid bare, dry spots.
3.What stovetop heat setting should I use to get crispy bread without burnt edges? ▾
Cook your sandwich over medium-low heat the entire time. Higher heat will burn the butter and bread exterior long before the cheese in the center fully melts, while too-low heat will make the bread turn tough and greasy instead of light and crisp. Plan for 3 to 4 minutes per side for perfect results.
4.Do I really need flaky sea salt for the top, or is regular table salt an okay substitute? ▾
Flaky sea salt adds a bright, crunchy pop of salty contrast that cuts through the richness of the butter and melted cheddar, and its large flakes stick perfectly to the buttery crust. If you only have table salt, use half the called-for amount, sprinkle very lightly, and skip it entirely if you used salted butter by mistake.
5.Can I swap the classic white sandwich bread for whole wheat or sourdough? ▾
You absolutely can, though it will change the mild, soft texture of the original recipe. If using sourdough, note its tangy flavor will compete a bit with the sharp cheddar, and thicker whole wheat slices may need an extra minute of cook time per side to make sure the center cheese melts fully.
6.How much cheese should I use per sandwich to get that perfect oozing cheese pull? ▾
Aim for 2 to 2.5 ounces of thinly sliced sharp yellow cheddar per sandwich, arranged to cover the bread from edge to edge. Using too little cheese won’t give you that iconic stretchy pull, while piling on more than 3 ounces will lead to cheese oozing out the sides and burning on the pan instead of staying in the sandwich.
7.Why does my cheese always stay solid in the middle even when the bread is fully browned? ▾
This almost always happens when your pan heat is too high, so the bread browns before the cheese has time to warm through. Fix this by turning the heat down to medium-low, and cover the pan with a lid for 1 minute after flipping the sandwich to trap gentle steam that melts the cheese evenly without sogginess.
8.Do I need a special pan like a cast iron skillet to make this sandwich well? ▾
Cast iron works beautifully because it holds even, consistent heat, but you don’t need special equipment at all. A standard non-stick skillet or even a well-seasoned stainless steel pan will work perfectly, as long as you preheat it for 1 minute before adding the sandwich to prevent the bread from sticking.
9.Can I make this sandwich ahead of time for meal prep or packed school or work lunches? ▾
This sandwich is best eaten fresh off the pan for maximum crispness and stretchy cheese pull, but you can prep components ahead to save time. Slice your cheese and butter your bread slices the night before, store them in an airtight container in the fridge, and cook the sandwich right before eating for ideal texture.
10.What’s the best way to keep the bread from getting soggy as the cheese melts? ▾
Make sure your butter is softened (not melted) when you spread it, skip overly wet add-ins if you customize, and don’t press down on the sandwich too hard with your spatula while it cooks. Hard presses squeeze out butter and force melted cheese into the bread crumb, leading to soggy, dense slices instead of light, crisp crust.
11.Can I add extra fillings like tomato, bacon, or ham to this classic sandwich? ▾
You can absolutely customize it, but stick to thin, well-drained add-ins to avoid sogginess. If adding tomato, pat slices dry with a paper towel first; if adding bacon or ham, cook them fully before tucking them in, and place them between cheese layers so they don’t make direct contact with the bread.
12.Why is sharp yellow cheddar recommended instead of mild cheddar or other cheese varieties? ▾
Sharp yellow cheddar has a bold, tangy flavor that stands up to the buttery, mild bread without getting lost, and it melts into that perfect smooth, stretchy texture when heated. Mild cheddar has a blander, creamier flavor that can feel flat, while very hard aged cheeses often turn greasy instead of smooth when melted.
13.Should I butter both sides of each bread slice, or just the outer sides that touch the pan? ▾
Only butter the outer sides of the two bread slices that will touch the hot pan. Buttering the inner sides that face the cheese will create a greasy barrier between the bread and cheese, preventing them from sticking together slightly, and will make the sandwich interior feel heavy and oily instead of warm and cohesive.
14.How do I stop cheese that oozes out of the sandwich from burning on my pan? ▾
A tiny bit of oozed cheese that turns crispy on the pan is a delicious cook’s treat, but to avoid big burnt messes, don’t overstuff your sandwich, and keep your heat at medium-low. If you notice large amounts of cheese leaking out, nudge the sandwich back on top of the melted bits so they stick to the bread instead of burning.
15.Can I make this sandwich in a toaster oven or air fryer instead of on the stovetop? ▾
You can! For toaster ovens, assemble the buttered sandwich, place it on a small baking sheet, and bake at 375°F for 4 to 5 minutes per side until golden. For air fryers, cook at 360°F for 3 to 4 minutes per side, checking often to make sure the bread doesn’t get overly crispy or dry around the edges.
16.How thick should I slice the bread for the ideal sandwich texture? ▾
Stick to 1/2-inch thick sliced white sandwich bread for the classic result. Slices thinner than 1/4 inch will get too crispy and fall apart under the melted cheese, while slices thicker than 3/4 inch will be too bready, and the cheese won’t get warm enough in the center before the crust browns.
17.Do I need to press the sandwich down hard with a spatula while it cooks? ▾
You only need a single, gentle press right after you place each side of the sandwich on the pan to make sure the bread makes even contact with the hot surface for uniform browning. Hard, repeated presses will squeeze out all the butter and melted cheese, leading to a dry, greasy, flat sandwich with no cheese pull left.
18.What’s the best way to serve this sandwich to keep it crisp until it’s time to eat? ▾
Transfer the cooked sandwich to a wire rack set over a plate for 1 minute before slicing and serving, instead of setting it directly on a plate. Setting it straight on a solid surface traps steam under the bread, which turns that perfect crisp crust soggy in seconds; the rack lets air circulate to keep crust crisp as the cheese sets.

Comments (11)

2 days ago

OMG this 6 minute cook time is a total game changer for hectic school mornings! My kids are super picky about grilled cheese and they both gobbled these up before the bus even got here. I used sourdough bread and a slice of sharp cheddar plus a little mozzarella for extra pull, came out perfectly crispy every time. 10/10 will be adding this to our weekly meal prep rotation!

yesterday

Wait the sourdough swap is genius! I make these for the middle school lunch line and the kids always complain about plain white bread, I’m testing sourdough next week for sure!

yesterday

So happy this worked for your busy morning! Sourdough adds such a great tang that pairs perfectly with melted cheese, that’s one of our favorite swaps too. Pro tip: a thin spread of mayo on the outside of the bread gets it even crispier without burning!

30 minutes ago

Bro I live in a dorm with just a tiny panini press and this was SO good. No fancy ingredients, just cheap white bread, American cheese, a little butter, done in like 5 minutes flat. Saved me from spending $12 on a delivery sandwich last night fr.

5 minutes ago

Love that this works for dorm cooking! You don’t need fancy equipment to make a great classic cheese sandwich, so glad this saved you a delivery fee 😊

1 week ago

Made these before a day hike last weekend, wrapped them in foil and tossed them in my pack, they were still warm and gooey by the time we got to the summit! Super portable, no messy fillings that fall out, will be my new go-to trail lunch for sure.

5 days ago

Made these for a casual potluck brunch last weekend and they were the first thing gone! I cut them into little triangle bite-sized pieces and served with a side of tomato soup for dipping, everyone was asking for the recipe. Only thing I’d say is don’t skimp on the butter on the bread crusts, that’s what gets that perfect golden crunch.

3 days ago

The tomato soup dipper idea is *chef’s kiss*! I’m hosting a game night next week and these would be perfect finger food, no messy drips all over my board games lol

2 days ago

So glad these were a potluck hit! Cutting them into bites is such a smart serving idea for groups. That crust butter tip is 100% right — no sad pale, soggy edges when you get every part coated!

yesterday

Tried making these on my flat top griddle out on the patio instead of the stovetop, cooked 4 of ‘em at once for the whole family in no time. Used pepper jack for a little kick, paired with potato chips for a quick Saturday lunch. My wife said it’s the best sandwich I’ve made all summer, so that’s a win in my book.

2 hours ago

Pepper jack swap is elite! I do that too, plus a sprinkle of garlic powder on the buttered bread for extra flavor, you gotta try it next time!

2 weeks ago

This tastes exactly like the grilled cheese sandwiches my grandma used to make at her old diner in the 90s! No weird add-ons, just simple, perfectly melted cheese between buttery crispy bread. I’ve tried so many fancy grilled cheese recipes but nothing hits like this classic.

1 week ago

That’s the highest compliment we could get! Classic recipes don’t need all the frills to be perfect, it’s all about nailing the simple technique to get that perfect melt and crunch. So glad this brought back good memories for you.

5 minutes ago

Quick, easy, zero cleanup? Sign me up. I made this between back-to-back work meetings yesterday and didn’t even have to run to the grocery store — I already had all the ingredients in my fridge. Cook time was actually even faster than 6 minutes for me, maybe because I used thinner sandwich bread? Only tiny knock is I wish it had a little note about what heat setting to use, I almost burned my first one when I had the stove on high.

3 days ago

Meal prepped a batch of these for my teen’s after-school snacks this week, he said they’re way better than the frozen pizza rolls he usually begs for. I make ‘em ahead, keep ‘em in the fridge, and he can pop one in the toaster oven for 2 minutes when he gets home. Total win, no more wasted money on overpriced processed snacks.

2 days ago

Wait the toaster oven reheat trick works? I’ve been microwaving mine and they get all soggy, I’m definitely trying that tomorrow for my 14 year old!

2 days ago

That’s such a smart meal prep hack! We love making a big batch on Sundays for quick snacks all week — toaster oven reheat is definitely the move to keep that crisp instead of the microwave. So glad your teen approves!

2 hours ago

Wait before anyone comes for me — I swapped the dairy cheese for my favorite vegan cheddar and used plant-based butter, and this recipe still slapped! The cook time is spot on, the bread got perfectly crispy, and the cheese got all melty just like the regular version. So happy I can enjoy a classic cheese sandwich without the dairy.

30 minutes ago

Omg what brand of vegan cheddar did you use?? I’ve tried so many that don’t melt right and I’ve been on the hunt for a good one for grilled cheese!

just now

Made this for my roommate’s birthday late night snack run after the bar last weekend, he swore it was the best thing he’d ever eaten. Granted he was 3 beers deep, but even sober I thought it was chef’s kiss. Pro tip: add a slice of tomato if you’re feeling fancy, no regrets.

1 week ago

I’ve been making grilled cheese for years and I can’t believe I never thought to cook it on medium-low heat for 3 minutes per side like the recipe says! I always had the stove cranked up so the bread burned before the cheese even melted. This came out perfectly golden, cheese was all the way melted, no cold chunks in the middle. Game. Changer.

5 days ago

Oh my gosh same! I always burned mine too because I was impatient and turned the heat up too high. Tried the medium-low trick last night and it worked perfectly, no burnt bread, fully melted cheese, my husband was shocked.

5 days ago

Patience with the heat is the secret most people miss! Medium-low lets the bread crisp up slowly while the cheese melts all the way through, no more sad half-melted, half-burned sandwiches. So glad this trick worked for you!



