
crispy chicken in air fryer

title 1
crispy chicken in air fryer
⏱️ cook time 20 minutes
🍽️ servings 4
⚡ Difficulty easy

intro

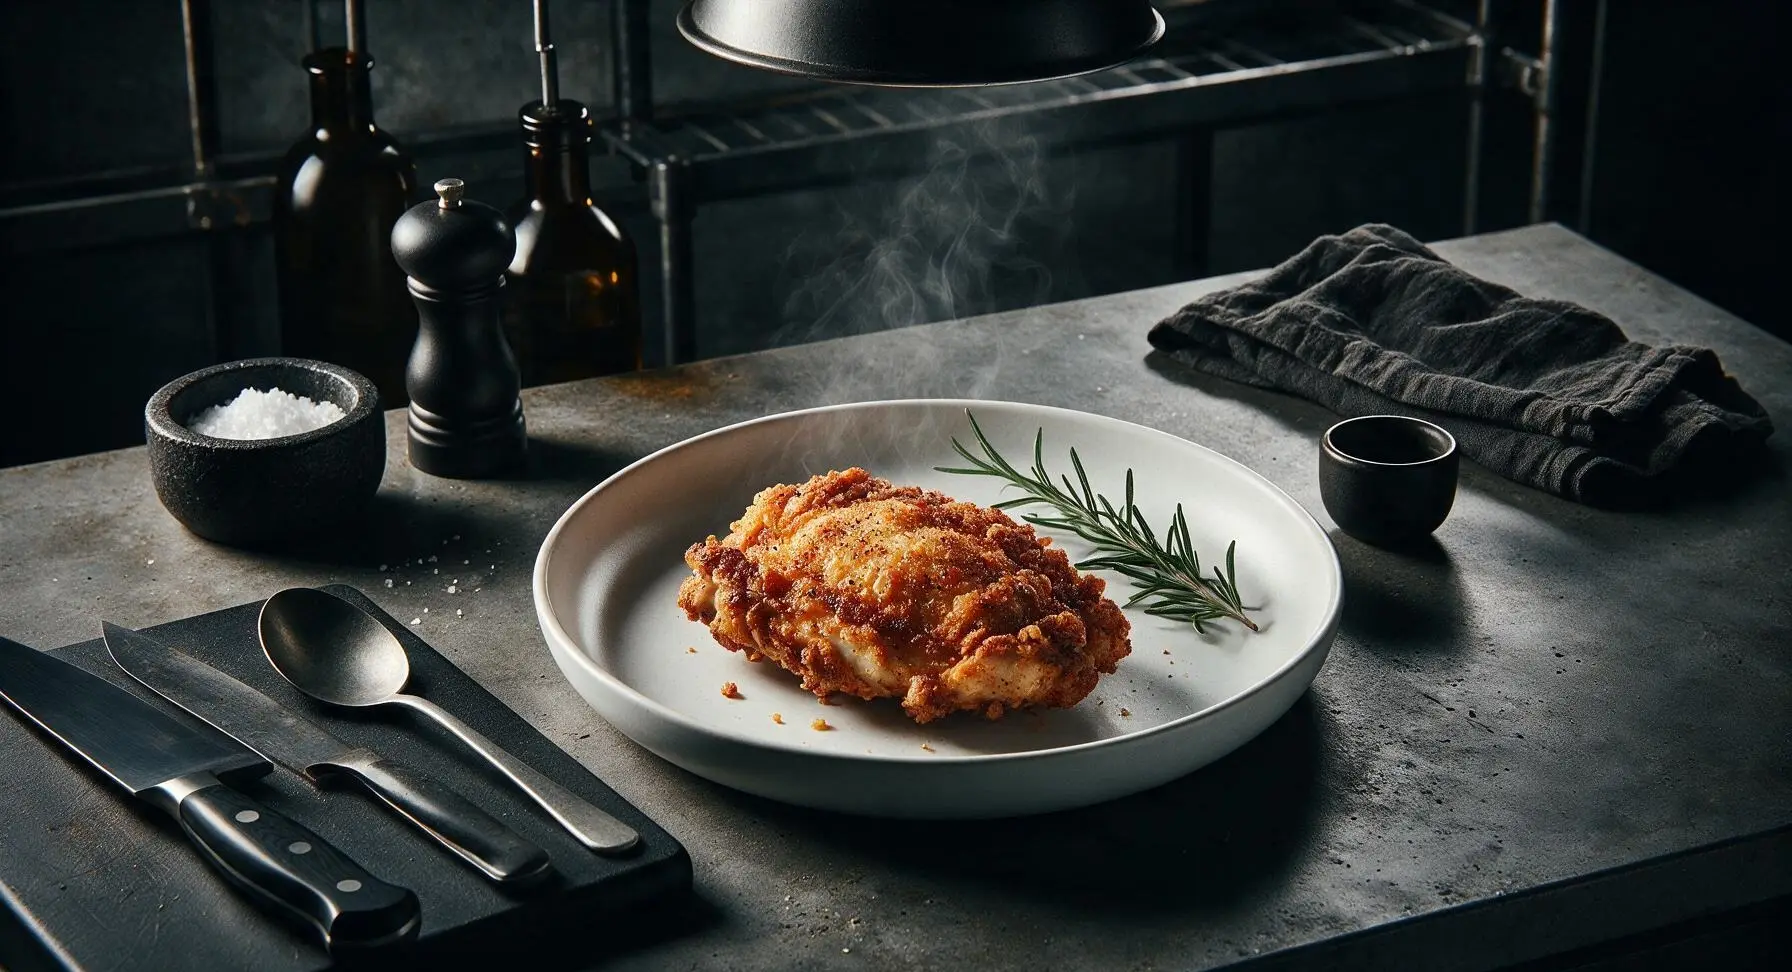
Shatteringly crisp, juicy seasoned chicken made with zero deep-frying mess, cooked in 20 minutes in the air fryer for a satisfying, family-friendly weeknight dinner.

Ingredients
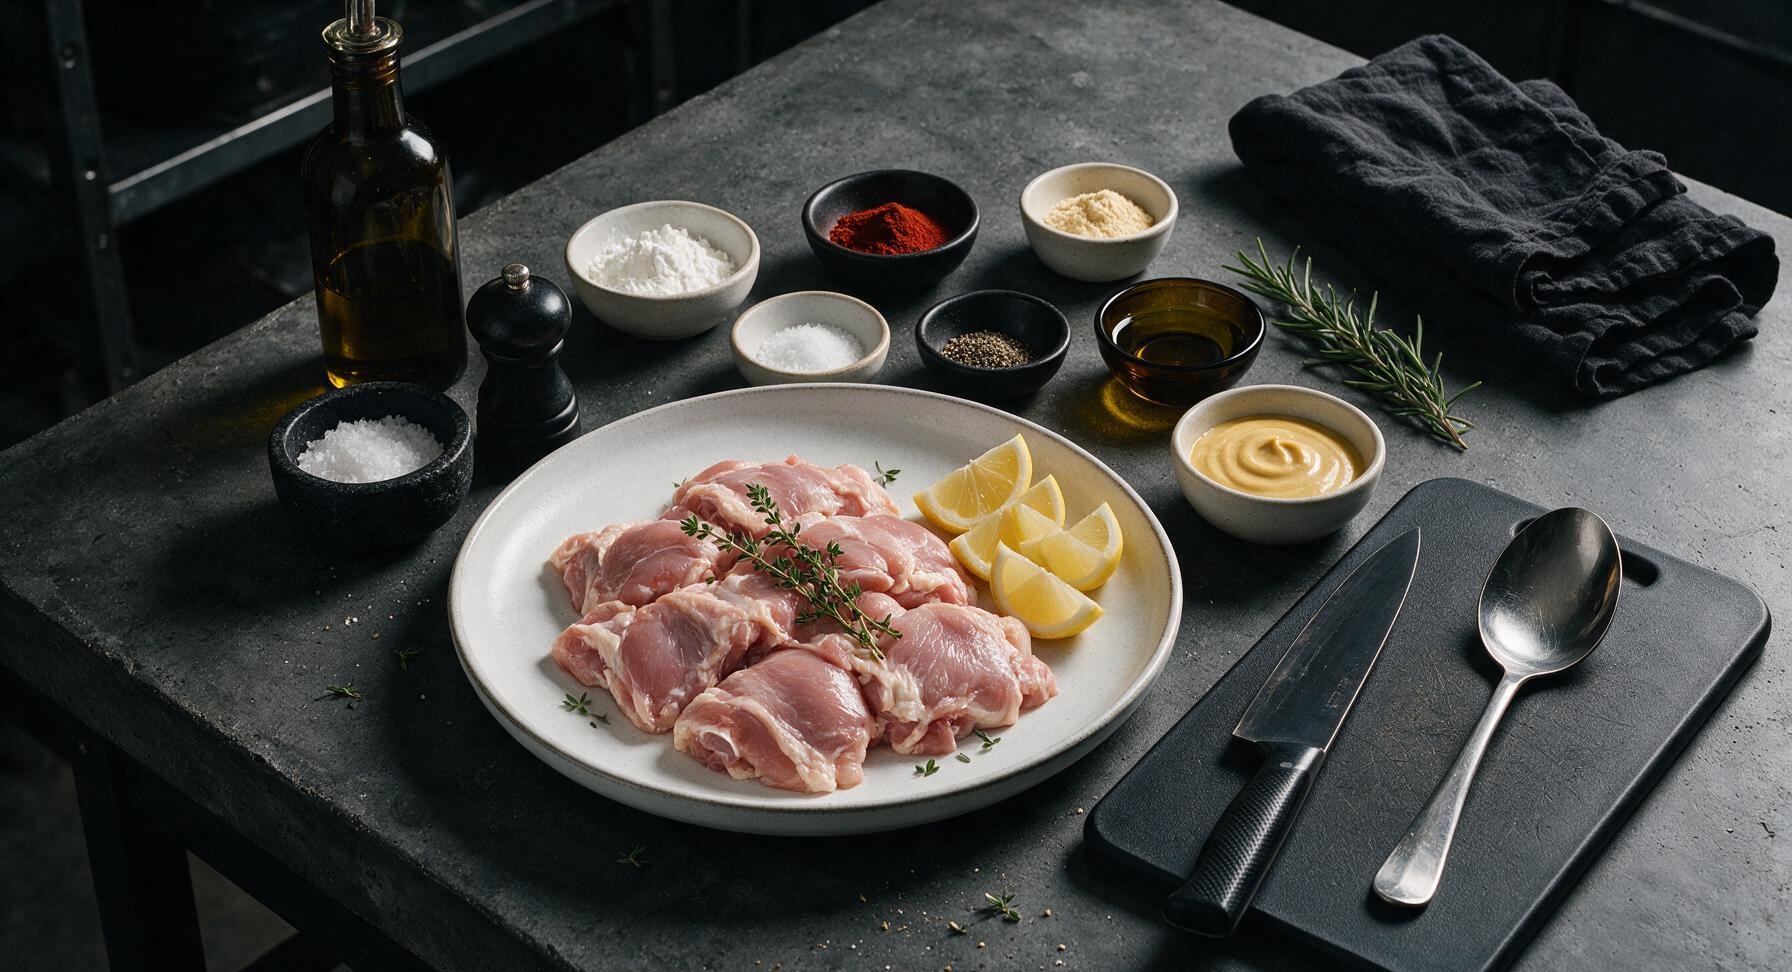
Boneless skin-on chicken thighs 1.5 lbs (approx 8 pieces)
Cornstarch 2 tbsp
Smoked paprika 1 tsp
Garlic powder 1 tsp
Fine sea salt 1 tsp
Freshly ground black pepper 1/2 tsp
Extra virgin olive oil 1 tsp
Fresh thyme 2 sprigs, plus extra for garnish
Fresh lemon 1, cut into wedges
Honey mustard (optional, for serving) 1/4 cup

Steps

1

Pat Chicken Thighs Dry

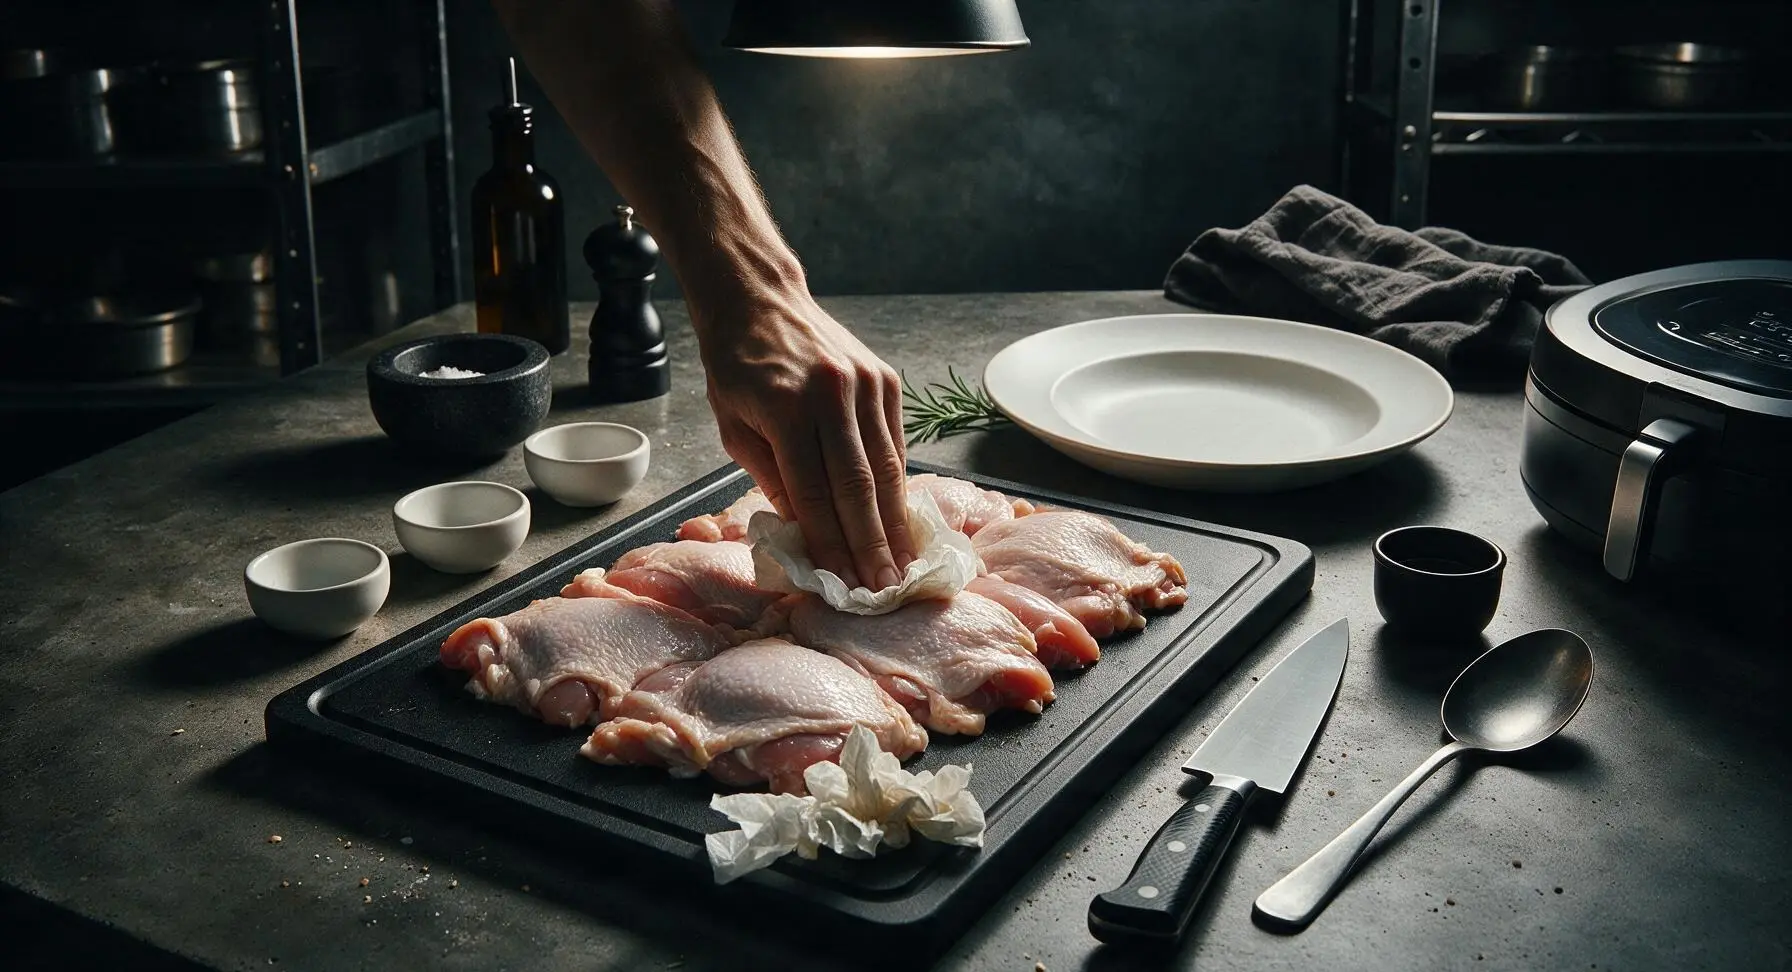
Remove chicken thighs from packaging and arrange in a single layer on the light maple cutting board. Tear 2 sheets of paper towels from the roll at the far left counter, and firmly press the towels against every surface of the chicken, paying extra attention to the skin side, to absorb all surface moisture. Discard used paper towels. Visual cue: The chicken skin will feel completely matte and dry to the touch, with no damp, slippery spots remaining—this is the most critical step for achieving crispy skin.
Step 1
step1:Pat Chicken Thighs Dry
2

Mix Dry Spice Coating

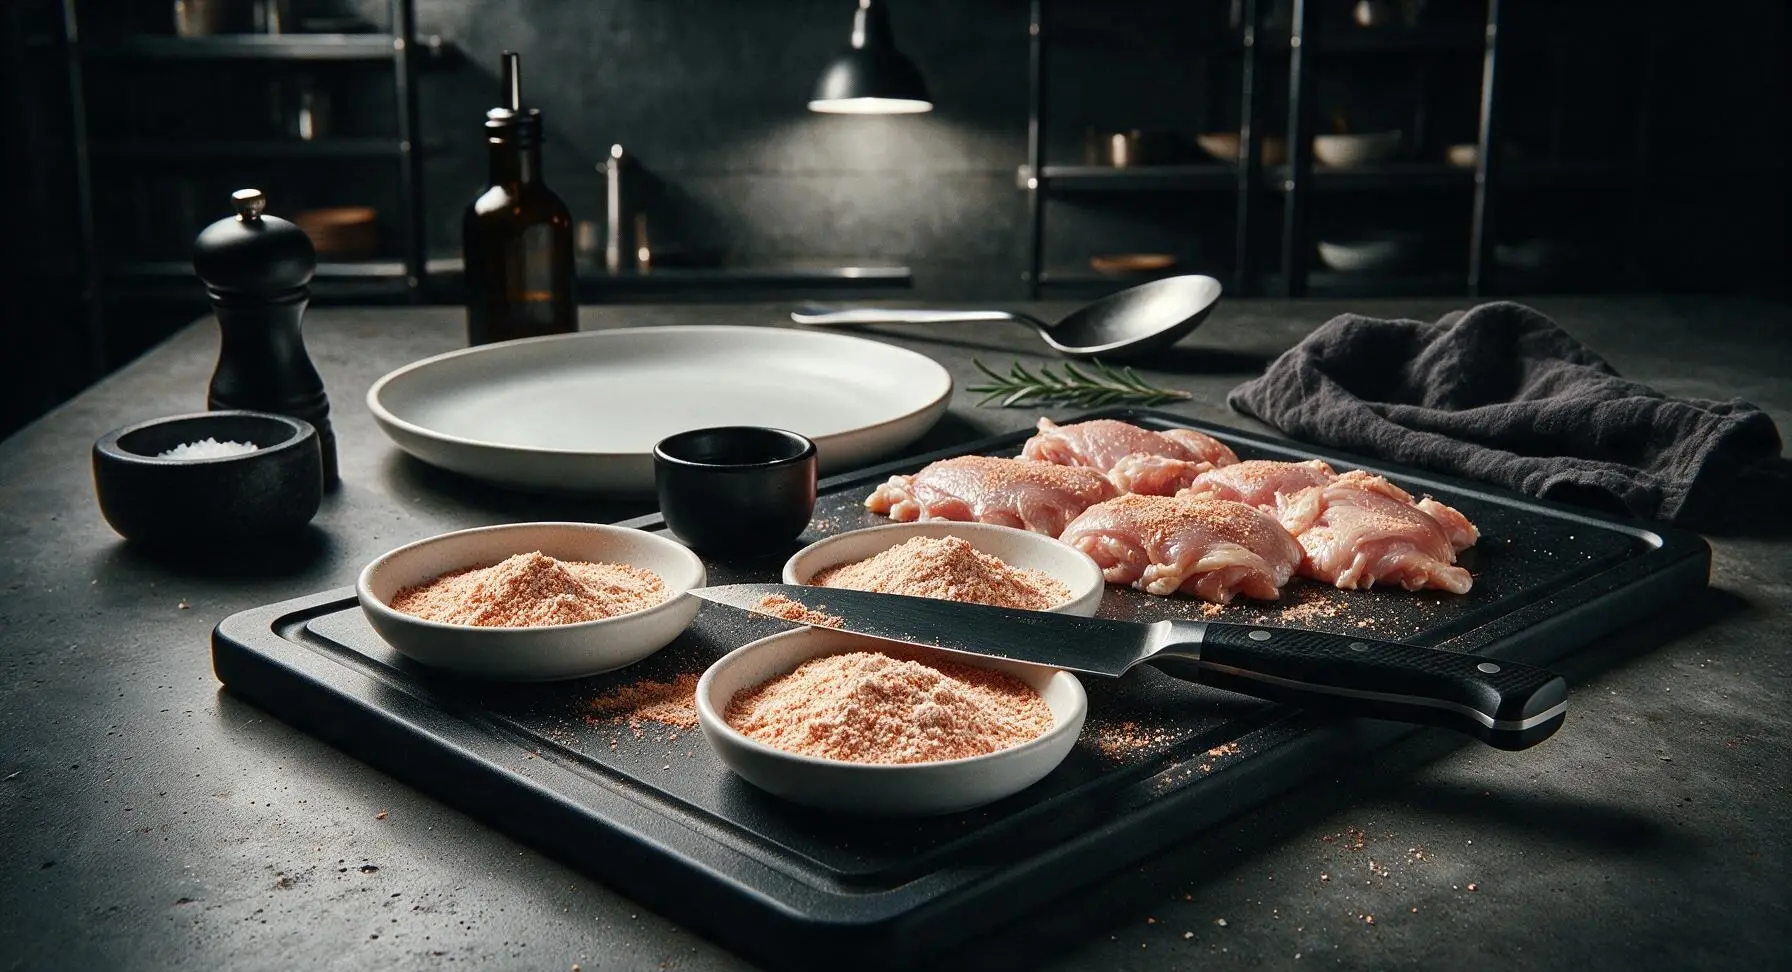
Measure 1 tsp fine sea salt, 1 tsp garlic powder, and 1 tsp smoked paprika into the three matte white pinch bowls. Add 2 tbsp cornstarch to the bowl with salt, grind 1/2 tsp fresh black pepper over the top from the fixed pepper grinder, then stir all dry ingredients together with the tip of the chef knife until completely evenly combined. Visual cue: The finished coating is a uniform pale reddish-tan color, with no visible clumps of cornstarch or pockets of separate spice.
Step 2
step2:Mix Dry Spice Coating
3

Coat Chicken With Spices

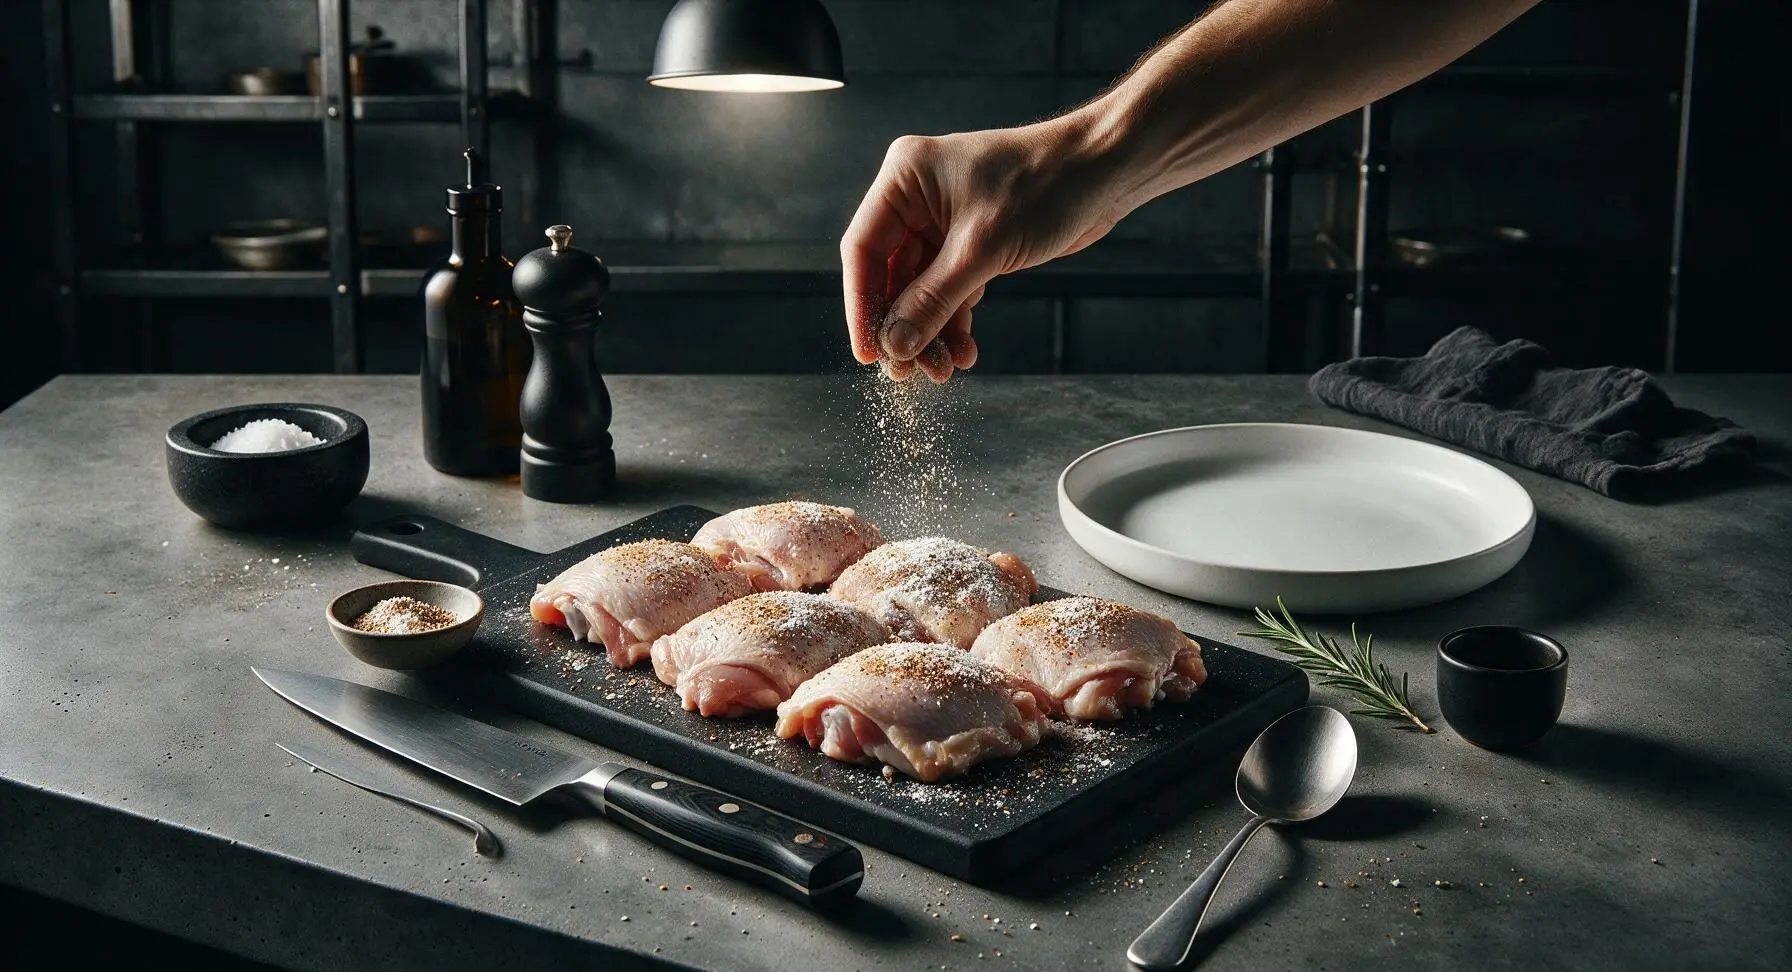
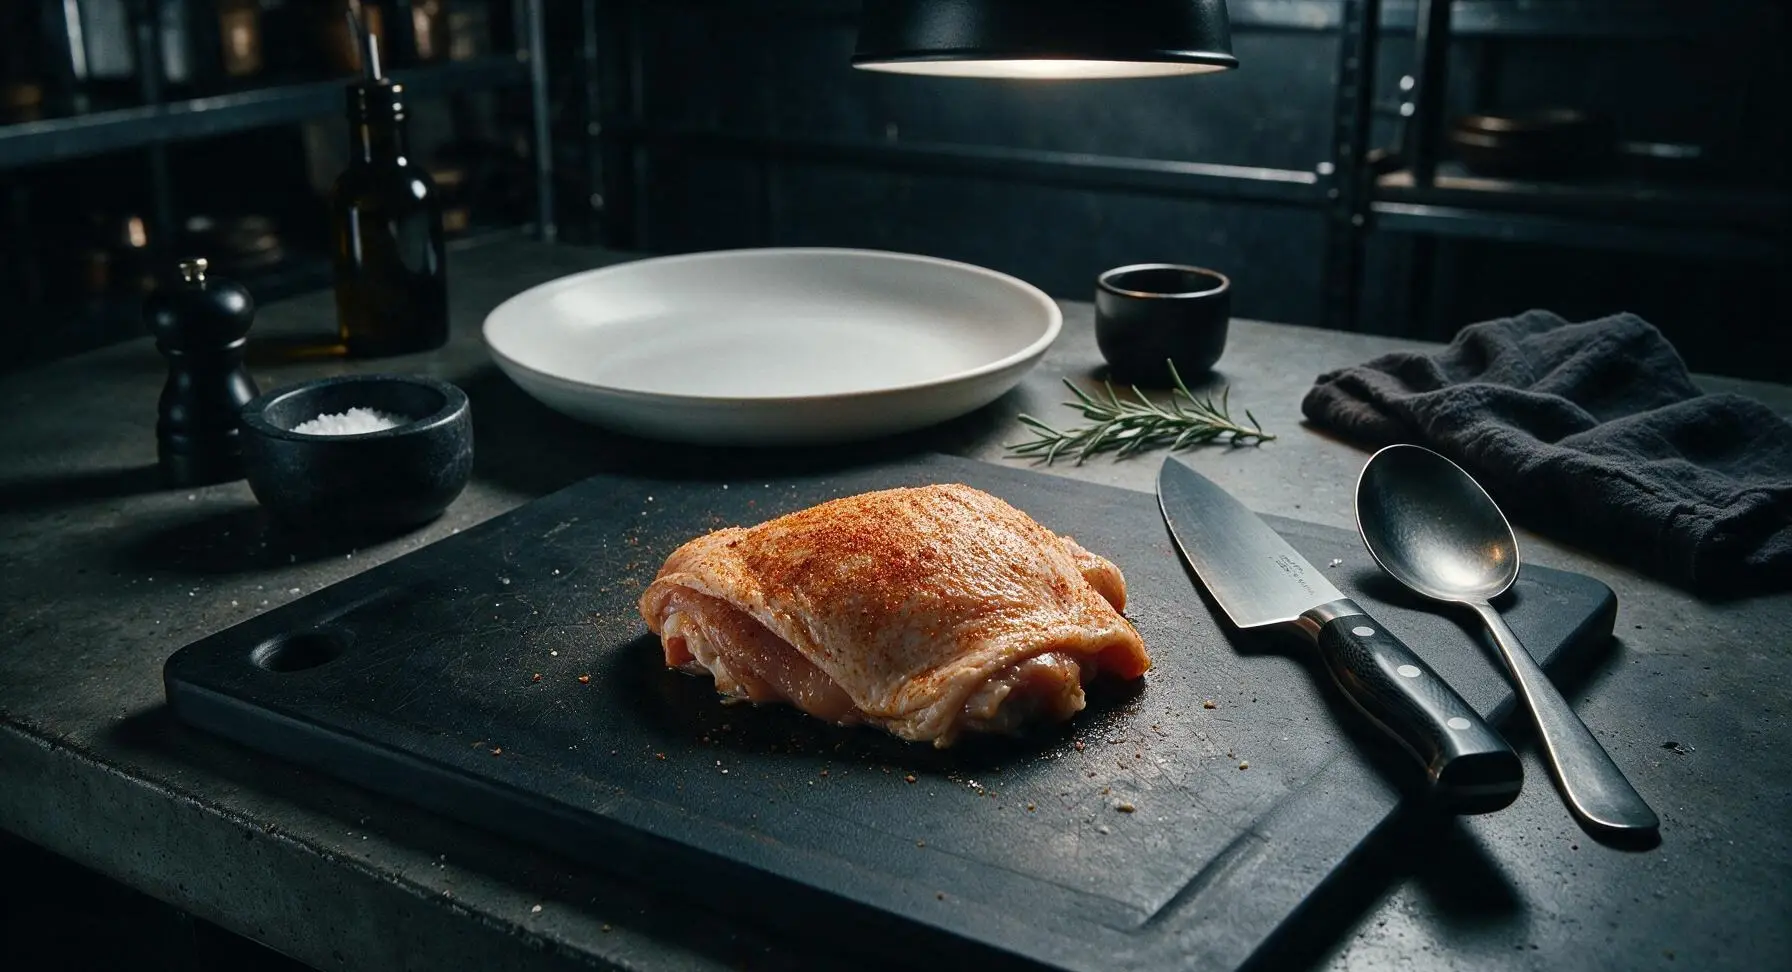
Sprinkle the dry cornstarch-spice blend evenly over all surfaces of the chicken thighs, using clean fingers to rub the mix lightly into both the skin and flesh side of each piece. Ensure no wet spots remain uncovered, but avoid caking on thick clumps of coating. Drizzle 1 tsp of olive oil over the coated chicken, rubbing lightly to distribute the oil in a paper-thin layer. Visual cue: Each thigh has a thin, even dusting of the spice mix, with the skin looking lightly dusty rather than heavily breaded.
Step 3
step3:Coat Chicken With Spices
Step 3
step3:Coat Chicken With Spices
4

Preheat the Air Fryer

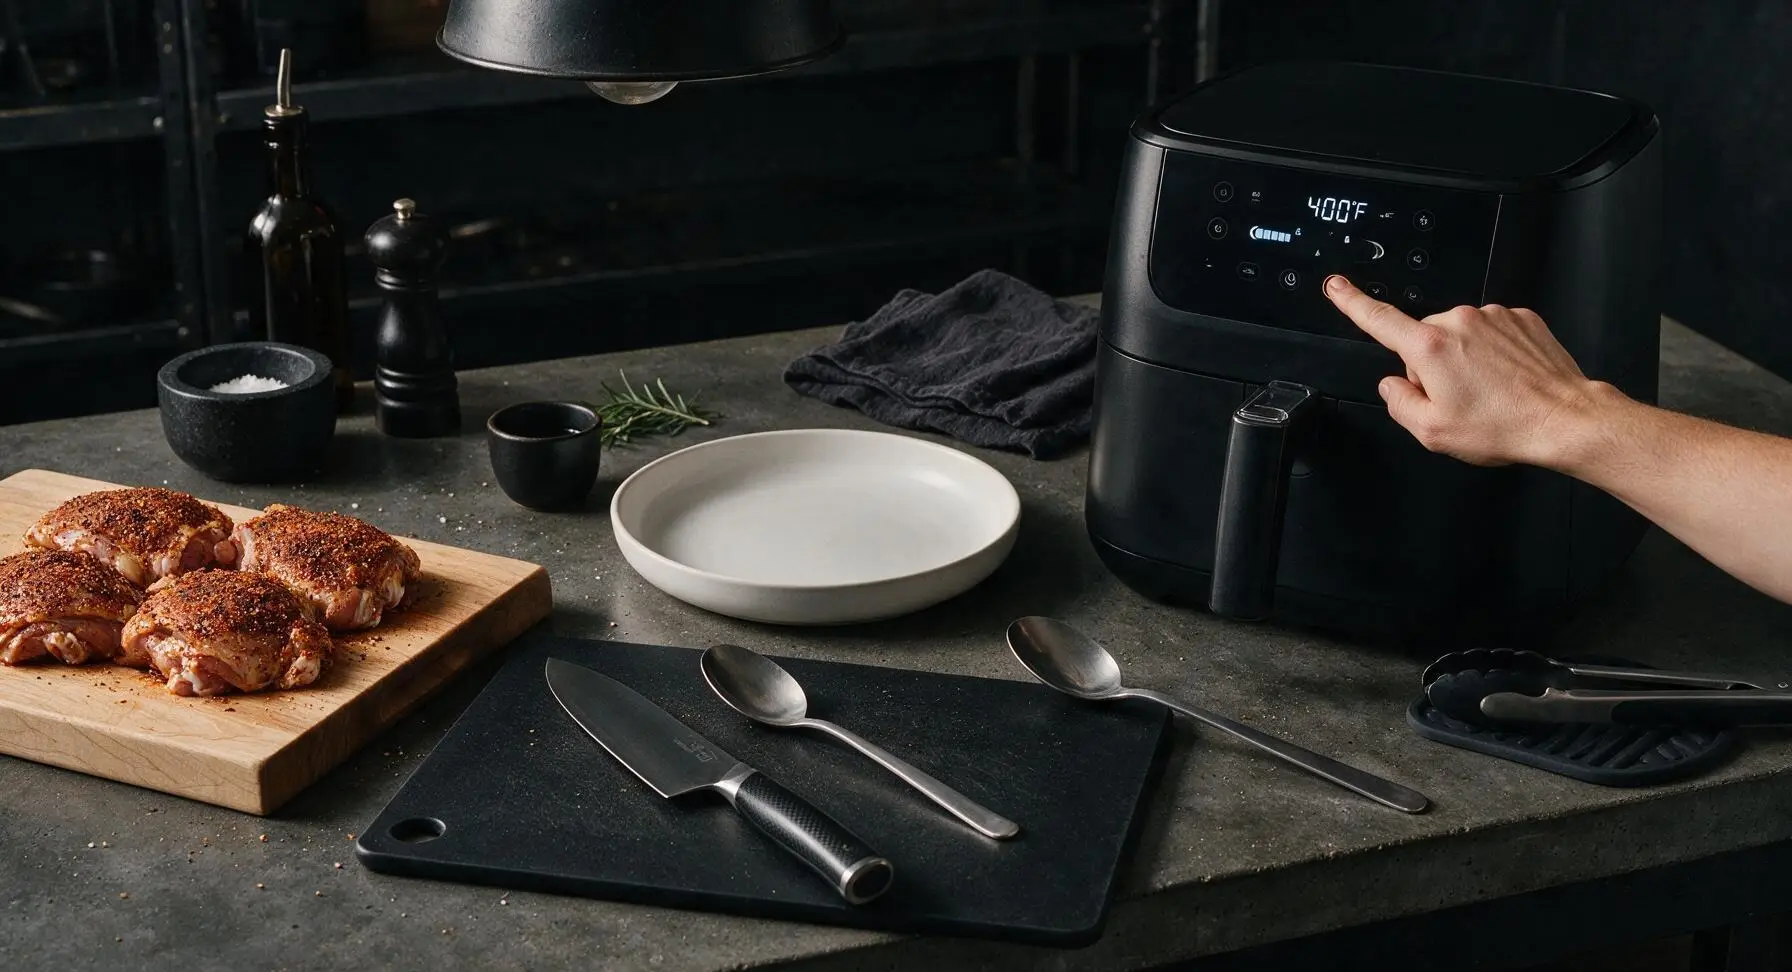
Open the air fryer basket, brush out any loose crumbs from previous use, then close the drawer. Set the air fryer to 400°F (200°C) and preheat for 3 minutes. Do not add parchment paper or basket liners, as these block hot air circulation and prevent crisping. Visual cue: The air fryer digital display lights up to show 400°F, with the preheat cycle indicator active.
Step 4
step4:Preheat the Air Fryer
5

Load Chicken Into Basket

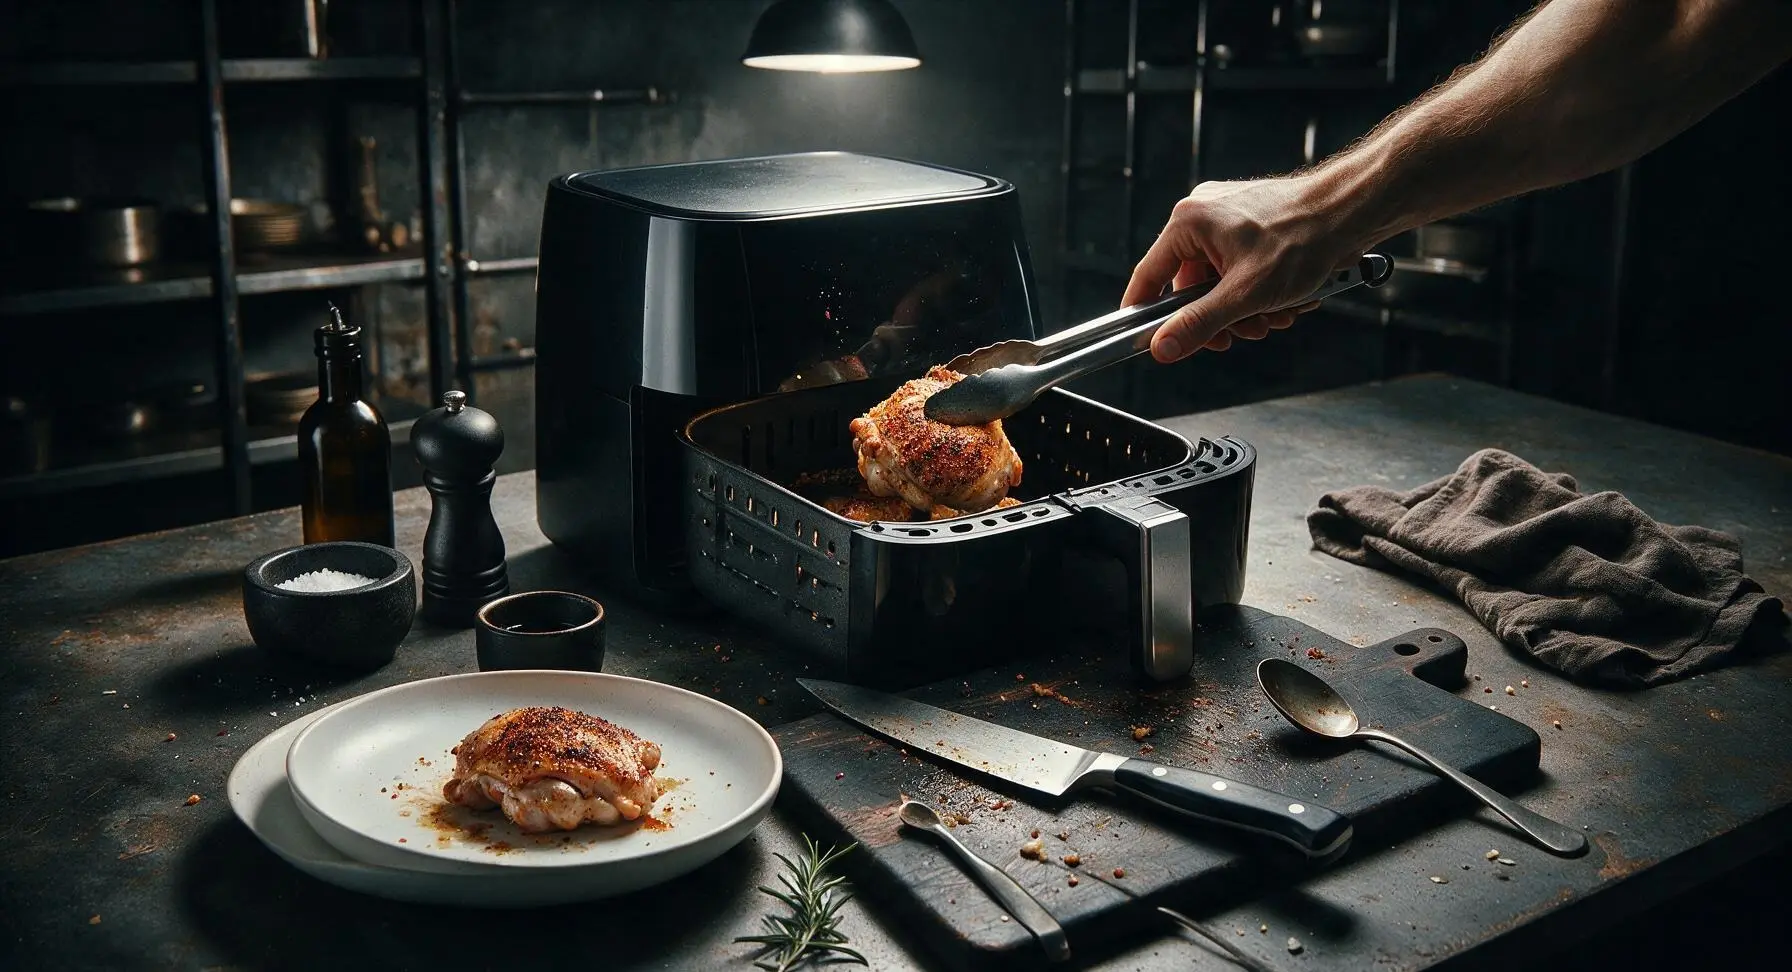
Once preheating is complete, pull open the air fryer basket. Use the stainless steel tongs to arrange the chicken thighs in a single layer in the basket, skin side facing up. Leave 1/2 inch of space between each piece to allow air flow; cook in 2 separate batches if using an air fryer smaller than 5 quarts to avoid overcrowding, which causes steaming instead of crisping. Never stack chicken pieces. Visual cue: All thighs sit flat, skin up, with clear gaps between pieces and no overlapping.
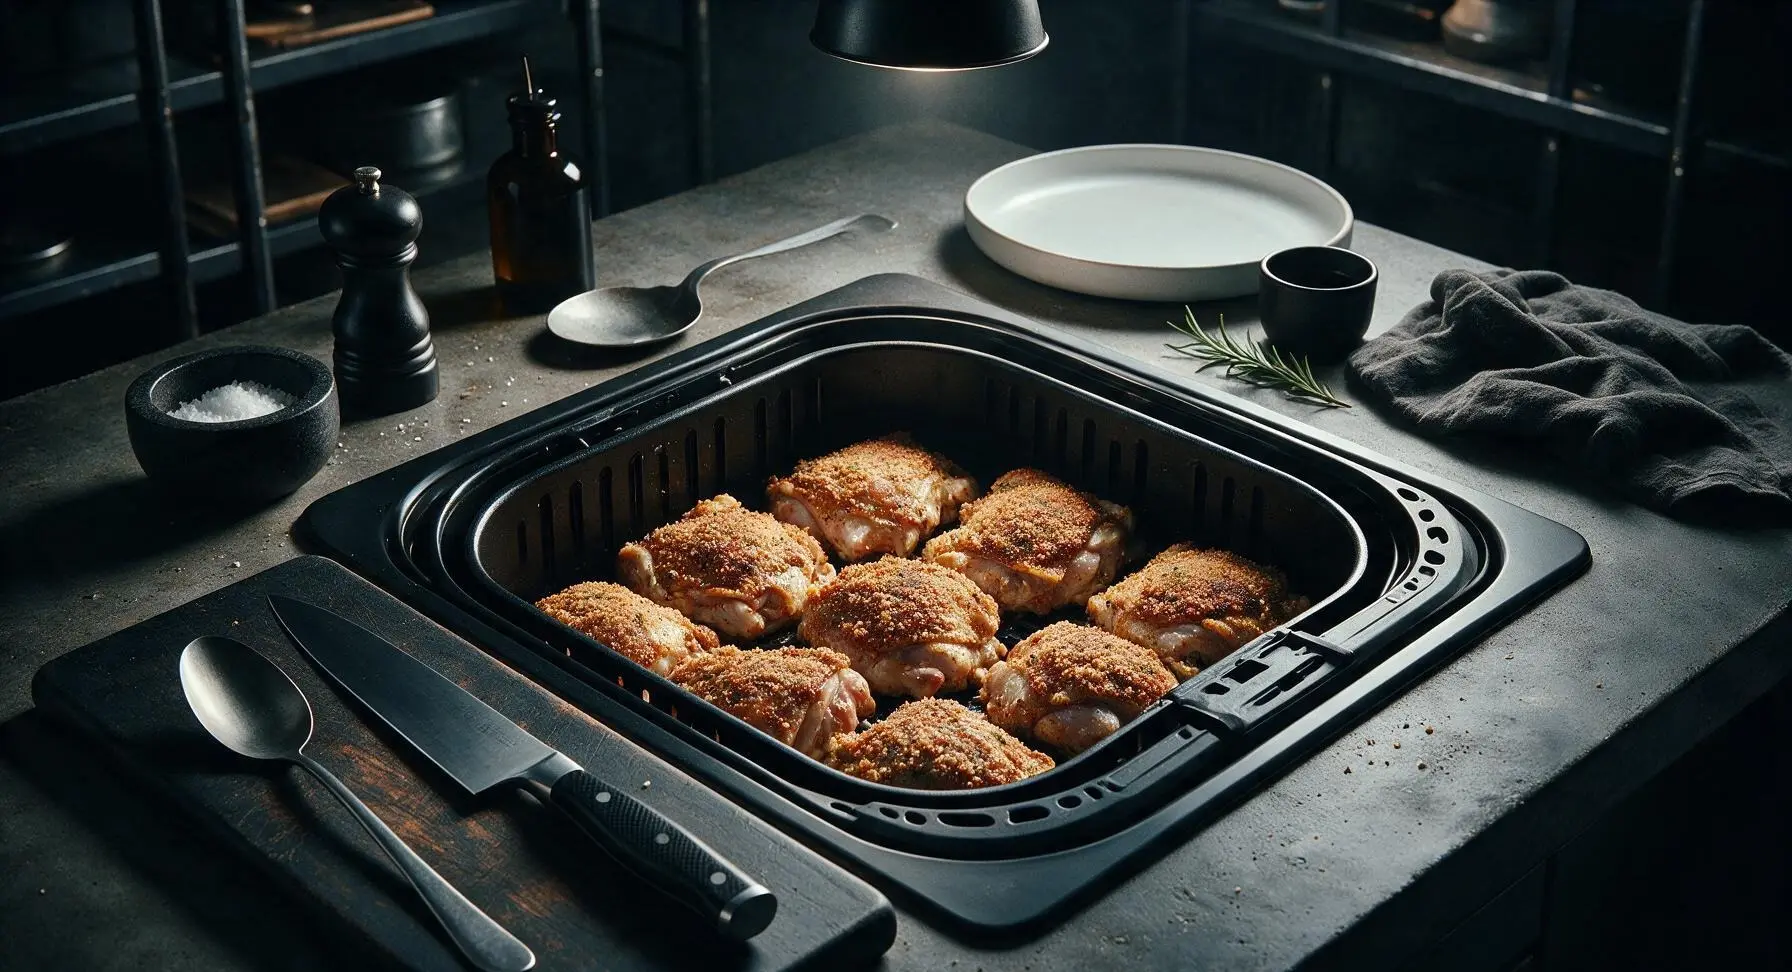
Step 5
step5:Load Chicken Into Basket
Step 5
step5:Load Chicken Into Basket
6

Air Fry Until Crisp

Close the air fryer drawer and cook at 400°F (200°C) for 12 minutes. After 12 minutes, use the tongs to flip each thigh over, then cook for an additional 6-8 minutes, until the internal temperature reaches 165°F (74°C) at the thickest part, and the skin is deep golden brown and visibly crisp. Avoid opening the drawer unnecessarily during cooking, as this drops internal temperature and slows crisping. Visual cue: The skin is crackled and deep golden, rendered fat bubbles lightly at the edges of the chicken, and juices run clear when pierced.
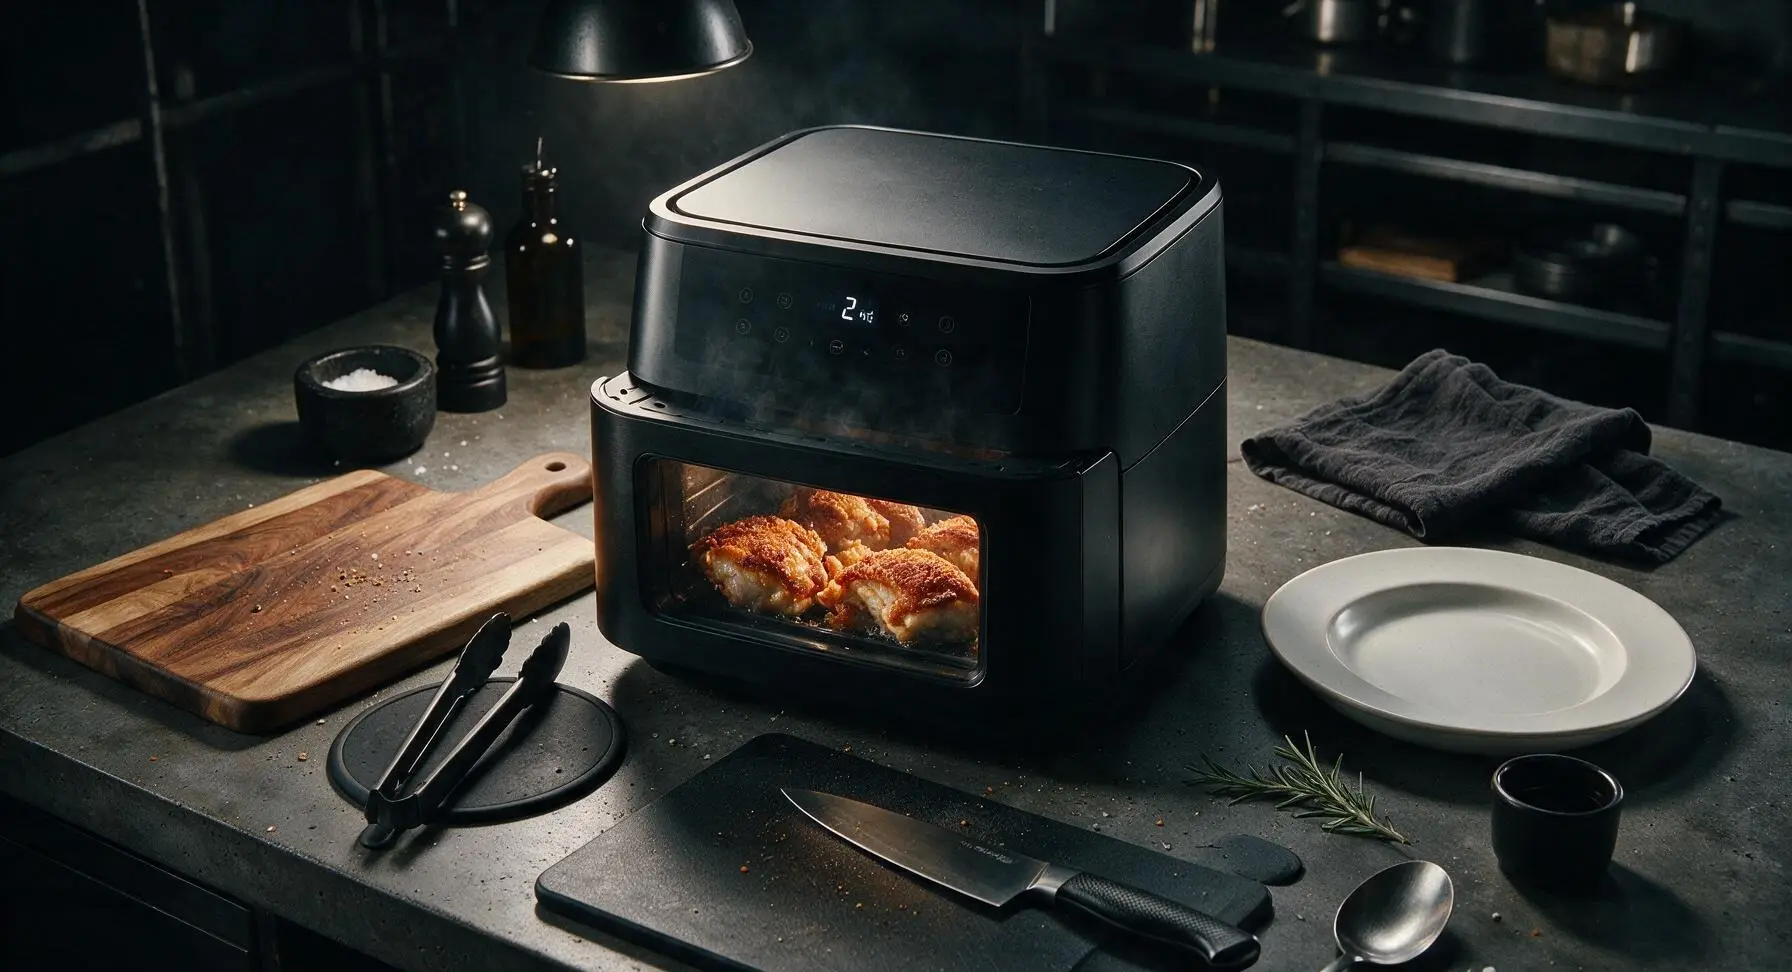
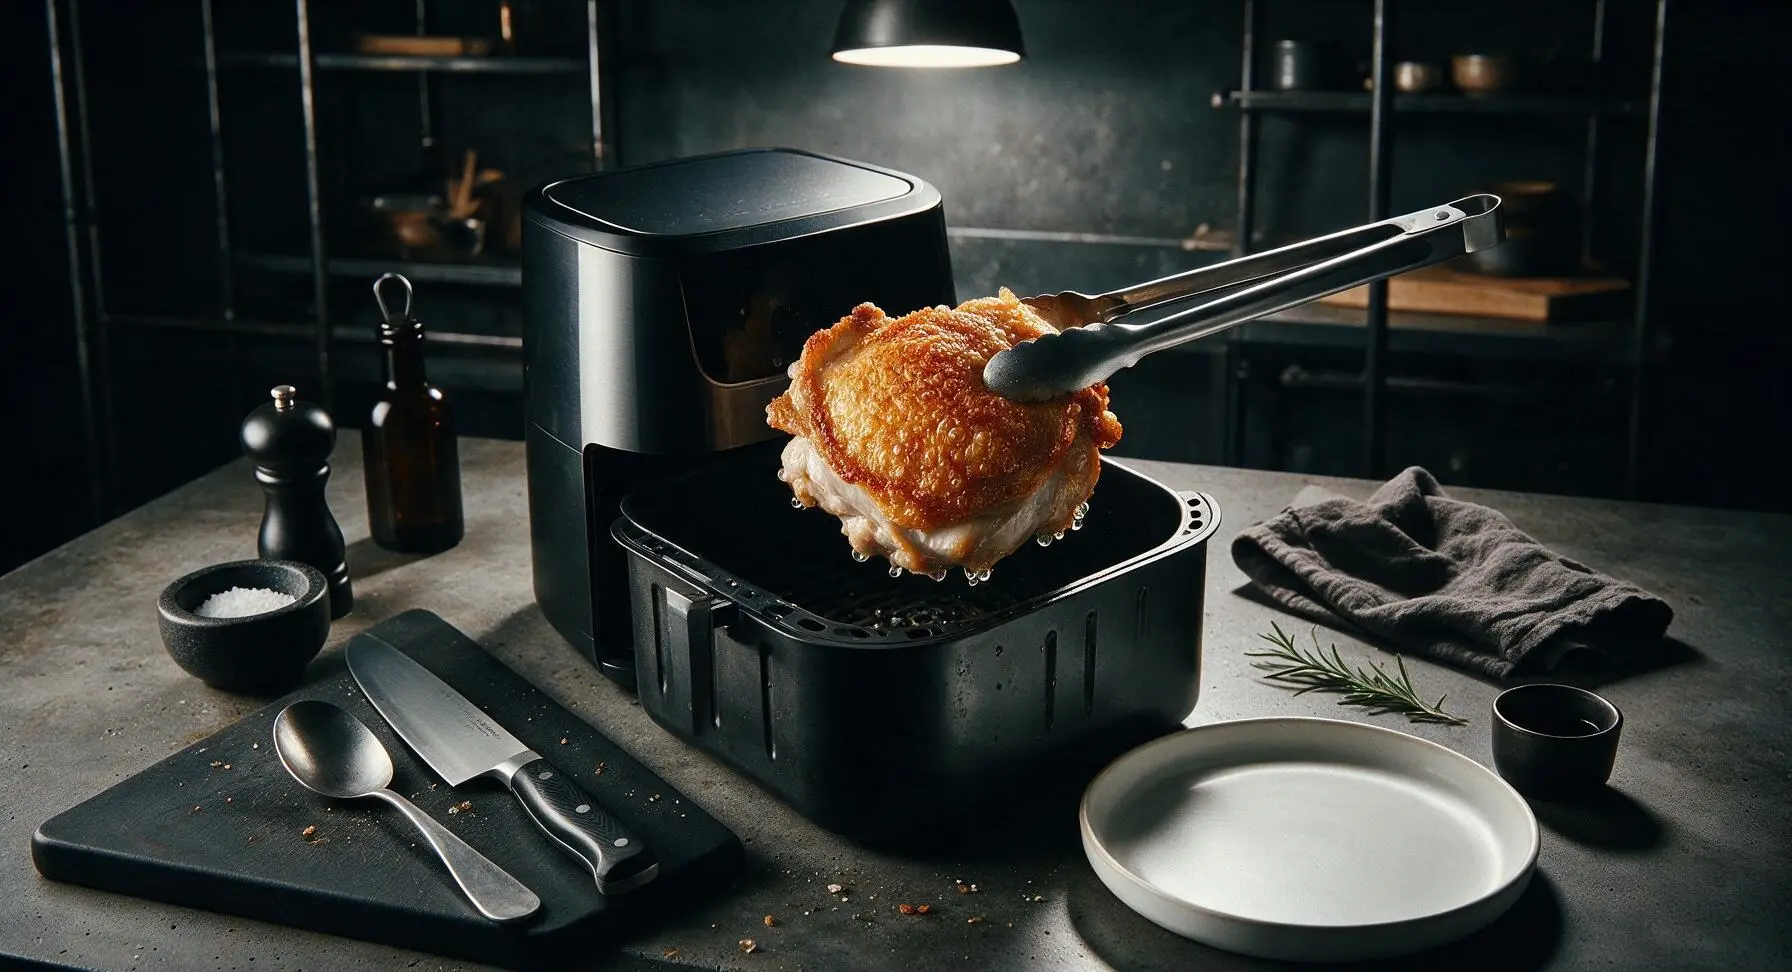
Step 6
step6:Air Fry Until Crisp
Step 6
step6:Air Fry Until Crisp
7

Rest and Serve Chicken

Use the tongs to transfer cooked chicken from the air fryer basket to the matte off-white stoneware dinner plate. Let the chicken rest for 3 minutes to allow juices to redistribute, which keeps the meat juicy instead of letting juices run out when cut. Garnish with a sprinkle of fresh thyme leaves, arrange lemon wedges on the plate rim, and serve with honey mustard in the matching stoneware ramekin if desired. Visual cue: The chicken skin remains crisp as it rests, with only a small amount of clear juice pooling lightly under the pieces on the plate.
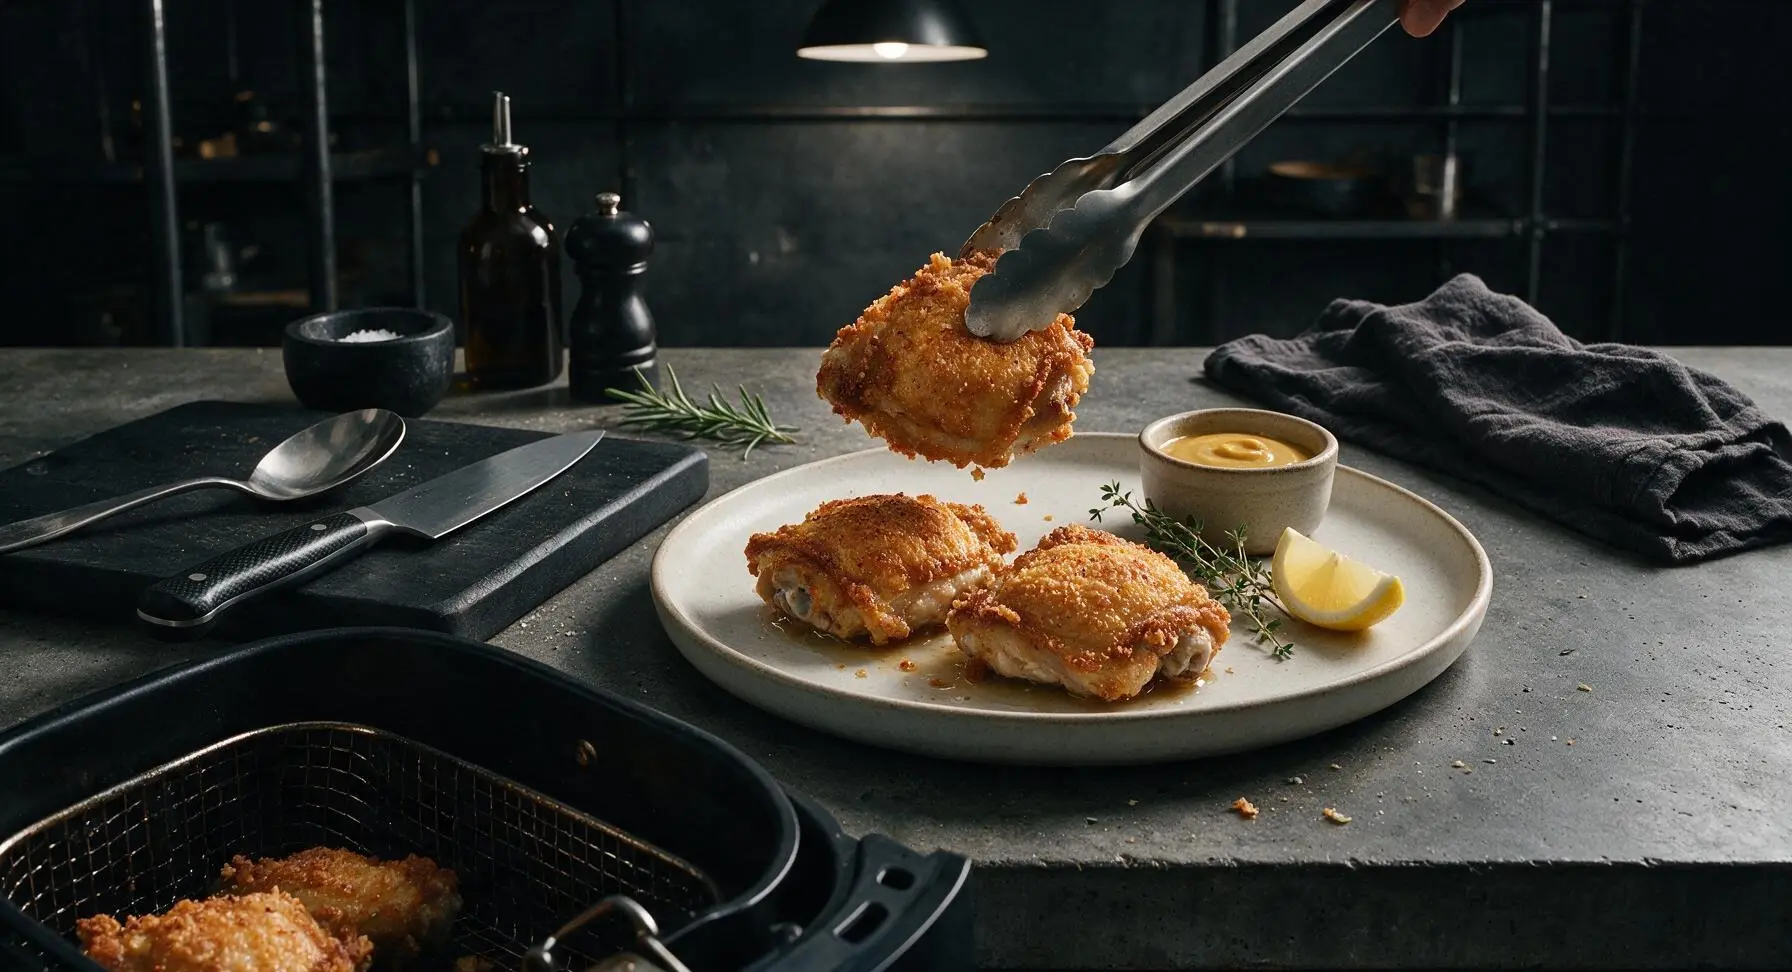
Step 7
step7:Rest and Serve Chicken

Tips

1.Skip parchment paper or silicone basket liners when cooking: Liners block the hot circulating air from reaching the chicken skin, leading to soggy, steamed crust instead of crisp skin. For easy cleanup without sacrificing crispness, place a single slice of white bread under the basket insert to catch dripping grease.
2.Never overcrowd the air fryer basket: If chicken pieces touch or are stacked, trapped moisture will steam the chicken instead of crisping the skin. For air fryers smaller than 5 quarts, cook in two batches, keeping the first batch warm on a wire rack set over a baking sheet in a 200°F oven while the second batch cooks.
3.Take the extra 60 seconds to pat chicken completely dry: Any residual moisture on the chicken skin will turn to steam in the air fryer, preventing the Maillard reaction that creates shatteringly crisp golden crust. Skip this step, and you will never get restaurant-level crispiness, no matter how long you cook the chicken.


✨ You May Also Like

Main Course
🍜 United Kingdom

A showstopping classic of tender seared beef, savory mushroom duxelles, and crisp prosciutto wrapped in flaky golden puff pastry, baked to juicy perfection.

⏱️ 2 hours 1Main Course ★ 4.7
Main Course
🍜 India

Tender charred marinated chicken simmered in a rich, spiced creamy tomato sauce, this iconic Anglo-Indian curry pairs perfectly with basmati rice or warm naan.

⏱️ 50 minuteMain Course ★ 4.6
Main Course
🍜 Thailand

Classic tangy, sweet, and savory Thai stir-fried rice noodles with shrimp, tofu, and crunchy garnishes, balancing all five core Thai flavor profiles.

⏱️ 30 minuteMain Course ★ 4.5
Main Course
🍜 United Kingdom

Crispy golden beer-battered cod and fluffy double-fried chips, served with tangy tartar sauce and malt vinegar: the timeless, beloved British pub comfort classic.

⏱️ 45 minuteMain Course ★ 4.7
Main Course
🍜 Mexico

Smoky, chile-marinated pork tacos with caramelized pineapple, fresh cilantro, and lime: a beloved classic Mexican street food perfect for casual summer gatherings.

⏱️ 1 hour 45Main Course ★ 4.8
Main Course
🍜 United States

Crunchy Fritos corn chips layered with savory beef chili and melted cheddar, topped with cool, zesty fixings for a beloved, cozy Tex-Mex comfort food.

⏱️ 35 minuteMain Course ★ 4.8

crispy chicken in air fryer:Frequently Asked Questions

1.Why do you recommend boneless skin-on chicken thighs instead of chicken breasts for this recipe? ▾
Boneless skin-on thighs stay juicy through the high-heat air fryer cook time, and the attached skin renders into that signature shatteringly crisp layer without any deep frying. Breasts dry out easily over 20 minutes of air frying, and they lack the natural fat that helps seasoning and cornstarch stick evenly for consistent crunch across every bite.
2.Do I need to spray oil on the chicken before air frying? ▾
A quick, light spritz of neutral oil like avocado or canola right before cooking helps the cornstarch coating crisp up evenly instead of leaving chalky, powdery dry spots on the crust. You don’t need much—just a 1-second mist per thigh, since the chicken skin renders its own fat as it cooks to add richness without excess grease.
3.Why use cornstarch instead of all-purpose flour for the crispy coating? ▾
Cornstarch creates a lighter, shatteringly crisp crust that doesn’t get soggy the way all-purpose flour can in the air fryer’s fast-circulating heat. It also absorbs less rendered fat from the chicken skin, so you get that satisfying crunch without the heavy, greasy mouthfeel of deep-fried battered chicken, and it sticks easily with no egg wash required.
4.How long does this chicken take to cook all the way through? ▾
This recipe cooks fully in 20 minutes total at 400°F, with a quick flip of each thigh at the 10-minute mark to ensure both sides crisp up evenly. Always double-check that the thickest part of each thigh hits 165°F on an instant-read thermometer for food safety, as cook times can vary slightly between different air fryer models.
5.Can I swap out the smoked paprika if I don’t love that flavor? ▾
Absolutely! Smoked paprika adds a warm, subtle smoky note that mimics classic takeout fried chicken, but you can swap it for regular sweet paprika, a pinch of cayenne for gentle heat, or equal parts onion powder if you prefer a milder flavor. Just keep the total dry seasoning amount the same to avoid over- or under-seasoning the crisp cornstarch coating.
6.Why is my chicken coming out soggy instead of crispy? ▾
Soggy skin almost always comes from overcrowding the air fryer basket, or not patting chicken skin completely dry before applying the coating. Arrange thighs in a single layer with space between them for proper air circulation, pat skin dry with paper towels before tossing with coating, and never stack pieces so rendered fat drips away from the crust as it cooks.
7.Do I need to preheat my air fryer before adding the chicken? ▾
Preheating for 2 to 3 minutes before adding chicken helps the cornstarch coating set immediately when it hits the hot basket, which prevents sticking and jumpstarts the crisping process. If you skip preheating, add 2 to 3 minutes of total cook time, and expect a higher chance of coating sticking to the basket instead of adhering to the chicken.
8.Is this recipe a good fit for busy family weeknight dinners? ▾
Definitely! The mild, savory blend of smoked paprika, garlic powder, and fine sea salt is approachable for even the pickiest kid eaters, there’s no messy deep-frying setup or oil splatters to clean up, and the 20-minute total cook time fits easily into packed, chaotic weeknight schedules. The crisp crust and juicy, tender meat is a consistent hit with both kids and adults alike.
9.Can I prep this chicken ahead for meal prep? ▾
This chicken is crispiest right after cooking, but you can prep the seasoned, cornstarch-coated thighs up to 12 hours ahead, stored uncovered on a wire rack in the fridge until you’re ready to air fry. Reheat leftovers in the air fryer at 375°F for 3 to 4 minutes to restore crunch, since microwaving will turn the crust soggy and rubbery.
10.How do I get the cornstarch coating to stick evenly to the chicken? ▾
First, pat the chicken skin completely dry with paper towels so excess surface moisture doesn’t make the coating slide off during cooking. Toss thighs in a bowl with cornstarch, smoked paprika, garlic powder, and fine sea salt until every surface is lightly coated, tap off excess starch, then place skin-side up in the basket for the most consistent crunch.
11.Can I use frozen boneless chicken thighs for this recipe? ▾
For the best shatteringly crisp texture and juicy, even cook, use fully thawed, patted-dry boneless skin-on thighs. If you cook straight from frozen, you’ll need to add 10 to 12 minutes of cook time, and excess moisture released as the chicken thaws will prevent the skin and cornstarch from crisping properly, so thawing first is strongly recommended for best results.

Comments (3)

2 days ago

OMG this crispy air fryer chicken is a total game changer! I’ve tried so many air fryer chicken recipes that come out soggy no matter what I do, but this one had the perfect crunch even without drenching it in oil. My kids devoured 3 pieces each at dinner last night and asked me to make it again for our neighborhood potluck this weekend. 20 minute cook time is perfect for busy weeknights too, no slaving over the stove for an hour after work!

yesterday

Wait did you use regular panko or the seasoned kind for the coating? I tried a similar recipe last week and my breading kept sliding off mid-cook! Your photo looked so crispy I’m low-key jealous, need to get this right for my meal prep next week!

yesterday

So thrilled your family loved the recipe! Great question about the breading too – quick pro tip for anyone dealing with sliding panko: make sure to pat your chicken completely dry before dipping in the egg wash, and press the coating firmly so it adheres. You can use either regular or seasoned panko, but I love tossing in a little paprika and garlic powder with plain panko for extra depth of flavor!

1 week ago

SO good, I make a big batch of this every Sunday for my weekly meal prep! It stays crispy even after I reheat it for 3 minutes in the air fryer at lunch, way better than the greasy fast food fried chicken I used to grab on my work break. It’s so easy too, I can pop it in the air fryer and knock out a load of laundry while it cooks. My only tweak was adding a little extra cayenne pepper for a spicy kick, 10/10 would recommend.

5 days ago

Love the cayenne add-in! That spicy twist sounds incredible, I’ll have to test that variation for the site soon. So happy this works for your meal prep routine – air fryer reheat is definitely the move to keep that crisp instead of soggy microwaved chicken!

30 minutes ago

I was so nervous this was gonna flop since I just unboxed my first air fryer last week, but this recipe was totally foolproof! Even my super picky husband said it tasted just like the crispy fried chicken from his favorite fast food spot, but way less greasy. I served it with roasted broccoli and homemade mac and cheese for our casual Friday night dinner, and it was a total home run. Will absolutely be making this on regular rotation!



