
crispy onion chicken

title 1
crispy onion chicken
⏱️ cook time 20 minutes
🍽️ servings 4
⚡ Difficulty easy

intro

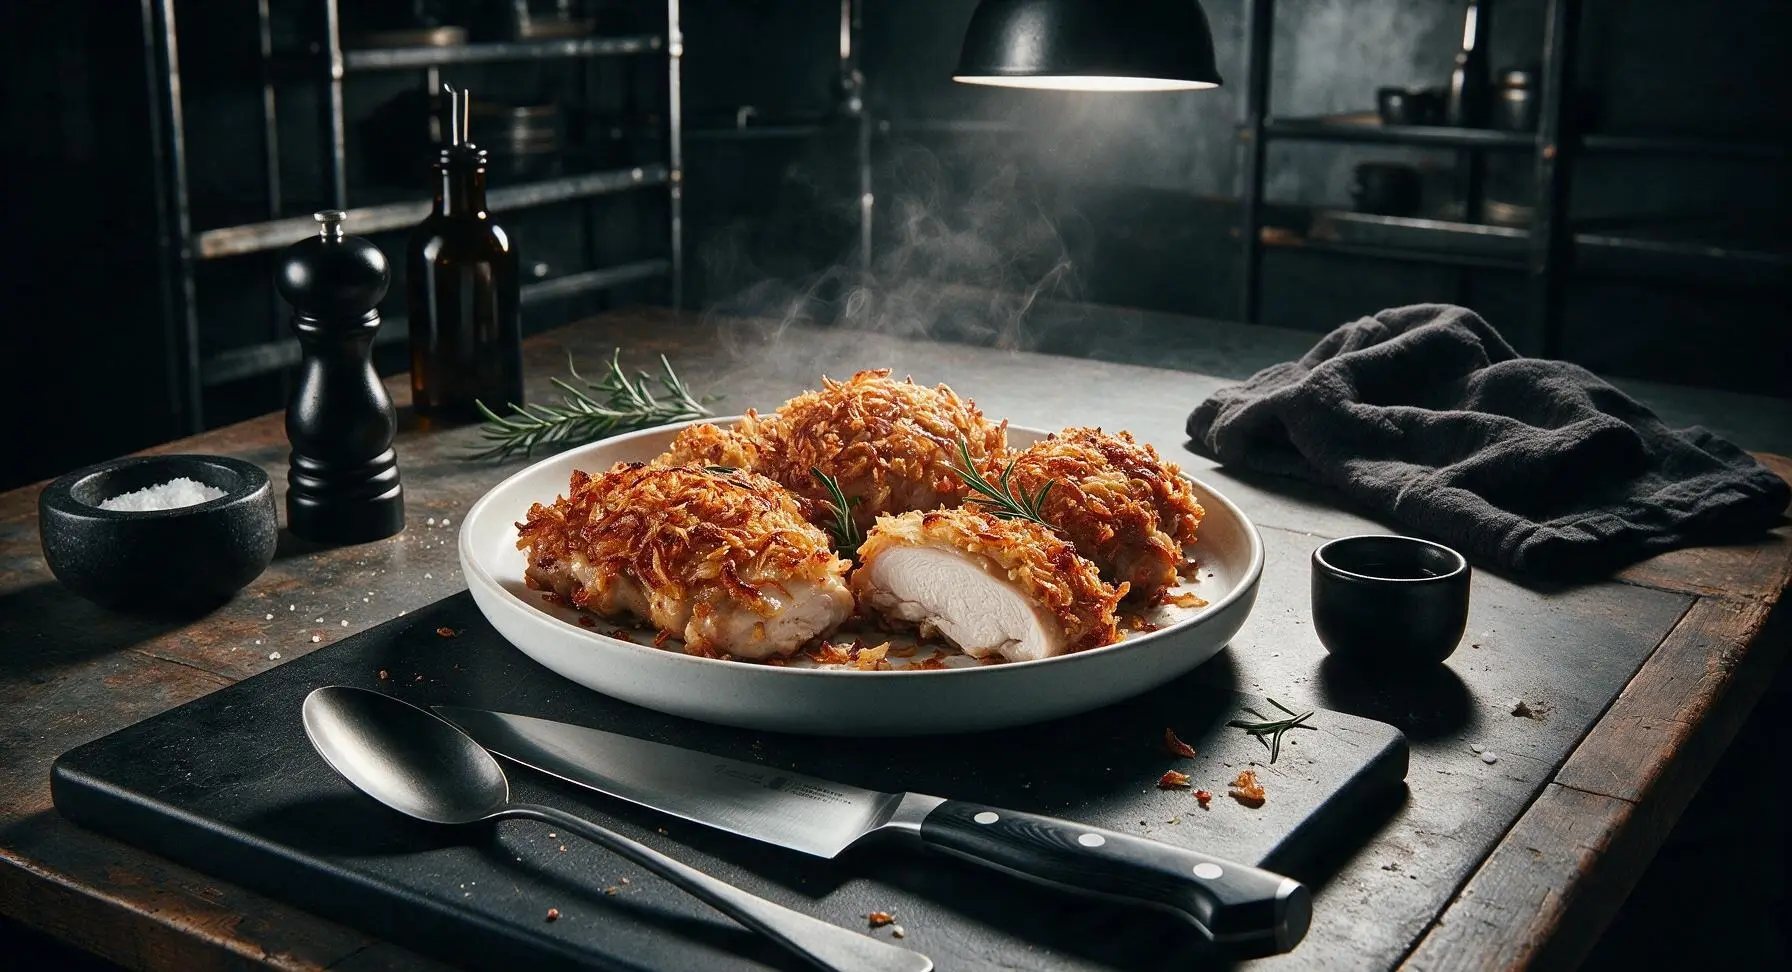
Juicy, tender chicken thighs coated in a shatteringly crisp fried onion crust, savory and aromatic, ideal for fast weeknight dinners with minimal cleanup.

Ingredients
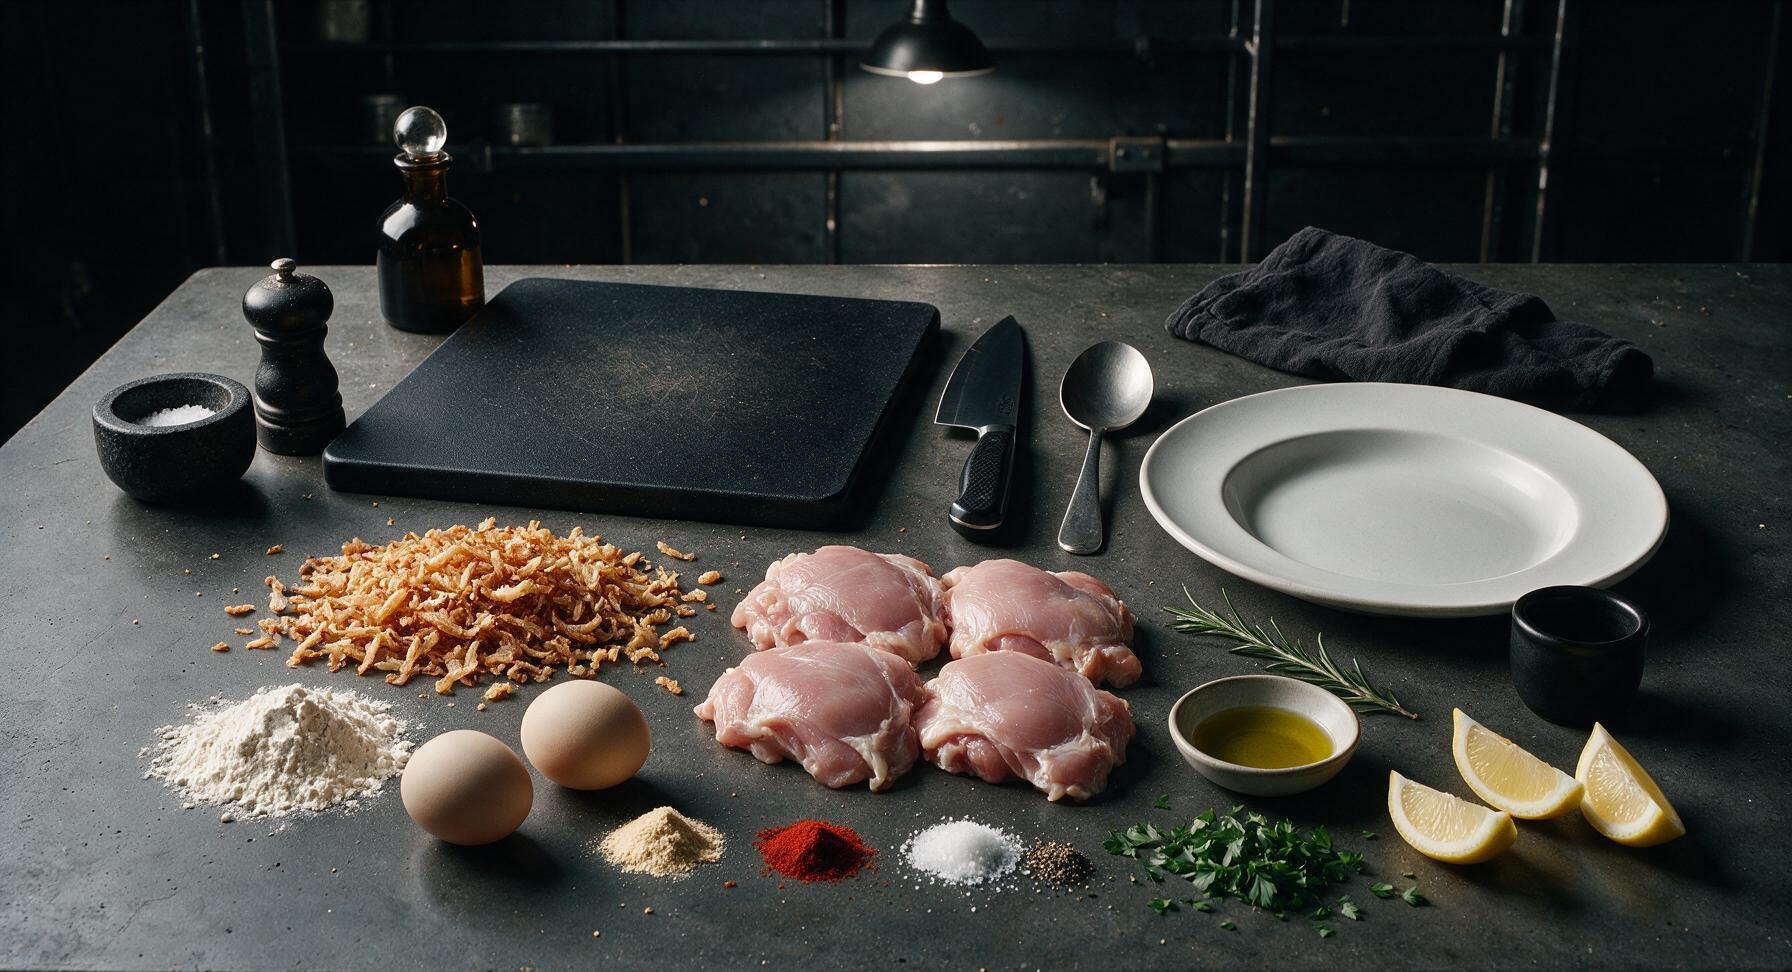
Boneless skinless chicken thighs 600g (4 pieces, ~150g each)
Crispy fried onions 120g (1.5 cups, lightly crushed)
All-purpose flour 60g (1/2 cup)
Large eggs 2
Garlic powder 1 teaspoon
Smoked paprika 1/2 teaspoon
Kosher salt 1 teaspoon
Freshly ground black pepper 1/2 teaspoon
Extra-virgin olive oil 2 tablespoons
Fresh flat-leaf parsley 2 tablespoons (chopped, for garnish)
Lemon 1 (cut into 4 wedges, for serving)

Steps

1

Pound Chicken Thighs

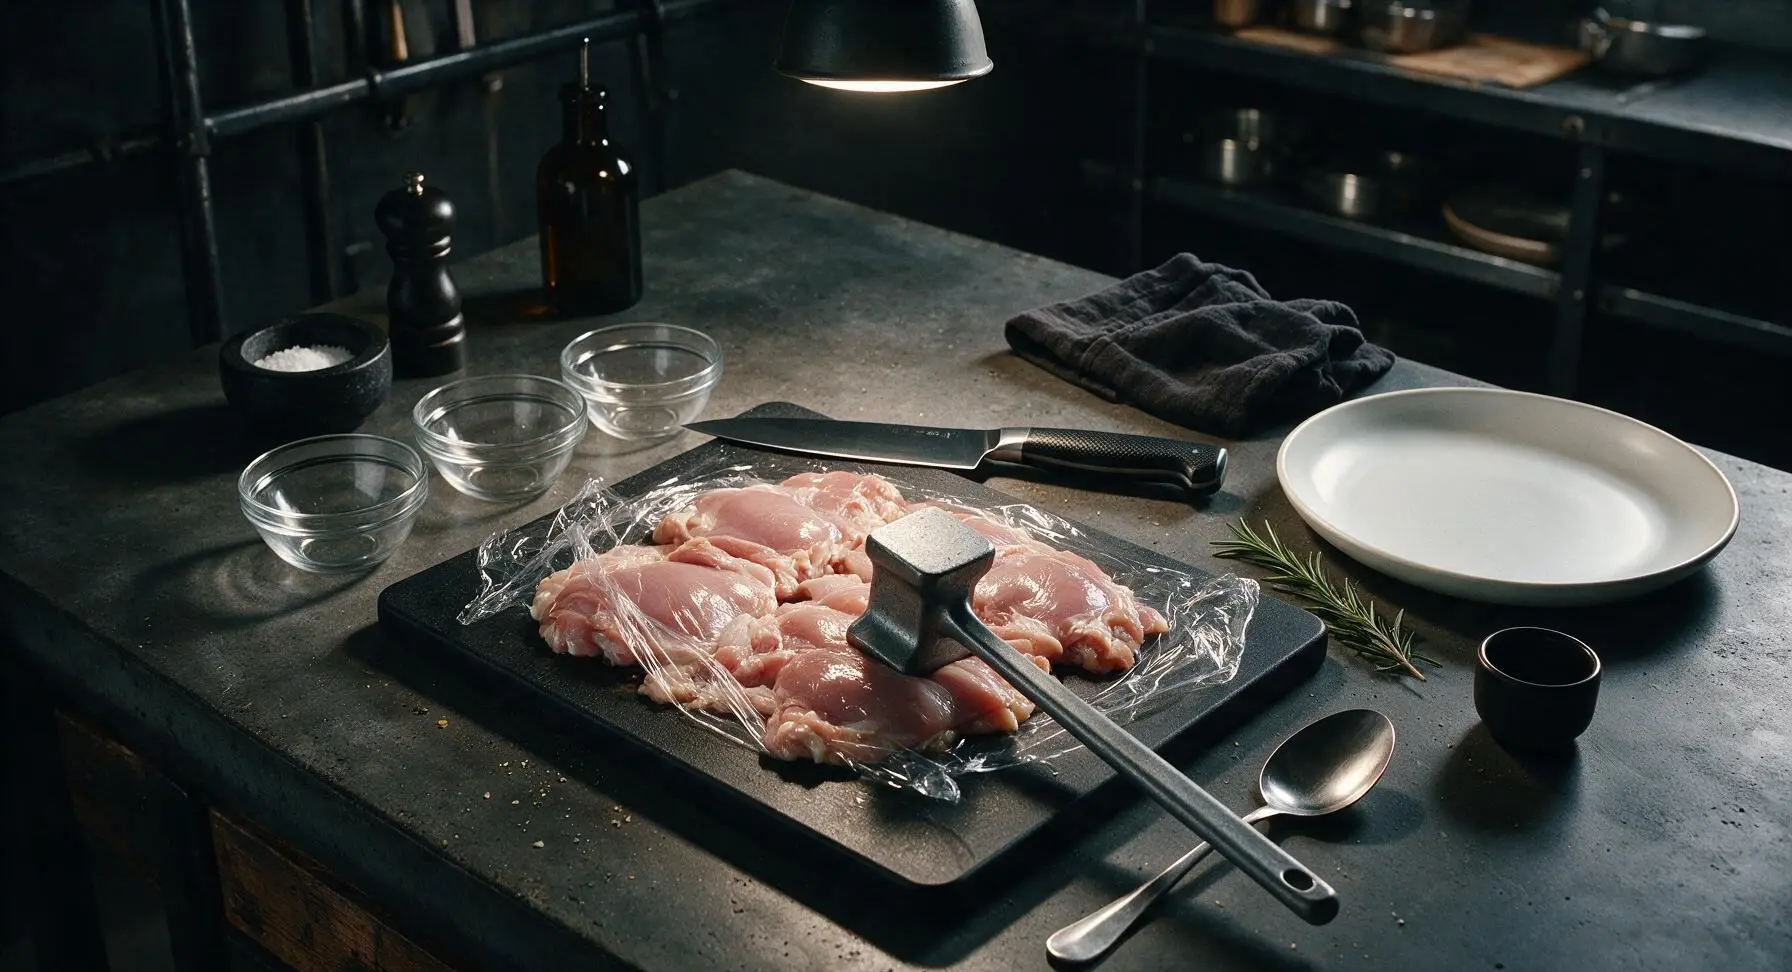
Pat the 600g of boneless, skinless chicken thighs completely dry with paper towels, then arrange them on the light maple cutting board. Cover loosely with a sheet of plastic wrap to prevent splattering, then use the cast aluminum meat mallet to pound each thigh to a uniform 1.5cm thickness. Season both sides of the pounded chicken with ½ tsp kosher salt and ¼ tsp freshly ground black pepper. Even thickness ensures consistent cooking, with no dry, overcooked thin edges.
Step 1
step1:Pound Chicken Thighs
2

Prep Coating Station

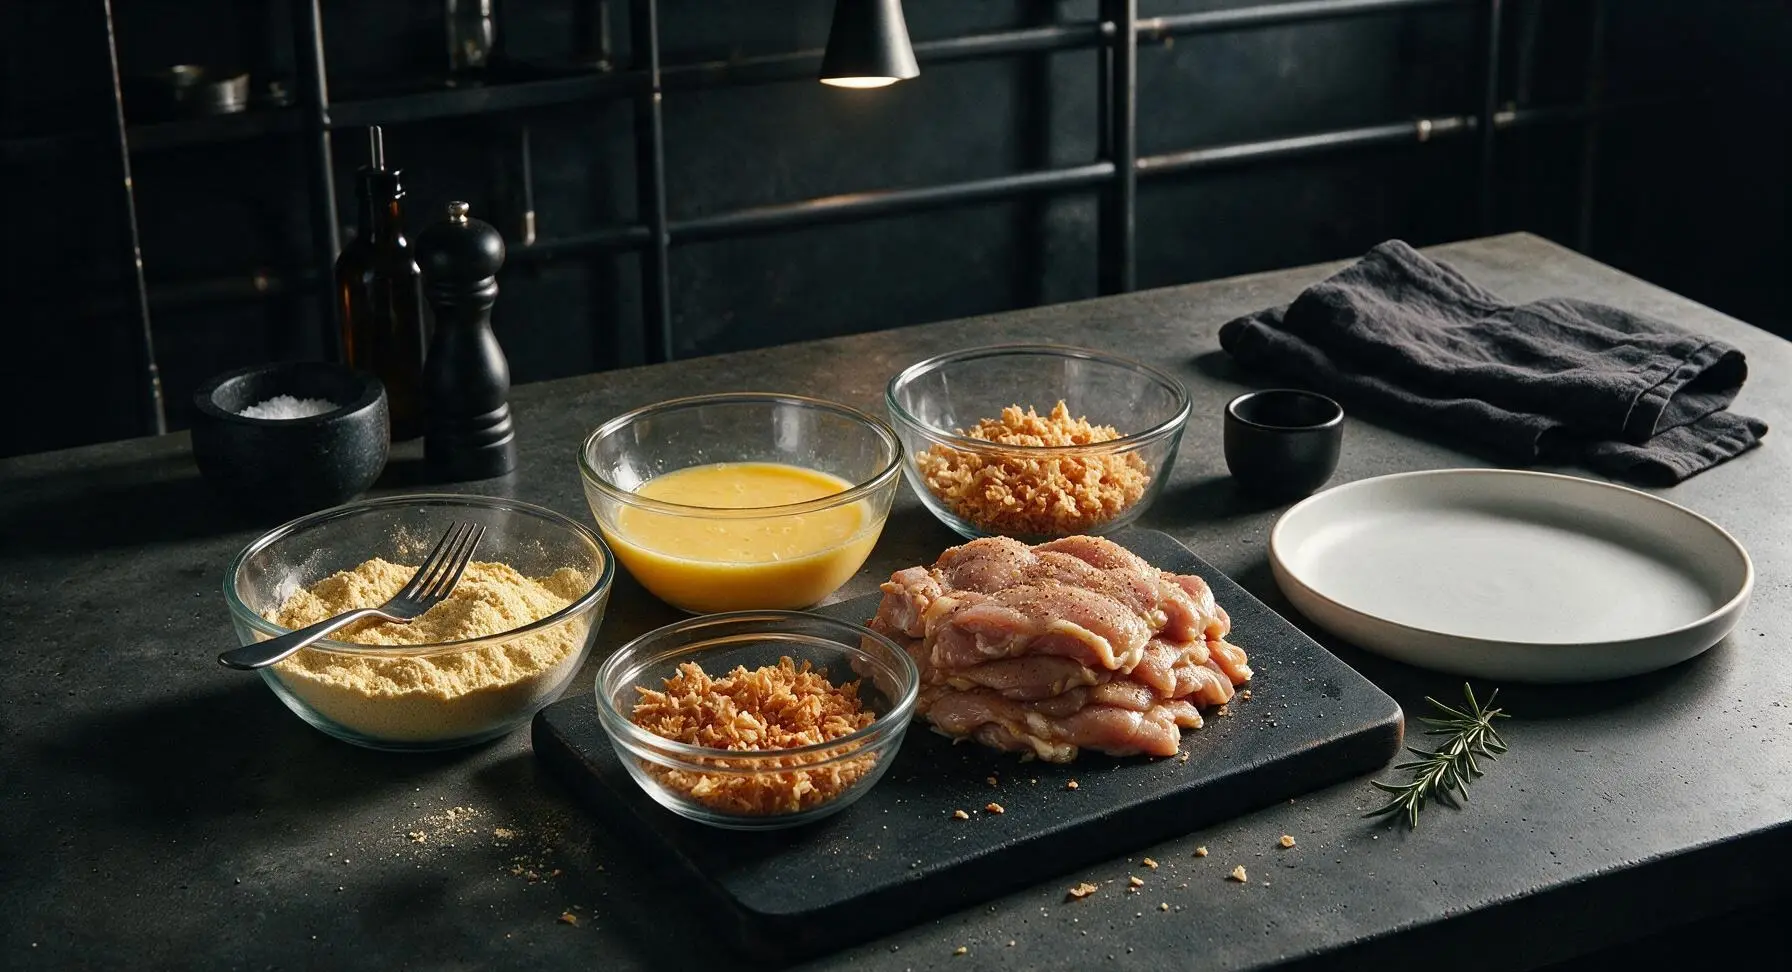
Arrange the three small clear glass prep bowls in a line to the left of the cutting board. In the first bowl, combine the 60g all-purpose flour with the remaining ½ tsp kosher salt, ¼ tsp black pepper, 1 tsp garlic powder, and ½ tsp smoked paprika; stir with the stainless steel dinner fork until spices are evenly distributed through the flour. In the second bowl, whisk the 2 large eggs with the fork until completely smooth, with no visible streaks of separate egg white. In the third bowl, add the 120g crispy fried onions, squeezing gently with your fingers to break large pieces into coarse, panko-sized crumbs.
Step 2
step2:Prep Coating Station
3

Coat Chicken Evenly

Working one piece at a time to avoid clumpy coating, dredge a pounded chicken thigh first in the seasoned flour, pressing gently so flour adheres to every surface, then shake off all excess. Next, submerge the floured chicken fully in the beaten egg, holding it above the bowl for 2 seconds to let excess egg drip off. Finally, press the chicken firmly into the crushed crispy onions, turning to coat every side, pressing the crumbs so they stick in a thick, even layer. Set fully coated pieces on the clean edge of the cutting board while coating the remaining thighs.
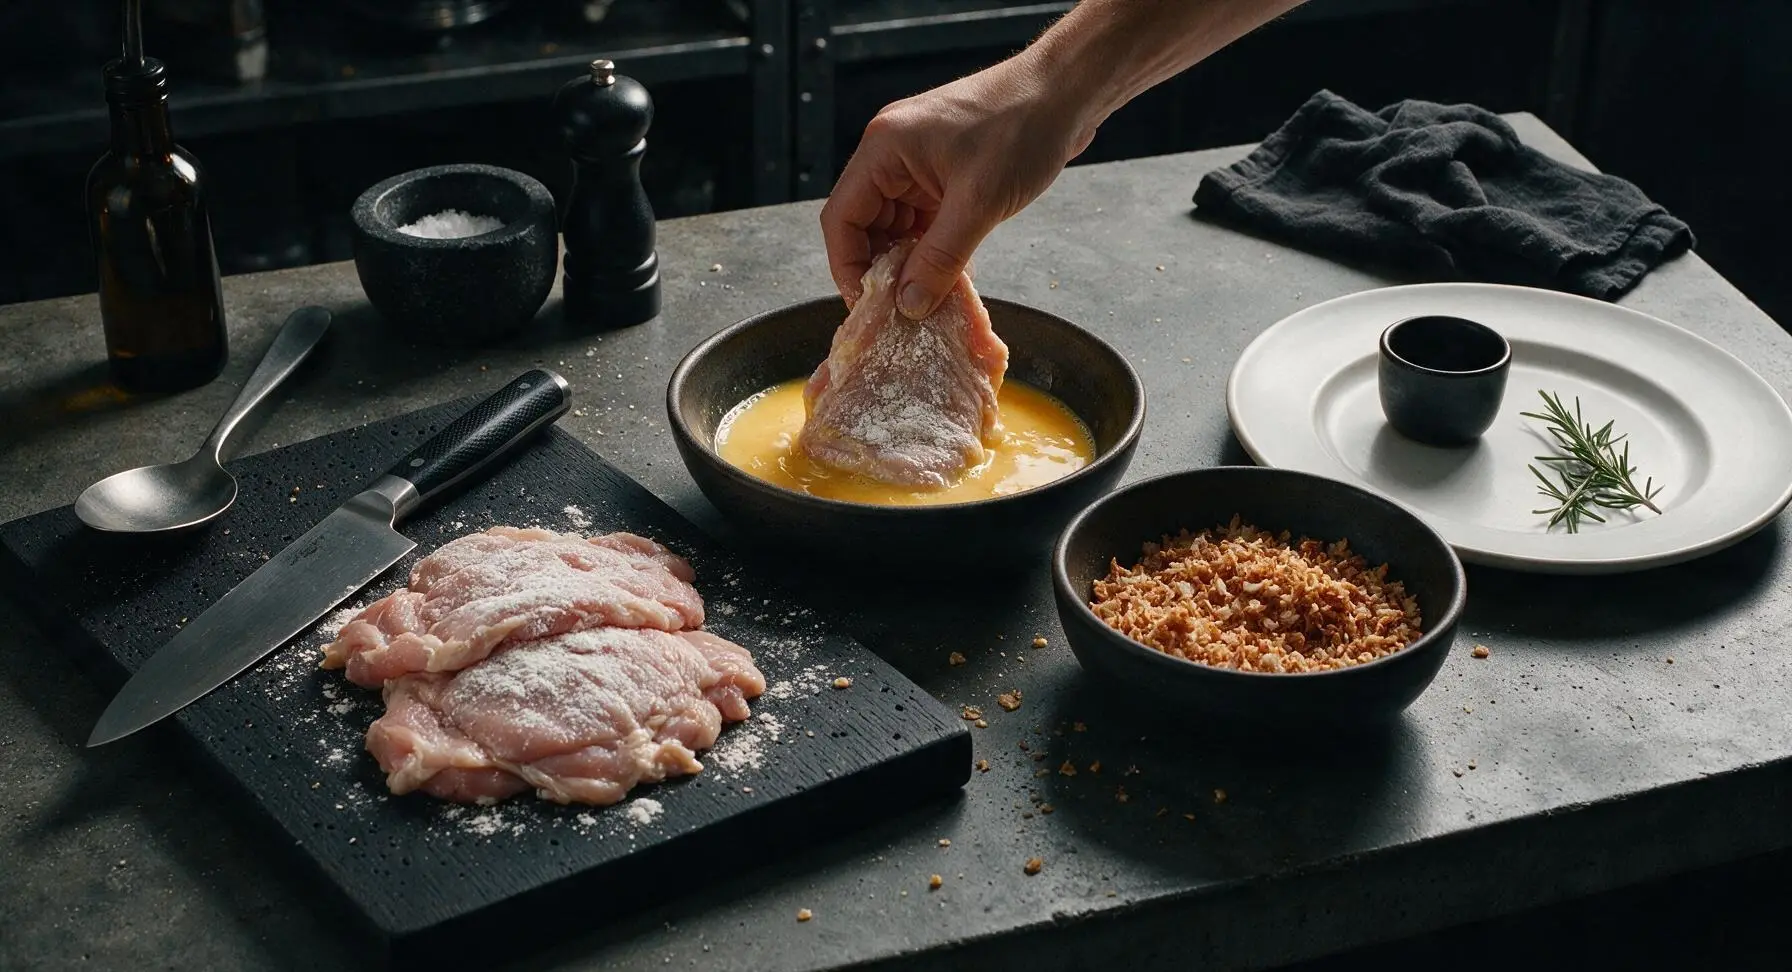
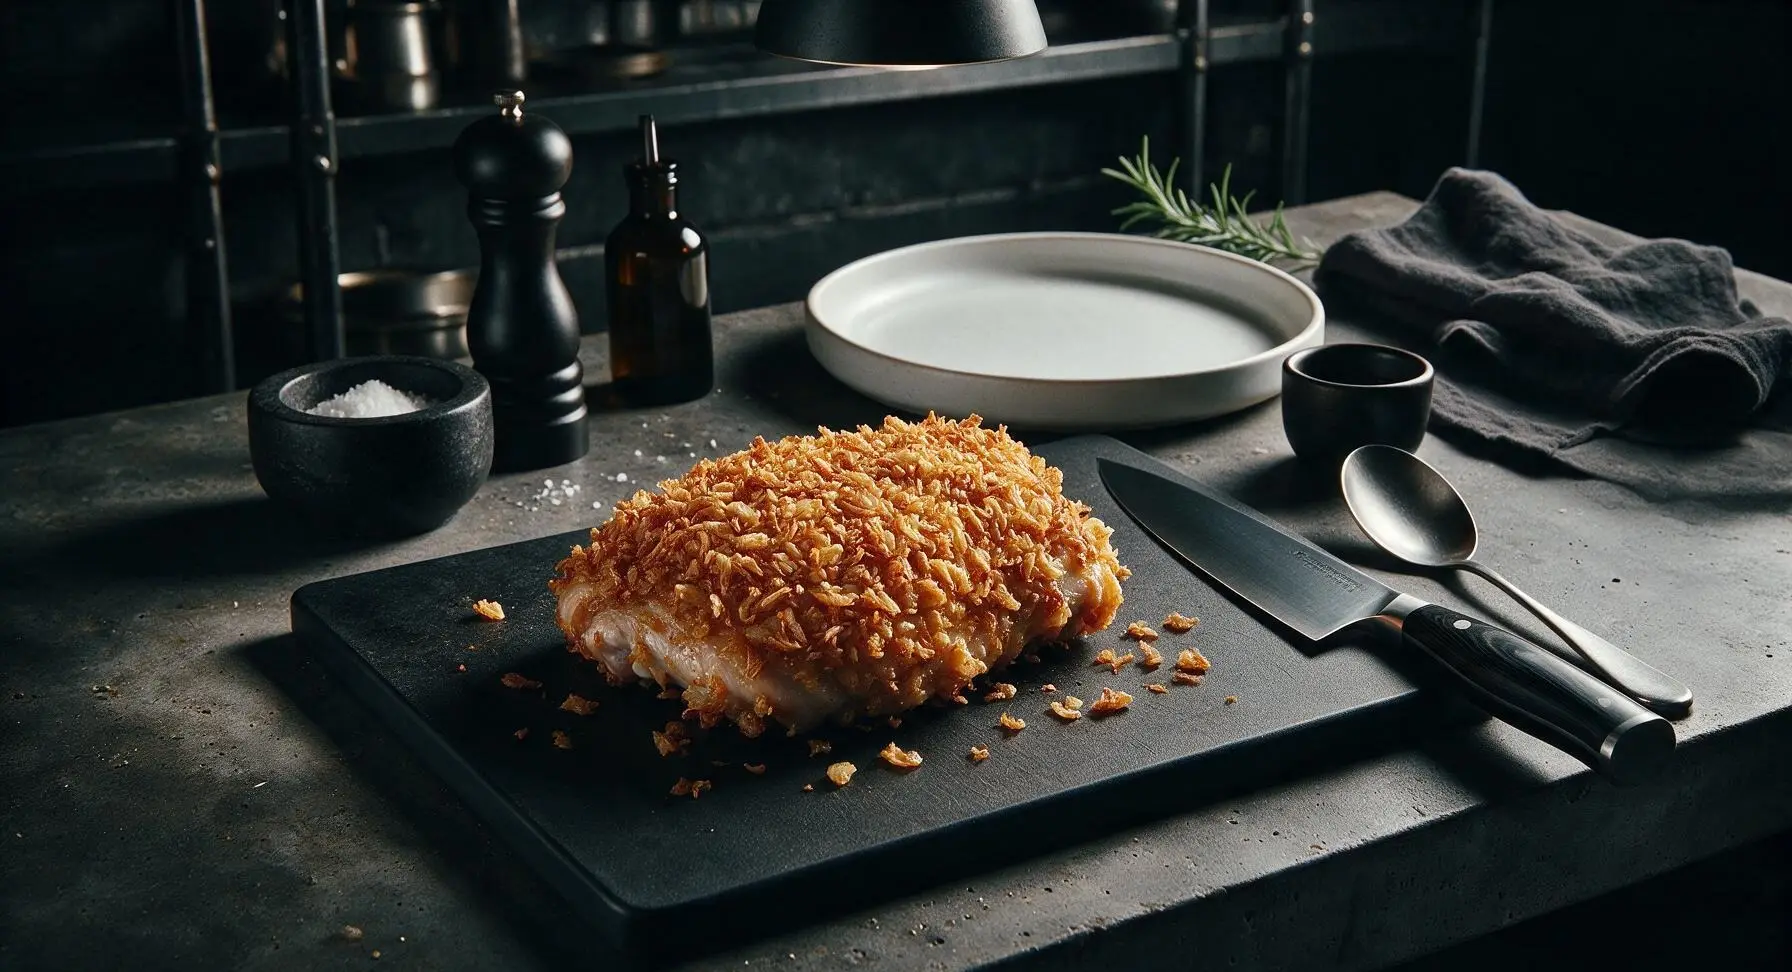
Step 3
step3:Coat Chicken Evenly
Step 3
step3:Coat Chicken Evenly
4

Heat Skillet and Oil

Place the 12-inch tri-ply stainless steel skillet on the induction cooktop over medium heat. Add the 2 tablespoons of extra-virgin olive oil, and heat for 2–3 minutes until the oil shimmers across the pan surface. Test the temperature by dropping one small crispy onion crumb into the oil: it should sizzle immediately on contact. Do not let the oil reach smoking point, as this will burn the delicate onion coating before the chicken cooks through.
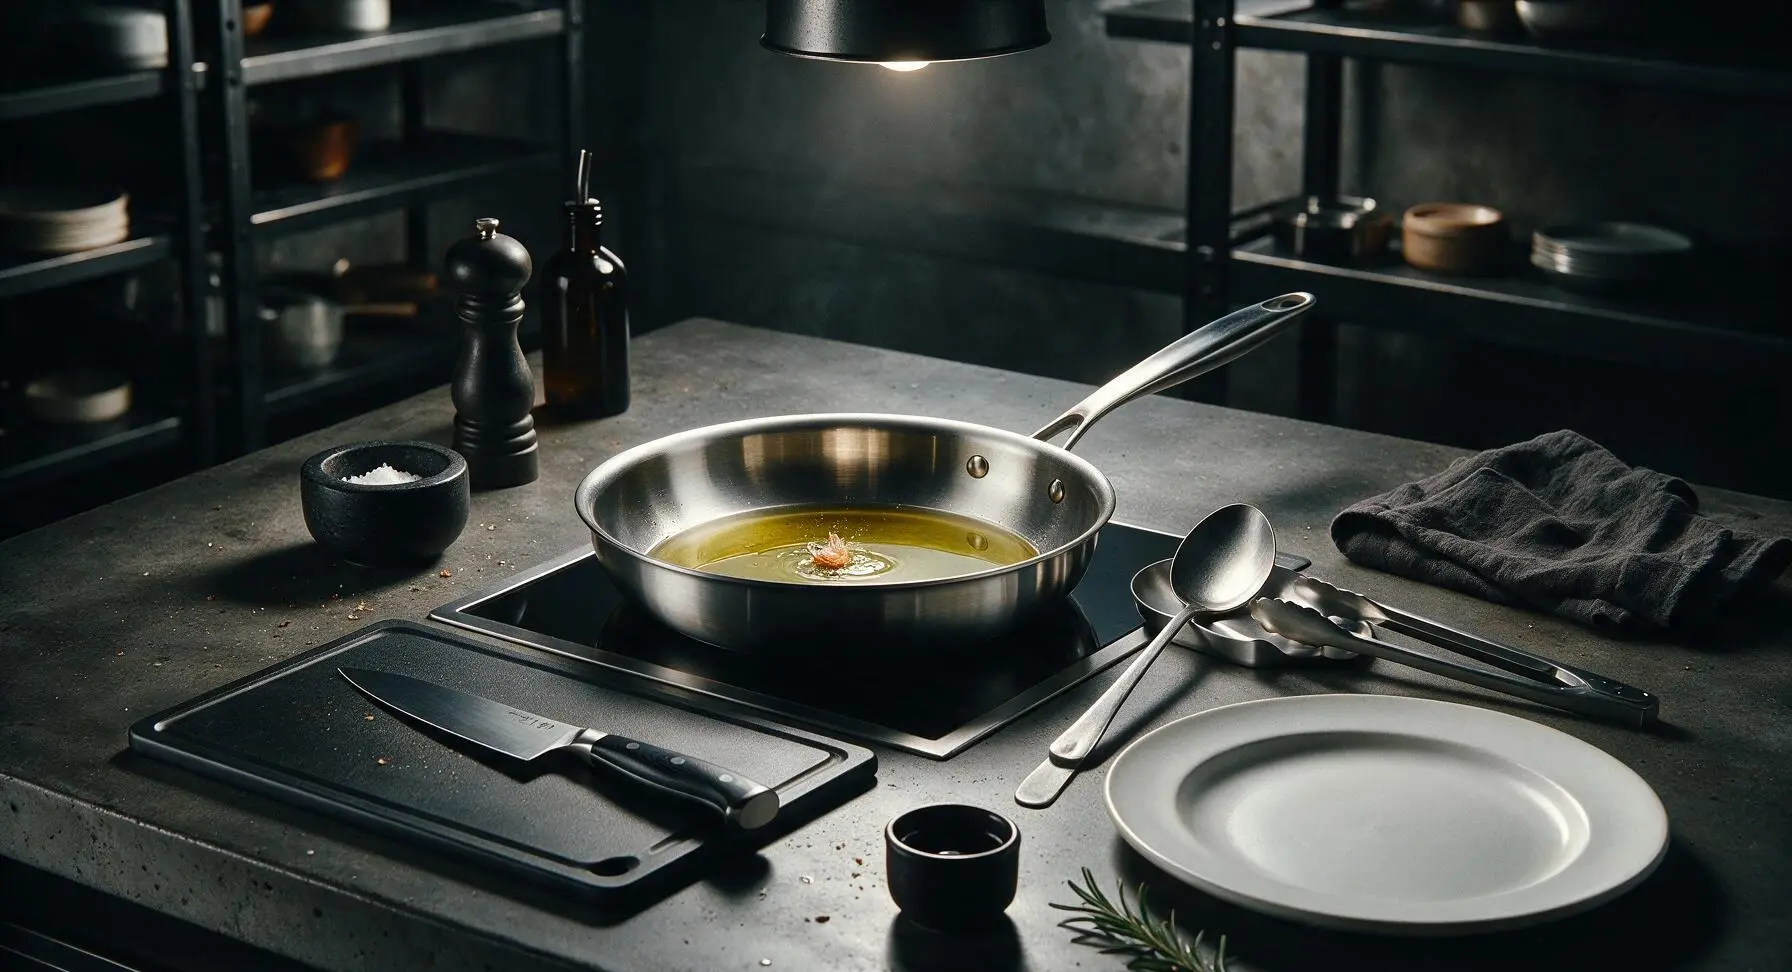
Step 4
step4:Heat Skillet and Oil
5

Fry First Chicken Side

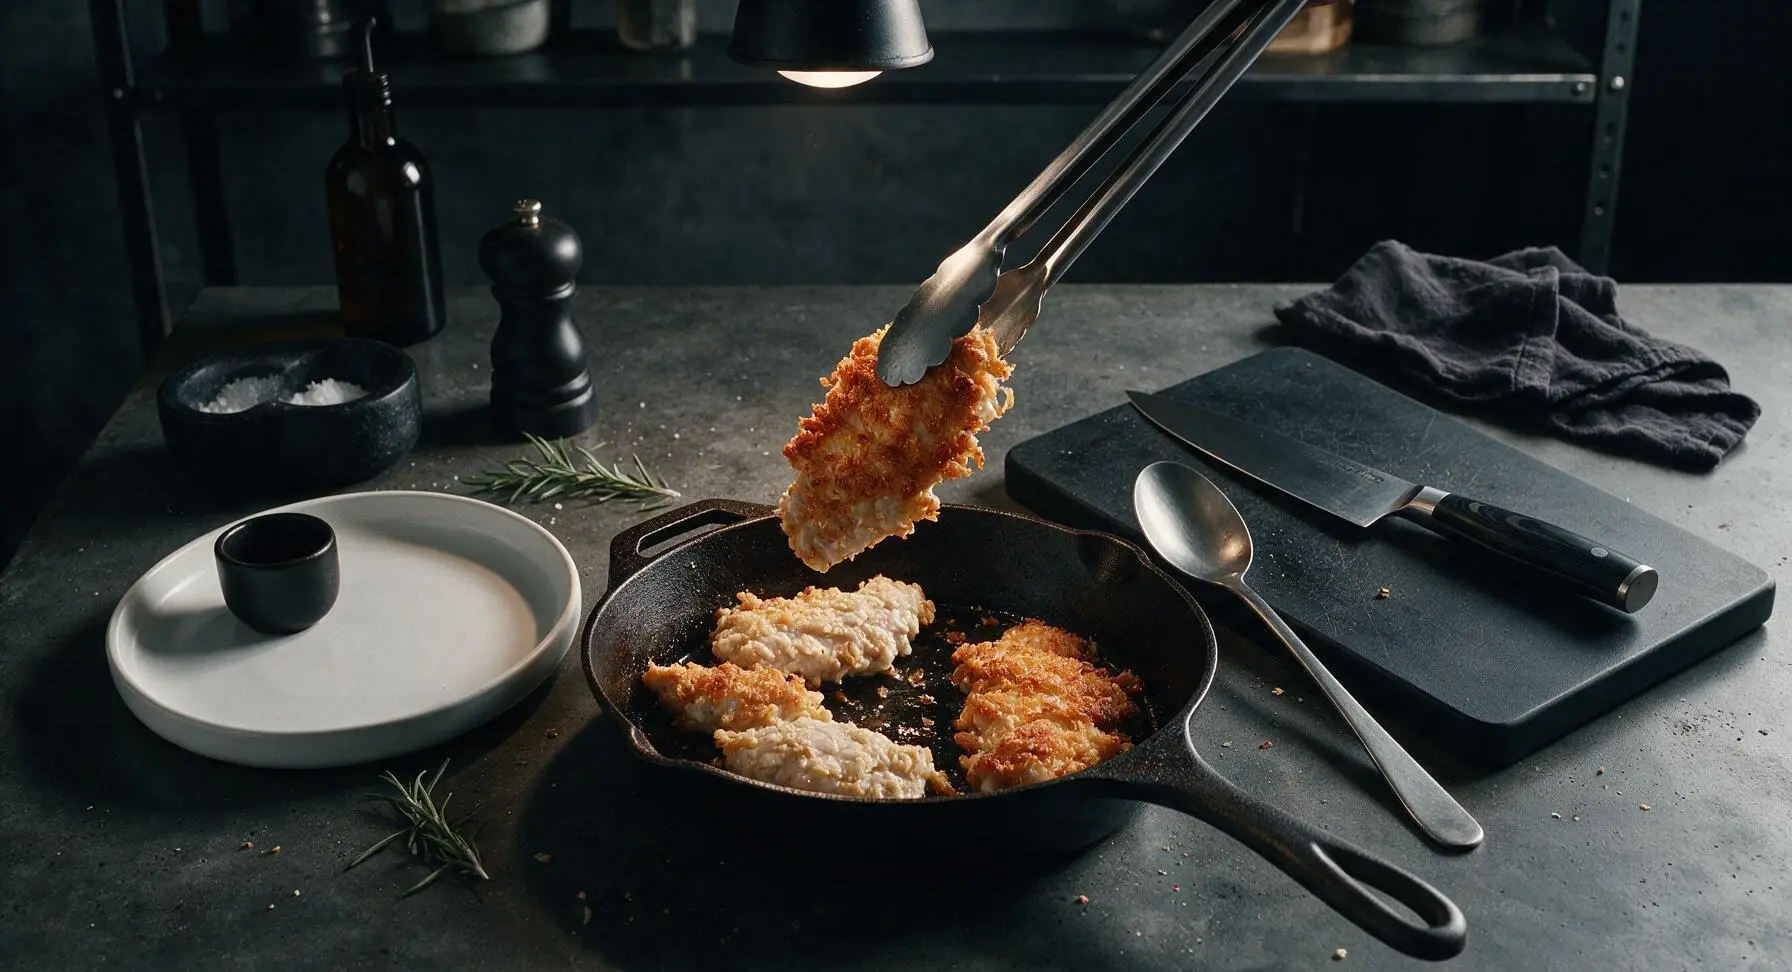
Use the stainless steel tongs to carefully lower the coated chicken pieces into the hot skillet in a single, uncrowded layer (cook in 2 batches if your skillet is too small to hold all 4 pieces without touching). Let cook completely undisturbed for 6 minutes over medium heat, until the bottom crust forms a deep, even golden brown, crispy surface. Do not nudge or move the chicken early, as this will break the crust and cause it to stick to the pan.
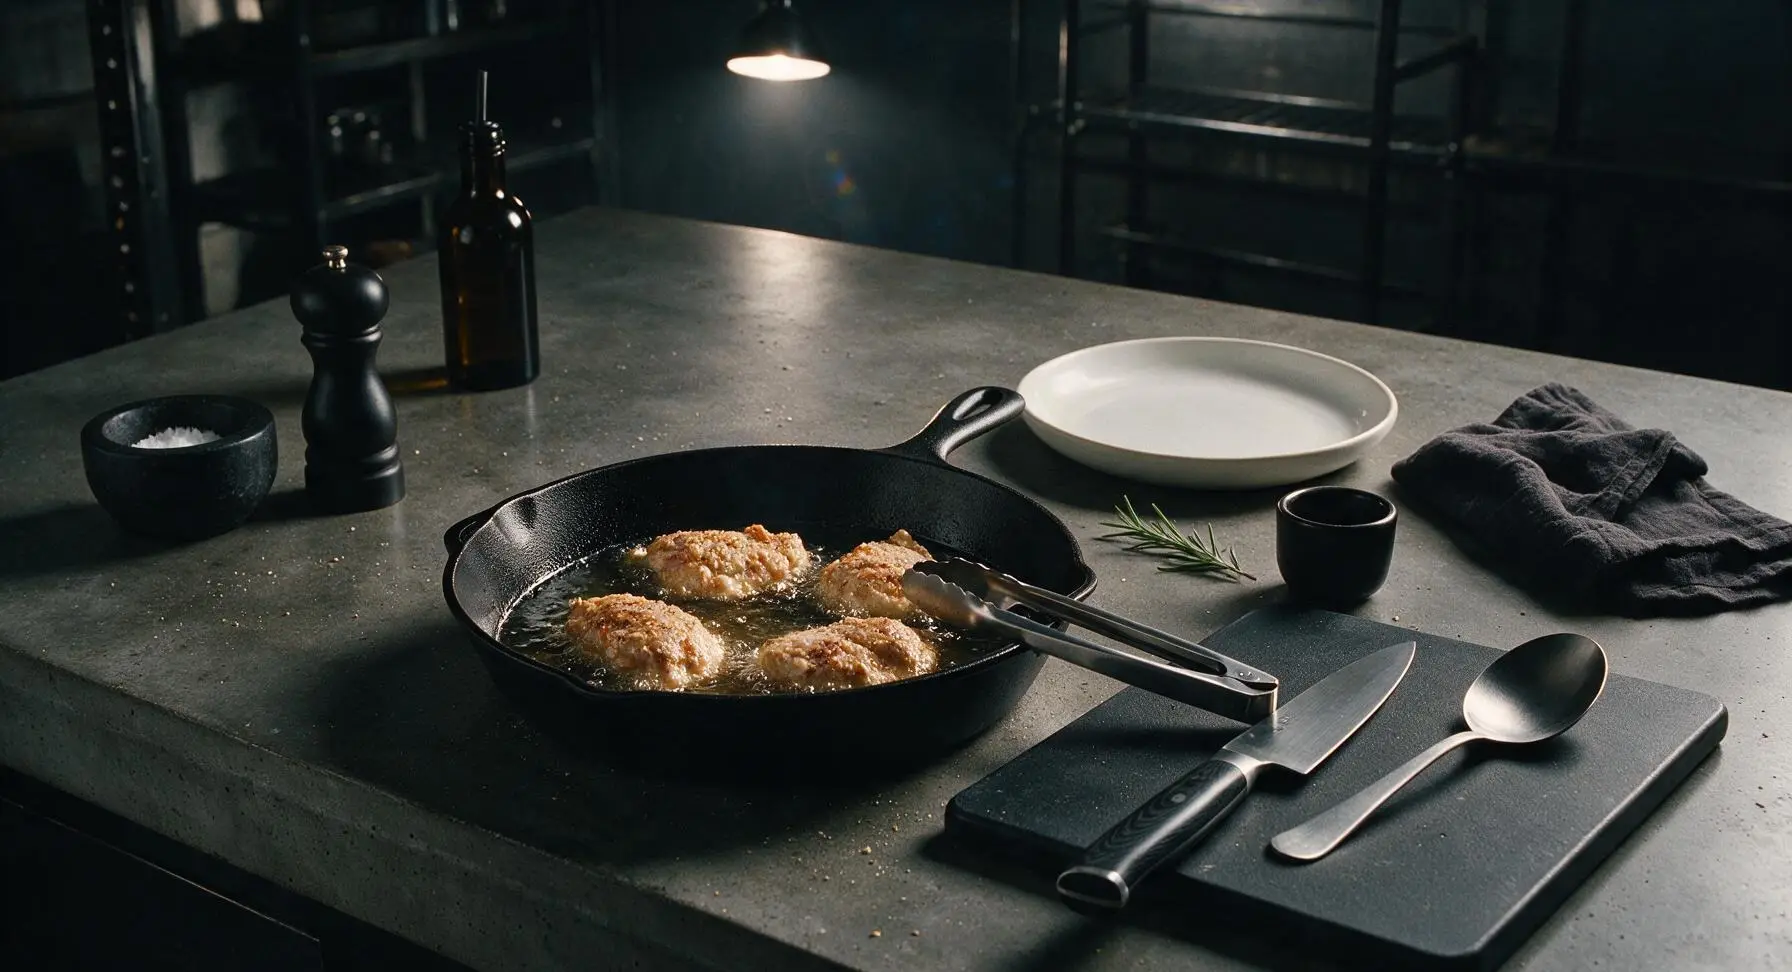
Step 5
step5:Fry First Chicken Side
6

Flip and Cook Through

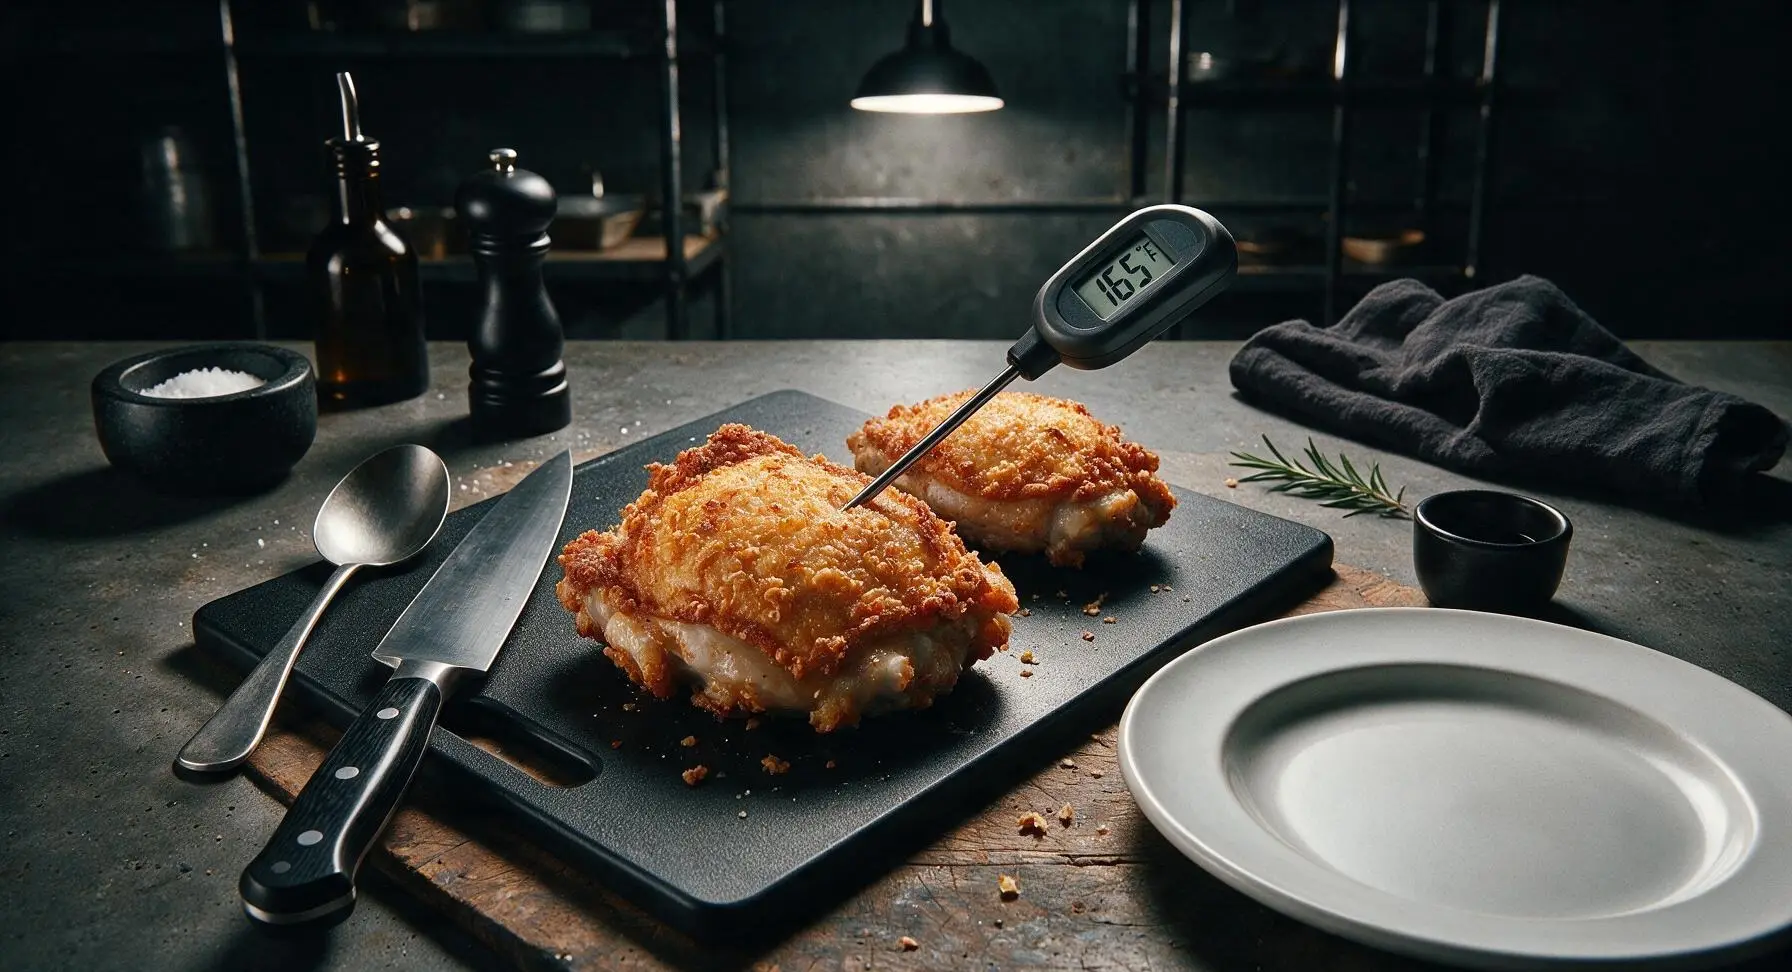
Use the tongs to gently grip the edge of each chicken piece and flip it to the second side, taking care not to tear the crispy crust. Continue cooking for another 5–6 minutes, until the second side matches the first in deep golden crispness. Check for doneness by inserting the instant-read meat thermometer into the thickest part of the largest thigh: it should read 74°C (165°F). If the crust darkens too quickly before the chicken reaches temperature, reduce heat to medium-low.
Step 6
step6:Flip and Cook Through
Step 6
step6:Flip and Cook Through
7

Rest and Garnish

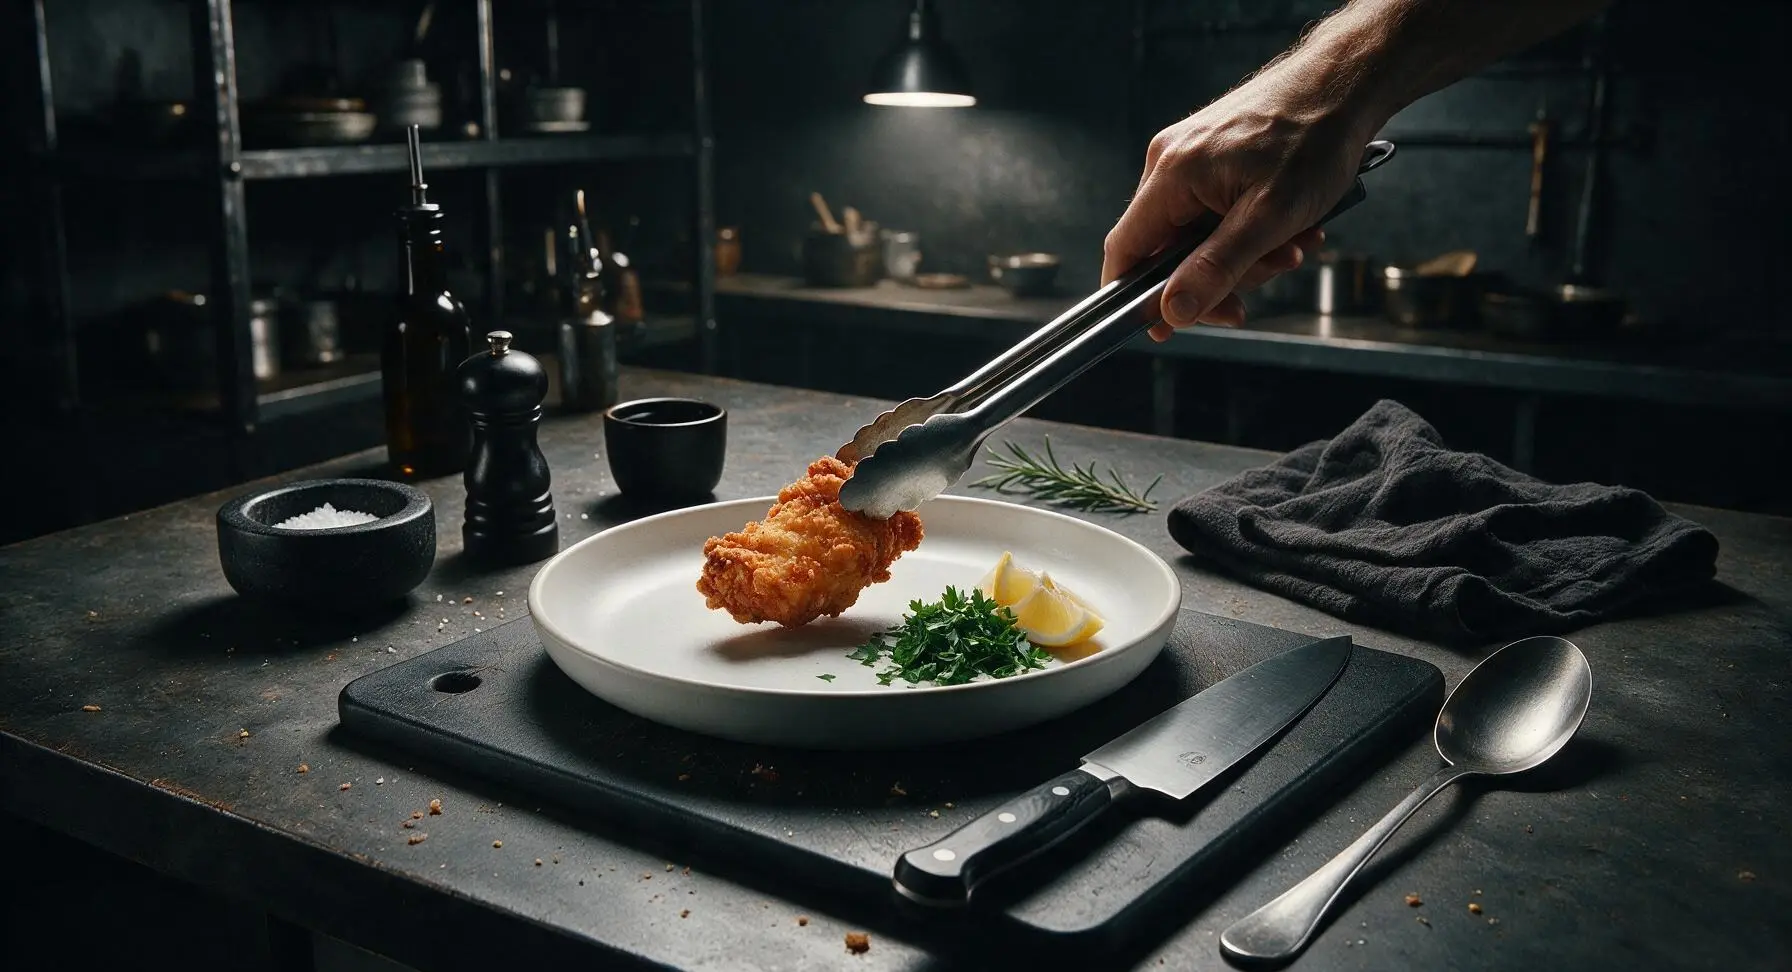
Use the tongs to transfer the fully cooked chicken pieces to the matte cream ceramic dinner plate. Let rest for 3 minutes to allow internal juices to redistribute, which keeps the chicken moist when cut. Sprinkle the top evenly with 2 tablespoons of chopped fresh flat-leaf parsley, and tuck lemon wedges around the plate edge for squeezing over the chicken just before eating.
Step 7
step7:Rest and Garnish

Tips

1.Pat chicken completely dry with paper towels before pounding and coating. Any residual surface moisture will prevent the flour, egg, and onion crust from adhering properly, leading to coating that slides off during frying instead of forming a crisp, even shell.
2.Crush crispy fried onions to coarse, panko-sized crumbs rather than grinding them into a fine powder. Coarse crumbs create a light, shatteringly crisp texture, while fine crumbs form a dense, tough coating that easily falls off the chicken.
3.Let cooked chicken rest for 3 full minutes before serving. Cutting into the chicken immediately causes hot internal juices to run out onto the plate, drying out the meat and making the crispy crust soggy.


✨ You May Also Like

Main Course
🍜 United Kingdom

A showstopping classic of tender seared beef, savory mushroom duxelles, and crisp prosciutto wrapped in flaky golden puff pastry, baked to juicy perfection.

⏱️ 2 hours 1Main Course ★ 4.7
Main Course
🍜 India

Tender charred marinated chicken simmered in a rich, spiced creamy tomato sauce, this iconic Anglo-Indian curry pairs perfectly with basmati rice or warm naan.

⏱️ 50 minuteMain Course ★ 4.6
Main Course
🍜 Thailand

Classic tangy, sweet, and savory Thai stir-fried rice noodles with shrimp, tofu, and crunchy garnishes, balancing all five core Thai flavor profiles.

⏱️ 30 minuteMain Course ★ 4.5
Main Course
🍜 United Kingdom

Crispy golden beer-battered cod and fluffy double-fried chips, served with tangy tartar sauce and malt vinegar: the timeless, beloved British pub comfort classic.

⏱️ 45 minuteMain Course ★ 4.7
Main Course
🍜 Mexico

Smoky, chile-marinated pork tacos with caramelized pineapple, fresh cilantro, and lime: a beloved classic Mexican street food perfect for casual summer gatherings.

⏱️ 1 hour 45Main Course ★ 4.8
Main Course
🍜 United States

Crunchy Fritos corn chips layered with savory beef chili and melted cheddar, topped with cool, zesty fixings for a beloved, cozy Tex-Mex comfort food.

⏱️ 35 minuteMain Course ★ 4.8

crispy onion chicken:Frequently Asked Questions

1.Why does this recipe call for boneless skinless chicken thighs instead of chicken breasts? ▾
Boneless skinless thighs have a mild, rich fat content that stays juicy even during high-heat cooking, so you won’t end up with dry, tough chicken like you might with overcooked breasts. They cook fully in 15-20 minutes, pair perfectly with the savory onion crust, and cut down on weeknight prep time with no tricky trimming needed.
2.Can I use homemade fried onions instead of store-bought for the crust? ▾
Absolutely! If you make your own fried onions, be sure they are fully cooled, extra crisp, and crushed to a coarse, panko-like texture before breading. Keep in mind store-bought fried onions are pre-seasoned and extra dry, so they adhere more reliably and create that signature shatteringly crisp crust with far less prep work on busy nights.
3.Why does the onion crust fall off my chicken when I cook it? ▾
This issue almost always comes down to excess chicken moisture or skipped breading steps. First, pat chicken completely dry with paper towels, then coat lightly in flour, dip fully in beaten egg, and press firmly into the crushed fried onions. Let breaded chicken rest 5 minutes before cooking to let the coating set and stay put.
4.What cooking method gives the crispiest crust with the least cleanup? ▾
For minimal mess and maximum crunch, set a wire rack inside a rimmed baking sheet, arrange breaded chicken on the rack, and bake at 425°F for 18-22 minutes, flipping halfway through. The rack lets hot air circulate under the chicken so the crust stays crisp on all sides, and you won’t have a greasy splattered skillet to scrub post-dinner.
5.Can I adjust this recipe to be gluten-free? ▾
Yes, with two simple, no-fuss swaps. Replace the all-purpose flour with a 1:1 gluten-free all-purpose blend that includes xanthan gum, and use certified gluten-free crispy fried onions (many standard store-bought brands contain wheat filler). The eggs and garlic powder are naturally gluten-free, so the final flavor and crunch will be nearly identical to the original.
6.How do I store leftovers and keep the crust crisp when reheating? ▾
Store leftover chicken in a sealed airtight container in the refrigerator for up to 3 days. Skip the microwave for reheating—it will turn the crust soggy. Instead, place chicken on a wire rack over a baking sheet and heat at 375°F for 8-10 minutes, until the chicken is warmed through and the coating is crisp again.
7.What quick side dishes pair well with this chicken for weeknight dinners? ▾
This savory, crunchy chicken pairs perfectly with low-prep sides that come together fast. Try roasted broccoli (you can cook it on the same baking sheet as the chicken!), buttered egg noodles, a simple tossed green salad with vinaigrette, or fluffy steamed white rice to round out the meal with almost no extra effort.

Comments (11)

2 days ago

OMG this Crispy Onion Chicken is a total weeknight game changer! I threw this together in 20 minutes flat while helping my oldest with math homework, and all three of my kids cleared their plates without complaining. Even my super picky 7 year old asked for seconds! The crust stayed so crispy even after I tossed a little extra BBQ sauce on top. Will absolutely be adding this to our regular dinner rotation.

yesterday

Same here! My kids are the same way, I’ve been looking for something that doesn’t require a million ingredients and this hit the spot. I added a little paprika to the onion crust for extra smoke, chef’s kiss.

yesterday

So glad this worked for your family! The paprika addition sounds delicious – feel free to tweak the seasoning to match your family’s taste, it’s super versatile!

1 week ago

Perfect easy meal for dorm cooking! I only have a tiny toaster oven and a handful of baking supplies, and this still turned out so crispy. Meal prepped 4 servings on Sunday and ate it for lunch all week – didn’t get soggy at all even when I reheated it in the dorm microwave. 10/10 for broke college students who are sick of ramen.

5 days ago

Love that this works for dorm meal prep! Pro tip for next time: reheat on a paper towel in the microwave to help keep the crust extra crisp if you don’t have access to an oven/toaster oven.

3 days ago

Brought this to our neighborhood block party potluck last weekend and people were asking me for the recipe before I even set the platter down! The crispy onion coating is so much more flavorful than regular breaded chicken. I cut the breasts into tenders so they were easier to grab as finger food, worked perfectly. SO good.

5 days ago

Wait, can I make this with gluten free fried onions? I have celiac and have been craving a crispy chicken recipe that doesn’t require making my own breading from scratch. This looks so easy and 20 minutes is right up my alley for busy work nights!

3 days ago

I did this last week! Used the GF french fried onions from the grocery store, crushed them up a little finer, and it turned out exactly the same. No weird texture or aftertaste, my husband didn’t even notice it was GF!

3 days ago

Great question! Gluten free fried onions work perfectly here – just make sure they’re crushed to a similar consistency as regular fried onions so the coating sticks well. So glad you’re giving it a try!

2 days ago

Made this for my husband for our first at-home date night after we got back from our honeymoon, and he said it’s better than the fried chicken we got at our wedding reception! I paired it with roasted broccoli and mashed potatoes, it felt like a fancy restaurant meal but took basically no effort. Will be making this for his birthday dinner next month for sure.

yesterday

Aww, this makes our day! So happy you two loved it – happy belated honeymoon, and hope the birthday dinner turns out just as delicious!

1 week ago

Cooked this up after a long day hike with the kids last weekend, it was fast, filling, and didn’t leave a mountain of dishes to clean up. The only change I made was adding a little garlic powder to the coating, otherwise followed the recipe exactly. Crispy, flavorful, no complaints from anyone around the camp table (we used our cast iron skillet on the camp stove!)

2 hours ago

Took this for my work lunch today after making it last night, and three of my coworkers stopped by my desk to ask what smelled so good. The chicken stayed juicy on the inside and the onion crust still had crunch even after sitting in the fridge overnight. Way better than the sad takeout salads I usually eat for lunch.

30 minutes ago

Right?! I stopped buying sad work lunches once I started making this recipe every other week. It reheats so much better than regular breaded chicken, I don’t know why I didn’t think to use fried onions as coating sooner!

2 weeks ago

I’ve been making fried chicken for my grandkids for 40 years, and let me tell you, this recipe is a keeper! I was a little skeptical at first that it would be as crispy as my usual buttermilk fried chicken, but it turned out perfect. Only thing I did differently was dip the chicken in a little sour cream instead of egg because that’s what I had in the fridge, worked like a charm.

1 week ago

Sour cream instead of egg? That’s genius! I never have eggs in the house for some reason, I’m definitely trying that hack next time I make this.

1 week ago

Love that old-school cooking hack! Sour cream adds such a nice tang to the coating too, we might have to test that variation for the site – thanks for the tip!

5 minutes ago

Wait, how do you get the onion coating to stick without sliding off? I tried this last night and half the crust came off when I flipped the chicken in the pan. It still tasted good, just not as crispy as the photos look. Did I do something wrong?

just now

Sorry to hear the coating slid off! A quick fix: make sure you pat the chicken completely dry before dipping it in the egg, and press the crushed onion coating firmly into the chicken so it adheres before cooking. Also, make sure your pan is hot enough before adding the chicken – that helps the crust set right away so it doesn’t fall off when flipping. Hope that helps for next time!

1 week ago

Meal prep win! I make a big batch of this every Sunday, portion it out with roasted sweet potatoes and green beans, and I’ve got lunch and dinner for half the week. It doesn’t get soggy, the chicken stays juicy, and I don’t get bored of eating it because I can switch up the dipping sauces – ranch, honey mustard, buffalo, all work great!

5 days ago

Dipping sauce game is so right! I tried it with sweet chili sauce last week and it was insane, I never would’ve thought to pair that with crispy onion chicken but it works.

3 days ago

We love how customizable this is! Sweet chili sauce sounds incredible, we’re big fans of dipping it in hot honey ourselves. So glad this is a meal prep staple for you!

yesterday

Made this for my fantasy football watch party last night, the guys devoured the whole platter in 10 minutes flat. I cut the chicken into bite-sized nuggets, served with a side of ranch for dipping, and nobody even touched the frozen pizza I bought as a backup. Way easier than frying a whole batch of wings, will be my go-to game day food from now on. SO crispy, so flavorful, zero effort.



