
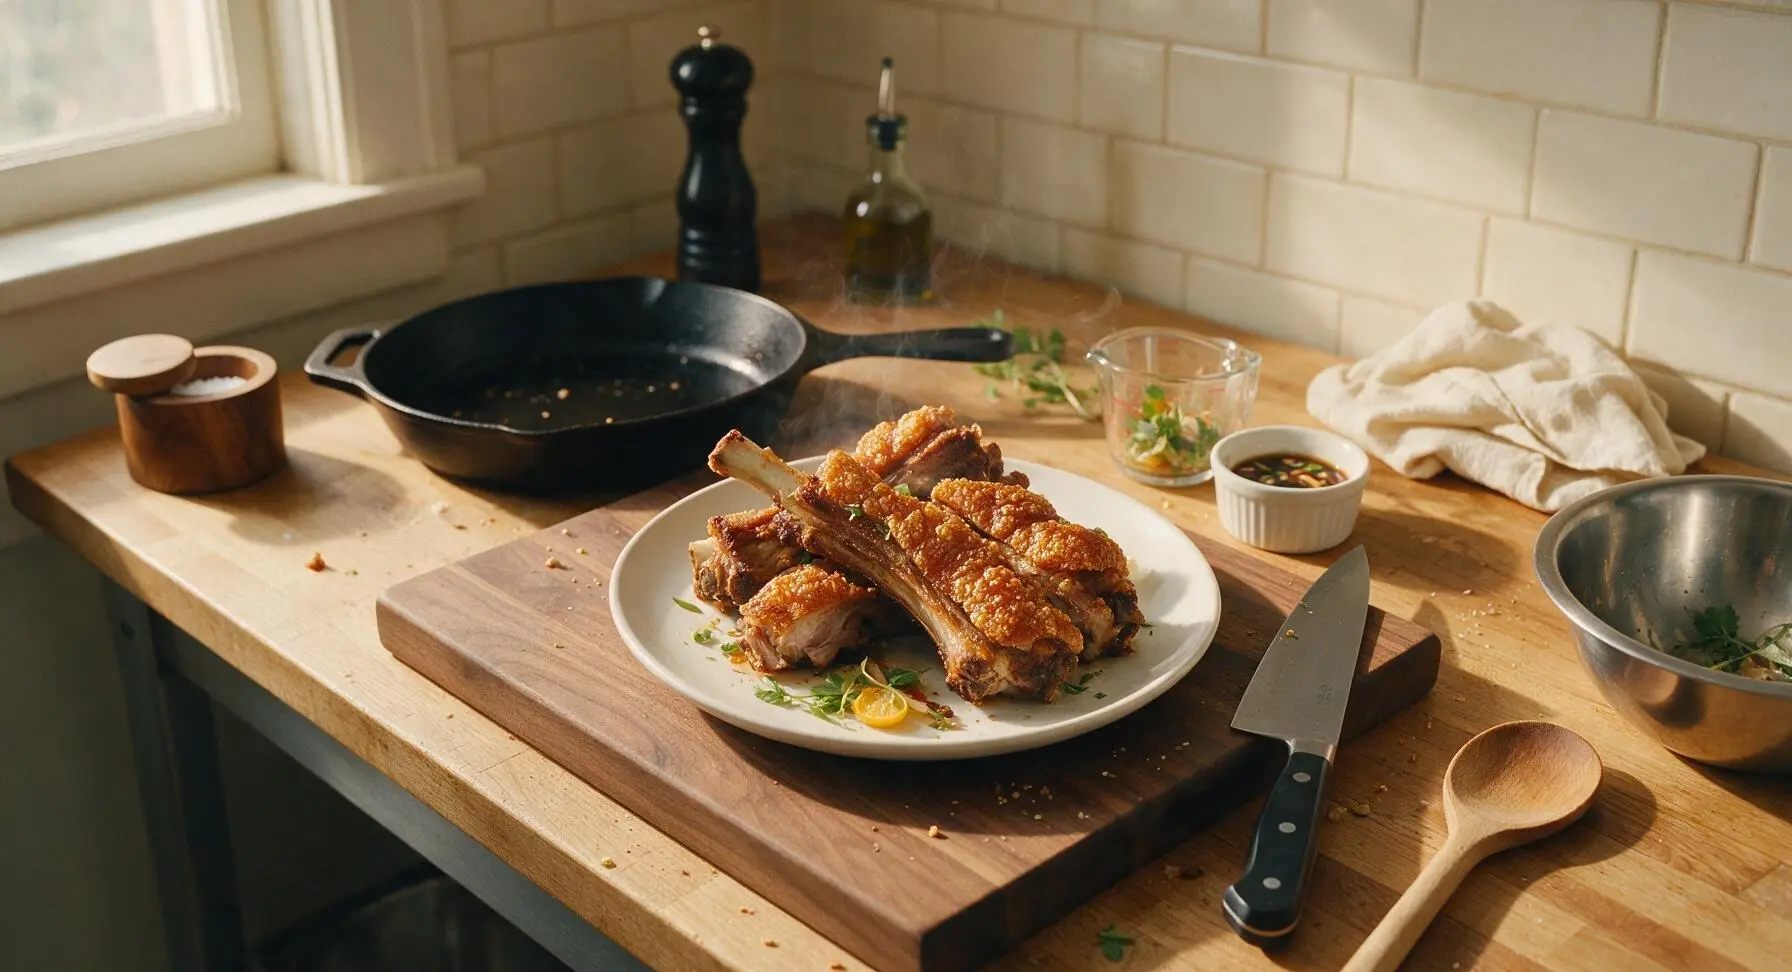
Crispy Pata Ribs

title 1
Crispy Pata Ribs
⏱️ cook time 1 hour 30 minutes
🍽️ servings 4
⚡ Difficulty medium

intro

Shatteringly crisp skin-on pork ribs with juicy, tender meat, seasoned with classic Filipino aromatics, served with tangy soy-vinegar dip for cozy family meals.

Ingredients
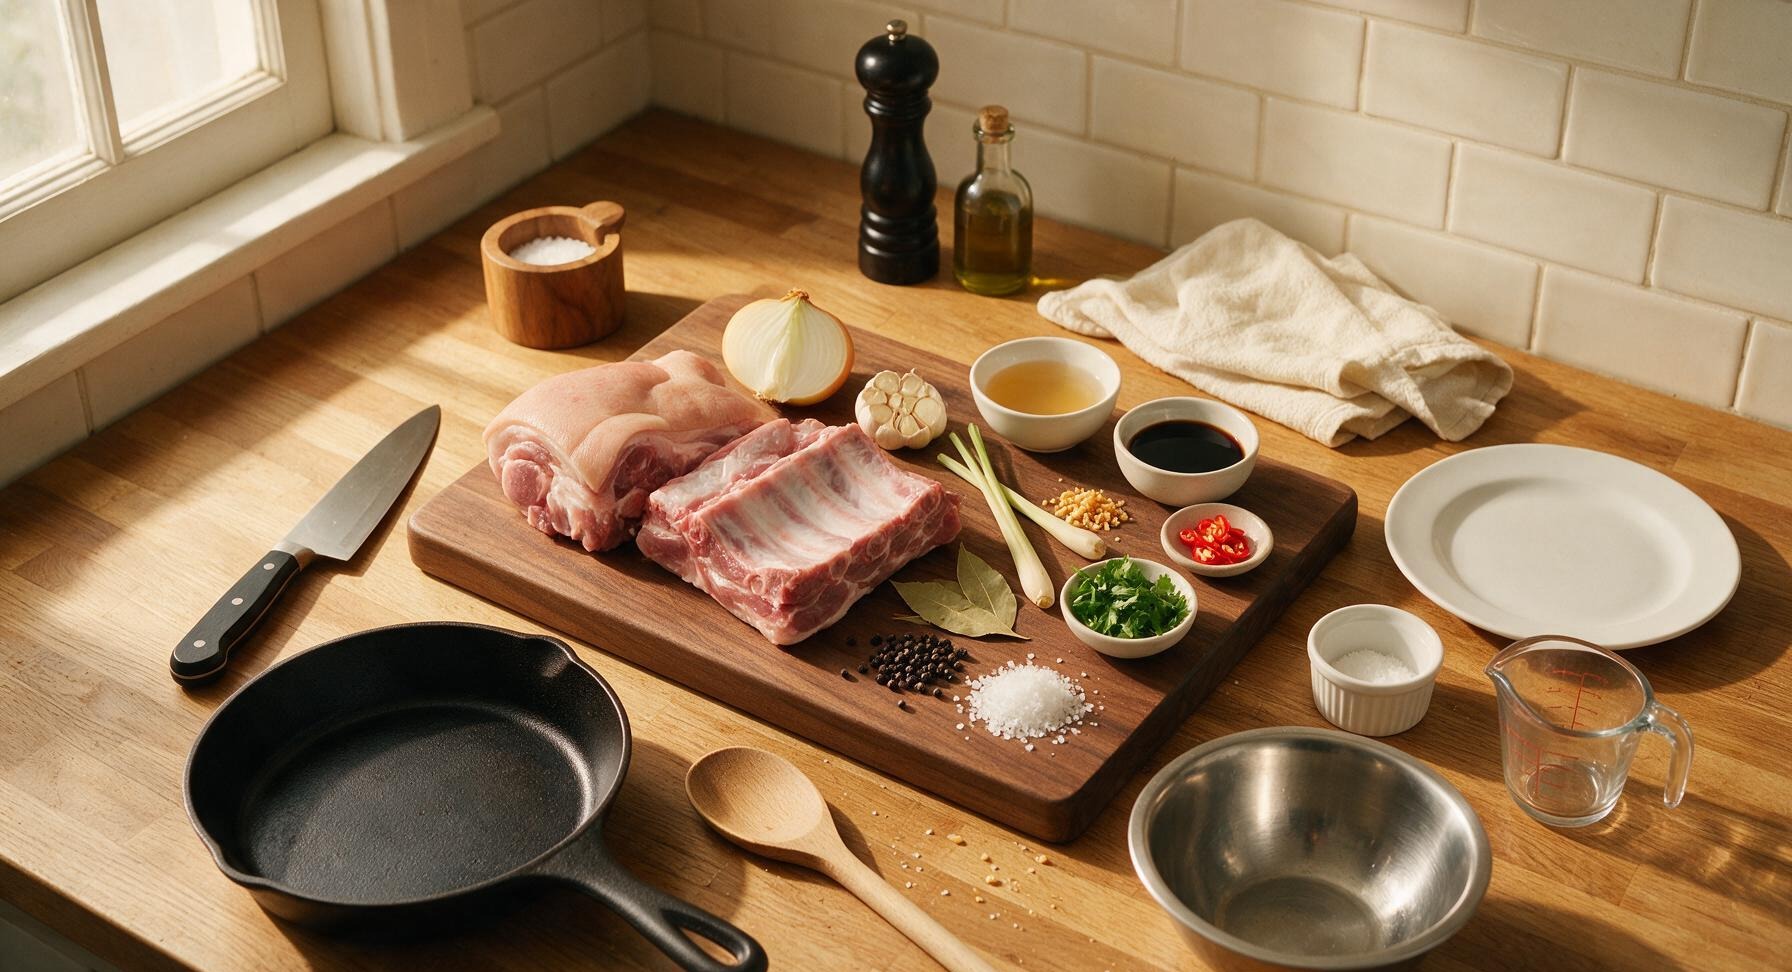
Meaty skin-on pork pata ribs (rib section adjacent to pork hock) 1.2 kg
Yellow onion 1 large, quartered
Garlic 1 whole head, crushed
Lemongrass 2 stalks, bruised
Dried bay leaves 3 pieces
Whole black peppercorns 1 tablespoon
Coarse sea salt 1/4 cup plus 1 teaspoon
Neutral cooking oil (canola or palm) 1 liter
Cane vinegar 1/2 cup
Light soy sauce 1/3 cup
Red bird's eye chili 1, thinly sliced
Fresh cilantro 2 tablespoons, chopped
Fried garlic bits 1 tablespoon

Steps

1

Trim and Prep Ribs

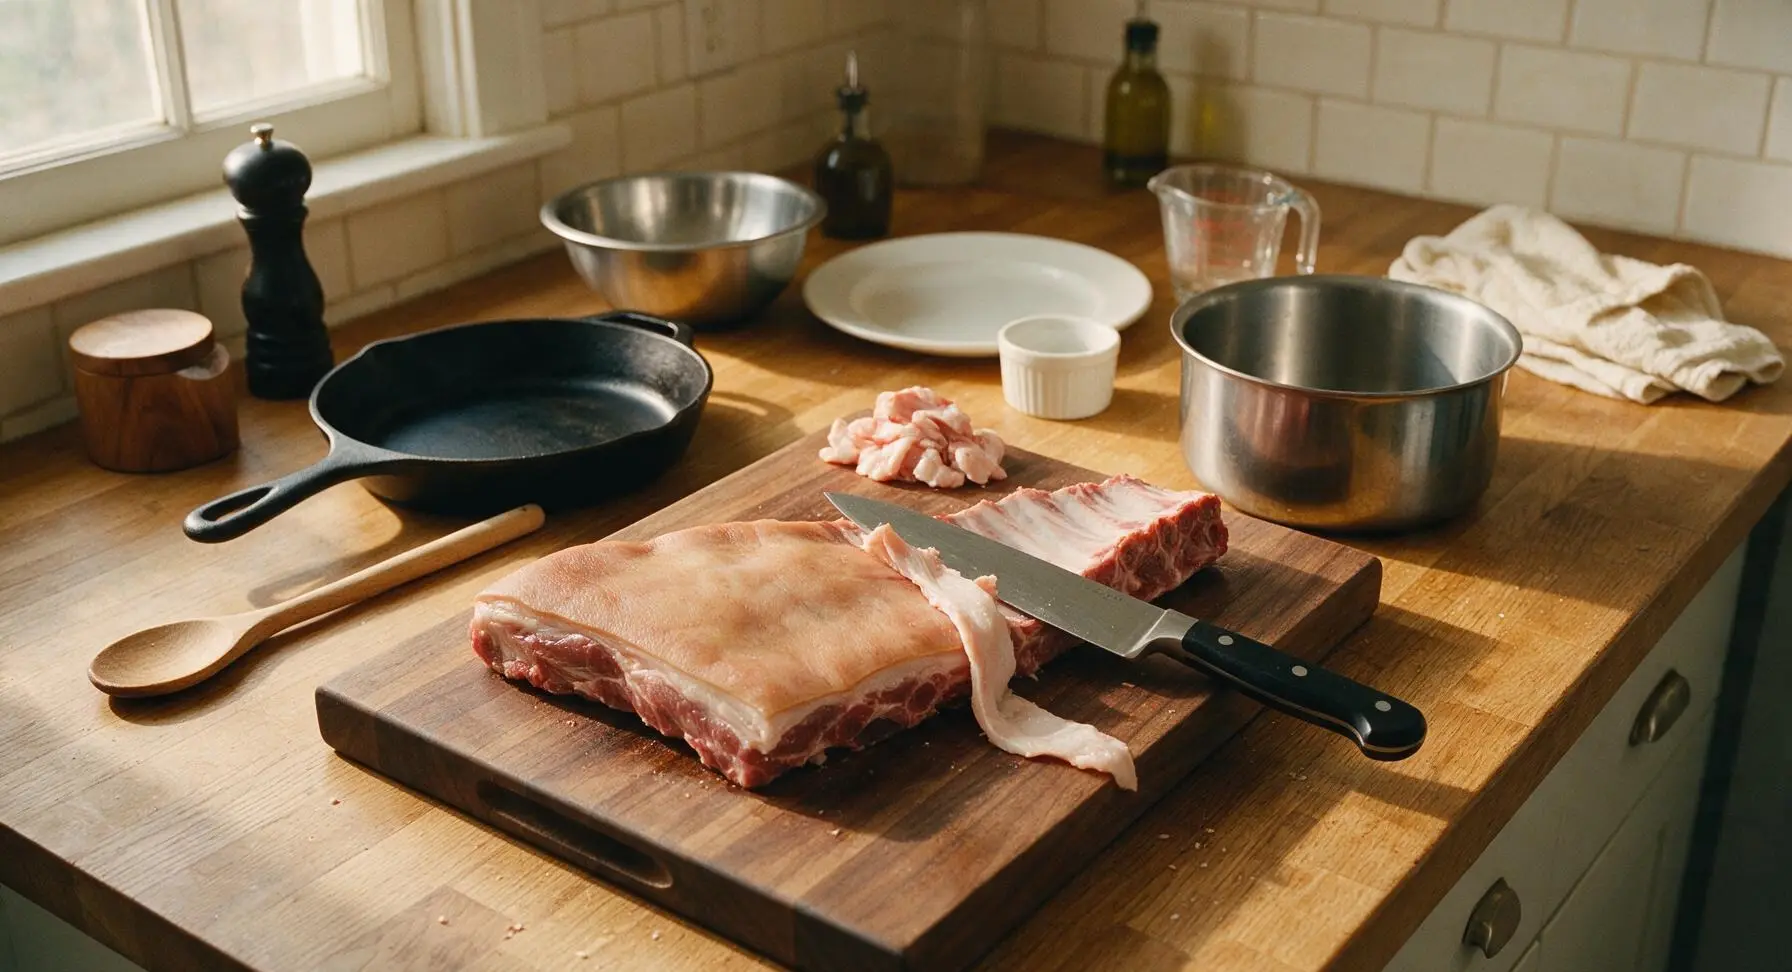
Place the raw skin-on pata ribs on the acacia wood cutting board. Use the 8-inch stainless steel chef knife to trim any excess loose fat or tough silver skin from the rib surfaces, leaving a uniform 1/4-inch layer of fat attached to the skin side. Rinse the trimmed ribs under cool running water and pat completely dry with a clean corner of the indigo cotton kitchen towel. The prepped ribs should feel firm, with no ragged loose meat edges.
Step 1
step1:Trim and Prep Ribs
2

Boil With Aromatics

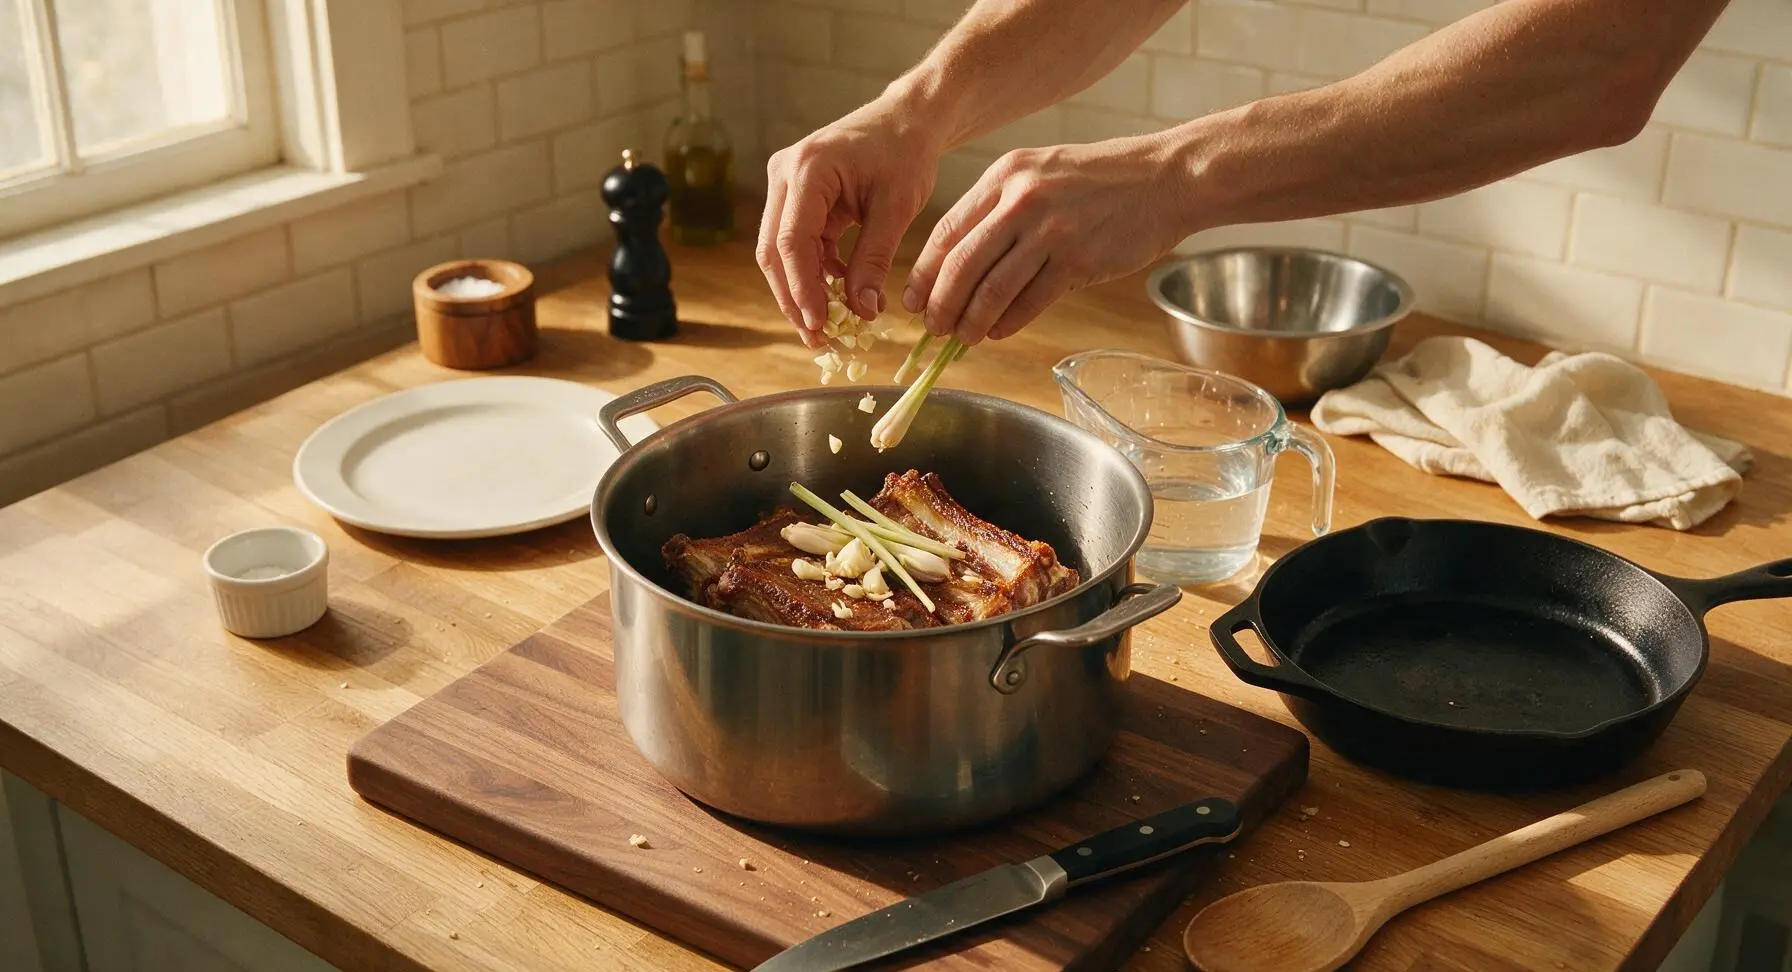
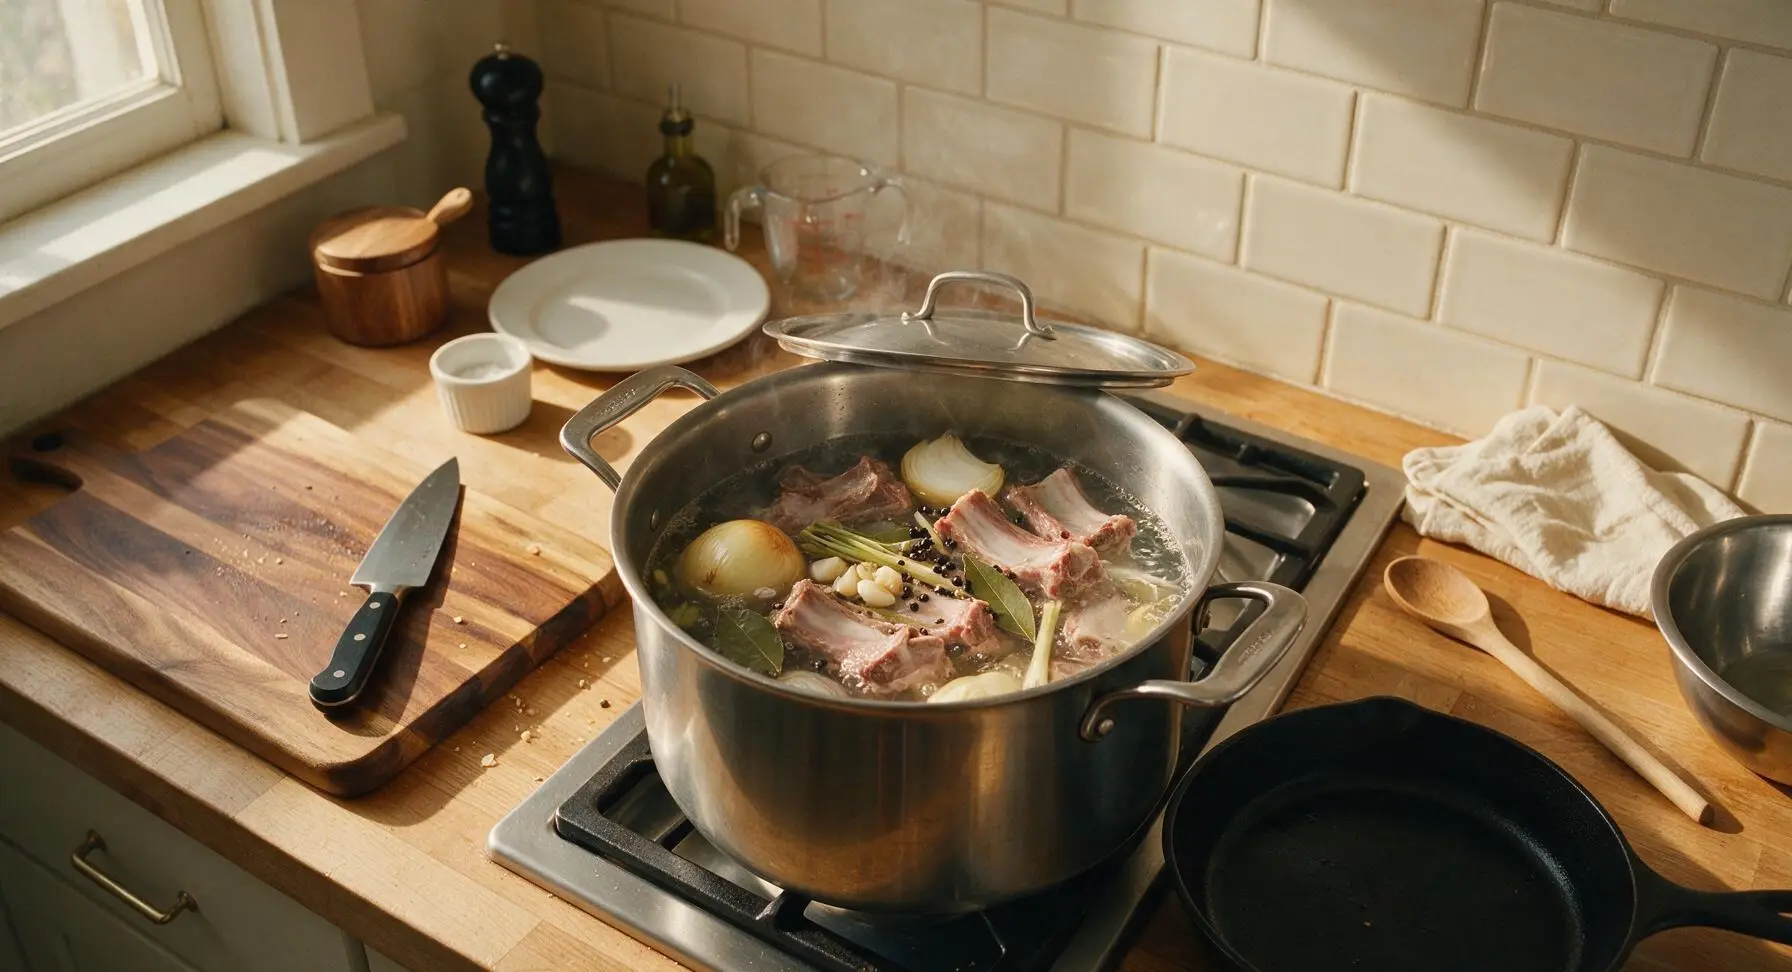
Place the trimmed ribs into the 8-quart stainless steel stock pot. Add the quartered yellow onion, crushed garlic, bruised lemongrass, bay leaves, whole black peppercorns, and 1/4 cup coarse sea salt. Pour enough cold water into the pot to fully cover the ribs by 2 inches. Bring to a rolling boil over high heat, then reduce heat to medium-low, cover with the pot lid, and simmer for 1 hour 15 minutes. The ribs are done when a dinner fork slides easily into the thickest part of the meat, but the meat remains firmly attached to the bone (not falling off, which would lead to tough, dry fried meat).
Step 2
step2:Boil With Aromatics
Step 2
step2:Boil With Aromatics
3

Drain and Dry Ribs

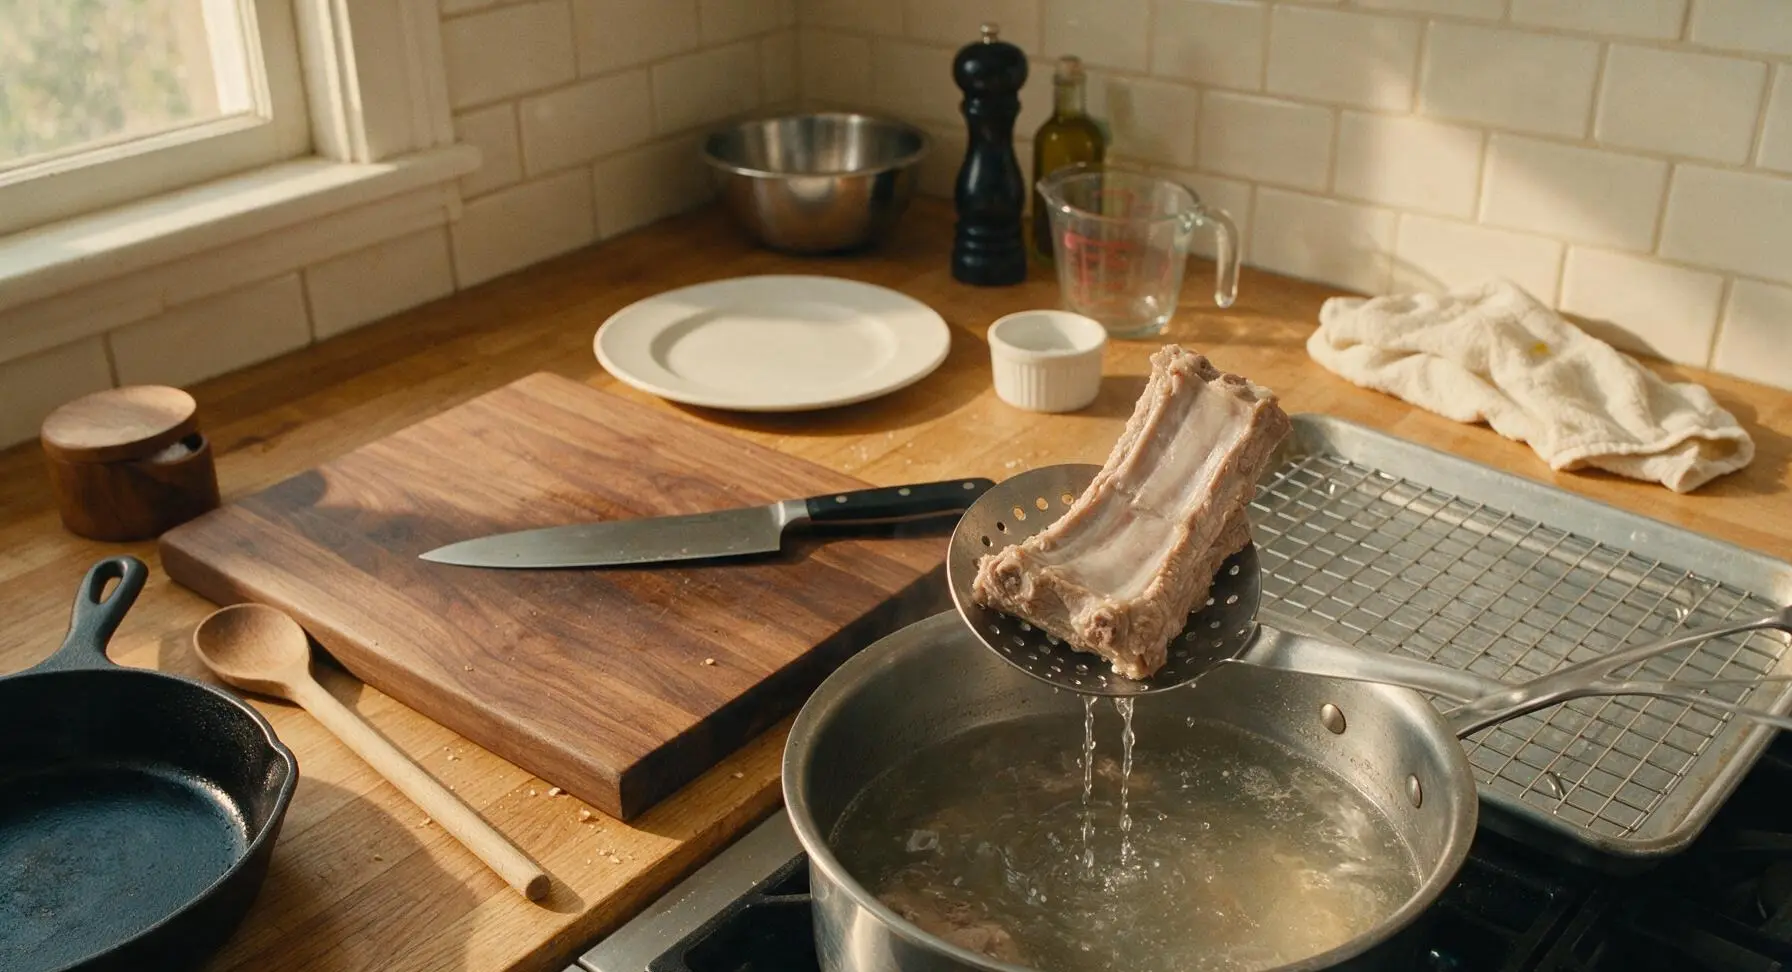
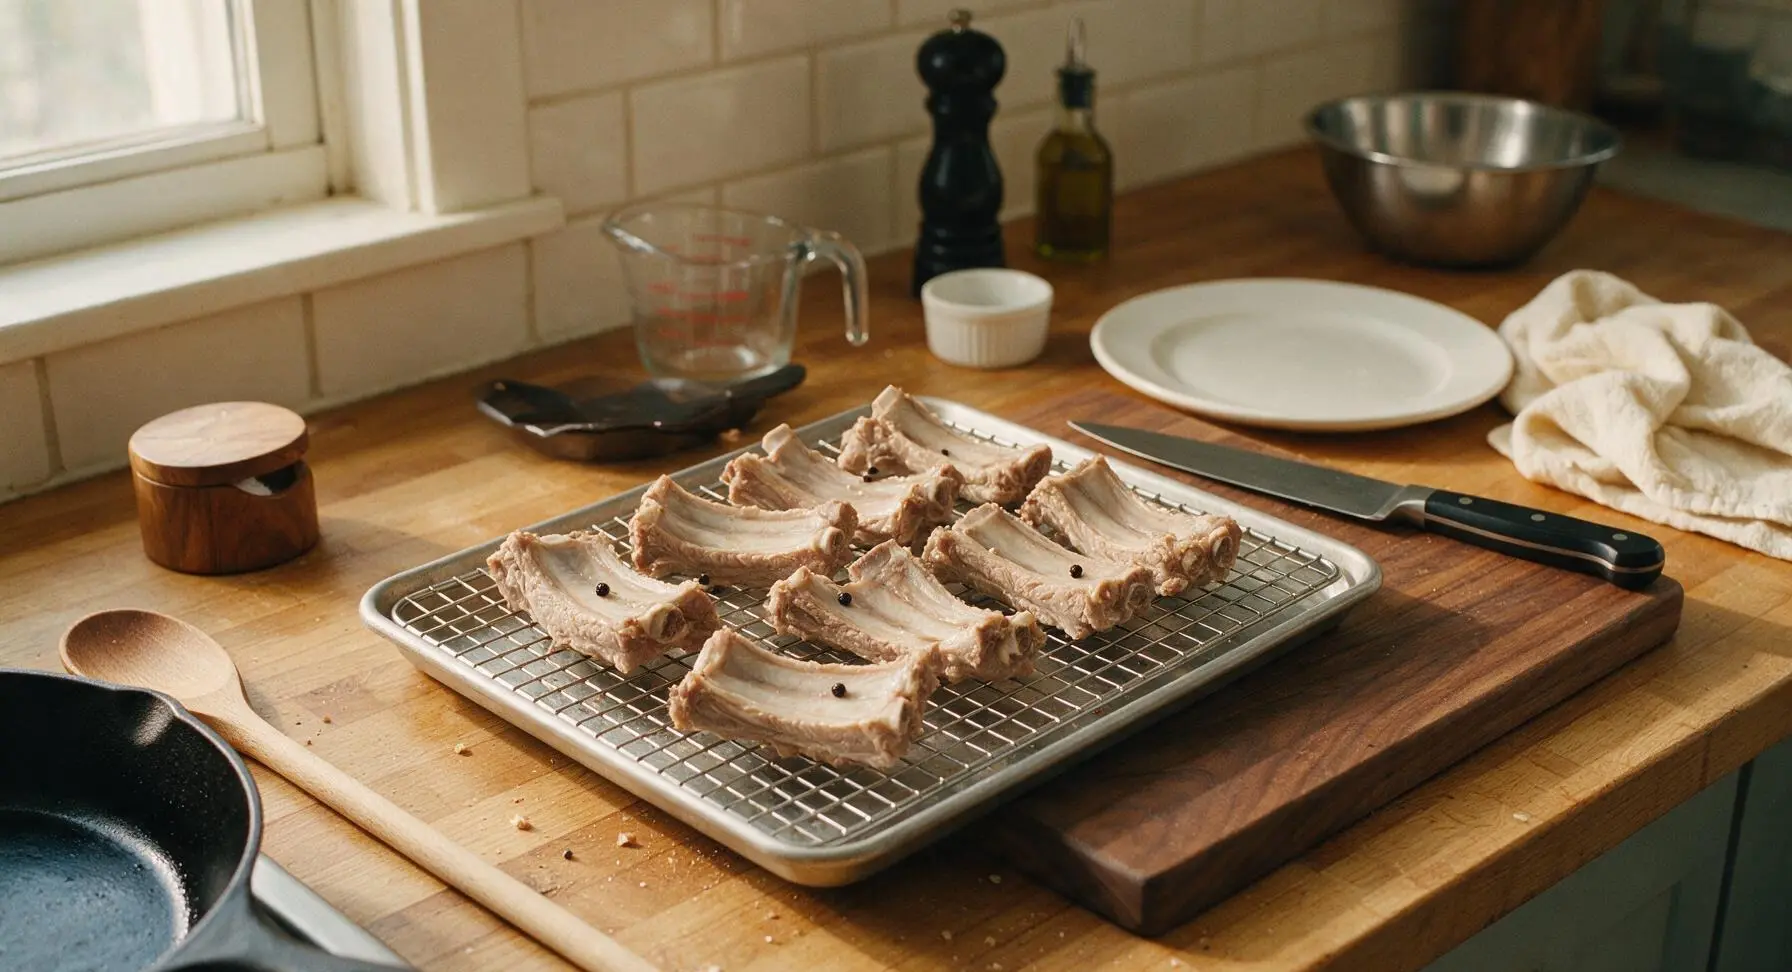
Once the ribs reach the correct tender texture, use the slotted stainless steel skimmer to lift them from the boiling liquid, holding each rib section above the pot for 10 seconds to let excess water drain off completely. Transfer the drained ribs to the chrome wire cooling rack set over the rimmed aluminum baking sheet. Pat every surface of the ribs thoroughly with a clean towel to remove all visible surface moisture, then let the ribs air dry for 10 minutes at room temperature. Properly dried ribs will have a matte, slightly tacky skin surface with no visible damp patches, which is critical to prevent oil splatter and achieve crisp skin.
Step 3
step3:Drain and Dry Ribs
Step 3
step3:Drain and Dry Ribs
4

Heat Frying Oil

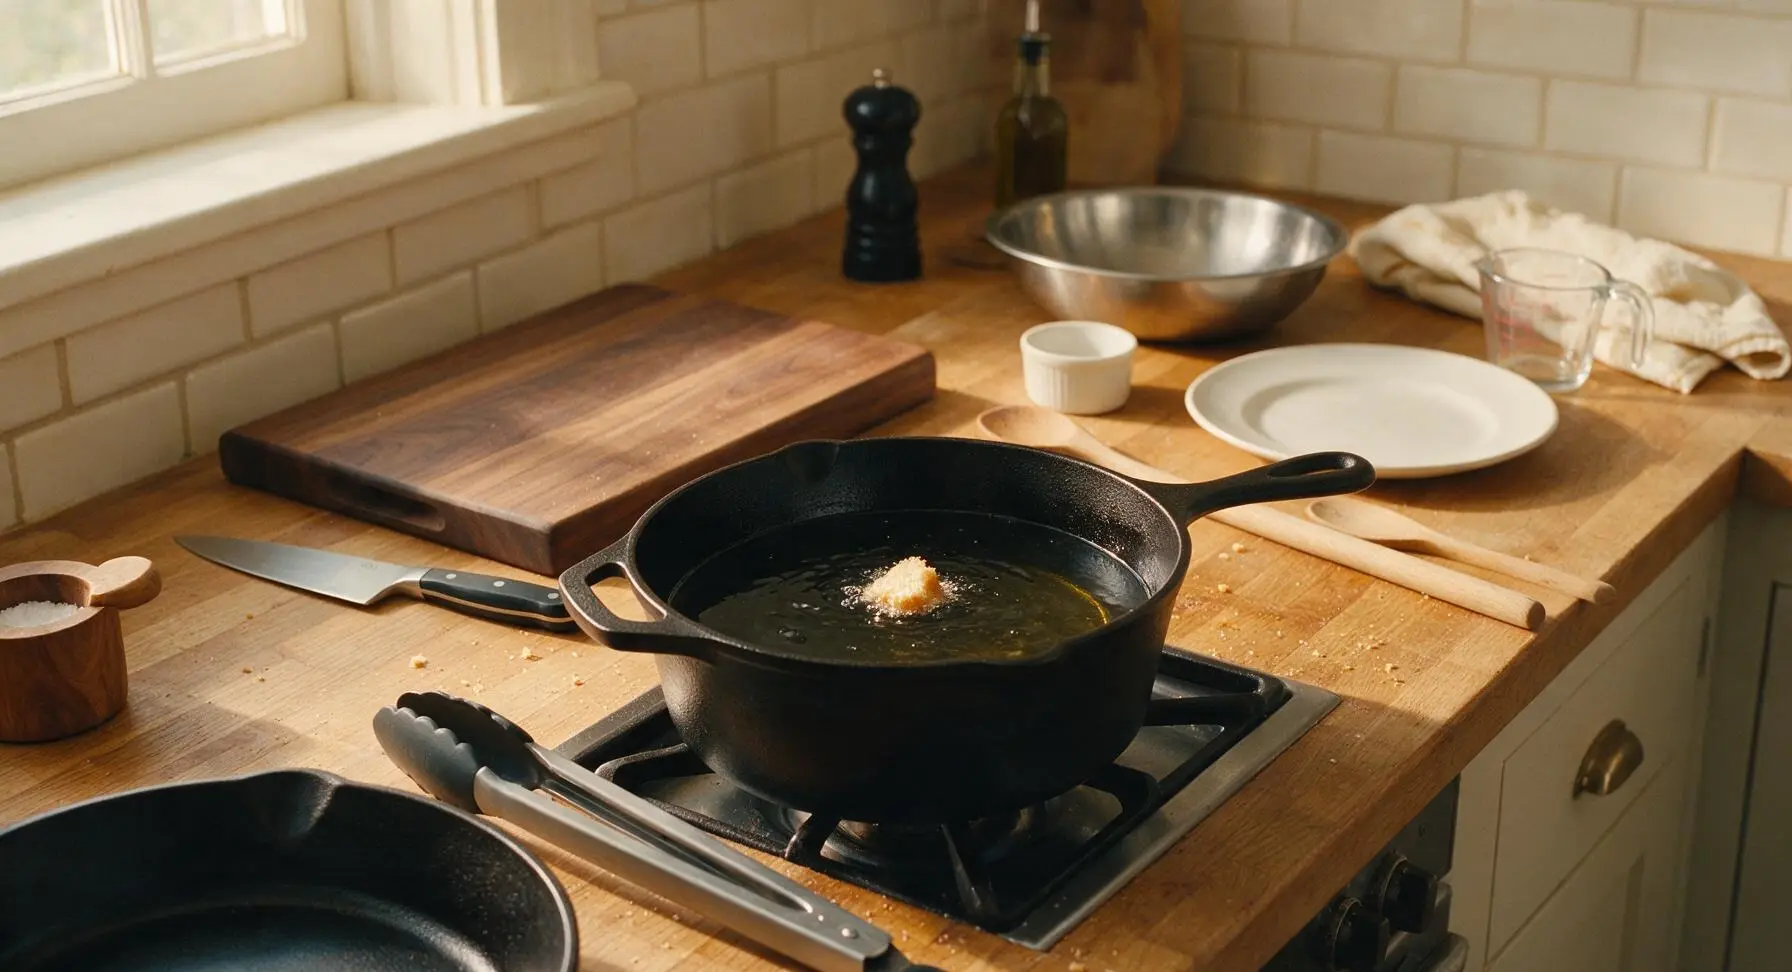
Pour 1 liter of neutral cooking oil into the 5-quart matte black cast iron Dutch oven. Place the Dutch oven over medium-high heat, and heat the oil to 375°F (190°C). Test the oil temperature by dropping a small 1cm cube of white bread into the oil: it should sizzle immediately and turn golden brown in exactly 10 seconds when the oil is at the correct temperature. Never leave hot oil unattended during heating or frying.
Step 4
step4:Heat Frying Oil
5

Fry to Crispy Perfection

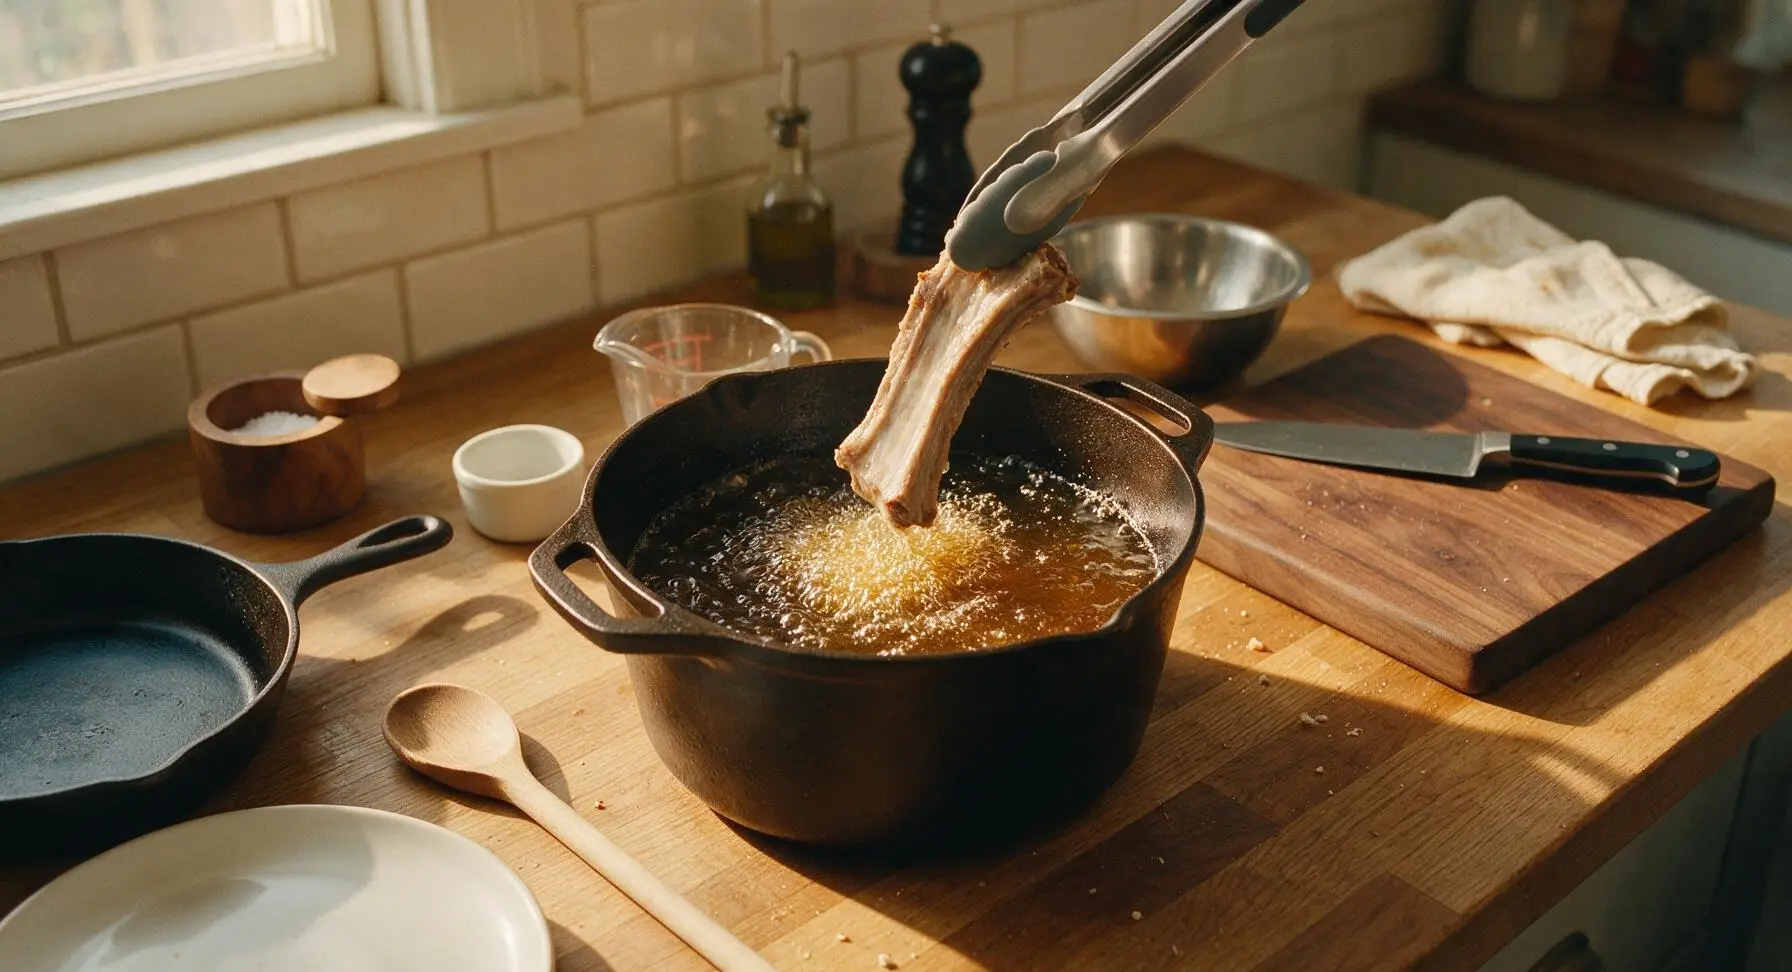
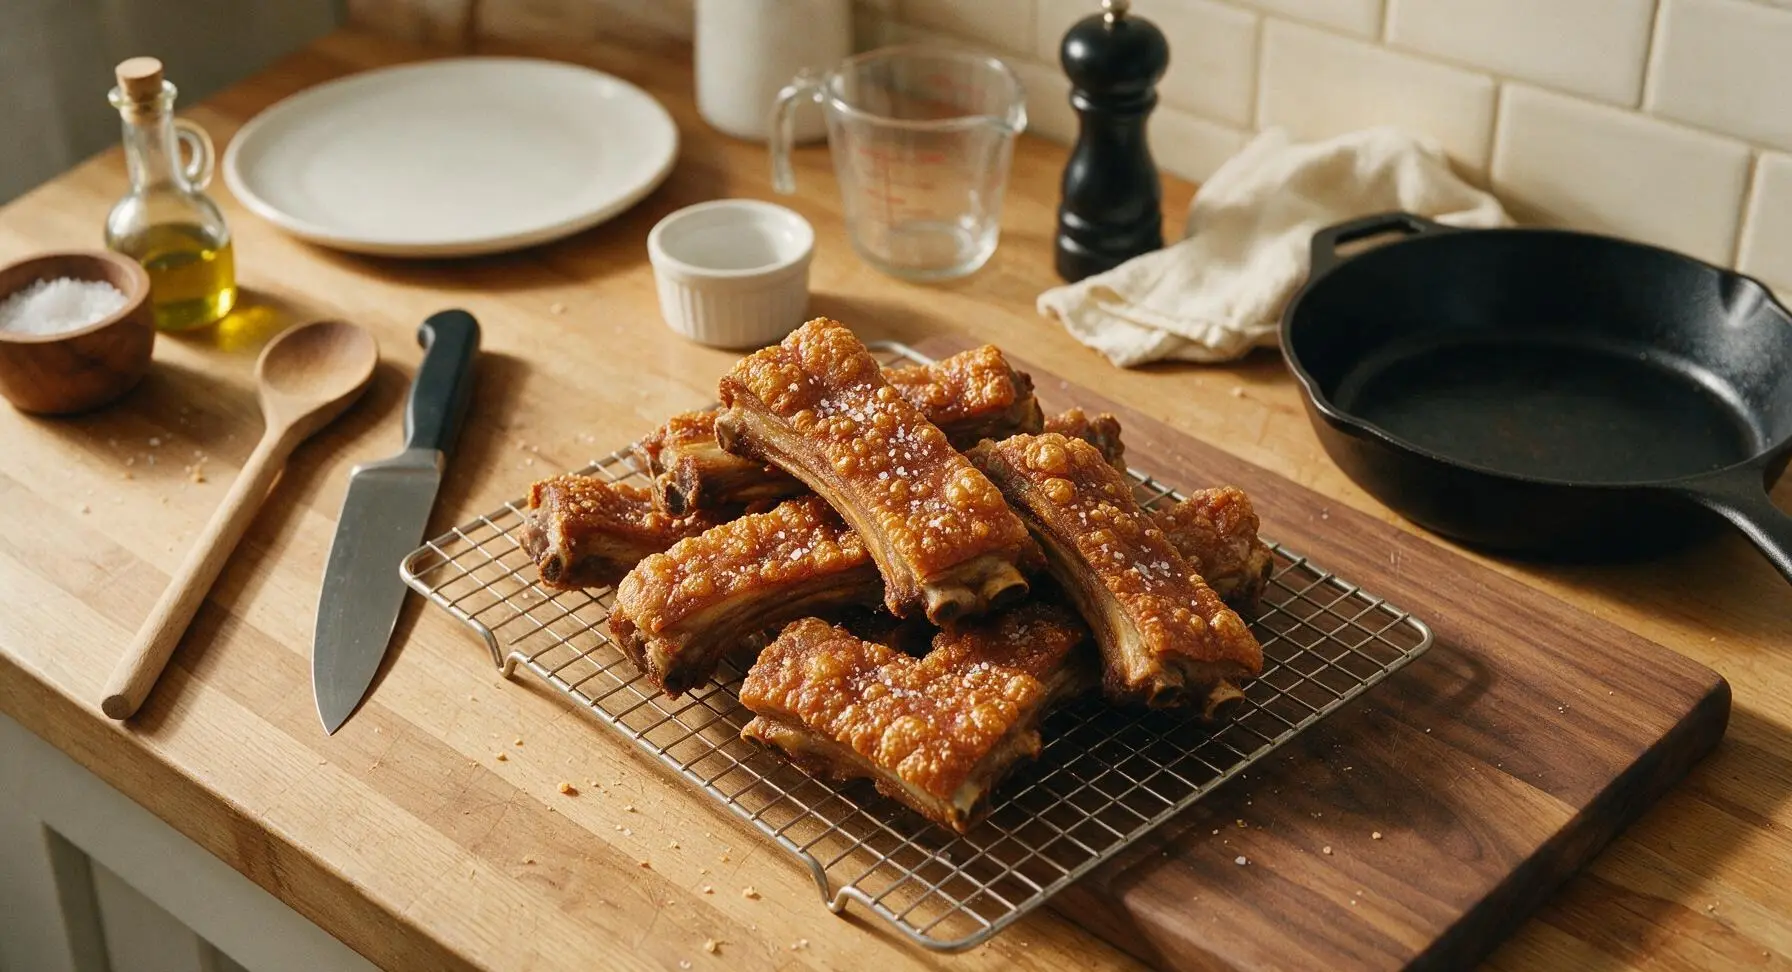
Working in 2 equal batches to avoid overcrowding the pot, use the long-handled tongs to carefully lower the dry ribs into the hot oil, lowering them away from your body to avoid splatter. Fry for 7-8 minutes per batch, turning the ribs occasionally with the tongs, until the entire skin surface is deep golden brown, blistered, and shatteringly crisp. Use the slotted skimmer to lift the finished ribs from the oil, letting excess oil drain for 15 seconds over the pot before transferring them back to the wire cooling rack. Sprinkle the hot ribs lightly with a pinch of coarse sea salt immediately after removing from the oil.
Step 5
step5:Fry to Crispy Perfection
Step 5
step5:Fry to Crispy Perfection
6

Make Tangy Dipping Sauce

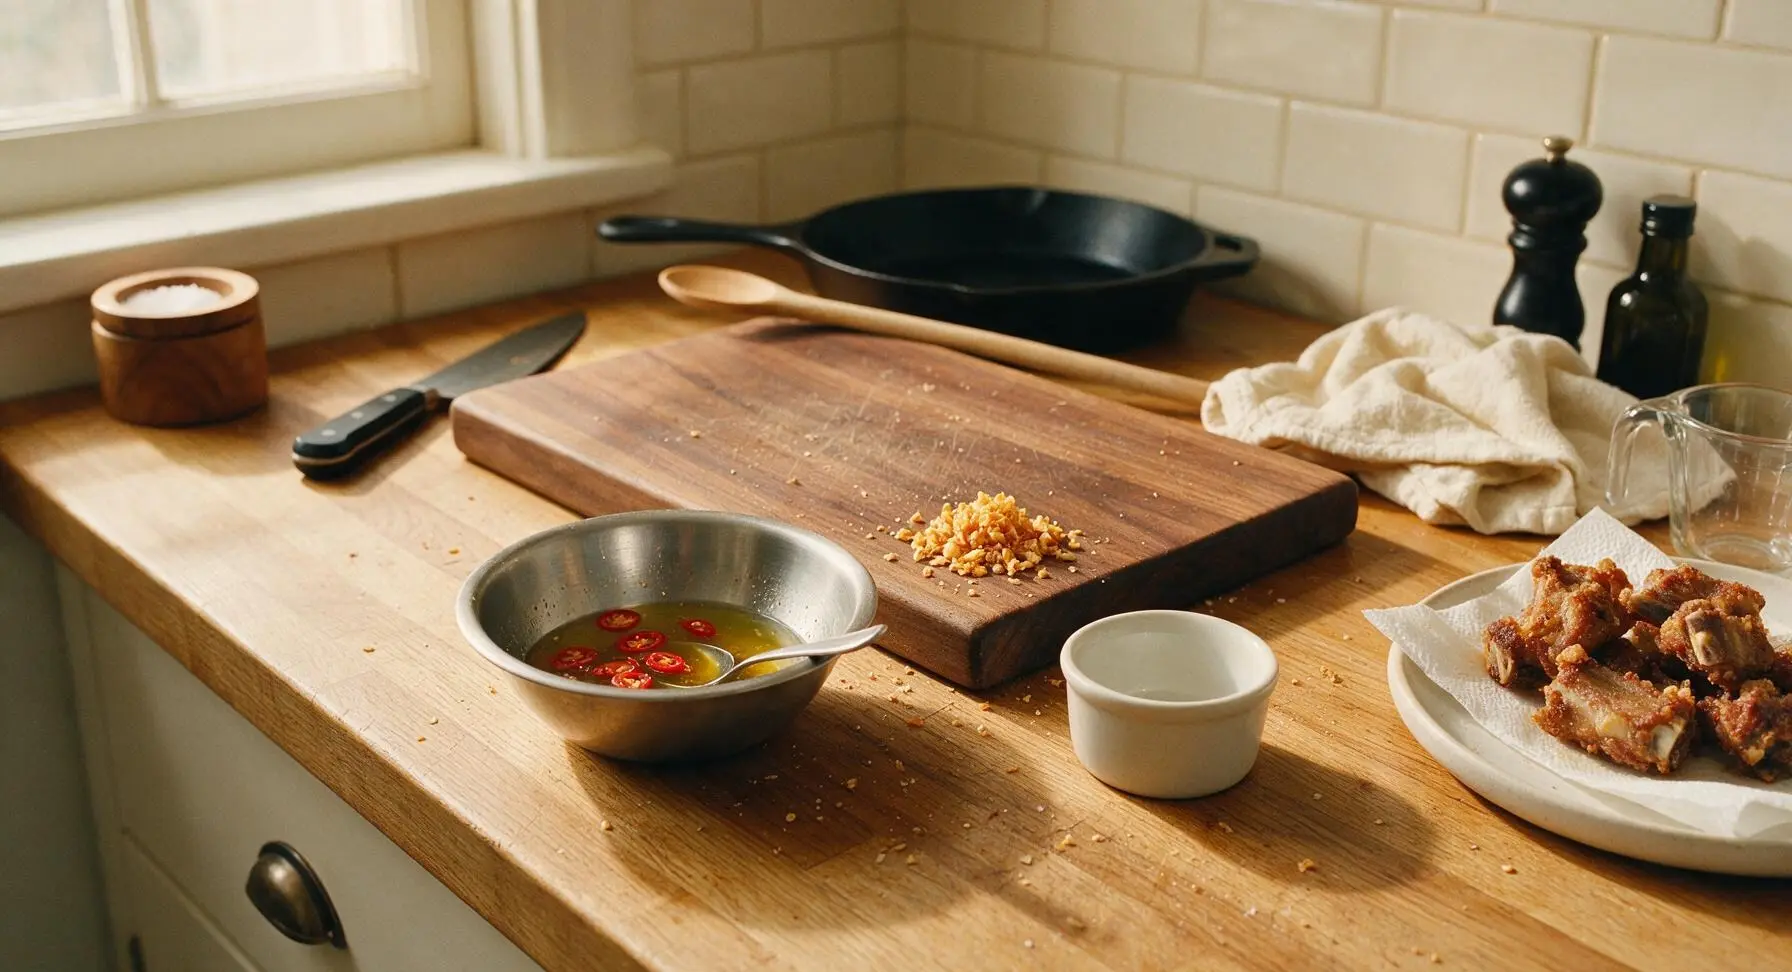
While the fried ribs rest for 5 minutes to drain excess oil, combine 1/2 cup cane vinegar, 1/3 cup light soy sauce, 1 teaspoon coarse sea salt, thinly sliced red bird's eye chili, and half the chopped cilantro in the small brushed stainless steel mixing bowl. Stir gently with a small spoon to combine all ingredients evenly. Taste and adjust salt if needed—the sauce should be bright, tangy, salty, and slightly spicy to cut through the richness of the crisp pork.
Step 6
step6:Make Tangy Dipping Sauce
7

Plate and Serve Hot

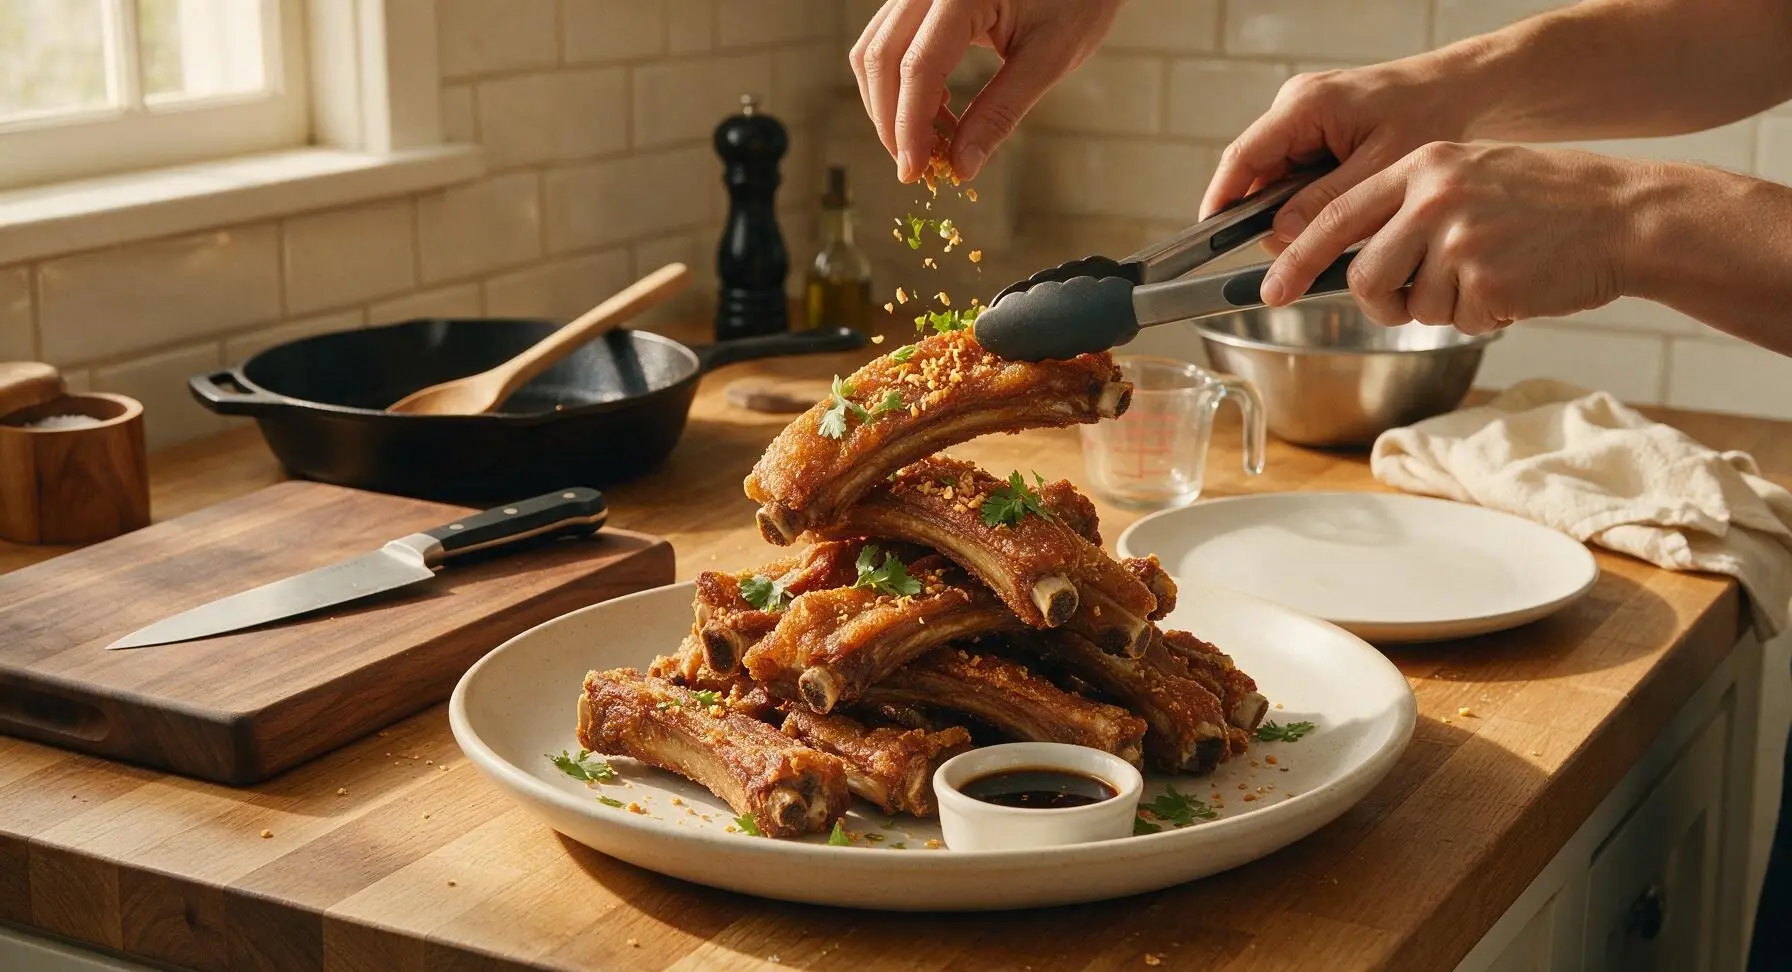
Pile the hot crispy ribs in a loose, tall stack on the large matte off-white ceramic serving platter. Sprinkle the remaining chopped cilantro and golden fried garlic bits evenly over the top of the ribs. Pour the prepared dipping sauce into the off-white ramekin and place it on the edge of the platter. Serve immediately while the skin is still shatteringly crisp—do not cover the ribs with a lid or foil, as trapped steam will quickly soften the crispy crackling.
Step 7
step7:Plate and Serve Hot

Tips

1.Always dry ribs completely before frying: Any residual moisture on the skin surface will cause violent hot oil splatter and create steam as the ribs fry, leading to chewy, rubbery skin instead of the signature shatteringly crisp crackling. For extra crispness, you can refrigerate the boiled, dried ribs uncovered for 4 hours (or overnight) before frying to let the skin dry out even further.
2.Fry in small batches: Overcrowding the Dutch oven drops the oil temperature by 50-75°F instantly, which makes the ribs absorb excess oil and turn soggy instead of crisp. Maintaining a steady 375°F oil temperature ensures the skin crisps quickly without the meat drying out.
3.Skip the post-fry rest under cover: Many home cooks cover fried food with foil to keep it warm, but trapped steam from the hot ribs will soften the crispy skin in as little as 5 minutes. Let ribs drain on the wire rack for 2-3 minutes, then serve immediately for the best texture.


✨ You May Also Like

Main Course
🍜 United Kingdom

A showstopping classic of tender seared beef, savory mushroom duxelles, and crisp prosciutto wrapped in flaky golden puff pastry, baked to juicy perfection.

⏱️ 2 hours 1Main Course ★ 4.7
Main Course
🍜 India

Tender charred marinated chicken simmered in a rich, spiced creamy tomato sauce, this iconic Anglo-Indian curry pairs perfectly with basmati rice or warm naan.

⏱️ 50 minuteMain Course ★ 4.6
Main Course
🍜 Thailand

Classic tangy, sweet, and savory Thai stir-fried rice noodles with shrimp, tofu, and crunchy garnishes, balancing all five core Thai flavor profiles.

⏱️ 30 minuteMain Course ★ 4.5
Main Course
🍜 United Kingdom

Crispy golden beer-battered cod and fluffy double-fried chips, served with tangy tartar sauce and malt vinegar: the timeless, beloved British pub comfort classic.

⏱️ 45 minuteMain Course ★ 4.7
Main Course
🍜 Mexico

Smoky, chile-marinated pork tacos with caramelized pineapple, fresh cilantro, and lime: a beloved classic Mexican street food perfect for casual summer gatherings.

⏱️ 1 hour 45Main Course ★ 4.8
Main Course
🍜 United States

Crunchy Fritos corn chips layered with savory beef chili and melted cheddar, topped with cool, zesty fixings for a beloved, cozy Tex-Mex comfort food.

⏱️ 35 minuteMain Course ★ 4.8

Crispy Pata Ribs:Frequently Asked Questions

1.What exactly are pata ribs, and can I substitute them if I can’t find them at my local grocery store? ▾
Pata ribs are the meaty, skin-on rib section directly adjacent to the pork hock, the cut that gives this dish its signature shatteringly crisp skin and juicy, marbled meat. If you can’t track them down, use skin-on pork spare ribs as a close substitute—skinless ribs won’t deliver that iconic crisp texture, so skip those if possible.
2.How do I get that perfect shatteringly crisp skin instead of chewy, rubbery skin? ▾
The biggest pro secret is fully drying the rib skin for at least 4 hours (or overnight, uncovered, on a wire rack in the fridge) after the initial aromatic boil. Pat skin completely dry with paper towels, prick it lightly all over without piercing the meat, and fry at a consistent 375°F to crisp evenly without burning.
3.Do I really need to boil the ribs first before frying them? ▾
Yes, that initial gentle boil with yellow onion, garlic, lemongrass, and dried bay leaves does two critical jobs: it infuses the meat with classic warm Filipino flavor, and it tenderizes the tough rib meat so it pulls easily from the bone without drying out before you crisp the skin in hot oil. Skipping this step leads to tough, under-seasoned meat.
4.What type of oil works best for frying these ribs? ▾
Reach for a neutral, high-smoke-point oil like canola, vegetable, or peanut oil for frying. These oils won’t burn or add off-flavors when held at the 375°F needed to properly crisp the skin. Avoid extra-virgin olive oil or toasted sesame oil, as their low smoke points lead to burnt, bitter skin and a smoky kitchen.
5.Can I make crispy pata ribs in an air fryer instead of deep frying? ▾
Absolutely! After boiling and fully drying the ribs, rub the skin lightly with a thin layer of white vinegar and a pinch of salt, then air fry at 400°F for 25 to 30 minutes, flipping once halfway. The skin won’t be quite as shatteringly crisp as deep-fried, but it will be crunchy, golden, and far less messy to make at home.
6.What goes into the traditional tangy soy-vinegar dip served with these ribs? ▾
The classic dip pairs equal parts Filipino cane vinegar and low-sodium soy sauce, with a pinch of sugar, minced garlic, a little sliced red onion, cracked black pepper, and optional chopped Thai chili for heat. Stir it right before serving, and adjust tang or salt to taste—it cuts through the rich, fatty pork perfectly.
7.How long should I boil the ribs so the meat is tender but doesn’t fall apart when frying? ▾
Simmer the ribs gently (avoid a hard, rolling boil) for 40 to 45 minutes, until the meat is tender when poked with a fork but still firmly attached to the bone. Overboiling makes meat fall off the ribs during frying, while underboiling leaves you with tough, chewy meat that doesn’t soak up the aromatic boil flavors.
8.Can I prep these ribs ahead of time for a family gathering or weeknight meal? ▾
Definitely! You can boil the ribs with the aromatics a full day ahead, pat them completely dry, and store them uncovered on a wire rack in the fridge until you’re ready to cook. This long chill actually makes the skin extra crispy, since it dries out the skin surface far better than a short room-temperature rest.
9.Why is the oil popping and spattering so much when I fry the ribs, and how do I stop it? ▾
Excess moisture on the rib skin is the number one cause of dangerous, messy oil spatter. Always pat ribs completely dry after boiling, let them come to room temperature for 30 minutes before frying, and lower them gently into the oil away from your body. A splatter screen will contain mess without dropping your oil temperature.
10.What sides pair best with crispy pata ribs for a full, cozy family meal? ▾
Serve these ribs with fluffy steamed white rice to soak up rich juices and tangy dip, plus simple sides like garlicky sautéed greens or tangy pickled green papaya (atchara) to cut through the pork’s richness. These bright, fresh sides balance the fatty, crisp pork for a satisfying meal every guest will love.

Comments (7)

2 days ago

OMG these crispy pata ribs were an absolute game changer for our Sunday family dinner! The skin got so perfectly crunchy I swear I heard a crack across the table when my husband bit into his. My kids begged for seconds before they even finished their first helping. Only note is I had to add 10 extra minutes to the cook time to get that crisp level I wanted, totally worth it though! 10/10 will make again for our next potluck.

yesterday

Wait did you bake them on a wire rack? I tried making these last week and the bottom skin got soggy, wondering if that’s the trick!

2 hours ago

So glad your family loved them! Cooking them elevated on a wire rack over a baking sheet is definitely the move to get all-around crispy skin — that extra 10 minutes you added is a great pro tip too, oven temps can vary a bit between models!

3 days ago

Made a double batch of these for my weekly meal prep and they held up way better than I expected! I was worried the crisp would fade in the fridge but a quick 5 minute reheat in the air fryer brought them right back. Paired with garlic rice and pickled veggies, it’s the perfect lunch to look forward to mid-work week. SO good.

5 days ago

Tackled this as my first ever medium-difficulty recipe and I’m low key proud of myself! The cook time was spot on for my oven, the seasoning was balanced perfectly, and the crunch lived up to the hype. Only small thing is I wish there was a note about oil splatter — I made a huge mess in my oven lmao, next time I’ll put a baking sheet under to catch drips.

3 days ago

That’s awesome, so proud of you for nailing a medium difficulty recipe on the first try! Great callout about the splatter — we just added a tip to the recipe card to line the lower rack with foil to catch drips and cut down on mess, thanks for the feedback!

1 week ago

Brought these to my neighborhood block party last weekend and they were gone in 15 minutes flat. People were blowing up my group chat asking for the recipe all night. Don’t skip the vinegar dipping sauce the recipe mentions, it cuts the richness perfectly and makes the whole thing pop.

30 minutes ago

Has anyone tried adding a little chili crunch to the seasoning rub? I love a little heat with my crispy pork and I’m wondering if it’ll mess with the crisp texture if I add it before baking? Made these last weekend for my roommate’s birthday and they were a total hit, just want to tweak the heat level for next time! Don’t want to ruin a whole rack of ribs experimenting!

5 minutes ago

I did that last week! Wait until the last 10 minutes of cooking to sprinkle the chili crunch on, it doesn’t make the skin soggy and the toasty chili flavor is chef’s kiss. No soggy skin over here!

yesterday

This tastes exactly like the crispy pata my lola used to make for family holidays, I almost cried when I took the first bite. I’ve tried so many copycat recipes that come out too greasy or tough, but this one had that perfect tender meat under the shatteringly crisp skin. Thank you so much for sharing this recipe, it’s going to be a staple at all my family gatherings from now on.

2 hours ago

Awe this makes my heart so happy! My grandma also makes amazing crispy pata but she never writes down measurements so I’ve been scared to try recreating it, this is the sign I needed to give this recipe a shot!

30 minutes ago

This comment means the world to us! There’s nothing quite like nailing a recipe that tastes like family memories. So stoked this gets to be part of your future holiday spreads — make sure to tell your lola we said hi if you make it for her!

just now

Wait quick question — the recipe is marked medium difficulty, what part makes it trickier than other pork rib recipes? I’m still pretty new to cooking and I don’t want to bite off more than I can chew, but these look so insanely good and the instructions seem super clear, I’m already giving it 5 stars while I prep to make it this weekend, can’t wait!

just now

Great question! The trickiest part is making sure you fully dry the rib skin before cooking to get that signature crisp — if there’s leftover moisture on the skin, it won’t crisp up properly! As long as you pat it really dry with paper towels and follow the 90 minute cook time, even new cooks can nail this. You’ve got this!



