
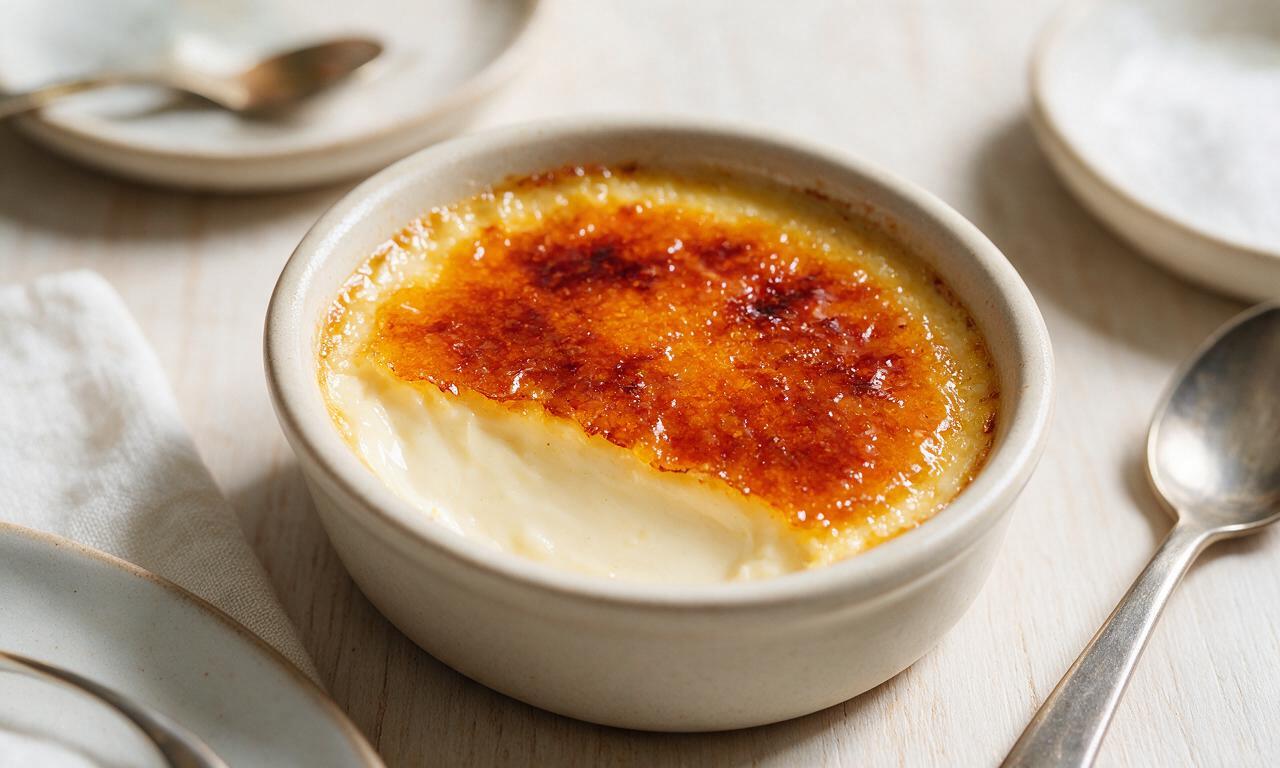
Crème Brûlée

Crème Brûlée
⏱️ cook time 1 hour (plus 4 hours mandatory chilling time)
🍽️ servings 4
⚡ Difficulty medium

intro

Silky vanilla-infused baked custard topped with a shatteringly crisp caramelized sugar shell—this iconic French dessert feels luxe but is simple to make at home.

Ingredients

Heavy whipping cream 480 ml (2 cups)
Large egg yolks 5 large (approx 100g total)
Granulated sugar (custard base) 50g (1/4 cup)
Granulated sugar (caramel topping) 50g (4 tablespoons)
Whole vanilla bean 1 whole (or 1 teaspoon pure vanilla extract)
Fine sea salt 1/8 teaspoon

Steps

1

Prep oven and ramekins

Preheat your oven to 160°C (325°F). Arrange four 177ml (6 oz) ceramic ramekins in a deep 9x13 inch glass baking dish. Bring a kettle of water to a rolling boil for the water bath, then set aside.
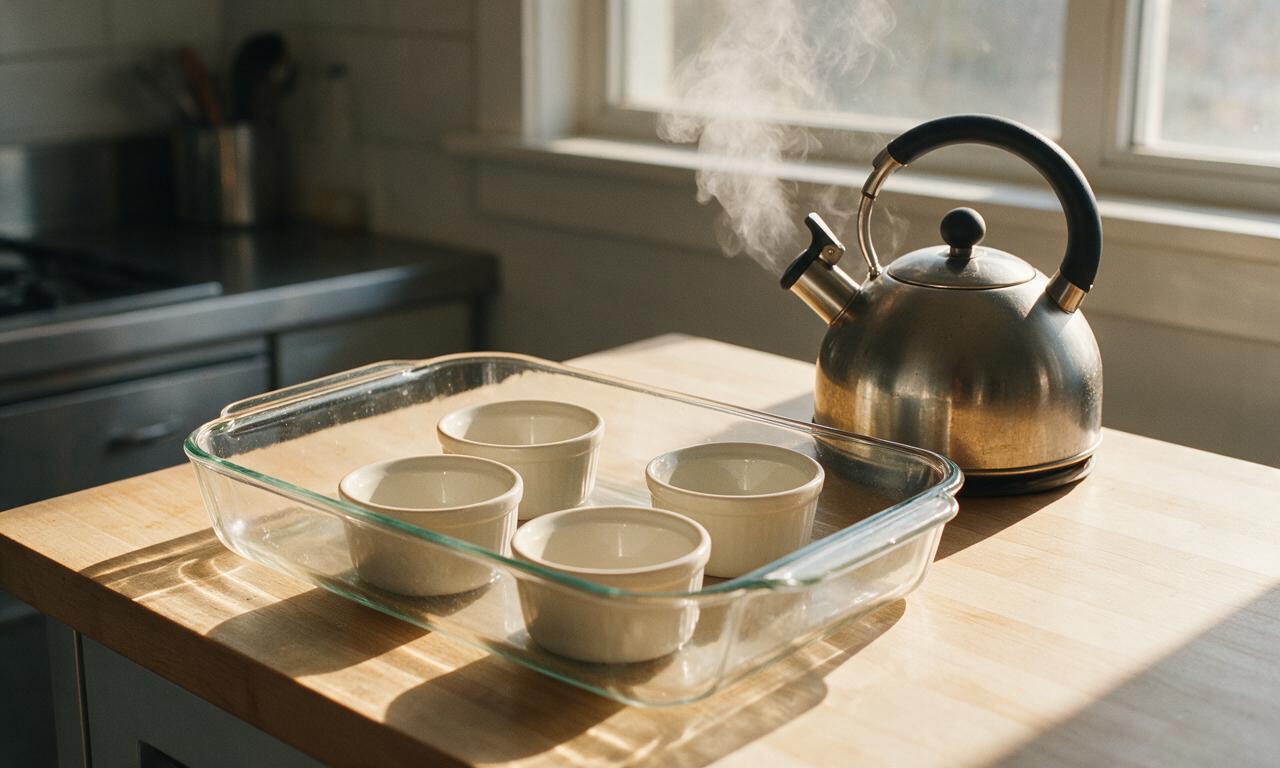
Step 1
step1:Prep oven and ramekins
2

Warm cream with vanilla

Pour the heavy cream into a small saucepan, scrape the seeds from the vanilla bean into the cream, and add the empty bean pod too (if using vanilla extract instead of a bean, hold it to add later). Heat over medium-low heat, stirring occasionally, until the cream reaches 77°C (170°F) and small bubbles form around the edges (do NOT bring to a rolling boil). Remove from heat, cover, and let steep for 10 minutes to infuse vanilla flavor, then fish out the empty bean pod and stir in vanilla extract if using.
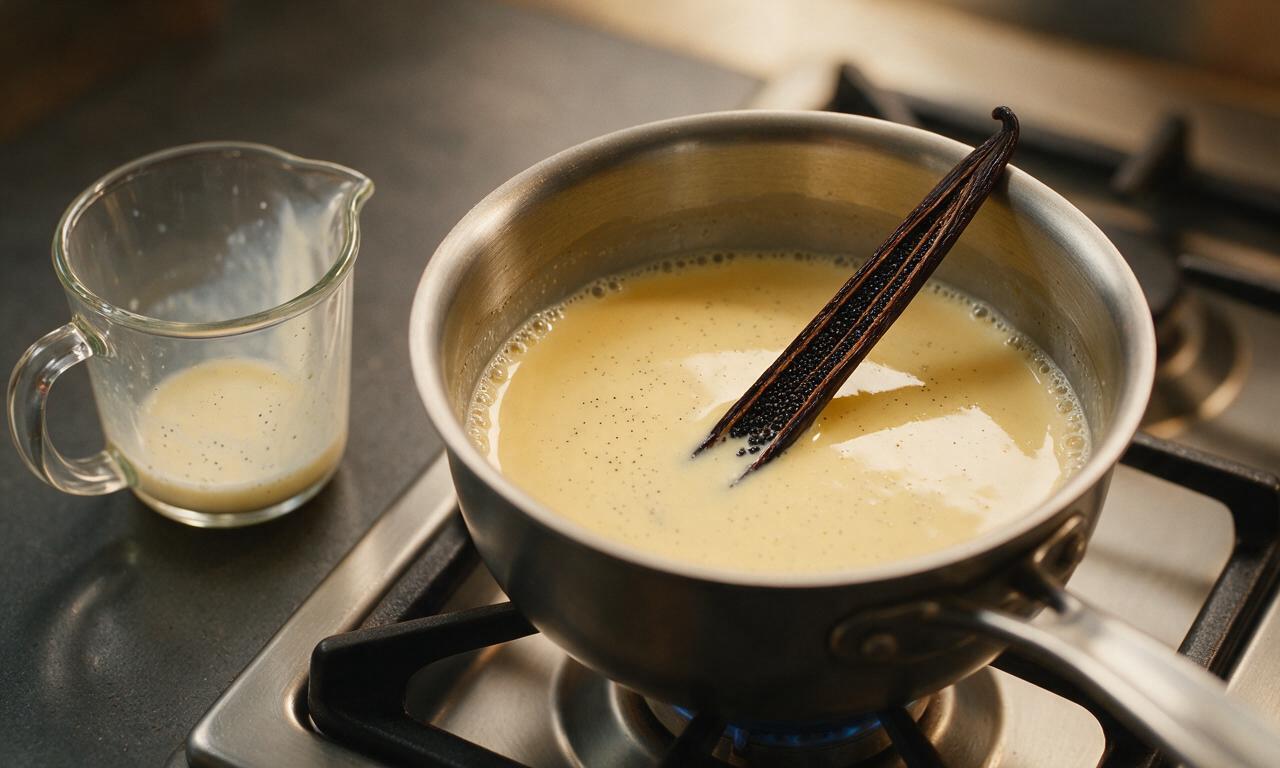
Step 2
step2:Warm cream with vanilla
3

Whisk yolk sugar base

While the cream steeps, add the 5 large egg yolks, 50g (1/4 cup) granulated sugar, and 1/8 tsp fine sea salt to a medium heatproof mixing bowl. Whisk continuously for 1 minute until the mixture is pale lemon yellow, smooth, and slightly thickened, with no visible sugar granules at the bottom of the bowl.
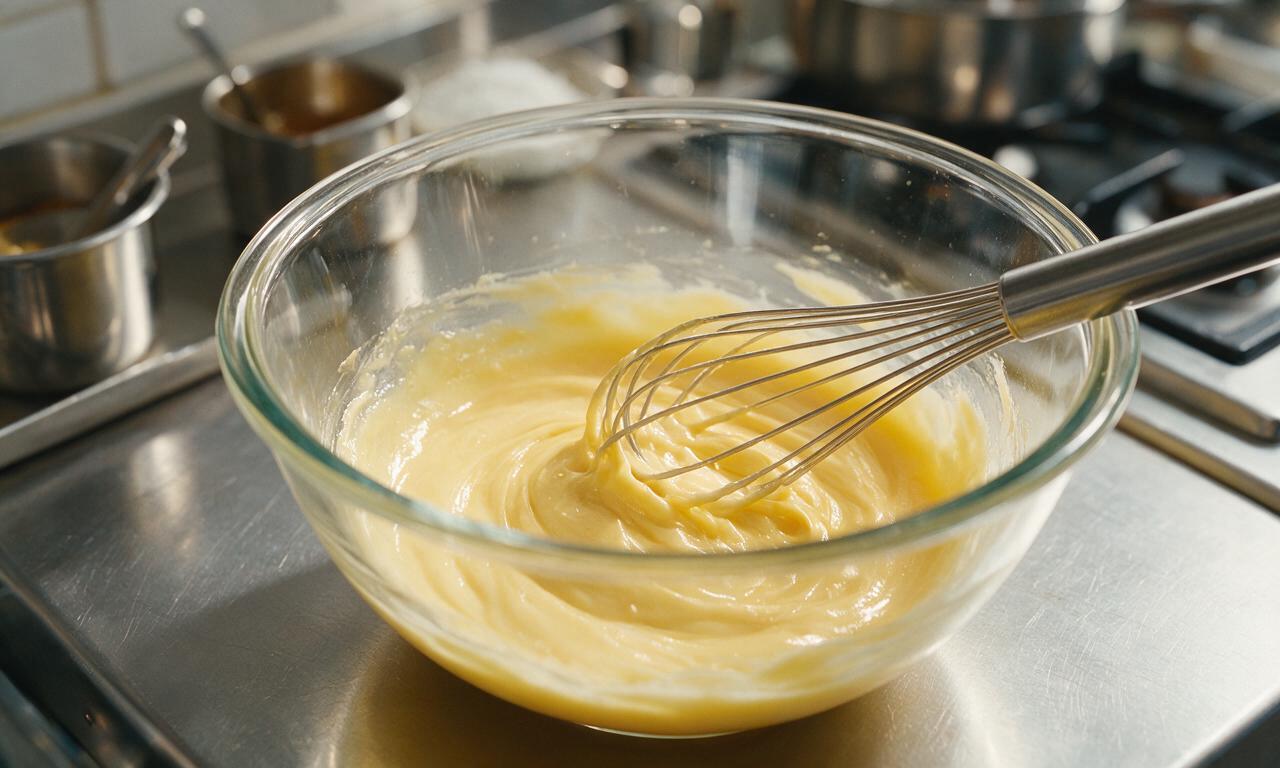
Step 3
step3:Whisk yolk sugar base
4

Temper eggs with cream

Slowly pour 60ml (1/4 cup) of the warm vanilla cream into the egg yolk mixture while whisking nonstop to prevent curdling. Repeat this 3 more times, adding 60ml (1/4 cup) cream each time and whisking constantly, until half the cream is incorporated. Pour the remaining warm cream into the bowl, whisking gently to combine, then strain the mixture through a fine-mesh sieve to remove any lumps or tiny cooked egg bits.
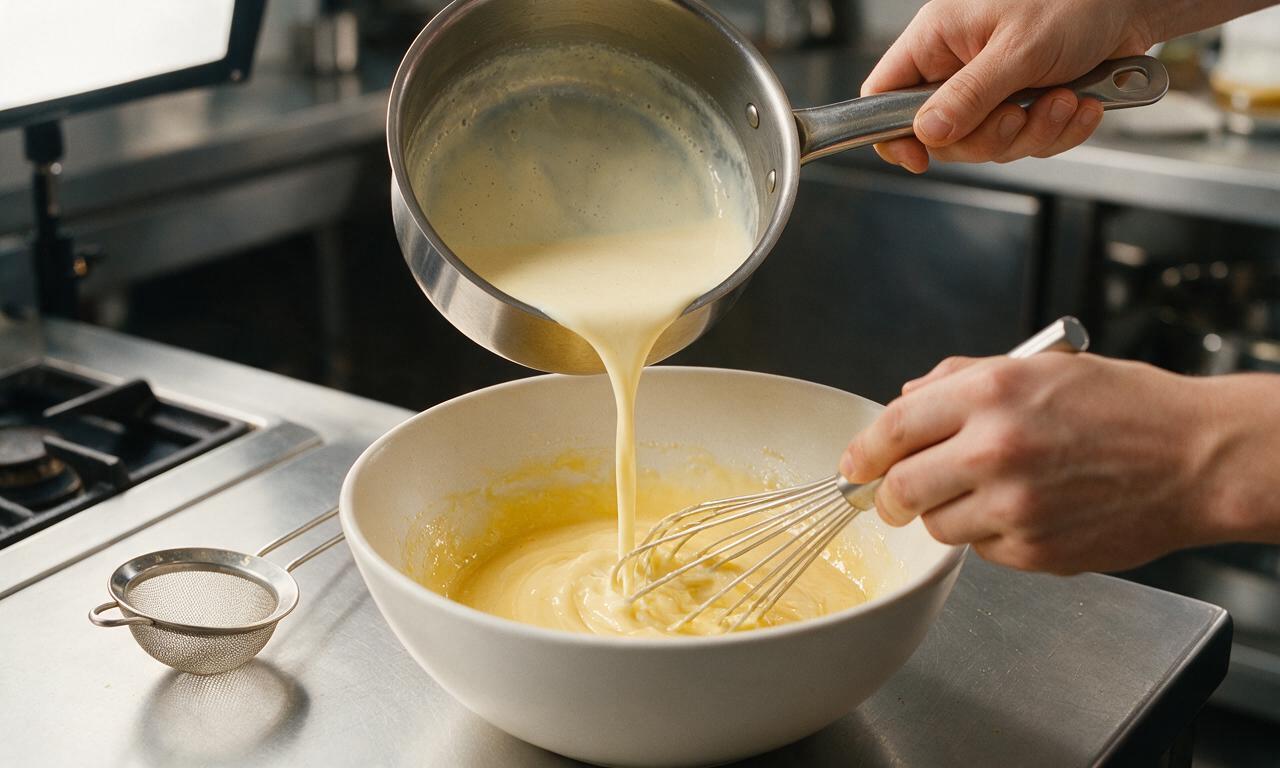
Step 4
step4:Temper eggs with cream
5

Bake custard in water bath

Divide the strained custard evenly between the four prepared ramekins. Carefully pour the pre-boiled hot water into the baking dish around the ramekins until the water reaches halfway up the sides of the ramekins. Bake for 30-35 minutes at 160°C (325°F): the edges of the custard should be fully set, but the very center 2.5cm (1-inch) will jiggle slightly like soft Jell-O when the pan is gently shaken. Remove ramekins from the water bath, let cool to room temperature for 30 minutes on a wire rack.
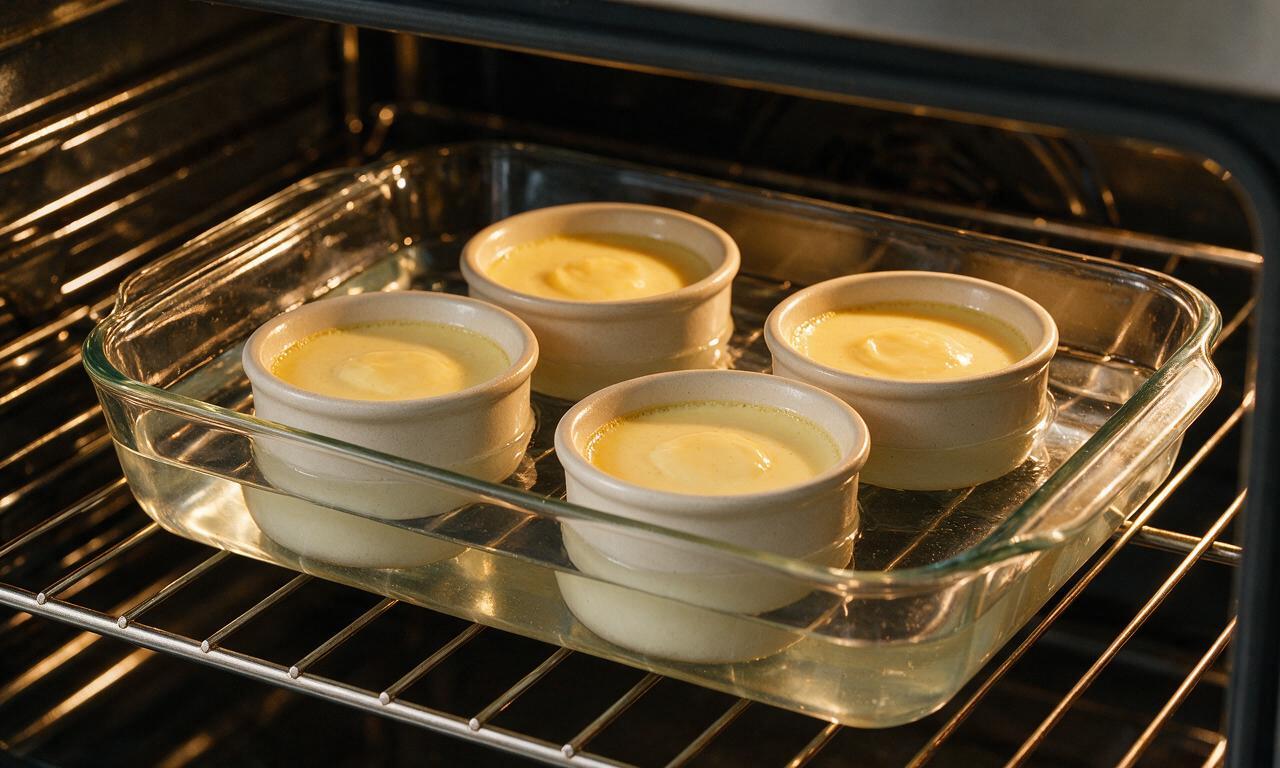
Step 5
step5:Bake custard in water bath
6

Chill and brûlée tops

Cover each cooled ramekin with plastic wrap, pressing the wrap directly onto the custard surface to prevent a thick skin from forming. Refrigerate for a minimum of 4 hours (or up to 3 days) until fully chilled. Right before serving, uncover the ramekins, blot any condensation off the custard surface with a paper towel, then sprinkle 1 tablespoon of granulated sugar evenly over each custard top. Use a kitchen torch held 10cm (4 inches) from the surface to melt the sugar, moving the torch constantly, until the sugar forms a deep amber, glossy, crisp caramel layer. Let rest 1 minute for the caramel to harden before serving.
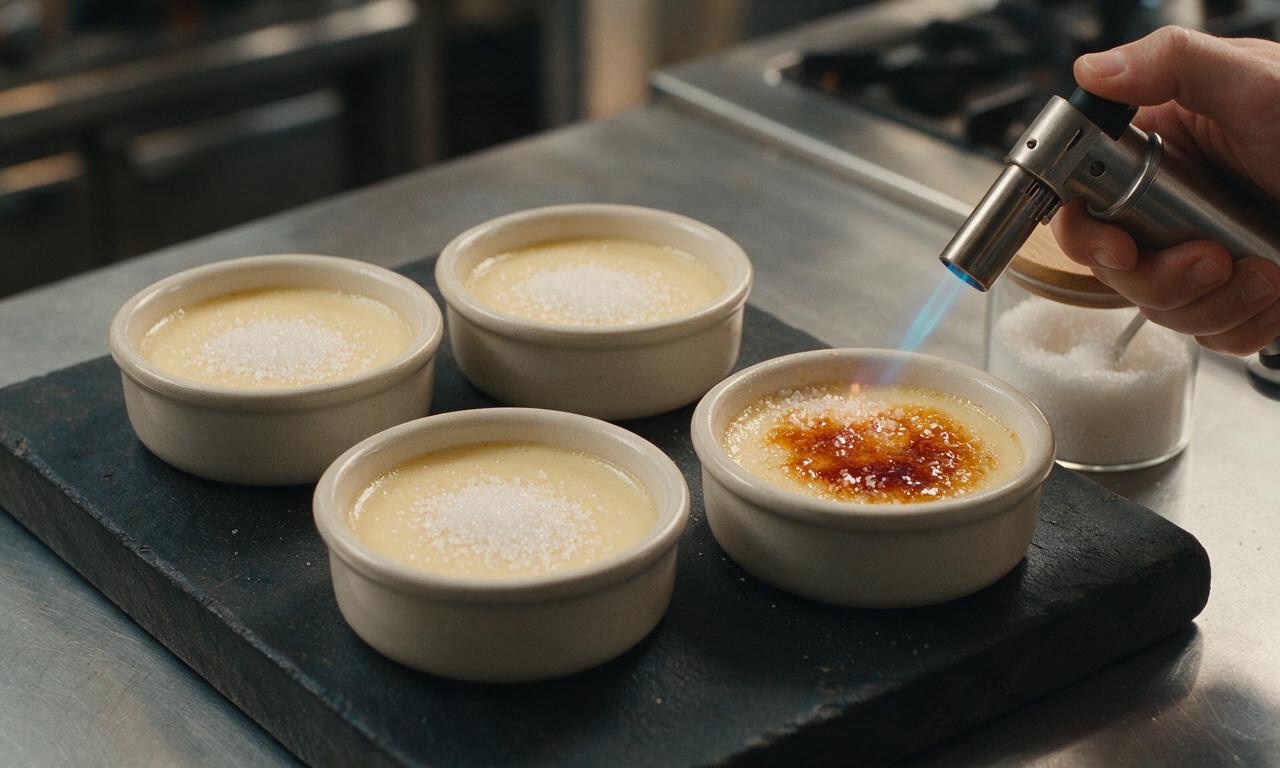
Step 6
step6:Chill and brûlée tops

Tips

1.Never skip the hot water bath: the gentle, even steam heat cooks the custard slowly, preventing curdling, surface cracks, and a rubbery, overcooked texture.
2.If you do not own a kitchen torch, caramelize the sugar by placing the sugar-topped ramekins 10cm (4 inches) under a preheated hot broiler for 1-2 minutes, watching constantly to avoid burning the sugar or melting the cold custard.
3.For the signature shatteringly crisp caramel top, always blot any condensation off the cold custard surface before adding sugar; excess moisture will turn the caramel soft, sticky, and chewy instead of crisp.


✨ You May Also Like

Desserts & Baking
🍜 Italy

Creamy, coffee-kissed classic Northern Italian no-bake dessert, with layers of rum-spiked mascarpone cream, soft ladyfingers, and a rich cocoa dusting.

⏱️ 4 hours 3Desserts & Baking ★ 4.8
Desserts & Baking
🍜 France

Flaky, shatteringly crisp, buttery French croissants with golden exteriors and soft, airy layered interiors, perfect for pairing with coffee for a special morning treat.

⏱️ 12 hours Desserts & Baking ★ 4.7
Desserts & Baking
🍜 United States

Warm, spiced baked apples topped with a fluffy golden biscuit crust, this cozy dessert pairs perfectly with vanilla ice cream for cool-weather comfort.

⏱️ 55 minuteDesserts & Baking ★ 4.7
Desserts & Baking
🍜 United States

A star-spangled classic American blueberry pie with buttery flaky crust and bright sweet-tart filling, perfect for summer patriotic gatherings.

⏱️ 1 hour 25Desserts & Baking ★ 4.8
Desserts & Baking
🍜 United States

A beloved no-bake regional Maine candy with a chewy coconut-potato center coated in rich dark chocolate, a New England holiday staple since the 1870s.

⏱️ 2 hours 3Desserts & Baking ★ 4.9
Desserts & Baking
🍜 France

Luxuriously creamy, floral frozen custard made with aromatic Tahitian vanilla beans, boasting a smooth, rich texture that melts slowly on the tongue.

⏱️ 3 hours 3Desserts & Baking ★ 4.6

Crème Brûlée:Frequently Asked Questions

1.Can I use vanilla extract instead of a whole vanilla bean for this recipe?
Absolutely, if you don’t have a whole vanilla bean on hand—though the bean delivers that iconic deep, floral flavor and pretty tiny vanilla specks. Swap in 1 teaspoon of high-quality pure vanilla extract, stirred into warm cream off heat rather than simmered, to keep its bright, aromatic flavor from cooking off.
2.Why did my crème brûlée come out with a rubbery, grainy texture?
That almost always happens from either baking the custard too long, or using too high an oven temperature. The custard should still have a gentle, Jell-O-like wiggle in the very center when you pull it from the water bath, as it will continue to set as it chills.
3.Do I really need to use a water bath when baking crème brûlée?
Yes, the water bath (or bain-marie) is non-negotiable for that signature silky, lump-free texture. It creates gentle, even, moist heat around the ramekins, which prevents curdling, fast overcooking around the edges, and tough, rubbery skin forming on the custard top.
4.Can I make this recipe with half-and-half instead of heavy whipping cream?
I don’t recommend it for the classic luxe texture. Heavy whipping cream’s 36-40% fat content creates that rich, melt-in-your-mouth mouthfeel that defines crème brûlée. Half-and-half is too low in fat, resulting in thin, watery custard that won’t set as smoothly.
5.How far in advance can I make crème brûlée before serving?
Baked, un-topped custard bases keep perfectly, tightly wrapped in plastic in the fridge, for up to 3 days. Hold off on torching the caramel sugar topping until right before serving, because the crisp shell will soften and turn soggy if it sits longer than 15 minutes.
6.What if I don’t have a kitchen torch to caramelize the sugar topping?
No torch? No problem. Pop chilled custard ramekins under a preheated high broiler, with the rack positioned 3-4 inches from the heating element. Sprinkle an even thin layer of granulated sugar over each top, broil 1-3 minutes, rotating as needed, until golden, watching closely to avoid burning.
7.Why do my custards have tiny bubbles or a puffed top after baking?
Those bubbles form when you bake the custard at too high a temperature, or skip straining the custard base before pouring it into ramekins. For perfectly smooth results, pour the warm egg and cream mixture through a fine-mesh sieve, and bake low and slow at 325°F.
8.Can I use a different type of sugar for the caramelized topping?
Regular granulated sugar works best for that thin, shatteringly crisp shell, because it melts evenly and quickly without clumping. Avoid brown sugar, powdered sugar, or coarse raw sugar—they have added moisture, anti-caking agents, or large crystals that create uneven, chewy caramel.
9.How many egg yolks do I need for a rich, properly set custard?
For 6 standard 4-ounce ramekin servings, you’ll need 5 large egg yolks, ⅓ cup granulated sugar for the base, and 2 cups of heavy whipping cream. This ratio creates a custard firm enough to hold its shape when chilled, but still silky and tender, not tough or overly dense, when you dig in.
10.Is it normal for my custard to look jiggly right when I take it out of the oven?
That is not just normal—it’s exactly what you want! The very center 1 inch of each custard should have a soft, wobbly jiggle (not sloshing like liquid) when you nudge the ramekin. Residual heat will finish cooking it, and a 4-hour chill will set it perfectly.
11.Can I freeze crème brûlée to make it last longer?
I don’t recommend freezing it. The high dairy content in the heavy cream base will separate when it thaws, creating a grainy, watery, curdled texture nothing like the smooth, silky dessert you want. Stick to storing un-topped bases in the fridge for up to 3 days.
12.Why is there a watery layer on top of my chilled custard?
That thin, watery layer (called syneresis) happens when egg proteins in the custard are overcooked, causing them to squeeze out excess moisture. Avoid it by not overbaking custards, making sure your water bath doesn’t run dry mid-bake, and keeping oven temp at 325°F or lower.
13.Do I need to temper the egg yolks when making the custard base?
Yes, tempering is a quick, important step to keep your eggs from curdling when mixed with hot cream. Slowly pour ½ cup of warm, vanilla-infused cream into the whisked egg yolks while whisking constantly, before stirring the yolk mixture back into the remaining cream.
14.What size ramekins work best for classic crème brûlée?
Standard 4-ounce (½ cup) shallow, oven-safe ceramic ramekins are ideal. They are the perfect depth for custard to bake evenly without overcooking edges before the center sets, and they give you the ideal ratio of crisp caramel top to silky custard in every bite.
15.Can I add mix-ins like chocolate, fruit, or liqueur to the custard base?
You can absolutely customize it, just stick to small additions so you don’t throw off the delicate custard ratio. Stir in 1 tablespoon of rum or Grand Marnier, tuck fresh berries at the bottom of each ramekin, or add a thin layer of dark chocolate ganache before pouring in the base.
16.How thick should the sugar layer be for the caramel topping?
Aim for a thin, even layer of about 1 teaspoon of granulated sugar per 4-ounce ramekin. If you add too much sugar, you’ll end up with a thick, hard, candy-like shell that is hard to crack, and excess melted sugar can run down ramekin sides to make a sticky mess.
17.Should I cover the ramekins with foil while they bake in the water bath?
It’s not required, but I recommend loosely tenting the whole baking pan with foil if your oven runs hot, or if you see condensation dripping from oven racks. The foil prevents water droplets from landing on the custard surface and creating pock marks or a tough, chewy skin.
18.Why does my caramel topping taste burnt instead of sweet and nutty?
Burnt caramel happens when you heat the sugar too long, or hold the torch too close to the sugar surface for too much time. Keep the torch 2-3 inches away from the sugar, move it constantly in small circles, and stop heating as soon as it turns deep amber and smells toasty.
19.Can I use pasteurized eggs for this recipe since the custard is gently baked?
Yes, pasteurized large egg yolks work perfectly here, and are a great option if you are serving this dessert to young kids, pregnant people, or anyone with a compromised immune system. The final baked, chilled custard will have the exact same silky texture as one made with regular eggs.
20.How do I keep water from the water bath from sloshing into my custard ramekins?
First, set your ramekins in the baking pan on the pulled-out oven rack before adding water, so you don’t carry a sloshing pan across the kitchen. Pour hot (not boiling) water into the pan until it reaches halfway up the ramekin sides, then carefully slide the rack in to bake.

Comments (4)

3 days ago

OMG this crème brûlée was a total hit at my dinner party last weekend! I was so nervous about getting the sugar crust right, but the tip about using a kitchen torch instead of the broiler was a total game changer. My guests kept asking for seconds, even my super picky mother-in-law asked for the recipe! The vanilla flavor is so rich, not that weird artificial stuff you get at chain restaurants. Only note is I’d budget a little extra chilling time if your fridge runs a little warm, mine took closer to 5 hours to set fully. 10/10 will make again for our next potluck!

2 days ago

Wait did you use regular granulated sugar for the crust or superfine? I tried this last month and my sugar kept clumping instead of melting evenly 😅

yesterday

Great question! Superfine sugar melts more evenly for that crisp crackly crust, but if you only have granulated on hand you can blitz it in the blender for 10-15 seconds first. So glad it was a hit at your dinner party, Mia!

1 week ago

Solid recipe, turned out way better than the last crème brûlée I tried that curdled on me. The water bath tip was super helpful to keep the custard silky. Knocked one star off because I forgot how long the chill time is and tried to rush it after 2 hours, big mistake, it was runny in the middle. Learned my lesson! My kids loved the crunchy sugar top so much they asked if we can make this every Sunday for family dinner. Definitely going to plan ahead next time.

5 days ago

So glad you and the kids enjoyed it despite the rushed chill time! That 4 hour minimum is non-negotiable for that perfect set custard, but you can even make it a full day ahead and brûlée the sugar right before serving to make meal prep easier for those Sunday dinners!

2 days ago

Was looking for a classic no-fuss crème brûlée to make for my partner’s birthday and this did not disappoint! I used a fresh vanilla bean instead of extract like the recipe suggested and wow, that little speckled vanilla custard looked so fancy. It came out so smooth, no weird lumps at all. We ate ours with fresh berries on the side, chef’s kiss. Worth every minute of wait time during the chill.

5 days ago

SO good. I was intimidated because I thought crème brûlée was only fancy restaurant food, but this recipe was totally doable even for a medium skill level like me. I don’t have a kitchen torch so I used the broiler like the recipe noted as a backup, just had to watch it super close so the sugar didn’t burn. Turned out perfect, that crack when you tap the top with a spoon? *Chef’s kiss* Brought it to my office potluck and everyone thought I ordered it from a fancy bakery.

3 days ago

How long did you leave it under the broiler? I don’t have a torch either and I’m scared I’ll burn the sugar to a crisp if I leave it in too long!



