
custard sauce
intro
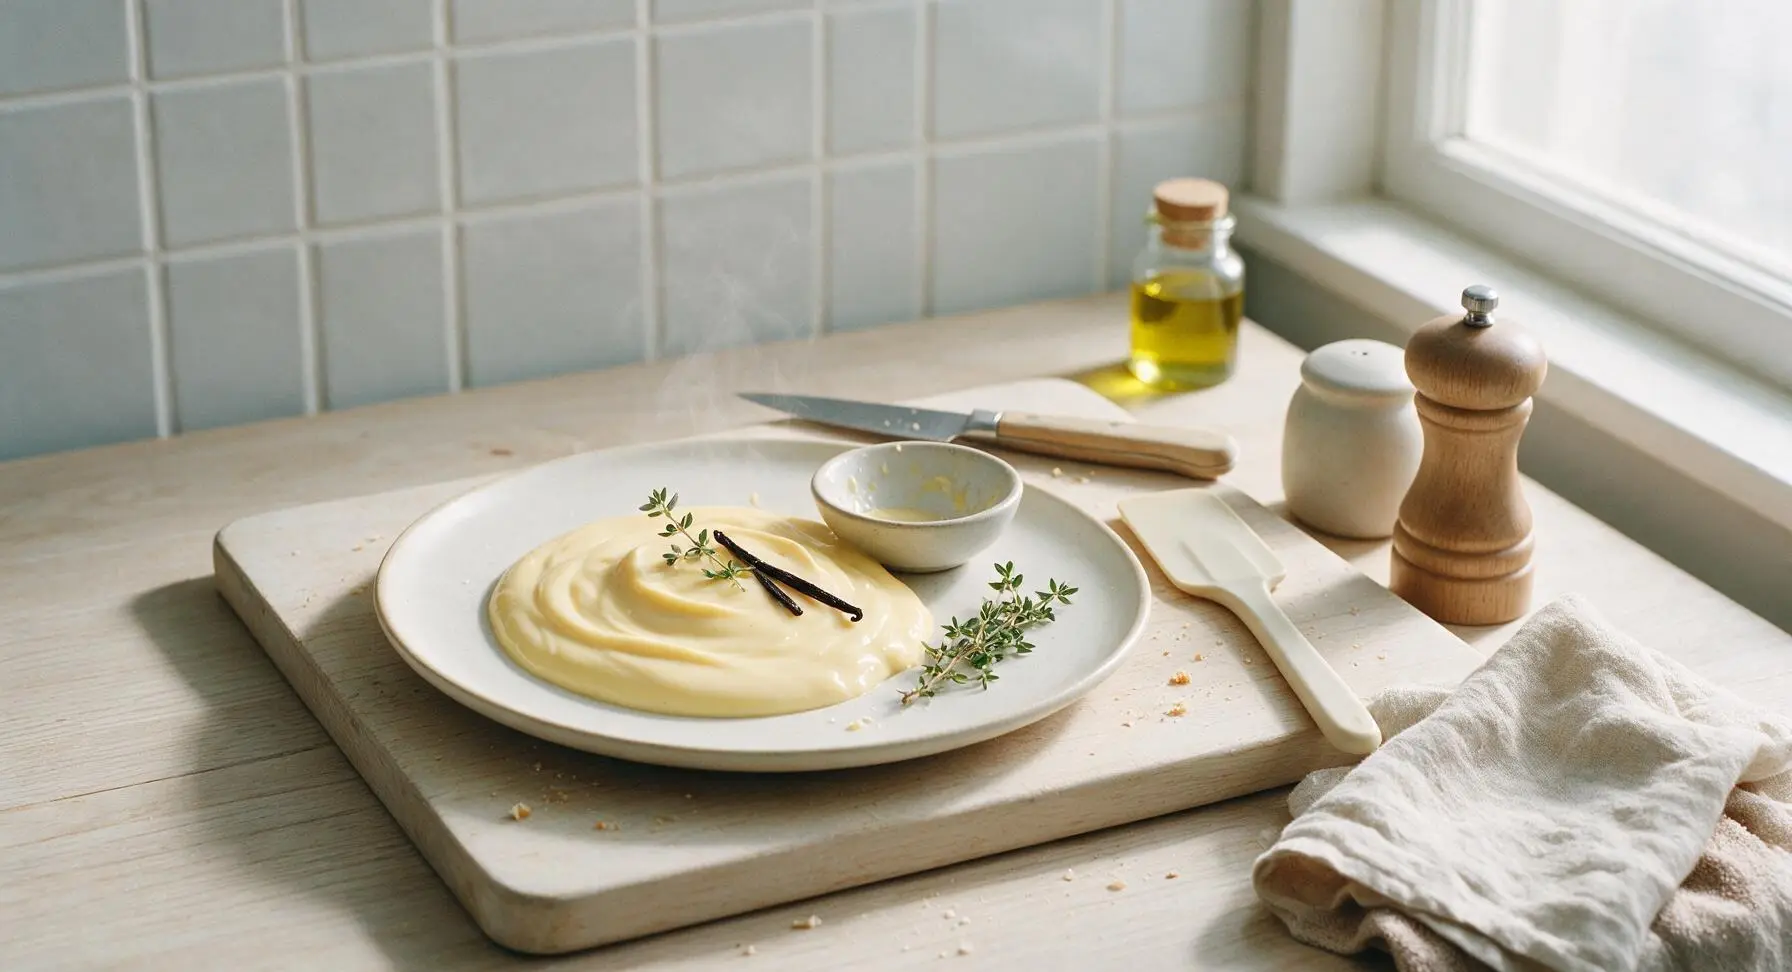
Silky, vanilla-kissed custard sauce (crème anglaise) is the luxuriously smooth, versatile dessert staple, perfect for pouring over winter puddings, cakes, poached fruit, and tarts.
Ingredients
Steps
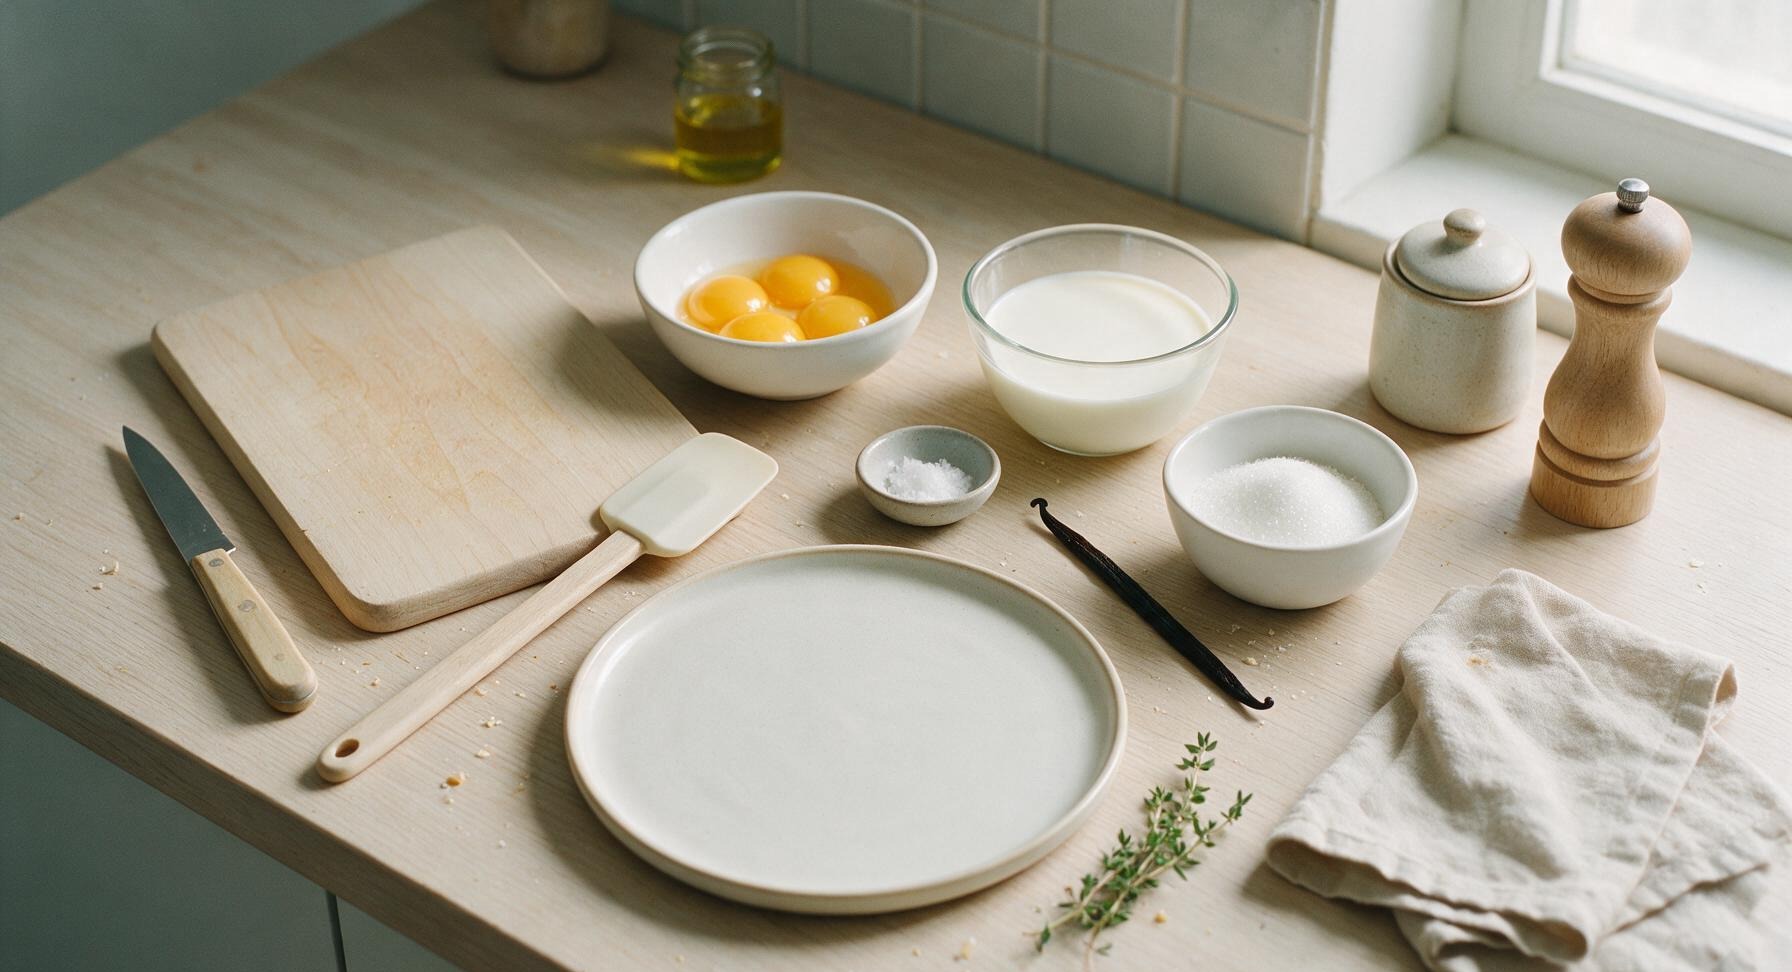
Measure all ingredients
Set out all measured ingredients on the light beech wood cutting board. Use the paring knife to split the whole vanilla bean lengthwise down the center, then use the knife tip to scrape out all tiny dark vanilla seeds from inside the pod, setting both seeds and empty split pod aside. Separate 4 egg yolks from the whites, placing yolks in the 2L heatproof glass mixing bowl; reserve egg whites for another use such as meringue or omelets.
Warm the milk base
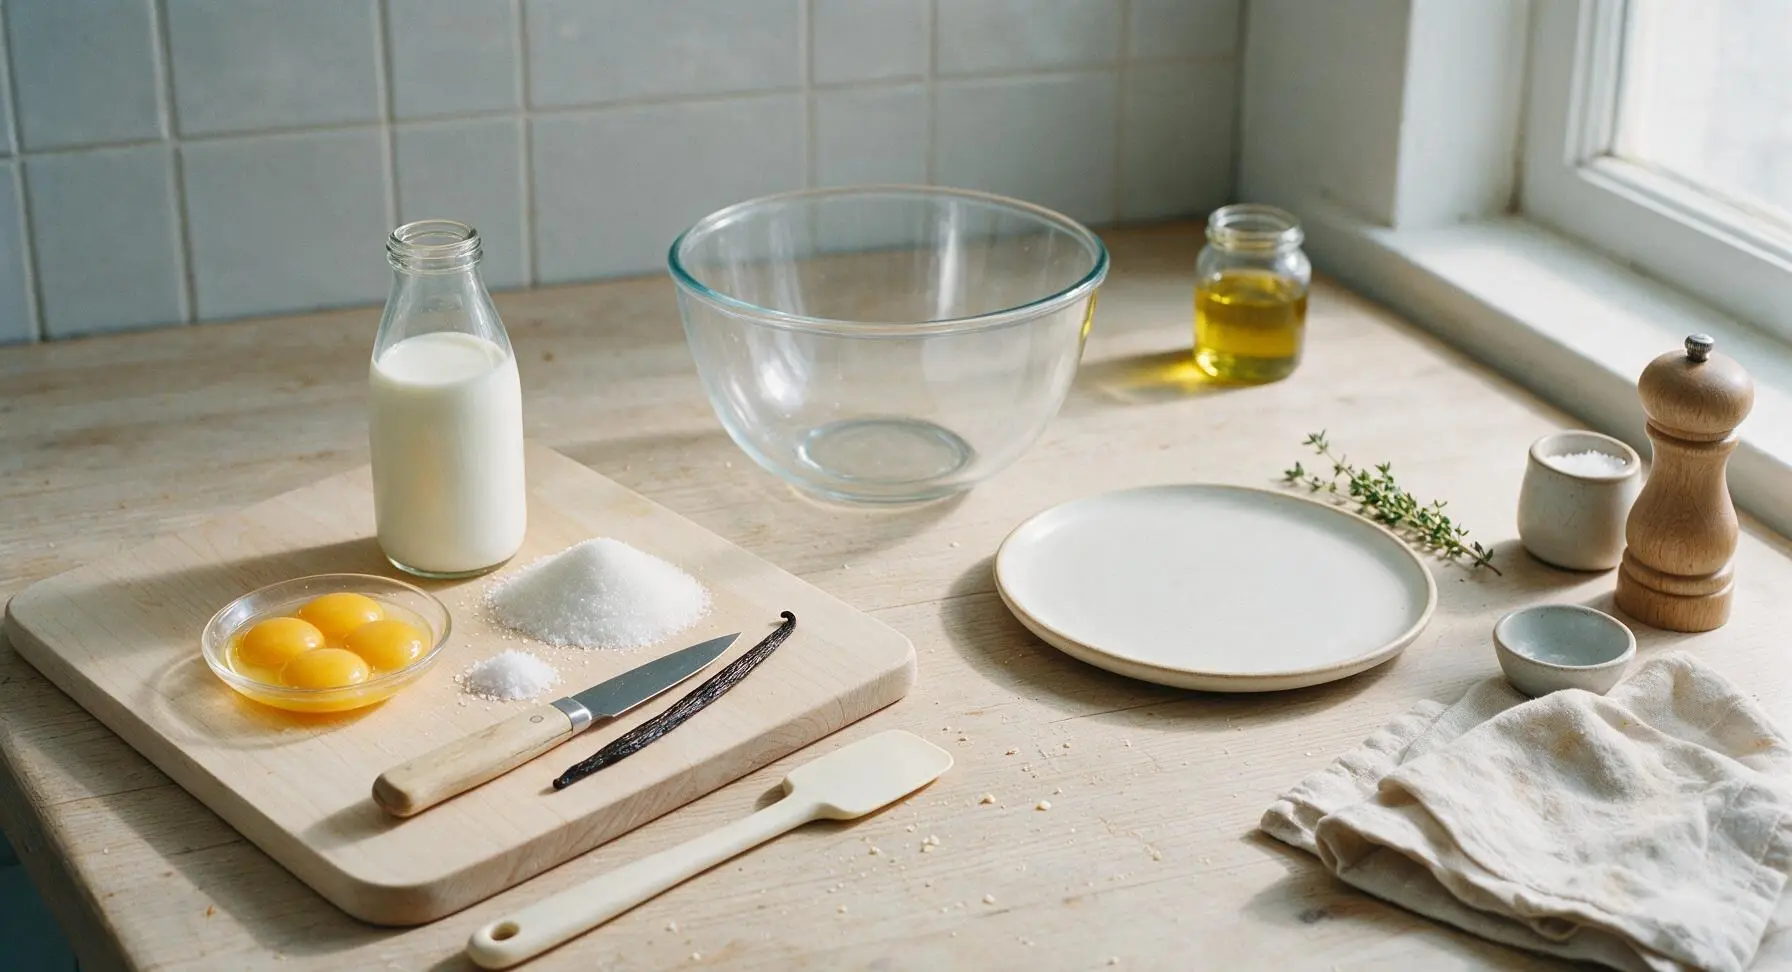
Pour the 400ml whole milk into the 1.5L stainless steel saucepan. Add the scraped vanilla seeds and empty split vanilla pod to the pan. Place the pan over medium-low heat, warming the milk until it reaches a gentle simmer (82°C / 180°F), with tiny bubbles forming around the pan’s inner edge and light steam rising. Do not let the milk come to a full rolling boil, as this can scald the milk and cause curdling when combined with eggs. Once at a gentle simmer, remove the pan from heat and let it rest for 2 minutes to infuse vanilla flavor.
Whisk yolks with sugar
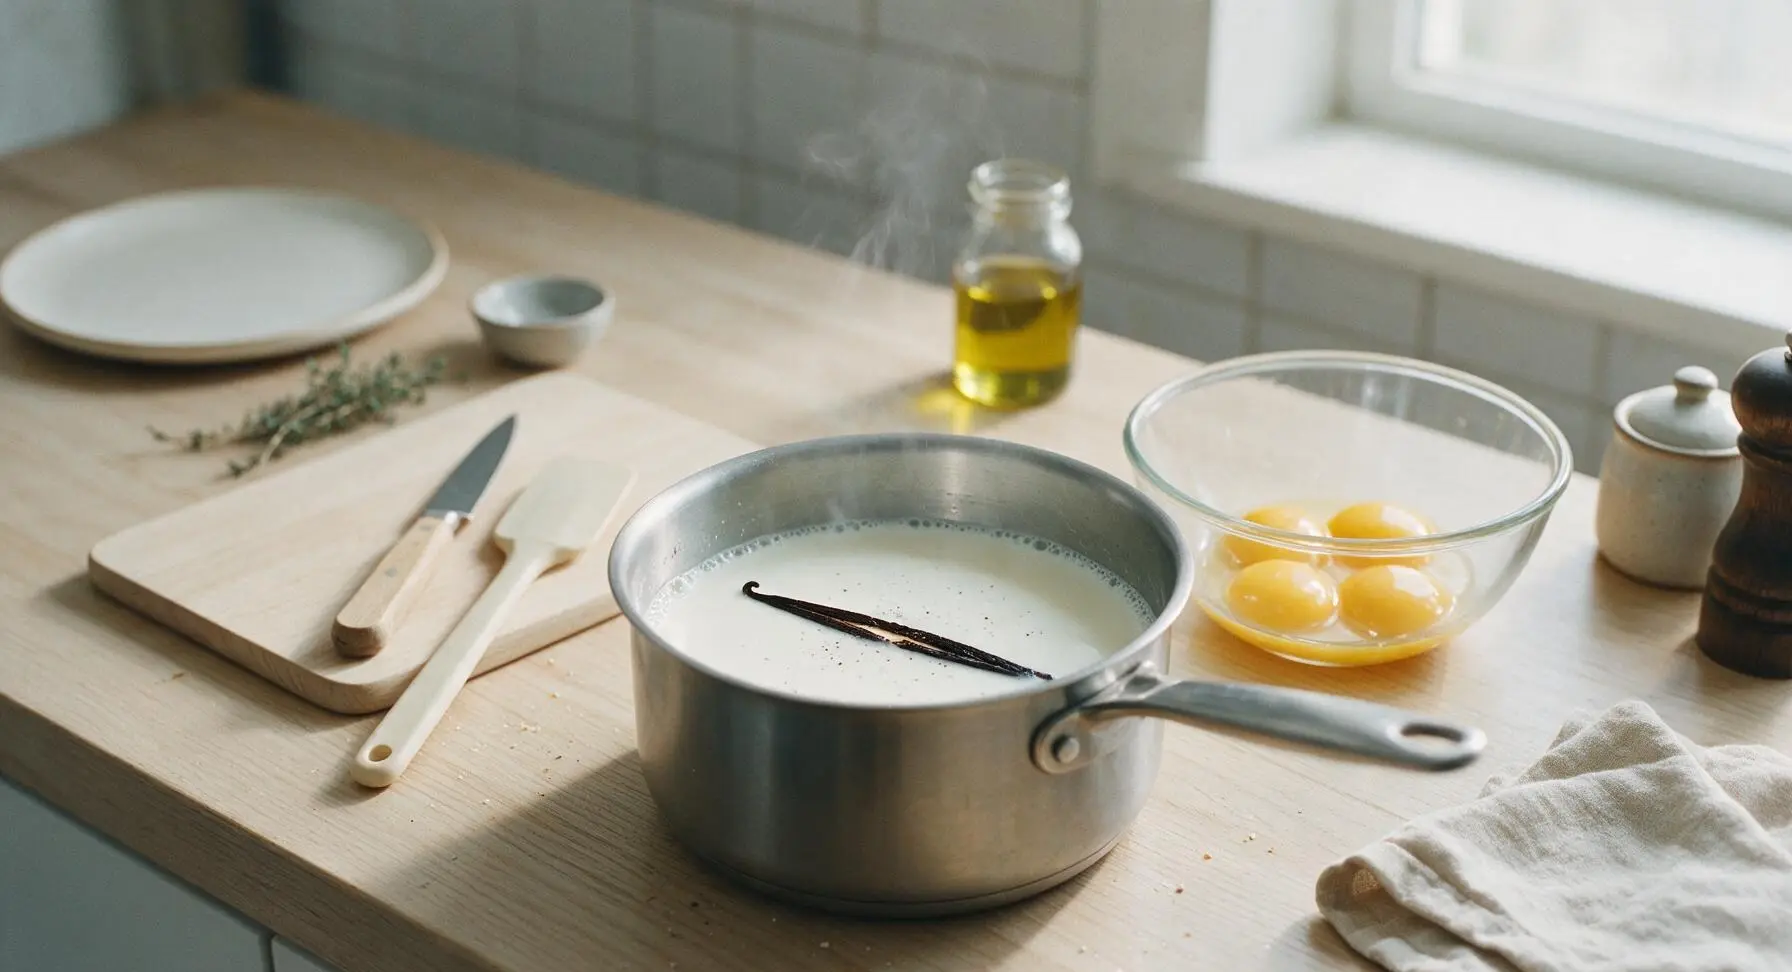
Add the 60g granulated sugar and 1/8 tsp fine sea salt to the egg yolks in the heatproof mixing bowl. Use the pale cream silicone whisk to beat the yolks, sugar, and salt together for 1-2 minutes, until the mixture is pale lemon yellow, slightly thickened, and falls off the whisk in thick, slow ribbons when lifted. Do not over-whisk to create heavy froth, as this will cause unwanted bubbles in the finished sauce.
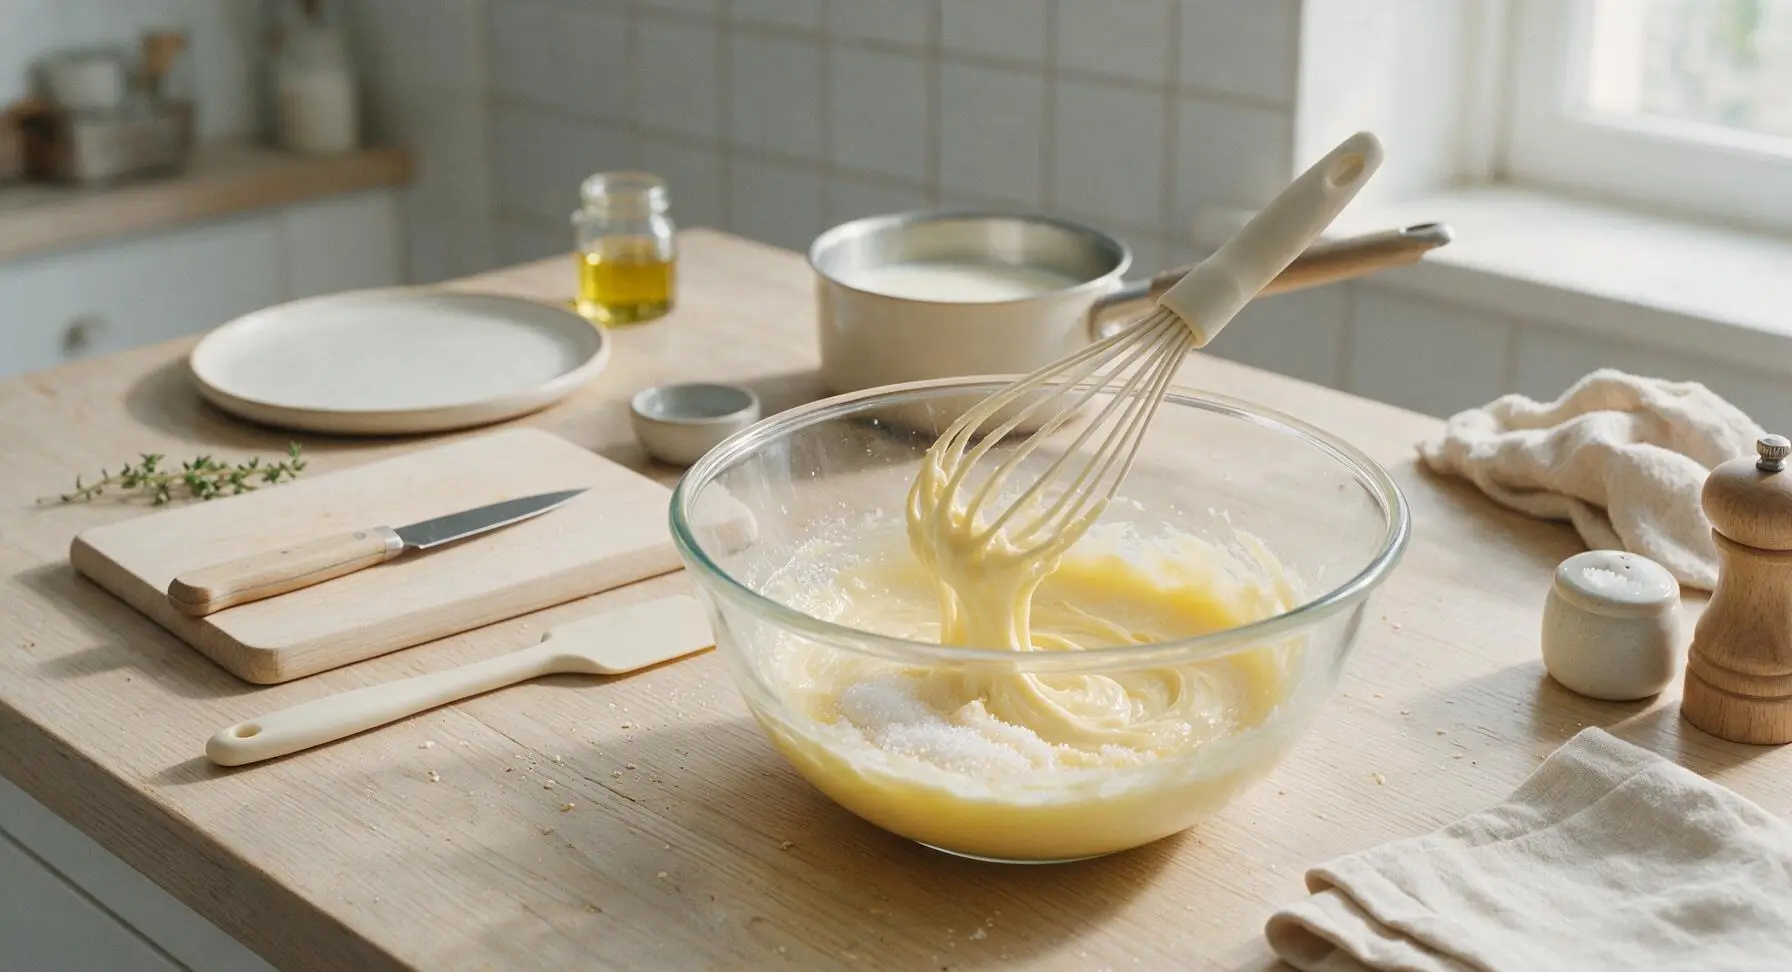
Temper egg yolks slowly
This critical step prevents eggs from curdling when mixed with hot milk. While whisking the egg yolk mixture constantly and slowly, pour a very thin, steady stream of 1/3 of the warm vanilla milk into the yolks. Once fully incorporated, add another 1/3 of the warm milk, whisking nonstop, then add the final 1/3, whisking continuously until the mixture is smooth and evenly combined. Never pour all the hot milk in at once, as this will instantly cook the eggs into grainy lumps.
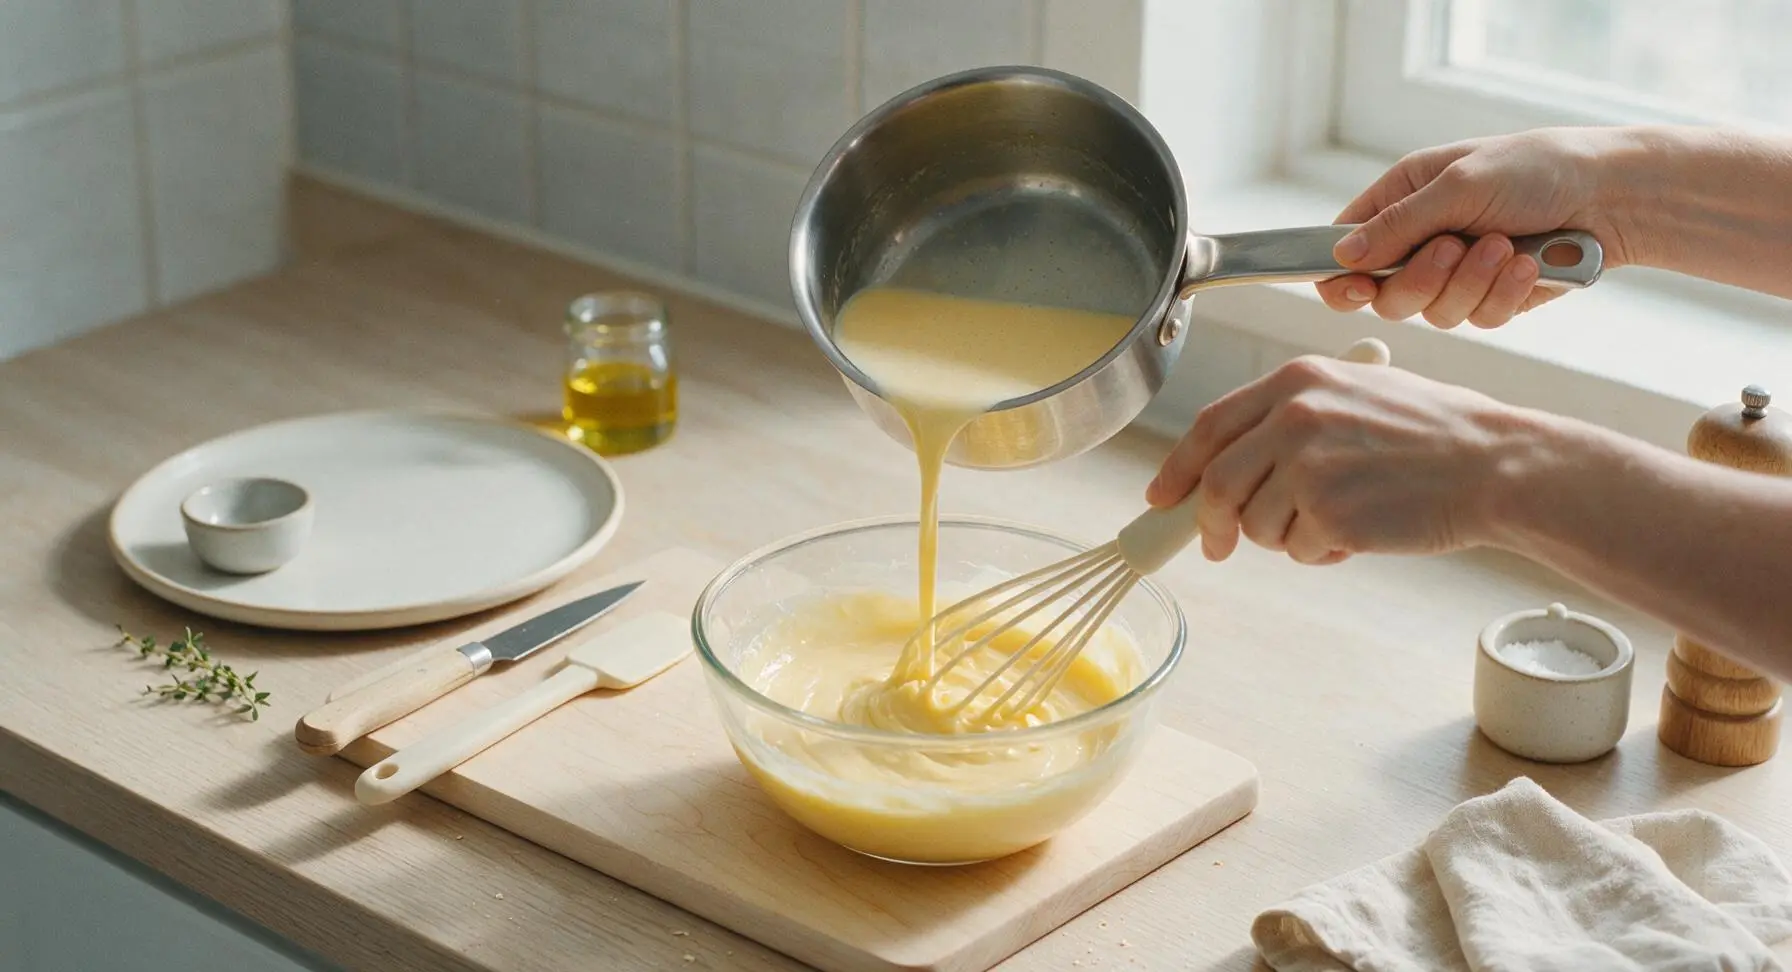
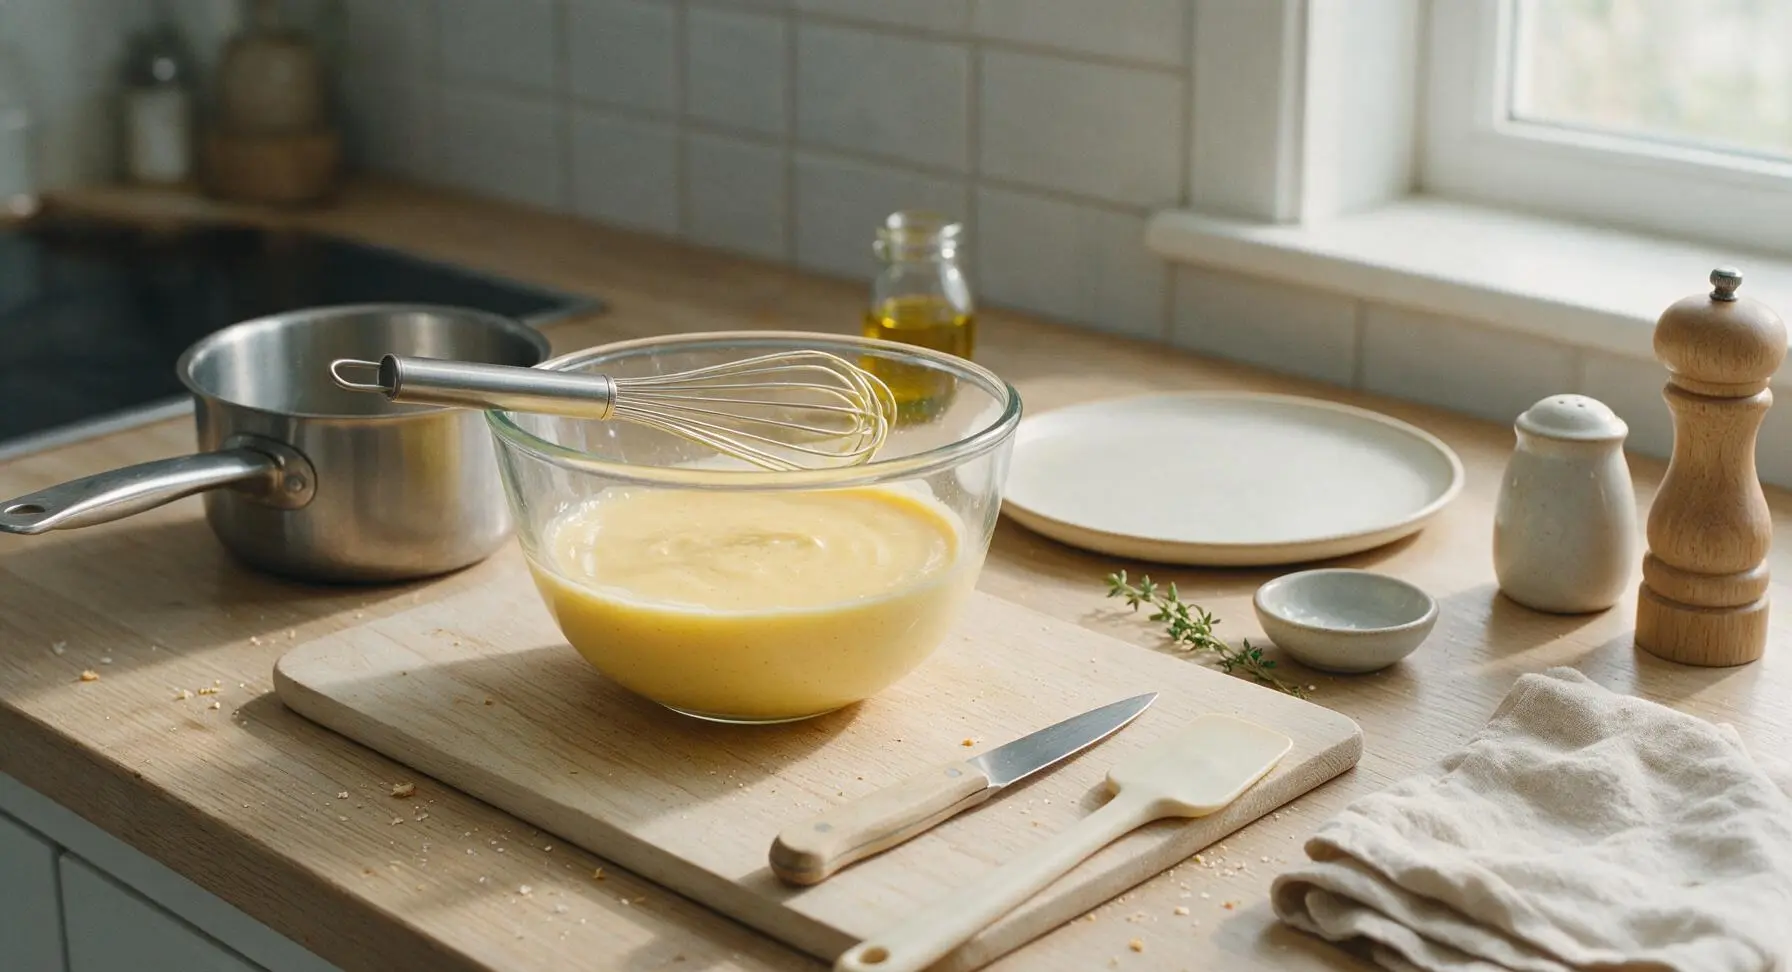
Cook until thickened
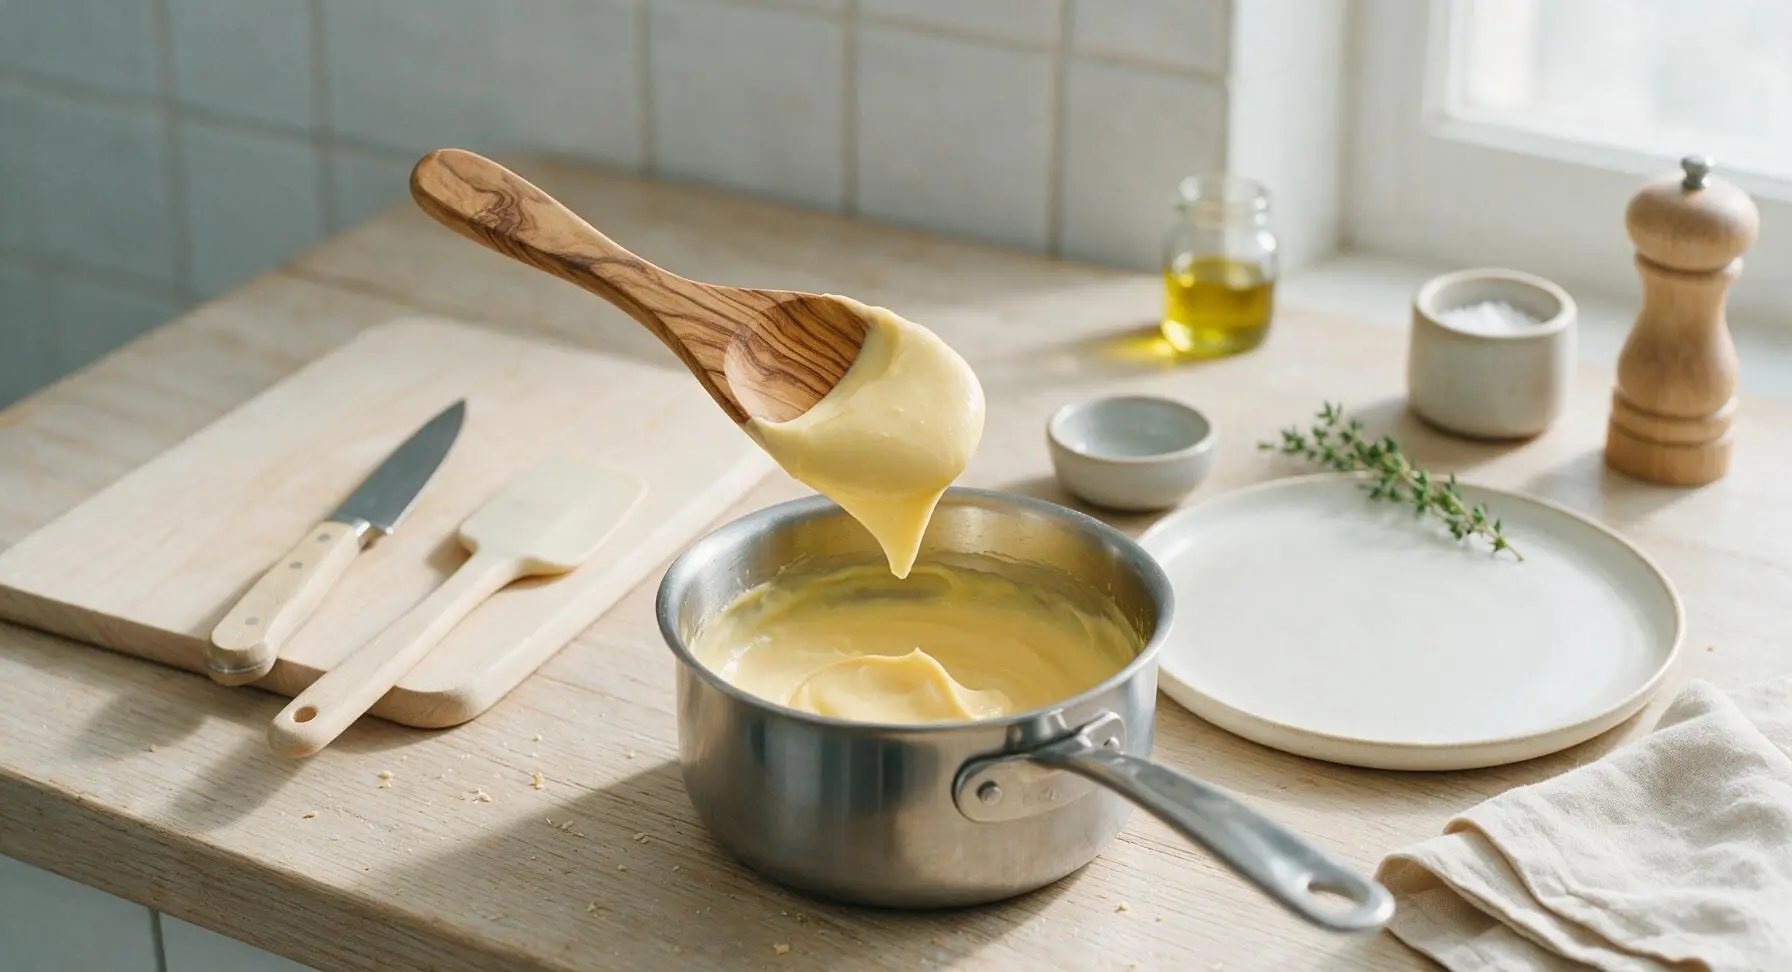
Pour the combined tempered custard mixture back into the stainless steel saucepan. Return the pan to low heat, stirring constantly with the olive wood flat spoon, making sure to scrape the pan’s bottom and corners to prevent burning. Cook for 3-5 minutes, until the custard reaches 77°C / 170°F on the instant-read thermometer, and is thick enough to coat the back of the wooden spoon: when you run your finger across the spoon’s back, the line left will hold its shape without running. Do not let the custard boil, as this will cause curdling. If you see any tiny lumps forming, immediately remove the pan from heat and stir quickly to cool it down.
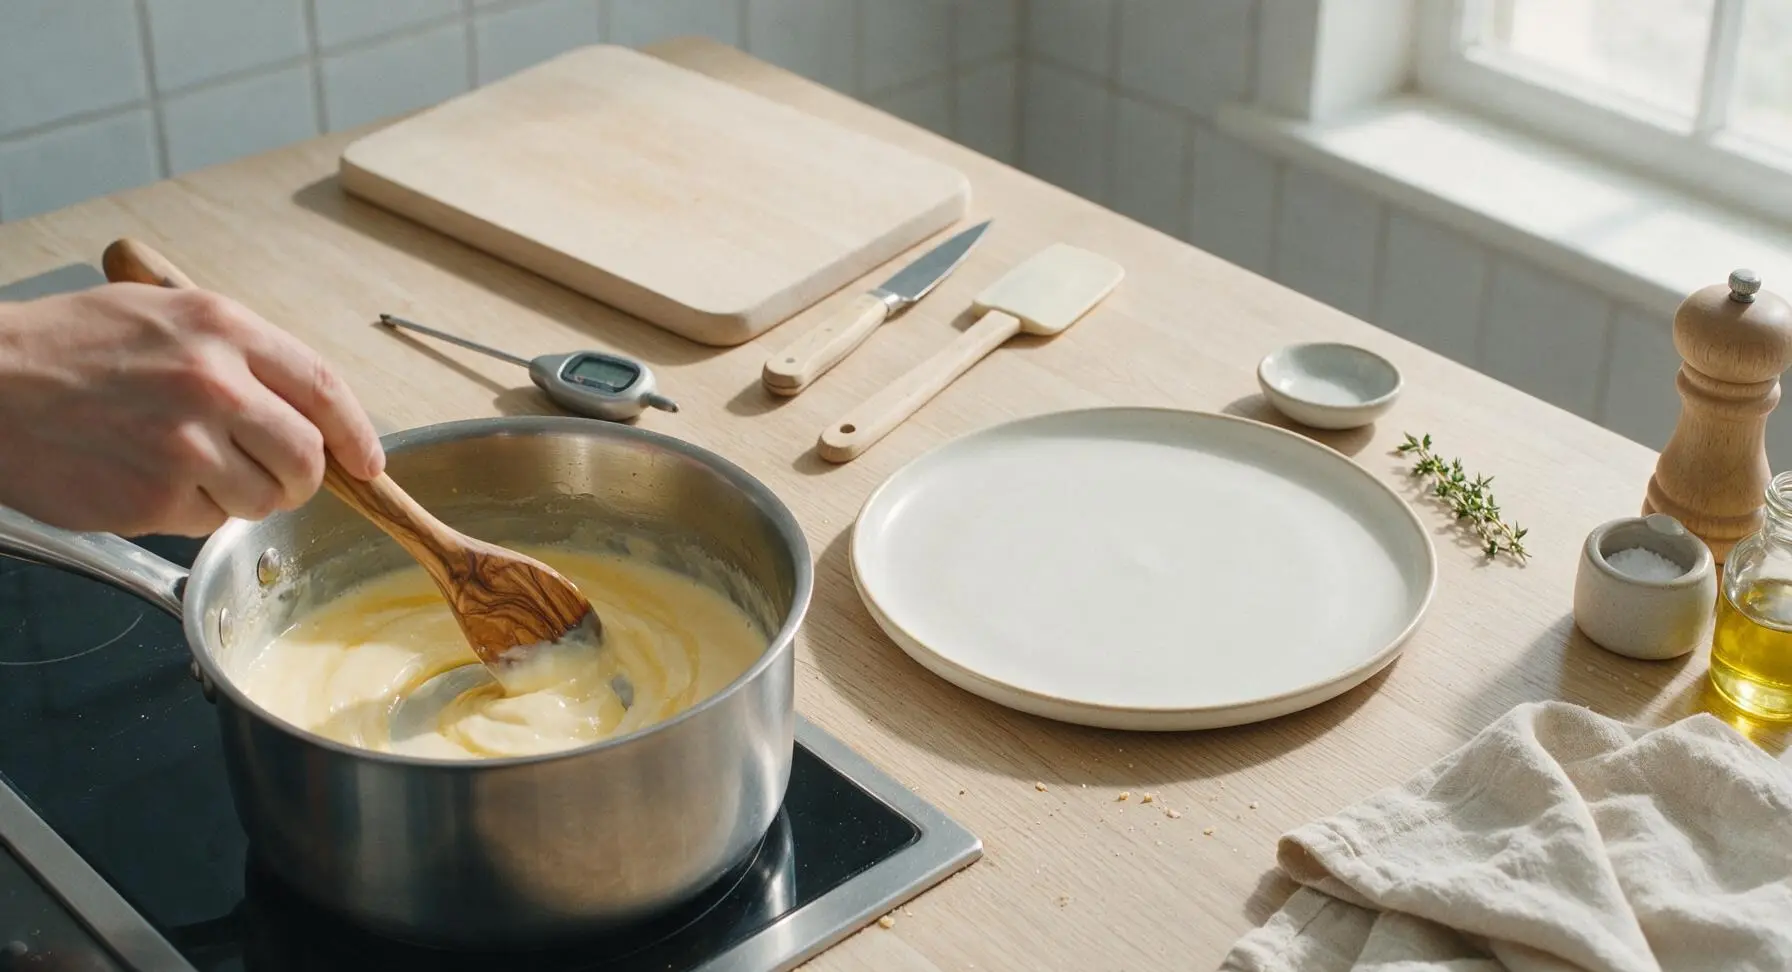
Strain for smooth texture
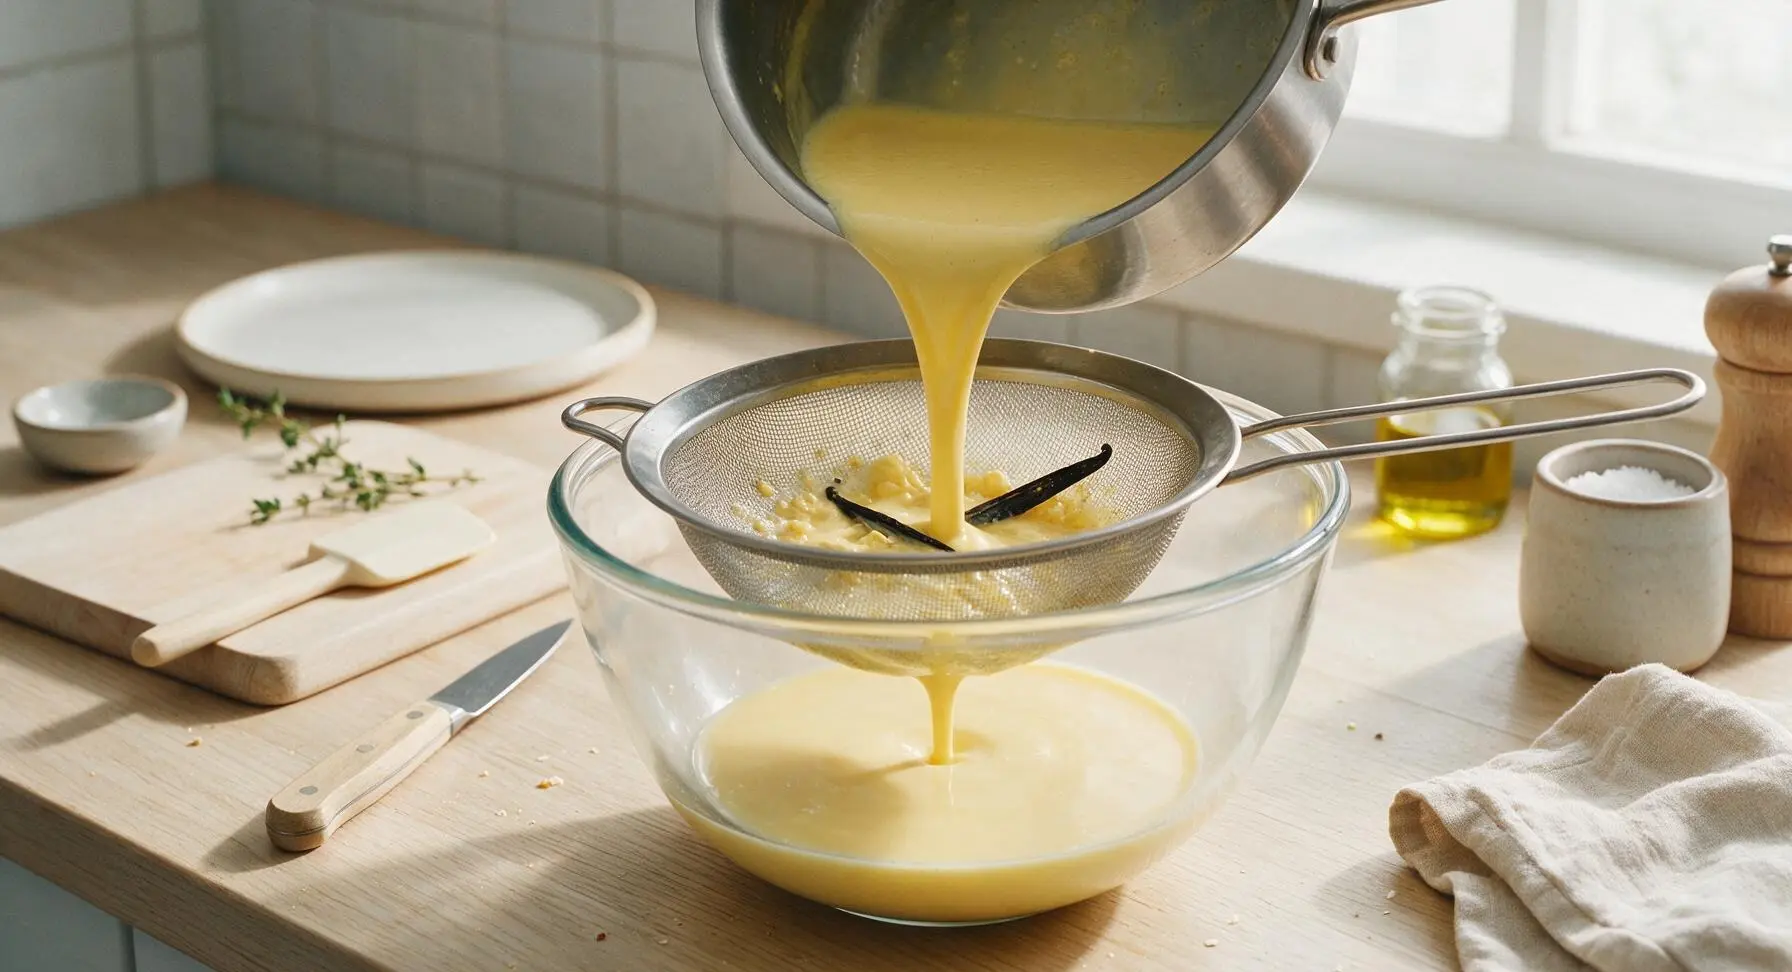
Once the custard reaches the correct thickness, immediately remove the pan from heat. Set the fine-mesh stainless steel sieve over the clean heatproof glass mixing bowl, and pour the hot custard through the sieve to catch any tiny lumps, the vanilla pod, and any cooked egg bits that may have formed on the pan bottom. This step guarantees a perfectly silky, lump-free sauce, even if tiny curdles formed during cooking.
Cool and serve sauce
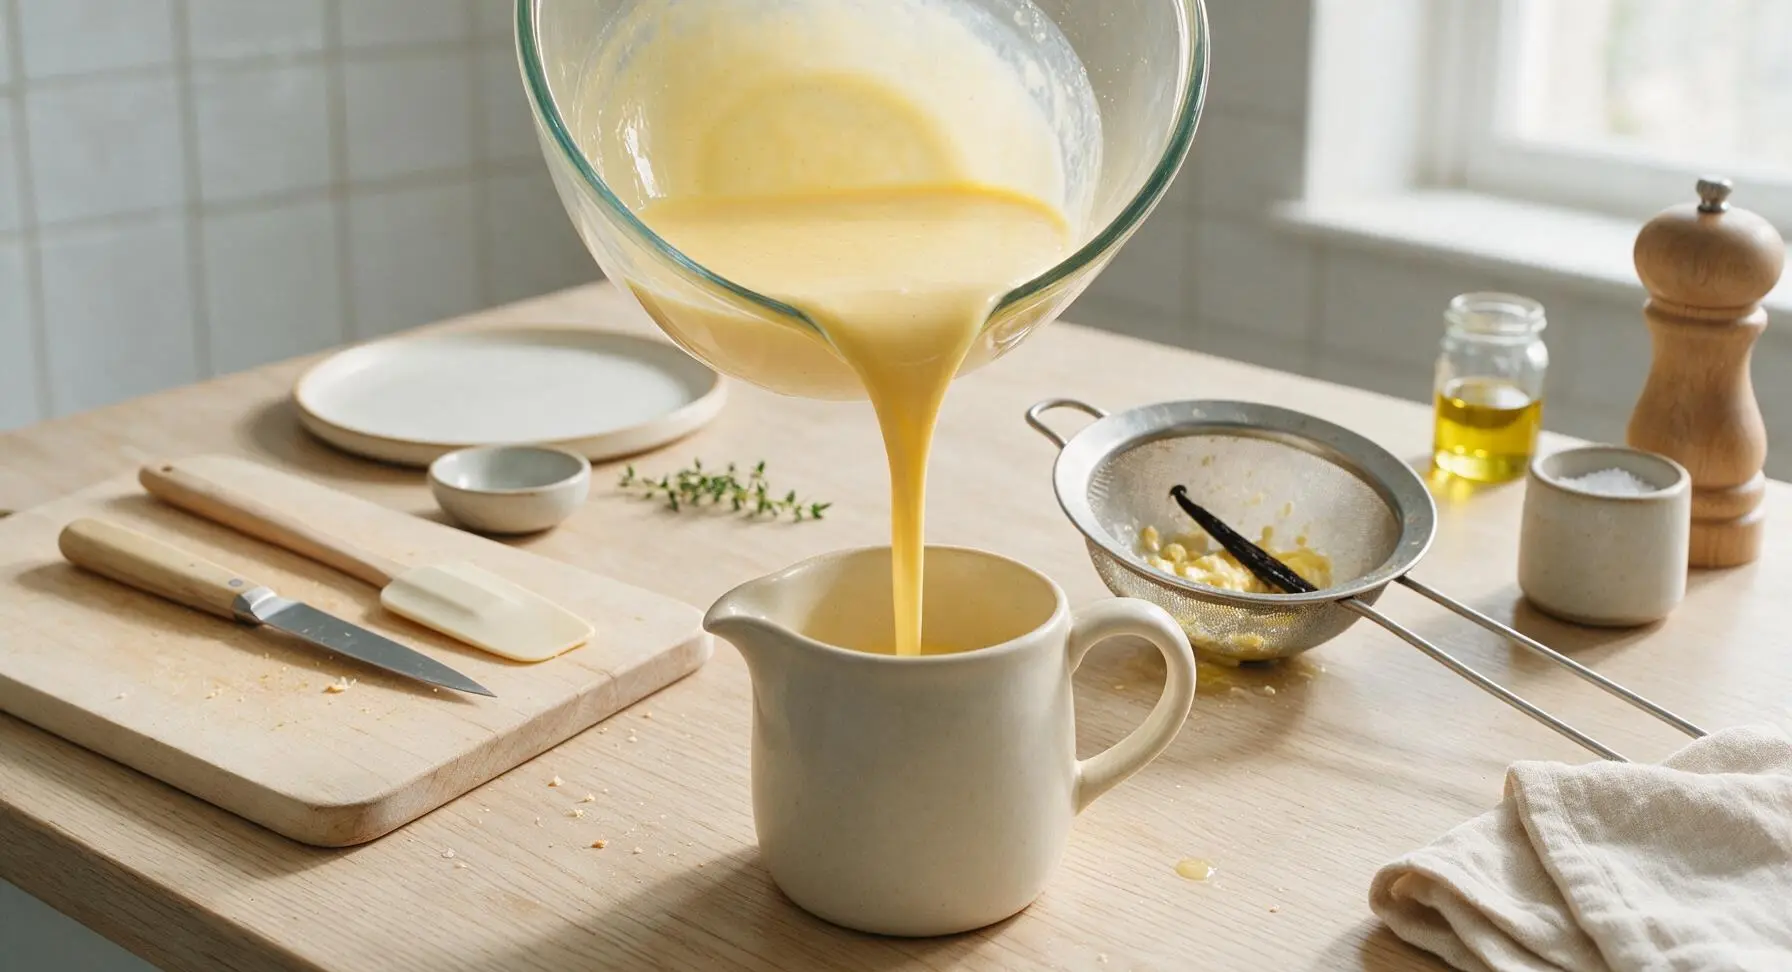
Let the strained custard cool for 10 minutes at room temperature, stirring occasionally to prevent a thick skin from forming on the surface. If not serving immediately, press a piece of plastic wrap directly onto the custard’s surface (to block air and prevent skin formation) and refrigerate for up to 3 days. Serve warm or chilled, poured over Christmas pudding, poached pears, bread pudding, fruit cake, or warm crumbles.
Tips
2.Keep heat on the lowest setting when cooking the custard: high heat causes eggs to curdle rapidly, even if you tempered them correctly. If you notice lumps forming mid-cook, immediately plunge the pan base into a bowl of ice water for 10 seconds while stirring vigorously to stop the cooking process before more lumps form.
3.For the deepest vanilla flavor, let the warmed milk rest with the vanilla pod for 10 minutes instead of 2 before tempering; this gives the vanilla more time to infuse into the milk for a richer, more aromatic sauce. If you don’t have a whole vanilla bean, substitute 1 teaspoon of pure vanilla extract, added right after straining the hot custard to preserve its delicate flavor (heat destroys extract flavor quickly if boiled).






OMG this crème anglaise is SO good! I made it last night to go with our chocolate lava cakes for family dinner and everyone was scraping the bowl clean. I was worried it would curdle since I’ve messed up custard sauces before, but the timing tips were perfect — 12 minutes was exactly right for my stovetop. Total game changer for dessert night!
Tried this for my roommate’s birthday potluck and people thought I bought it from the fancy French bakery downtown! Only note is I accidentally added a tiny extra splash of vanilla extract and it was even better, tbh. Super impressive for how quick it cooks, I’ll definitely be making this again for our next dorm dinner.
I’ve been looking for a reliable crème anglaise recipe forever to pour over my gluten-free bread pudding! I was a little nervous because custard sauces are usually medium difficulty and I’m still learning to cook, but the step-by-step instructions made it so easy. No curdling, perfect silky texture every time I’ve made it (three times now, oops).
Made this to top my wife’s favorite apple crisp for our anniversary and I didn’t mess it up! Repeat: I, the guy who burns toast 90% of the time, made a fancy French custard sauce that didn’t curdle and tasted like it came from a restaurant. The tip about pulling it as soon as it coats the back of a spoon saved me. 10/10, will make again to earn more husband points.
Wait has anyone tried making this ahead of time for meal prep? I want to have it on hand to pour over fruit, waffles, all the good stuff for weekday breakfasts but I’m worried it won’t hold up in the fridge for a few days.
My kids loved this poured warm over brownies last weekend! I did have one little oops where I got the heat too high and got a few tiny curd bits, so I strained it like the recipe said and you couldn’t even tell. Will definitely be making this all holiday season for pie, cake, you name it.