
diced beef
intro
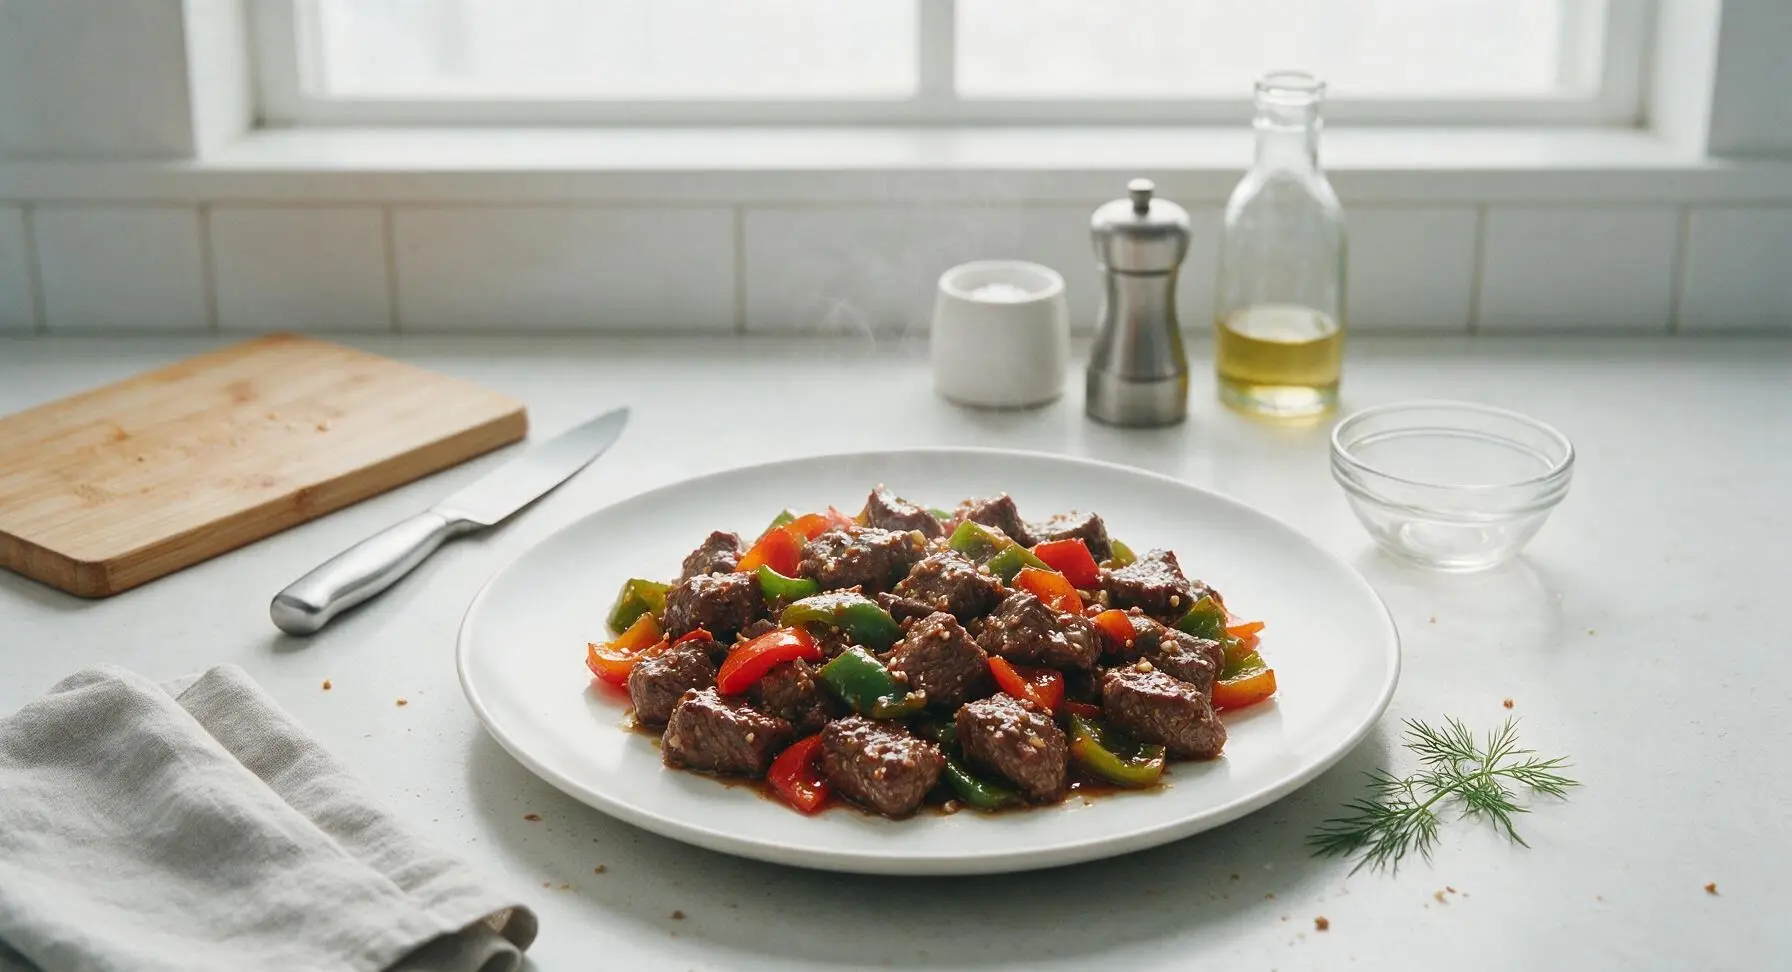
Tender, juicy seared beef cubes coated in savory garlic-soy glaze, paired with crisp-tender bell peppers, ready in under 30 minutes for a satisfying weeknight meal.
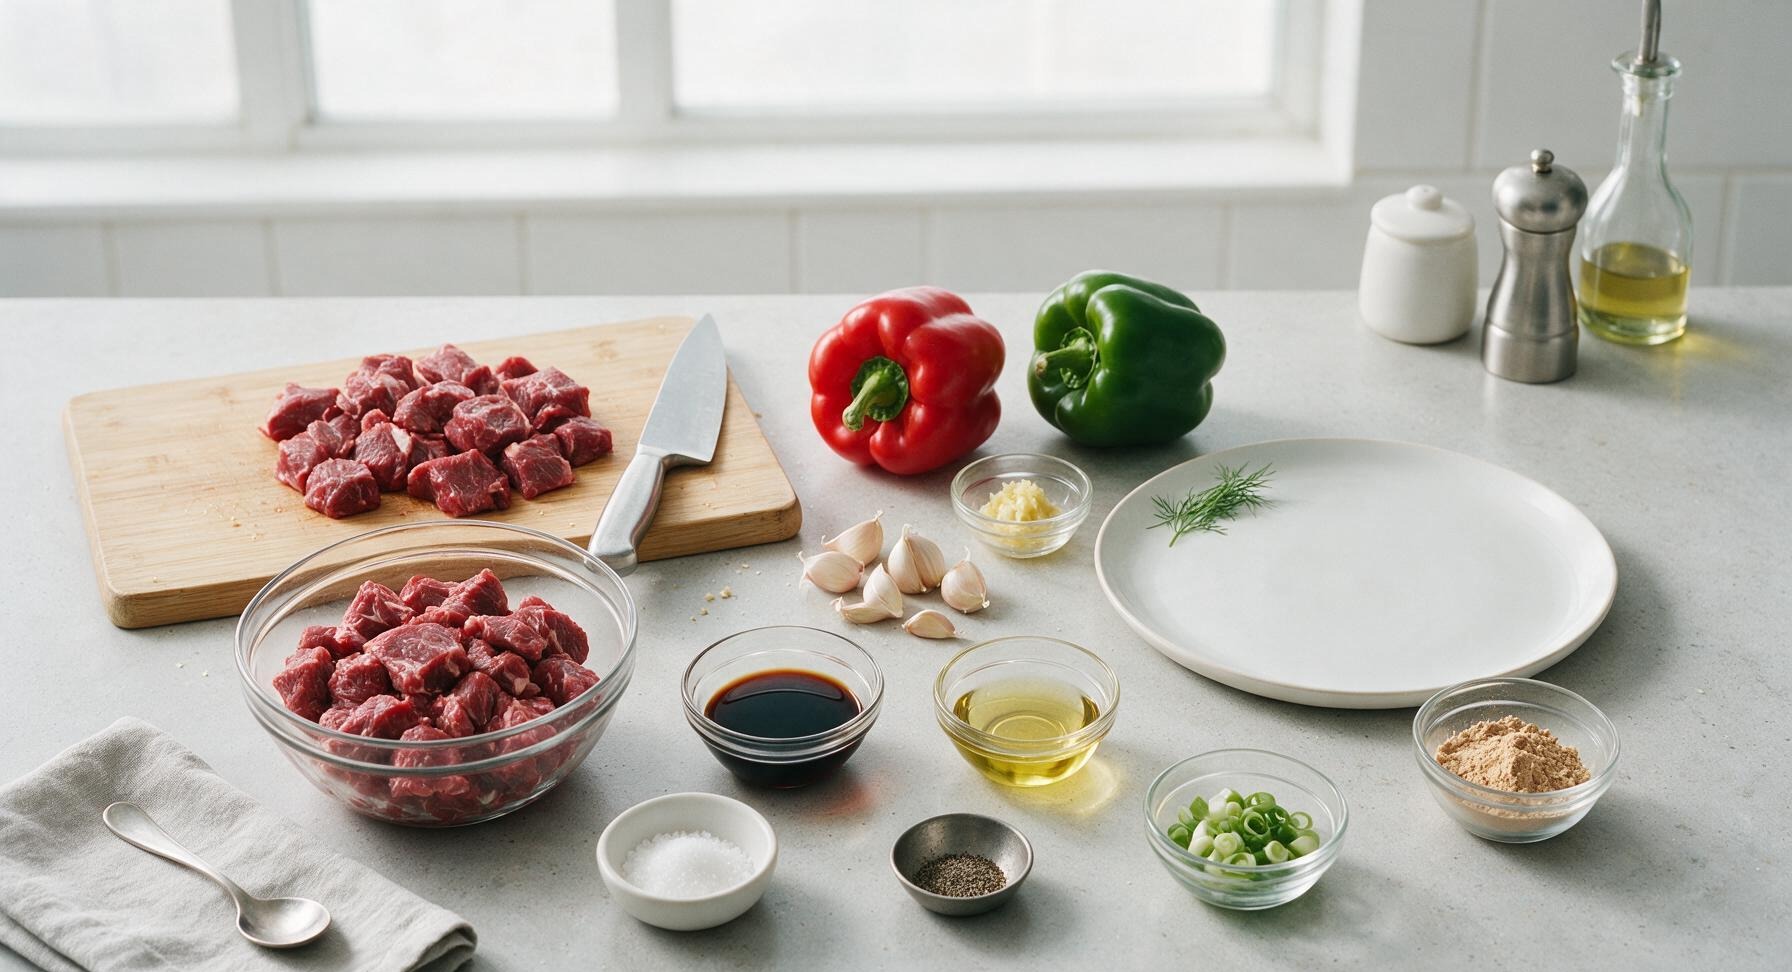
Ingredients
Steps
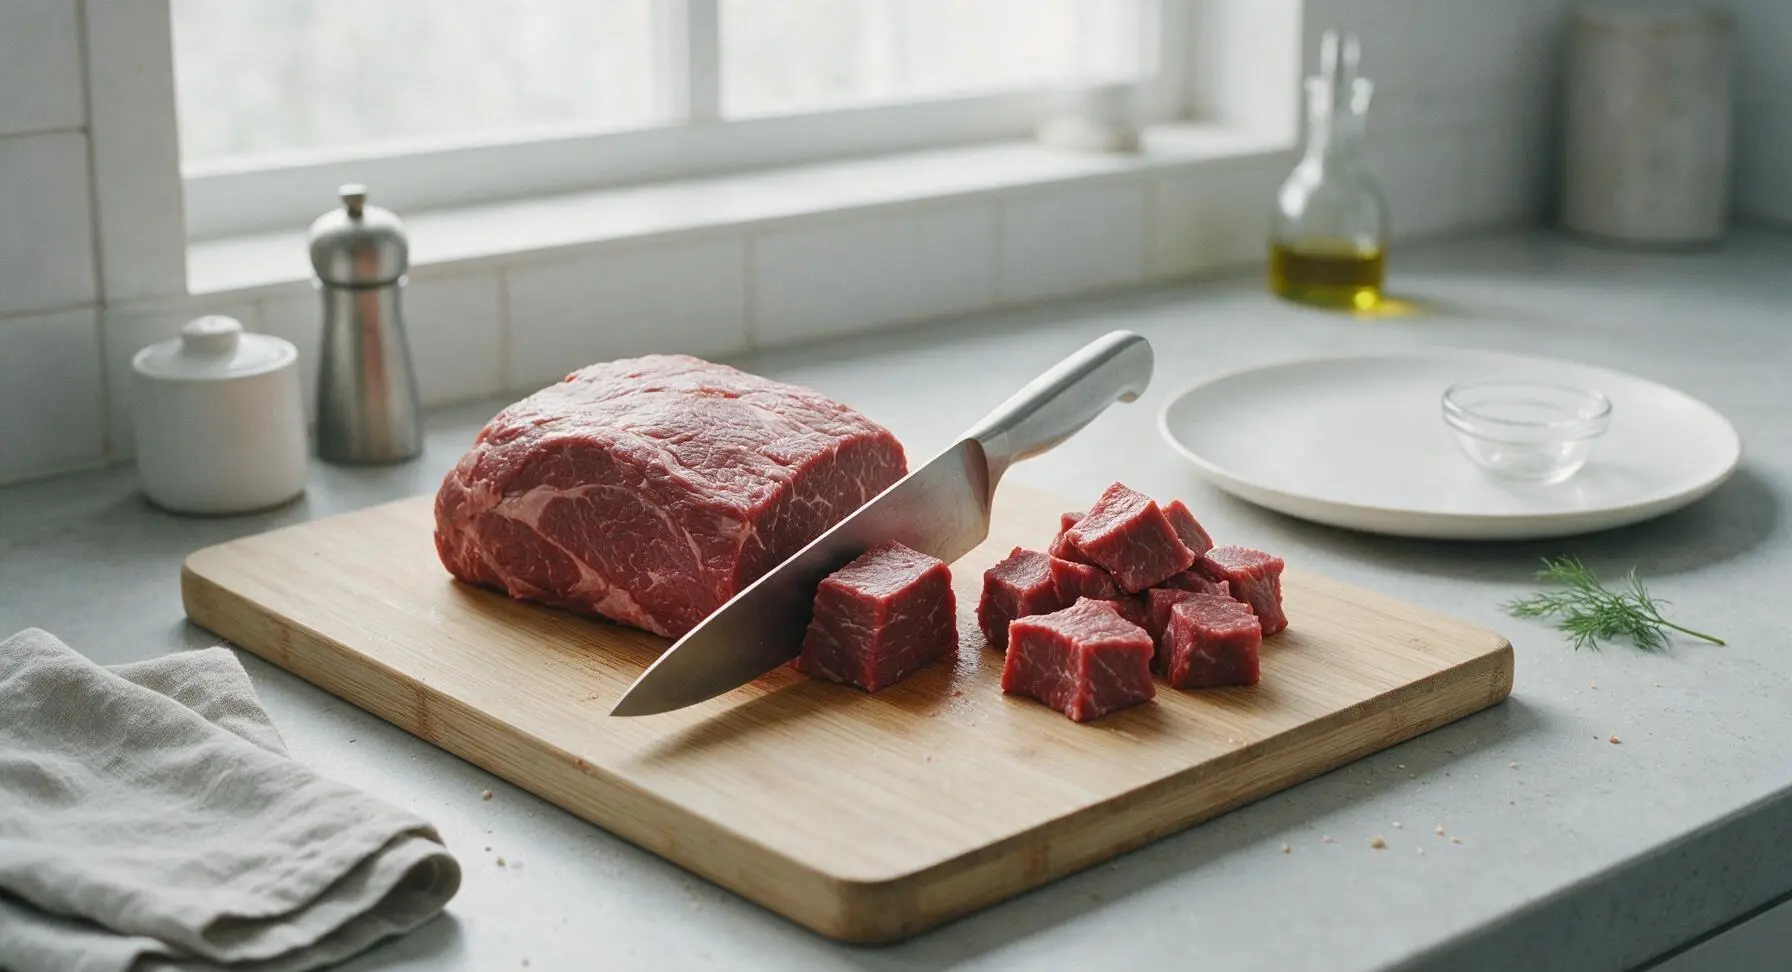
Dice beef into cubes
Place the trimmed boneless beef chuck on the bamboo cutting board. Using the chef’s knife, cut the beef against the grain into uniform 2cm (3/4 inch) cubes. Inspect each cube to remove any remaining hard silver skin or large fat chunks, so all pieces are a consistent size for even cooking.
Marinate beef cubes
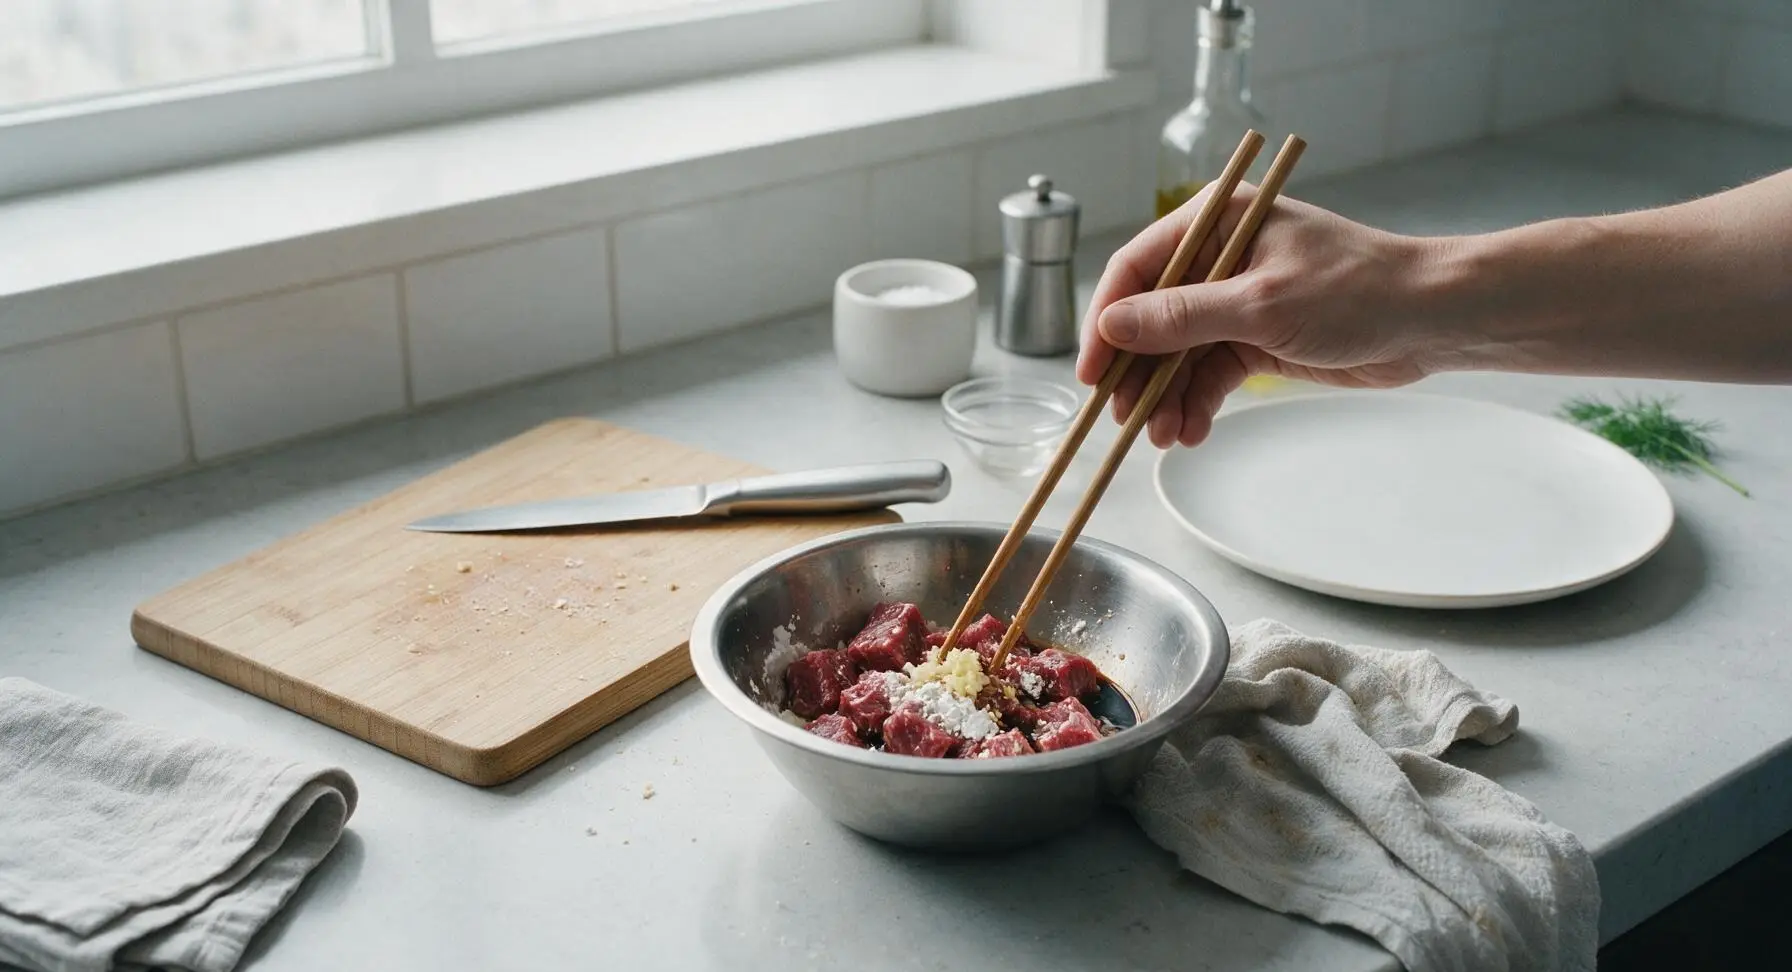
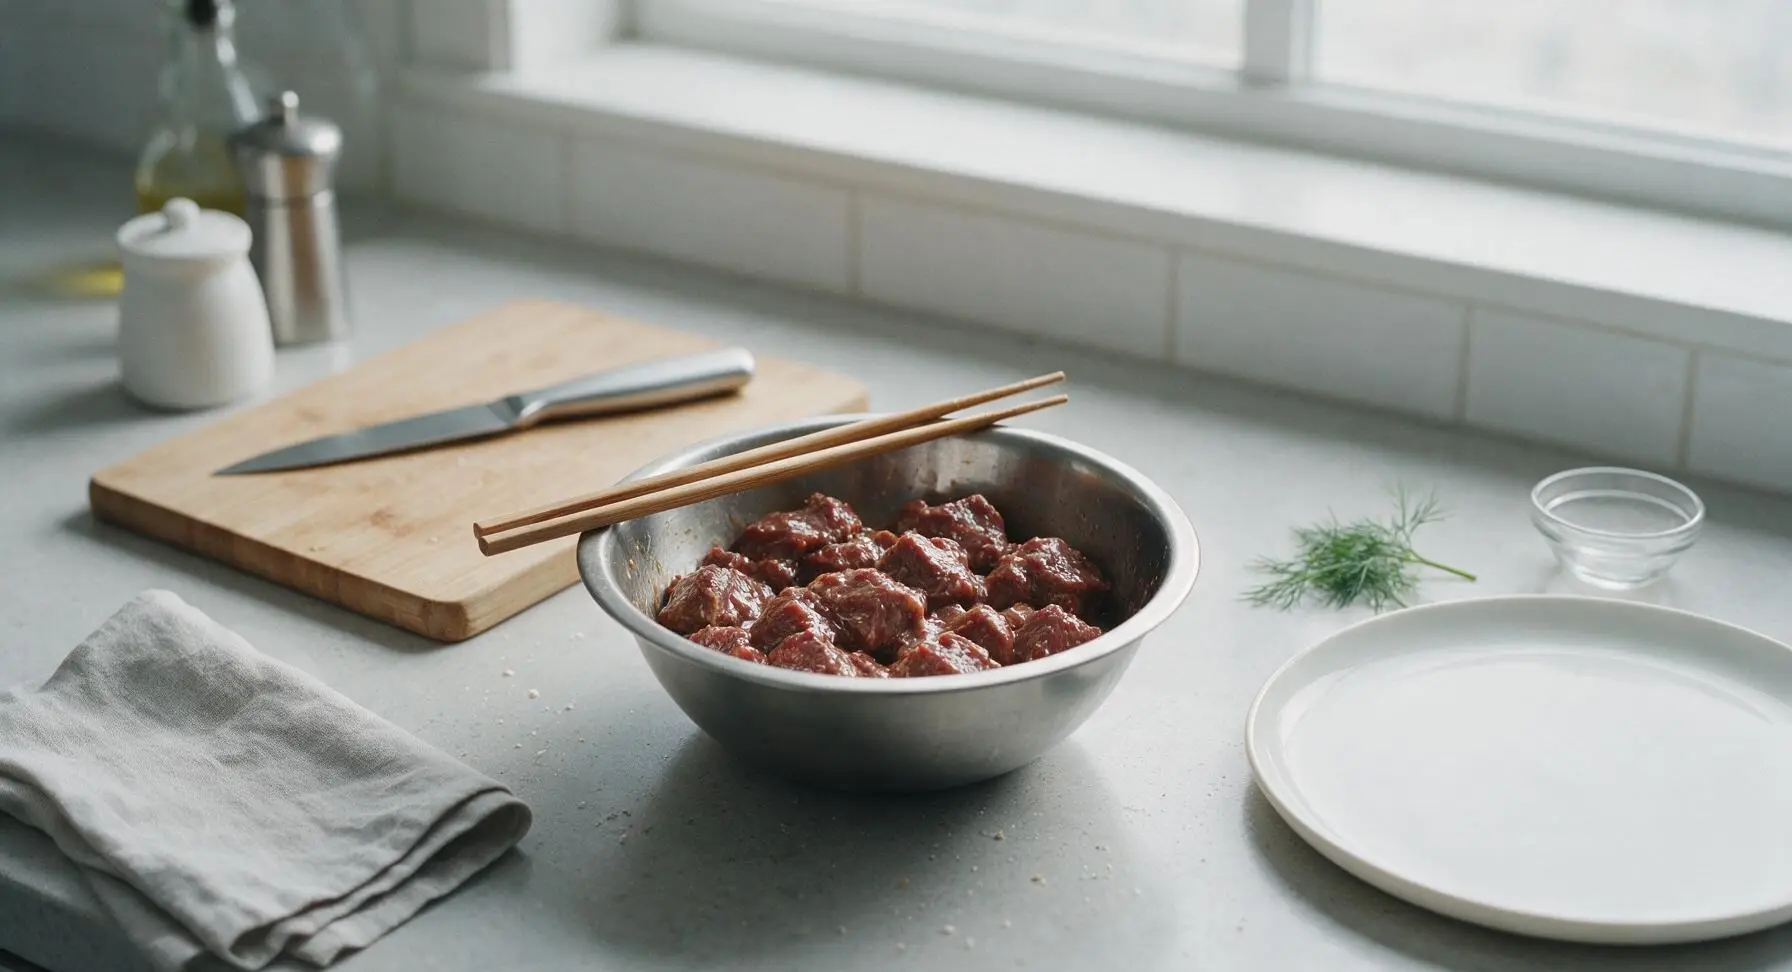
Transfer the diced beef to the small stainless steel mixing bowl. Add 1 tablespoon light soy sauce, 1 tablespoon cornstarch, 1/4 teaspoon ground black pepper, and 1 teaspoon grated ginger. Toss thoroughly with the wooden chopsticks until every cube is evenly coated, then let rest for 10 minutes at room temperature to tenderize. The cornstarch will form a thin, slippery coating on the beef surface that locks in juices during searing.
Prep aromatic vegetables
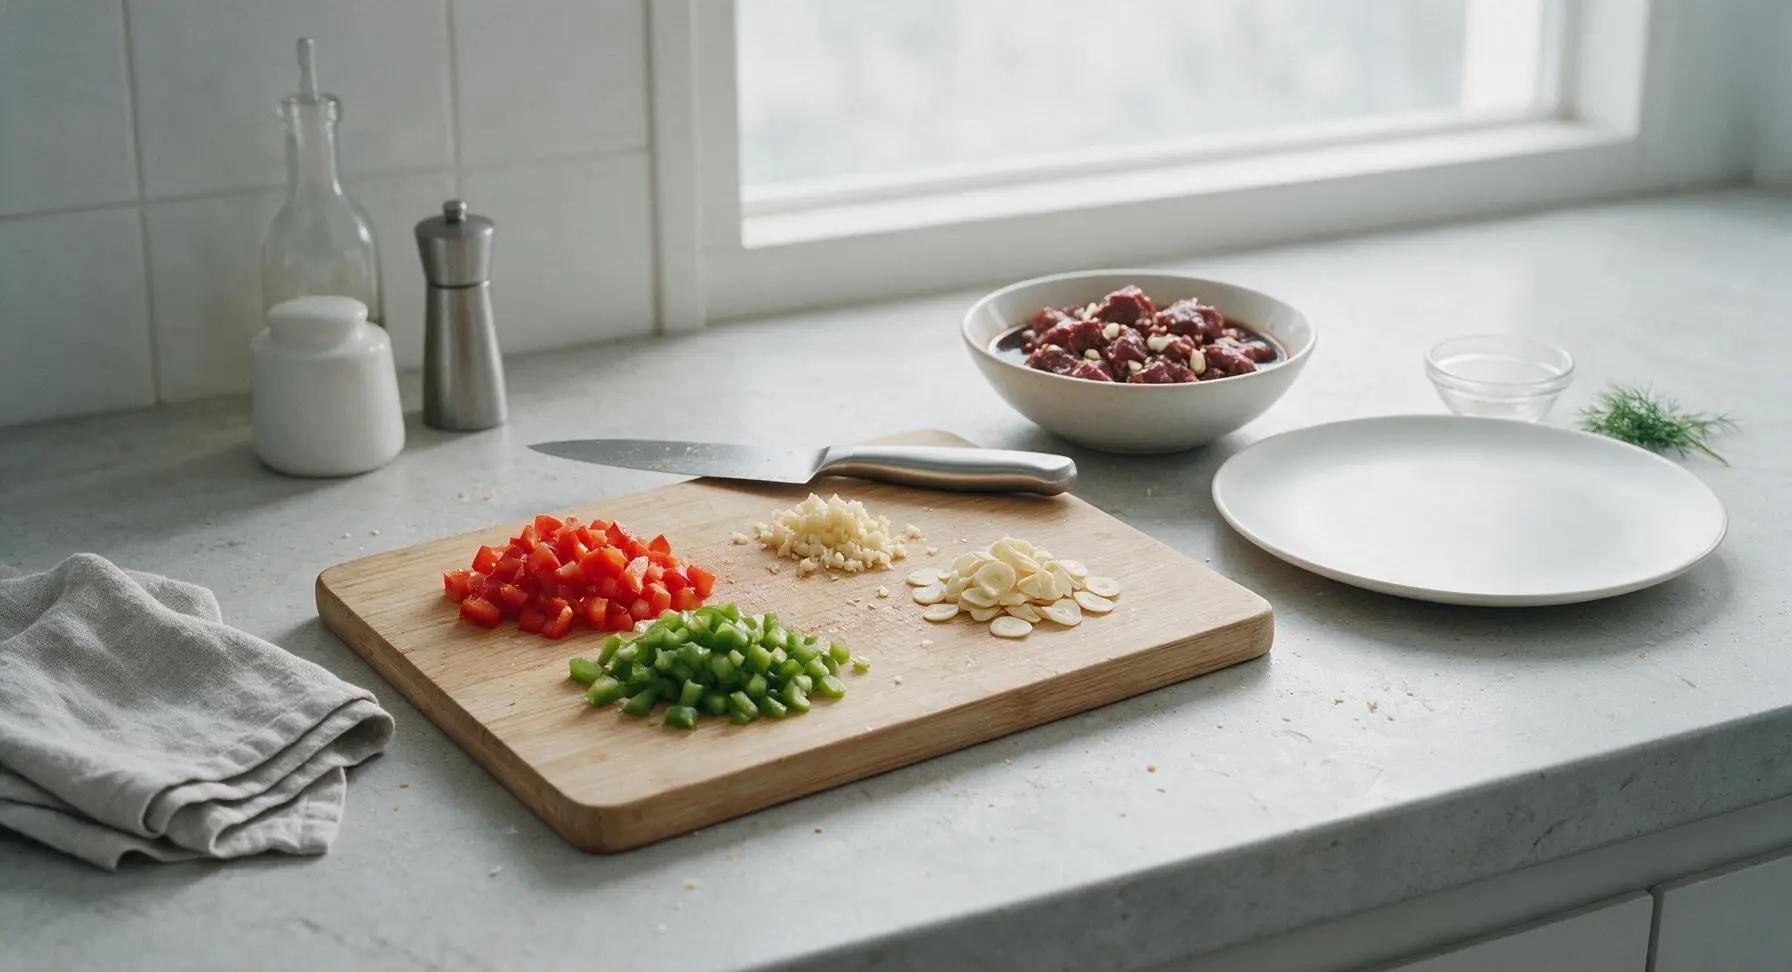
While the beef marinates, wipe the bamboo cutting board clean with a paper towel. Place the bell peppers, garlic, and scallions on the board. Dice the red and green bell peppers into 1.5cm (1/2 inch) cubes, slightly smaller than the beef pieces. Mince 4 garlic cloves, and slice the remaining 2 garlic cloves into thin chips. Cut the scallion greens into 1cm thin rings, and place them in one of the small white ramekins to reserve for garnish.
Heat wok for searing
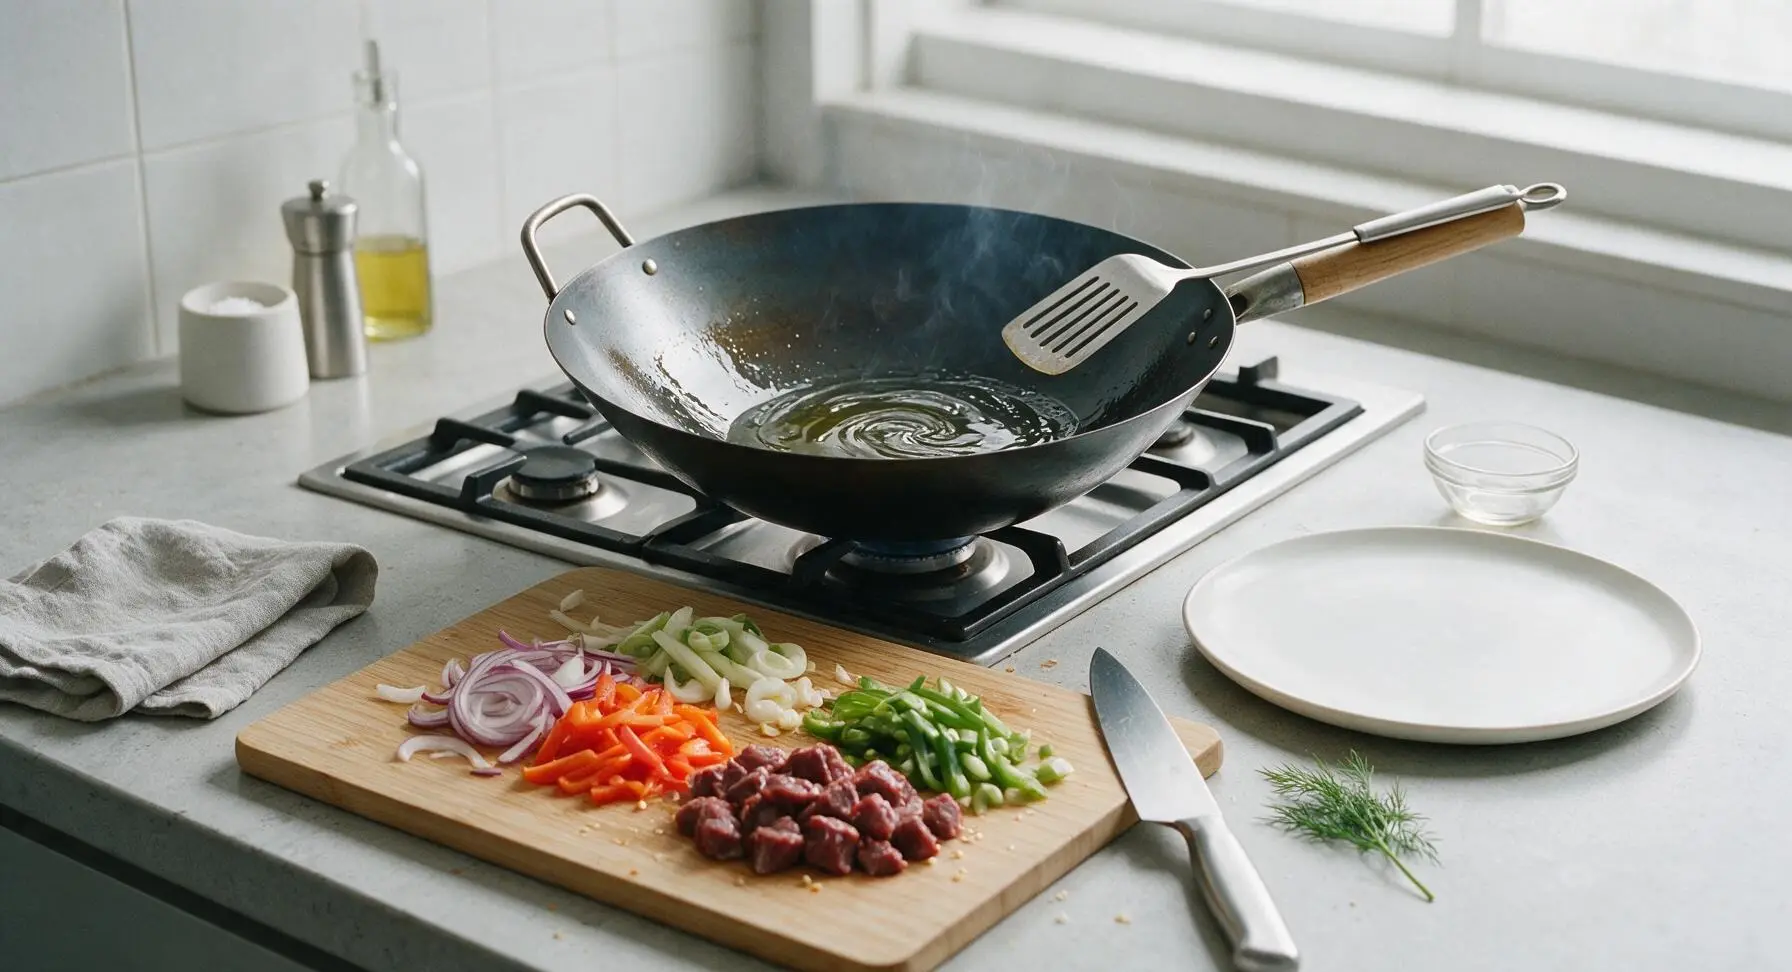
Retrieve the 10-inch carbon steel wok and place it on the rear center gas burner. Turn heat to high, add 1 tablespoon canola oil, and heat until the oil shimmers and just starts to send up thin wispy smoke, approximately 2 minutes. Swirl the oil to coat the entire inner wok surface evenly, to create a non-stick surface for searing the beef.
Sear beef until golden
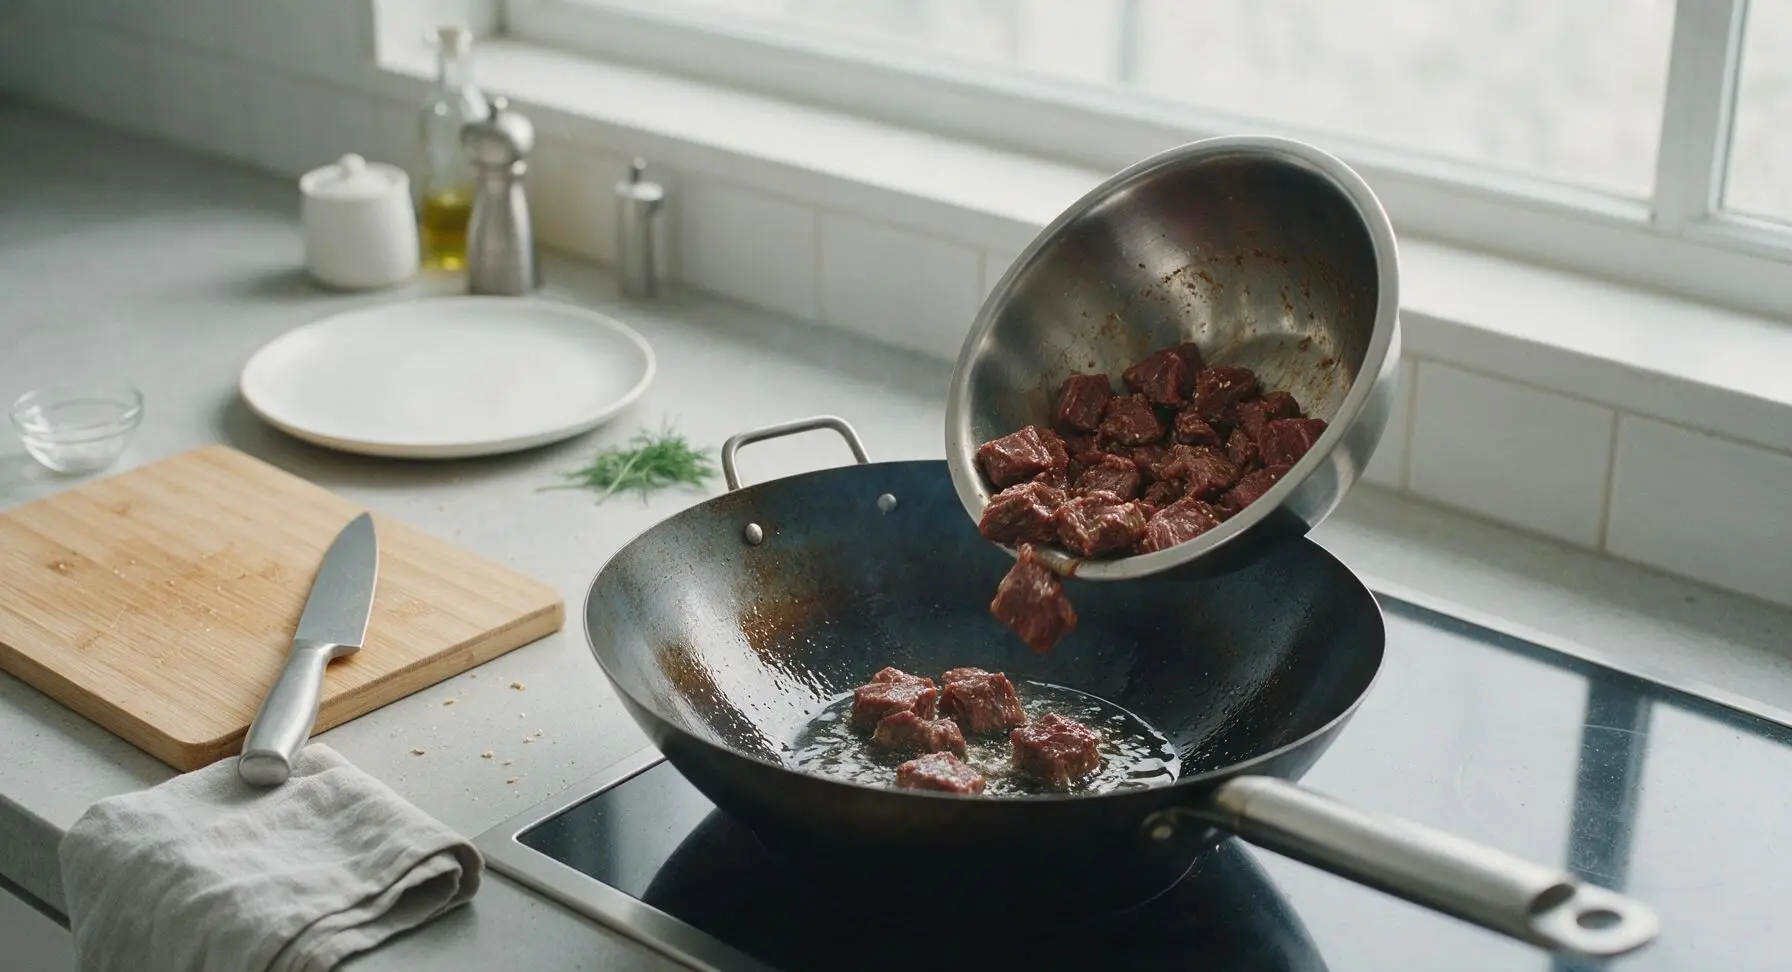
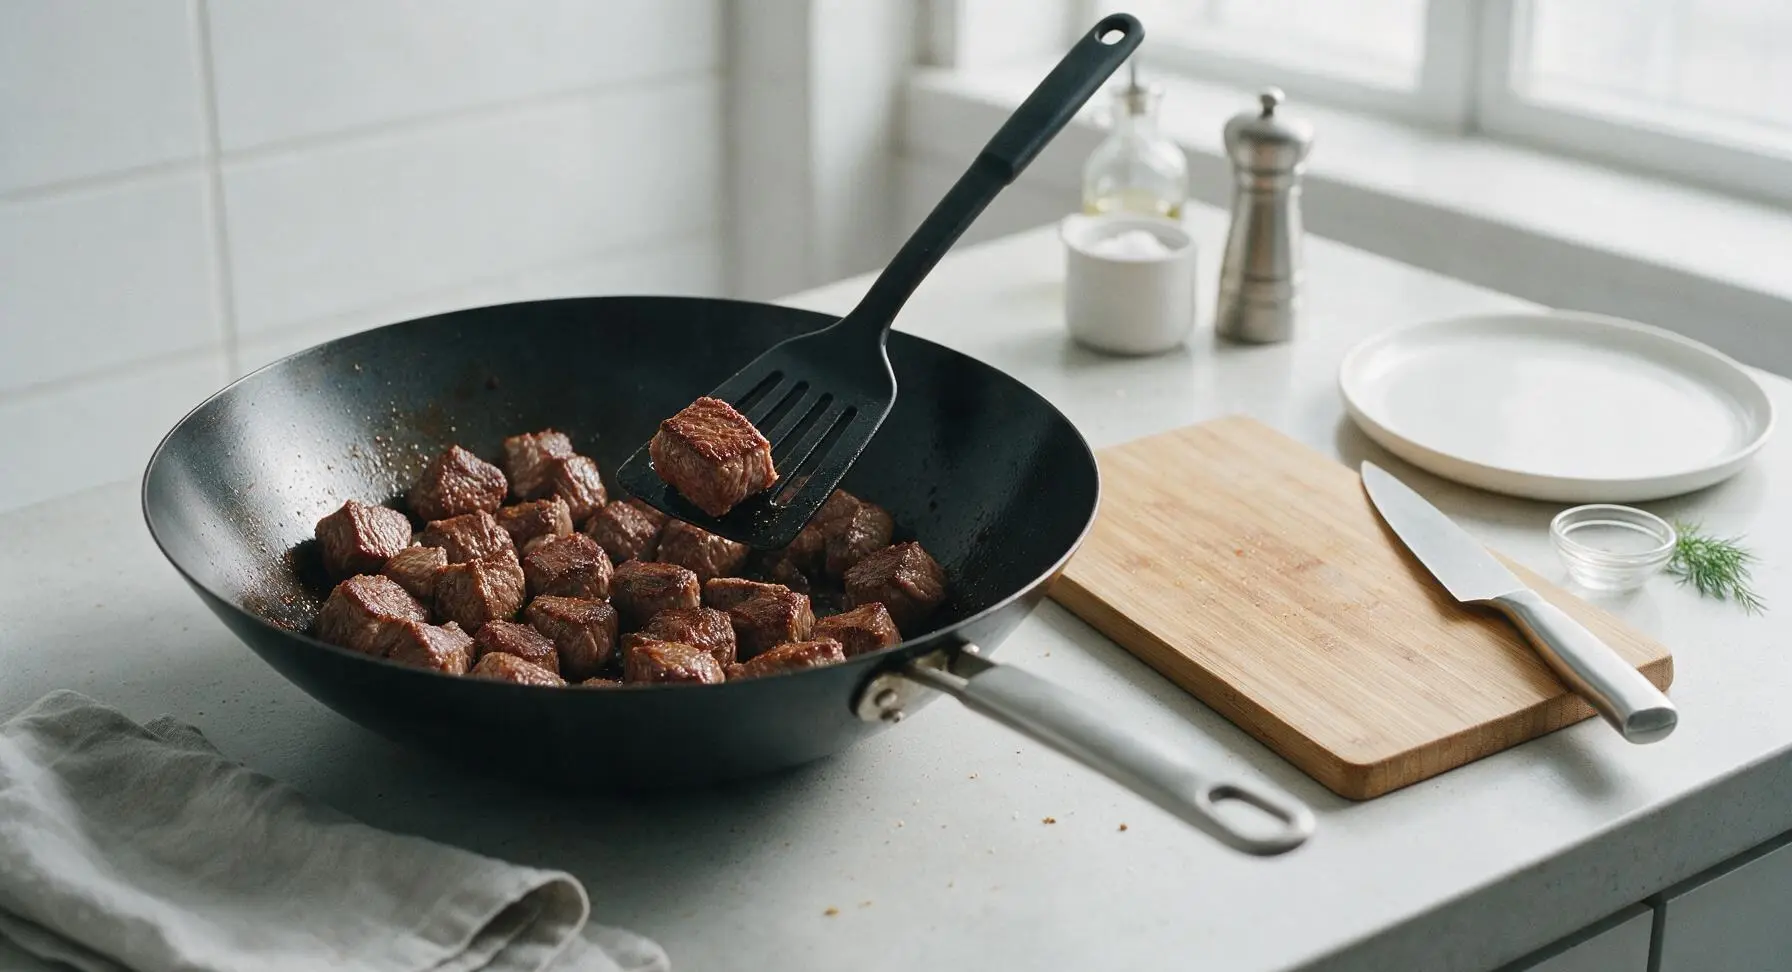
Carefully add the marinated beef cubes to the hot wok in a single layer, working in two batches if needed to avoid overcrowding (which causes steaming instead of searing). Let the beef sear undisturbed for 1.5 minutes on the first side to develop a crust, then use the slotted turner to toss and sear for another 1.5 minutes, until all sides are deep golden brown and the beef is 80% cooked (slightly pink in the very center). Transfer seared beef to a clean section of the bamboo cutting board temporarily.
Fry garlic and peppers
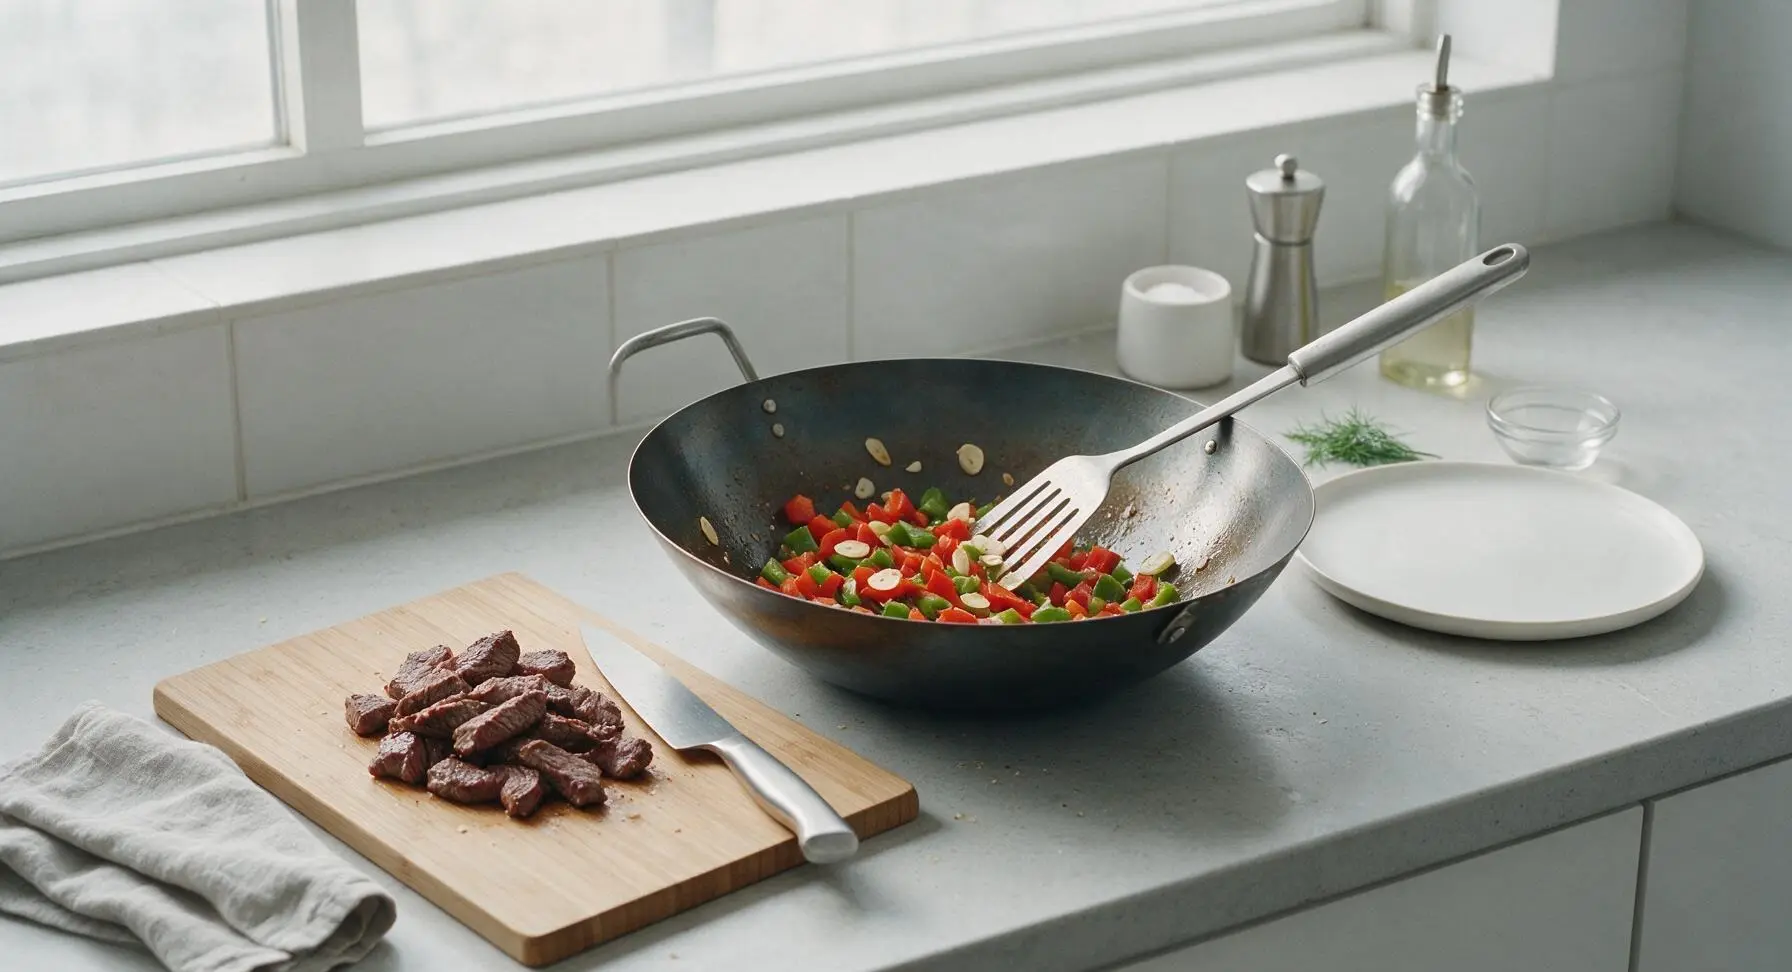
Lower heat to medium, add the remaining 1 tablespoon canola oil to the wok. Add the sliced garlic chips, and stir-fry for 30 seconds until fragrant and just starting to turn pale golden (do not let them burn, as burnt garlic turns bitter). Add the diced red and green bell peppers, stir-fry for 1 minute until they are crisp-tender, with a slight fresh crunch remaining, not fully soft or mushy.
Toss with soy glaze
Return the seared beef cubes back to the wok with the peppers and garlic. Add the remaining 2 tablespoons light soy sauce, 1 teaspoon granulated sugar, and 1/2 teaspoon kosher salt. Turn heat back to high, toss continuously for 45 seconds, until the sauce thickens slightly from the cornstarch on the beef and coats every beef and vegetable cube evenly, with no thin pooled sauce left at the bottom of the wok.
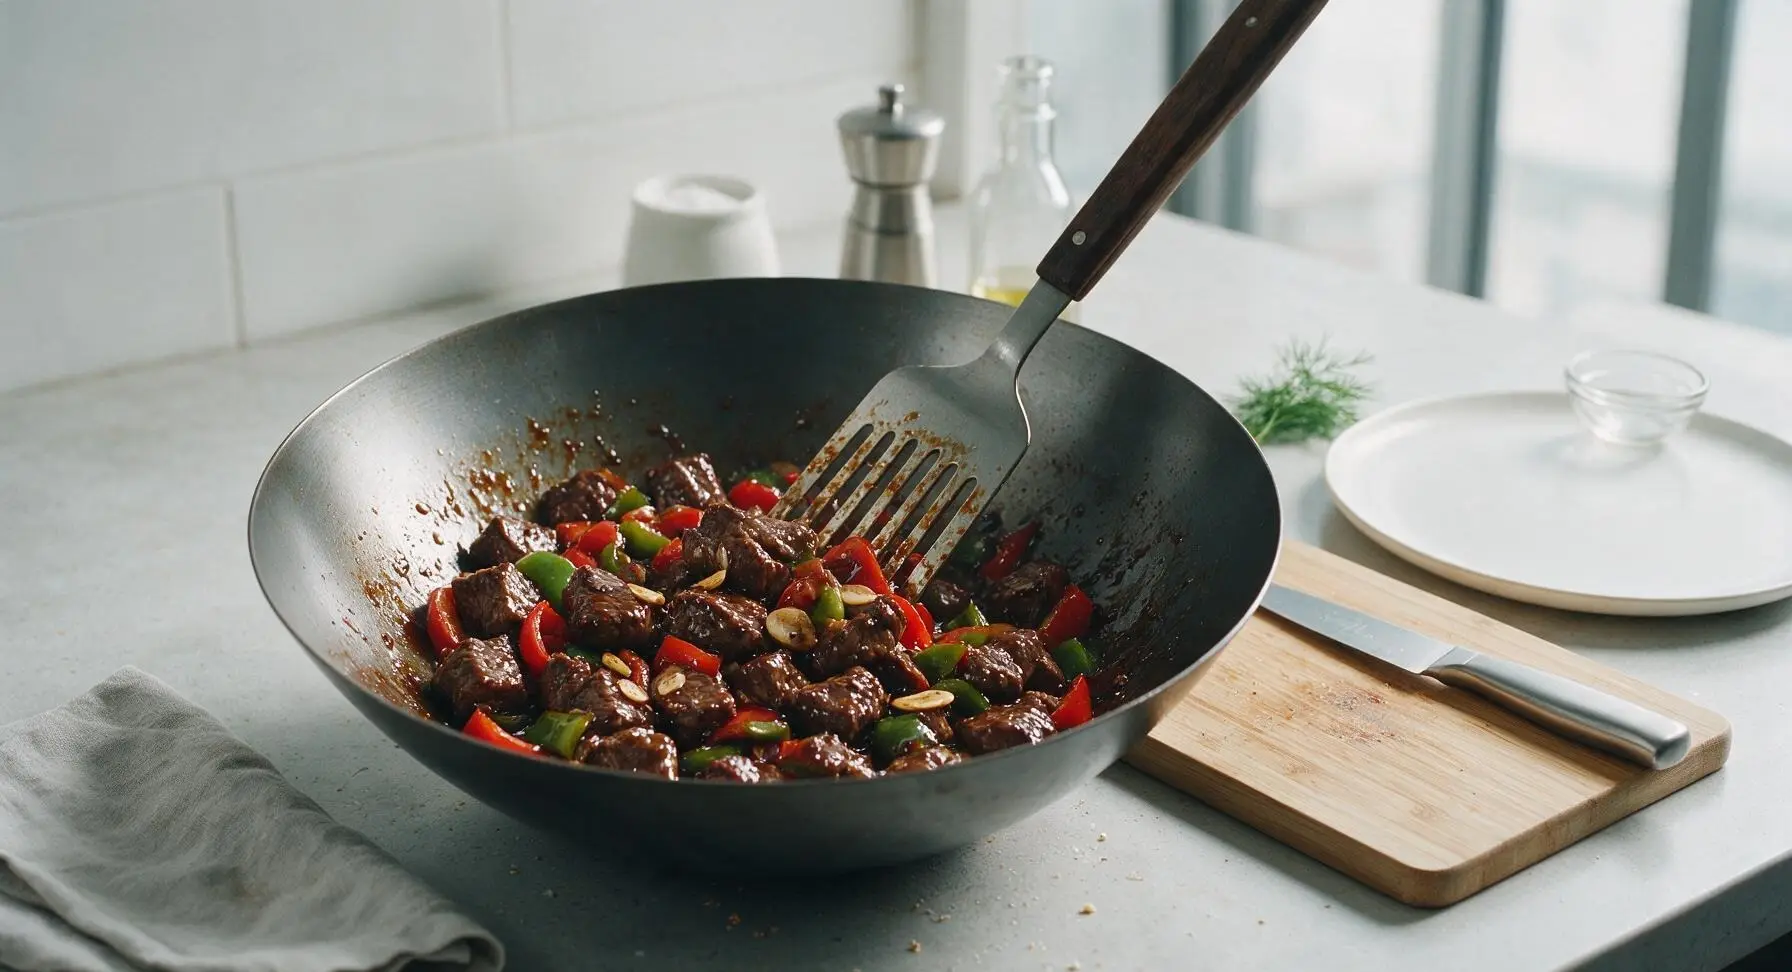
Plate and garnish
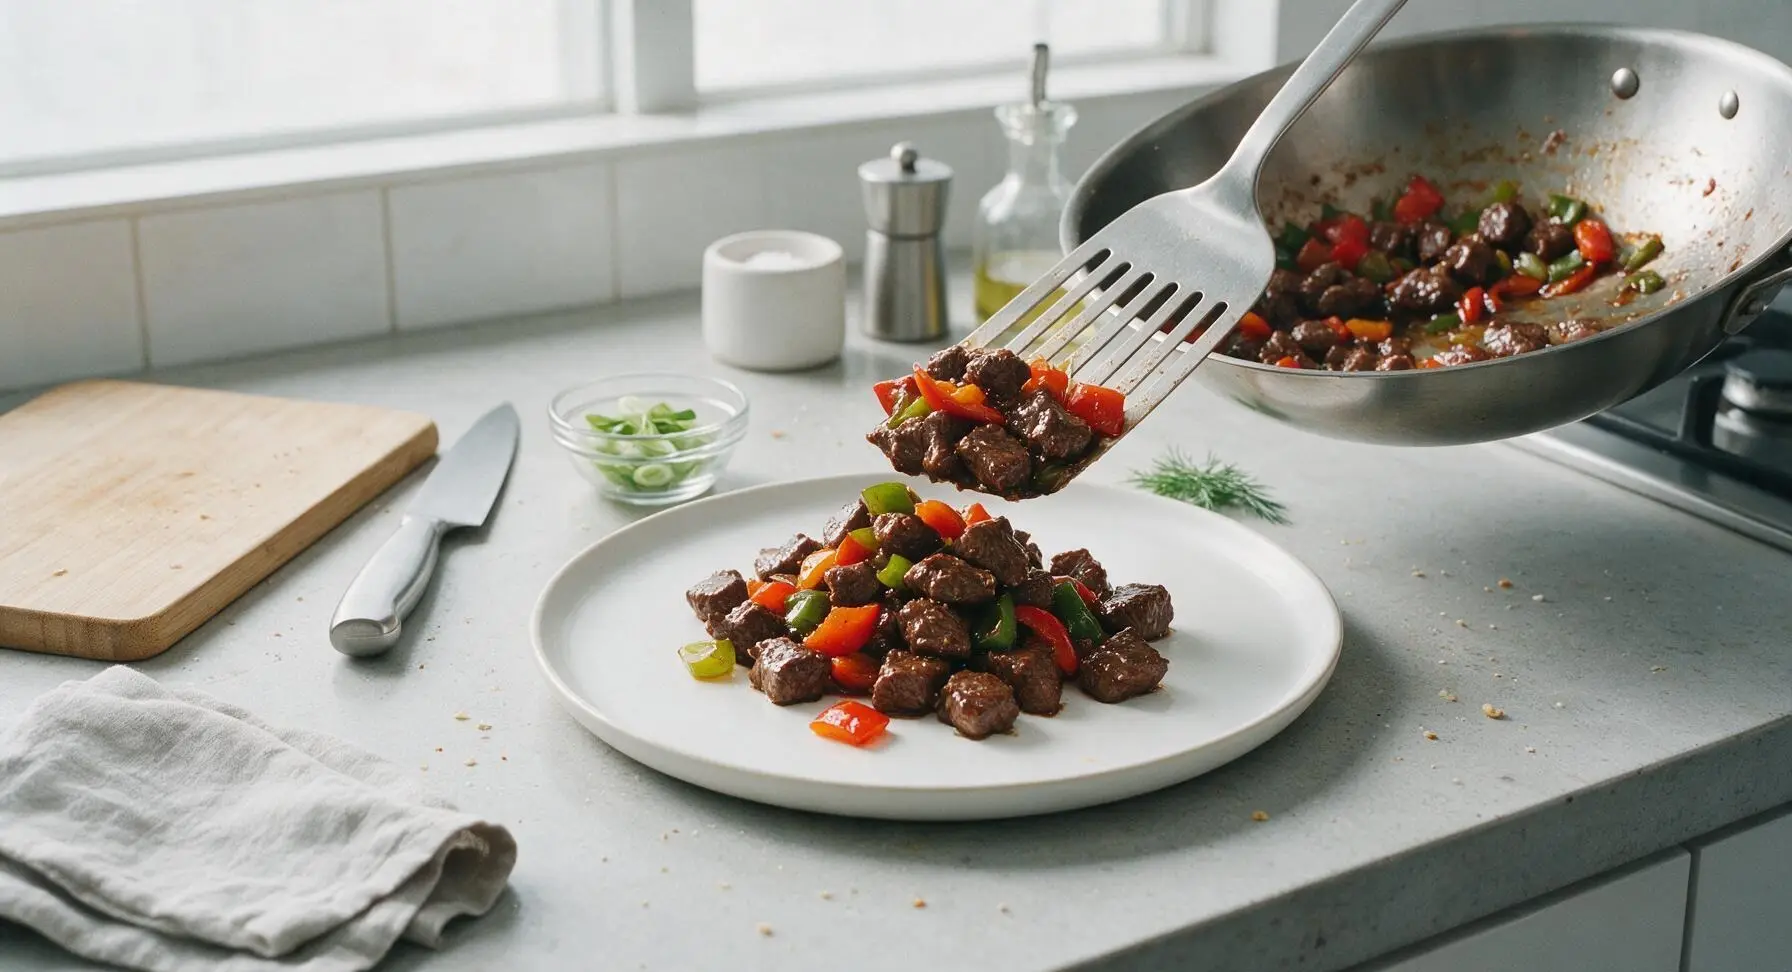
Turn off the heat immediately to prevent overcooking the beef. Transfer the finished diced beef and peppers to the matte warm white ceramic dinner plate. Sprinkle the reserved sliced scallion greens over the top as a bright garnish. Serve hot immediately, ideally with steamed white rice, while the beef is juicy and tender.
Tips
2.Never overcrowd the wok when searing: if too many beef cubes are added at once, the wok temperature drops rapidly, causing the beef to steam instead of developing a crisp, flavorful golden crust. Cook in two equal batches if your wok is smaller than 10 inches in diameter.
3.Resist the urge to stir the beef constantly during the first searing step: letting the cubes sit undisturbed for 90 seconds allows the Maillard reaction to form a deep, savory crust on the surface, which adds far more flavor than constant stirring.






OMG this was SO good! Threw it together on a weeknight when I had zero meal prep done and it was done in literally 12 minutes like the recipe said. My kids fought over the last bites, even my picky 7 year old who usually refuses anything with soy sauce. Total game changer for our busy family dinner rotation!
Super easy recipe, no fancy ingredients needed! I already had all the stuff in my pantry/fridge so I didn’t even have to run to the store. The garlic soy glaze is perfectly balanced, not too salty, not too sweet. Served it over jasmine rice with some steamed broccoli and it was a perfect quick meal.
Brought this to my neighborhood potluck last weekend and people were asking me for the recipe before I even set the dish down! I doubled the batch because I know how fast appetizer-style beef disappears, and I still only had like 3 pieces left to take home. 10/10 will make again for our next block party.
Tweaked this a little by adding a pinch of red pepper flakes for a tiny kick and it was chef’s kiss. The cook time is no joke, I had my pan hot, diced the beef super small like the recipe said, and it was done fast. Way better than takeout beef and broccoli in my opinion, way less greasy too.
Wait, quick question — can I substitute low sodium soy sauce for regular? I’m watching my salt intake and don’t want to mess up the glaze ratio.
As a college student with barely any cooking skills and a tiny dorm kitchen, this was foolproof. I used pre-diced beef from the grocery store to save even more time, tossed it with some frozen veggie mix, and ate the whole pan in one sitting lmao. So much better than my usual instant noodles.
Swapped the regular soy sauce for tamari to make this gluten free and it turned out absolutely perfect! I was worried the glaze wouldn’t have the same depth but it was just as tasty. My husband had no idea it was GF, he went back for seconds. Will be adding this to our weekly rotation for sure.
Made a big batch of this on Sunday for my work lunches this week and it held up so good in the fridge! I was worried the glaze would get gummy when reheated but it was just as flavorful as the night I made it. 12 minute cook time? Unbeatable for meal prep days when I don’t want to spend hours in the kitchen.
Okay full transparency I burned the garlic a little bit because I had my heat too high oops, but even with the slightly toasty garlic this was still SO tasty. Next time I’ll turn the burner down a notch like the recipe note says, I was just being impatient. Great flavor, super straightforward even for someone who barely uses their wok.