
Digestive Biscuits
intro
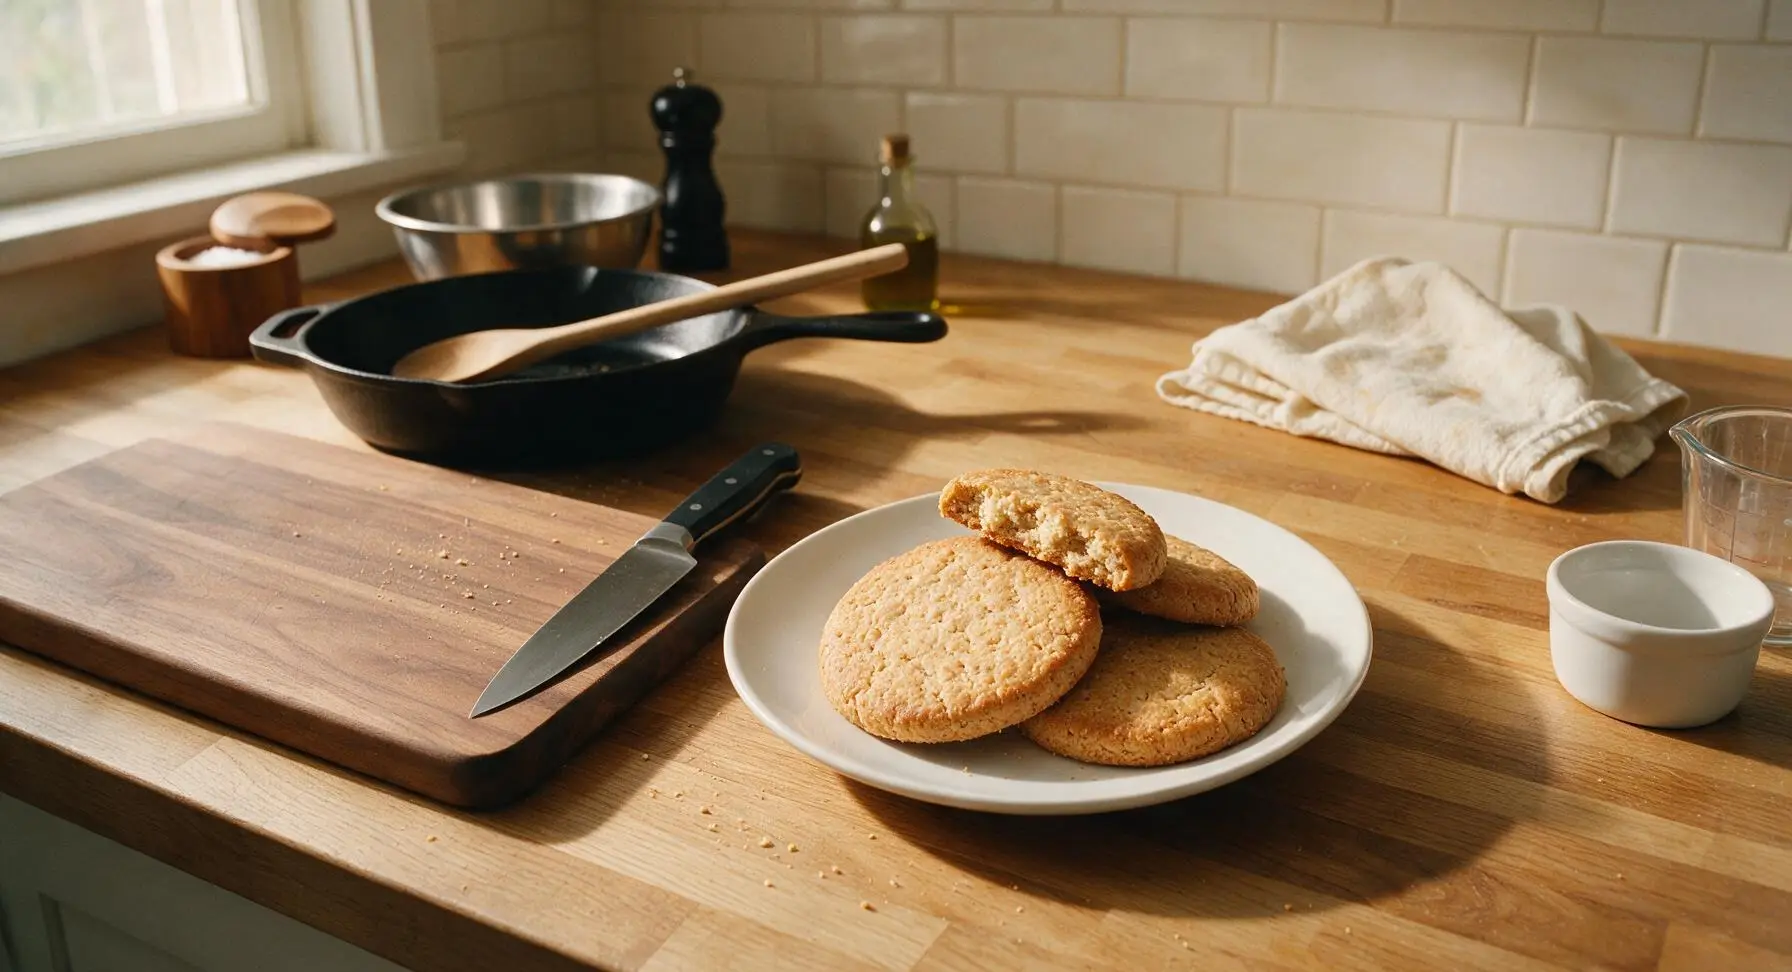
Buttery, crumbly whole wheat digestive biscuits with a subtle malty sweetness, perfect for tea time, cheesecake bases, or quick snacking straight from the biscuit tin.
Ingredients

Steps
Sift Dry Ingredients
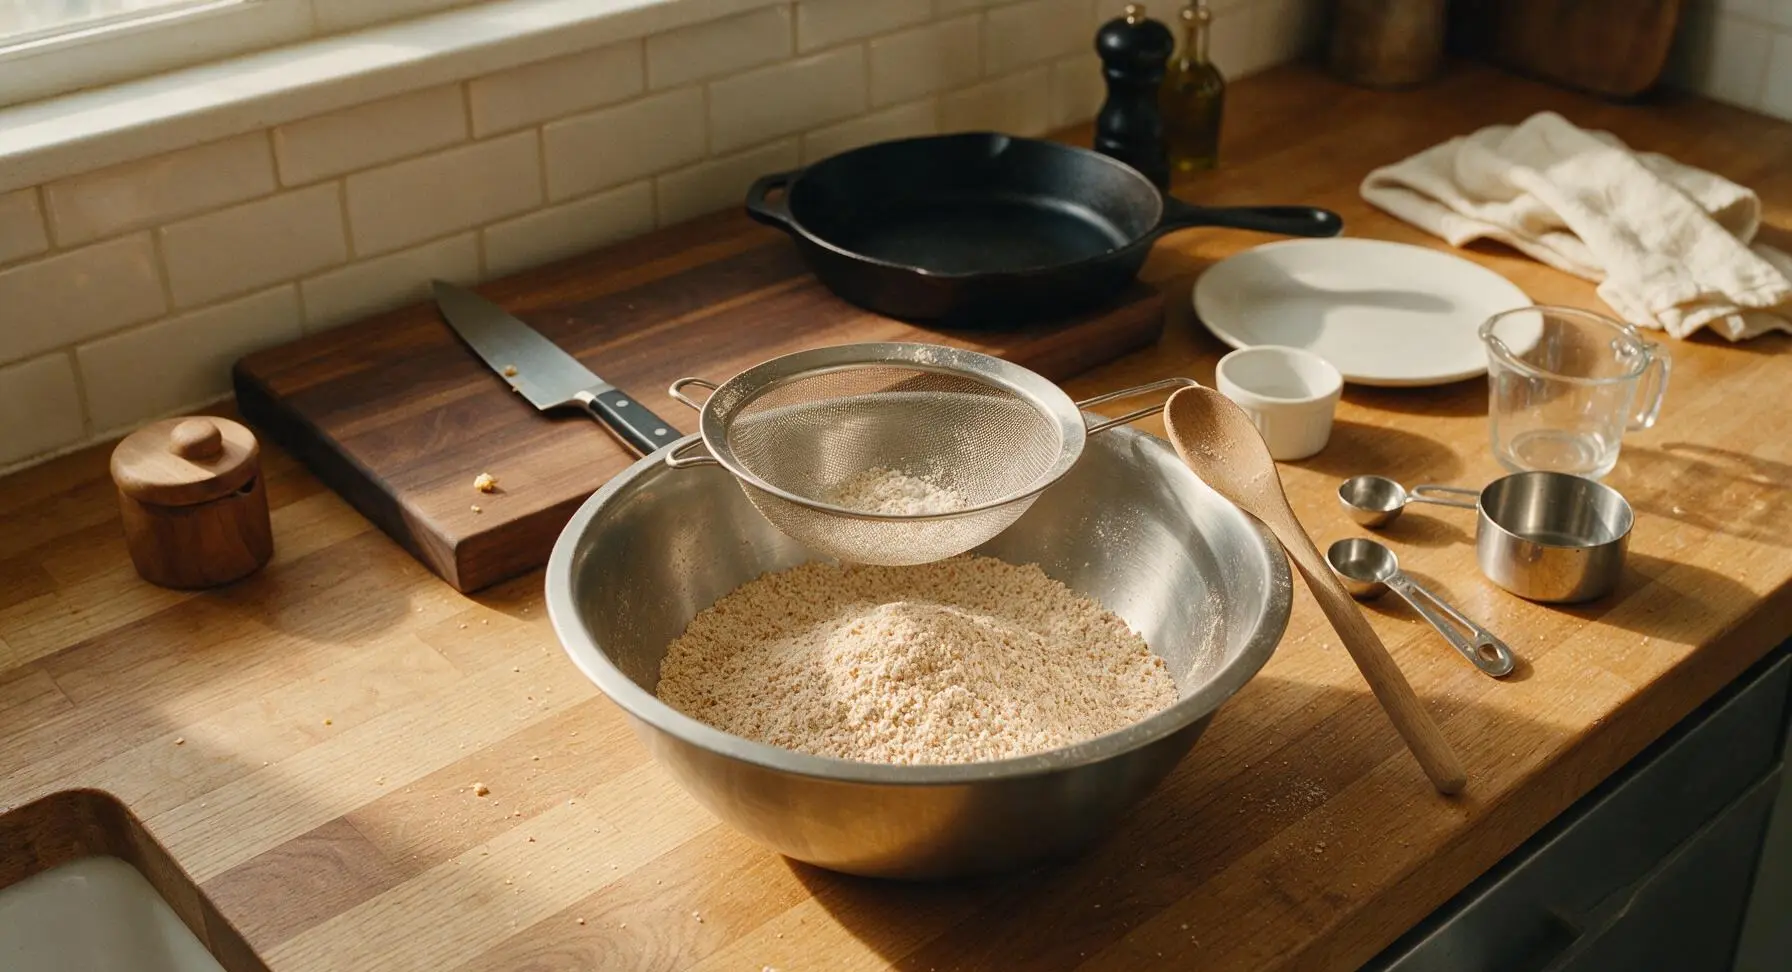
Place the medium fine-mesh stainless steel sieve over the large brushed stainless steel mixing bowl. Sift the 150g whole wheat flour, 1 tsp baking soda, and 1/4 tsp fine sea salt into the bowl, tipping any coarse wheat bran left in the sieve into the bowl (do not discard, this adds classic textured crunch). Add the 75g fine rolled oats and 50g light brown soft sugar, stirring with the light beech wood spoon until fully combined, breaking up any small lumps of brown sugar with the back of the spoon. The finished dry blend will be a uniform pale tan, with no visible sugar clumps.
Cut in Cold Butter
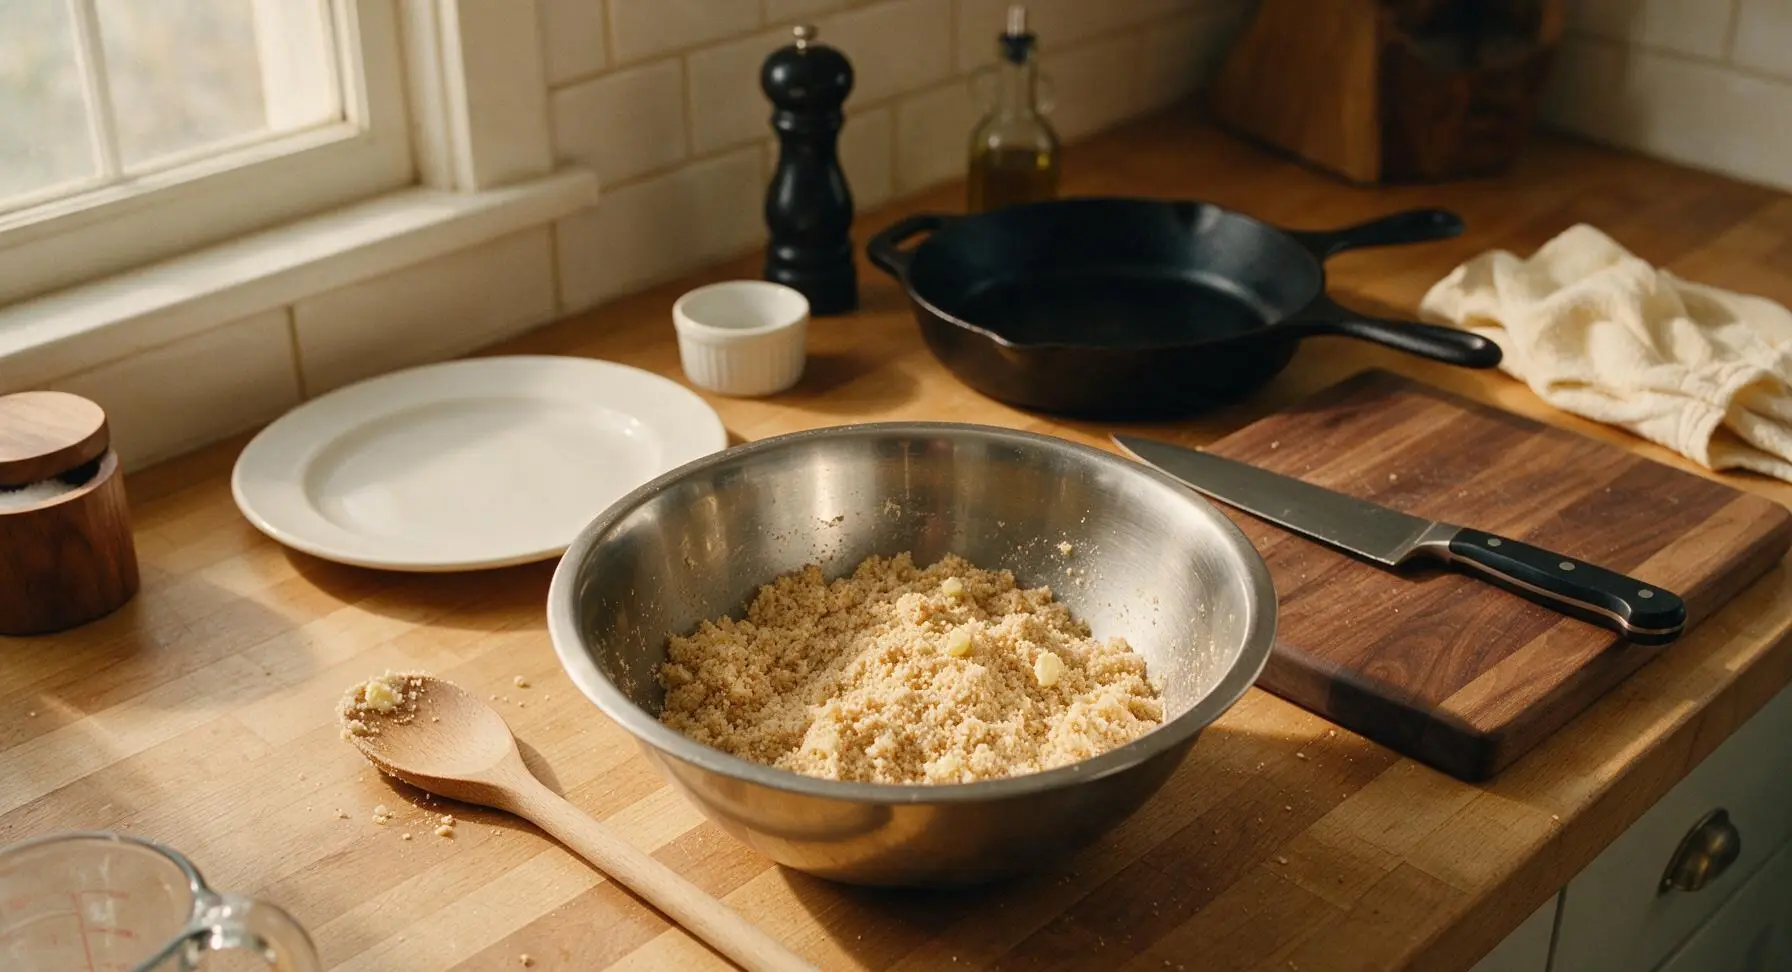
Add the 100g of cold 1cm cubed unsalted butter to the dry ingredient mixture. Use your fingertips to rub the butter into the flour, lifting the mixture up as you work to keep the butter cold and incorporate air, until the blend resembles coarse, damp breadcrumbs, with no butter lumps larger than a pea remaining. Work quickly, taking 3-4 minutes total, to prevent the butter from softening from the heat of your hands.

Mix in Binder
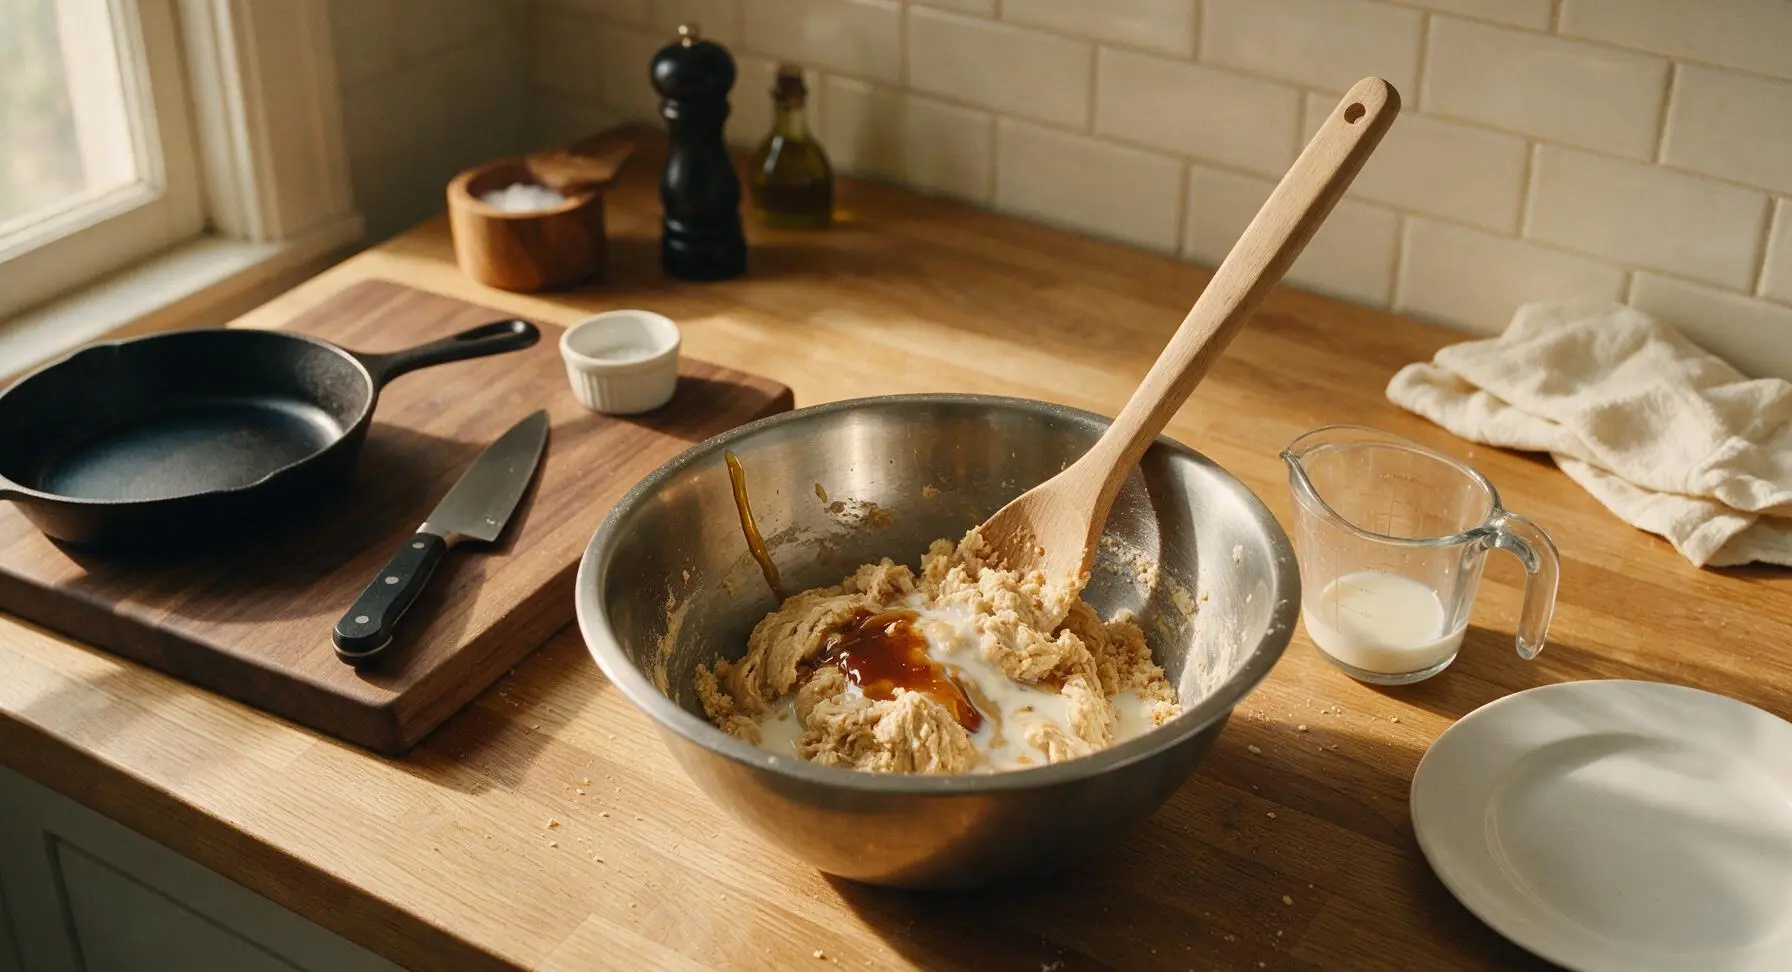
Add the 1 tbsp malt extract to the bowl, then drizzle in 2 tbsp of cold whole milk, stirring gently with the beech wood spoon. Add up to 1 additional tbsp of milk, 1 tsp at a time, until the mixture comes together into a firm, shaggy dough that holds together when squeezed, with no dry crumbs left at the bottom of the bowl. Do not overmix, as overworking the dough will produce tough, dense biscuits.
Chill the Dough
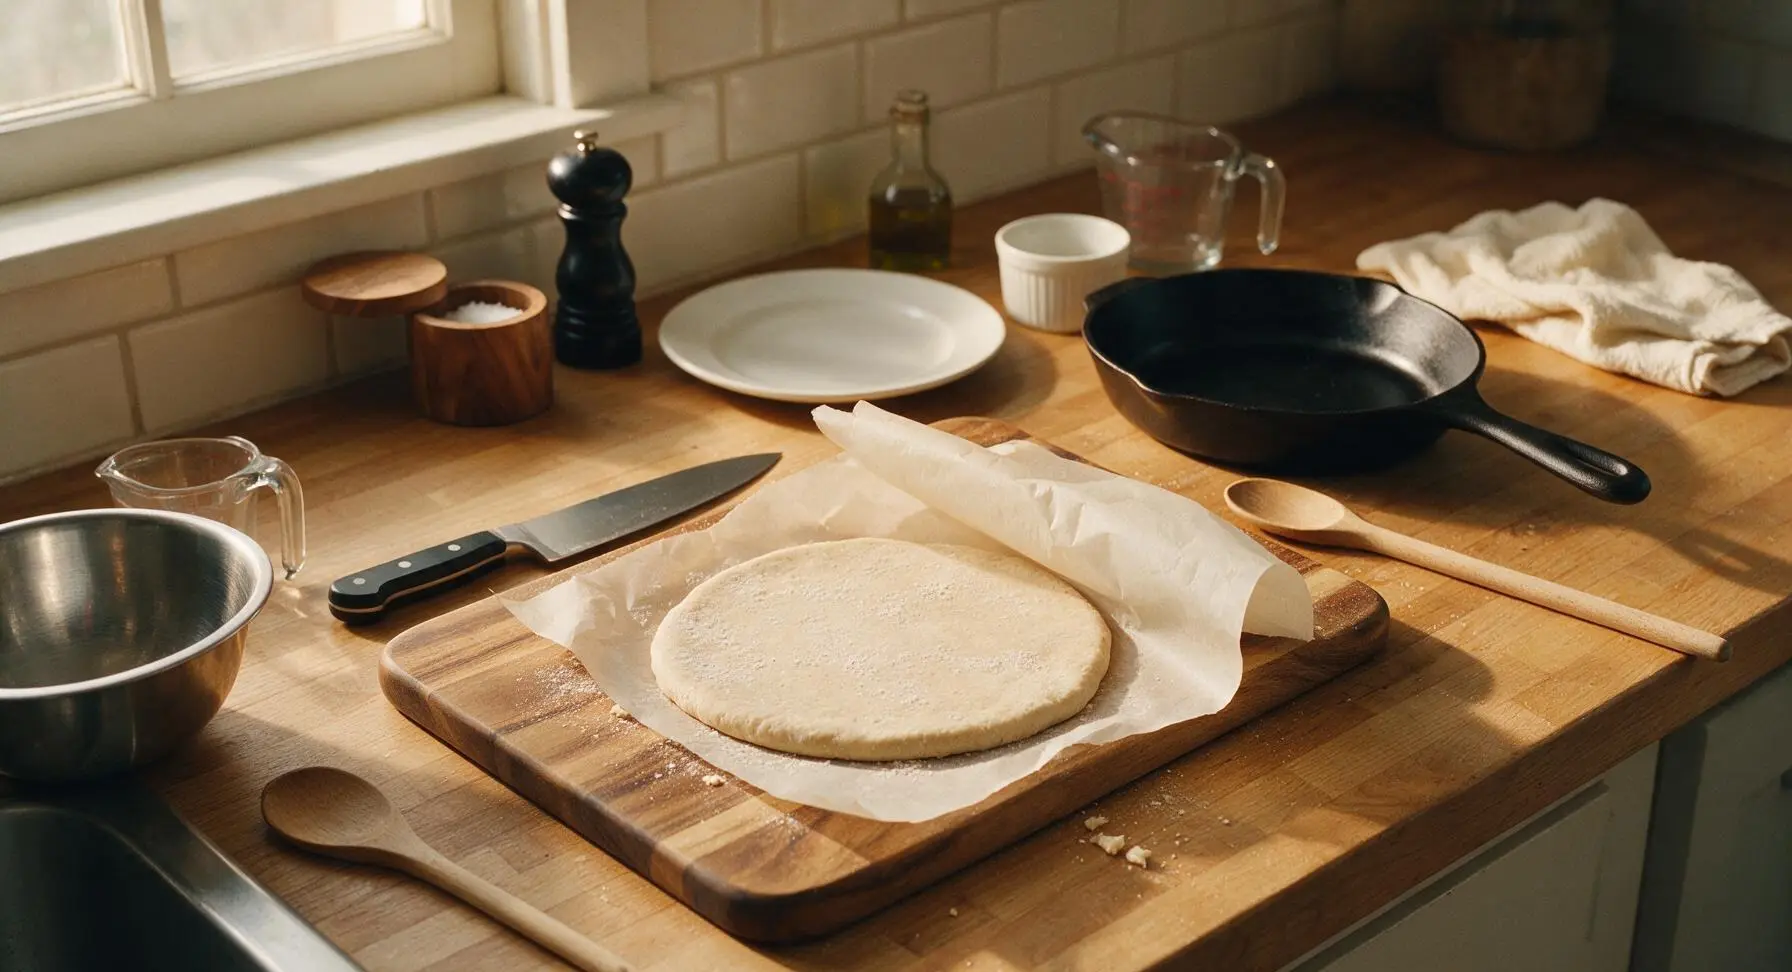
Turn the shaggy dough out onto a lightly floured section of the large acacia wood pastry board, shape it into a smooth, flat 2cm thick disc with your hands, wrap it tightly in a sheet of unbleached parchment paper, and place it in the refrigerator to chill for 30 minutes. Chilling solidifies the butter, which prevents the biscuits from spreading excessively and losing their shape during baking.
Roll and Cut Biscuits
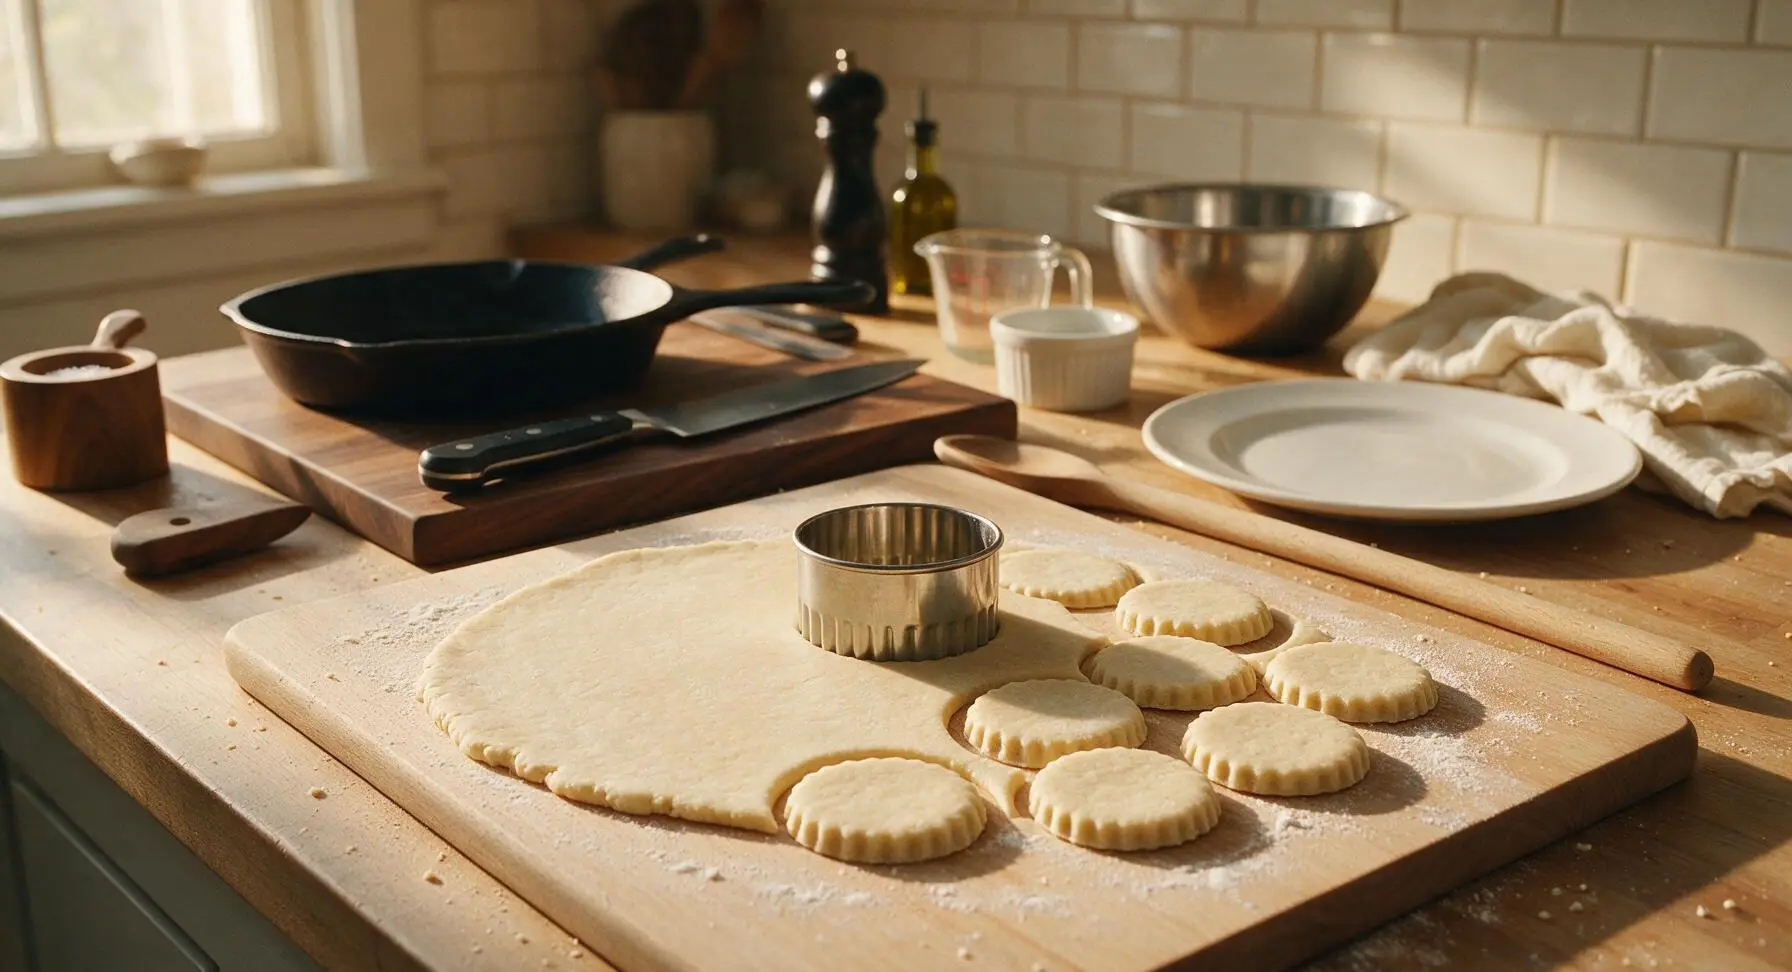
After 30 minutes of chilling, remove the dough disc from the fridge, unwrap it, and place it back on the lightly floured acacia pastry board. Use the solid beech wood rolling pin to roll the dough out to an even 5mm thickness, applying even pressure to avoid lopsided edges. Dip the 7cm fluted round stainless steel biscuit cutter in flour, then press it straight down through the dough (do not twist, as this seals edges and prevents even rising) to cut out biscuit shapes. Gather dough scraps, re-roll once to 5mm thickness, and cut additional biscuits until all dough is used, yielding approximately 18 total biscuits.

Prep for Baking
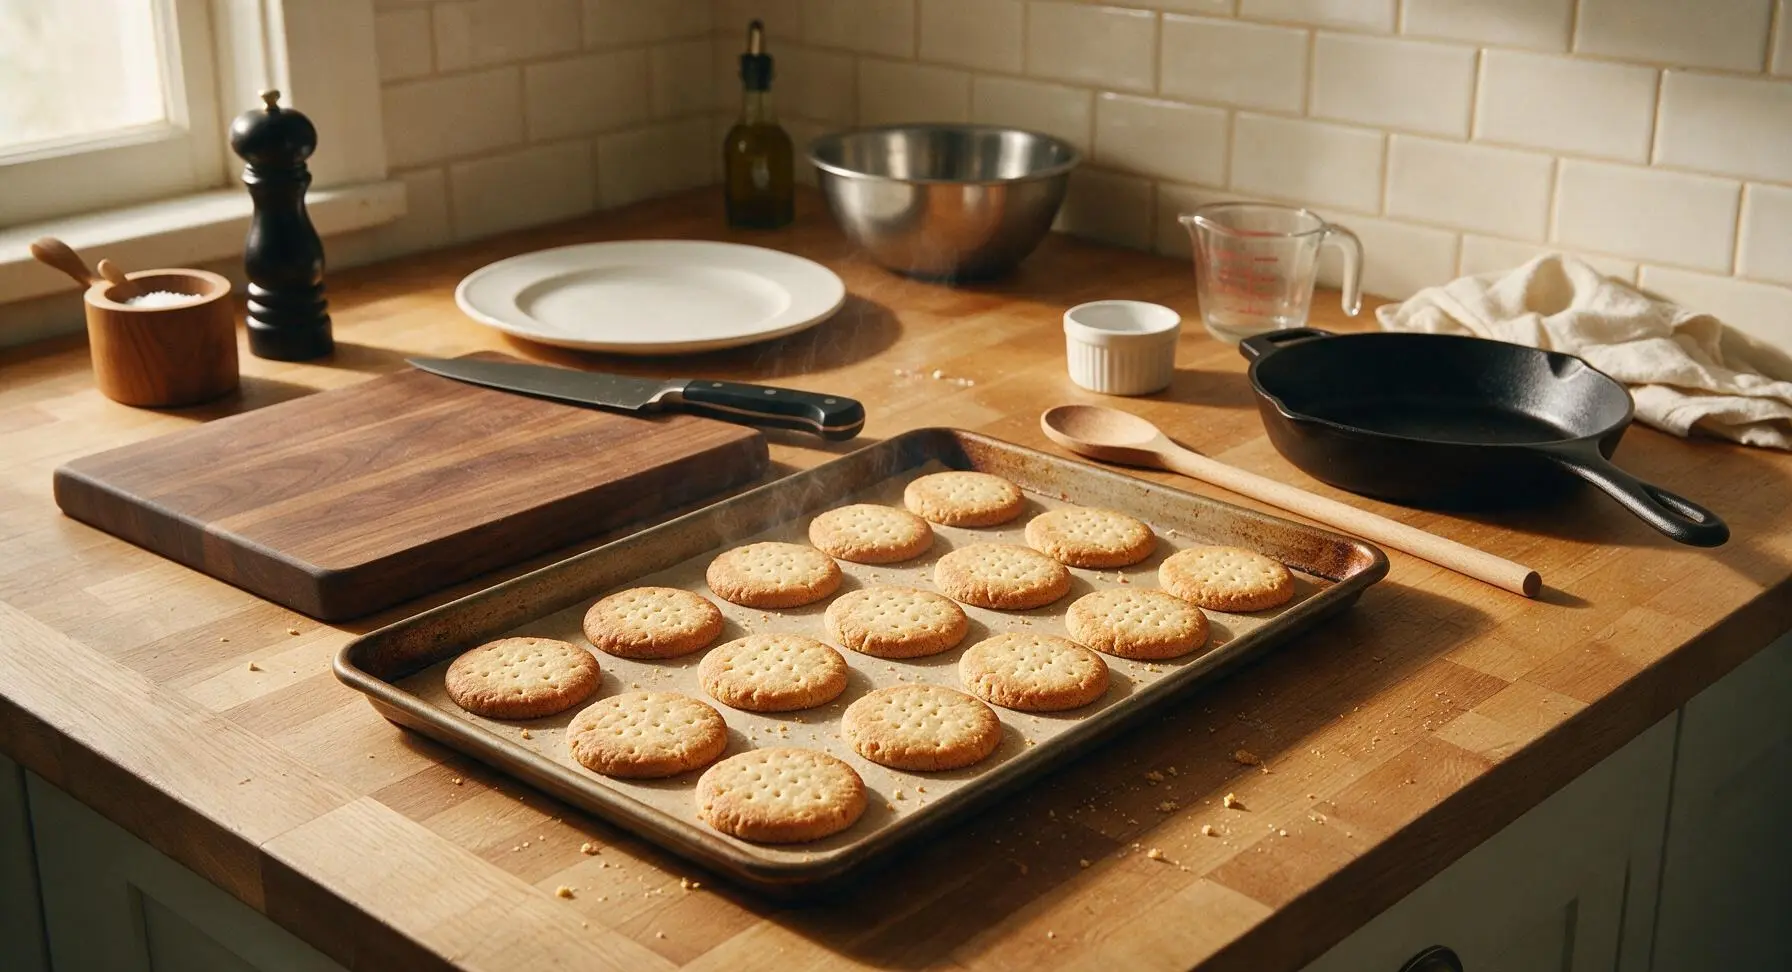
Line the heavy gauge aluminized steel baking sheet with a sheet of unbleached parchment paper. Use the small offset metal spatula to transfer the cut biscuit shapes to the prepared baking sheet, spacing them 2cm apart to allow for slight spread during baking. Use the tines of the stainless steel dinner fork to prick 3 sets of 3 evenly spaced holes across the top of each biscuit; these vent holes prevent the biscuits from puffing unevenly and creating air pockets while baking.

Bake to Golden
Place the prepared baking sheet in a preheated 180°C (350°F / Gas Mark 4) oven. Bake for 12-14 minutes, rotating the tray halfway through for even browning, until the biscuit edges are deep golden brown and the centers are matte and set. The biscuits will feel slightly soft to the touch when removed from the oven, but will firm significantly as they cool.
Cool Completely
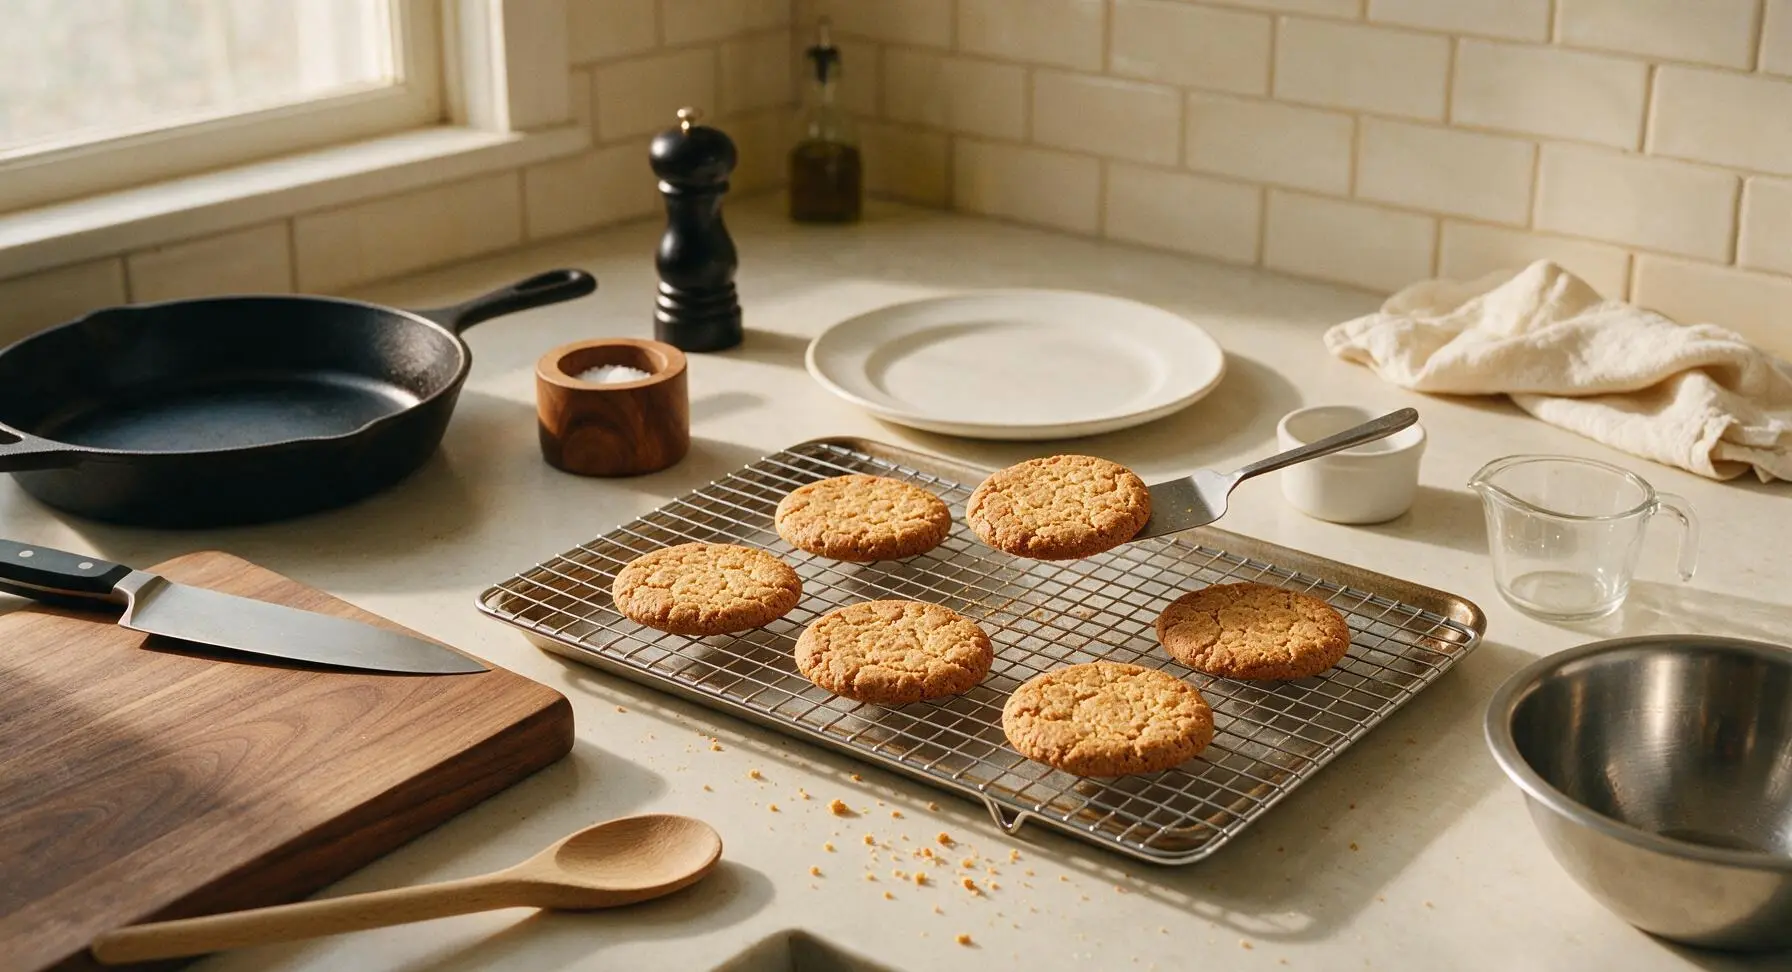
Let the biscuits rest on the hot baking sheet for 5 minutes to set, then use the small offset metal spatula to transfer them to the chrome-plated wire cooling rack to cool completely for 20 minutes before serving or storing. Biscuits will crisp to their signature texture as they reach room temperature.
Tips
2.Never twist the biscuit cutter when pressing out shapes: Twisting seals the cut edges of the dough, preventing even rise and leading to lopsided biscuits. Press straight down through the dough and lift straight up for clean, uniform fluted edges.
3.Let biscuits cool completely on the wire rack before storing: Warm biscuits trapped in an airtight container release condensation that turns them soggy. Fully cooled digestives will stay crisp for up to 1 week stored in a sealed tin at room temperature.






OMG these taste exactly like the fancy imported digestives I used to splurge on at the specialty grocery store! 14 minute cook time is no joke, I whipped these up after work last night to have with my morning tea today. Total game changer, no more paying $6 a box for me!
My kids went absolutely crazy for these! I added a tiny drizzle of dark chocolate on half the batch for their after school snacks and they were gone in 2 days. Even my picky 7 year old asked for seconds, which never happens.
SO good. I brought these to our neighborhood potluck last weekend and three people asked for the recipe before I even left. Perfect level of crumble, not too sweet, great with coffee too.
Super easy recipe even for a total baking newbie like me! I was worried I’d mess up the whole wheat flour ratio but they turned out perfectly crisp on the first try. Only note is I added a pinch more salt because I love that sweet-salty vibe.
Wait, these are supposed to be easy? My first batch spread way too much in the oven and turned into one giant cookie sheet-sized biscuit. What did I do wrong? I followed the measurements exactly, I swear.
Meal prep win! I made a double batch on Sunday and these have been my go-to mid-morning snack at work all week. They keep so well in an airtight container, way better than the store-bought ones that go stale after 2 days.
Took me right back to the digestives my abuela used to make when I was little. The texture is spot on, not too dense, just the right amount of wheat flavor. Didn’t change a single thing, recipe is perfect as written.
Made these for my book club night and everyone raved! We had them with a cheese board (brie, fig jam, the works) and they were the perfect crunchy pairing. Way better than generic water crackers.
14 minute cook time was perfect for my oven! I did the first batch for 12 minutes because my oven runs hot and they were too soft, 14 minutes gave them that ideal snap when you break them. Don’t skip the cinnamon, it adds such a nice warm note.
I’ve been looking for a low-sugar biscuit recipe for ages and this hits the spot! Not cloyingly sweet like most store-bought cookies, just enough sweetness to feel like a treat without the sugar crash.
Used whole white wheat flour instead of regular whole wheat because that’s what I had in the pantry and they still turned out awesome. Great base recipe, can’t wait to experiment with add-ins like oats or dried cranberries next time.
My partner is British and has been complaining he can’t find proper digestives anywhere near us since we moved from London. I made these last night and he said they’re even better than the ones he grew up on! Win for me.
Wait, can I make these vegan? My daughter is dairy free and I’d love to make these for her birthday party snack table.
I burned the first batch because I got distracted answering a work call oops, but the second batch was perfect. These are so forgiving even when you mess up, the slightly crispy edges on the second batch were *chef’s kiss*.
Great recipe! I rolled mine a little thinner than recommended because I like extra crispy biscuits, and they cooked in about 12 minutes flat. Perfect with a scoop of vanilla ice cream sandwiched between two, trust me on that.
I was skeptical how good a 14-minute easy biscuit could be, but wow. These are now in my permanent baking rotation. They’re so quick to throw together when last minute guests pop over, I always have the ingredients on hand now.
Made these with my 8 year old this weekend for his school bake sale and they sold out in 10 minutes! He was so proud he told all his friends he made the “best cookies ever” (he keeps calling them cookies even though I keep telling him they’re biscuits lol).
Not gonna lie, I ate half the batch straight off the cooling rack before they even made it to the storage container. They’re that good. The nutty whole wheat flavor is unmatched, I don’t think I’ll ever buy store-bought digestives again.
Solid recipe, no fancy equipment needed either! I don’t have a food processor so I just cut the butter in with a pastry cutter like I do for pie crust, and it worked perfectly. No weird ingredients, all stuff I already keep in my pantry.
Took these on our weekend camping trip and they held up perfectly in the cooler, no crumbs, no stale bits, great for a quick snack while we were hiking. Way better than packing granola bars that get all squished.