
diy waffle mix

title 1
diy waffle mix
⏱️ cook time 4 minutes per waffle
🍽️ servings 10
⚡ Difficulty easy

intro

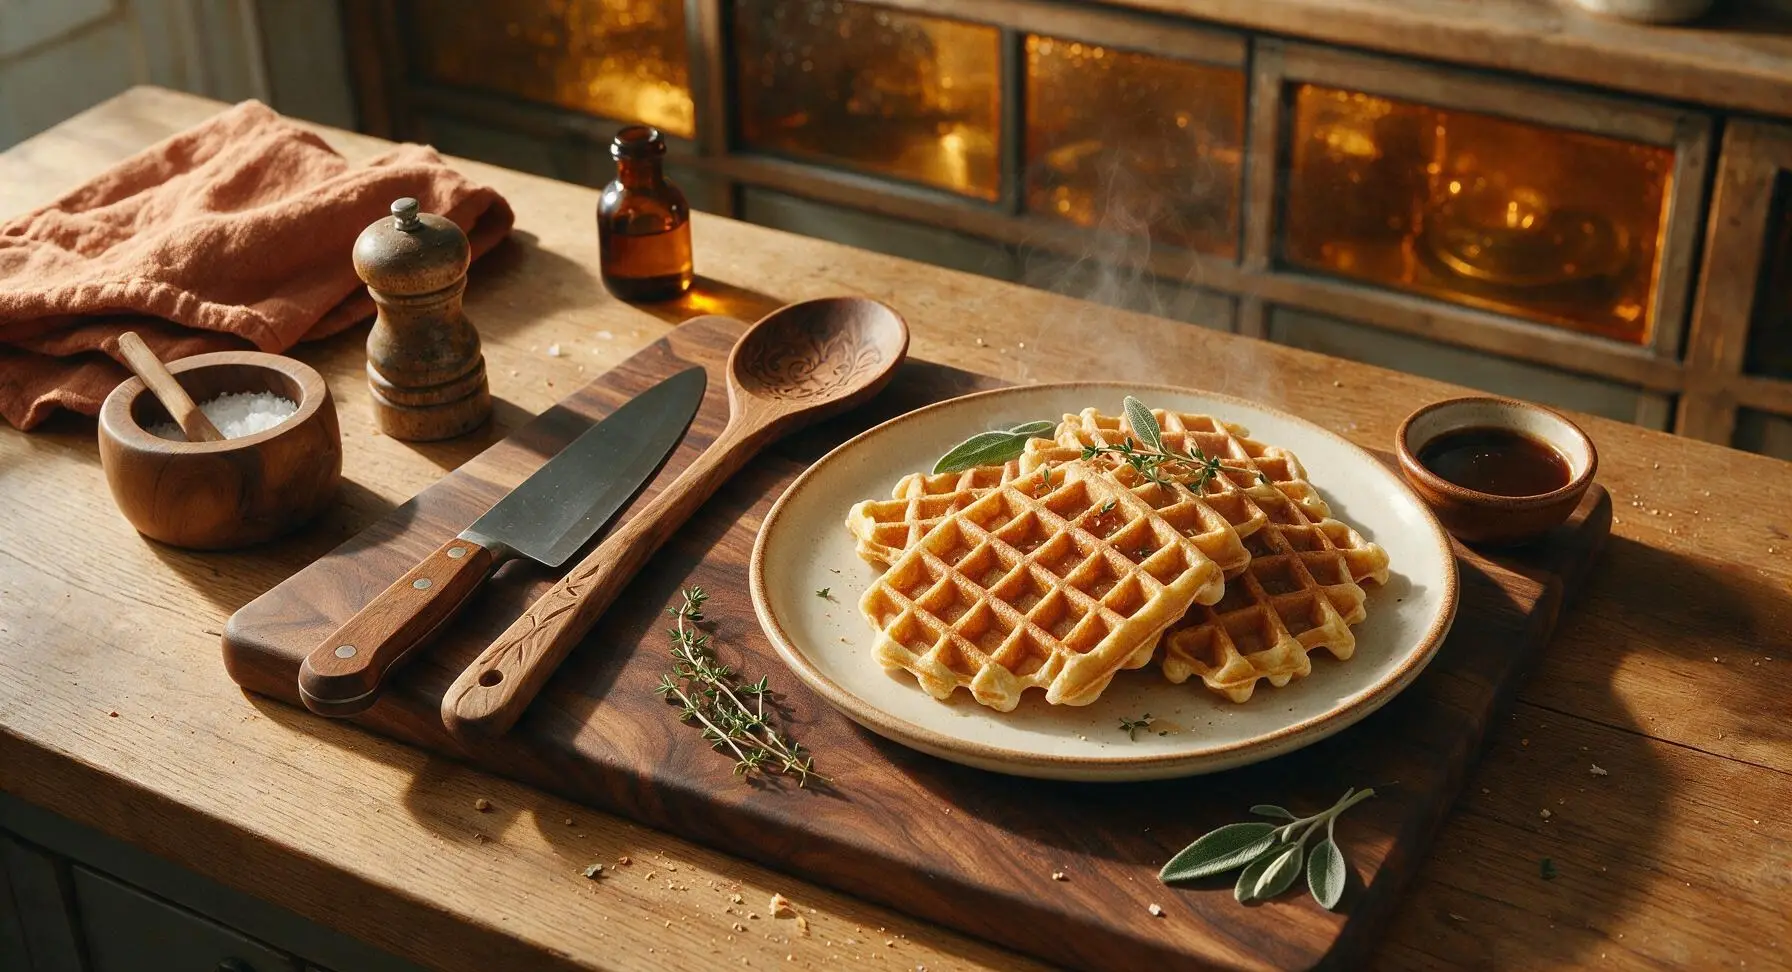
This shelf-stable DIY waffle mix yields light, shatteringly crisp, fluffy waffles in minutes. Skip preservative-heavy store-bought blends, and keep a jar on hand for fast, cozy meals any day.

Ingredients
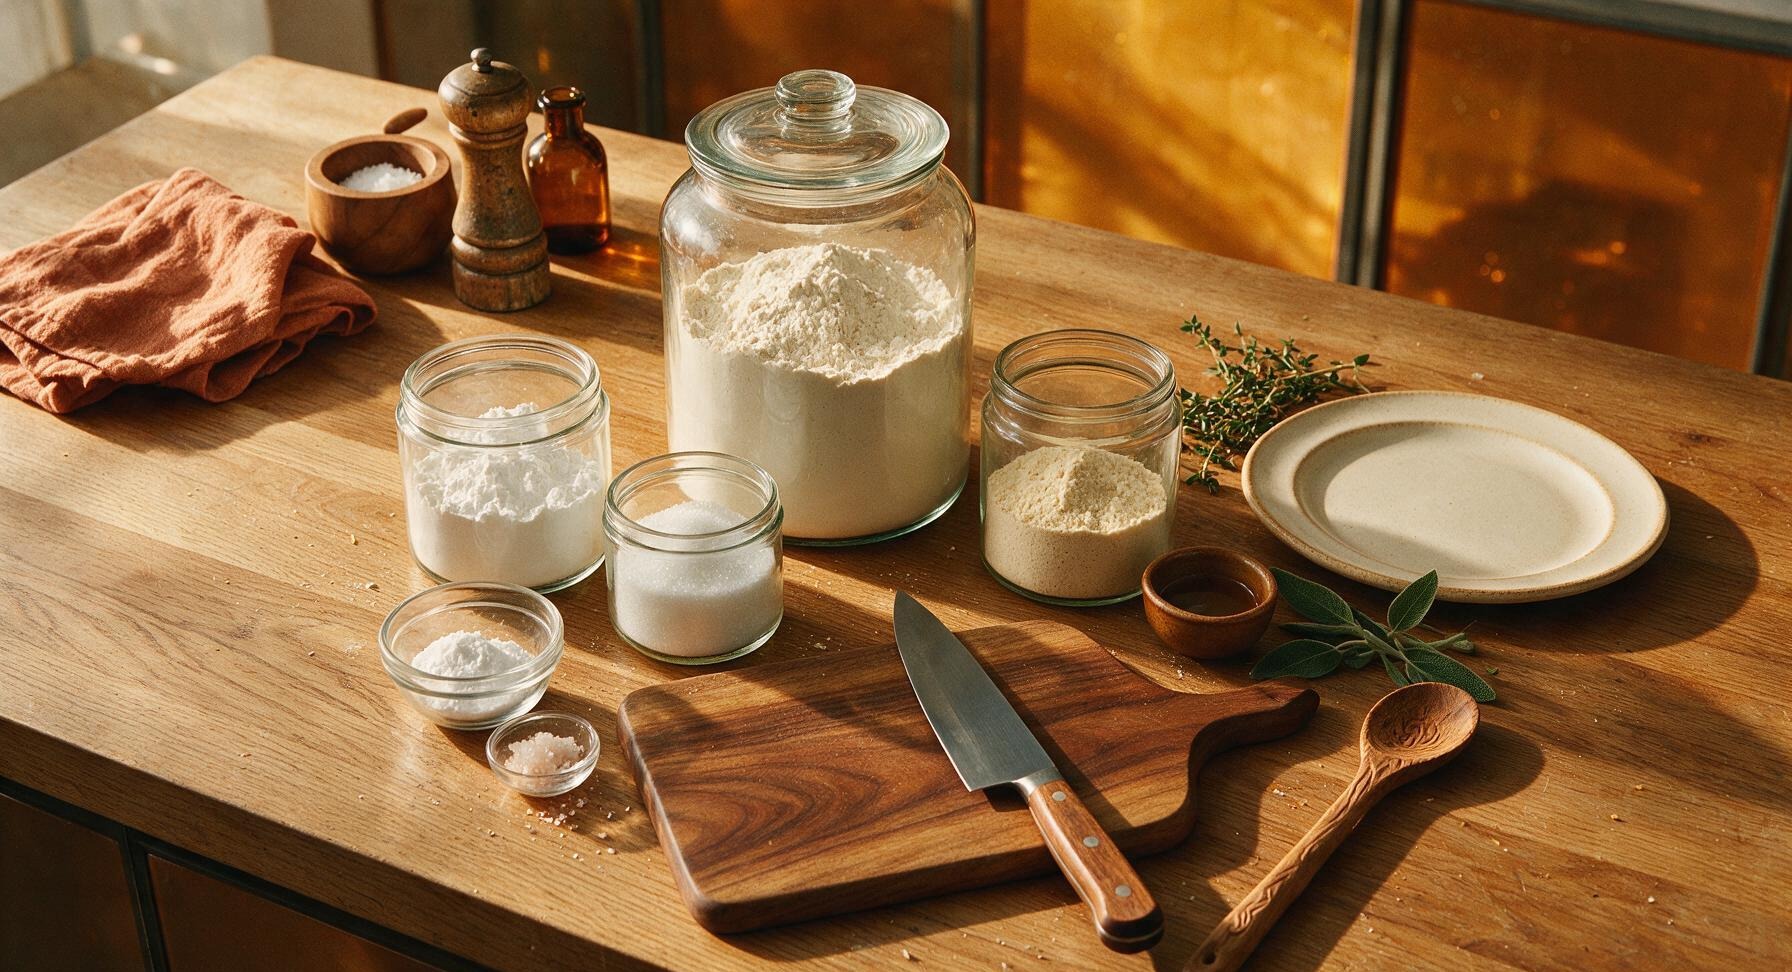
All-purpose flour 4 cups (480g)
Cornstarch 1/4 cup (30g)
Granulated sugar 2 tbsp (25g)
Baking powder 2 tbsp (24g)
Baking soda 1 tsp (5g)
Fine sea salt 1 tsp (5g)
Powdered buttermilk 1/2 cup (60g)

Steps

1

Prep Mixing Station

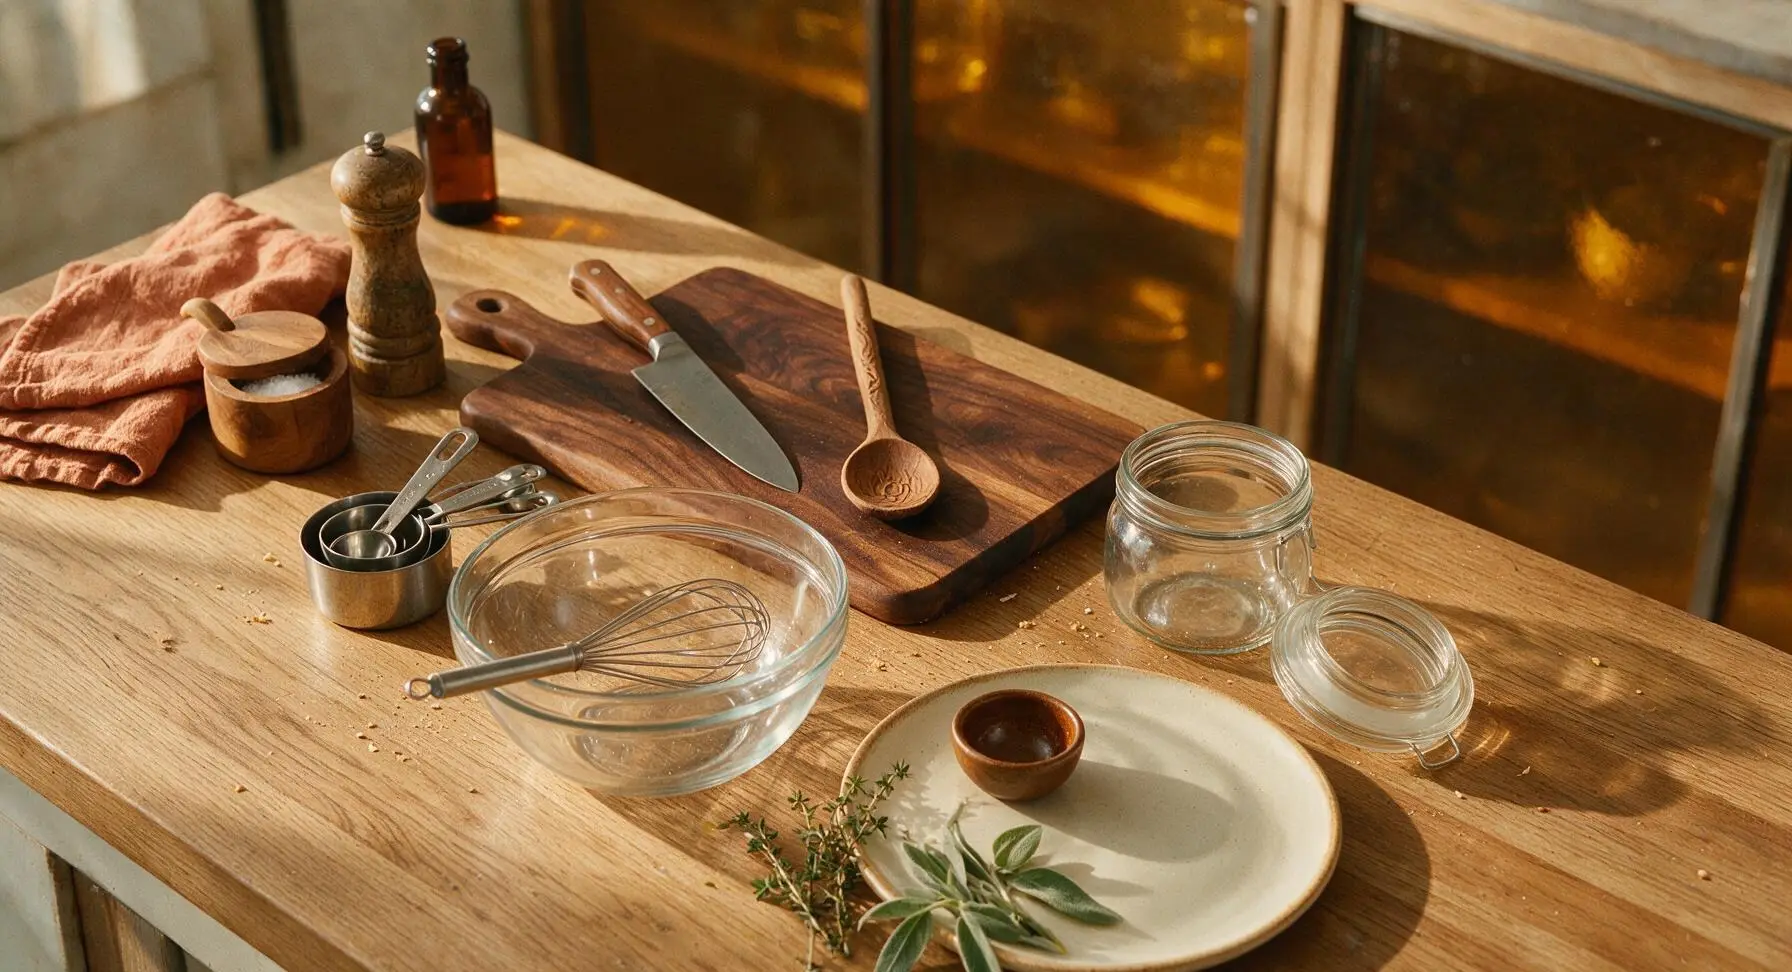
First, wipe down the countertop and ensure all prep tools (glass mixing bowl, whisk, measuring cups, measuring spoons, storage jar) are completely dry, as any moisture will cause leavening to activate early and reduce the mix’s shelf life. Unscrew the lid from the glass storage jar and set it loosely on the counter beside the jar. The mixing bowl should sit in its fixed center-left position, with the whisk resting on its rim.
Step 1
step1:Prep Mixing Station
2

Add All-Purpose Flour

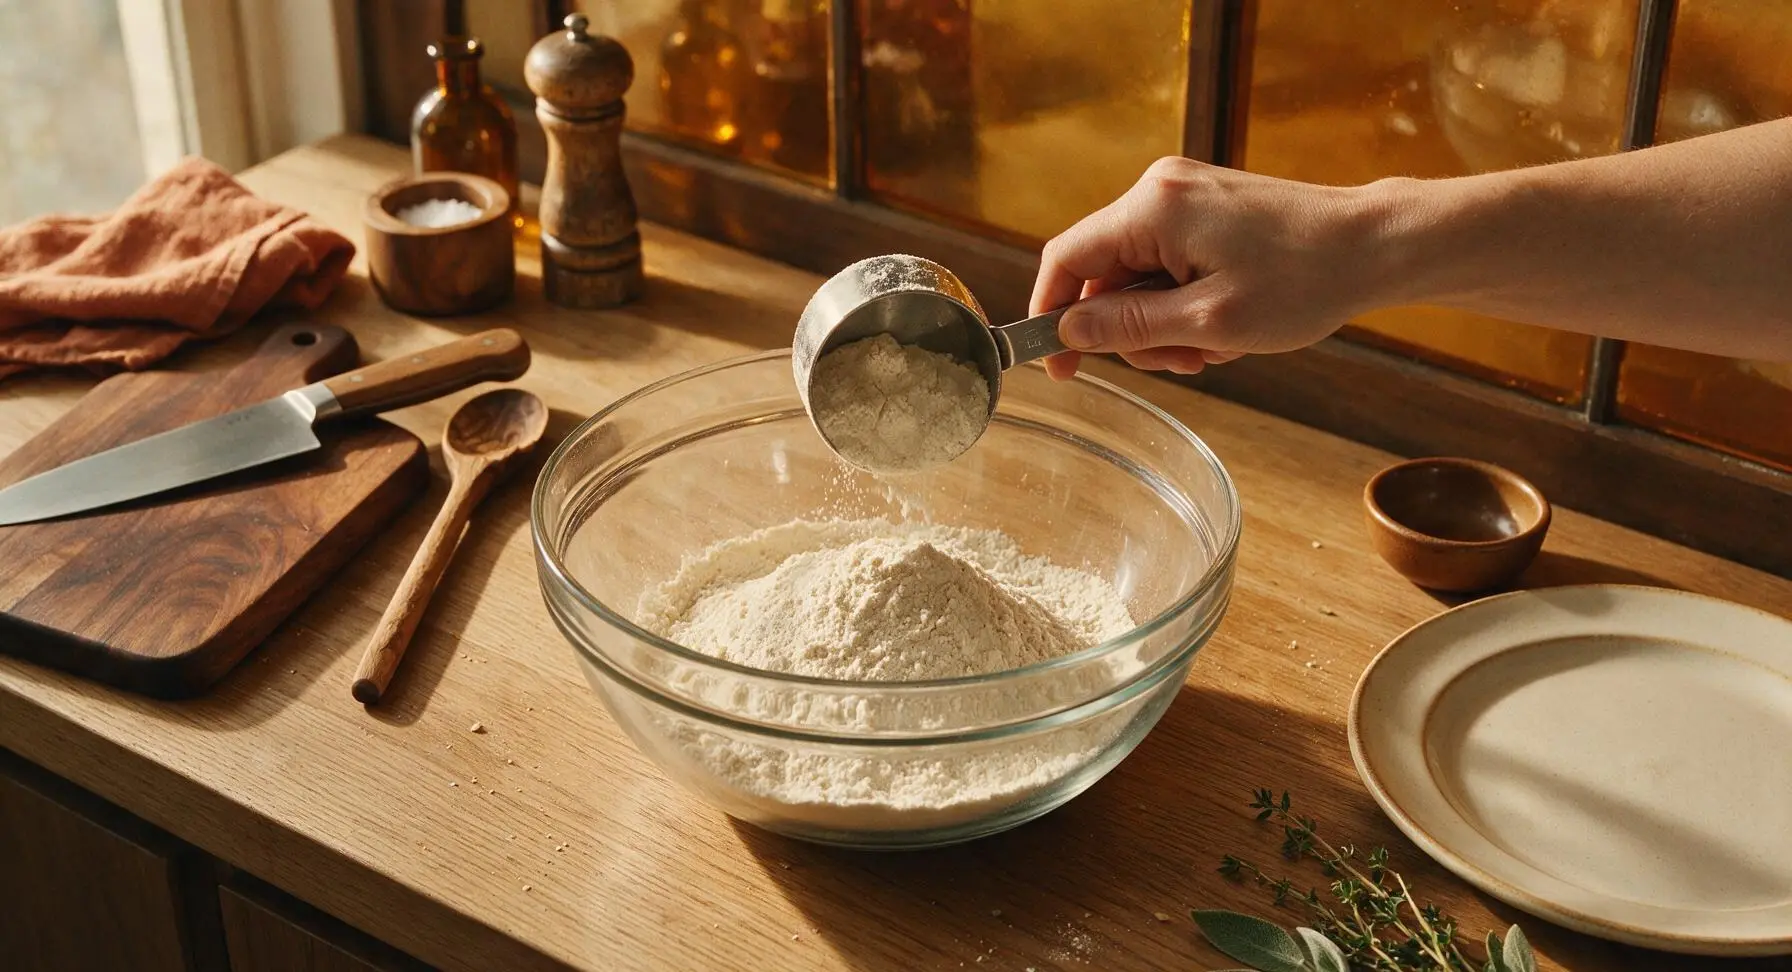
Using the 1-cup dry measuring cup, scoop and level 4 cups (480g) of all-purpose flour, pouring each measured cup directly into the glass mixing bowl. Hold the measuring cup at eye level to ensure each scoop is perfectly level (no heaping flour) to keep the mix ratio accurate. After adding all flour, the bottom of the mixing bowl will be evenly covered with pale off-white flour.
Step 2
step2:Add All-Purpose Flour
3

Mix in Cornstarch

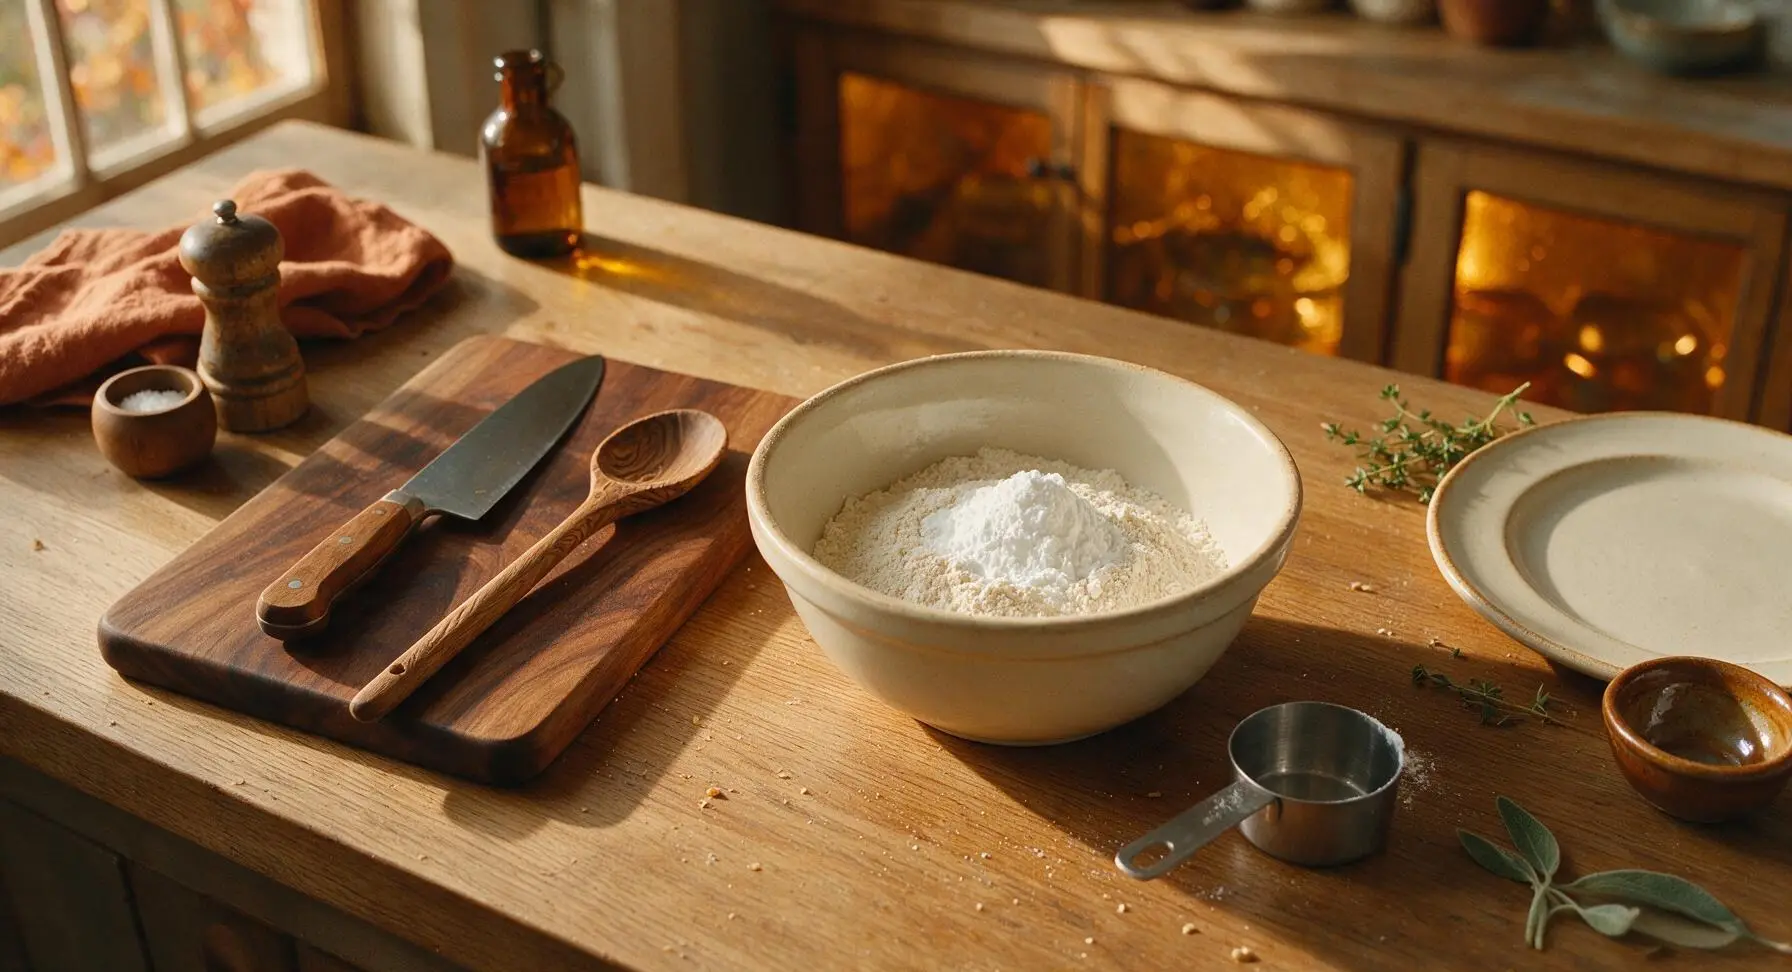
Measure 1/4 cup (30g) of cornstarch using the 1/4 cup measuring cup, leveling it with the flat edge of a knife, then pour it into the mixing bowl on top of the flour. The cornstarch will look brighter white and finer in texture than the all-purpose flour, creating a distinct small white mound on top of the flour.
Step 3
step3:Mix in Cornstarch
4

Add Leavening and Salt

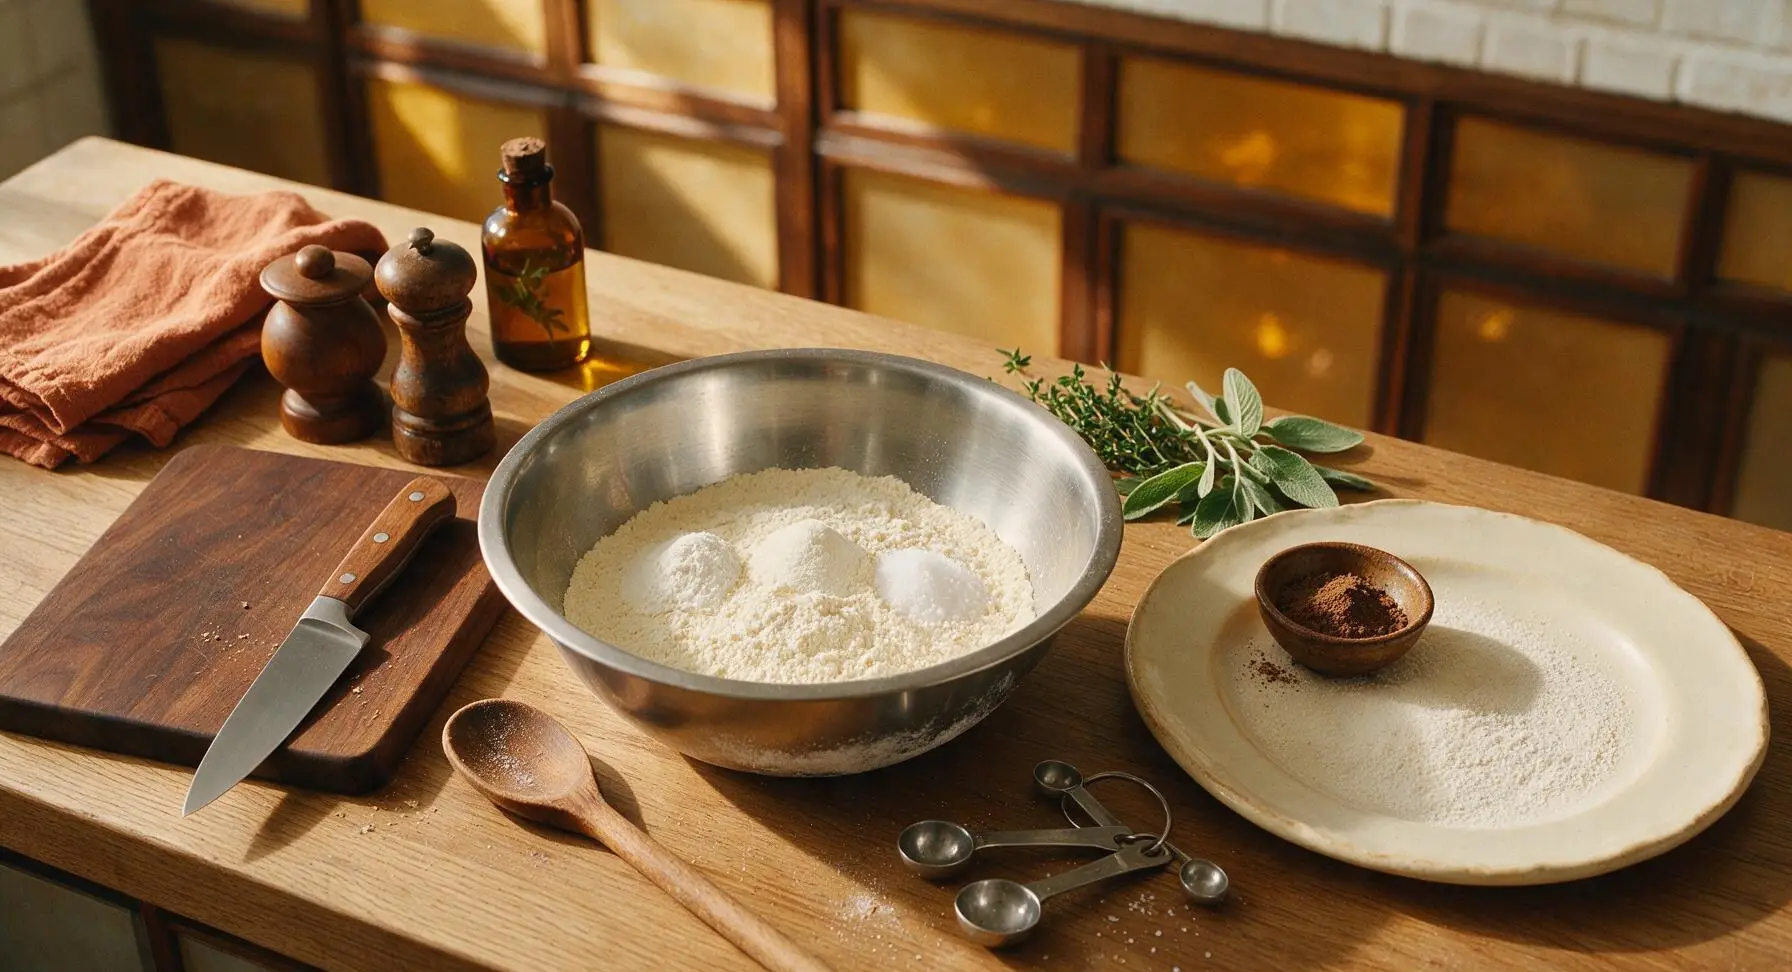
Measure 2 tablespoons (24g) of baking powder, 1 teaspoon (5g) of baking soda, and 1 teaspoon (5g) of fine sea salt using the appropriate measuring spoons, leveling each spoonful precisely. Sprinkle these ingredients evenly across the top of the flour and cornstarch mixture. These ingredients will appear as small, fine white mounds, with the salt having a slightly more crystalline texture than the powdery leaveners.
Step 4
step4:Add Leavening and Salt
5

Add Sugar and Buttermilk

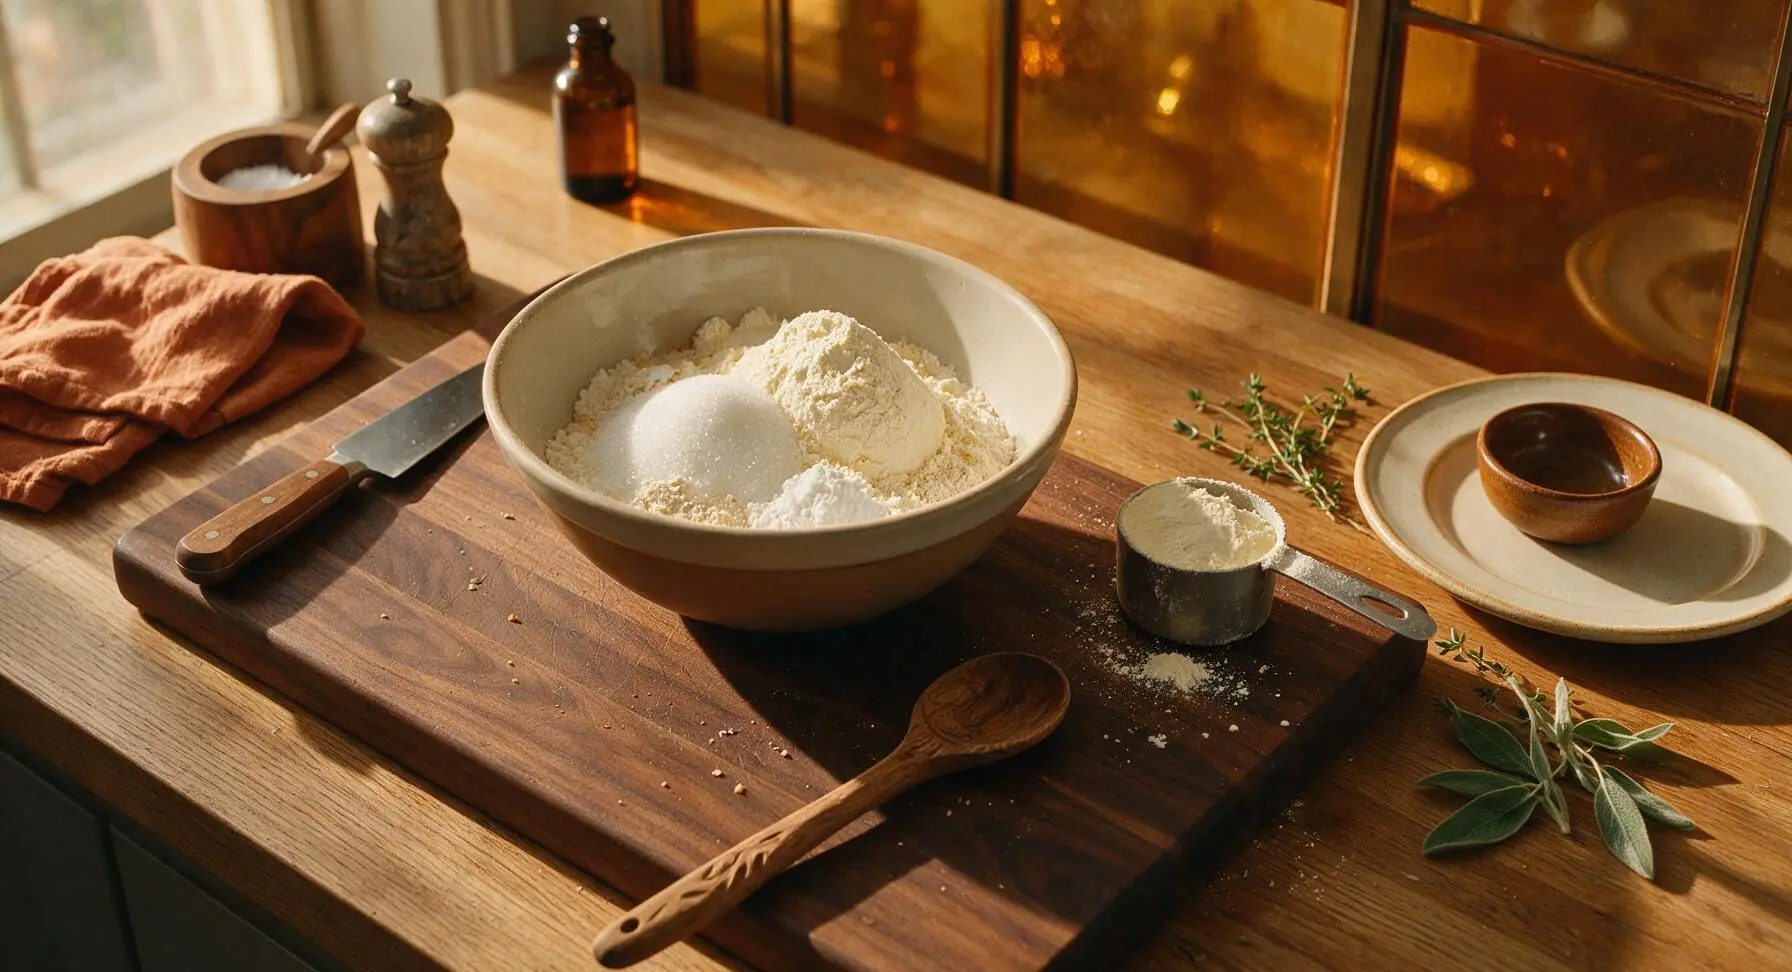
Measure 2 tablespoons (25g) of granulated sugar and 1/2 cup (60g) of powdered buttermilk, leveling each measurement, and add them to the mixing bowl. The granulated sugar will have a subtle sparkle, while the powdered buttermilk will be a pale creamy off-white, slightly yellower than the flour and cornstarch. At this point, all dry ingredients are added to the bowl, forming distinct layered mounds of varying white and cream shades.
Step 5
step5:Add Sugar and Buttermilk
6

Whisk Dry Ingredients

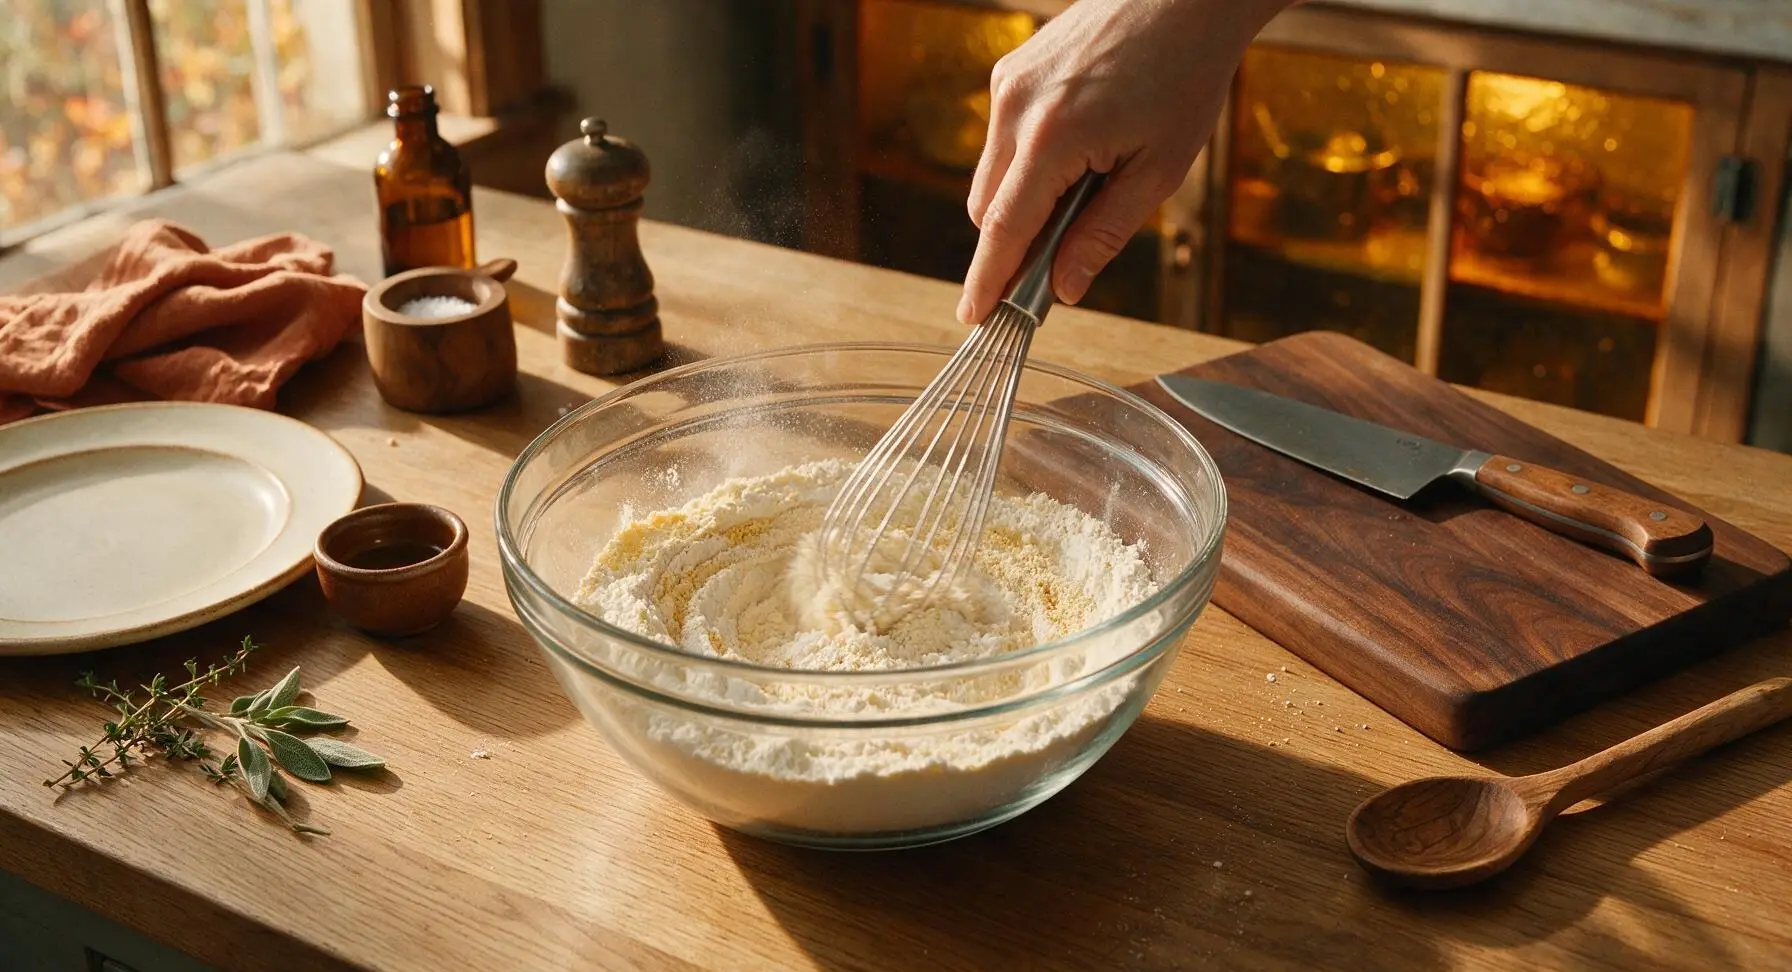
Pick up the stainless steel whisk from the bowl rim, and slowly whisk all dry ingredients together for 45 to 60 seconds, moving the whisk in broad circular motions from the bottom of the bowl up to ensure even distribution. Stop whisking when the mixture is a uniform pale creamy tan, with no streaks of separate ingredients, no clumps of cornstarch or baking powder visible. The finished mix will have a fine, consistent texture throughout.
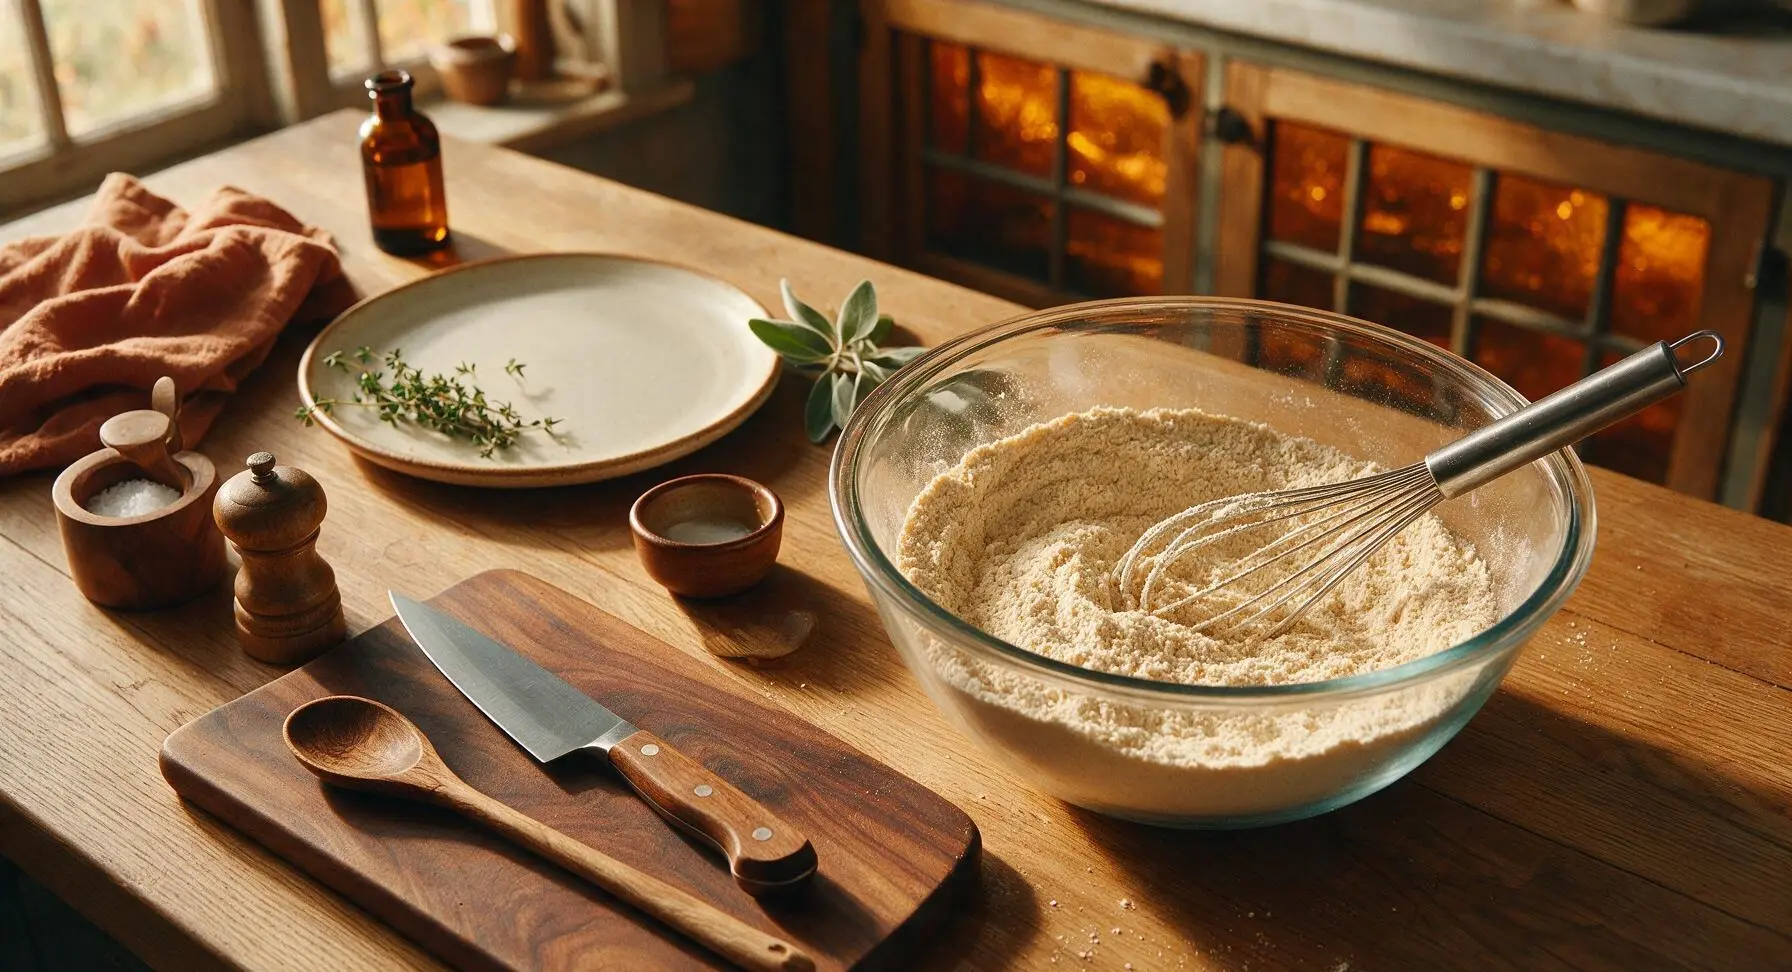
Step 6
step6:Whisk Dry Ingredients
Step 6
step6:Whisk Dry Ingredients
7

Fill Storage Jar

Hold the glass mixing bowl at a slight angle over the open clear glass storage jar, and carefully pour the fully combined waffle mix into the jar, using the whisk to gently guide the mix into the jar opening to avoid spills. Tap the jar gently on the counter halfway through pouring to settle the mix, and continue pouring until all mix is transferred. Wipe any stray mix from the jar rim with the edge of the tan linen towel to ensure a tight seal.
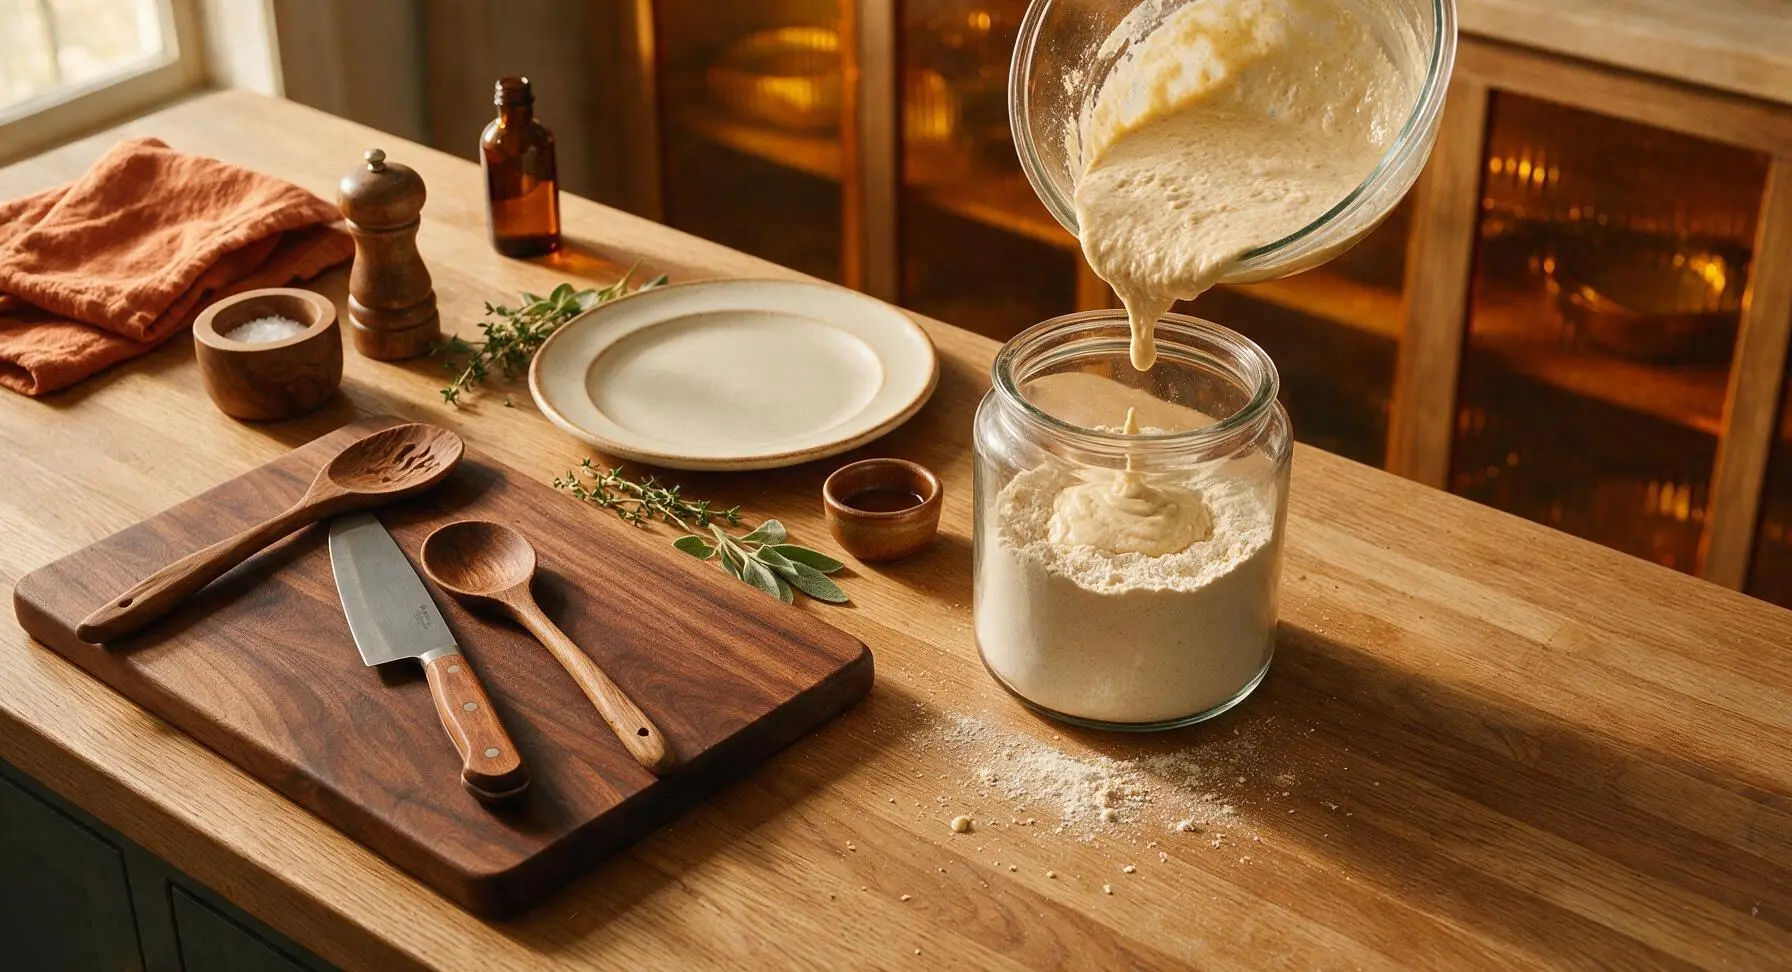
Step 7
step7:Fill Storage Jar
8

Seal Jar for Storage

Wipe the rim of the storage jar completely clean of any dry mix residue, then screw the glass lid on tightly to create an airtight seal. Store the sealed jar in a cool, dark pantry for up to 3 months. To make waffles, combine 1 1/2 cups of the mix with 1 large egg, 1/3 cup water or milk, and 1 tablespoon melted butter, then cook in a preheated waffle iron for 3 to 4 minutes until golden and crispy.
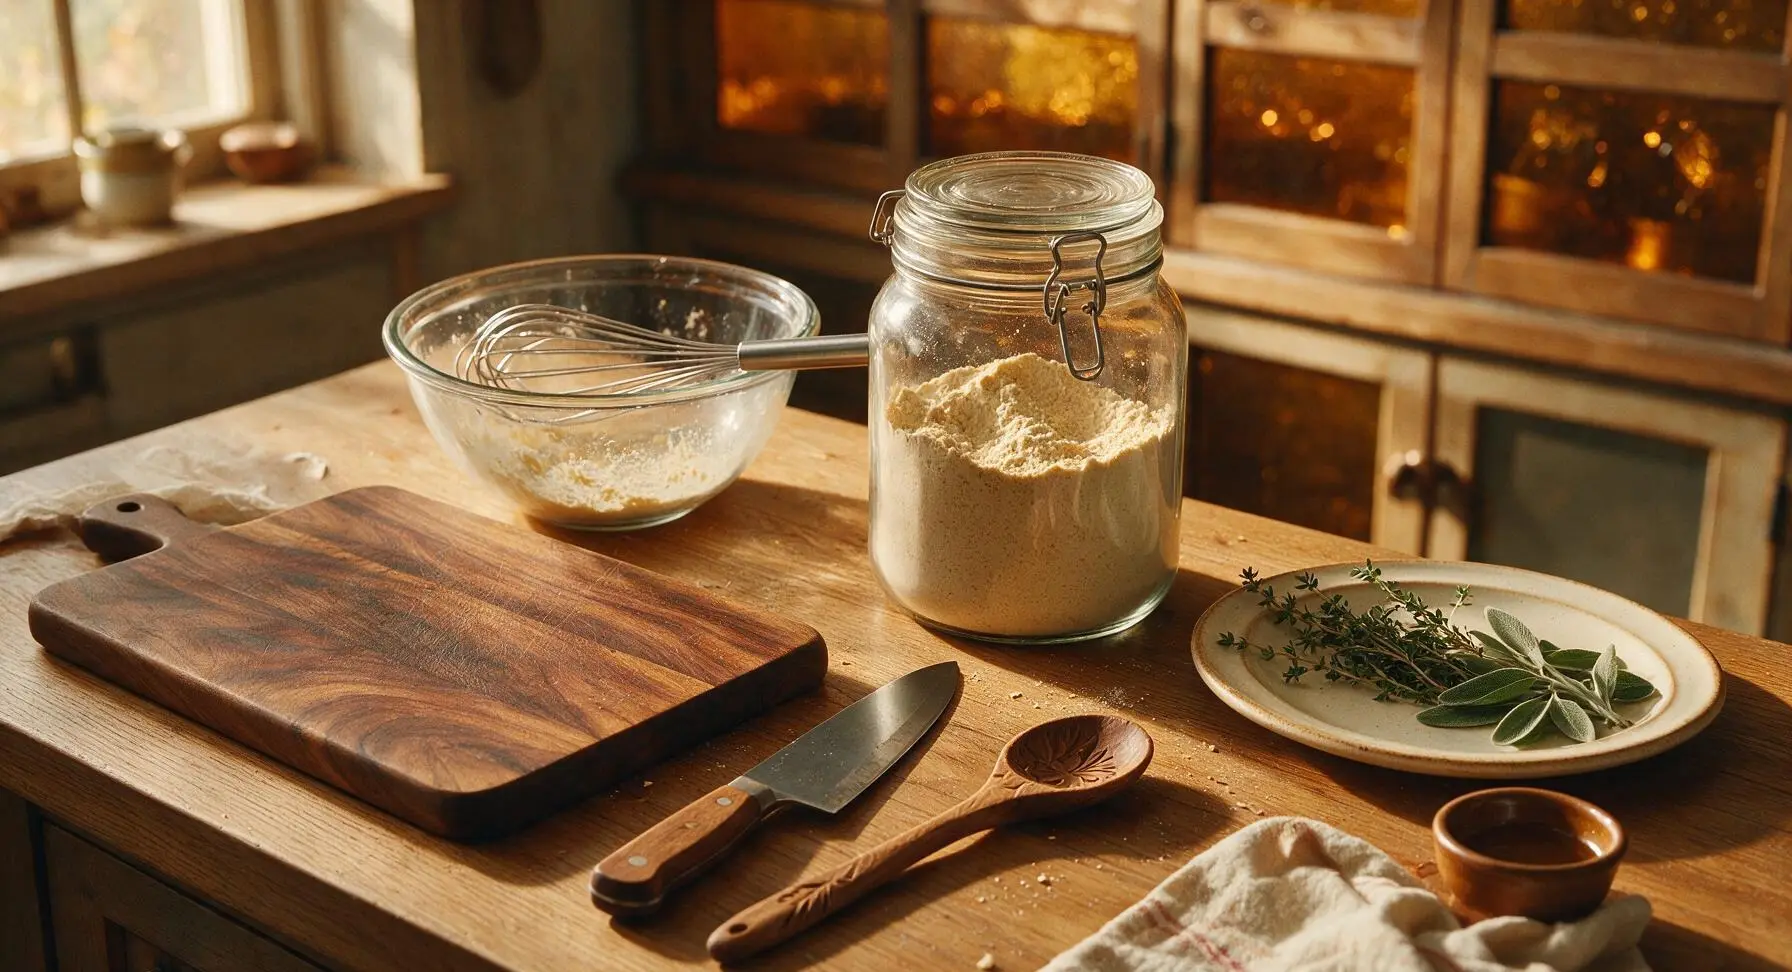
Step 8
step8:Seal Jar for Storage

Tips

1.Use completely dry tools and an airtight storage container for your mix: even 1/4 teaspoon of trapped moisture will activate the leavening agents early, leading to flat, dense waffles and cutting the mix’s shelf life from 3 months to just a few days.
2.Don’t skip the cornstarch: it inhibits gluten development in the all-purpose flour, creating shatteringly crisp waffle exteriors and light, fluffy interiors, rather than the chewy, soggy waffles you get from flour-only mixes.
3.If you don’t have powdered buttermilk, omit it from the dry mix and swap the water for 1/3 cup of fresh buttermilk per 1 1/2 cups of dry mix when making waffles; this gives the same tangy, tender crumb without requiring a special pantry ingredient.


✨ You May Also Like

Breakfast
🍜 United States

Crisp-edged, fluffy lard griddle cakes are a nostalgic homestyle staple, with rich savoriness from rendered lard, perfect topped with maple syrup or savory gravy.

⏱️ 25 minuteBreakfast ★ 4.8
Breakfast
🍜 United States

Flaky, buttery homemade buttermilk biscuits smothered in creamy, peppery pork sausage gravy: a beloved, hearty Southern American comfort food classic.

⏱️ 35 minuteBreakfast ★ 4.8
Breakfast
🍜 United States

Golden, custardy brioche stuffed with sweet cream cheese and fresh berries, pan-fried to crisp perfection. An indulgent, cozy breakfast perfect for slow weekend mornings.

⏱️ 30 minuteBreakfast ★ 4.7
Breakfast
🍜 United States

Flaky, buttery Southern-style biscuits stuffed with savory salty country ham, a portable, satisfying classic perfect for casual on-the-go meals.

⏱️ 25 minuteBreakfast ★ 4.8
Breakfast
🍜 United States

Iconic puffy baked pancake popularized in Seattle, with crisp golden edges and soft custardy center, served warm with classic sweet toppings.

⏱️ 35 minuteBreakfast ★ 4.6
Breakfast
🍜 United States

Fluffy, golden pancakes studded with juicy peak-summer mixed berries, drizzled with maple syrup for a bright, comforting, crowd-pleasing family breakfast.

⏱️ 25 minuteBreakfast ★ 4.7

diy waffle mix:Frequently Asked Questions

1.How long will this homemade waffle mix stay shelf-stable? ▾
Stored in a tightly sealed, airtight container in a cool, dark pantry away from heat or moisture, this mix stays fresh for up to 3 months. For longer storage (up to 6 months), stick the sealed container in the freezer. Always give the jar a good shake or stir before scooping, as fine ingredients can settle over time.
2.Do I need to add salt to this waffle mix base? ▾
Yes! I recommend stirring 1 teaspoon of fine sea salt into the dry base when you first combine the ingredients. Salt cuts cloying sweetness, amplifies the warm, toasty waffle flavor, and keeps final waffles from tasting flat or bland, even when you load them up with sweet syrups or fruit toppings.
3.Can I make this waffle mix gluten-free? ▾
Absolutely. Swap the all-purpose flour for a 1:1 gluten-free all-purpose baking blend that contains xanthan gum, and keep the cornstarch, sugar, and leaveners exactly as written. You’ll get the same light, crisp, fluffy waffles, and shelf life will match the regular mix as long as your GF flour is fresh when you mix it up.
4.Why is there cornstarch in this waffle mix? ▾
Cornstarch is the secret to that signature shatteringly crisp waffle exterior, without making the inside dense or tough. It cuts down on excess gluten development from the all-purpose flour, so waffles stay light and fluffy on the inside while developing that perfect golden crust that doesn’t turn soggy minutes after cooking.
5.What ingredients do I add to the dry mix to make waffles? ▾
For every 2 cups of dry waffle mix, whisk in 2 large beaten eggs, 1 ¾ cups of whole milk, ½ cup of melted, cooled unsalted butter, and 1 teaspoon of vanilla extract. Let the batter rest 5 minutes before pouring it onto a preheated waffle iron for the lightest, fluffiest results every time.
6.Can I reduce the sugar in the mix for less sweet, savory waffles? ▾
Definitely. The granulated sugar in the base helps with golden browning and adds subtle, balanced sweetness, so you can cut it in half (to 2 tablespoons per full batch of mix) if you prefer waffles for fried chicken, egg toppings, or cheese add-ins, without ruining the final waffle texture.
7.Why do my waffles come out dense instead of fluffy when using this mix? ▾
Dense waffles almost always stem from two common mistakes: overmixing the batter, which develops too much tough gluten, or using expired baking powder or baking soda that can’t create the air bubbles needed for lift. Mix wet and dry ingredients just until no dry streaks remain—lumps are totally fine!
8.Can I use this waffle mix to make pancakes too? ▾
You sure can! To turn it into pancake batter, use 2 cups of mix, 2 eggs, 2 cups of milk (a touch more than you use for waffles), 3 tablespoons of melted butter, and 1 teaspoon vanilla. Cook on a preheated griddle over medium heat for fluffy, tender pancakes with a faint, crisp golden edge.
9.How much dry mix does the base recipe make total? ▾
A standard batch made with 4 cups all-purpose flour, 1 cup cornstarch, ¼ cup granulated sugar, 2 tablespoons baking powder, and 1 teaspoon baking soda yields roughly 5 ½ cups of dry mix. That’s enough for about 10 to 12 full-sized waffles, depending on the exact size of your waffle iron.
10.Do I need to refrigerate the mix after opening the storage jar? ▾
No refrigeration is needed as long as you keep the mix in a truly airtight container with no exposure to moisture or pantry pests. Moisture is the biggest enemy here—it can make leaveners lose potency early or cause mold growth. If your kitchen stays over 75°F consistently in summer, the freezer is a better spot than the fridge.
11.Can I swap granulated sugar for a sugar alternative in the mix? ▾
Yes, you can use an equal measure of granulated erythritol or monk fruit sweetener that measures 1:1 like sugar for a lower-sugar mix. Avoid liquid sweeteners in the dry base, as they introduce moisture that ruins the shelf-stable nature of the mix, leading to faster spoilage and soggy waffles.
12.Why do my waffles get soggy right after I take them off the iron? ▾
Soggy waffles happen when you stack them directly on a plate right out of the iron, which traps steam against the crisp crust. Instead, set cooked waffles on a wire rack set over a baking sheet in a 200°F oven while you cook the rest of the batch to keep them crisp from first waffle to last.
13.Can I add mix-ins directly to the dry mix for long-term storage? ▾
Skip adding perishable mix-ins like dried fruit, chocolate chips, or nuts directly to the stored dry mix, as they can go rancid or stale faster than the base dry ingredients. Add those to individual portions of batter right before cooking instead, so you can customize waffles without shortening the mix’s shelf life.
14.How do I know if my stored waffle mix has gone bad? ▾
Toss the mix if you see hard, unbreakable clumps (a sign of moisture exposure), visible mold, odd stale or rancid odors, or if it fails to bubble when mixed with wet ingredients. That last sign means your leaveners have lost their potency, so waffles will turn out flat, dense, and unappetizing.
15.Can I use self-rising flour instead of all-purpose flour in this mix? ▾
I don’t recommend it. Self-rising flour already contains added baking powder and salt, which will throw off the carefully balanced leavening ratio in this recipe, leading to bitter, overly risen waffles that collapse quickly. Stick to plain all-purpose flour for the most consistent, reliable texture and flavor.
16.How do I make vegan waffles using this dry mix? ▾
For every 2 cups of dry mix, swap the 2 eggs for ¼ cup unsweetened applesauce, use your favorite unsweetened oat or almond milk in place of dairy milk, swap melted butter for melted coconut oil or vegan butter, and keep the vanilla as written. You’ll still get crisp, fluffy waffles with no major texture difference.
17.Why does this mix use both baking powder and baking soda? ▾
The combination creates perfectly light, tall waffles: baking powder creates most of the rise when it hits the hot waffle iron, while baking soda neutralizes slight acidity from dairy in the batter, boosts golden browning for that crisp crust, and adds extra lift without leaving a soapy aftertaste.
18.Can I make a whole-grain version of this waffle mix? ▾
Absolutely! Swap up to half of the all-purpose flour for whole wheat pastry flour—don’t use regular whole wheat flour for the full amount, or waffles will turn out dense and heavy. The cornstarch in the base will still keep the crust crisp, and you’ll get a nutty, whole-grain flavor without losing fluff.
19.What’s the best type of container to store this waffle mix in? ▾
Reach for a glass mason jar with a tight-sealing screw-top lid, a BPA-free plastic food storage canister with a locking gasket lid, or a sealed mylar bag for long-term freezer storage. Make sure whatever container you use is completely clean and totally dry before pouring in the mix to avoid introducing moisture.
20.Do I need to sift the ingredients when I first mix up the batch? ▾
Sifting isn’t strictly required, but it does help evenly distribute the baking powder, baking soda, sugar, and cornstarch throughout the flour so every scoop of mix has the perfect ratio of ingredients. If you don’t have a sifter, just whisk the dry ingredients very thoroughly for 30 to 45 seconds before sealing the container.

Comments (3)

2 days ago

OMG this homemade waffle mix is such a game changer! I prepped a big jar of it for meal prep last Sunday, and we’ve had quick waffles for breakfast three mornings this week already. My kids loved it so much they keep asking to stir extra chocolate chips into the batter when we cook ‘em. So much cheaper than the store-bought stuff too, no weird unpronounceable preservatives! 10/10

yesterday

Wait how long does the dry mix stay good in the pantry? I wanna make a bulk batch for our upcoming camping trip so we don’t have to pack a million separate ingredients!

2 hours ago

Great question! Stored in an airtight container in a cool, dry pantry, the dry mix stays fresh for up to 3 months—perfect for camping trips! Just be sure to give the jar a quick shake before scooping to make sure all the ingredients are evenly mixed.

3 days ago

Tried this last night for a quick brinner (breakfast for dinner, duh) with my roommates and it was SO good. Cook time was exactly 4 minutes per waffle in our old beat-up waffle iron, no soggy middles, perfectly crispy edges. We topped ours with fried chicken and hot honey, chef’s kiss. Only thing I messed up was forgetting to add a pinch of cinnamon, will definitely do that next time.

2 days ago

So glad the brinner spread worked out! The cinnamon addition is chef’s choice, but you could also try a dash of vanilla powder in the dry mix for extra warmth if that’s your vibe. The fried chicken and hot honey topping sounds incredible, we might have to test that combo ourselves!

1 week ago

Brought a batch of the pre-made mix as a little housewarming gift for my cousin last weekend, paired it with a cute new waffle spatula and a bottle of maple syrup. She texted me yesterday saying she used it for a potluck brunch with her new neighbors and everyone asked for the recipe! Super easy to throw together, no fancy ingredients required, which is my favorite kind of recipe. I’ve also stashed a jar in my own pantry for quick weeknight dinners when I don’t feel like cooking something elaborate. Will definitely be gifting this for the holidays too.



