
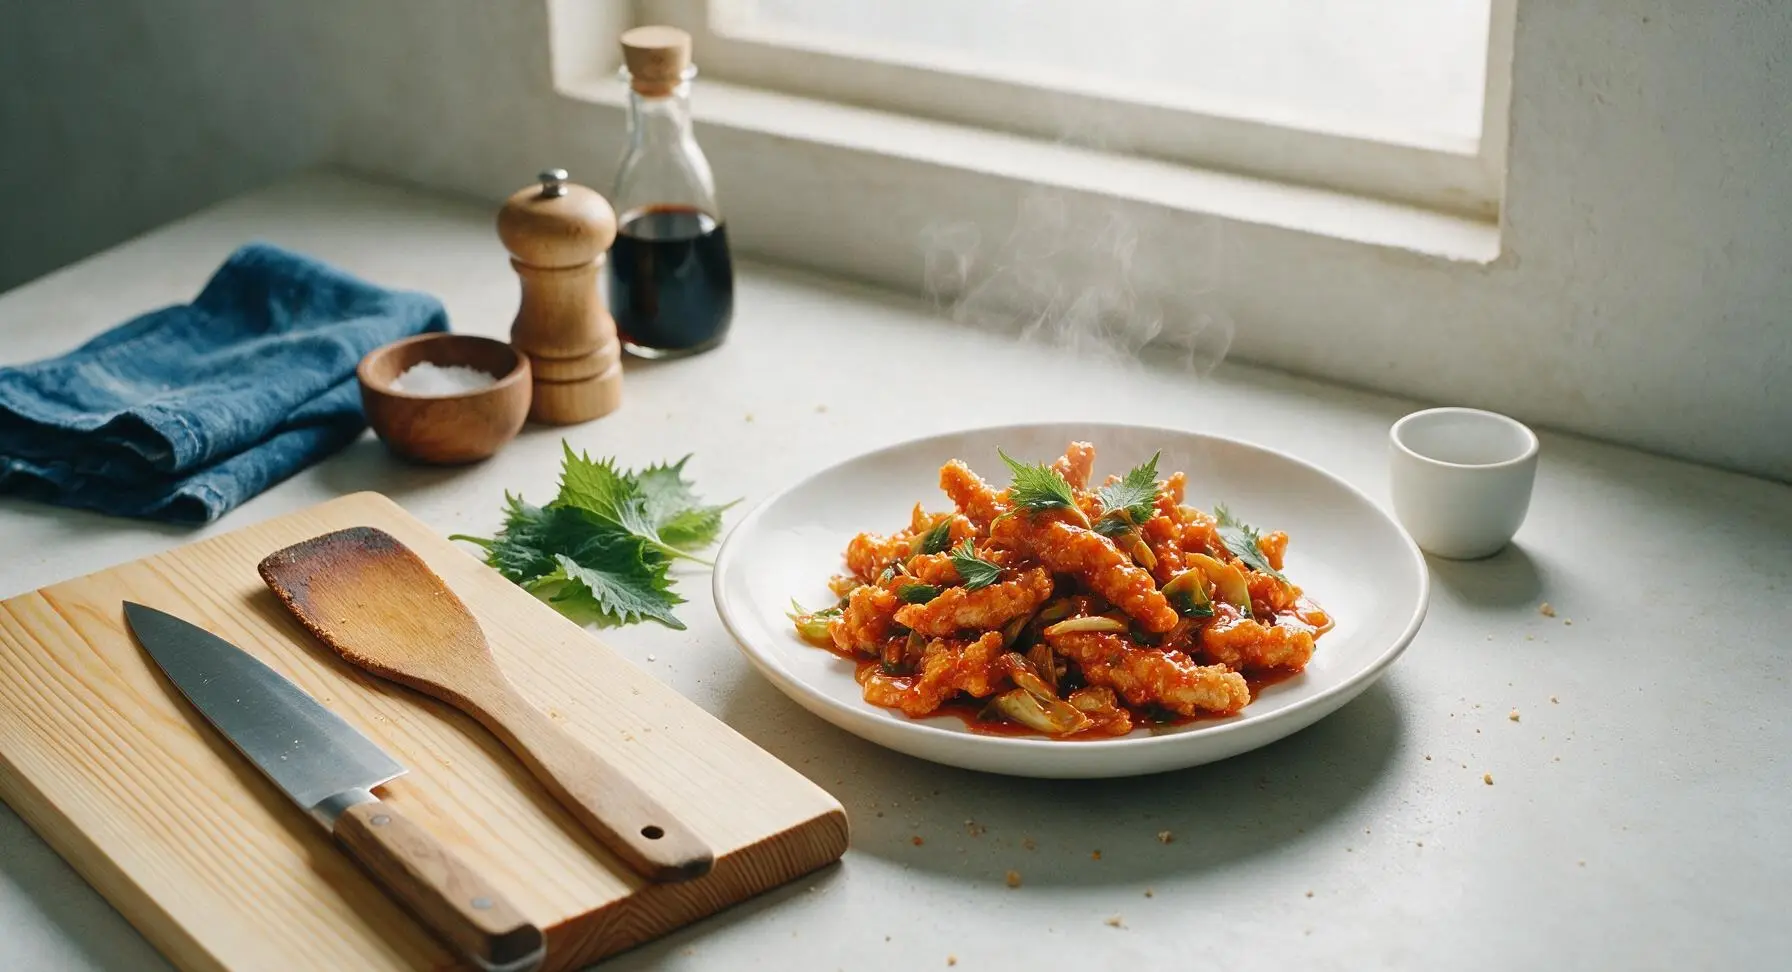
dragon chicken

title 1
dragon chicken
⏱️ cook time 25 minutes
🍽️ servings 4
⚡ Difficulty medium

intro

Crispy battered chicken strips tossed in a fiery, tangy Indo-Chinese sauce with crunchy veggies, delivering bold, addictive heat and texture in every bite.

Ingredients
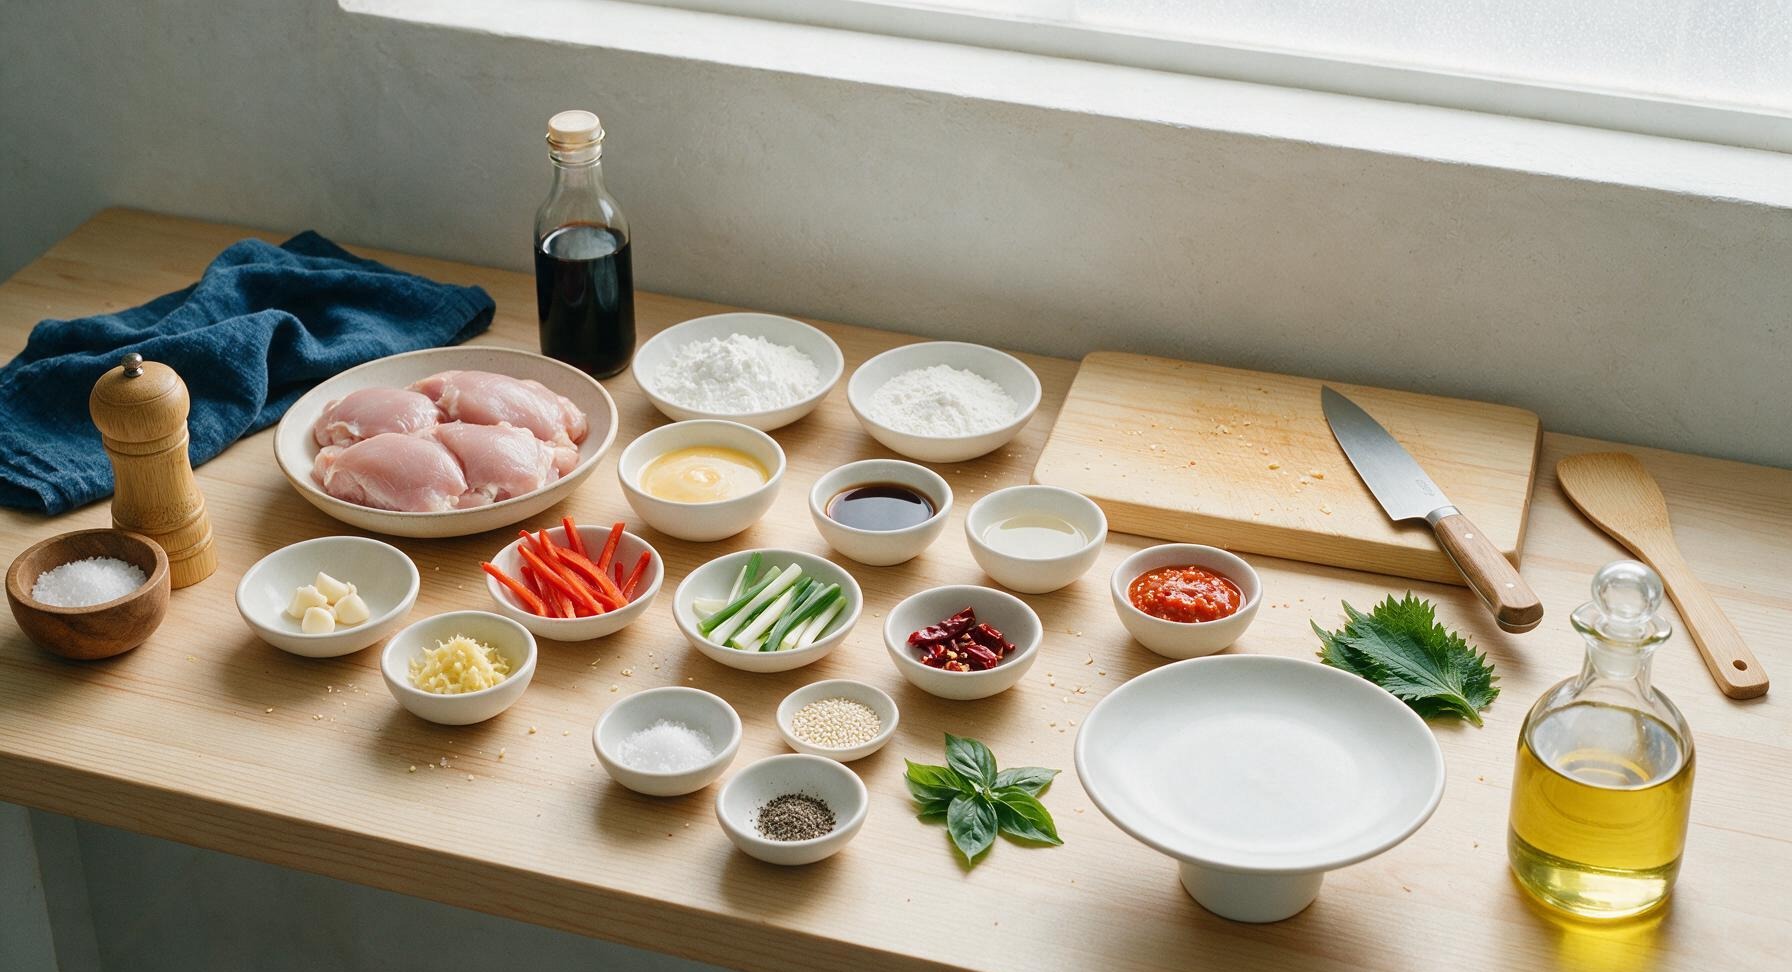
Boneless skinless chicken thighs 500g
Cornstarch 6 tbsp
All-purpose flour 2 tbsp
Large egg 1
Light soy sauce 3 tbsp
Rice vinegar 1.5 tbsp
Chili garlic sauce 2 tbsp
Honey 1 tbsp
Garlic cloves 3, minced
Fresh ginger 1 tbsp, grated
Small red bell pepper 1, julienned
Scallions 3 stalks, cut into 5cm strips
Dried red chilies 4, broken into pieces
Toasted white sesame seeds 1 tsp
Neutral canola oil 500ml (for frying)
Kosher salt 1 tsp
Freshly ground black pepper 0.5 tsp
Fresh Thai basil leaves 5, for garnish

Steps

1

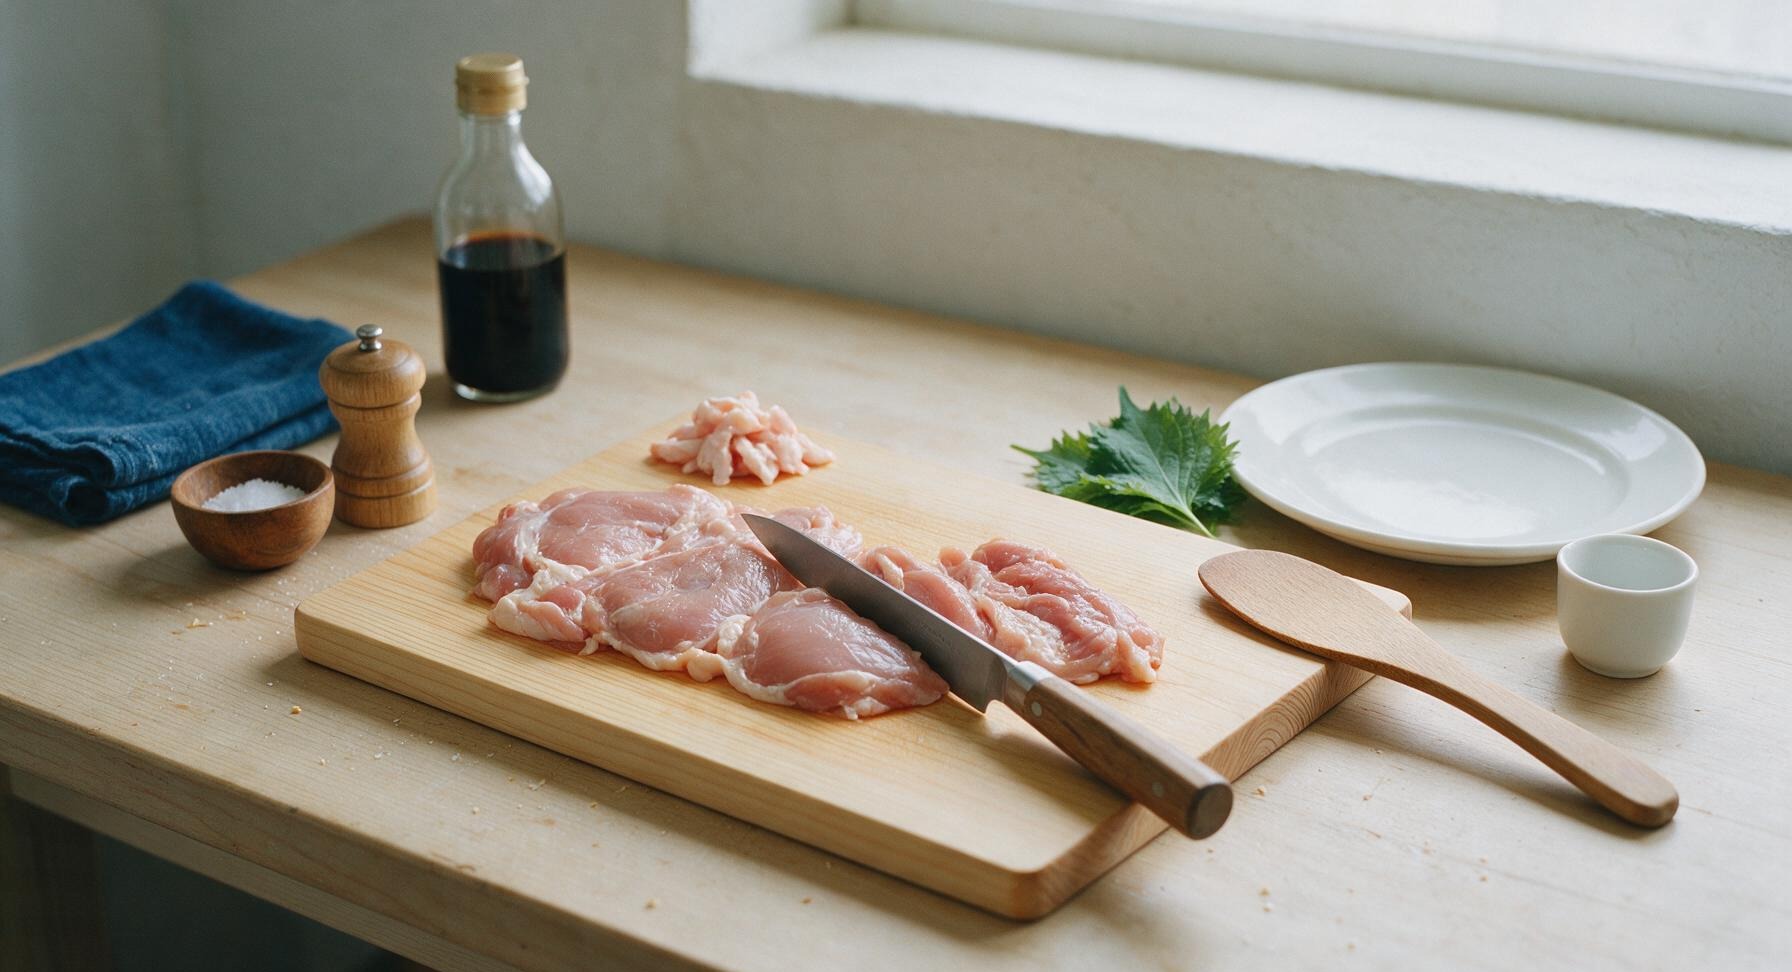
Cut chicken into strips

Place 500g boneless, skinless chicken thighs on the maple wood cutting board. Use the 8-inch chef knife to trim any excess fat or silver skin, then cut the chicken into uniform 1cm-wide, 5cm-long strips. Pat the strips completely dry with the edge of the cream cotton kitchen towel, season with 1 tsp kosher salt and 0.5 tsp black pepper. Uniform cuts ensure even frying and consistent sauce coating.
Step 1
step1:Cut chicken into strips
2

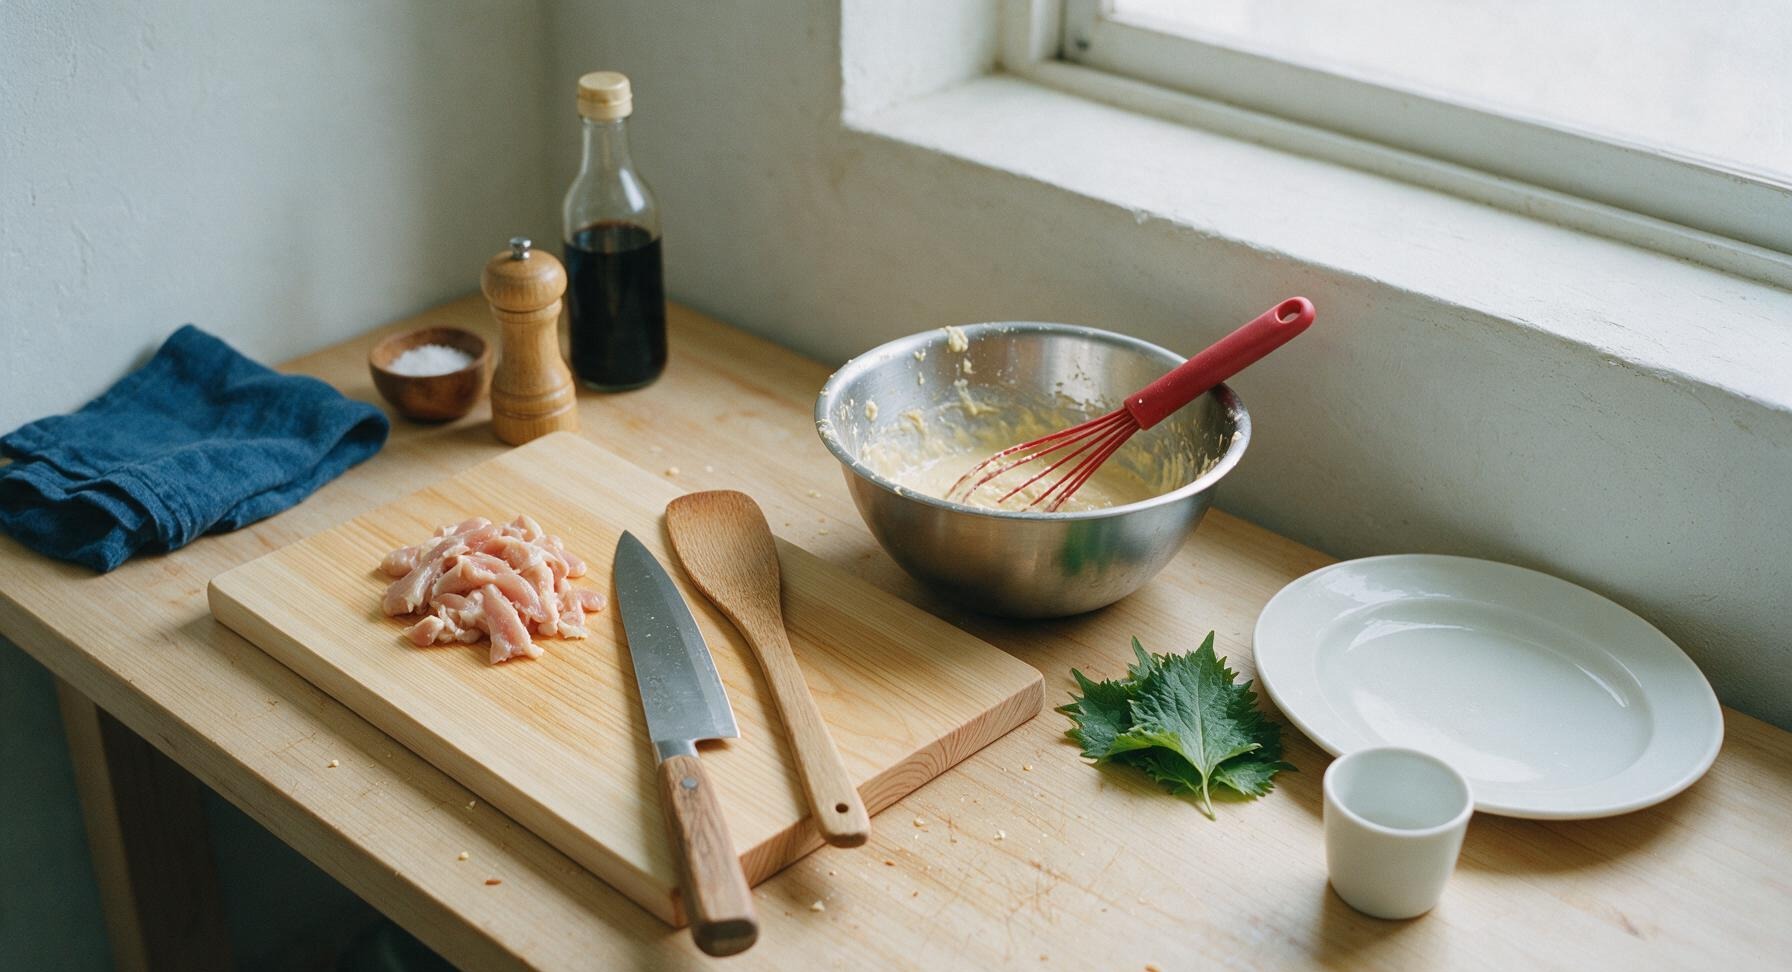
Coat chicken in batter

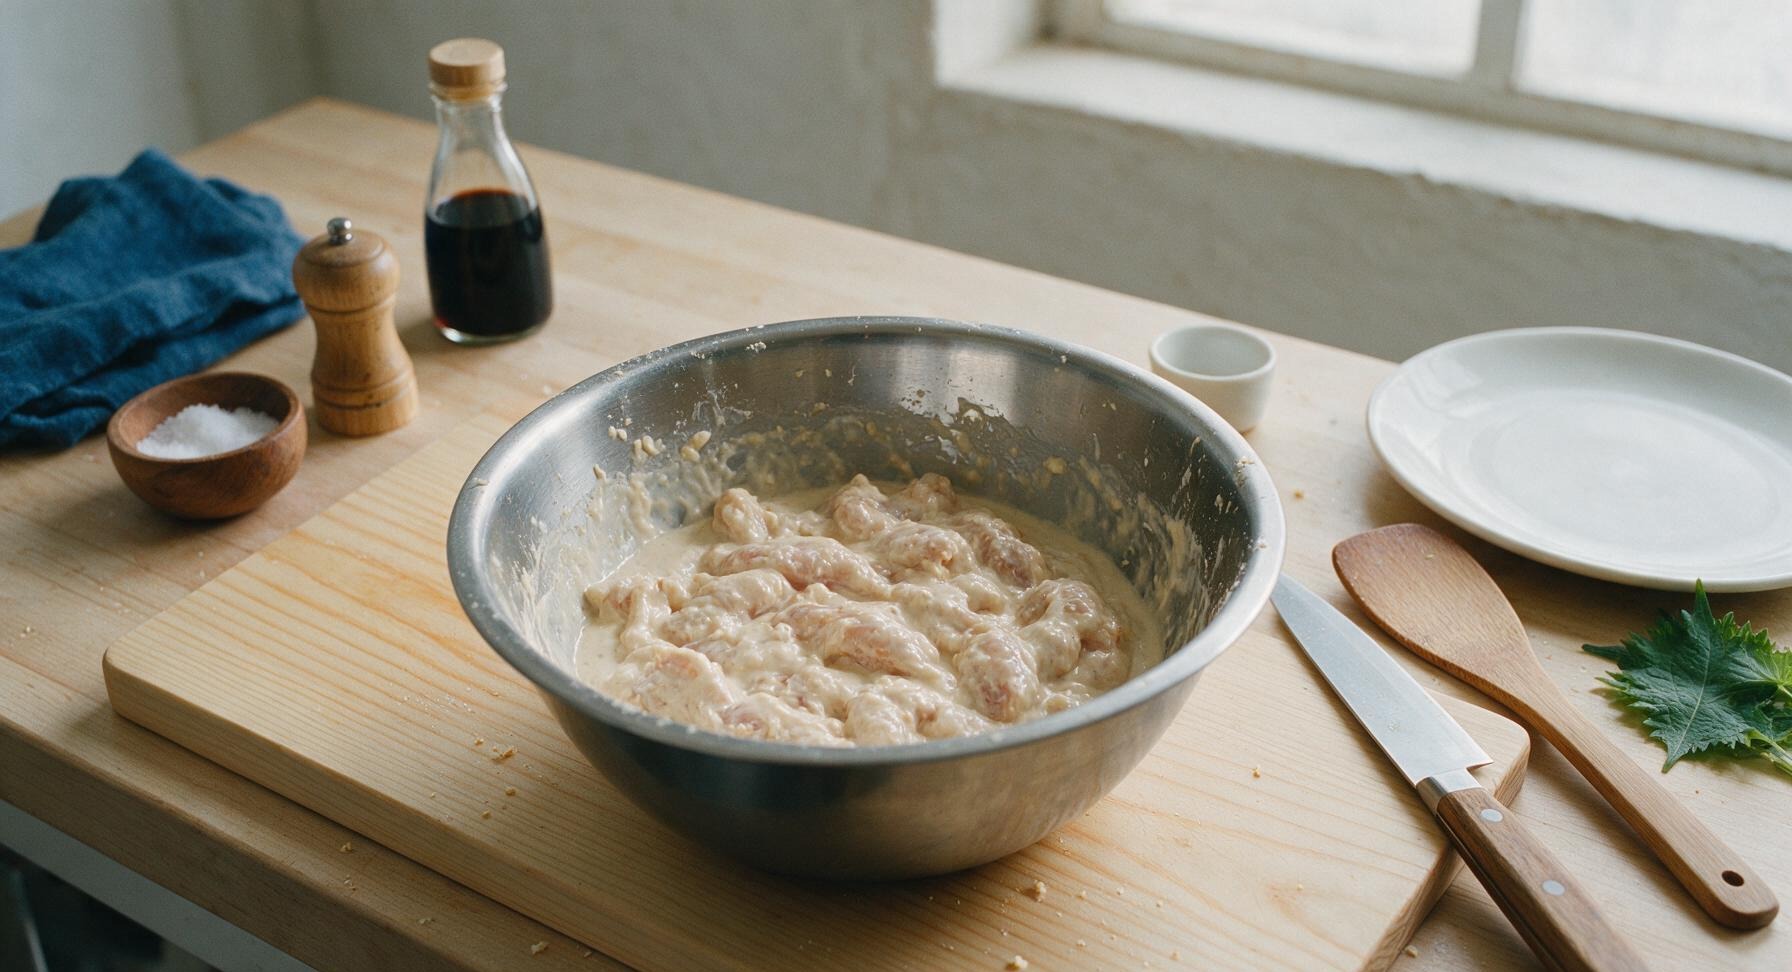
Crack 1 large egg into the 3-quart stainless steel mixing bowl, whisk lightly with the small red silicone whisk. Add 2 tbsp light soy sauce, 6 tbsp cornstarch, and 2 tbsp all-purpose flour to the bowl, whisking until a thick, smooth, lump-free batter forms. Add the cut chicken strips to the bowl, tossing until every strip is fully coated in the opaque batter. Let rest for 10 minutes at room temperature to allow the coating to adhere.
Step 2
step2:Coat chicken in batter
Step 2
step2:Coat chicken in batter
3

Heat oil for frying

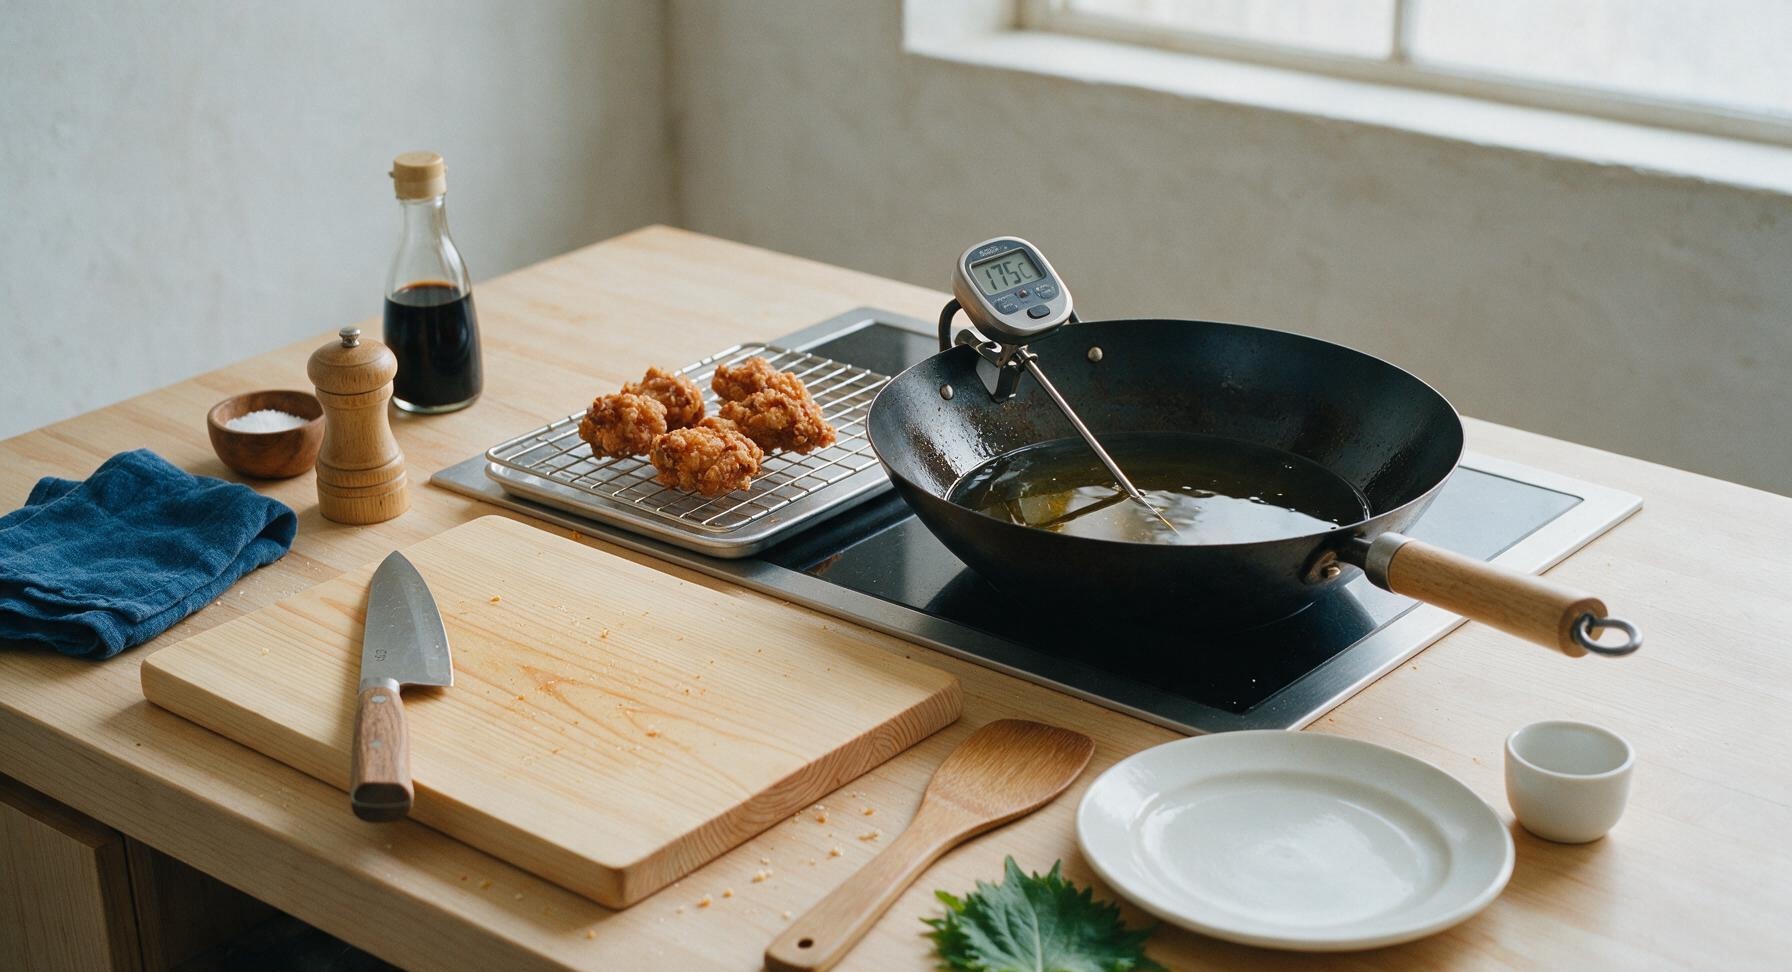
Pour 500ml neutral canola oil into the seasoned 10-inch carbon steel wok, set over medium-high heat. Clip the digital fry thermometer to the wok edge, monitoring the oil until it reaches 175C (350F). Maintain this steady temperature throughout frying to avoid soggy or burnt chicken; do not let oil smoke, which indicates it is too hot.
Step 3
step3:Heat oil for frying
4

Fry chicken to crisp

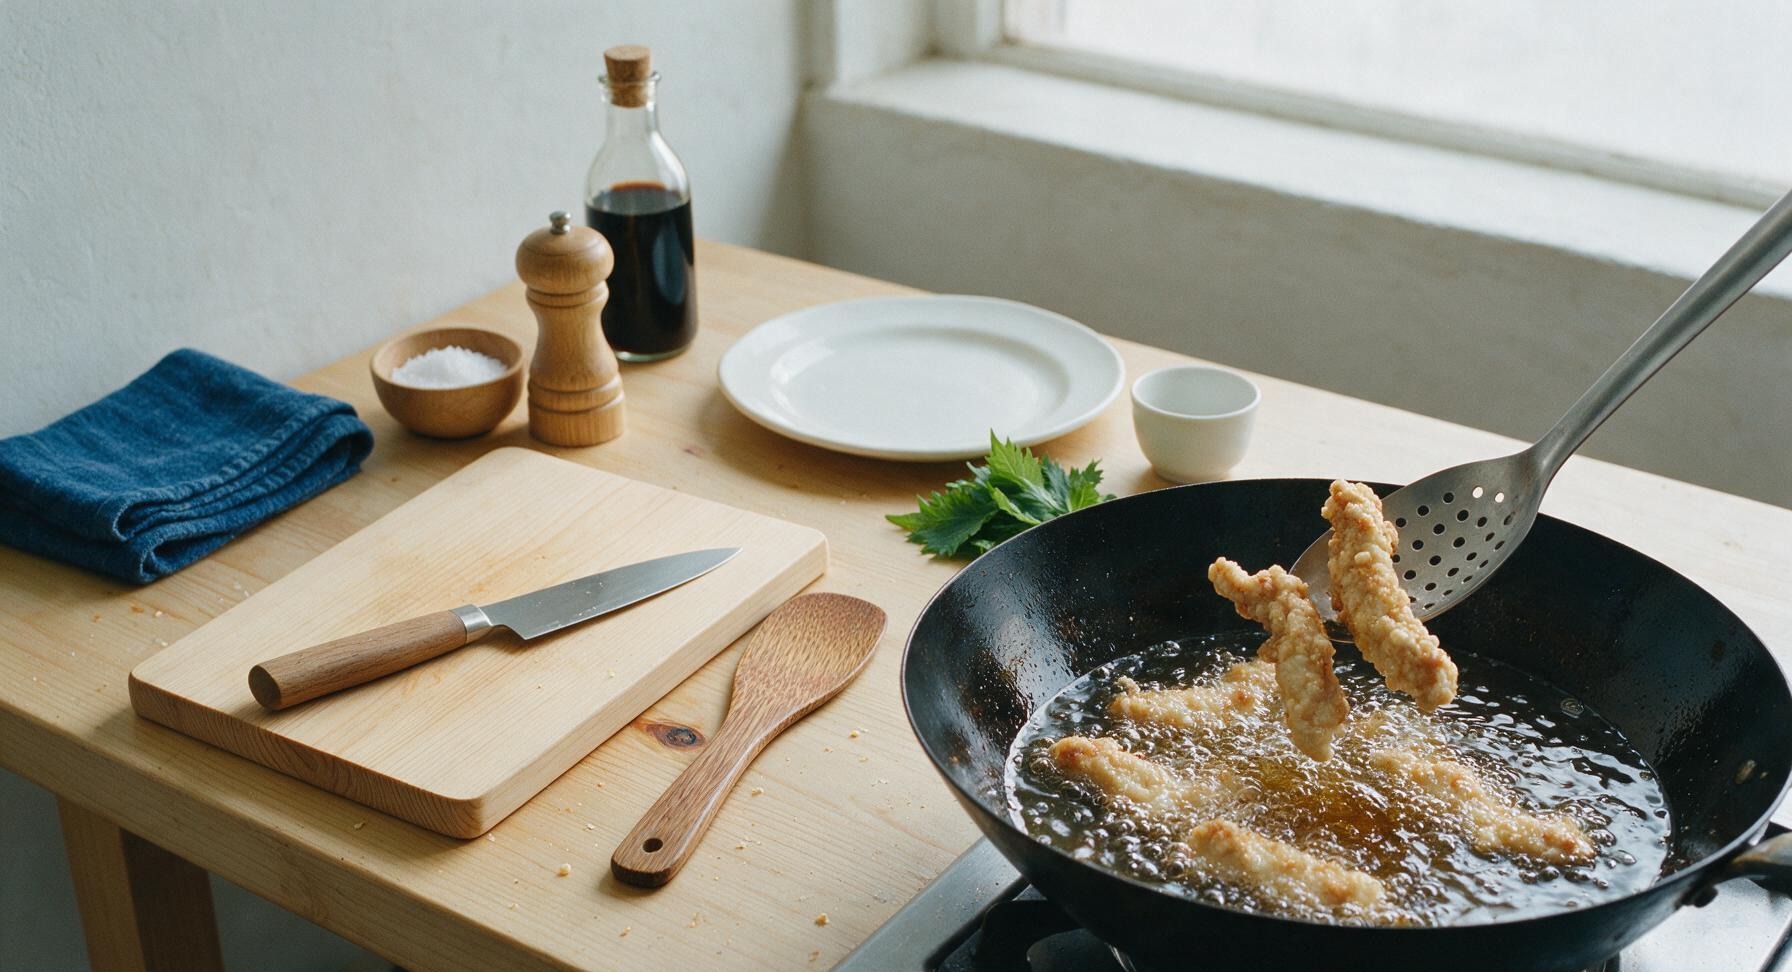
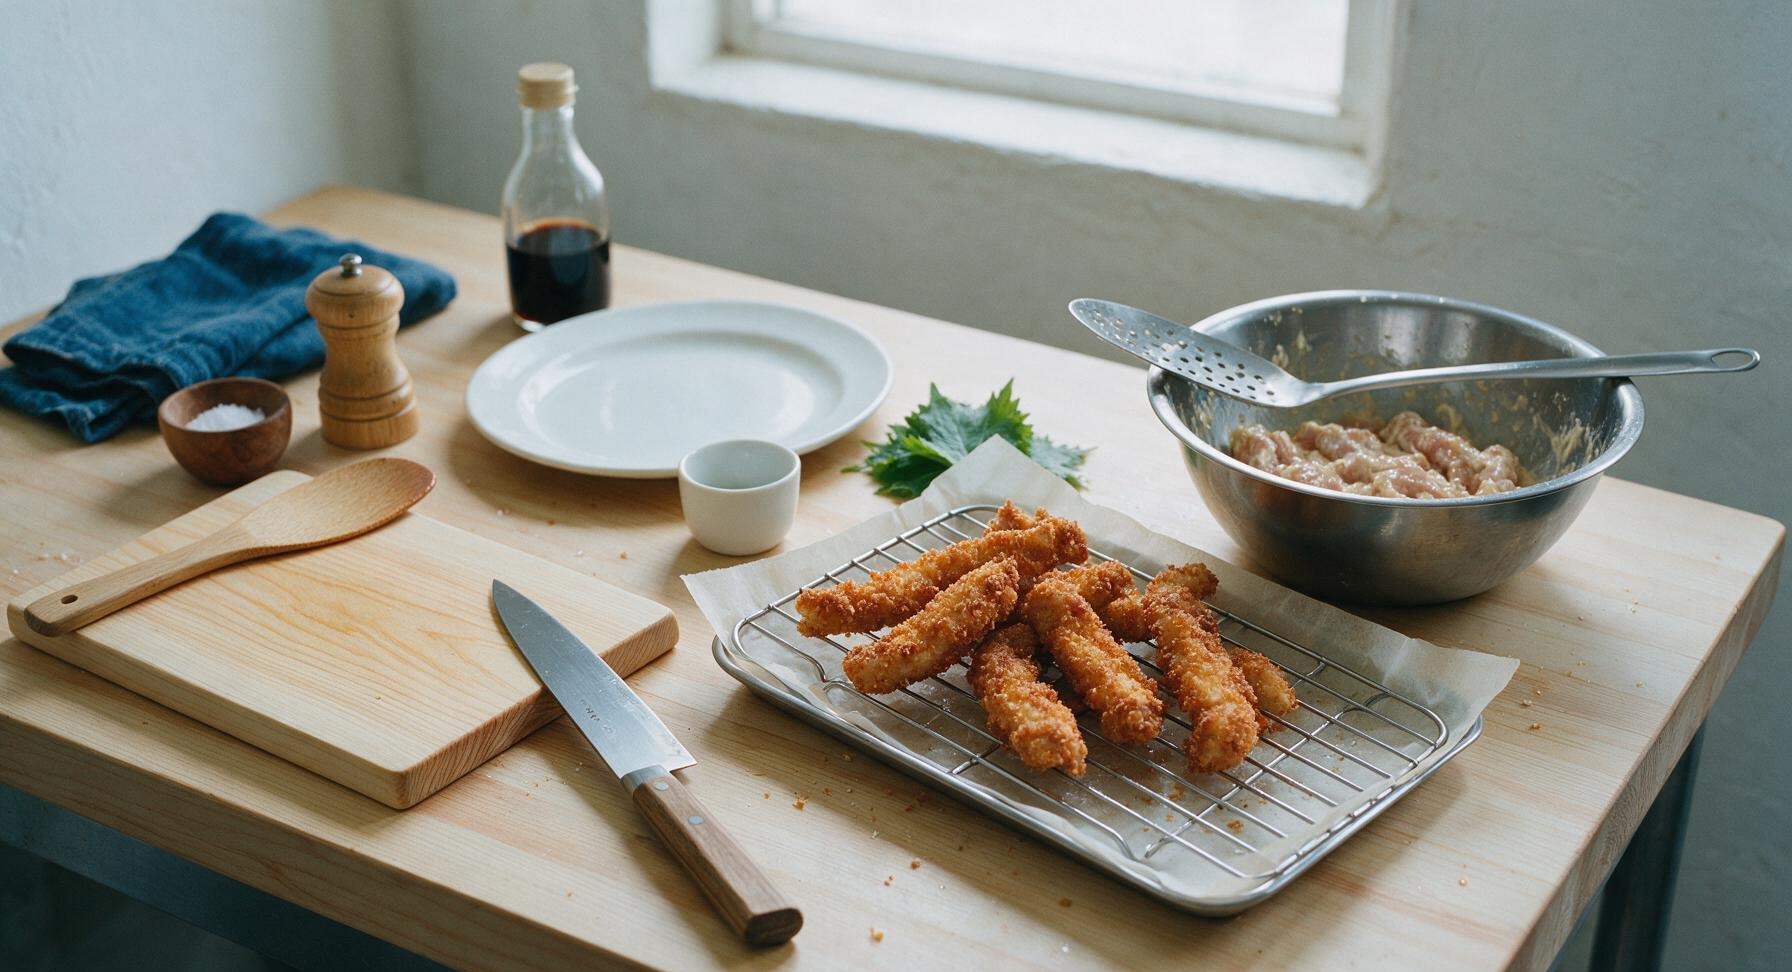
Working in 3 small batches to avoid dropping oil temperature, carefully lower battered chicken strips into the hot oil using the long stainless steel slotted spoon. Fry each batch for 4-5 minutes, turning once halfway, until strips are deep golden brown and crispy all over, with an internal temperature of 74C (165F). Lift fried strips from the oil with the slotted spoon, letting excess oil drain for 2 seconds, then transfer to the chrome wire rack set over the baking sheet. Do not overcrowd the wok, as this will steam the chicken instead of crisping it.
Step 4
step4:Fry chicken to crisp
Step 4
step4:Fry chicken to crisp
5

Mix savory sauce base

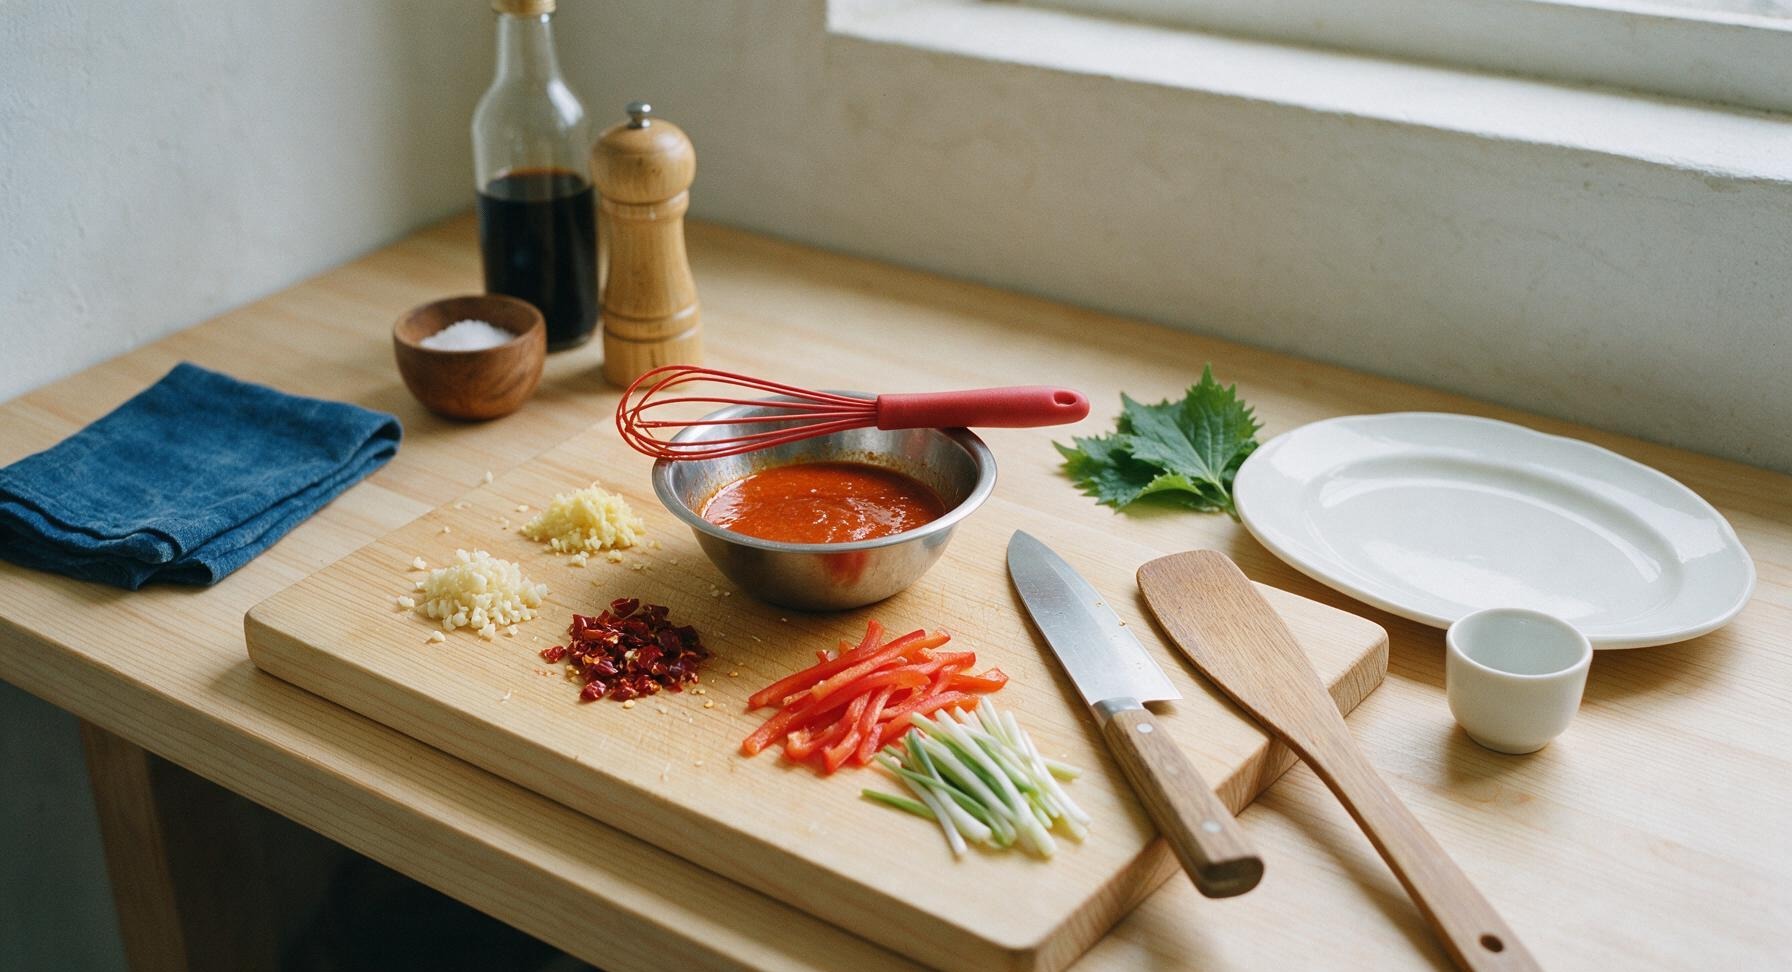
While the last batch of chicken fries, combine 1 tbsp light soy sauce, 1.5 tbsp rice vinegar, 2 tbsp chili garlic sauce, and 1 tbsp honey in one of the small stainless steel prep bowls, whisking with the small silicone whisk until the honey fully dissolves and the sauce is a uniform glossy reddish-orange. Set the prepped julienned red bell pepper, minced garlic, grated ginger, broken dried red chilies, and cut scallions within easy reach next to the stovetop for fast stir-frying.
Step 5
step5:Mix savory sauce base
6

Stir-fry aromatic base

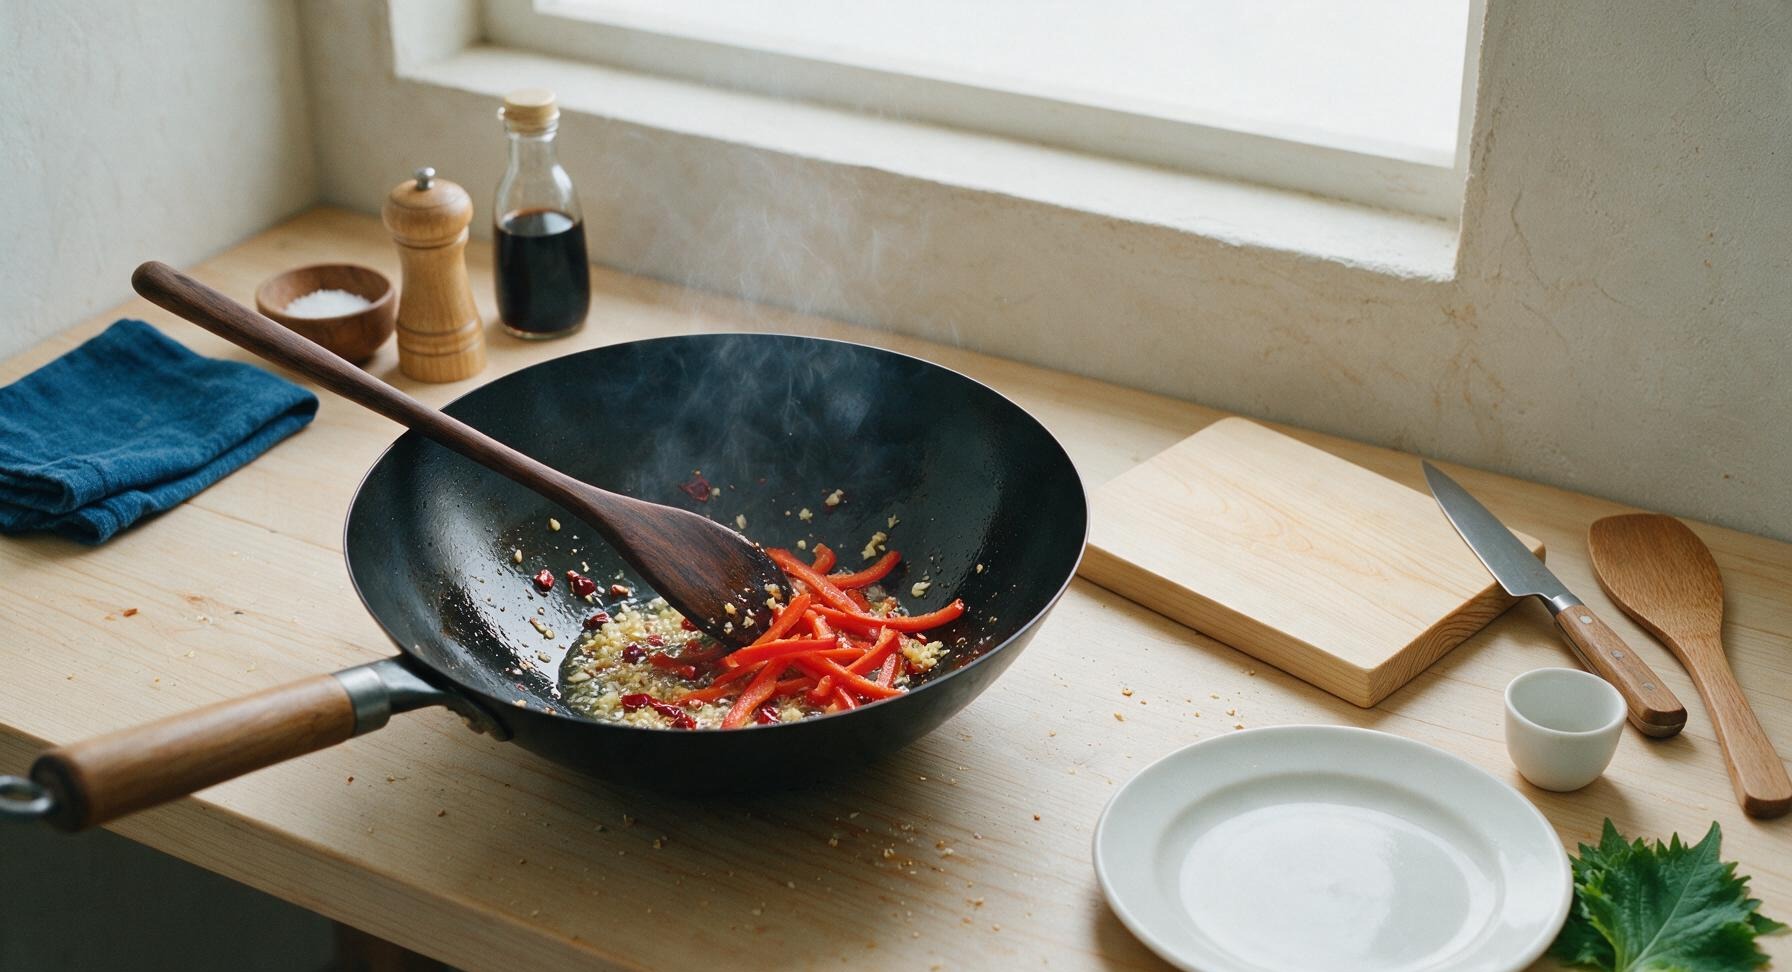
Carefully pour off all but 1 tbsp of hot oil from the wok, returning it to medium-high heat. Add the minced garlic, grated ginger, and broken dried red chilies to the wok, stirring constantly with the long teak wood stir-fry spoon for 15-20 seconds, until the aromatics release a fragrant, sharp scent—do not let the garlic burn, as it will turn bitter. Add the julienned red bell pepper, stir-frying for an additional 30 seconds until the pepper is slightly tender but still crisp-tender with a bright snap.
Step 6
step6:Stir-fry aromatic base
7

Toss chicken in sauce

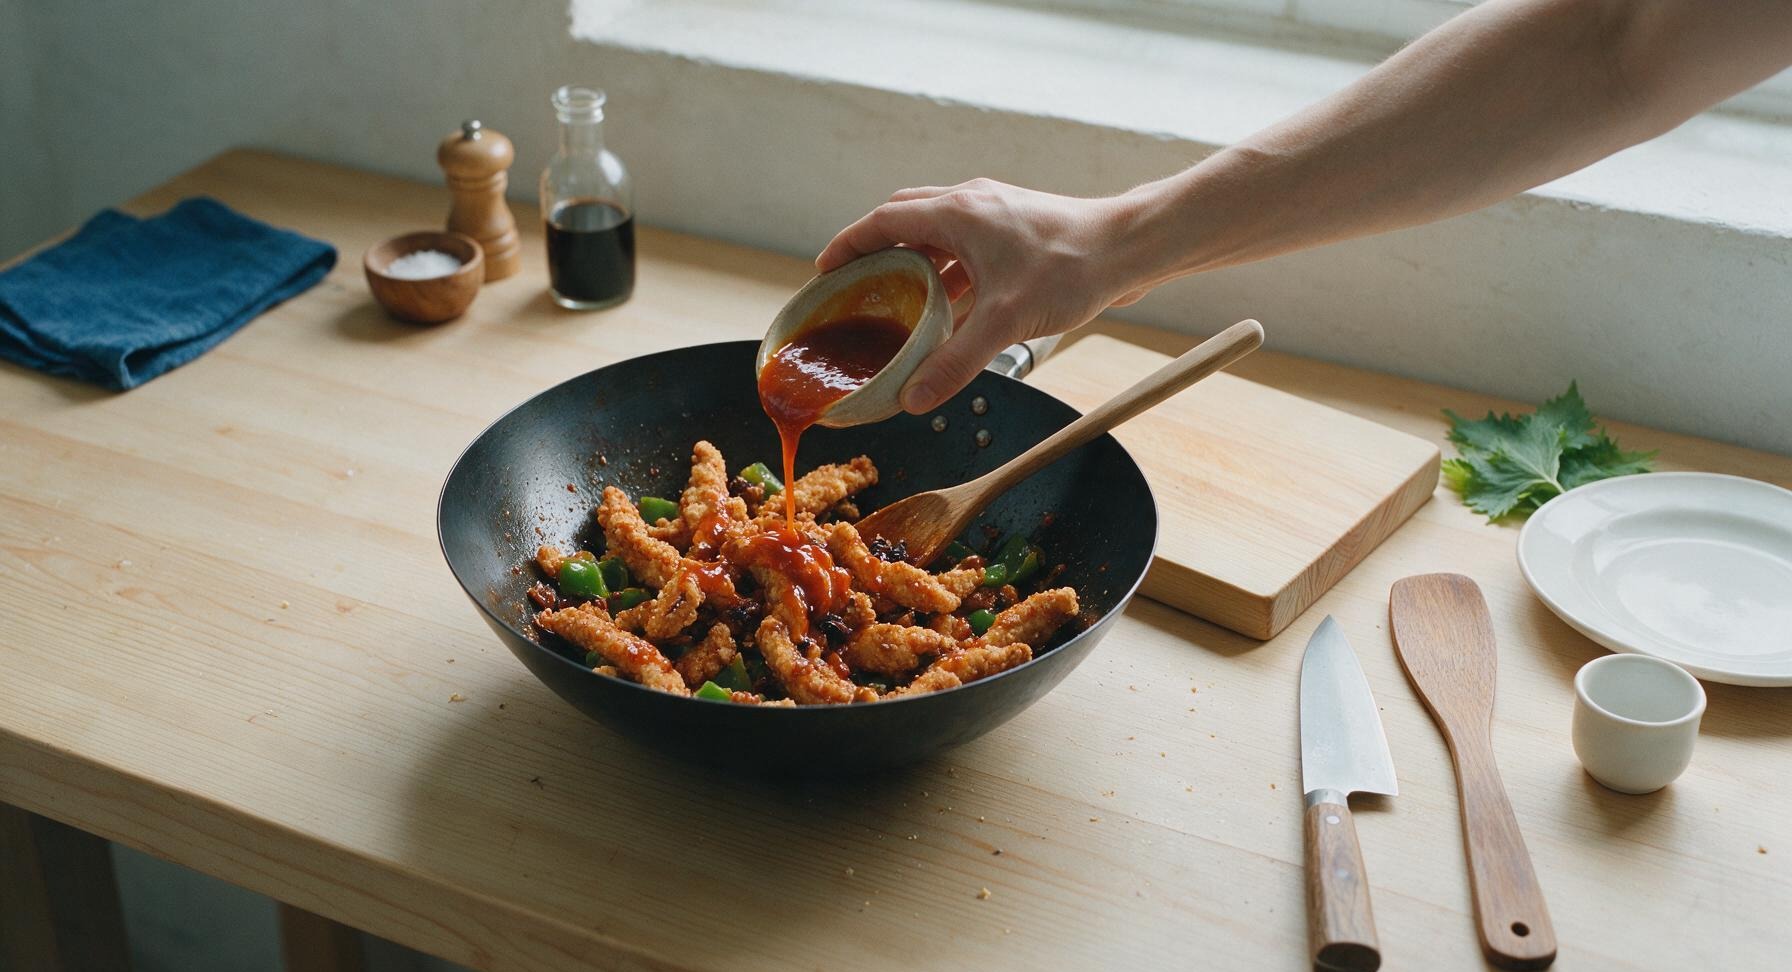
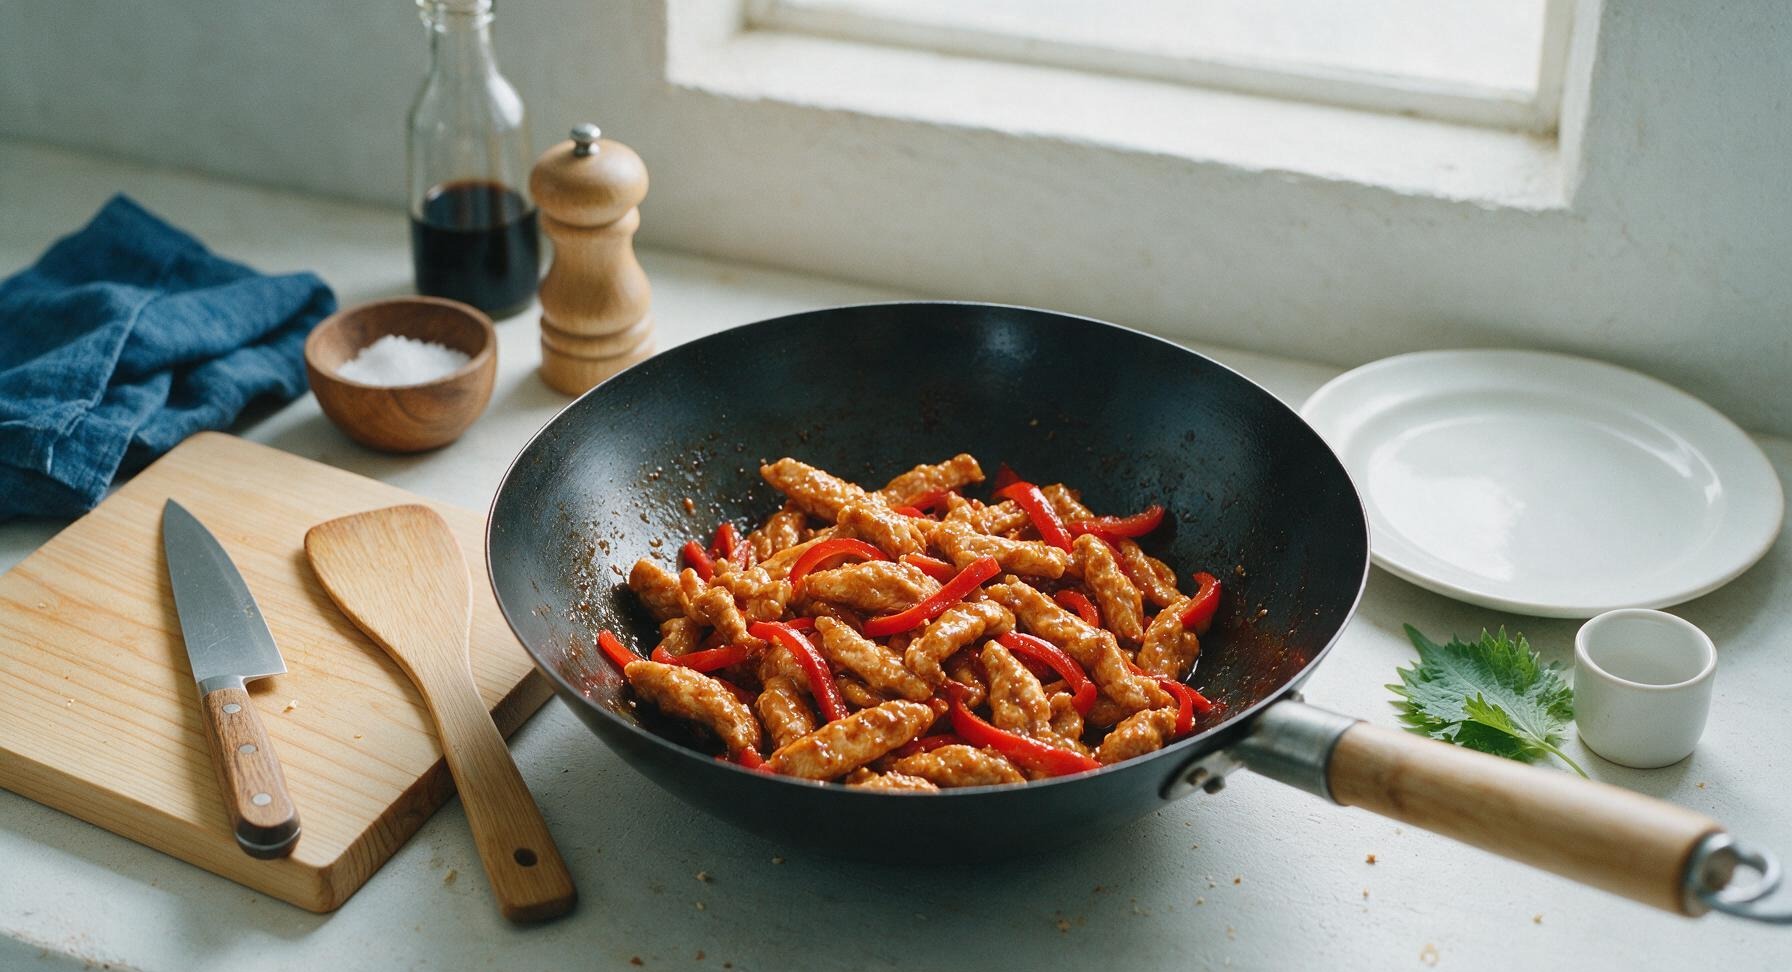
Add all the fried crispy chicken strips back into the wok with the aromatics and bell pepper. Pour the pre-mixed sauce over the chicken, tossing rapidly and continuously with the teak wood spoon for 45-60 seconds, until every chicken strip is evenly coated in the glossy, thickened sauce, and the sauce clings to the strips without pooling at the bottom of the wok. Turn off the heat immediately to avoid overcooking the chicken or making the coating soggy.
Step 7
step7:Toss chicken in sauce
Step 7
step7:Toss chicken in sauce
8

Plate and garnish dish

Transfer the sauced dragon chicken to the matte charcoal grey ceramic dinner plate, piling the strips loosely in the center. Scatter 1 tsp toasted white sesame seeds and the cut scallion strips across the top, then tuck a few fresh Thai basil leaves at the edge of the pile for a bright, herby accent. Serve immediately while the chicken is still hot and crisp.
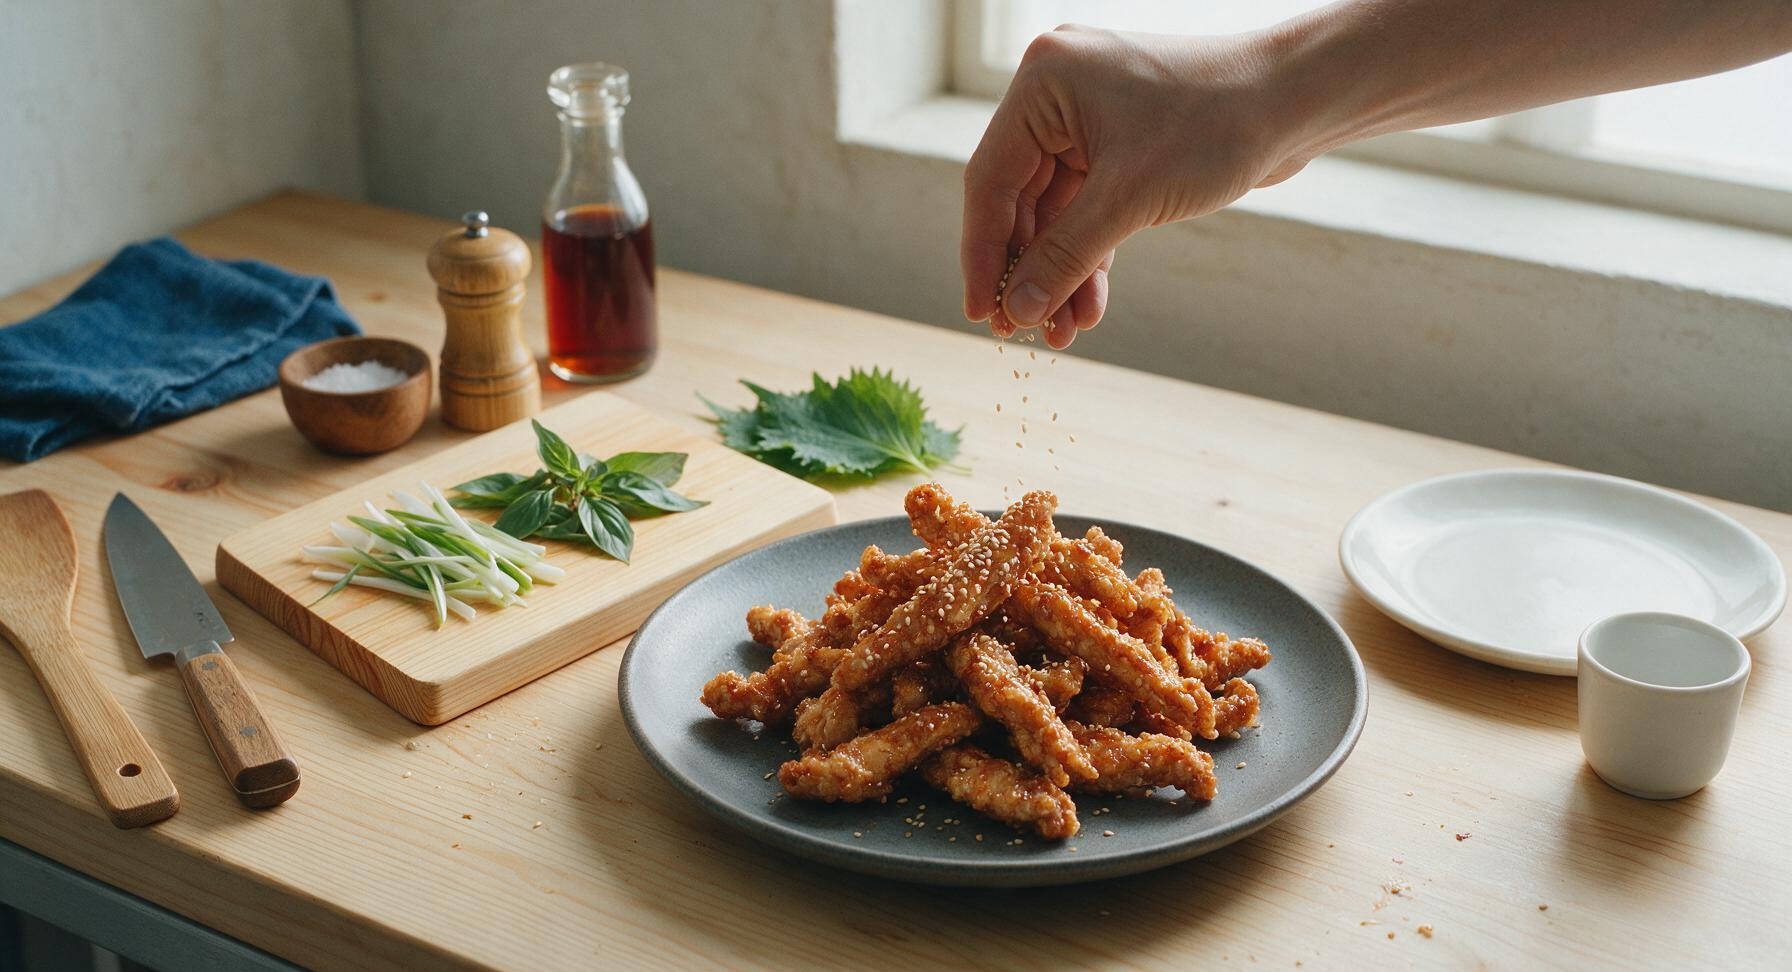
Step 8
step8:Plate and garnish dish

Tips

1.Use boneless chicken thighs instead of breast: thigh meat has a slightly higher fat content that stays juicy even after high-heat frying, and won’t dry out when tossed in hot sauce, unlike lean breast which can turn tough and rubbery.
2.Fry chicken in small batches and hold oil at a steady 175C (350F): overcrowding the wok drops oil temperature by 30-40C instantly, leading to soggy, grease-soaked batter instead of the light, shatteringly crisp coating that defines this dish.
3.Toss chicken in sauce for no longer than 60 seconds and serve immediately: the cornstarch-based crispy coating will soften quickly once it comes into contact with wet sauce, so work fast to preserve crunch from wok to plate.


✨ You May Also Like

Main Course
🍜 United Kingdom

A showstopping classic of tender seared beef, savory mushroom duxelles, and crisp prosciutto wrapped in flaky golden puff pastry, baked to juicy perfection.

⏱️ 2 hours 1Main Course ★ 4.7
Main Course
🍜 India

Tender charred marinated chicken simmered in a rich, spiced creamy tomato sauce, this iconic Anglo-Indian curry pairs perfectly with basmati rice or warm naan.

⏱️ 50 minuteMain Course ★ 4.6
Main Course
🍜 Thailand

Classic tangy, sweet, and savory Thai stir-fried rice noodles with shrimp, tofu, and crunchy garnishes, balancing all five core Thai flavor profiles.

⏱️ 30 minuteMain Course ★ 4.5
Main Course
🍜 United Kingdom

Crispy golden beer-battered cod and fluffy double-fried chips, served with tangy tartar sauce and malt vinegar: the timeless, beloved British pub comfort classic.

⏱️ 45 minuteMain Course ★ 4.7
Main Course
🍜 Mexico

Smoky, chile-marinated pork tacos with caramelized pineapple, fresh cilantro, and lime: a beloved classic Mexican street food perfect for casual summer gatherings.

⏱️ 1 hour 45Main Course ★ 4.8
Main Course
🍜 United States

Crunchy Fritos corn chips layered with savory beef chili and melted cheddar, topped with cool, zesty fixings for a beloved, cozy Tex-Mex comfort food.

⏱️ 35 minuteMain Course ★ 4.8

dragon chicken:Frequently Asked Questions

1.Why do you recommend boneless skinless chicken thighs instead of chicken breast for this recipe? ▾
Great question! Chicken thighs have a slightly higher fat content that keeps them juicy even through the high-heat frying needed for that signature crispy crust, instead of turning tough and dry like breast often does. If you do swap for breast, cut 1-inch thick strips, brine 15 minutes in lightly salted water first, and don’t overfry to avoid a chalky texture.
2.How do I get the chicken coating extra crispy instead of soggy after tossing it in sauce? ▾
The secret is a two-step fry! First, coat strips in your mix of cornstarch, all-purpose flour, and egg, then fry at 325°F for 3 minutes to cook the chicken through. Let rest 5 minutes, then fry a second time at 375°F for 2 minutes to get a shatteringly crisp crust that holds up to sauce for 10-15 minutes after tossing.
3.Is there an egg substitute I can use if I have an egg allergy? ▾
Absolutely! Swap the large egg for ¼ cup of cold club soda or unsweetened plain oat milk mixed with 1 extra tablespoon of cornstarch to help the batter stick. The carbonation in club soda adds extra light crispiness to the coating; just make sure your oil is fully up to temperature before frying to avoid greasy, soggy strips.
4.What makes this dragon chicken different from other Indo-Chinese dishes like General Tso’s chicken? ▾
Great catch! Dragon chicken leans into a brighter, tangier, more fiery heat rather than the heavier, sweeter profile of General Tso’s. It also always includes crisp-tender stir-fried veggies and has a thinner, glossier sauce that coats every crispy strip without weighing the crust down or making it soggy.
5.Can I make this recipe gluten-free? ▾
Definitely! Swap the all-purpose flour for a 1:1 gluten-free all-purpose baking mix, use tamari instead of regular light soy sauce, and double-check that your cornstarch is labeled gluten-free (most are, but cross-contamination can happen). The batter will fry up just as crispy, with nearly identical flavor to the original version.
6.How spicy is traditional dragon chicken, and can I adjust the heat level? ▾
Traditional Indo-Chinese dragon chicken has a noticeable, lingering fiery kick from dried red chilis and chili sauce, but it’s super easy to tweak. For milder flavor, seed your dried chilis and cut the hot sauce amount in half. For extra “fire-breathing” heat, add a teaspoon of Sichuan chili oil or extra chopped fresh chilis to the sauce.
7.Why do I need both cornstarch and all-purpose flour in the batter? ▾
That combination is non-negotiable for perfect texture! All-purpose flour creates a sturdy, structured base that keeps the coating attached to the chicken, while cornstarch cuts down on gluten development to keep the crust light, shatteringly crisp, and not tough or bready. Using only one leads to a soft, doughy coating or a crust that falls off easily.
8.Can I bake the chicken instead of frying it to cut down on oil? ▾
You can, for a lighter version! Toss your battered chicken strips with 1 tablespoon of neutral oil, arrange in a single layer on a wire rack set over a baking sheet, and bake at 425°F for 20 minutes, flipping halfway, until crispy. Note the crust won’t be quite as shatteringly crisp as fried, but it will hold up to sauce if tossed right before serving.
9.What veggies work best in the stir-fry portion of this dish? ▾
Stick to veggies that stay crisp-tender with quick, high-heat cooking to match the crunchy chicken texture! Classic picks are thinly sliced red bell pepper, white or yellow onion wedges, sliced scallion whites, and whole dried red chilis. Avoid soft, watery veggies like zucchini or tomatoes, which release moisture and make crispy chicken soggy.
10.How do I prevent the light soy sauce from making the dish too salty? ▾
Great question! Light soy sauce adds that signature umami depth, but it is high in sodium. First, don’t add extra table salt to the batter or sauce until you’ve tasted the mixed sauce with the soy added. If you’re salt-sensitive, use low-sodium light soy sauce, and hold back a splash, adding more only if the flavor needs a boost.
11.How long should I toss the chicken in the sauce for the best texture? ▾
Keep it super quick! Once your sauce is thickened and bubbling in the pan, toss in your double-fried crispy chicken and veggies for no more than 30 to 45 seconds, just long enough to coat every strip evenly. If you let the chicken sit in hot sauce too long, the crispy crust will absorb liquid and turn soft before you serve it.
12.What are the best sides to serve with crispy dragon chicken? ▾
This bold, spicy dish pairs perfectly with plain steamed jasmine rice, which balances the heat and tang, or crispy hakka noodles for a full Indo-Chinese takeout spread. For a lighter option, serve it over a crisp shredded cabbage and carrot slaw tossed with a tiny bit of rice vinegar, which adds extra crunch to cut through the rich sauce.

Comments (10)

2 days ago

OMG this crispy dragon chicken was a total game changer for our weeknight family dinner! My kids loved it so much they asked for seconds before they even finished their first plate, my 8 and 10 year old gobbled it up so fast I barely got a bite, and my husband asked me to add it to the regular rotation. The crunch was perfect, not soggy at all even when I tossed it in the sauce.

yesterday

So glad the whole family loved it, Mia! Pro tip if you want extra crunch next time: double fry the chicken pieces for 1 extra minute after the first fry, it holds up even better with sauce!

1 week ago

Made this for my office potluck last week and people were literally begging me for the recipe! I was a little nervous because I’ve never nailed Indo-Chinese food at home before, but the instructions were super straightforward even with the medium difficulty level. Only tweak is I added a tiny extra drizzle of chili oil because my crew loves extra heat.

5 days ago

Wait how did you keep it crispy when transporting it to the office? I want to make this for my friend’s game night this weekend and I’m worried it’ll get mushy in the Tupperware!

3 days ago

Great question! If you’re transporting it, keep the fried chicken and sauce in separate containers until right before serving, toss quickly, and it’ll stay perfectly crispy. The extra chili oil addition sounds delicious, by the way!

3 days ago

SO good! I prepped a big batch of this on Sunday for my weekday lunches and it held up way better than I expected. I kept the sauce on the side and tossed it right before eating, and the chicken stayed crispy even after 3 days in the fridge. Will 100% be making this again, way better than takeout from our local spot.

yesterday

Took me a couple extra minutes to get the batter consistency right, but man was it worth it. That sweet-spicy sticky sauce is unreal, I could drink it honestly. I paired it with some garlic fried rice and steamed broccoli, and it felt like a restaurant quality meal for a fraction of the price. Only knock is I wish the recipe noted how hot the dried red chilis get — I added the full amount and my mouth was on fire (which I loved, but my roommate couldn’t eat it).

2 hours ago

Thanks for the feedback! I’ll add a note to the recipe about adjusting the dried chili amount for different heat preferences — so glad you enjoyed the flavor overall, that garlic fried rice pairing sounds chef’s kiss!

5 minutes ago

Okay full transparency I burned the first batch of chicken because I had the oil too hot, oops. But the second batch turned out amazing? I can’t believe I made something that tastes this good, I was convinced I couldn’t cook anything more complicated than boxed mac and cheese. This recipe made me feel like an actual chef lmao.

just now

Oh thank god I’m not the only one who burns things when trying new recipes! What temp did you end up setting the oil to for the second batch? I’m terrible at judging oil temp without a thermometer.

just now

Congrats on nailing the second batch, Jesse! For anyone without a thermometer, you’ll know the oil is ready when you drop a tiny bit of batter in and it sizzles and floats to the top right away — that’s around 350°F, which is perfect for crispy, non-burned chicken.

2 weeks ago

I used to order dragon chicken every single Friday from my go-to Indo-Chinese spot, but this recipe is even better? The chicken is crispier, the sauce has way more depth of flavor, and it cost me like half the price to make at home for two people. 25 minute cook time is no joke either, I had it on the table faster than delivery would have showed up.

1 week ago

Wait did you use boneless skinless thighs or breast? I always find breast gets too dry for recipes like this, curious what worked for you!

5 days ago

Solid recipe! I swapped the soy sauce for low-sodium soy because I’m watching my salt intake, tossed in extra bell peppers and onions for more veg, and it still turned out absolutely delicious. The crispy batter doesn’t get soggy even when fully coated in sauce, which is a miracle compared to other similar recipes I’ve tried. Will be making this for my next movie night with friends.

30 minutes ago

Haven’t made this yet but it looks incredible, hence the 5 star rating ahead of time! Quick question: is there a way to make this gluten free? My kid has celiac and they’ve been begging for dragon chicken ever since we tried it at a food truck last summer, but most restaurant versions have soy sauce and wheat-based batter. Would cornstarch and tamari work as swaps?

5 minutes ago

I made this last week with cornstarch in the batter instead of all purpose flour and tamari instead of soy sauce, and it turned out perfect! No weird texture difference at all, my whole family (non-GF included) loved it.

just now

Great question, Gigi! The swaps @GFfoodie4life mentioned work perfectly — I’ve tested it with 100% cornstarch batter and tamari, and you get the exact same crispy texture and savory-sweet flavor. No extra adjustments needed!

2 days ago

Made these as bite-sized appetizers for our Sunday football watch party and they were gone in 10 minutes flat. People kept coming back for more and asking if I’d ordered them from the fancy fusion place downtown. The little kick of heat paired so well with cold beer, 10/10 will be a regular game day snack from now on.

2 hours ago

I made this with extra-firm pressed tofu instead of chicken for my vegetarian partner, and it slapped! I used the exact same batter and sauce recipe, and it came out crispy and flavorful just like the chicken version. Even my meat-obsessed younger brother stole half the tofu bites off our plate lmao.

30 minutes ago

Love that tofu swap, Leo! Pressed tofu works so well with this batter, I’m glad even your meat-loving brother was a fan. Thanks for sharing the modification, I’m sure other vegetarian readers will appreciate it!



