
dutch oven chicken thighs

title 1
dutch oven chicken thighs

⏱️ cook time 55 minutes
🍽️ servings 4
⚡ Difficulty easy

intro

Shatteringly crisp-skinned, fall-off-the-bone tender chicken thighs braised with root vegetables, garlic, and herbs in a rich savory pan sauce—all made in one Dutch oven with minimal cleanup.

Ingredients
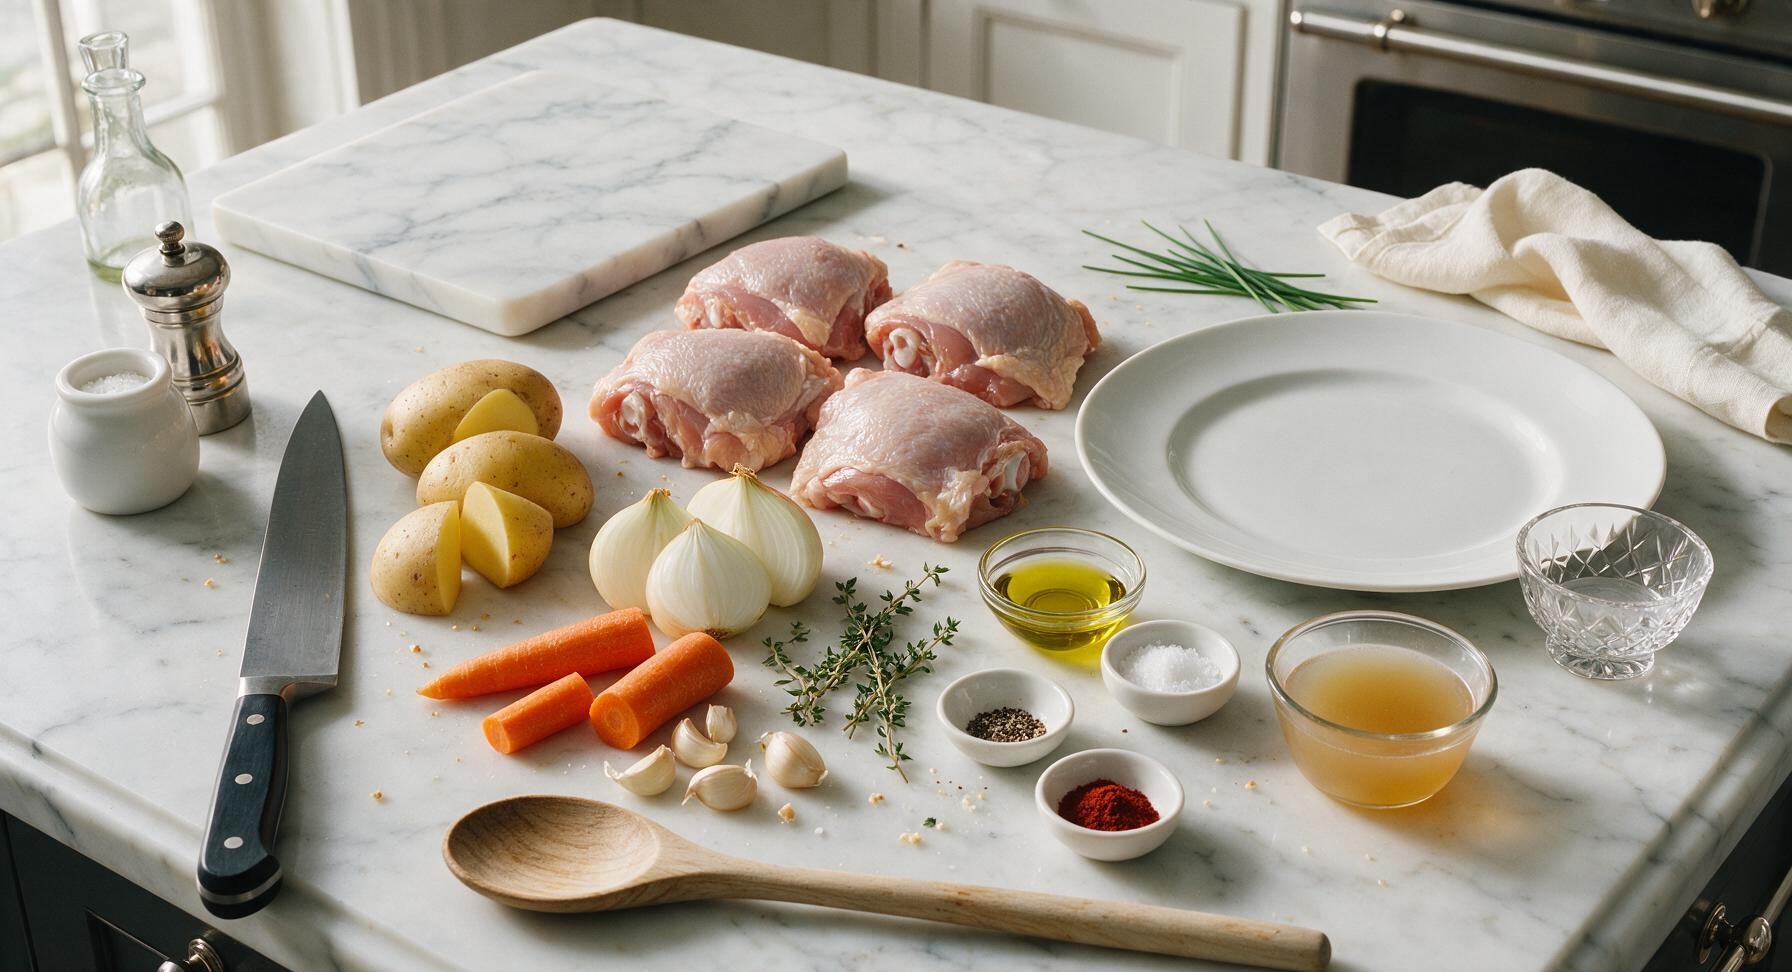
Bone-in, skin-on chicken thighs 4 pieces (approx 1.1kg total)
Extra-virgin olive oil 1 tablespoon
Kosher salt 1 teaspoon
Freshly cracked black pepper ½ teaspoon
Smoked paprika ¼ teaspoon
Yellow onion 1 medium (approx 200g), cut into 5cm wedges
Yukon gold potatoes 2 medium (approx 300g total), cut into 5cm wedges
Carrots 2 medium (approx 180g total), cut into 4cm chunks
Garlic cloves 6 whole, lightly crushed
Fresh thyme 4 sprigs
Low-sodium chicken broth ½ cup (120ml)

Steps

1

Pat and Season Chicken

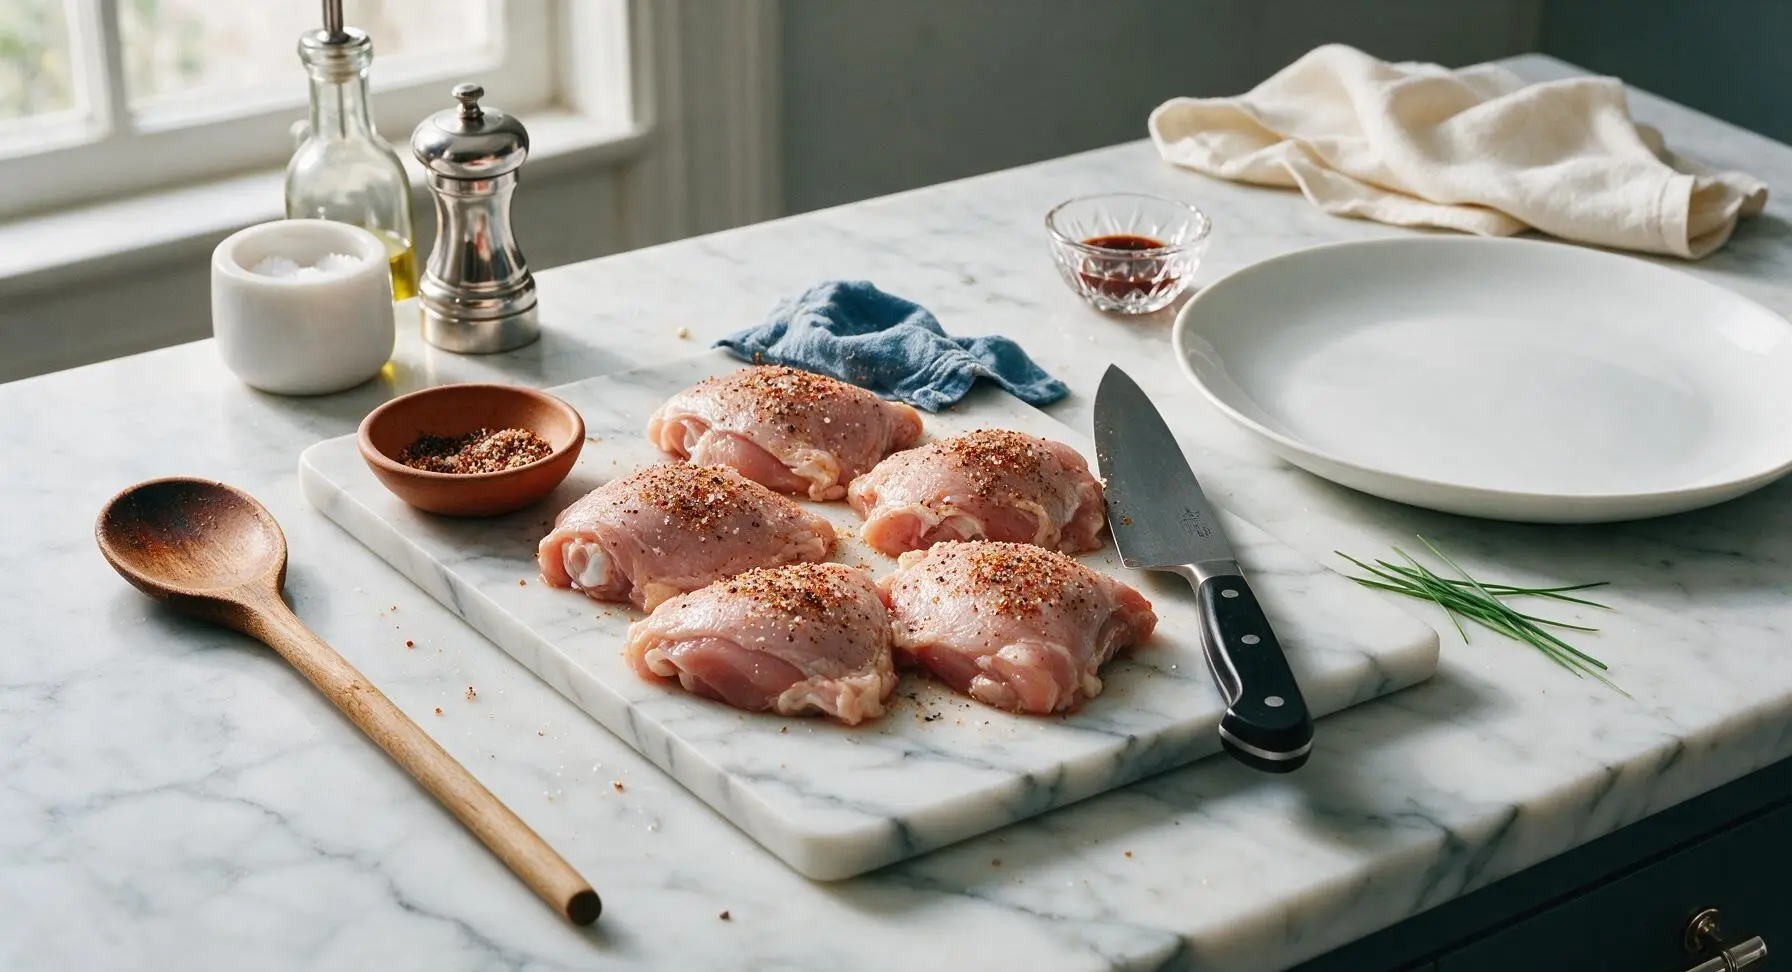
First, preheat your oven to 325°F (160°C). Remove chicken thighs from packaging, place on the honey maple cutting board. Use a corner of the faded blue cotton kitchen towel to pat every surface of the chicken skin completely dry—this is critical for shatteringly crispy skin, as moisture will cause steaming instead of searing. Season all sides (skin and flesh) evenly with 1 teaspoon kosher salt, ½ teaspoon black pepper, and ¼ teaspoon smoked paprika, pressing the spices gently into the meat to adhere. Let rest 5 minutes at room temperature while you prep vegetables.
Step 1
step1:Pat and Season Chicken
2

Sear Chicken Skin Down

Place the 5.5-quart cream enameled Dutch oven on the stovetop over medium heat, add 1 tablespoon olive oil, and heat until oil shimmers (approx 3 minutes, no smoking). Use the matte black metal tongs to place chicken thighs skin-side down in the Dutch oven, arranging them in a single layer with 2cm of space between each piece (cook in 2 batches if your pot is smaller, to avoid steaming). Sear undisturbed for 8 minutes, until skin is deep golden brown and crispy, releasing easily from the pot bottom when lifted gently with tongs.


Step 2
step2:Sear Chicken Skin Down
Step 2
step2:Sear Chicken Skin Down
3

Flip and Sear Flesh

Use tongs to carefully flip each chicken thigh to sear the flesh side for 3 minutes, until lightly golden and sealed. Transfer seared chicken to the off-white stoneware dinner plate set beside the cork trivet, leaving all rendered golden chicken fat and oil in the Dutch oven—this fat is full of flavor for cooking the vegetables.

Step 3
step3:Flip and Sear Flesh
4

Sauté Root Vegetables

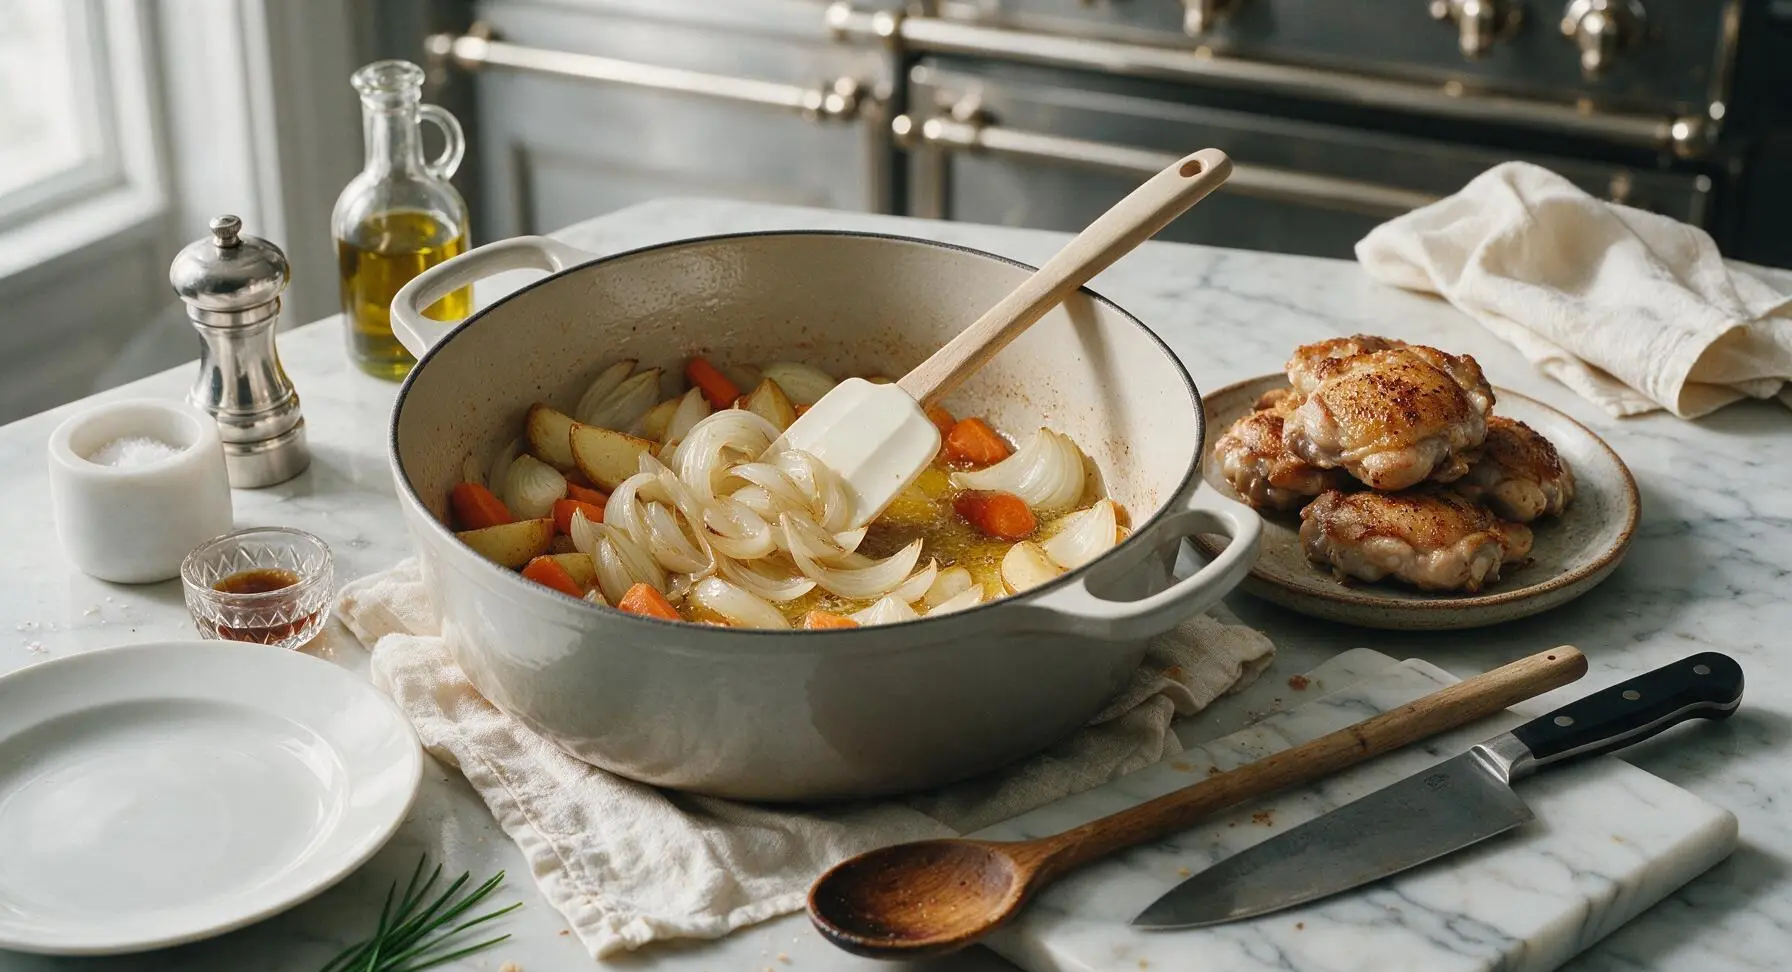
Keep the Dutch oven over medium heat, add the cut onion wedges, carrot chunks, and potato wedges to the rendered chicken fat. Sauté for 5 minutes, stirring occasionally with the off-white silicone spatula, until vegetable edges are lightly caramelized and onion is translucent around the edges. Add the crushed whole garlic cloves (skins left on for mellow, sweet flavor) and 2 thyme sprigs, stir to combine, and cook 1 more minute until garlic smells fragrant and nutty, being careful not to burn it.
Step 4
step4:Sauté Root Vegetables
5

Braise Covered in Oven

Pour ½ cup low-sodium chicken broth into the Dutch oven, scraping the bottom of the pot firmly with the silicone spatula to lift all browned, sticky fond bits—these concentrated browned bits are the base of the rich pan sauce. Bring broth to a gentle, low simmer (small bubbles breaking around the pot edges, no rolling boil), then nestle the seared chicken thighs skin-side up on top of the vegetables, making sure the skin stays fully above the liquid line to stay crispy (submerged skin will turn soggy). Tuck the remaining 2 thyme sprigs around the chicken. Place the matching cream enamel lid on the Dutch oven, transfer to the preheated 325°F (160°C) oven, and braise for 35 minutes, no peeking.


Step 5
step5:Braise Covered in Oven
Step 5
step5:Braise Covered in Oven
6

Rest Dish Uncovered

Carefully remove the Dutch oven from the oven using thick oven mitts (the enamel handles will be extremely hot and can cause burns), set it back on the stovetop, and take off the lid, tilting it away from your face to avoid hot steam burns. Let the dish rest uncovered for 5 minutes to allow the pan sauce to thicken slightly and the chicken juices to redistribute. The chicken will be fall-off-the-bone tender, vegetables will pierce easily with a fork, and the skin will remain crisp. Discard any woody thyme stems before serving.

Step 6
step6:Rest Dish Uncovered
7

Plate and Garnish

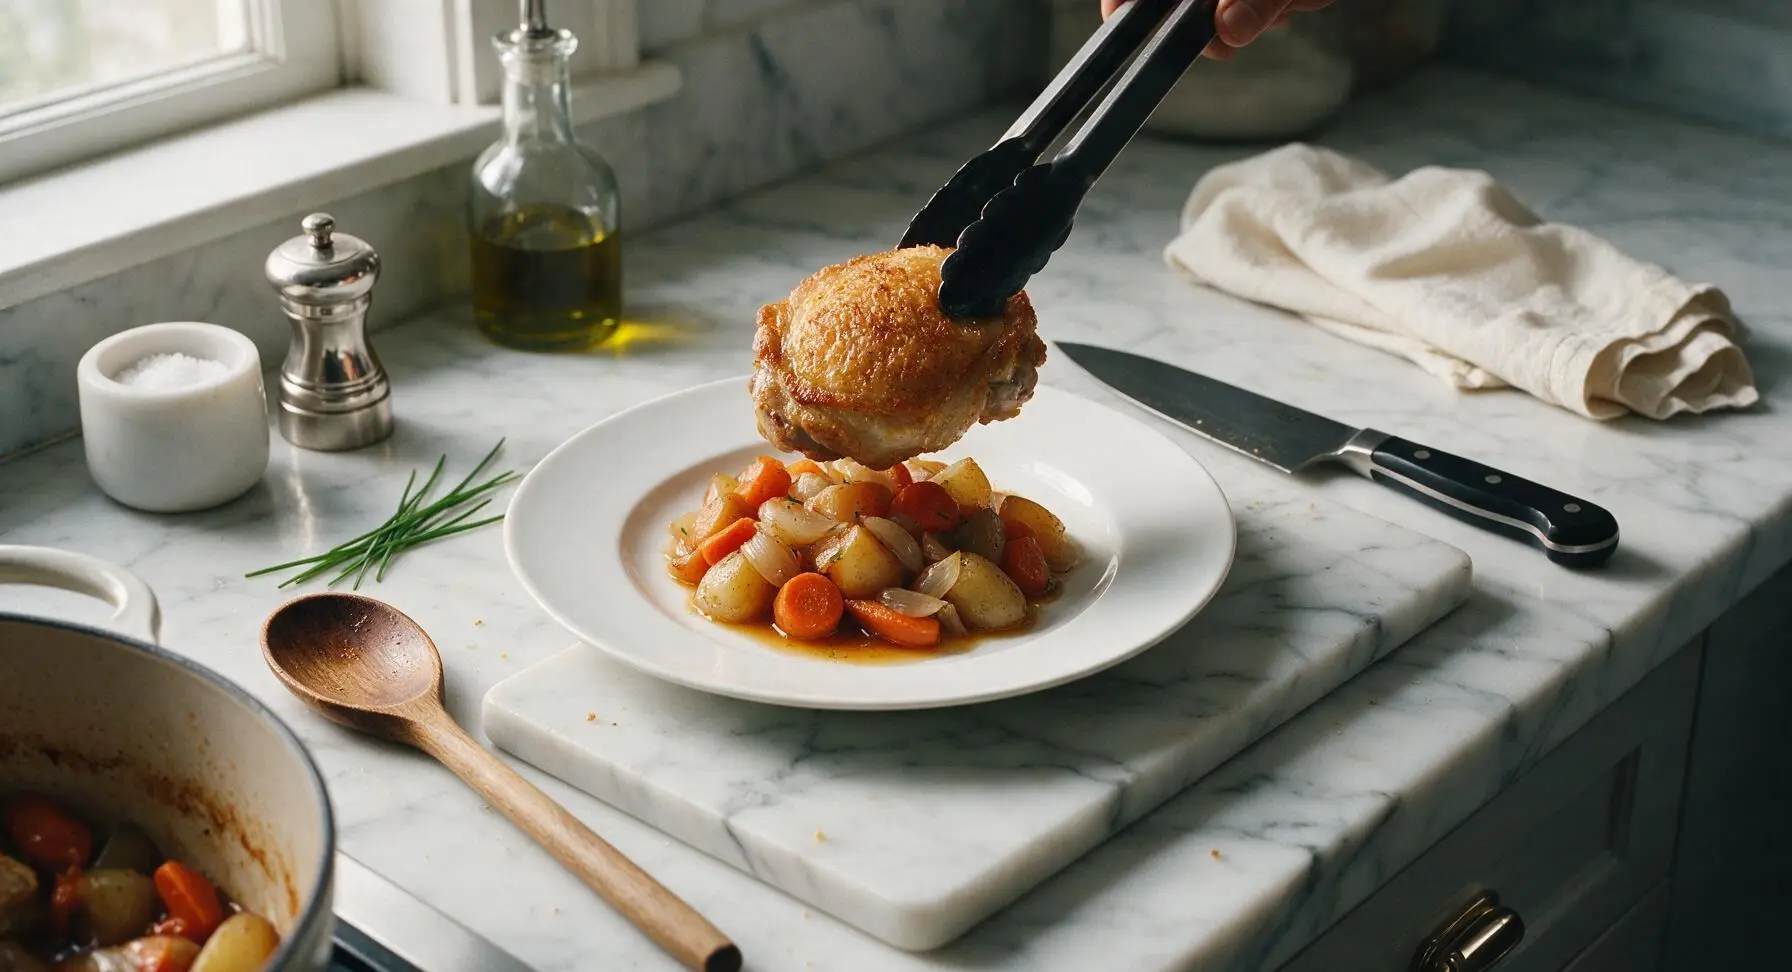
Use the tongs to transfer 1 chicken thigh and a heaping scoop of mixed vegetables to each dinner plate, spoon 1-2 tablespoons of the savory pan sauce over the vegetables (avoid pouring sauce directly on the crispy skin to keep it crisp), and garnish with a few fresh thyme leaves. Serve immediately while hot.
Step 7
step7:Plate and Garnish

Tips

1.Patting chicken skin completely dry with a kitchen towel before searing is non-negotiable: any surface moisture will create steam, preventing the Maillard reaction that creates shatteringly crisp golden skin, resulting in rubbery, pale skin instead.
2.Keep chicken skin fully above the braising liquid at all times: if skin is submerged, it will absorb moisture and turn soft and soggy, even after a long, hot sear. Resting chicken on top of the vegetable bed creates perfect elevation to preserve crispness.
3.Don’t skip scraping the browned fond bits from the pot bottom after adding broth: these sticky, concentrated bits form from seared chicken and vegetable juices, and they add deep, savory umami flavor to the pan sauce that plain store-bought broth alone cannot match.


✨ You May Also Like

Main Course
🍜 United Kingdom

A showstopping classic of tender seared beef, savory mushroom duxelles, and crisp prosciutto wrapped in flaky golden puff pastry, baked to juicy perfection.

⏱️ 2 hours 1Main Course ★ 4.7
Main Course
🍜 India

Tender charred marinated chicken simmered in a rich, spiced creamy tomato sauce, this iconic Anglo-Indian curry pairs perfectly with basmati rice or warm naan.

⏱️ 50 minuteMain Course ★ 4.6
Main Course
🍜 Thailand

Classic tangy, sweet, and savory Thai stir-fried rice noodles with shrimp, tofu, and crunchy garnishes, balancing all five core Thai flavor profiles.

⏱️ 30 minuteMain Course ★ 4.5
Main Course
🍜 United Kingdom

Crispy golden beer-battered cod and fluffy double-fried chips, served with tangy tartar sauce and malt vinegar: the timeless, beloved British pub comfort classic.

⏱️ 45 minuteMain Course ★ 4.7
Main Course
🍜 Mexico

Smoky, chile-marinated pork tacos with caramelized pineapple, fresh cilantro, and lime: a beloved classic Mexican street food perfect for casual summer gatherings.

⏱️ 1 hour 45Main Course ★ 4.8
Main Course
🍜 United States

Crunchy Fritos corn chips layered with savory beef chili and melted cheddar, topped with cool, zesty fixings for a beloved, cozy Tex-Mex comfort food.

⏱️ 35 minuteMain Course ★ 4.8

dutch oven chicken thighs:Frequently Asked Questions

1.Why do you call for bone-in, skin-on chicken thighs instead of boneless, skinless cuts? ▾
Bone-in, skin-on thighs are ideal here for three key reasons: the skin renders to that signature shatteringly crisp top, the bone infuses the braising liquid and vegetables with rich, savory depth, and the higher fat content keeps meat fall-off-the-bone tender through braising. Boneless, skinless cuts will dry out faster and won’t build that same layered pan sauce flavor.
2.Can I make this recipe if I don’t own a Dutch oven? ▾
You absolutely can, as long as your pot is oven-safe, has a tight-fitting lid, and is heavy-bottomed to distribute heat evenly. A 5- to 6-quart enameled cast iron braiser, deep stainless steel oven-safe stockpot, or heavy lidded ceramic casserole dish will work—just avoid thin, lightweight pots that burn easily on the stovetop before baking.
3.How do I get perfectly crispy chicken skin instead of soggy, rubbery skin? ▾
The #1 trick is patting chicken skin completely dry with paper towels before seasoning, then searing it skin-side down in hot oil over medium-high heat without moving it for 6-7 minutes first. Don’t crowd the pot (work in batches if needed) and resist flipping early to let fat render fully and build that shatteringly golden, crisp crust.
4.Which root vegetables hold up best for this one-pot meal? ▾
Sturdy, low-moisture root veggies work best, as they won’t turn mushy during braising. My go-tos are 1-inch chunks of Yukon Gold potato, carrot, parsnip, turnip, and celery root. Cut them to uniform size so they cook evenly, and tuck them around the chicken to soak up all that savory herb and pan juice flavor as they cook.
5.Do I really need to sear the chicken first, or can I just toss everything in the pot raw? ▾
I don’t recommend skipping the sear. Searing doesn’t just build that crispy skin—it creates the caramelized browned bits (called fond) stuck to the pot bottom that form the rich, deep flavor base of your pan sauce. Skipping this step leaves you with pale, bland chicken and a thin, one-note sauce that lacks that signature savoriness.
6.What oven temperature is best for braising this dish? ▾
Aim for 325°F for this recipe. That low, steady, gentle heat is the sweet spot for braising: it breaks down connective tissue in the chicken thighs to make them fall-off-the-bone tender without turning vegetables mushy, and it keeps the braising liquid at a slow simmer instead of a rolling boil that makes meat tough.
7.Does this recipe work well for meal prep or make-ahead meals? ▾
Absolutely! This dish actually tastes even better the next day, as the flavors meld as it chills. Let it cool completely, then store it in an airtight container in the fridge for up to 4 days. Reheat portions in a 325°F oven, and crisp the skin back up under the broiler for 1-2 minutes if you want to bring back that crunch.
8.The recipe uses smoked paprika—can I swap that for a different spice? ▾
You can swap for regular sweet paprika if you don’t have smoked, but you’ll miss that warm, subtle smoky note that pairs so well with chicken and root veggies. If you want a little heat, swap half the smoked paprika for hot paprika or a pinch of cayenne, but avoid heavy spices like curry powder that will overwhelm the simple, bright flavor profile.
9.How do I tell when the chicken thighs are fully done and safe to eat? ▾
The most reliable check is to use an instant-read thermometer inserted into the thickest part of the thigh, not touching the bone: it should read 165°F. At that temp, the meat will pull easily from the bone, juices will run clear (not pink), and the vegetables will be perfectly fork-tender when pierced with a small paring knife.
10.My pan sauce turned out really thin—how do I fix that at the end? ▾
If your sauce is too thin after braising, move the pot back to the stovetop over medium heat, transfer the chicken and veggies to a plate temporarily, and simmer the liquid for 3-5 minutes to reduce and concentrate. For a thicker, glossier sauce, stir in a tiny slurry of 1 tsp cornstarch mixed with 1 tbsp cold water, then simmer 1 minute.
11.Can I add extra herbs or aromatics besides garlic to the pot? ▾
Of course! Sturdy, woody herbs work best for the braising step—think fresh rosemary, thyme, sage, or a couple of bay leaves, since they hold up to long cook times. Soft herbs like parsley or chives are great tossed in right at the end for bright flavor, but skip delicate herbs like basil that turn bitter and mushy with extended heat.
12.Do I keep the Dutch oven lid on the whole time it’s in the oven? ▾
Keep the lid tightly on for the first 30 minutes of cook time to trap steam and gently braise the chicken and veggies. If you want extra-crisp skin, take the lid off for the last 10-12 minutes of cooking to let dry oven air hit the skin, instead of letting trapped steam soften that crisp crust you built during searing.
13.Can I use chicken breasts instead of thighs if that’s what I have on hand? ▾
You can, but you’ll need to adjust cook time to avoid dry, tough meat. Use bone-in, skin-on breasts (not thin, boneless cuts) and reduce braising time by 10-15 minutes, since breast meat is far leaner and dries out much faster than thighs. Pull it as soon as the internal temp hits 160°F, as it will carryover cook to the safe 165°F as it rests.

Comments (7)

2 days ago

OMG this one-pot dutch oven chicken thigh recipe is a total game changer for our weeknight family dinners! I was so sick of scrubbing 3+ pots after cooking, and this came together so easy even on my busiest work night. The chicken skin got perfectly crispy, the veggies were so flavorful, my 7 and 10 year old both asked for seconds! 10/10 will be adding this to my regular meal prep rotation too.

yesterday

Wait did you use bone-in skin-on thighs like the recipe says? I almost grabbed boneless by mistake last time I made a chicken recipe and regretted it!

yesterday

So happy your whole family loved this! For the best crispy skin, we definitely recommend bone-in, skin-on thighs, but boneless works too if that’s what you have on hand — just reduce the cook time by 10 minutes so it doesn’t dry out!

1 week ago

Brought this to my buddy’s football watch potluck last weekend and people were begging me for the recipe before halftime. I was a little worried because my dutch oven is pretty beat up from camping trips, but it turned out SO good. The only tweak I made was tossing in a little extra paprika for a smoky kick, chef’s kiss. Super easy to throw together even after running errands all Saturday.

5 days ago

Love the extra paprika tweak! So stoked this was a hit at your watch party — dutch ovens are total workhorses, beat up or not they always deliver great flavor.

30 minutes ago

Wait this recipe is perfect for my tiny studio kitchen! I only have one dutch oven and barely any counter space, so 55 minute cook time with zero extra dishes is exactly what I needed. The chicken was juicy, no weird fancy ingredients I had to run to three grocery stores to find. Already made it twice this week.

yesterday

Okay so I messed up a little and added way too much garlic at first (oops, garlic lover problems) but even then this turned out amazing? Wait I have a question though — can I swap the carrots for sweet potatoes? My partner hates cooked carrots but loves sweet potatoes and I want to make this for our date night in tomorrow.

2 hours ago

I did that exact swap last week! Roasted sweet potatoes go so good with the herby chicken, just cut them into 1 inch chunks so they cook at the same rate as the other veggies, you’ll love it!

30 minutes ago

No such thing as too much garlic in our book! Sweet potatoes are a fantastic swap — just like the comment above says, cut them into uniform 1-inch chunks so they cook evenly, and they’ll turn out perfect. Hope date night is delicious!

5 days ago

Made a big batch of this on Sunday for meal prep for the week, and I swear the flavor gets even better when it sits in the fridge for a couple days? The chicken doesn’t get rubbery when I reheat it for lunch at work, which is usually my biggest complaint about chicken meal prep. Total win.

3 days ago

That’s such a great call for meal prep! We love making a double batch too — the flavors really do meld as it sits, and reheating gently in the microwave (or even a quick toast in the oven) keeps the chicken perfectly juicy.

5 minutes ago

I’m literally brand new to cooking, like I burned toast last week new, and I pulled this off without a single disaster? The directions were so straightforward, I didn’t have to guess at any steps, no fancy techniques needed. My roommate thought I ordered takeout lmao. So proud of myself.

just now

Congrats on nailing your first real cook! This recipe is such a great starter because it’s so forgiving, I’ve been cooking for 20 years and I still make it all the time when I don’t feel like putting in a ton of effort.

2 weeks ago

So happy I found this! It’s naturally gluten free as long as you use regular low-sodium broth, no weird modifications needed for my celiac diet. I paired it with a little arugula side salad and it was the perfect cozy Sunday dinner after a long fall hike. Will definitely be making this all fall and winter.



