
easy batter for fried chicken

title 1
easy batter for fried chicken
⏱️ cook time 20 minutes
🍽️ servings 4
⚡ Difficulty easy

intro

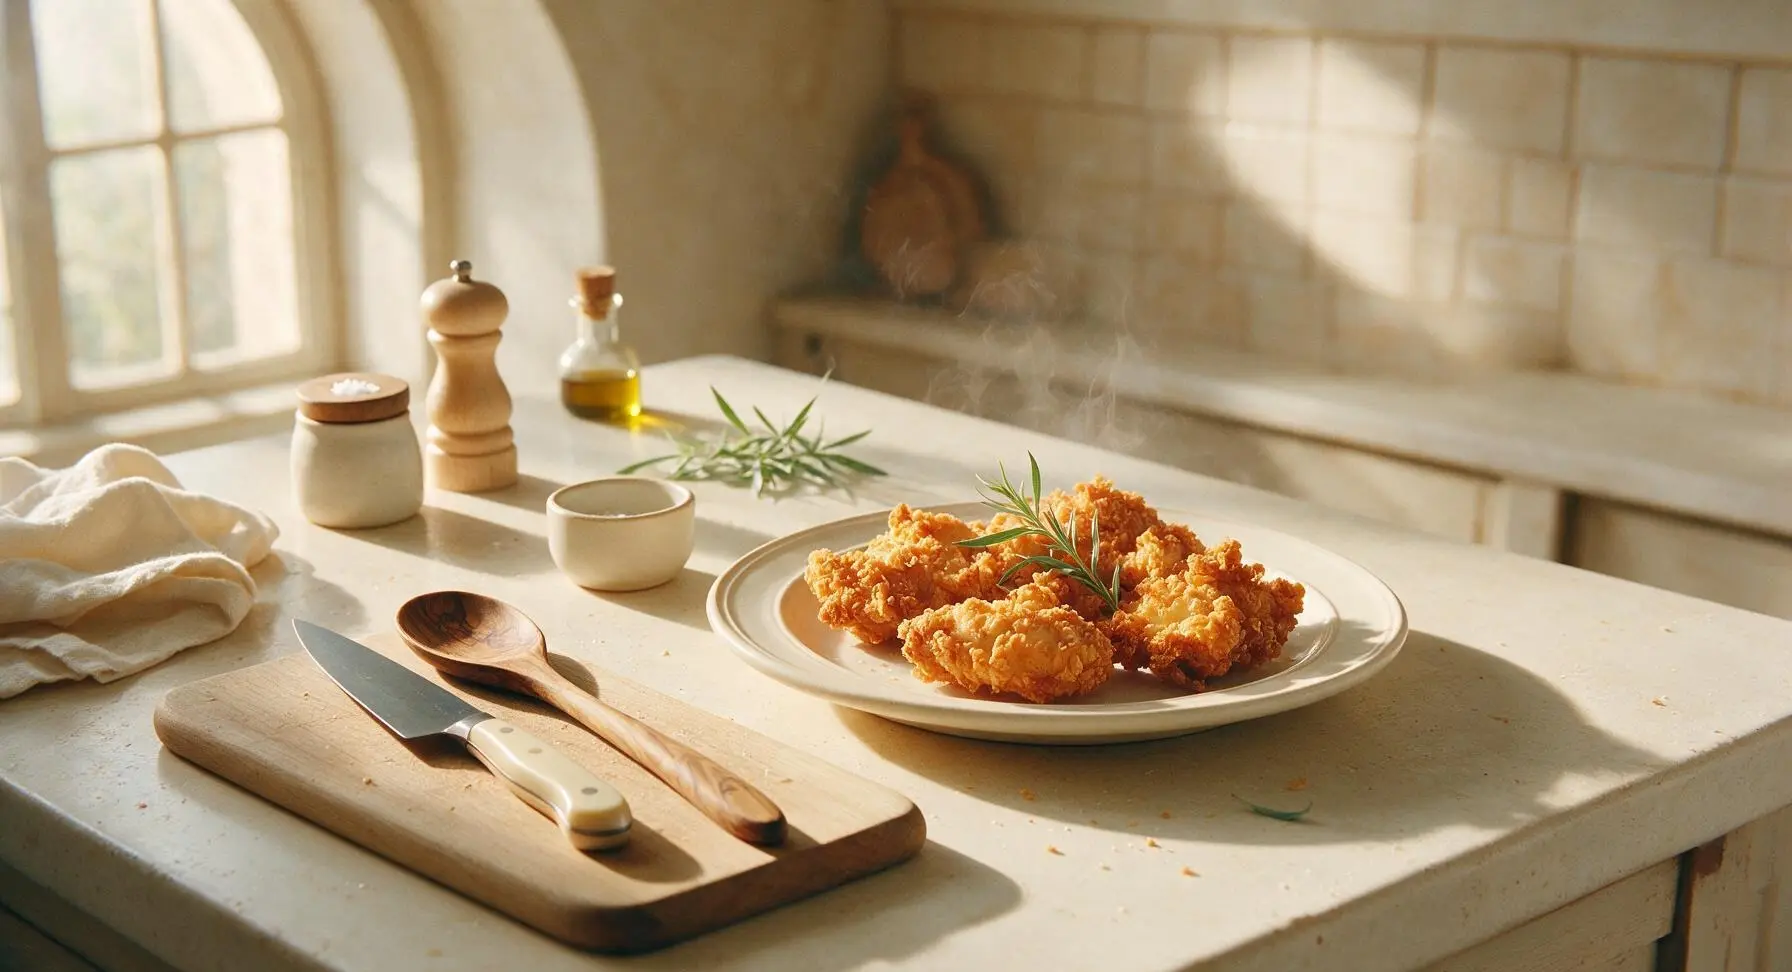
Shatteringly crisp, golden easy fried chicken batter made with pantry staples, designed to cling tight to juicy chicken for long-lasting crunch perfect for summer gatherings.

Ingredients
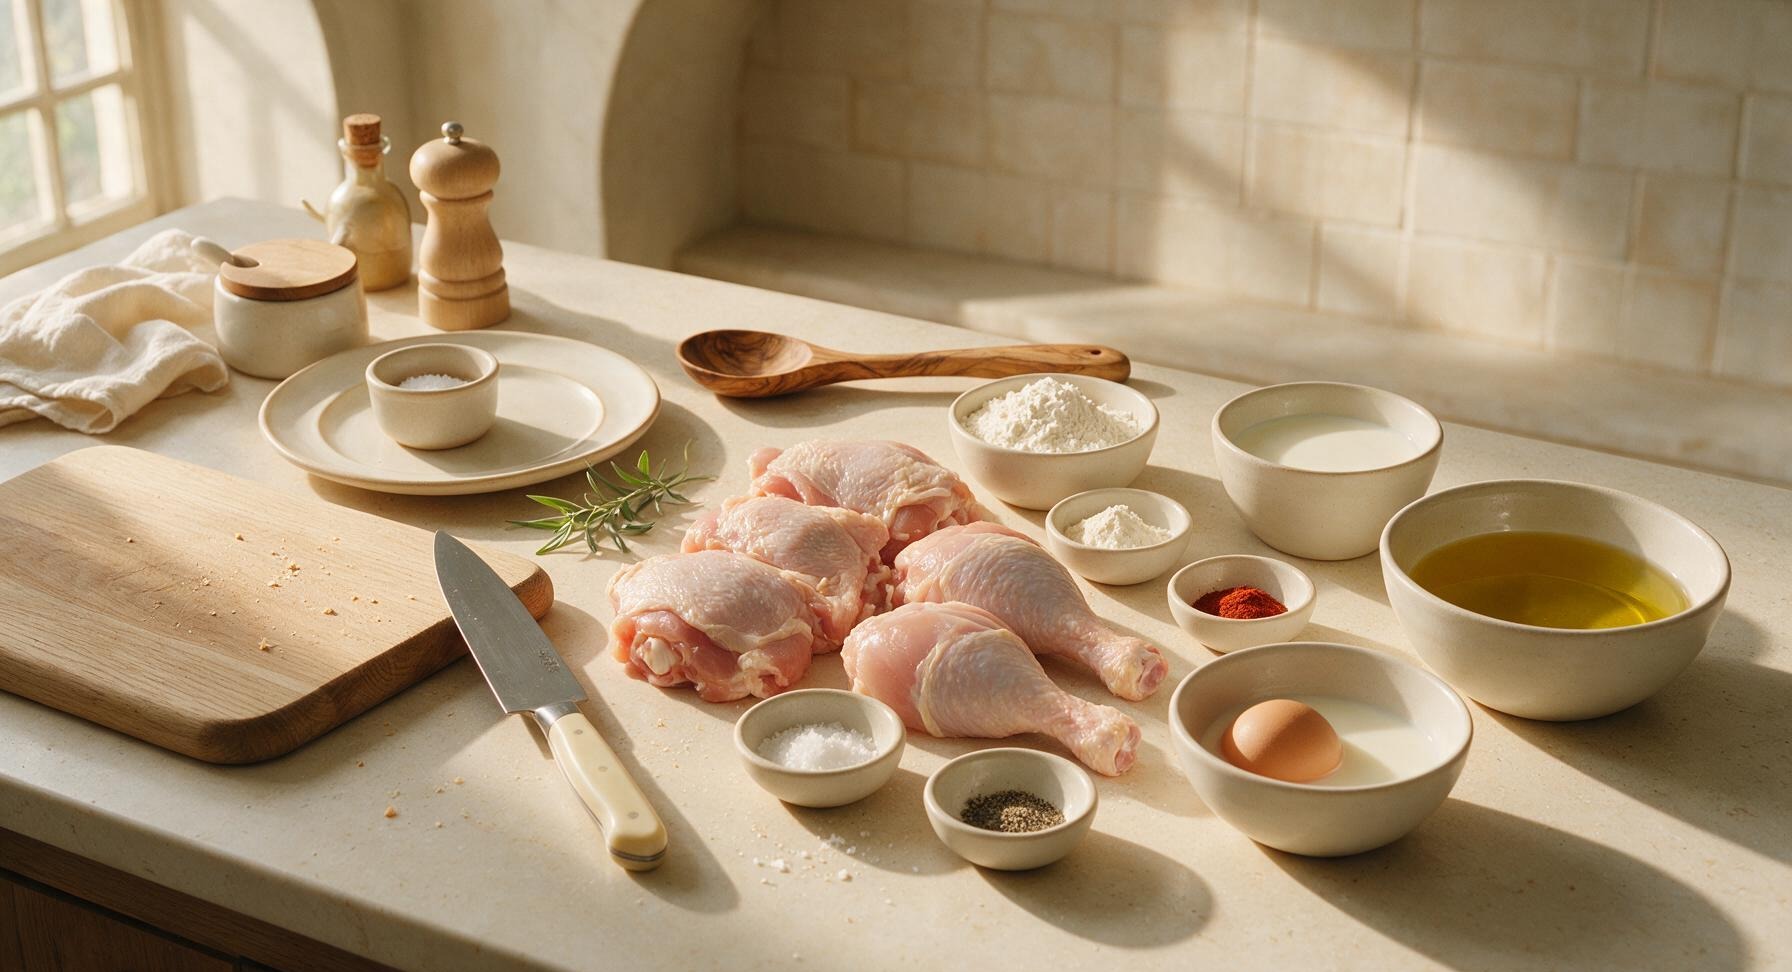
Bone-in skin-on chicken pieces (thighs and drumsticks) 900g (4 pieces)
All-purpose flour 1.5 cups (180g)
Cornstarch ½ cup (60g)
Baking powder 1 tsp
Garlic powder 1 tbsp
Smoked paprika 1 tsp
Kosher salt 2 tsp
Freshly ground black pepper 1 tsp
Cold whole milk 1 cup (240ml)
Large egg 1 (50g)
Canola oil (for frying) 4 cups (960ml)

Steps

1

Pat Chicken Dry

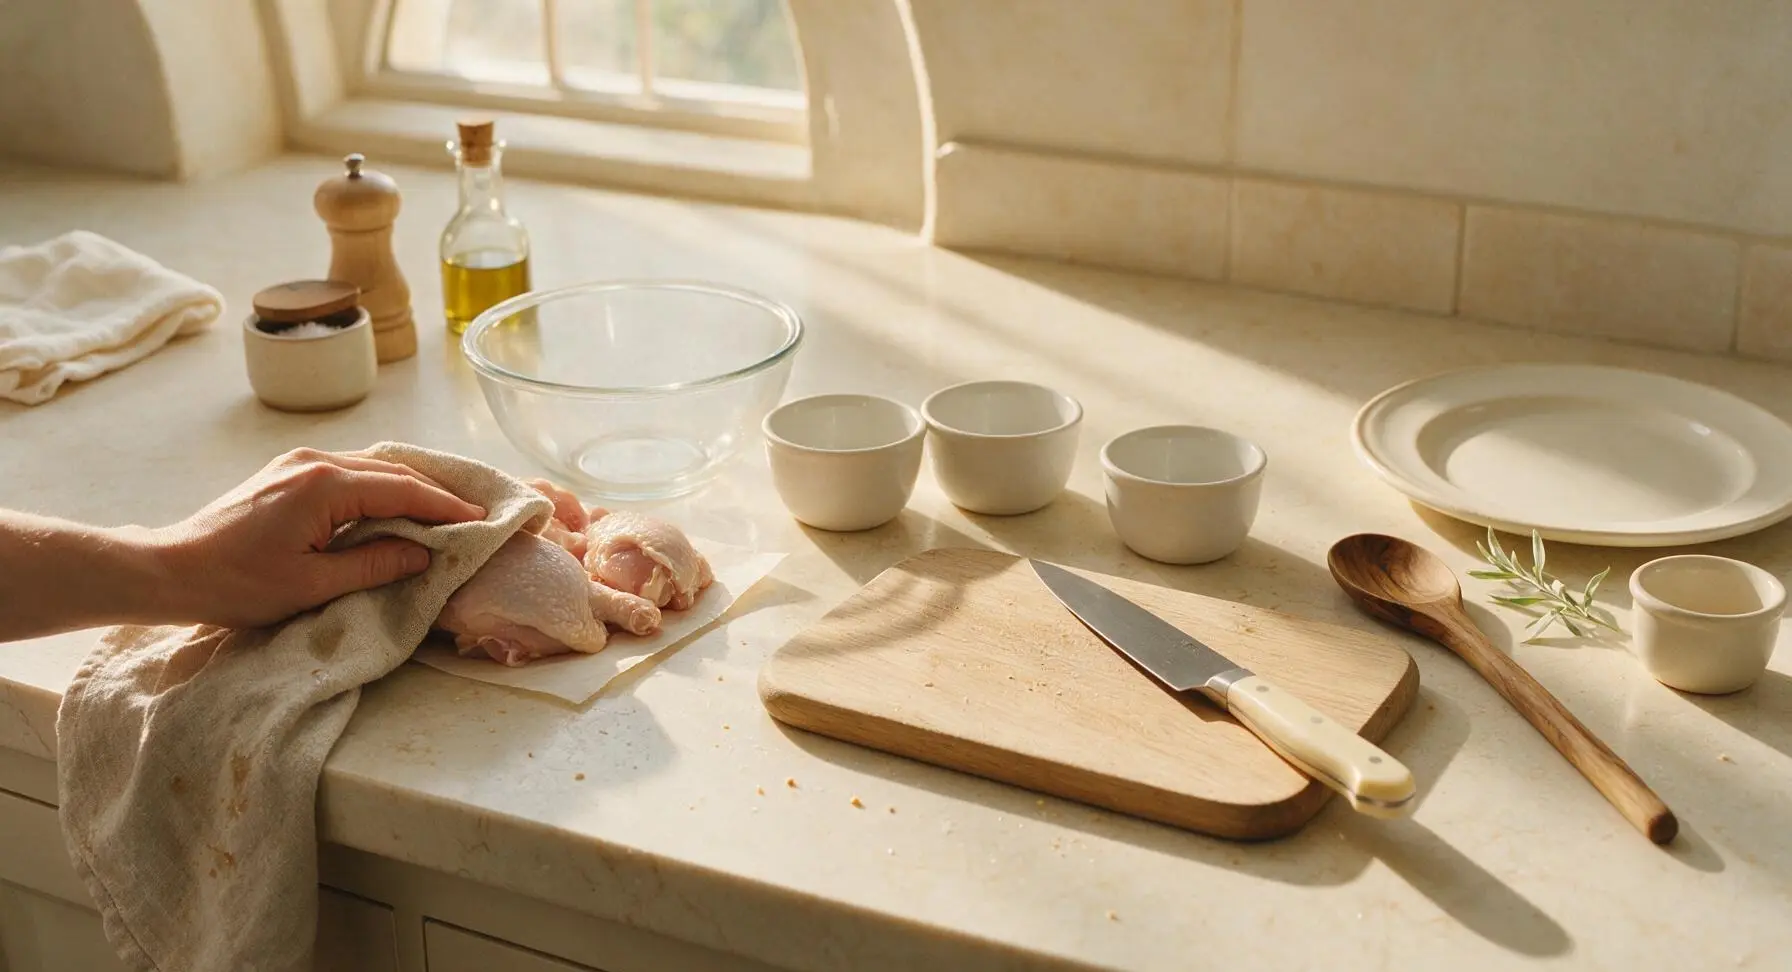
Place raw chicken pieces on the small square of unbleached parchment next to the mixing bowl. Use a clean corner of the oatmeal linen kitchen towel to thoroughly pat every surface of the chicken (including under loose edges of skin) completely dry. Discard any damp towel fragments; fully dry chicken ensures batter sticks tightly instead of sliding off during frying. The chicken skin should feel matte and dry to the touch, with no visible damp spots.
Step 1
step1:Pat Chicken Dry
2

Mix Dry Batter Base

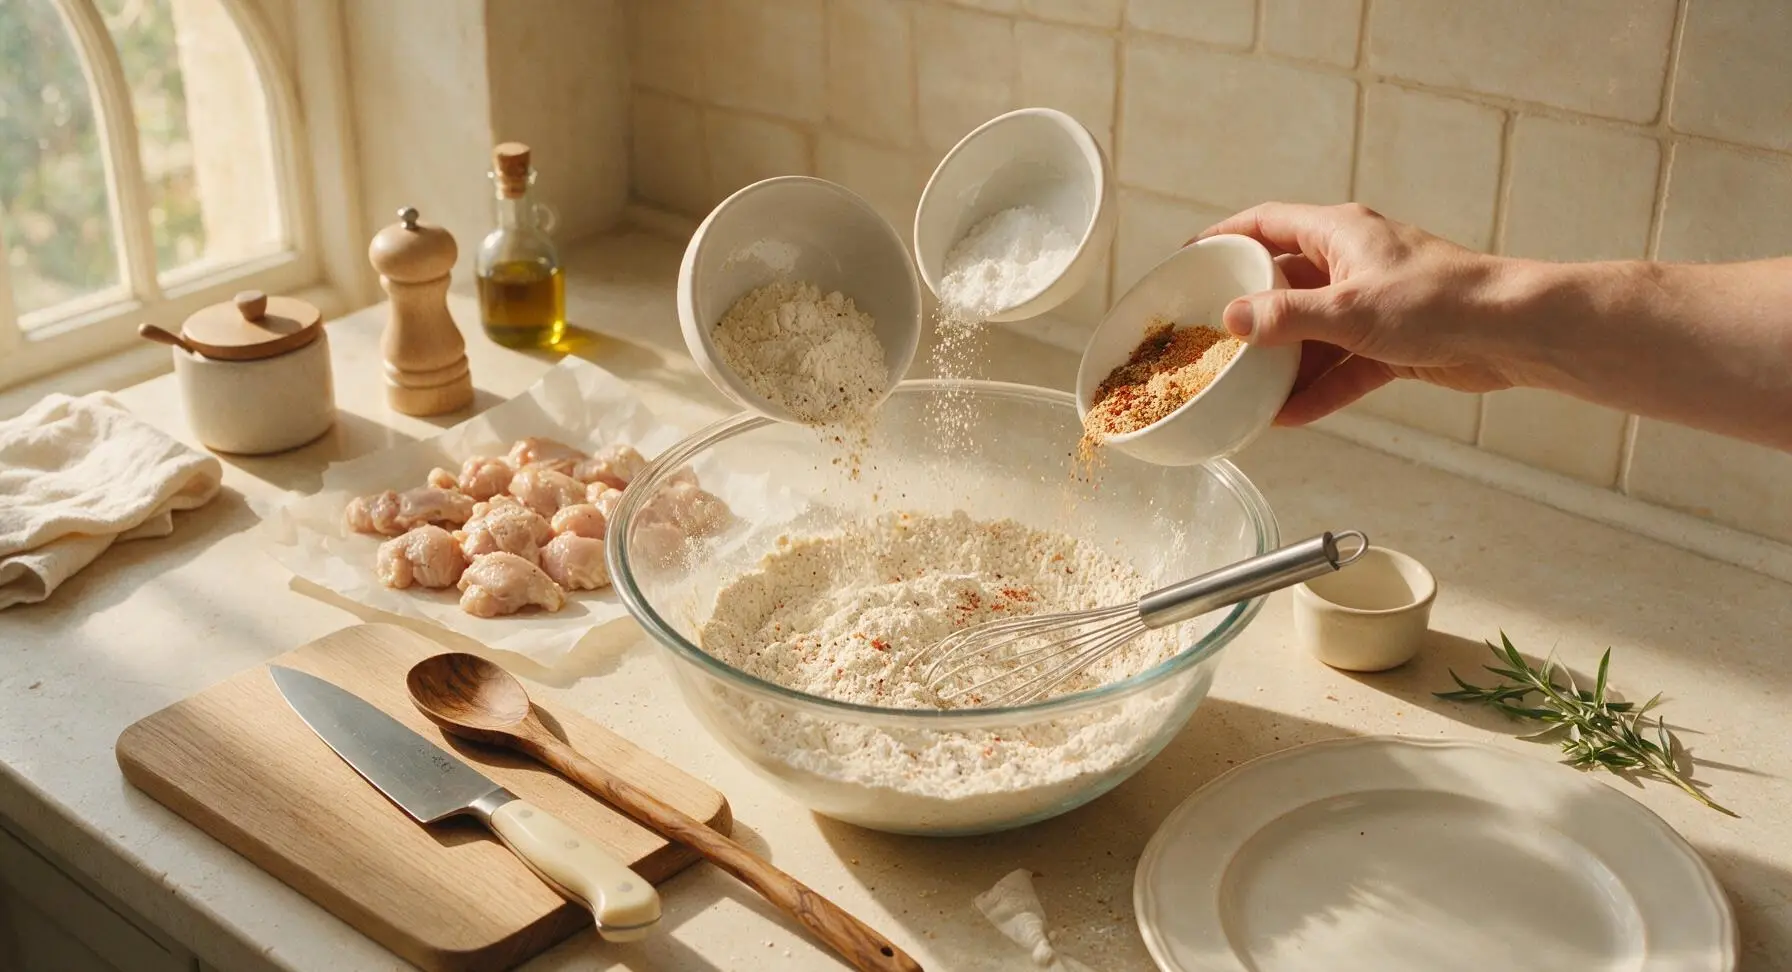
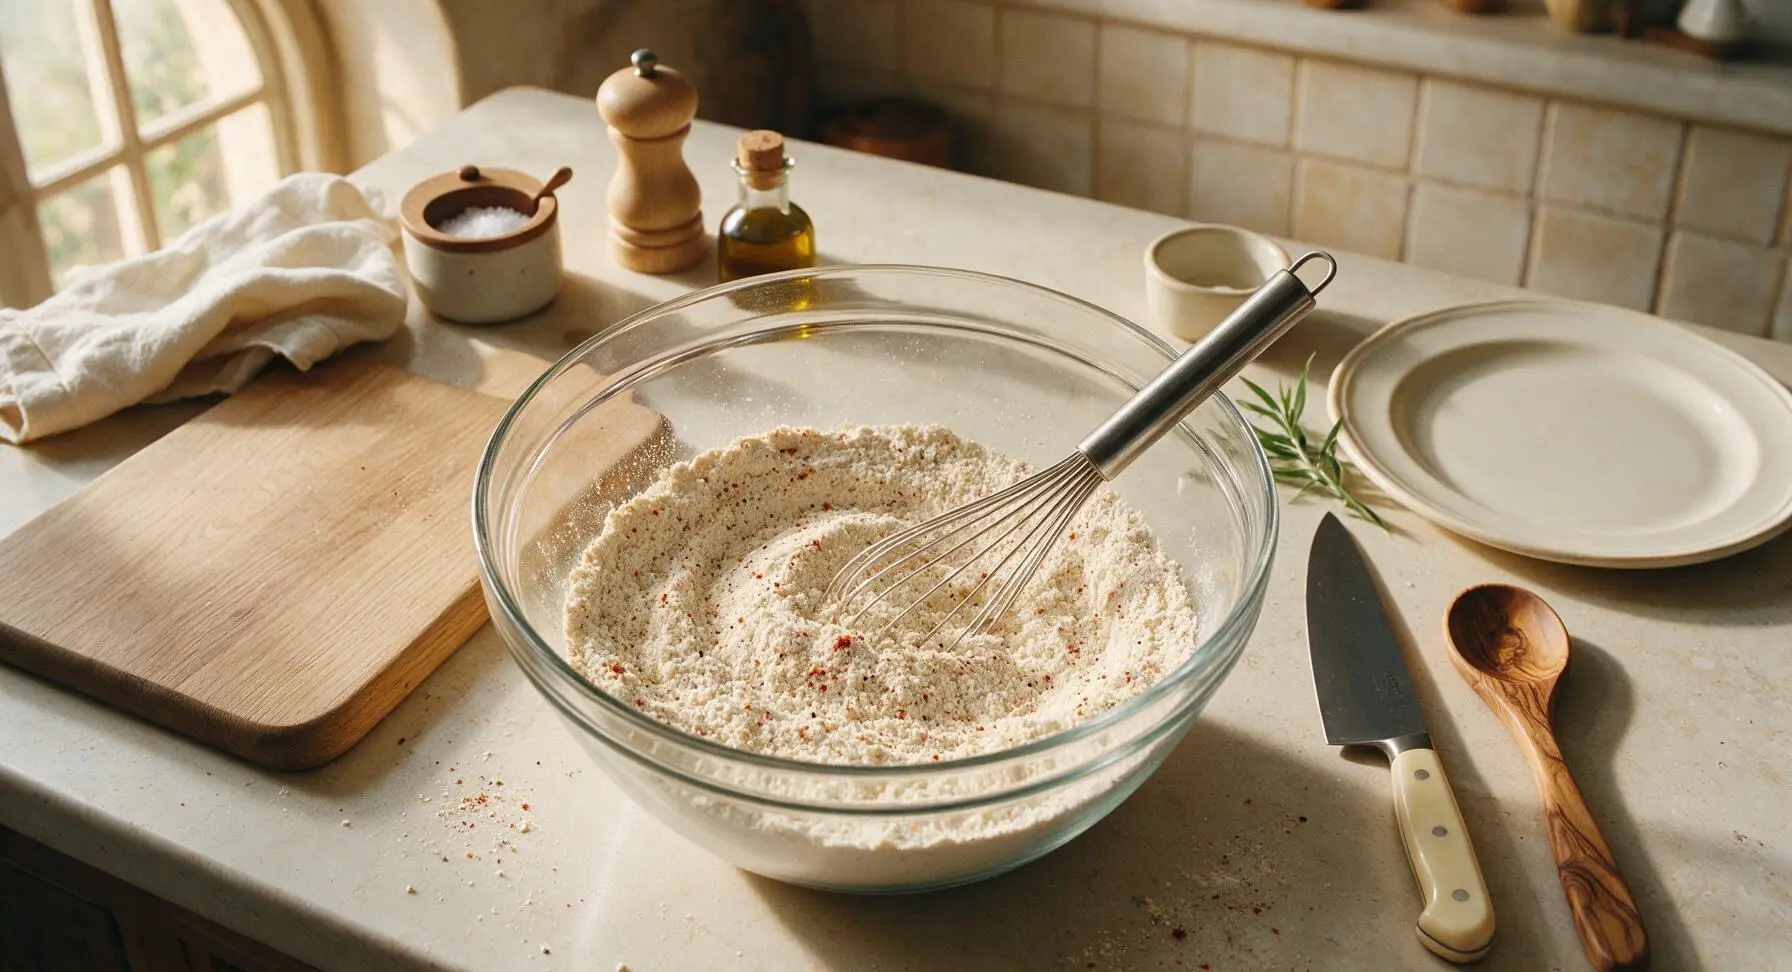
Add the measured all-purpose flour, cornstarch, baking powder, garlic powder, smoked paprika, kosher salt, and black pepper to the clear glass mixing bowl. Use the stainless steel whisk to stir the dry ingredients together for 30 seconds, until fully combined with no visible clumps of spice or cornstarch. The mixture should be a uniform pale off-white color with faint flecks of red paprika and black pepper distributed evenly throughout.
Step 2
step2:Mix Dry Batter Base
Step 2
step2:Mix Dry Batter Base
3

Whisk Wet Ingredients

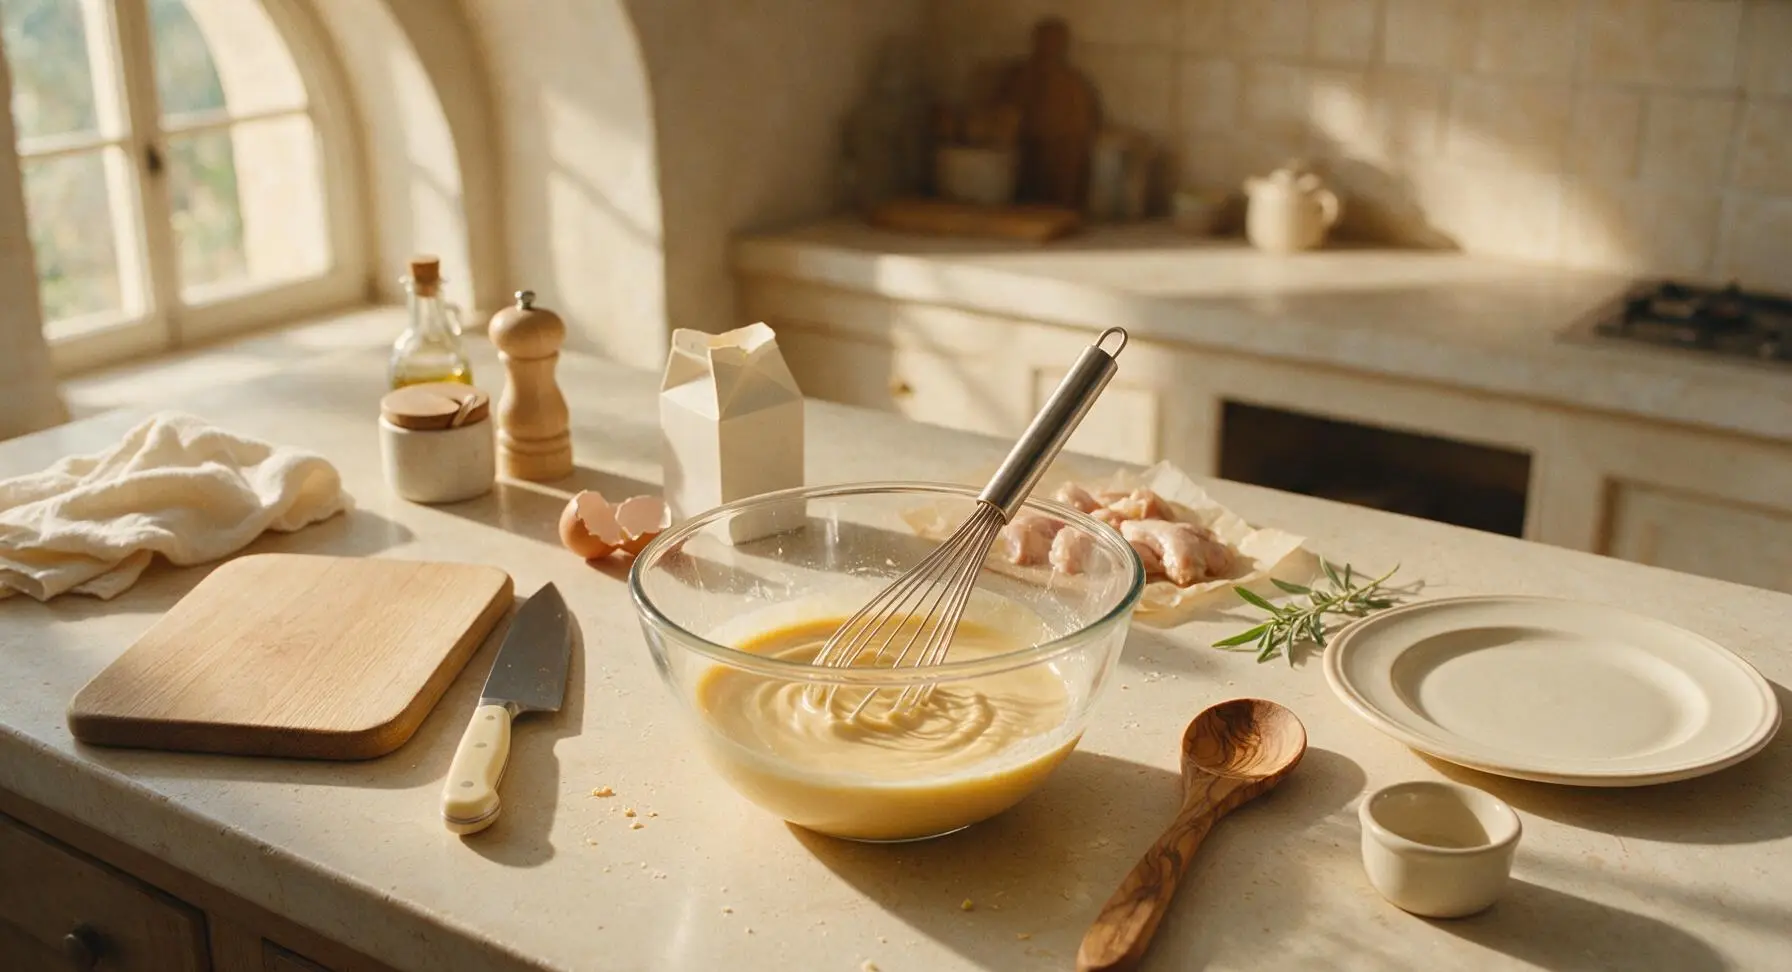
Crack the large egg into the center of the dry batter mixture, then pour in the cold whole milk. Whisk slowly at first to avoid splashing, then increase speed to combine the wet and dry ingredients into a smooth, thick batter. The finished batter should be the consistency of heavy pancake batter, thick enough to coat the back of a spoon with a thin, even layer that does not drip off immediately. If batter is too thick, add 1 tbsp extra cold milk; if too thin, stir in 1 extra tbsp flour.
Step 3
step3:Whisk Wet Ingredients
4

Heat Frying Oil

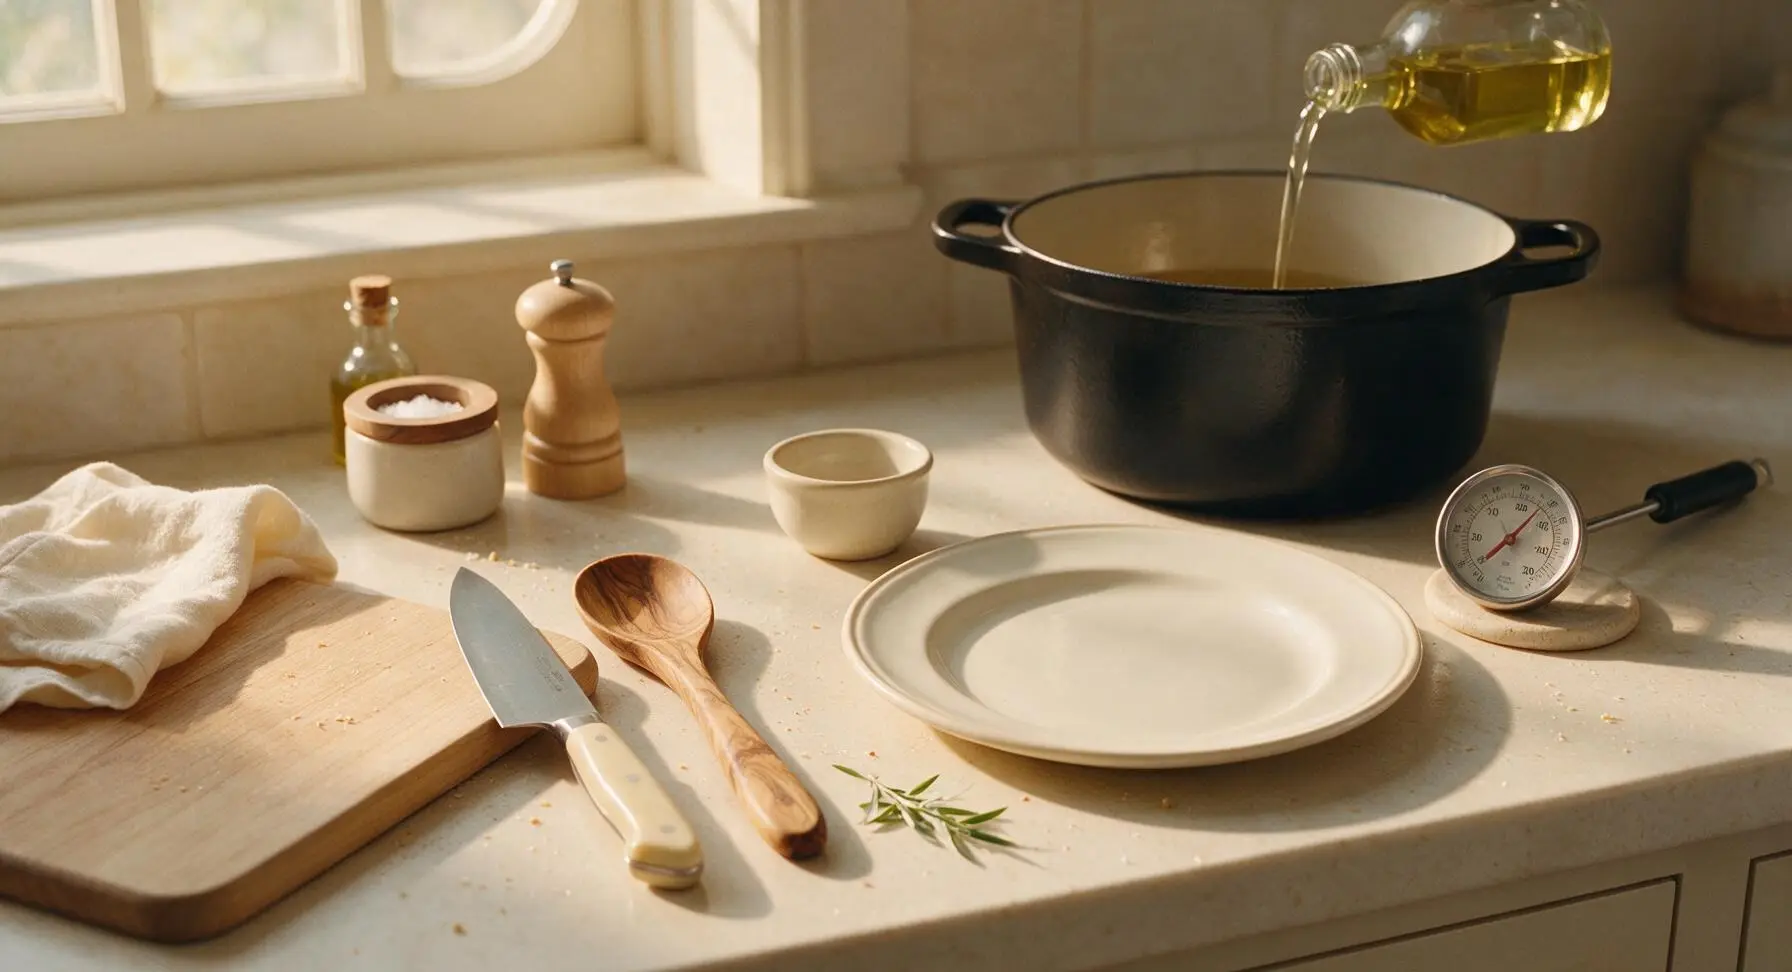
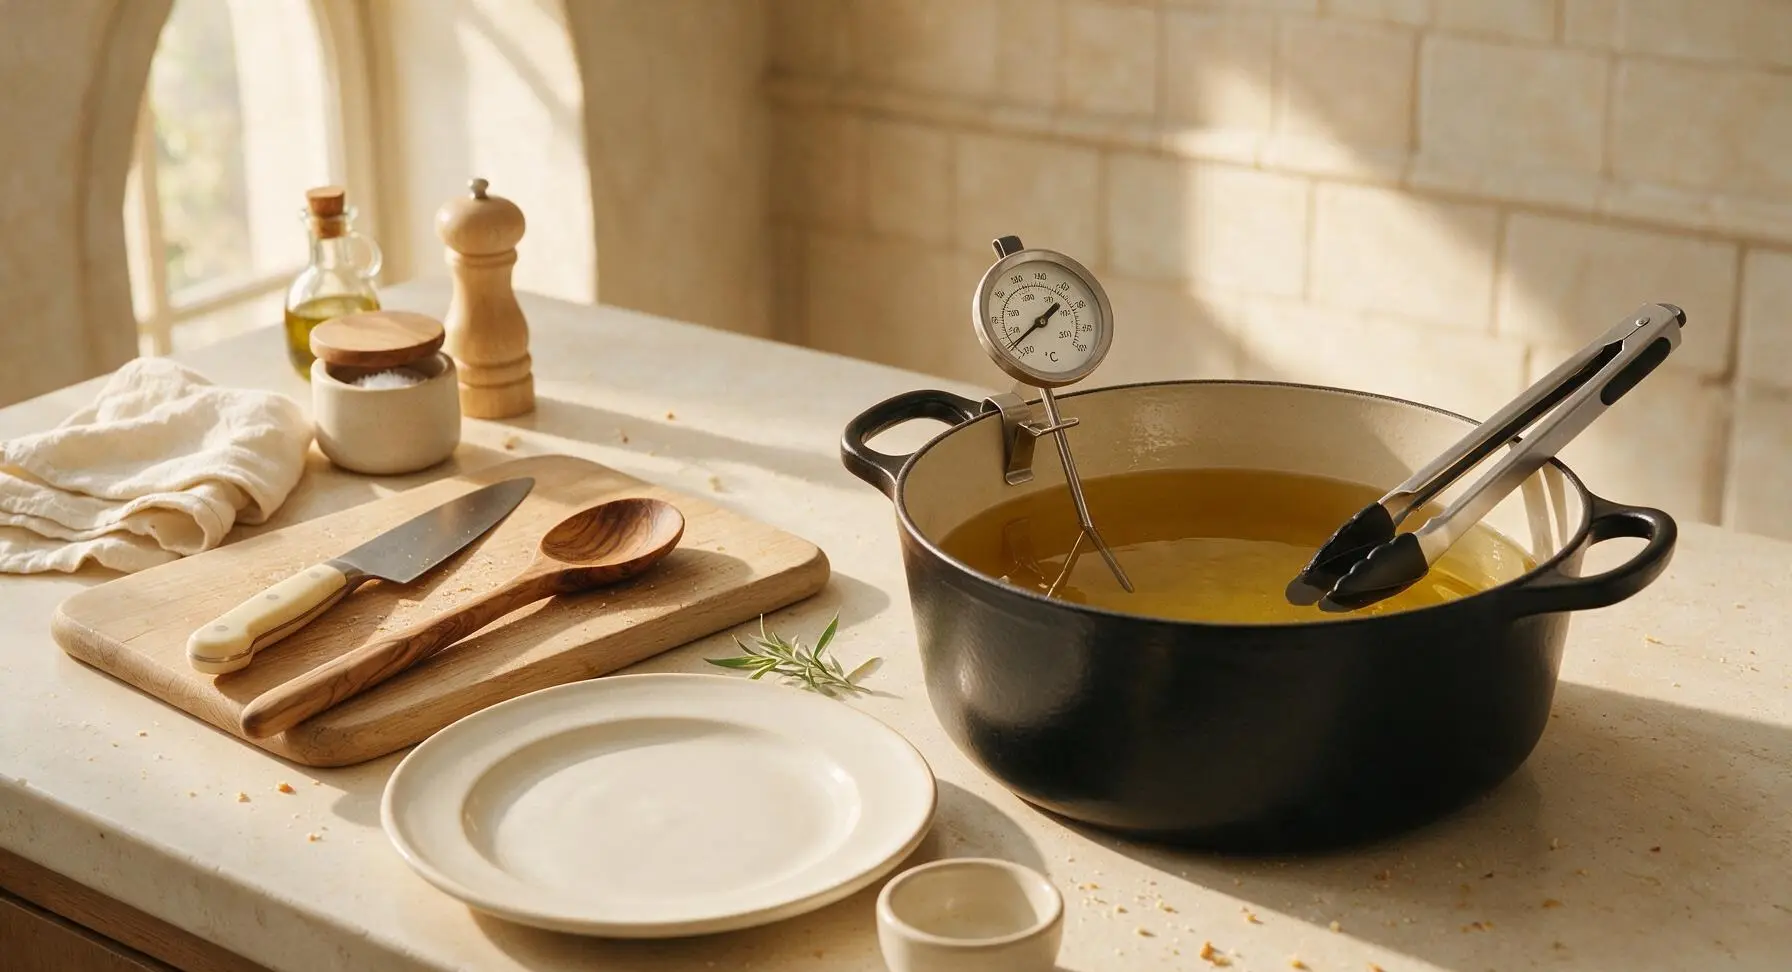
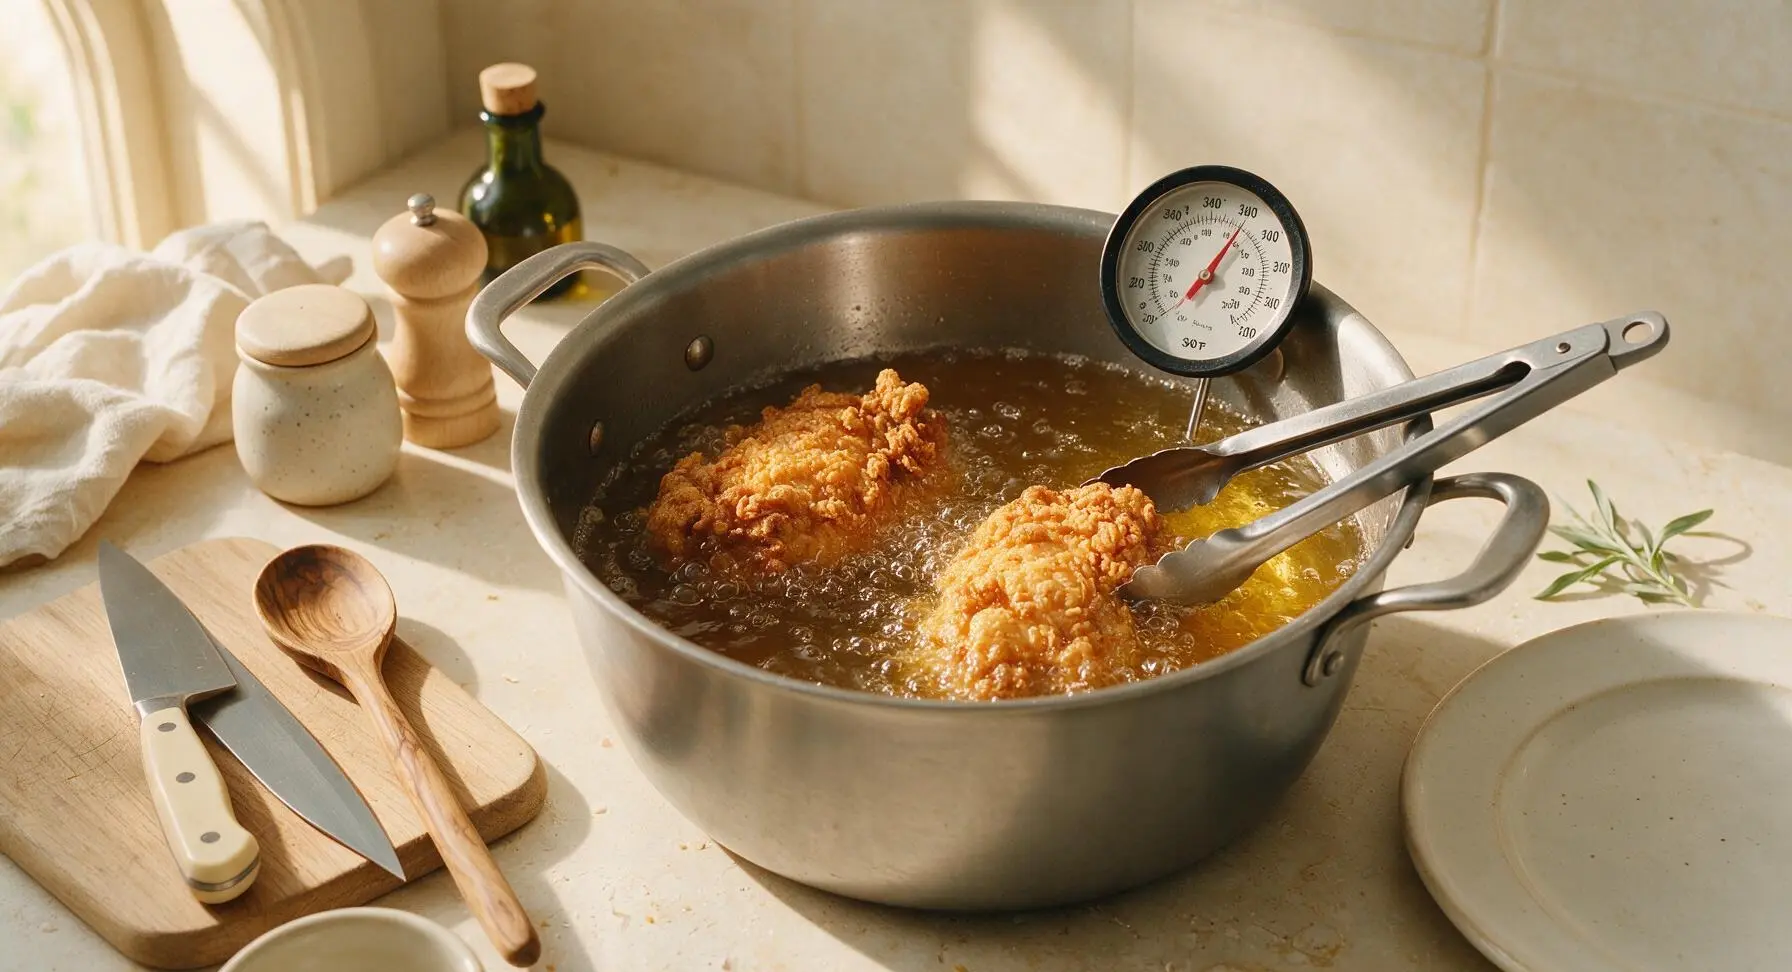
Place the 5L matte black enameled Dutch oven on its fixed back-right counter position. Pour 4 cups of canola oil into the pot, then clip the deep-fry thermometer to the pot side so the probe is submerged 2 inches into the oil, not touching the pot bottom. Heat oil over medium heat until it reaches a steady 350°F (175°C). Monitor temperature closely; oil that is too hot will burn batter before chicken cooks, while too-cool oil results in soggy, greasy crust.
Step 4
step4:Heat Frying Oil
Step 4
step4:Heat Frying Oil
5

Coat Chicken Evenly

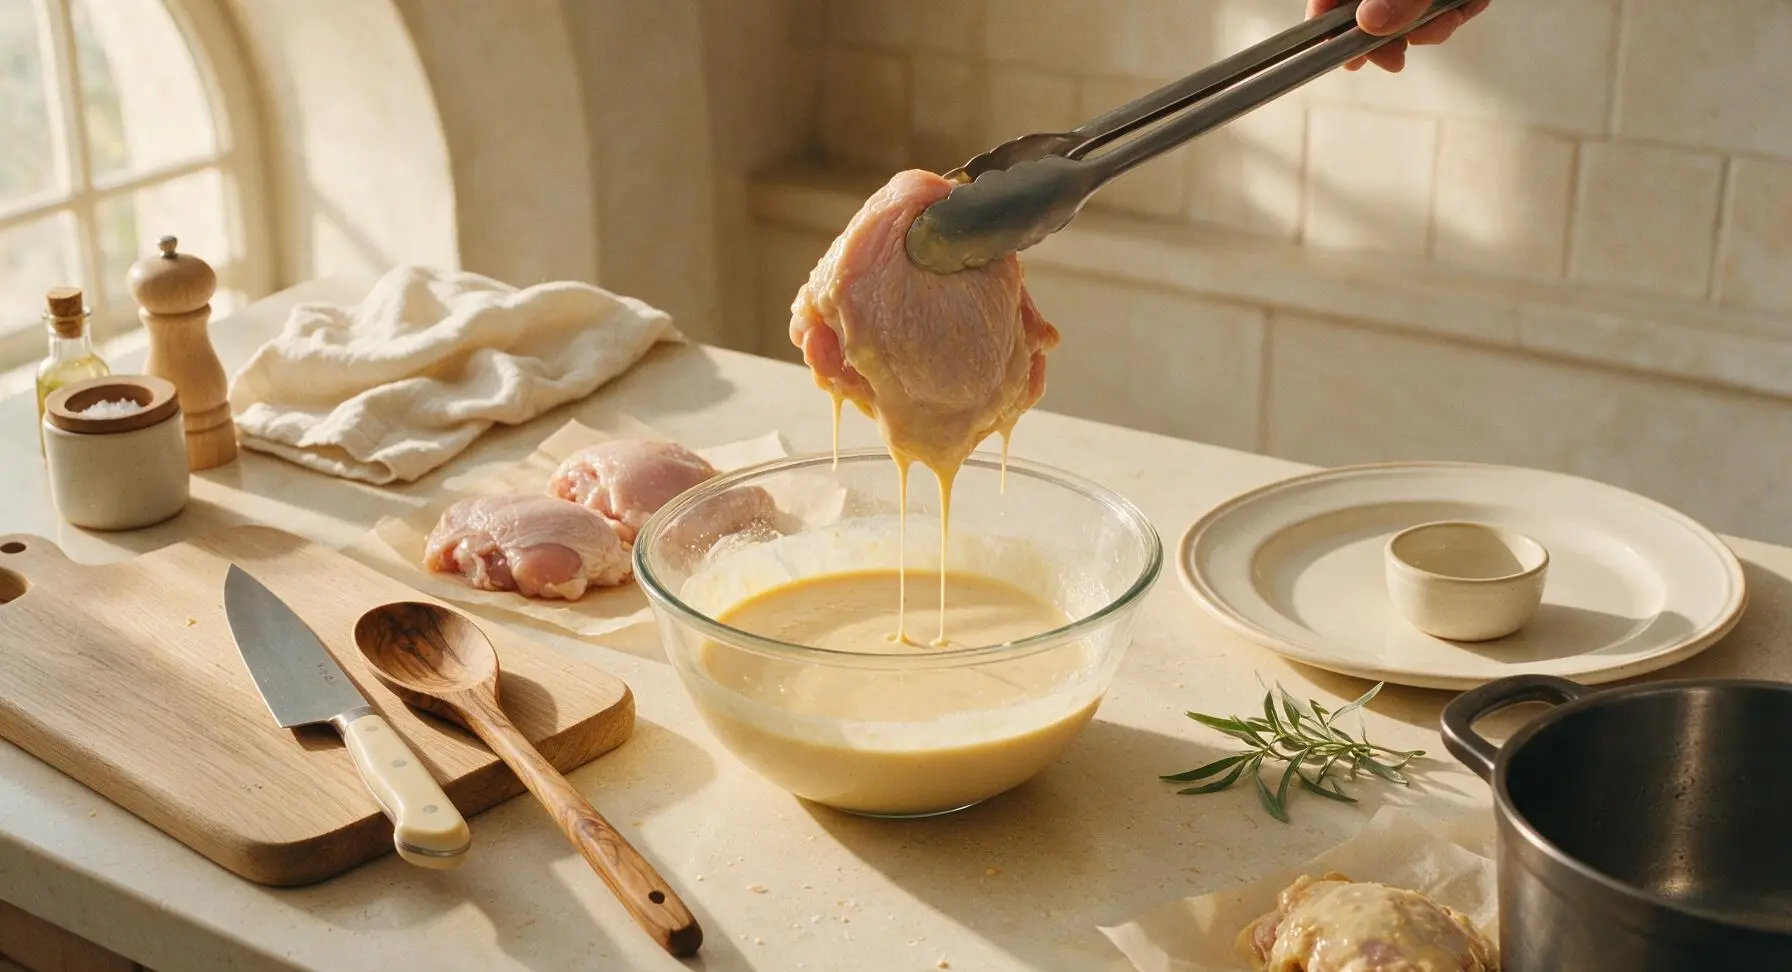
Working one piece at a time, dip a dry chicken piece fully into the prepared batter, turning it with the tongs to coat every surface, including under loose edges of skin. Lift the chicken out of the batter and hold it above the bowl for 5 seconds to let excess batter drip off; a thin, even layer of batter should remain clinging to the chicken, with no thick, gloopy pools that will slide off during frying. Set battered pieces on a small clean section of parchment next to the pot while coating remaining pieces, taking care not to stack them.
Step 5
step5:Coat Chicken Evenly
6

Fry Chicken in Batches

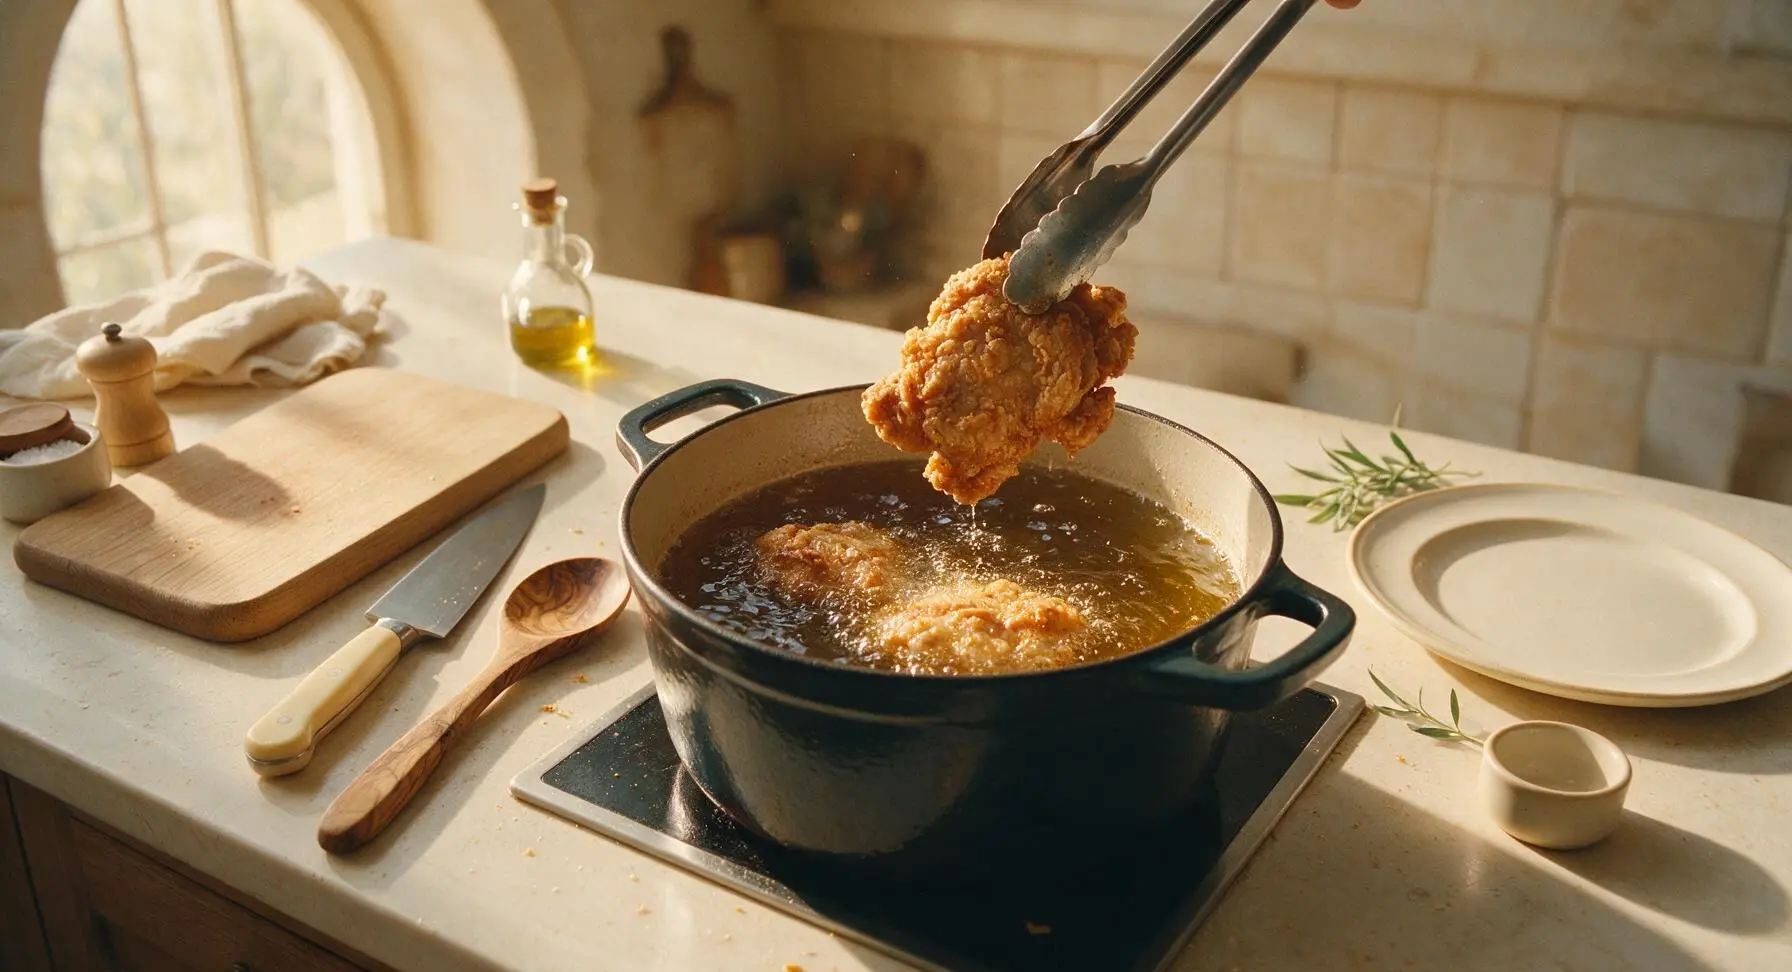
Carefully lower 2 battered chicken pieces into the 350°F oil, laying them away from you to avoid hot oil splatters. Fry for 10-12 minutes total, turning pieces once with tongs halfway through cooking, until batter is a deep, even golden brown and chicken internal temperature reaches 165°F (74°C) at the thickest part, not touching bone. Monitor oil temperature as you cook, adjusting heat as needed to maintain a steady 330-350°F; adding chicken will drop oil temperature initially.
Step 6
step6:Fry Chicken in Batches
Step 6
step6:Fry Chicken in Batches
7

Drain Cooked Chicken

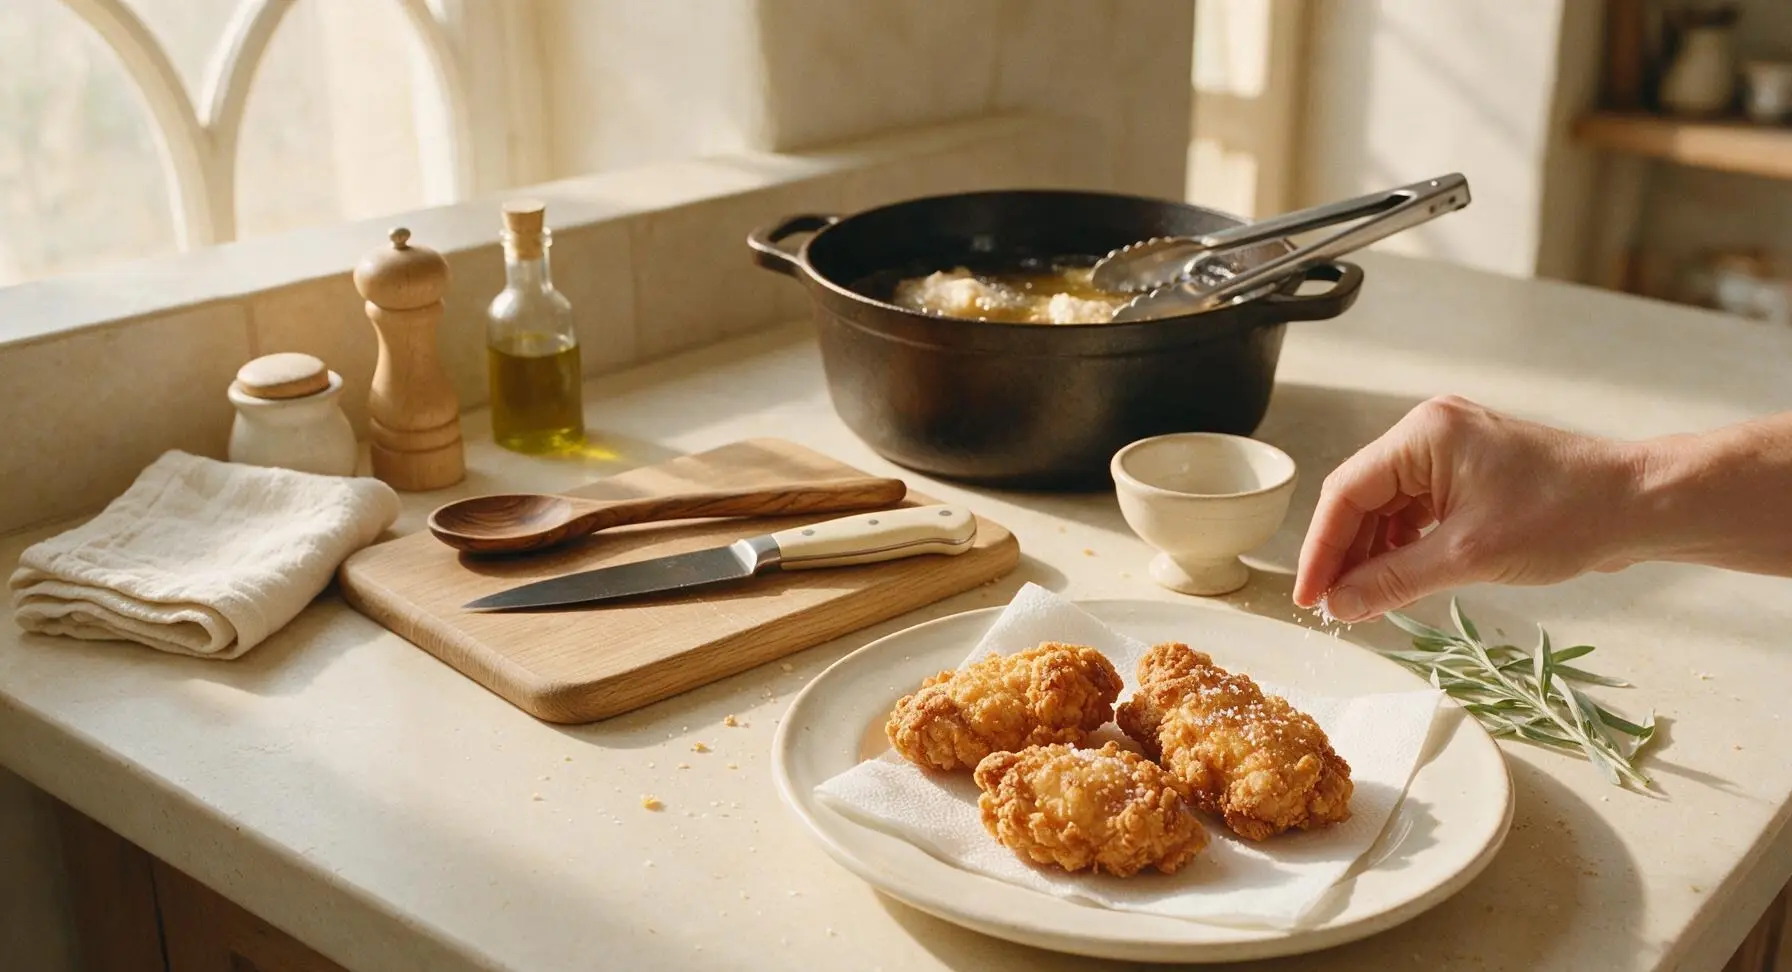
Use the tongs to lift cooked chicken pieces out of the oil, holding them above the pot for 10 seconds to let excess oil drain off. Transfer hot fried chicken to the paper-towel lined matte off-white dinner plate in the front right position. Lightly sprinkle the hot crust with a pinch of extra kosher salt immediately after removing from oil, so the salt sticks to the crisp surface. Let oil return to 350°F before frying the remaining 2 chicken pieces, repeating the cooking and draining process.
Step 7
step7:Drain Cooked Chicken

Tips

1.Use cold milk for the batter: Cold batter hits hot oil faster, creating an immediate crisp crust instead of soaking up excess oil and turning soggy. Room temperature batter will spread too thin and slide off the chicken as it fries.
2.Don’t skip the cornstarch: Cornstarch lowers the gluten content of the batter compared to using only flour, resulting in a shatteringly crisp, light crust that stays crunchy for 20-30 minutes after frying, instead of turning tough or chewy.
3.Resist the urge to overcrowd the fry pot: Adding more than 2 pieces of chicken at a time drops the oil temperature too quickly, leading to greasy, undercooked batter and uneven browning. Let the oil recover to 350°F between batches for consistent results.


✨ You May Also Like

Main Course
🍜 United Kingdom

A showstopping classic of tender seared beef, savory mushroom duxelles, and crisp prosciutto wrapped in flaky golden puff pastry, baked to juicy perfection.

⏱️ 2 hours 1Main Course ★ 4.7
Main Course
🍜 India

Tender charred marinated chicken simmered in a rich, spiced creamy tomato sauce, this iconic Anglo-Indian curry pairs perfectly with basmati rice or warm naan.

⏱️ 50 minuteMain Course ★ 4.6
Main Course
🍜 Thailand

Classic tangy, sweet, and savory Thai stir-fried rice noodles with shrimp, tofu, and crunchy garnishes, balancing all five core Thai flavor profiles.

⏱️ 30 minuteMain Course ★ 4.5
Main Course
🍜 United Kingdom

Crispy golden beer-battered cod and fluffy double-fried chips, served with tangy tartar sauce and malt vinegar: the timeless, beloved British pub comfort classic.

⏱️ 45 minuteMain Course ★ 4.7
Main Course
🍜 Mexico

Smoky, chile-marinated pork tacos with caramelized pineapple, fresh cilantro, and lime: a beloved classic Mexican street food perfect for casual summer gatherings.

⏱️ 1 hour 45Main Course ★ 4.8
Main Course
🍜 United States

Crunchy Fritos corn chips layered with savory beef chili and melted cheddar, topped with cool, zesty fixings for a beloved, cozy Tex-Mex comfort food.

⏱️ 35 minuteMain Course ★ 4.8

easy batter for fried chicken:Frequently Asked Questions

1.Why does this batter stay crispy longer than other fried chicken batters I’ve tried? ▾
Great question! The combo of cornstarch (which cuts tough gluten formation from all-purpose flour for that light, shattery crunch instead of a hard, chewy coating) and a small amount of baking powder (which creates tiny, crisp air pockets as it fries) helps the coating stay crunchy for 30+ minutes at room temp, perfect for potlucks and summer gatherings.
2.Do I have to use bone-in, skin-on chicken thighs and drumsticks with this batter, or can I use boneless cuts? ▾
You absolutely can use boneless cuts if that’s what you prefer! Just note boneless, skinless chicken cooks faster (10–12 minutes total fry time vs. 15–18 for bone-in pieces) and won’t have the thin fat layer under skin that helps batter cling extra tight for maximum crunch. Always pat chicken completely dry before coating for the best adhesion.
3.My batter always slides right off the chicken when I fry it—what am I doing wrong? ▾
That’s such a common frustration! The #1 culprit is wet chicken: always pat pieces completely dry with paper towels before coating so the flour-cornstarch mix has a dry, grippy surface to stick to. Press the coating firmly onto each piece, let it rest 5 minutes before frying to set, and avoid overcrowding your fry pan or deep fryer which drops oil temp and makes coating slip.
4.Can I make this batter mix ahead of time to save prep for summer cookouts? ▾
Totally! The dry batter mix (all-purpose flour, cornstarch, baking powder, garlic powder, plus any extra seasonings you add like paprika or black pepper) stores perfectly in an airtight pantry container for up to 3 months. Wait to coat your chicken until right before you’re ready to fry, though—coating too early leads to gummy, less crisp results.
5.What oil temperature works best for frying chicken with this batter to get that golden, not burnt, crisp? ▾
Aim to hold your frying oil at a steady 350°F (175°C) for best results. If oil is over 375°F, the batter will burn dark before chicken cooks through; if it’s under 325°F, the coating will soak up excess oil, turn greasy, and slip off. Use a clip-on candy thermometer to track temp easily, adjusting heat between batches as needed.
6.I don’t have cornstarch in my pantry right now—can I substitute it with something else? ▾
Cornstarch is key for that light, shatteringly crisp texture, but if you’re in a pinch, you can swap it 1:1 for potato starch or arrowroot starch for nearly identical results. Avoid substituting extra all-purpose flour for the cornstarch, though—this creates a tough, dense, chewy coating that gets soggy much faster after frying.
7.How do I make sure the chicken is fully cooked without burning the crispy batter? ▾
The most reliable method is to use an instant-read meat thermometer: stick it into the thickest part of each piece, avoiding bone, and pull chicken once it hits 165°F (74°C). If the batter gets too dark before chicken hits temp, turn the burner down slightly and finish pieces in a 375°F oven for 5–10 minutes to cook through without burning.
8.Can I add extra seasonings to this base batter without ruining the crisp texture? ▾
Absolutely! This base batter is super versatile, so feel free to mix in extra seasonings like smoked paprika, cayenne, onion powder, dried thyme, black pepper, or even a pinch of MSG to amp up savoriness. Just keep added dry seasonings to under 2 tablespoons total per batch so you don’t throw off the ratio that creates that perfect, long-lasting crunch.
9.Why do you include baking powder in the batter? I thought that was for baked goods, not fried chicken. ▾
Great catch! Baking powder isn’t just for baked goods here—when it hits hot oil, it reacts to release tiny carbon dioxide bubbles that create small air pockets in the batter. Those pockets keep the coating light, shatteringly crisp, and not rock-hard, instead of the dense, tough coating you get from flour and cornstarch alone. Use fresh baking powder for the best lift!

Comments (8)

2 days ago

OMG this batter is a total game changer! I made this for our family Sunday dinner last night and even my super picky 7 year old asked for seconds. The crust stayed crispy for 20 minutes after I pulled it out, no soggy mess at all! Will 100% be making this for our neighborhood potluck next weekend.

1 day ago

Wait did you dip in buttermilk first like the recipe says? I’m wondering if I can skip that step since I forgot to pick some up today!

1 day ago

So glad your family loved it! If you don’t have buttermilk on hand, you can make a quick substitute by mixing 1 cup of regular milk with 1 tablespoon of white vinegar or lemon juice and letting it sit for 5 minutes — it works exactly the same!

3 days ago

Super easy to throw together in my tiny dorm kitchen, which is a huge win. Only note is I added a little extra paprika and garlic powder because I like my chicken with a little more kick. Turned out SO good, my roommates demolished the whole batch in 10 minutes flat.

2 days ago

Love that you customized it to your taste! Adding extra spices is such a great call — I toss in a pinch of cayenne sometimes too for extra heat. So glad you and your roommates enjoyed it!

1 week ago

I’ve tried so many fried chicken batter recipes over the years and this one is hands down the easiest and crispiest I’ve ever made. No weird fancy ingredients, just stuff I already had in my pantry! My husband said it tastes better than the fast food fried chicken we get on road trips.

5 days ago

Same! I hate recipes that make me run to the store for one random ingredient I’ll never use again. This one is perfect for weeknights.

yesterday

Brought this fried chicken to my office potluck yesterday and people were asking me for the recipe before I even set the platter down! The batter didn’t slide off the chicken while frying, which is the problem I always have with other recipes. 10/10, no notes.

2 hours ago

Ugh the batter sliding off is my biggest pet peeve too! That’s why I stopped making fried chicken for events, I’ll have to give this one a shot.

1 hour ago

Thrilled it was a hit at the potluck! The trick to getting the batter to stick is making sure your chicken is patted dry before dipping, and letting it rest for 5 minutes after coating before you fry it — that helps the batter set so it doesn’t slide off.

5 days ago

Great recipe! I made a big batch on Sunday for meal prep, and even after reheating in the air fryer during the week, the crust stayed nice and crispy. Only reason I’m not giving 5 stars is I thought it was a little bland without adding extra salt and pepper, but that’s an easy fix.

4 days ago

Thanks for the honest feedback! You’re totally right that salt levels can vary based on personal preference, so I always recommend seasoning the batter to taste before coating your chicken. So glad it held up for meal prep — reheating in the air fryer is the best trick to keep it crisp!

2 weeks ago

As someone who grew up eating my grandma’s famous fried chicken in Alabama, I’m super picky about my batter. This one did NOT disappoint! It’s light, crispy, doesn’t get heavy or greasy even after frying. My grandma even asked me for the recipe, that’s how you know it’s good.

1 week ago

Wait if a grandma approves then I know this has to be legit! I’ve been searching for a batter that isn’t super thick and doughy, this sounds exactly like what I want.

5 days ago

Same! I hate when the batter is so thick it tastes like fried dough around the chicken. This one is so light and crunchy, you’re gonna love it.

30 minutes ago

Made this for my kids’ Friday night movie night and they went crazy for it! It was so quick to whip up after work, only took 20 minutes total cook time like the recipe says, which is perfect for busy weeknights. We paired it with mac and cheese and coleslaw, total hit.

just now

Just pulled my first batch out of the fryer and I’m shook how good this turned out! I’ve always been scared to make homemade fried chicken because I thought it’d be too complicated, but this batter was so easy to mix up and it’s perfectly crispy. Already texted the recipe link to my whole family!



