
easy chicken biscuit casserole

title 1
easy chicken biscuit casserole
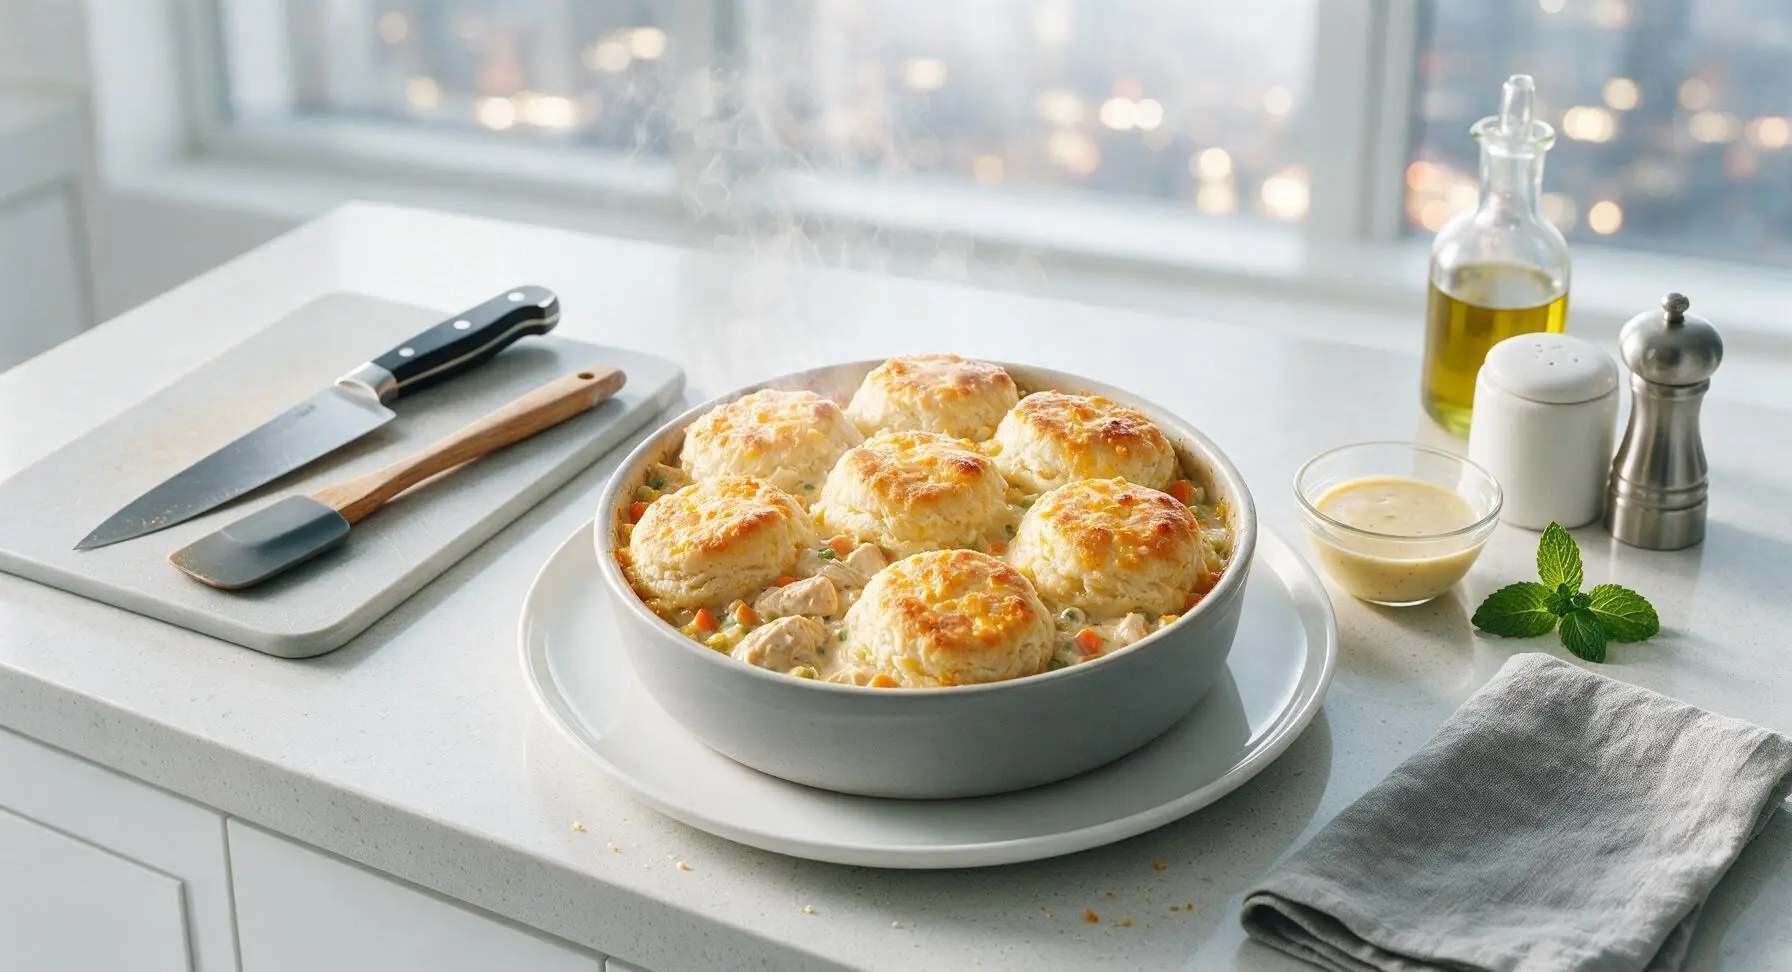
⏱️ cook time 30 minutes
🍽️ servings 6
⚡ Difficulty easy

intro

Creamy, savory chicken and vegetable filling topped with golden, flaky cheddar-kissed biscuits—this no-fuss, cozy casserole is pure Southern comfort in every bite.

Ingredients
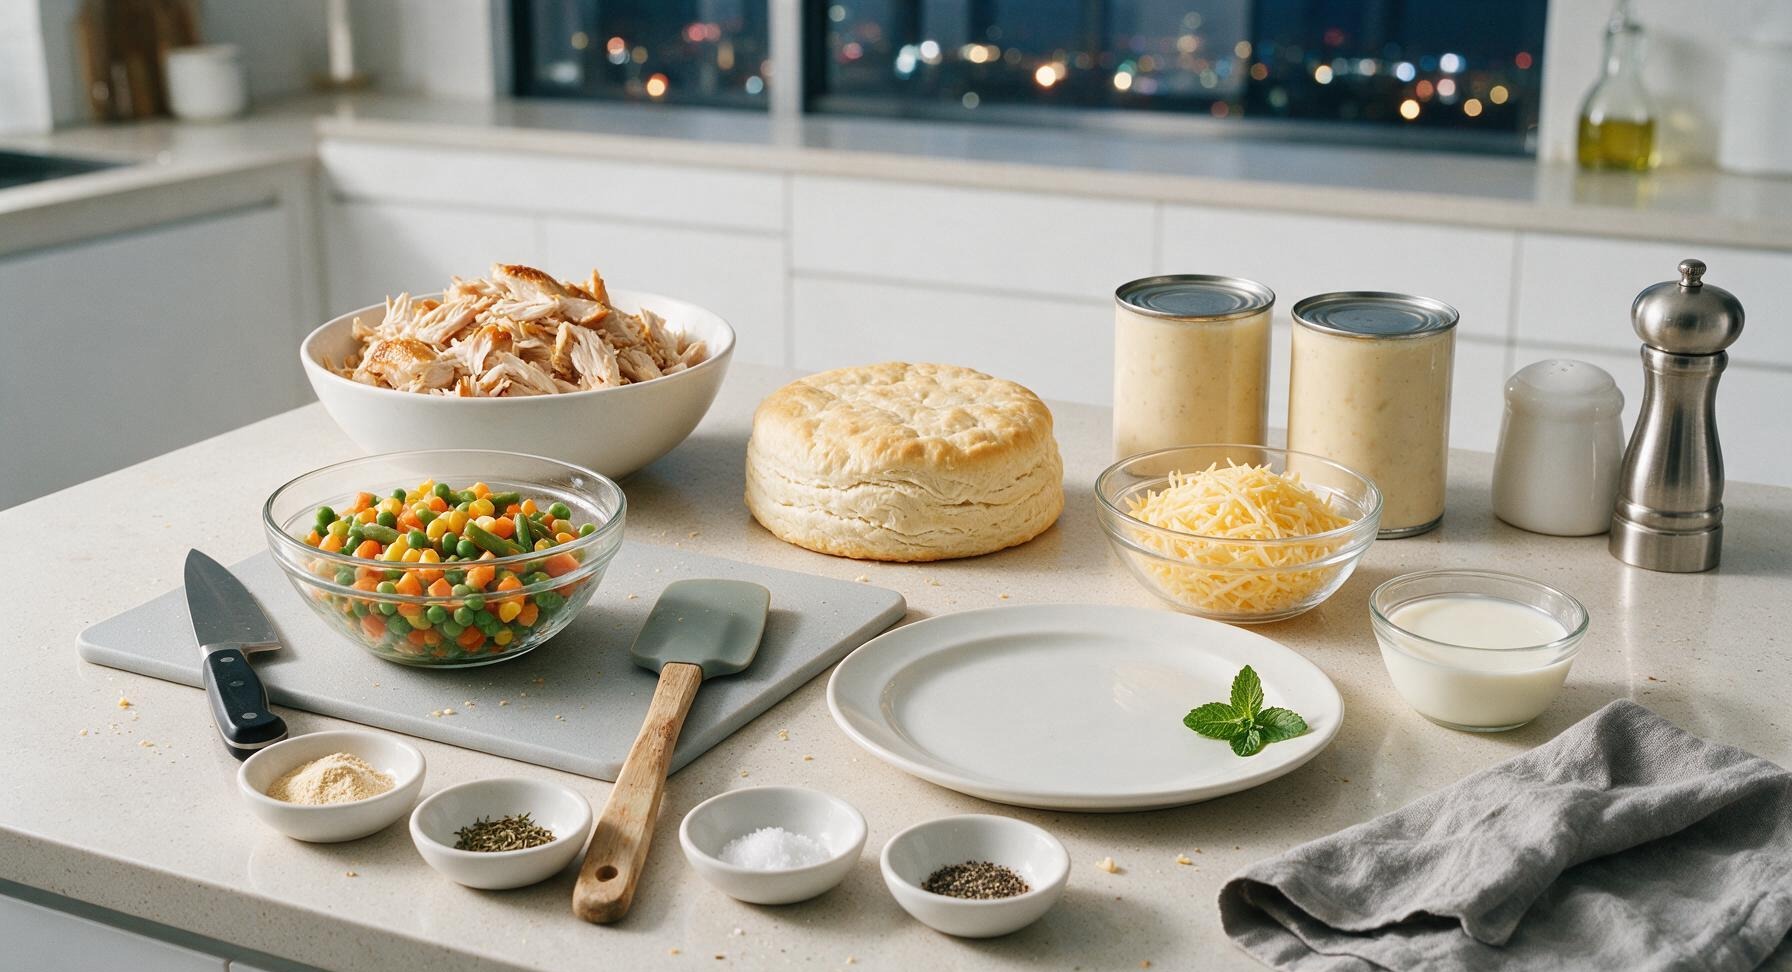
Shredded cooked chicken (rotisserie chicken works perfectly) 3 cups (450g)
Refrigerated flaky buttermilk biscuit dough (8-count can) 1 can (460g)
Condensed cream of chicken soup 2 cans (295g each, 590g total)
Frozen mixed vegetables (peas, carrots, corn, green beans), thawed and drained 1.5 cups (225g)
Whole milk 1 cup (240ml)
Shredded sharp cheddar cheese 1 cup (113g)
Garlic powder 1 tsp
Dried thyme 1/2 tsp
Kosher salt 1/4 tsp
Freshly ground black pepper 1/4 tsp

Steps

1

Preheat Oven and Prep Pan

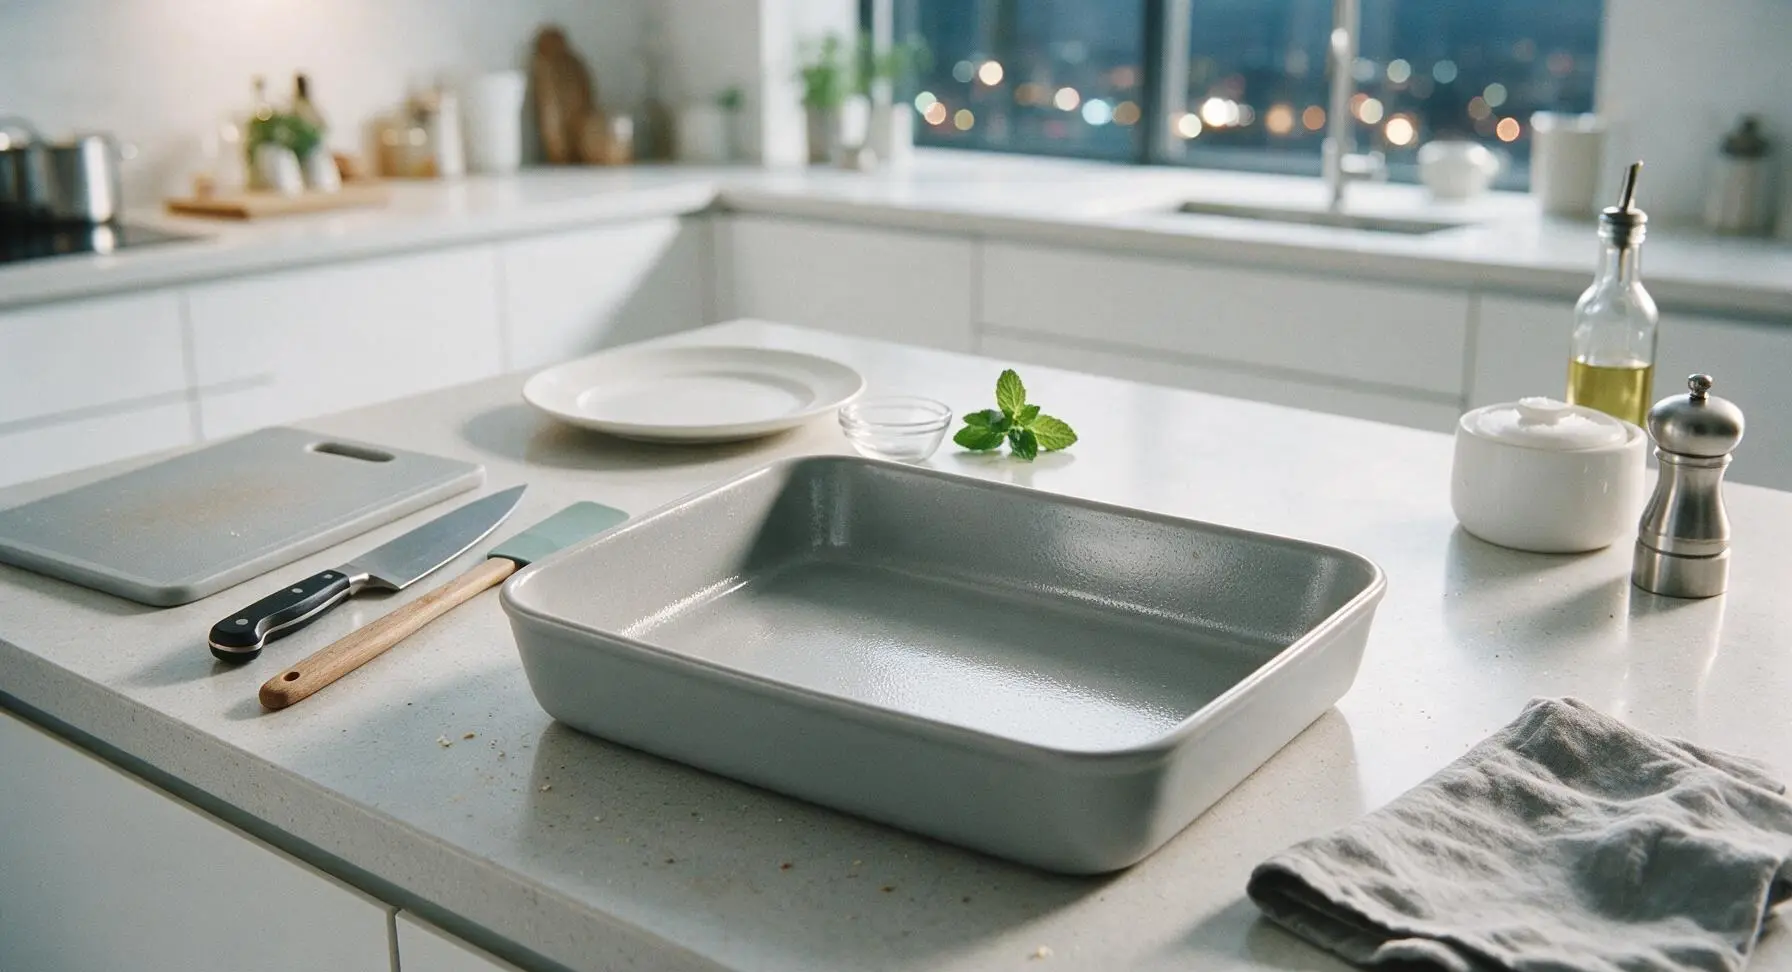
Preheat your oven to 375°F (190°C). Retrieve the 9x13 inch matte light grey ceramic baking dish, and lightly coat the entire interior surface with a thin layer of non-stick cooking spray or softened butter to prevent sticking during baking. Set the prepared dish in the center of the work area on the quartz counter.
Step 1
step1:Preheat Oven and Prep Pan
2

Mix Casserole Filling

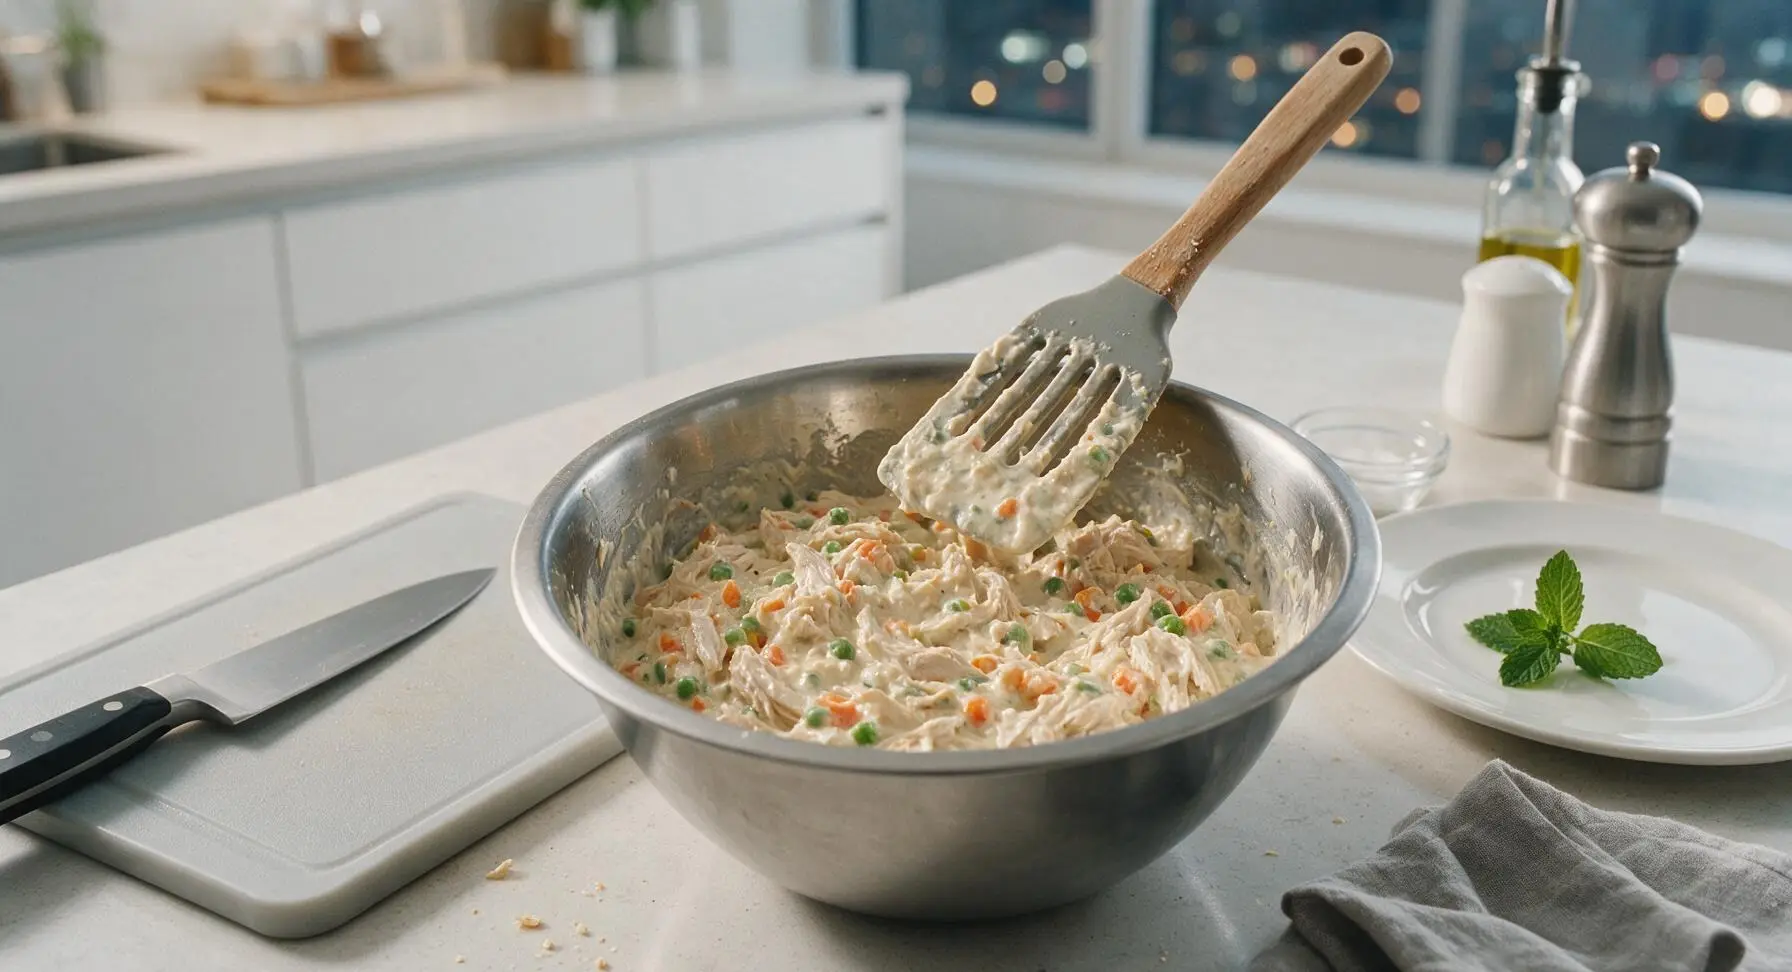
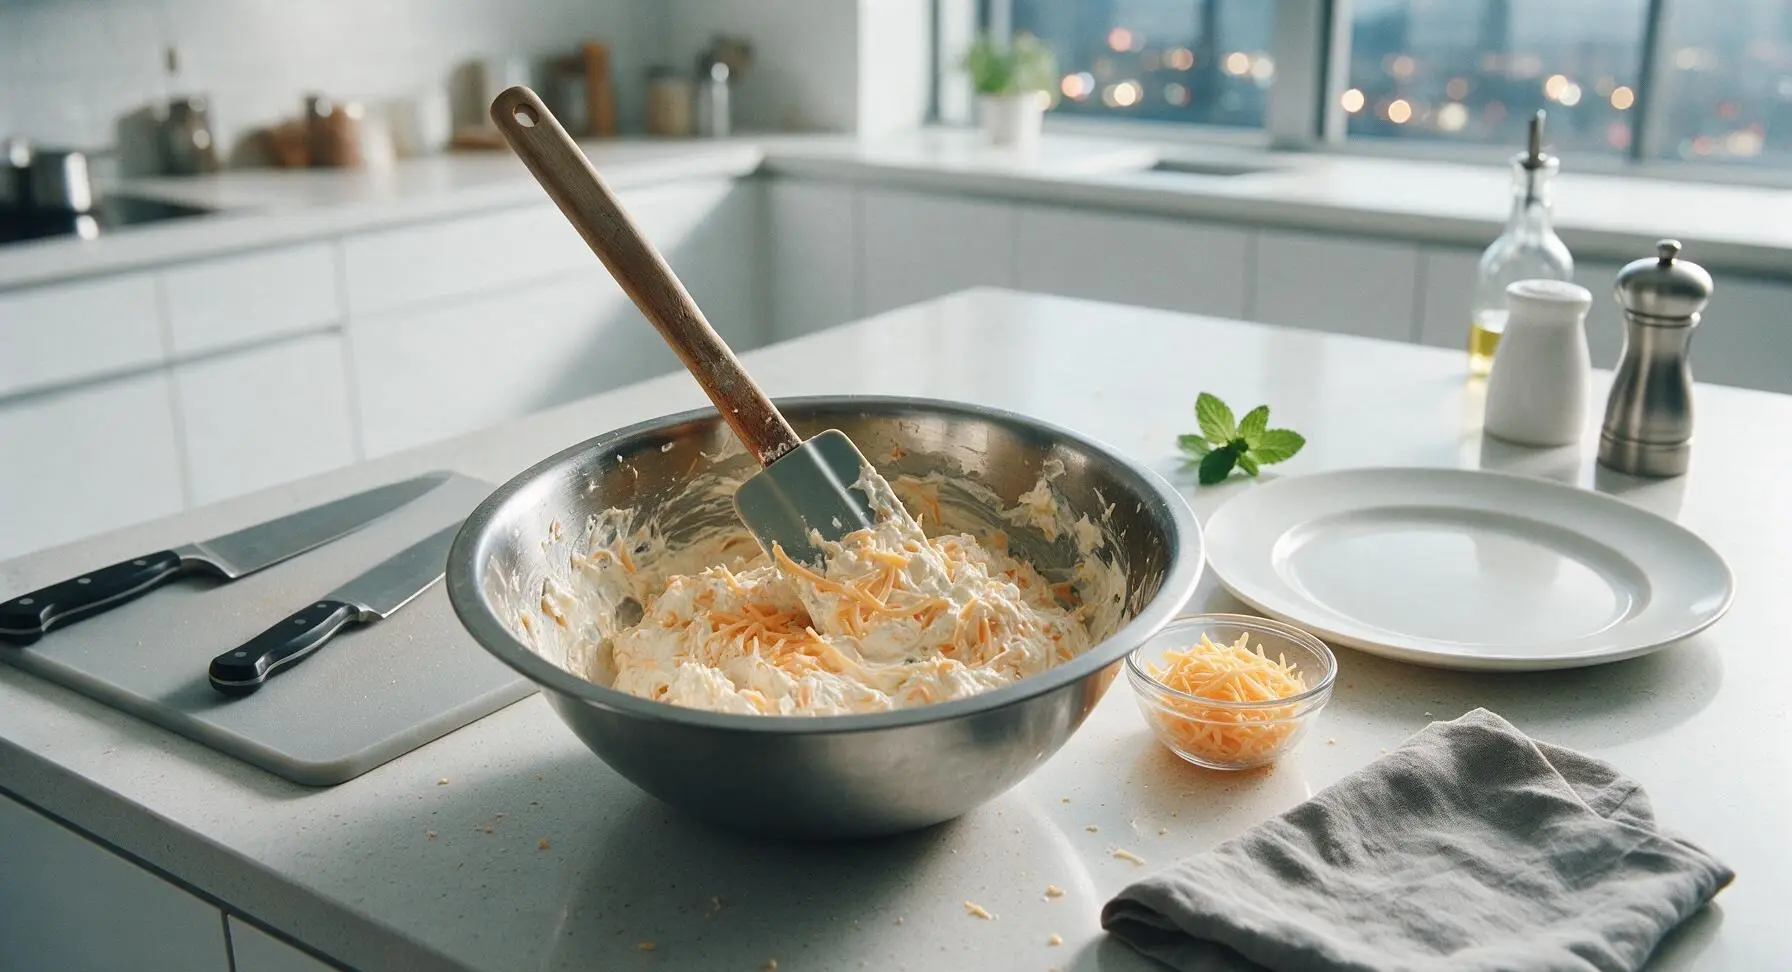
Place the medium brushed stainless steel mixing bowl to the right of the maple cutting board. Add the 3 cups shredded cooked chicken, 1.5 cups thawed drained mixed vegetables, two cans condensed cream of chicken soup, 1 cup whole milk, 1 tsp garlic powder, 1/2 tsp dried thyme, 1/4 tsp kosher salt, and 1/4 tsp black pepper to the bowl. Use the slotted silicone spatula to stir all ingredients together for 1 to 2 minutes until fully combined, with no dry spice clumps or unblended soup streaks remaining, creating a uniform creamy consistency.

Step 2
step2:Mix Casserole Filling
Step 2
step2:Mix Casserole Filling
3

Fold in Cheddar Cheese

Measure out 2 tablespoons of shredded sharp cheddar and set it aside in a small bowl for topping. Add the remaining cheddar (approx 7/8 cup) to the creamy filling in the mixing bowl, folding gently with the silicone spatula just until the cheese is evenly distributed throughout the mixture. Do not overmix, as this will mash the tender vegetable pieces and create a mushy texture.
Step 3
step3:Fold in Cheddar Cheese
4

Add Filling to Baking Dish

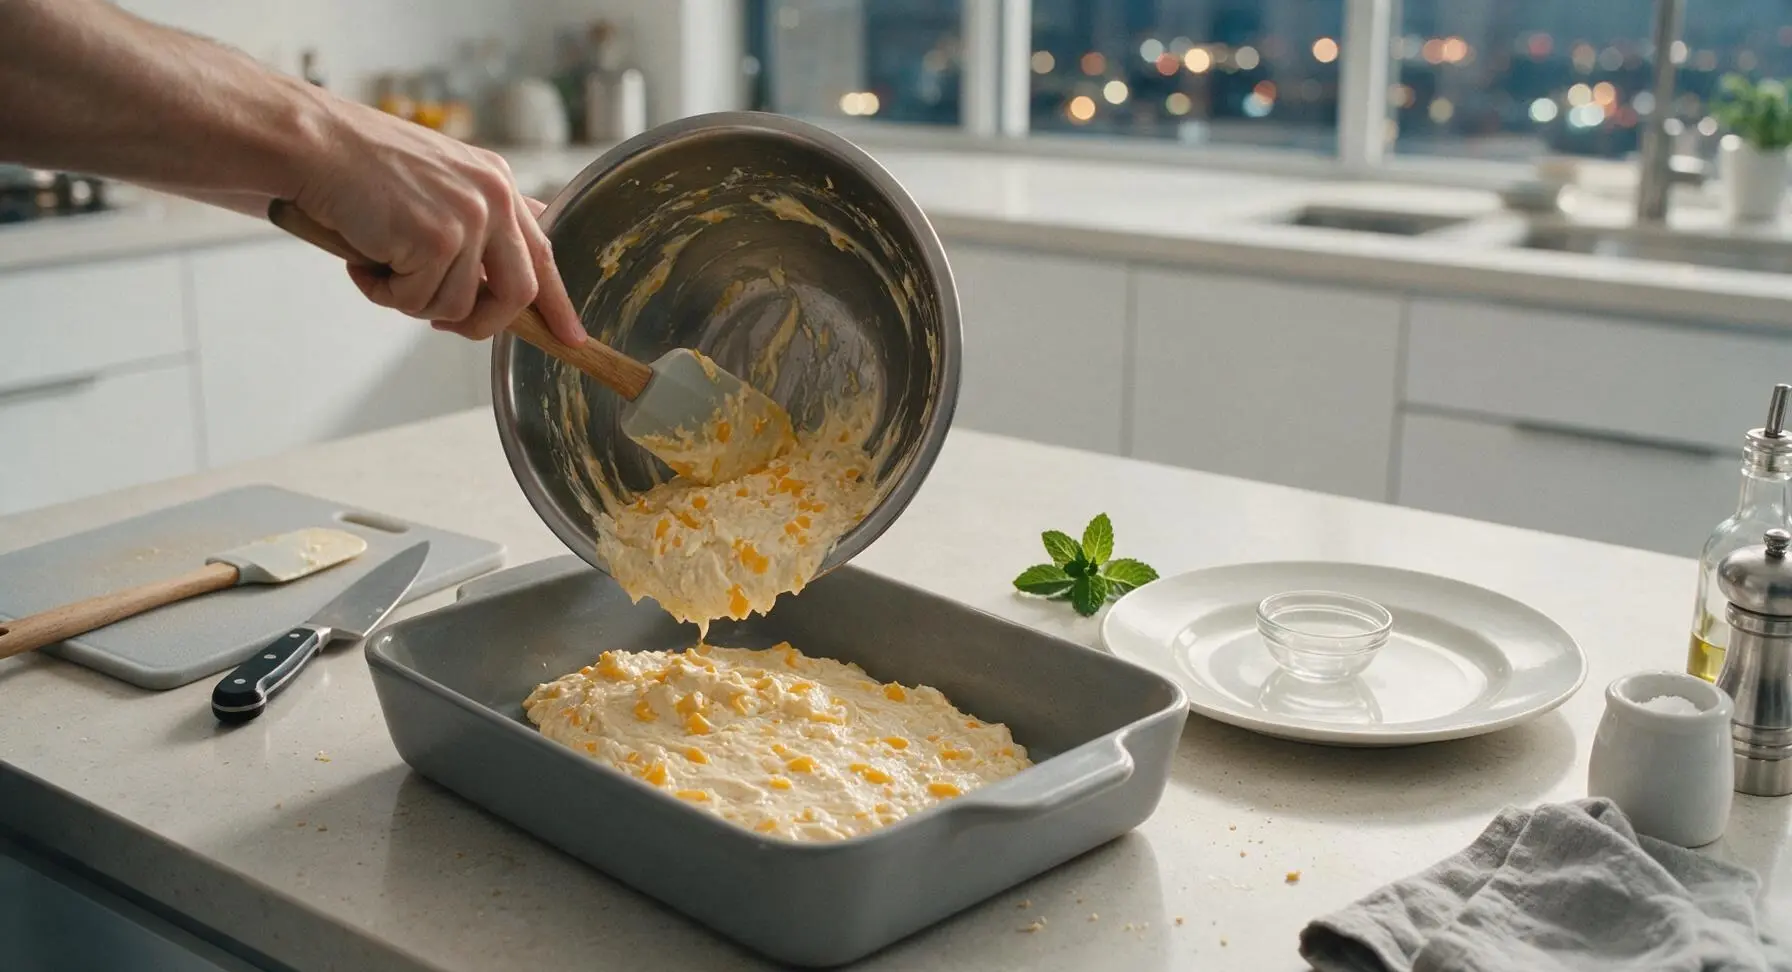
Pour the entire cheesy chicken and vegetable mixture from the mixing bowl into the prepared 9x13 inch ceramic baking dish. Use the silicone spatula to scrape every last bit of filling from the bowl, then spread the filling into a perfectly even, flat layer across the bottom of the dish, ensuring no thin spots or high mounds that would cause uneven cooking.
Step 4
step4:Add Filling to Baking Dish
5

Top with Biscuit Dough

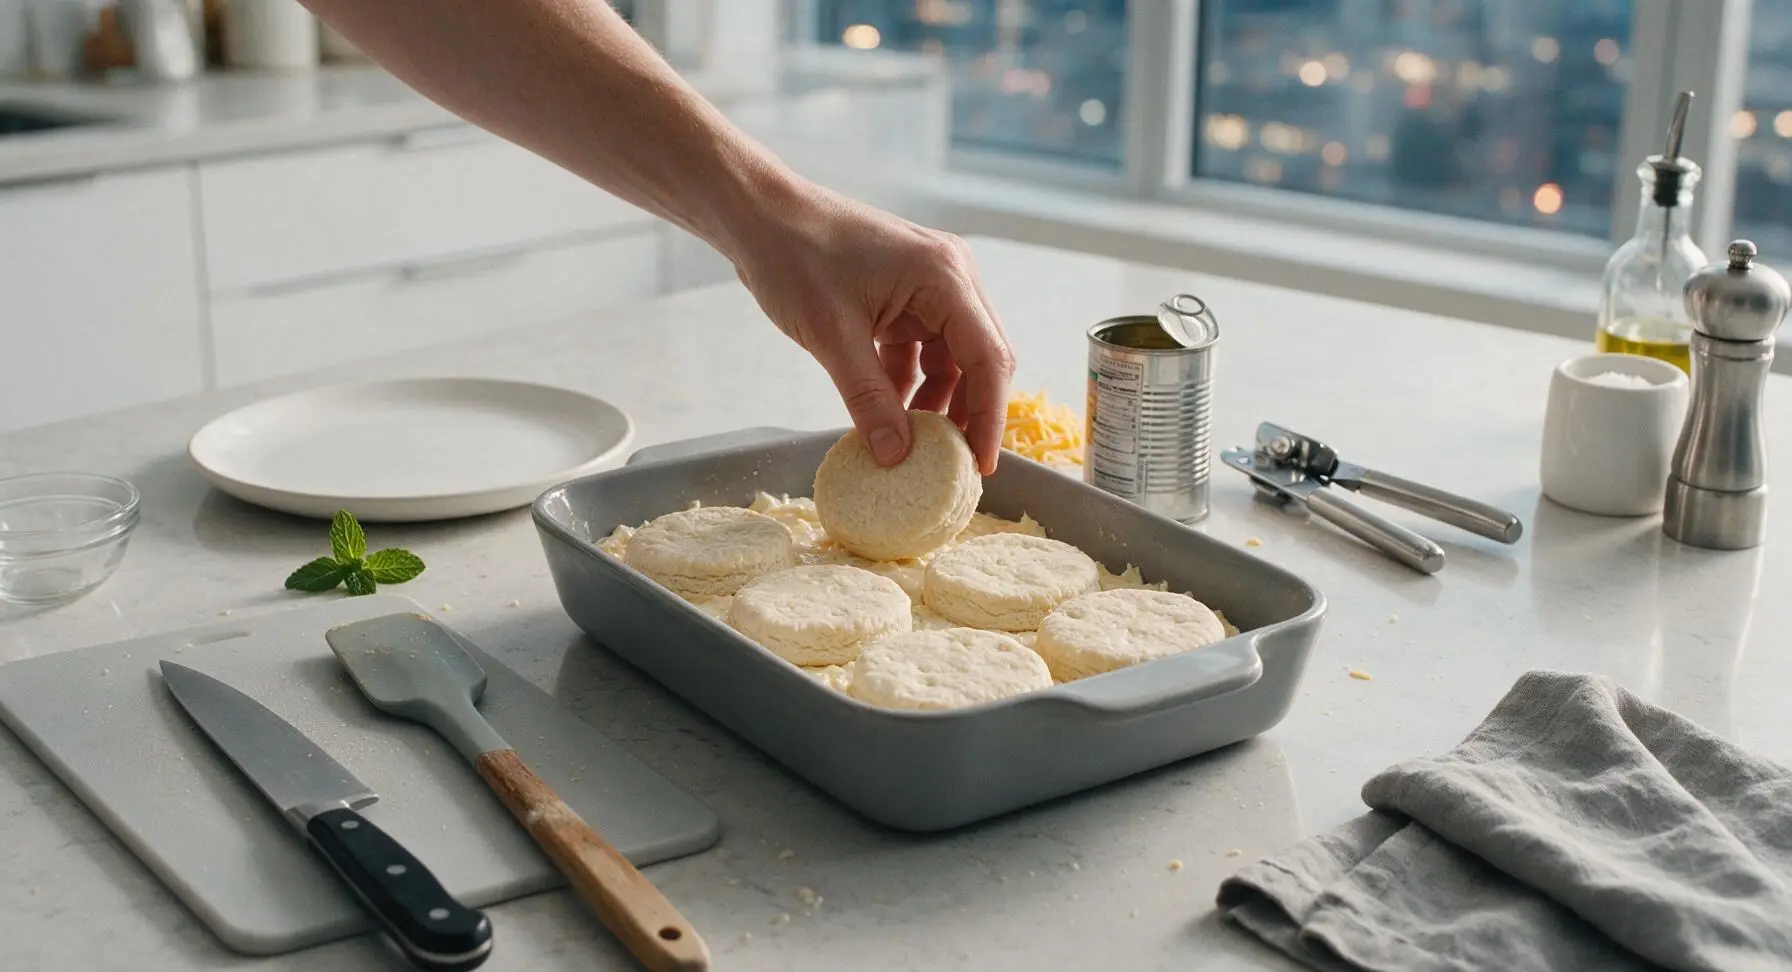
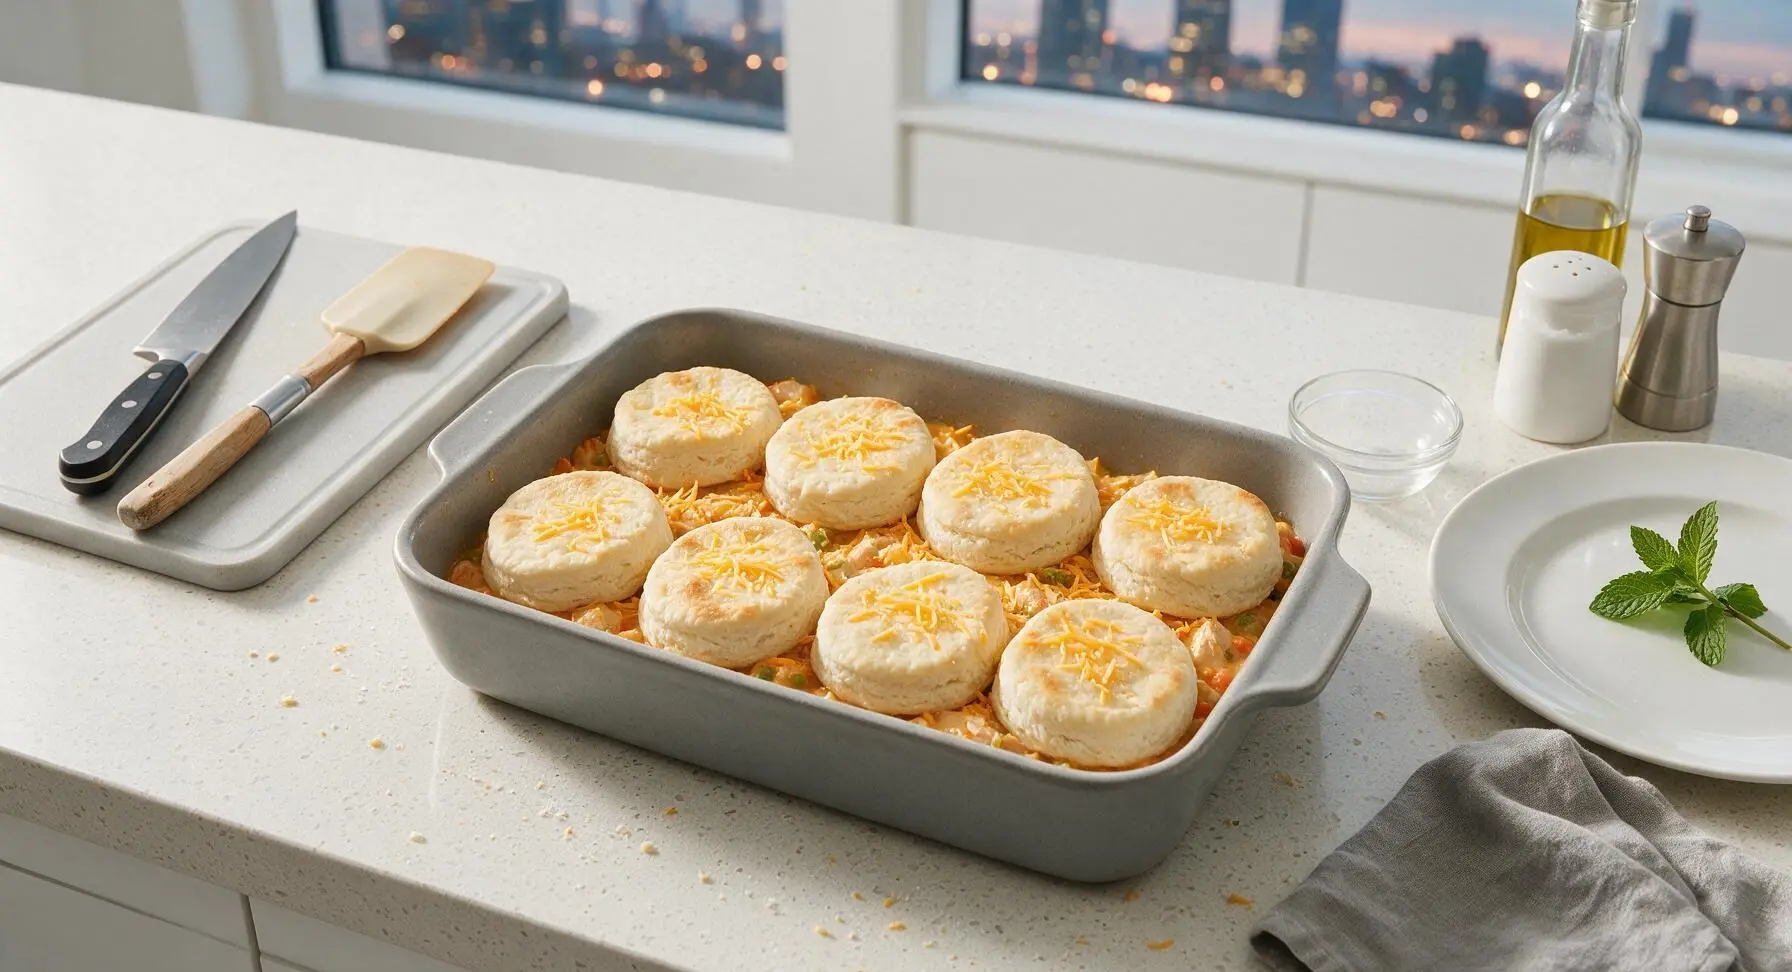
Use the manual stainless steel can opener to open the can of refrigerated flaky buttermilk biscuit dough, then separate the 8 individual pre-cut biscuit rounds. Arrange the biscuits in a 2x4 grid on top of the filling, leaving a 1/2 inch gap between each biscuit to allow for rising and air circulation as they bake. Sprinkle the reserved 2 tablespoons of shredded cheddar evenly over the tops of the arranged biscuits.
Step 5
step5:Top with Biscuit Dough
Step 5
step5:Top with Biscuit Dough
6

Bake Until Golden Bubbly

Carefully place the assembled casserole on the middle rack of the preheated 375°F (190°C) oven. Bake for 28 to 32 minutes, rotating the dish 180 degrees at the 15 minute mark to ensure even browning, until the biscuits are deep golden brown on top (the internal temperature of the thickest biscuit will reach 200°F/93°C when fully cooked, with no raw doughy center), and the filling is bubbling vigorously around the edges of the dish.
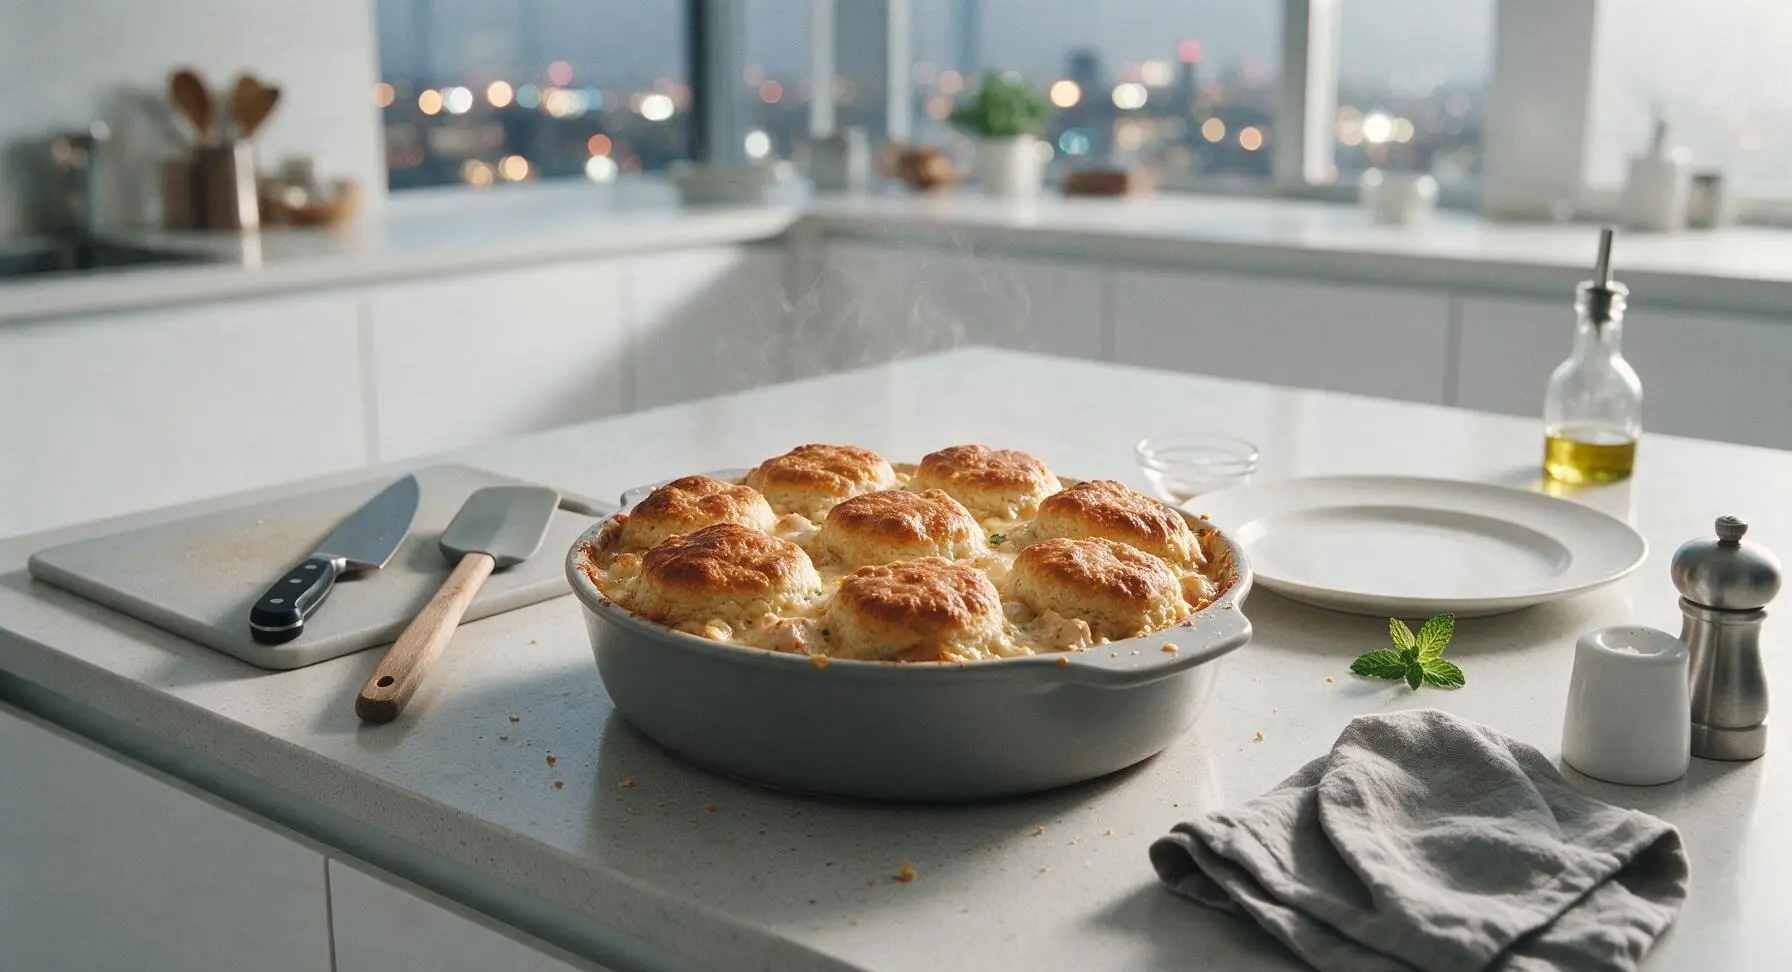
Step 6
step6:Bake Until Golden Bubbly
7

Let Casserole Rest Briefly

After removing the casserole from the oven, let it rest undisturbed for 5 minutes on the counter before serving. This short rest allows the creamy filling to set slightly so it does not run when scooped, and gives the hot biscuit crust time to firm up so it does not squish under the serving spoon.
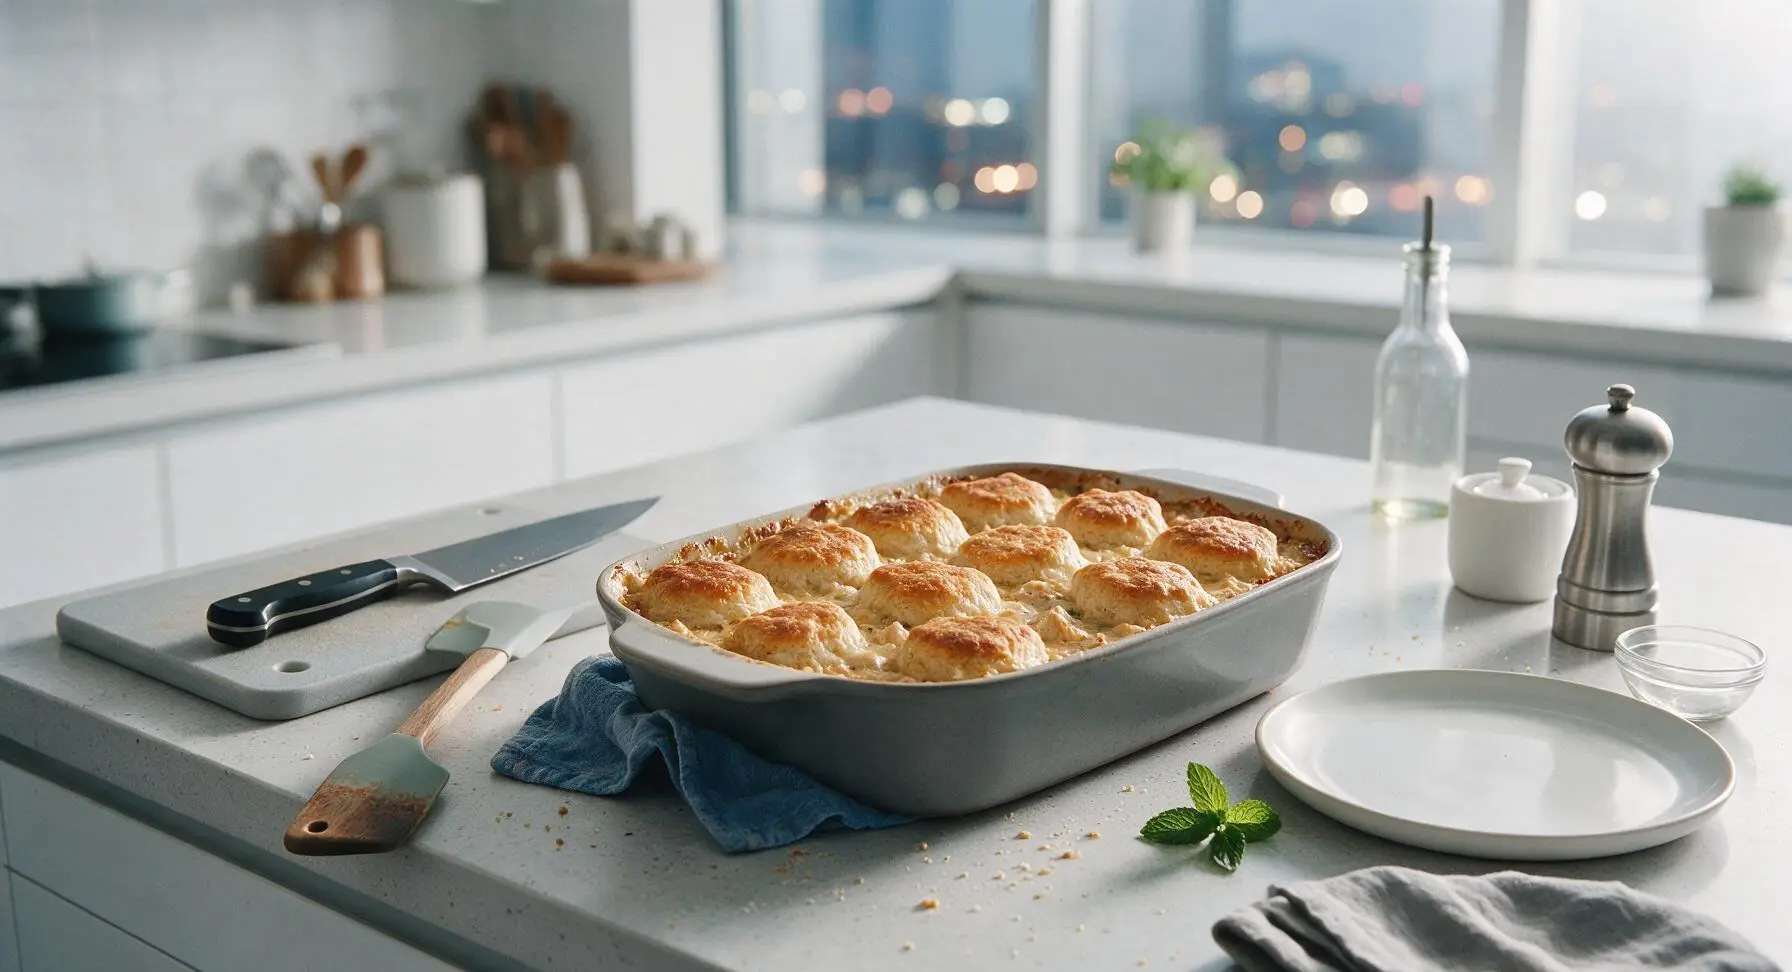
Step 7
step7:Let Casserole Rest Briefly

Tips

1.Thaw and drain frozen mixed vegetables completely before adding them to the filling: excess melted ice from frozen veggies will thin the creamy gravy and make biscuit bottoms soggy instead of flaky. Pat veggies dry with a paper towel if they feel damp after thawing.
2.Use store-bought rotisserie chicken to cut prep time down to 10 minutes: no need to cook and cool raw chicken for this recipe, making it ideal for last-minute weeknight meals when time is short.
3.Leave 1/2 inch gaps between biscuits when arranging them on the filling: this allows hot oven air to circulate, cooking biscuit sides evenly and letting filling steam escape to prevent soggy, undercooked biscuit bases.


✨ You May Also Like

Main Course
🍜 United Kingdom

A showstopping classic of tender seared beef, savory mushroom duxelles, and crisp prosciutto wrapped in flaky golden puff pastry, baked to juicy perfection.

⏱️ 2 hours 1Main Course ★ 4.7
Main Course
🍜 India

Tender charred marinated chicken simmered in a rich, spiced creamy tomato sauce, this iconic Anglo-Indian curry pairs perfectly with basmati rice or warm naan.

⏱️ 50 minuteMain Course ★ 4.6
Main Course
🍜 Thailand

Classic tangy, sweet, and savory Thai stir-fried rice noodles with shrimp, tofu, and crunchy garnishes, balancing all five core Thai flavor profiles.

⏱️ 30 minuteMain Course ★ 4.5
Main Course
🍜 United Kingdom

Crispy golden beer-battered cod and fluffy double-fried chips, served with tangy tartar sauce and malt vinegar: the timeless, beloved British pub comfort classic.

⏱️ 45 minuteMain Course ★ 4.7
Main Course
🍜 Mexico

Smoky, chile-marinated pork tacos with caramelized pineapple, fresh cilantro, and lime: a beloved classic Mexican street food perfect for casual summer gatherings.

⏱️ 1 hour 45Main Course ★ 4.8
Main Course
🍜 United States

Crunchy Fritos corn chips layered with savory beef chili and melted cheddar, topped with cool, zesty fixings for a beloved, cozy Tex-Mex comfort food.

⏱️ 35 minuteMain Course ★ 4.8

easy chicken biscuit casserole:Frequently Asked Questions

1.Can I use store-bought rotisserie chicken for this recipe instead of cooking chicken from scratch? ▾
Absolutely—rotisserie chicken is actually my top shortcut for this casserole! Grab a plain or lightly seasoned grocery store rotisserie bird, shred 2 to 2.5 cups of mixed white and dark meat (skip the skin if you prefer less fat), and you’ll cut prep time to 10 minutes flat without losing any rich, savory, home-cooked flavor.
2.Do I need to thaw frozen mixed vegetables before adding them to the filling? ▾
Yes, always thaw and drain your frozen mixed veggies first! If you toss in icy, undrained veggies, they’ll release extra water as they bake and turn your creamy filling runny instead of thick and luscious. I pop mine in the microwave for 2 minutes, then press them with a paper towel to soak up excess moisture before mixing in.
3.Can I make this casserole ahead of time and bake it later? ▾
You can prep the chicken and veggie filling 1 to 2 days in advance and store it tightly covered in your baking dish in the fridge! Wait to top it with the biscuit dough until right before you bake it, though—if raw biscuit dough sits on wet filling too long, it’ll get soggy and won’t rise into that flaky, golden top we want.
4.What can I use if I don’t have condensed cream of chicken soup on hand? ▾
No problem! Swap in an equal amount of condensed cream of mushroom, cream of celery, or cheddar cheese soup for a similar creamy texture. If you avoid canned soup entirely, make a quick roux with 2 tbsp butter, 2 tbsp flour, 1.5 cups milk, and a pinch of poultry seasoning simmered until thick as a homemade replacement.
5.Why do the biscuits on my casserole always come out soggy on the bottom? ▾
Soggy biscuit bottoms almost always stem from two issues: overly wet filling, or placing biscuits on cold filling too far in advance of baking. Make sure your filling is thick (drain veggies really well!) and leave a tiny gap between each biscuit when arranging them so air can circulate and crisp every edge as it bakes.
6.Can I use homemade biscuit dough instead of refrigerated canned biscuit dough? ▾
Of course! If you have a favorite flaky buttermilk biscuit recipe, cut 8 equal, 2-inch wide biscuits and lay them on top just like you would the canned dough. Add 3 to 5 minutes to the total bake time if your homemade biscuits are thicker than standard canned ones, and check for no raw dough spots before pulling the dish out.
7.How do I know when the casserole is fully done baking? ▾
You’ll know it’s ready when the filling is bubbling hot around the edges of the dish, and the biscuits are deep golden brown on top with no raw, doughy spots on the sides touching the filling. If biscuit tops brown too fast before the dough cooks through, tent loose aluminum foil over the top for the last 5 to 7 minutes to prevent burning.
8.Can I add extra cheese to this casserole? ▾
Absolutely—this recipe is super flexible for cheese lovers. Stir ½ cup of shredded sharp cheddar into the creamy filling for extra richness, or sprinkle 2 tablespoons of shredded cheddar over the biscuit tops during the last 3 minutes of baking to get that perfectly melty, cheddar-kissed crust the recipe highlights.
9.What size baking dish works best for this recipe? ▾
A 9x9-inch square baking dish or 2.5-quart oval casserole dish is the perfect fit for this recipe. If you only have a 9x13-inch dish, the filling will spread thinner and biscuits will have more space between them, so cut bake time by 5 to 7 minutes to avoid drying out the filling or overcooking edges.
10.Can I freeze this casserole to use for future quick meals? ▾
You can freeze fully cooled, baked casserole for up to 3 months, wrapped tightly in plastic wrap and a layer of aluminum foil. I don’t recommend freezing unbaked casserole with raw biscuit dough on top, as the dough will get soggy and won’t rise properly when baked from frozen. Thaw in the fridge overnight before reheating.
11.What’s the best way to reheat leftover casserole? ▾
For the best texture, reheat single servings in the oven or toaster oven at 350°F for 8 to 10 minutes, until filling is bubbly and the biscuit top is crisp again. The microwave works in a pinch (60 to 90 seconds per serving), but the biscuit will turn soft, so pop it in the toaster oven for 30 seconds after to crisp it back up if you can.
12.Can I swap the whole milk for lower-fat milk or a non-dairy alternative? ▾
You can swap whole milk for 2% or skim milk if that’s what you have on hand, though the filling will be slightly less rich and creamy. Unsweetened oat milk is the best non-dairy swap, as it has a similar thickness and neutral flavor; skip thin almond milk or sweetened plant milks, which make filling watery or add odd off-flavors.
13.How long will leftovers stay fresh in the refrigerator? ▾
Stored in a tightly sealed, airtight container, leftover casserole will stay fresh in the fridge for 3 to 4 days. Let the casserole cool completely to room temperature (within 2 hours of coming out of the oven, per standard food safety guidelines) before sealing it up to avoid excess condensation that makes biscuits soggy.
14.Can I add extra seasonings to give the filling more flavor? ▾
Definitely! The base recipe is mild and family-friendly, so feel free to customize it to your taste. A ½ teaspoon of garlic powder, ¼ teaspoon of black pepper, pinch of dried thyme, or dash of hot sauce stirred into the filling adds great depth. Skip extra salt until you taste first, since canned soup is already fairly salty.
15.Do I have to use flaky layer buttermilk biscuits, or will other canned biscuits work? ▾
Regular canned homestyle or Southern-style biscuits work totally fine if that’s what you have in your fridge! Flaky layered buttermilk biscuits have extra buttery, pull-apart layers that crisp up beautifully on top, but any 8-count can of refrigerated biscuit dough works. Just skip thin, sweet canned crescent roll dough, which is a poor match for this savory dish.
16.Can I add extra mix-ins to the filling to make the casserole heartier? ▾
Absolutely! This is a fantastic base recipe to bulk up for heartier appetites. Stir in ½ cup of cooked crumbled bacon, diced cooked potato, sautéed onion, or even a handful of chopped spinach to the filling before baking. Just make sure any extra add-ins are well-drained so they don’t thin the creamy filling and sog out your biscuit top.

Comments (3)

2 days ago

OMG this was such a game changer for our busy weeknight dinner! I threw this together in 10 minutes before my kid’s soccer practice, popped it in the oven with the timer set, and it was perfectly done when we got home. My whole family devoured it—even my super picky 7 year old asked for seconds! I added a little extra shredded sharp cheddar on top because we’re total cheese obsessed in this house, 10/10 will be making this for our next neighborhood potluck too.

yesterday

Wait you set the oven timer so it cooked while you were at practice? I’ve been so scared to leave the oven running when I’m not home but that sounds like a total game changer for our chaotic sports nights too! Did you just assemble it right before you left or prep it the night before?

yesterday

So glad your family loved it, Sarah! That extra sharp cheddar addition sounds chef’s kiss. Quick tip for folks prepping ahead: you can fully assemble the casserole the night before, keep it covered in the fridge, and pop it in the oven whenever you’re ready—no extra work needed! Just make sure your oven’s auto-shutoff timer is enabled if you’re running it while you’re out for extra peace of mind.

3 days ago

Made this for my guys’ game night last weekend and it was a total hit! Only took 30 minutes total which was perfect because I ran late getting home from work and didn’t have time for anything fancy. I swapped the regular canned biscuits for the flaky honey butter ones and oh man, that sweet-savory combo is unreal. Only note is I wish I’d made a double batch because it was gone in 10 minutes flat. Will absolutely be making this again for our next tailgate!

2 days ago

That honey butter biscuit swap sounds absolutely incredible, Jake—what a genius call to add that little sweet note to balance the savory chicken and gravy! Doubling the batch for group gatherings like tailgates and game nights is definitely the move, this casserole disappears fast every time I serve it to a crowd.

5 minutes ago

SO good! I whipped this up on Sunday for my weekly meal prep and it held up perfectly all week for work lunches. I tossed in a handful of frozen mixed veggies (peas, carrots, corn) to bulk it up a little and add some extra fiber, and it tasted just as good reheated in the office microwave as it did fresh out of the oven. Super easy, barely any cleanup, 10/10 for anyone who hates spending hours in the kitchen on meal prep day.



