
easy fried chicken tenders

title 1
easy fried chicken tenders
⏱️ cook time 12 minutes
🍽️ servings 4
⚡ Difficulty easy

intro

Crispy, juicy golden fried chicken tenders with a shatteringly crisp seasoned crust, ready in under 25 minutes for a satisfying, family-friendly weeknight meal.

Ingredients
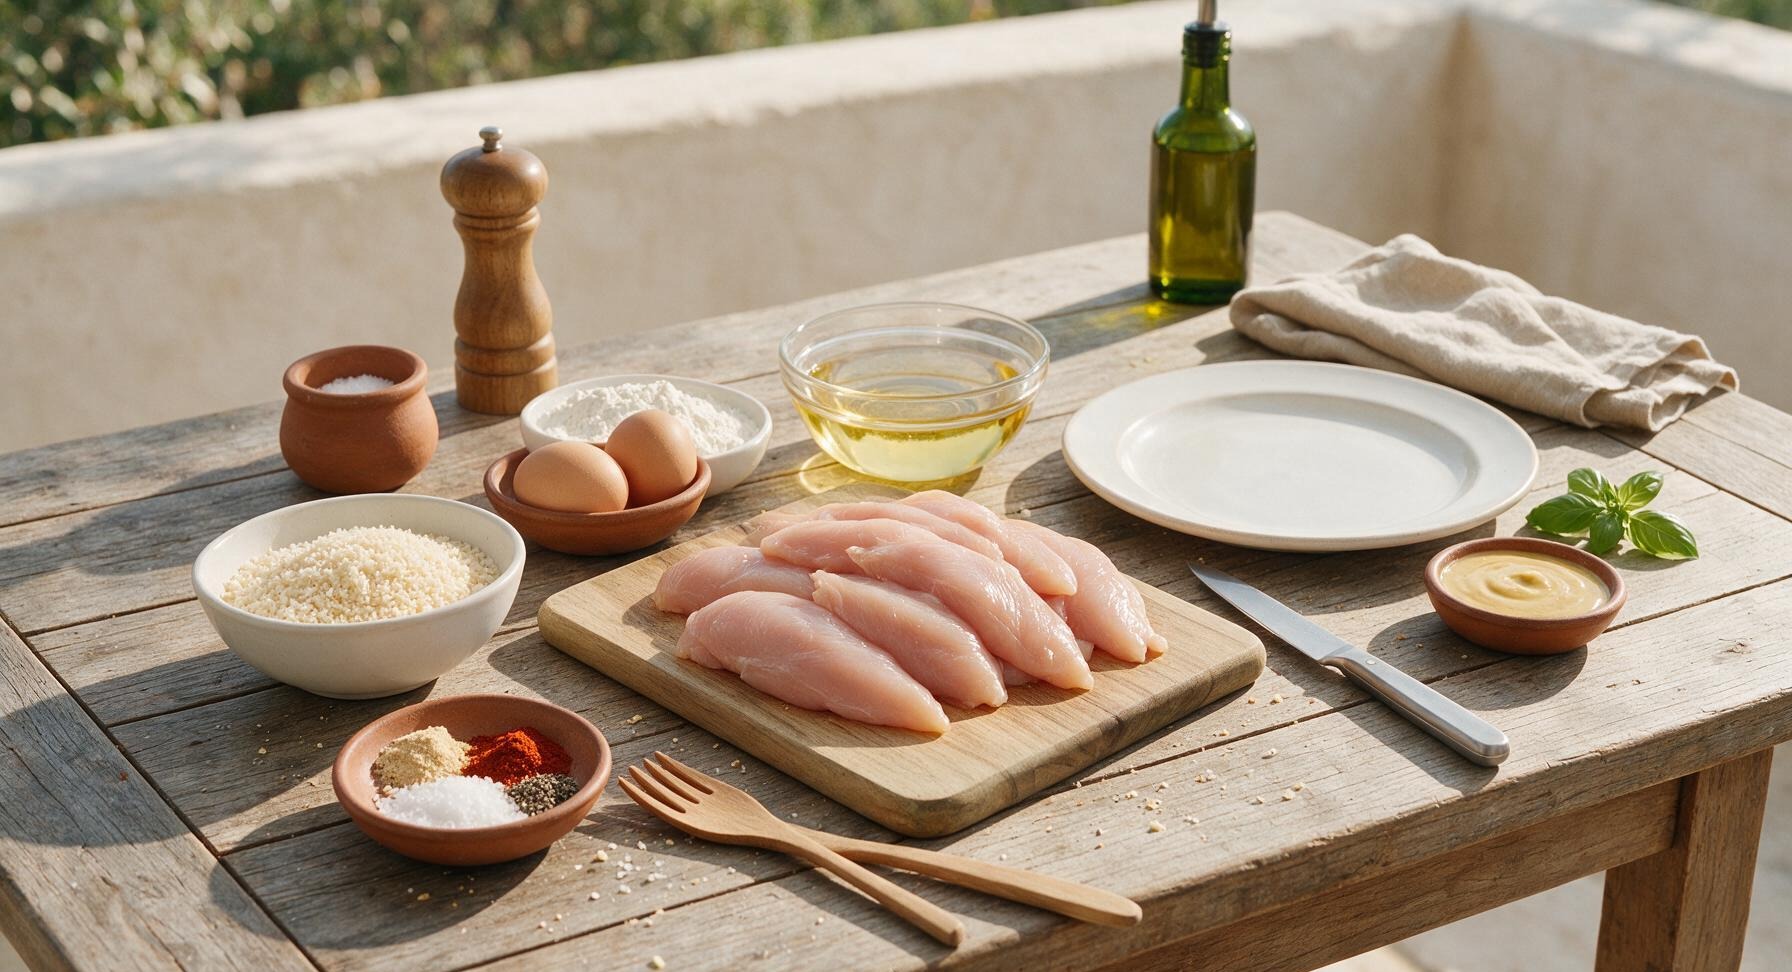
Boneless skinless chicken tenderloins 1.5 lbs (680g)
All-purpose flour 1 cup (120g)
Large eggs 2 units
Panko breadcrumbs 1.5 cups (90g)
Garlic powder 1 tsp
Smoked paprika 1 tsp
Coarse kosher salt 1.5 tsp
Freshly cracked black pepper 1/2 tsp
Neutral canola oil 2 cups (for frying)
Honey mustard (for serving) 1/2 cup

Steps

1

Trim Chicken Tenders

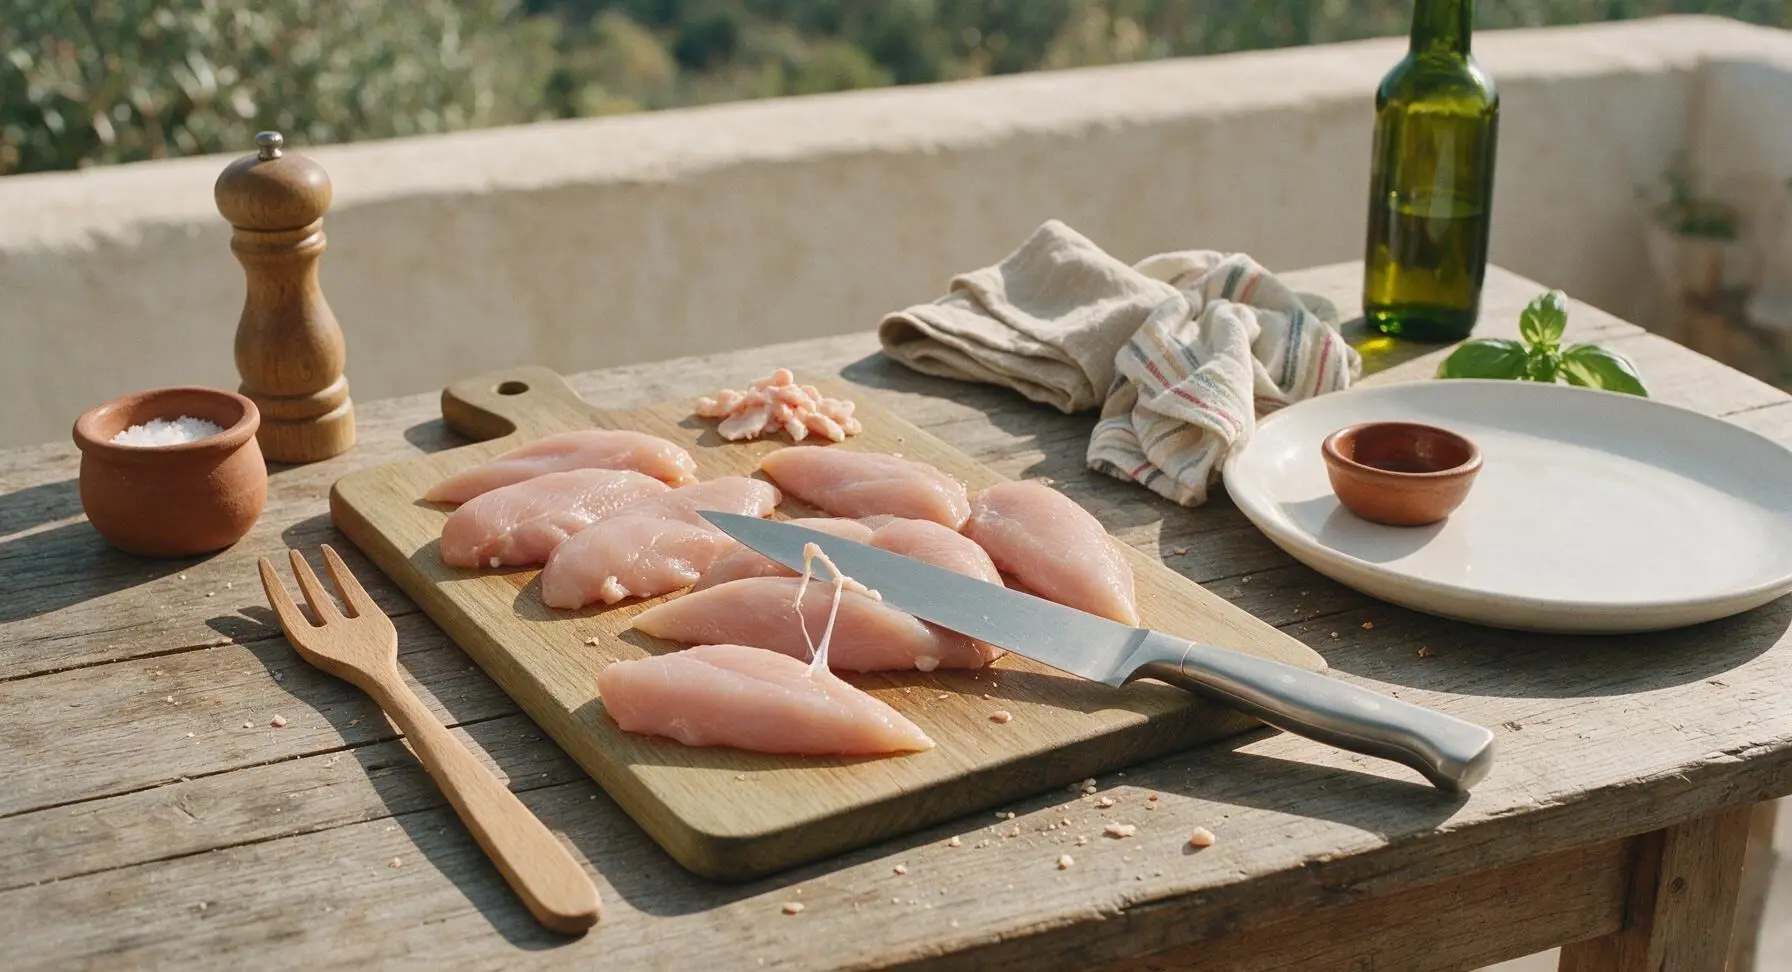
Place raw chicken tenderloins on the light maple cutting board. Use the 8-inch stainless steel chef knife to trim away all visible white tendons and excess hard fat from each tenderloin. Pat every piece completely dry with a corner of the folded cotton kitchen towel; a dry surface is critical for breading adhesion and a crisp crust. Season chicken lightly with 1/2 tsp kosher salt and 1/4 tsp black pepper, tossing to coat evenly. Prep for this step takes approximately 3 minutes.
Step 1
step1:Trim Chicken Tenders
2

Set Up Breading Station

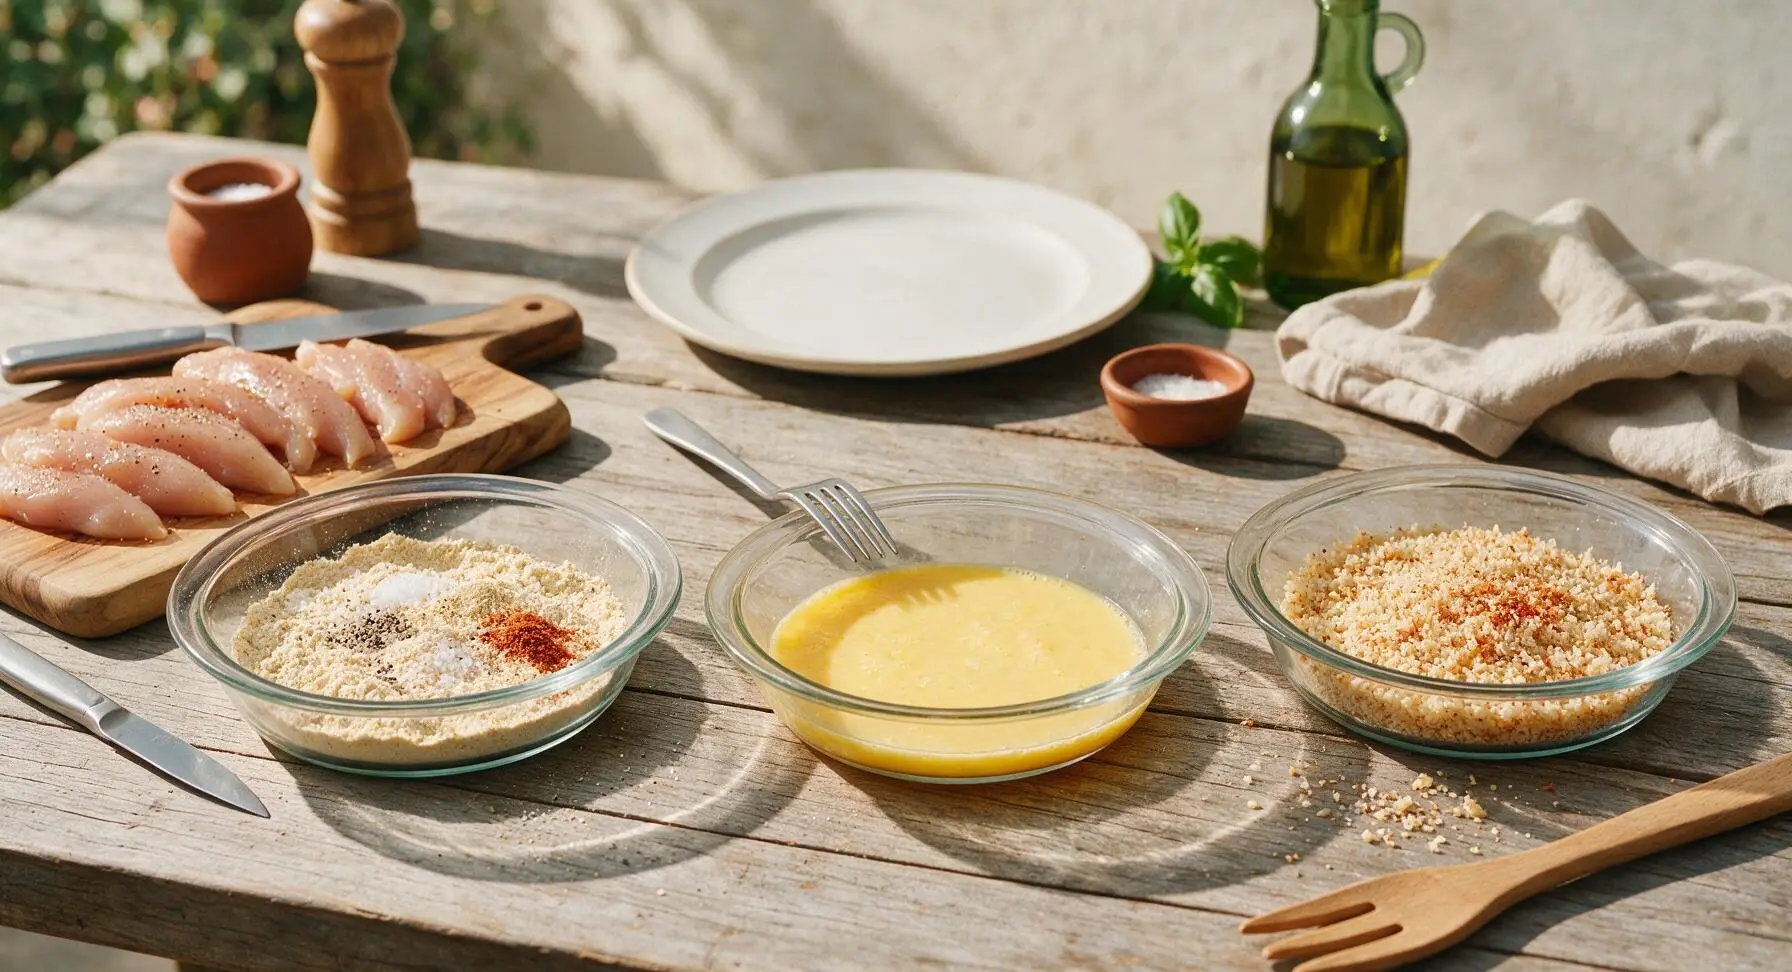
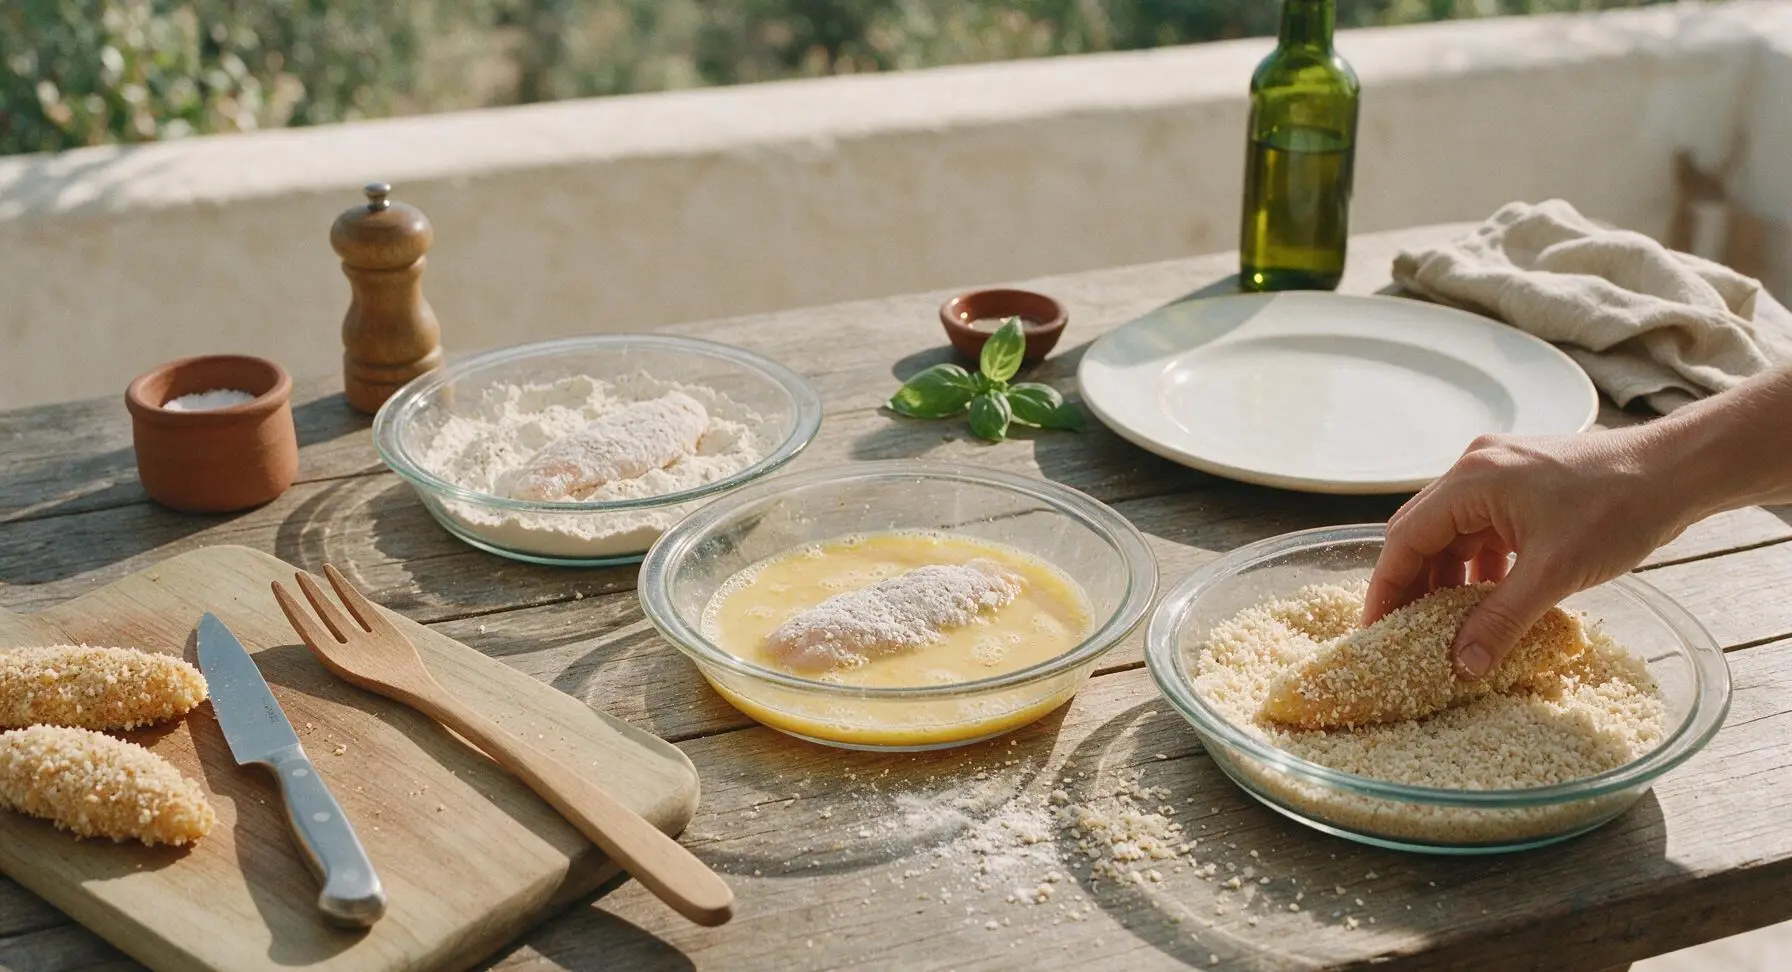
Arrange the three clear glass pie dishes in a straight horizontal row at counter center. Fill the left dish with all-purpose flour, mixed with 1/2 tsp kosher salt, 1/4 tsp black pepper, 1/2 tsp garlic powder, and 1/2 tsp smoked paprika, stirred until spices are evenly distributed. Crack two large eggs into the middle dish, whisk with the stainless steel fork until completely smooth with no visible streaks of egg white. Fill the right dish with panko breadcrumbs, tossed with the remaining 1/2 tsp garlic powder and 1/2 tsp smoked paprika. The left-to-right flow (flour → egg → breadcrumbs) creates a low-mess, efficient breading line.
Step 2
step2:Set Up Breading Station
3

Coat Tenders Evenly

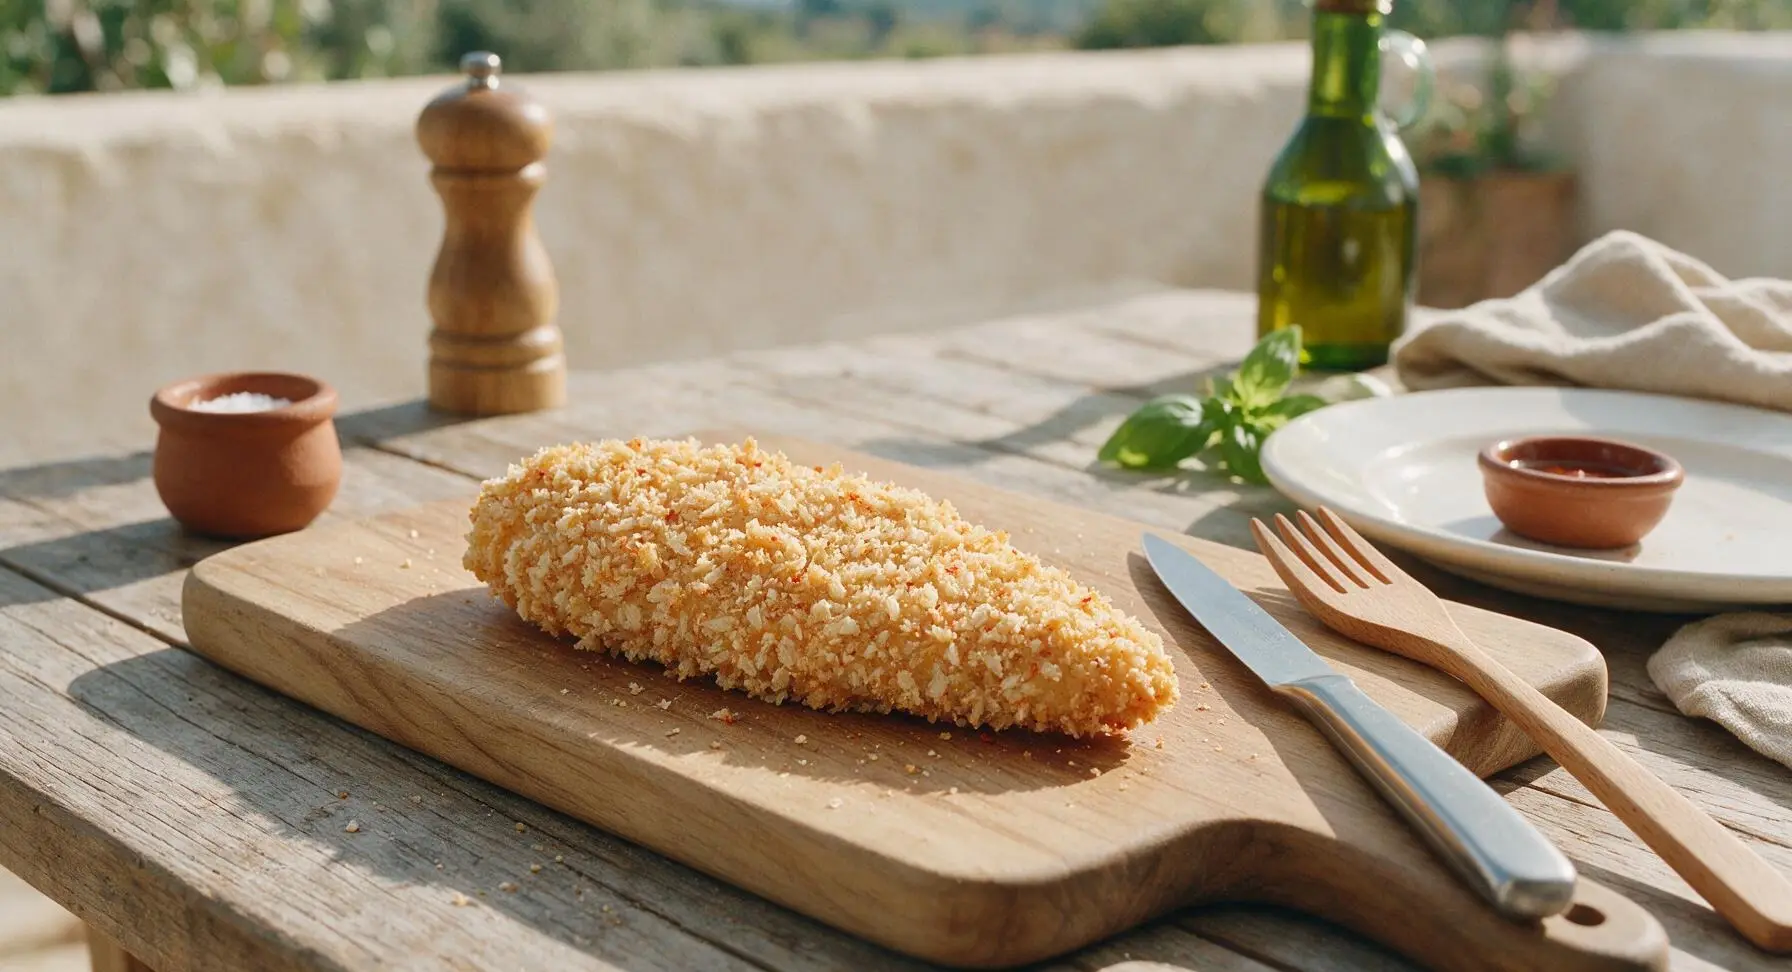
Working one tender at a time, first dredge fully in the seasoned flour, pressing gently to ensure flour covers every surface, then shake off excess flour. Dip the floured tender completely in the egg wash, letting excess egg drip back into the dish for 2 seconds. Finally, press the tender firmly into the seasoned panko, turning to coat all sides, pressing crumbs so they adhere tightly to the surface. Set fully breaded tenders on the empty edge of the maple cutting board as you work; no bare patches of chicken should be visible through the crumb coating. Breading all tenders takes approximately 5 minutes, and breaded tenders can rest while oil heats to help coating set.
Step 3
step3:Coat Tenders Evenly
Step 3
step3:Coat Tenders Evenly
4

Heat Frying Oil

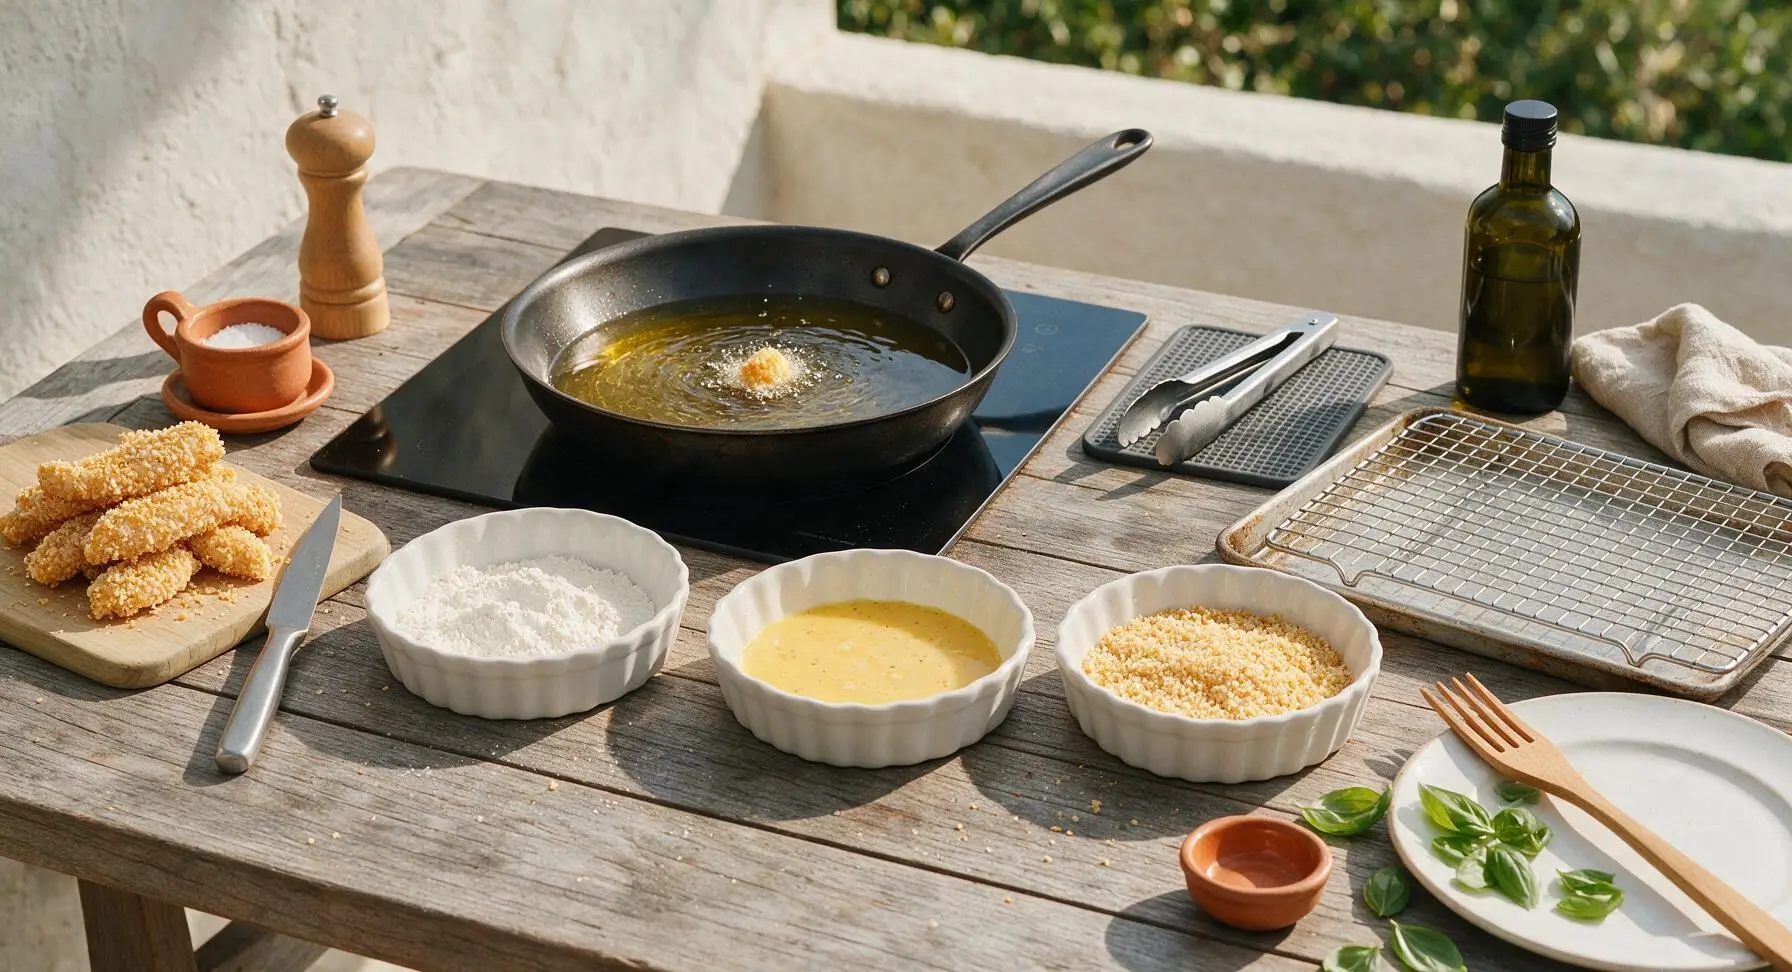
Place the 12-inch carbon steel skillet on the back center induction burner. Pour 2 cups of canola oil into the skillet, until oil reaches 1/4-inch depth up the pan sides. Heat oil over medium heat until it reaches 350°F (175°C). Test temperature by dropping one panko crumb into the oil: the crumb should sizzle immediately and turn light golden brown in 10 seconds. If the crumb burns instantly, oil is too hot and should be cooled for 1 minute; if it sits without sizzling, heat for 1 more minute before testing again. Heating takes approximately 3 minutes.
Step 4
step4:Heat Frying Oil
5

Fry Until Golden Crisp

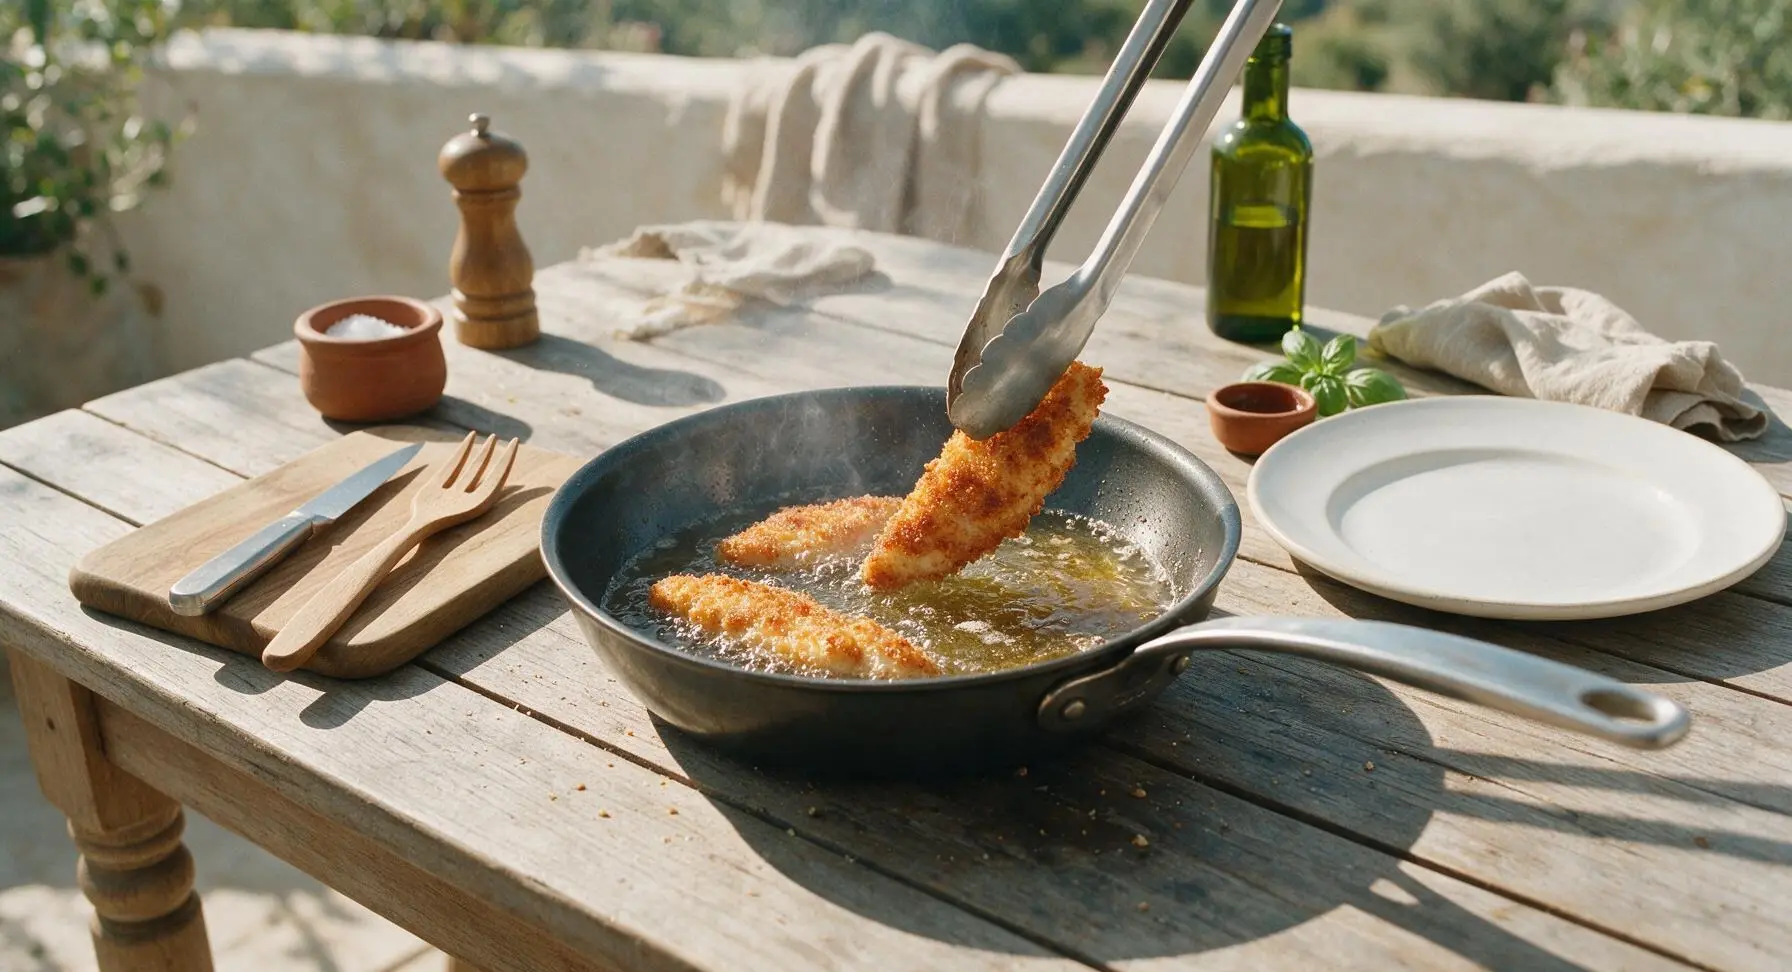
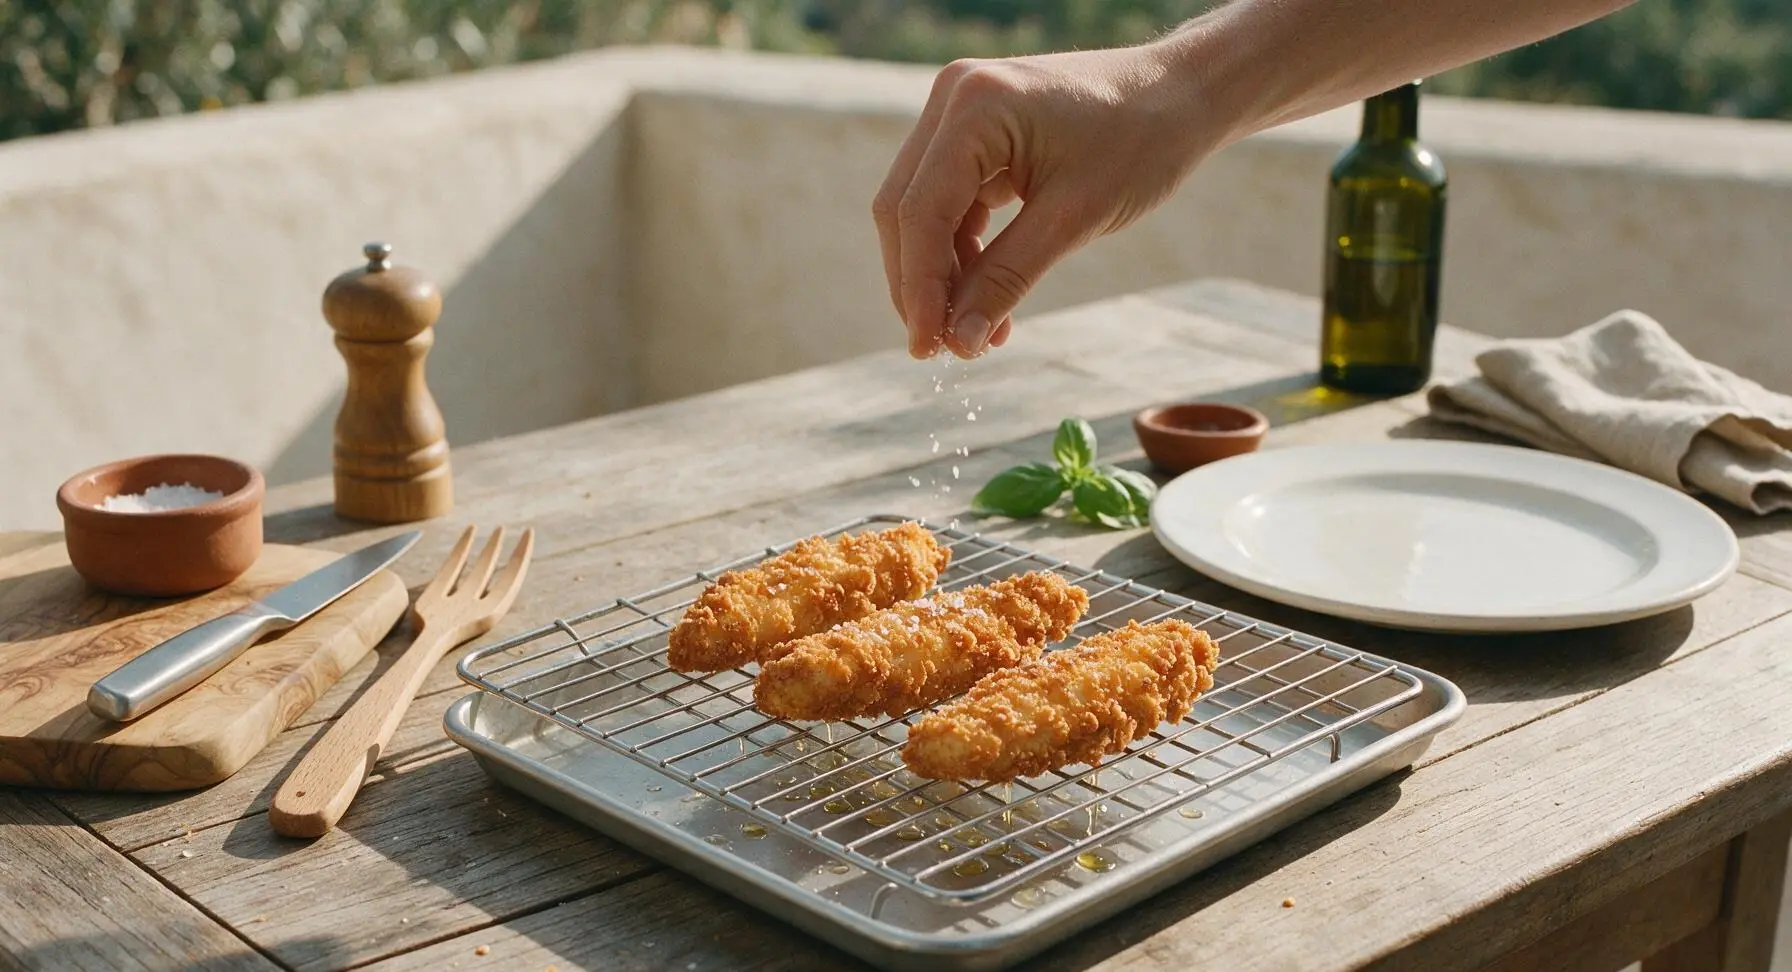
Use the stainless steel tongs to carefully lower 3-4 breaded tenders into the hot oil, taking care not to overcrowd the pan (overcrowding drops oil temperature, leading to soggy, greasy crust). Fry for 3-4 minutes on the first side, until the bottom crust is deep golden brown and crisp. Flip each tender with the tongs, and fry for an additional 2-3 minutes on the second side, until internal temperature reaches 165°F (74°C) at the thickest point, and crust is evenly golden all over. Transfer cooked tenders to the wire rack over the baking sheet to drain, and sprinkle lightly with a tiny pinch of kosher salt immediately while hot. Wait 30 seconds between batches to let oil return to 350°F before adding more tenders. Total frying time is approximately 9 minutes for two batches.
Step 5
step5:Fry Until Golden Crisp
Step 5
step5:Fry Until Golden Crisp
6

Plate and Serve

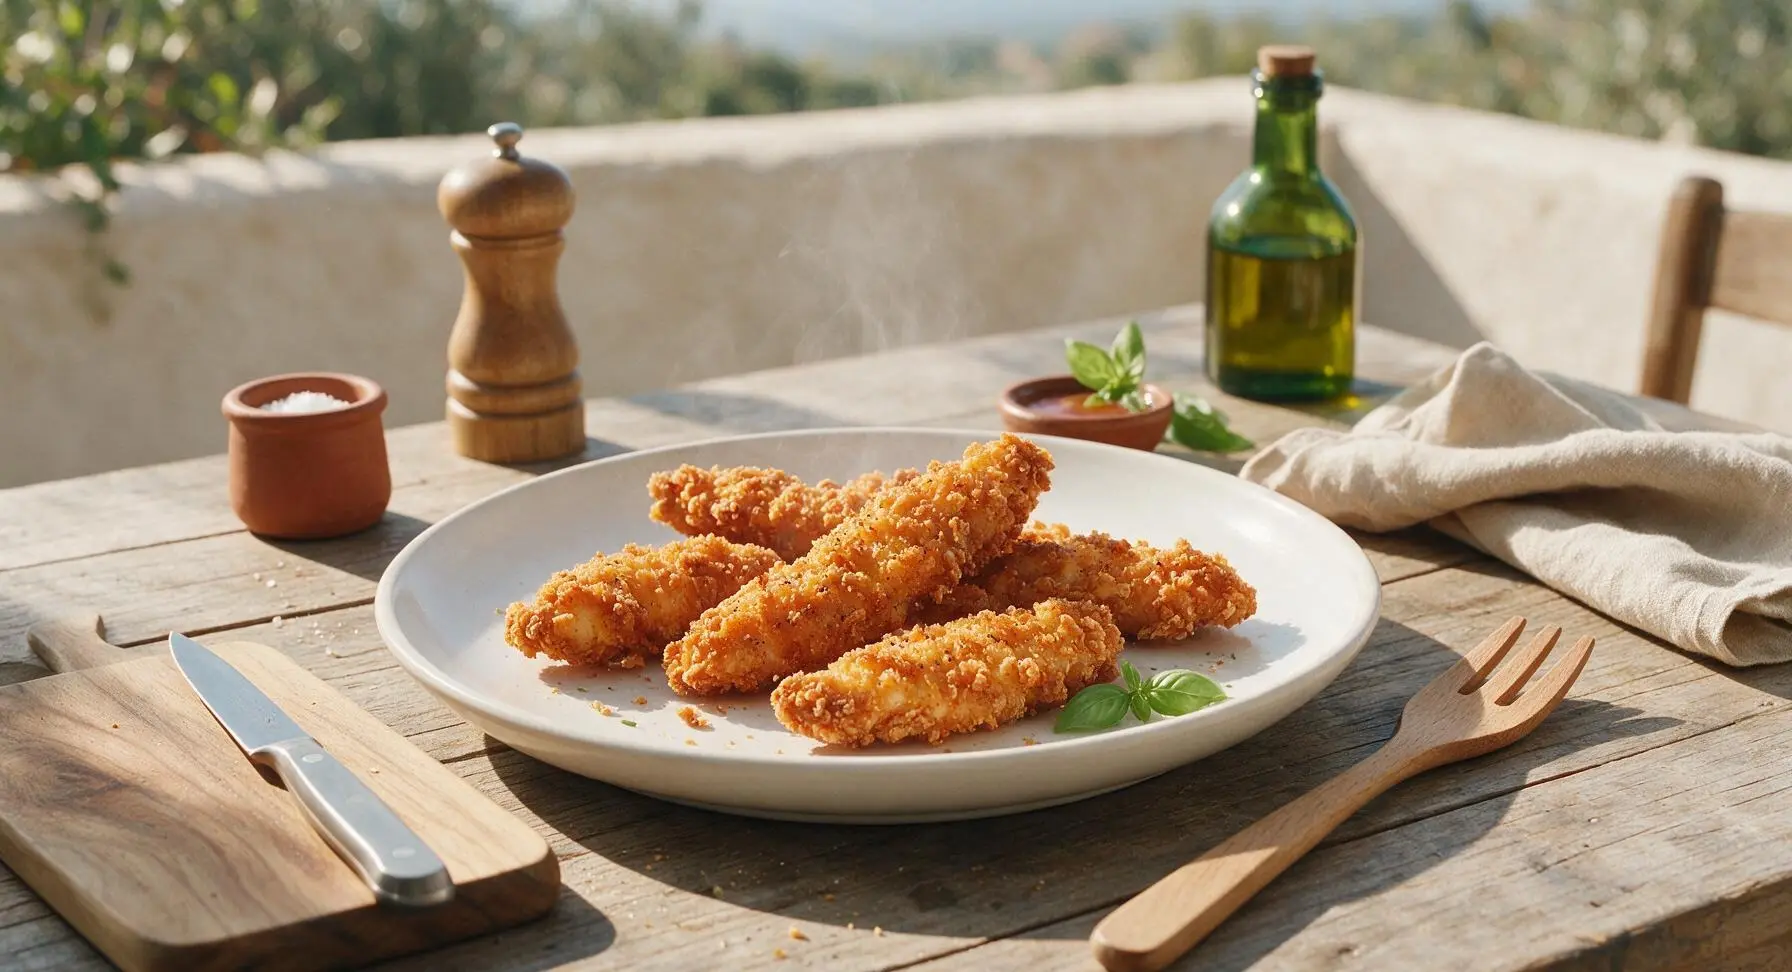
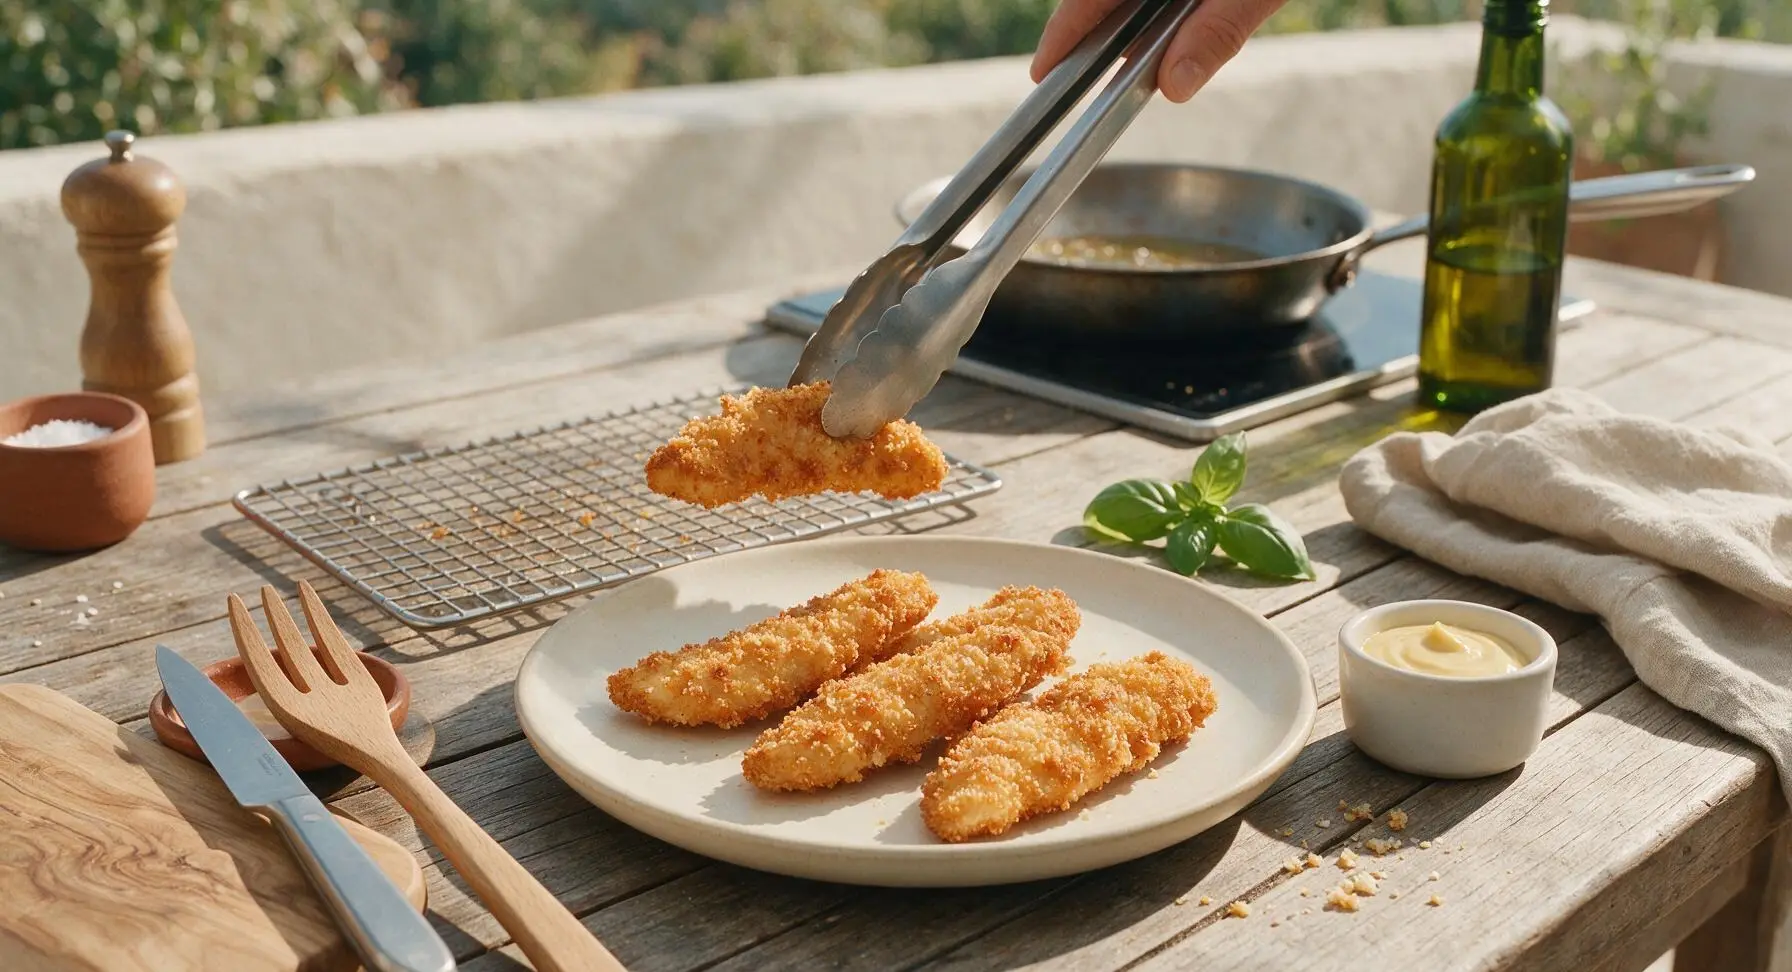
Let tenders drain on the wire rack for 1 minute to let excess oil drip away (this prevents soggy crust on the plate). Transfer drained tenders to the matte cream ceramic dinner plate, arranging in a loose overlapping fan. Spoon honey mustard into the small matte white ceramic ramekin, and place the ramekin to the right of the plate. Garnish with a small sprig of fresh parsley if desired, and serve immediately while crust is shatteringly crisp and chicken is juicy.
Step 6
step6:Plate and Serve

Tips

1.Pat chicken completely dry before breading: excess surface moisture causes breading to slide off during frying, creates excess oil splatter, and steams the crust instead of crisping it, leading to soggy, greasy tenders.
2.Let breaded tenders rest for 5 minutes before frying (you can do this while the oil heats): this short rest lets the flour and egg mixture absorb slightly, creating a tight bond that prevents breading from flaking off in the oil, for a perfectly intact crisp crust.
3.Drain fried tenders on a wire rack instead of paper towels: placing hot tenders directly on paper towels traps steam against the bottom crust, turning it soggy in as little as 30 seconds, while a wire rack lets air circulate around all sides to keep crust crisp from first bite to last.


✨ You May Also Like

Main Course
🍜 United Kingdom

A showstopping classic of tender seared beef, savory mushroom duxelles, and crisp prosciutto wrapped in flaky golden puff pastry, baked to juicy perfection.

⏱️ 2 hours 1Main Course ★ 4.7
Main Course
🍜 India

Tender charred marinated chicken simmered in a rich, spiced creamy tomato sauce, this iconic Anglo-Indian curry pairs perfectly with basmati rice or warm naan.

⏱️ 50 minuteMain Course ★ 4.6
Main Course
🍜 Thailand

Classic tangy, sweet, and savory Thai stir-fried rice noodles with shrimp, tofu, and crunchy garnishes, balancing all five core Thai flavor profiles.

⏱️ 30 minuteMain Course ★ 4.5
Main Course
🍜 United Kingdom

Crispy golden beer-battered cod and fluffy double-fried chips, served with tangy tartar sauce and malt vinegar: the timeless, beloved British pub comfort classic.

⏱️ 45 minuteMain Course ★ 4.7
Main Course
🍜 Mexico

Smoky, chile-marinated pork tacos with caramelized pineapple, fresh cilantro, and lime: a beloved classic Mexican street food perfect for casual summer gatherings.

⏱️ 1 hour 45Main Course ★ 4.8
Main Course
🍜 United States

Crunchy Fritos corn chips layered with savory beef chili and melted cheddar, topped with cool, zesty fixings for a beloved, cozy Tex-Mex comfort food.

⏱️ 35 minuteMain Course ★ 4.8

easy fried chicken tenders:Frequently Asked Questions

1.How do I keep my fried chicken tenders juicy instead of drying out? ▾
Great question! First, don’t overcook them—these thin tenderloins only need 3 to 4 minutes per side in 350°F oil. Avoid cranking heat too high, which burns the crust before the chicken cooks through, and let them rest 2 minutes on a wire rack after frying so juices redistribute instead of running out when you bite in.
2.Why isn’t my breading sticking to the chicken tenders? ▾
That’s such a common frustration! Make sure you pat the tenderloins completely dry with paper towels first, then follow the standard breading order: all-purpose flour first (shake off excess), then beaten egg wash (let excess drip off), then panko pressed firmly to adhere. Skipping the flour layer is the #1 cause of sliding breading.
3.Can I make these tenders without a deep fryer? ▾
Absolutely! You don’t need special equipment for this easy recipe. Use a heavy-bottomed skillet (like cast iron) with ½ inch of neutral oil heated to 350°F. You’ll flip the tenders halfway through cooking, and they’ll turn out just as shatteringly crisp as deep-fried versions in the same short cook time.
4.What oil is best for frying these chicken tenders? ▾
Reach for a neutral, high-smoke-point oil to avoid off flavors and burning. Canola, vegetable, peanut, or avocado oil all work perfectly here. Skip olive oil or butter, which have low smoke points that burn quickly at frying temperature and leave your crust with a bitter, unpleasant taste.
5.How do I get that shatteringly crisp panko crust instead of a soggy one? ▾
Two quick tricks make all the difference! First, make sure your oil is fully preheated to 350°F before adding tenders—cold oil makes breading soak up grease and turn soggy. Second, don’t overcrowd the pan, which drops oil temp fast. After frying, rest tenders on a wire rack instead of paper towels to keep crust crisp.
6.Can I add extra seasonings beyond garlic powder to the breading? ▾
Of course! This base recipe is super customizable. Mix in paprika, onion powder, black pepper, a pinch of cayenne, dried oregano, or even a little grated parmesan to the flour or panko for extra flavor. Just stick to 1 to 2 teaspoons total of extra dried spices per batch so you don’t overpower the crispy crust.
7.How long does this recipe actually take from start to finish? ▾
It really is under 25 minutes total, perfect for busy weeknights! Prep (drying chicken, setting up your breading station) takes about 10 minutes, and frying happens in 2 small batches that take 6 to 8 minutes total. A quick 2-minute rest after frying means you’ll be serving hot, crisp tenders in no time.
8.My panko is browning too fast before the chicken is done—what am I doing wrong? ▾
That means your oil temperature is too high! If the crust is deep golden before the chicken hits a safe 165°F internal temp, turn the heat down a touch and let the oil drop to 350°F. Use a clip-on candy thermometer to track temp easily, so you don’t end up with burnt crust and undercooked chicken.
9.Can I use regular breadcrumbs instead of panko? ▾
You can, but know the texture will be different. Panko is coarser and flakier, which creates that signature light, shatteringly crisp crust. Regular fine breadcrumbs will make a denser, slightly less crunchy coating. If you swap, press the crumbs firmly to the chicken and watch cook time closely, as fine crumbs can brown a little faster.
10.What’s the safest internal temperature for cooked chicken tenders? ▾
The FDA recommends cooking all poultry to a minimum internal temperature of 165°F, measured with an instant-read thermometer stuck into the thickest part of the boneless tenderloin. Since these cuts are thin, they’ll hit that temp fast, so don’t leave them in the oil longer than needed to avoid dry chicken.
11.Can I prep these chicken tenders ahead of time for weeknight meals? ▾
Definitely! You can bread the raw tenders up to 4 hours ahead of time, arrange them on a wire rack over a baking sheet, and keep them uncovered in the fridge until you’re ready to fry. Don’t bread them more than a day in advance, though, as the breading will get soggy as it sits with the raw chicken.
12.Why do you recommend resting fried tenders on a wire rack instead of paper towels? ▾
Paper towels trap steam and absorb excess oil right against the crust, which turns that perfectly crisp coating soggy in minutes. A wire rack set over a baking sheet lets air circulate all around the tenders as they rest, keeping the crust crisp while any excess oil drips away below.
13.Can I bake these chicken tenders instead of frying them for a lighter option? ▾
Sure! Arrange breaded tenders on a wire rack over a baking sheet, spritz both sides lightly with oil, and bake at 425°F for 15 to 18 minutes, flipping halfway, until they hit 165°F internal. They won’t be quite as shatteringly crisp as fried, but they’ll still be crunchy, juicy, and delicious.
14.Do I need to brine the chicken tenderloins first for this easy recipe? ▾
Nope! This recipe is designed for quick weeknight cooking, so no advance brining is required. The tenderloins are already naturally lean and tender, and as long as you don’t overcook them, they’ll stay perfectly juicy without the extra step that adds hours to your prep time.
15.How do I keep the breading from falling off while frying? ▾
Once you place a tender in the hot oil, leave it undisturbed for the first 2 to 3 minutes of cooking. If you try to flip or move it too early, the breading hasn’t had time to set and adhere to the chicken, and it will slide right off. Once the first side is golden, it will flip easily with no sticking.
16.What are good dipping sauces to serve with these tenders? ▾
These tenders pair perfectly with all your family’s favorites! Classic options like ranch, honey mustard, barbecue sauce, or buffalo sauce are always hits. For a fun twist, try spicy mayo, sweet chili sauce, or even homemade honey butter. They’re versatile enough to work with almost any dip you have on hand.
17.How should I store and reheat leftover fried chicken tenders? ▾
Let leftover tenders cool completely, then store them in an airtight container in the fridge for up to 3 days. To reheat and bring back crispness, skip the microwave (which makes crust soggy) and warm them on a wire rack in a 400°F oven for 8 to 10 minutes, until heated through.
18.Can I use chicken breast cut into strips instead of pre-cut tenderloins? ▾
Absolutely! If you don’t have packaged tenderloins, cut boneless, skinless chicken breasts into 1-inch thick, evenly sized strips to match the size of tenderloins. Just make sure all strips are a uniform thickness so they cook at the same rate, so you don’t end up with overcooked, dry strips and undercooked ones.

Comments (4)

3 days ago

OMG these fried chicken tenders were such a game changer for our weeknight family dinner! I was so sick of the frozen ones that turn out soggy, and these only took 12 minutes total to cook? My kids loved it—even my super picky 7 year old who usually refuses anything with a crispy breading went back for thirds! SO good, I already added this to our weekly meal rotation. 10/10 no notes.

2 days ago

Wait have you tried prepping these ahead for meal prep? I’m wondering if they hold up in the fridge for a few days for my kid’s school lunches, I’m so tired of packing sandwiches every day.

yesterday

Great question! These tenders stay nice and crispy for up to 3 days in the fridge if you store them in an airtight container lined with a paper towel. Just reheat them in the oven or air fryer at 375F for 5 minutes to crisp them back up, and they work perfectly for packed lunches!

1 week ago

Tossed a batch of these together for our neighborhood potluck last weekend and people were straight up begging for the recipe! I was worried they’d be too much work to make for a crowd but the super simple prep and 12 minute cook time made it totally doable. I added a little smoked paprika and garlic powder to the breading for an extra kick and it slapped. Will definitely be making these again for our upcoming game night watch party.

5 days ago

Love the smoked paprika and garlic powder add-in, that sounds absolutely delicious! So glad these were a hit at your potluck—they really are the perfect low-fuss pick for feeding a crowd without spending all day in the kitchen.

5 minutes ago

As someone who can barely boil boxed mac and cheese without burning it, I was shocked how perfectly these turned out! No fancy ingredients, super straightforward directions, and they taste way better than the fast food tenders I usually order for late night study sessions. Cooked them on the tiny stove in my dorm kitchen and got that perfect crispy crust on the first try. 10/10 would recommend to other total newbies who can’t cook to save their life.

30 minutes ago

This recipe looks so good! Has anyone made these with gluten free flour and breadcrumbs? My youngest has a gluten sensitivity and I’ve been searching for a fried chicken tender recipe that doesn’t turn out gummy or fall apart when I swap out regular wheat flour. Would love any tips from folks who’ve tested a GF version!

just now

I made these last week with 1:1 GF all purpose flour and GF panko breadcrumbs and they came out perfect! Just make sure you let the breading set on the tenders for 5 minutes before frying so it doesn’t slide off—total game changer. My whole family loved them and no one could even tell they were GF!



