
easy garlic butter shrimp

title 1
easy garlic butter shrimp
⏱️ cook time 8 minutes
🍽️ servings 4
⚡ Difficulty easy

intro

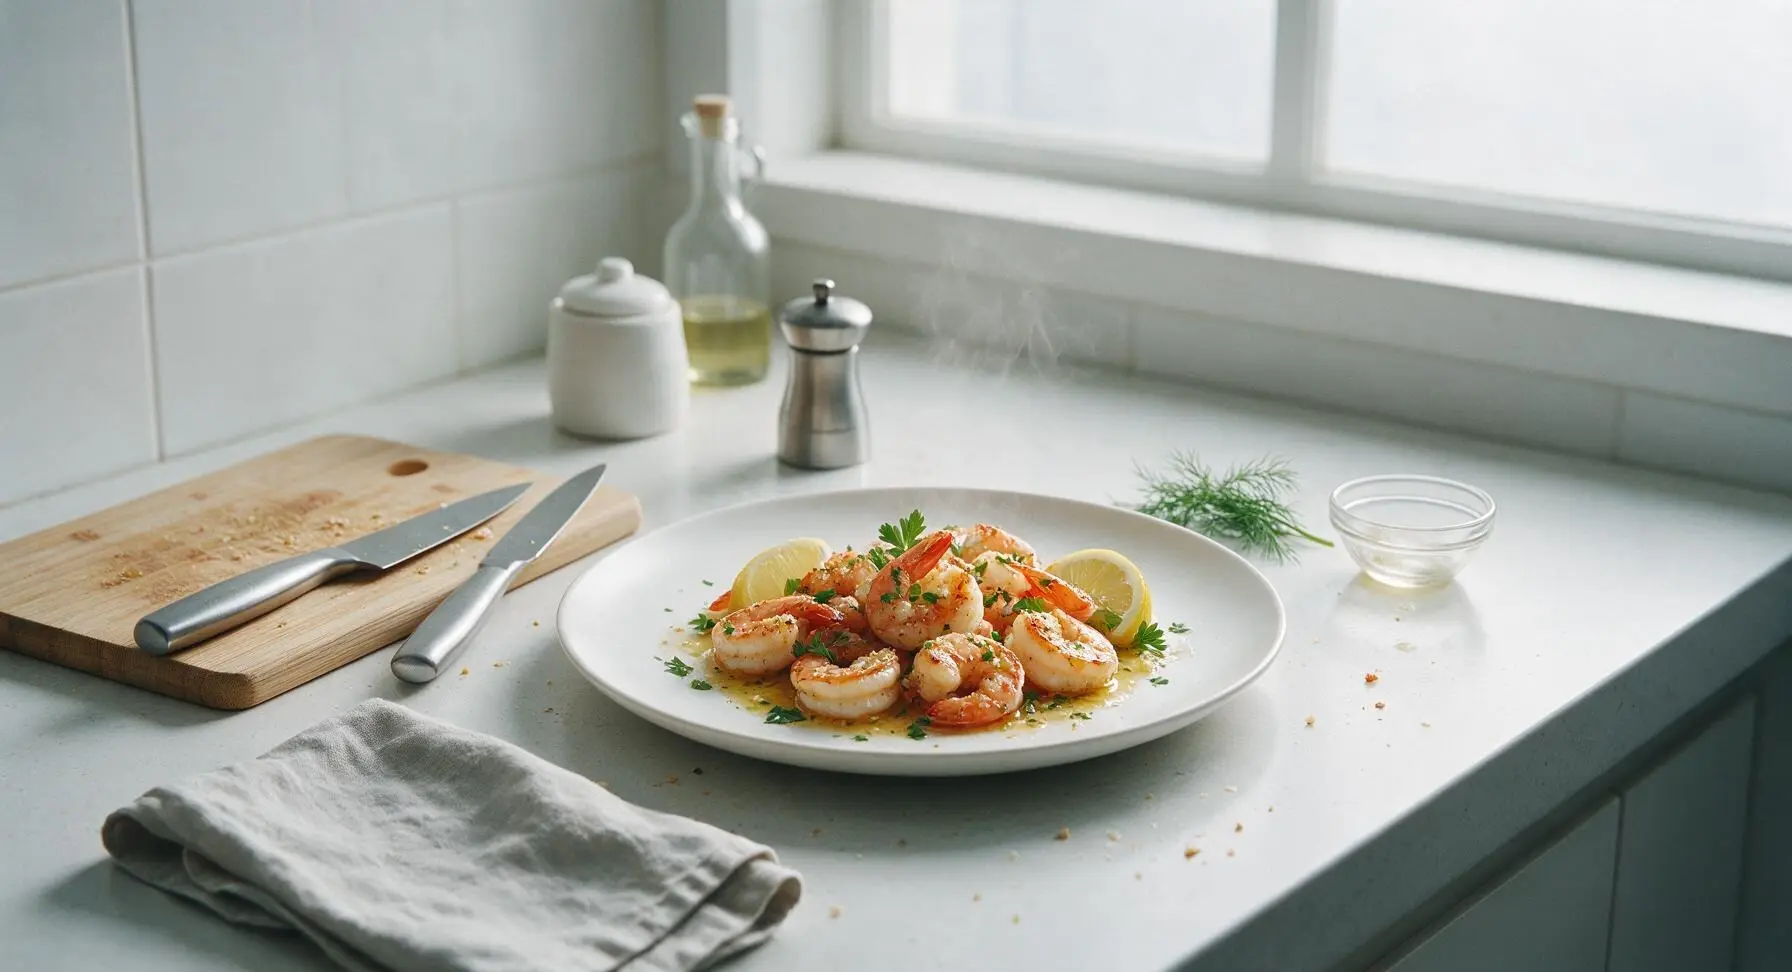
Juicy, seared shrimp tossed in fragrant golden garlic butter, bright lemon, and fresh parsley—ready in under 20 minutes for a fast, satisfying meal.

Ingredients
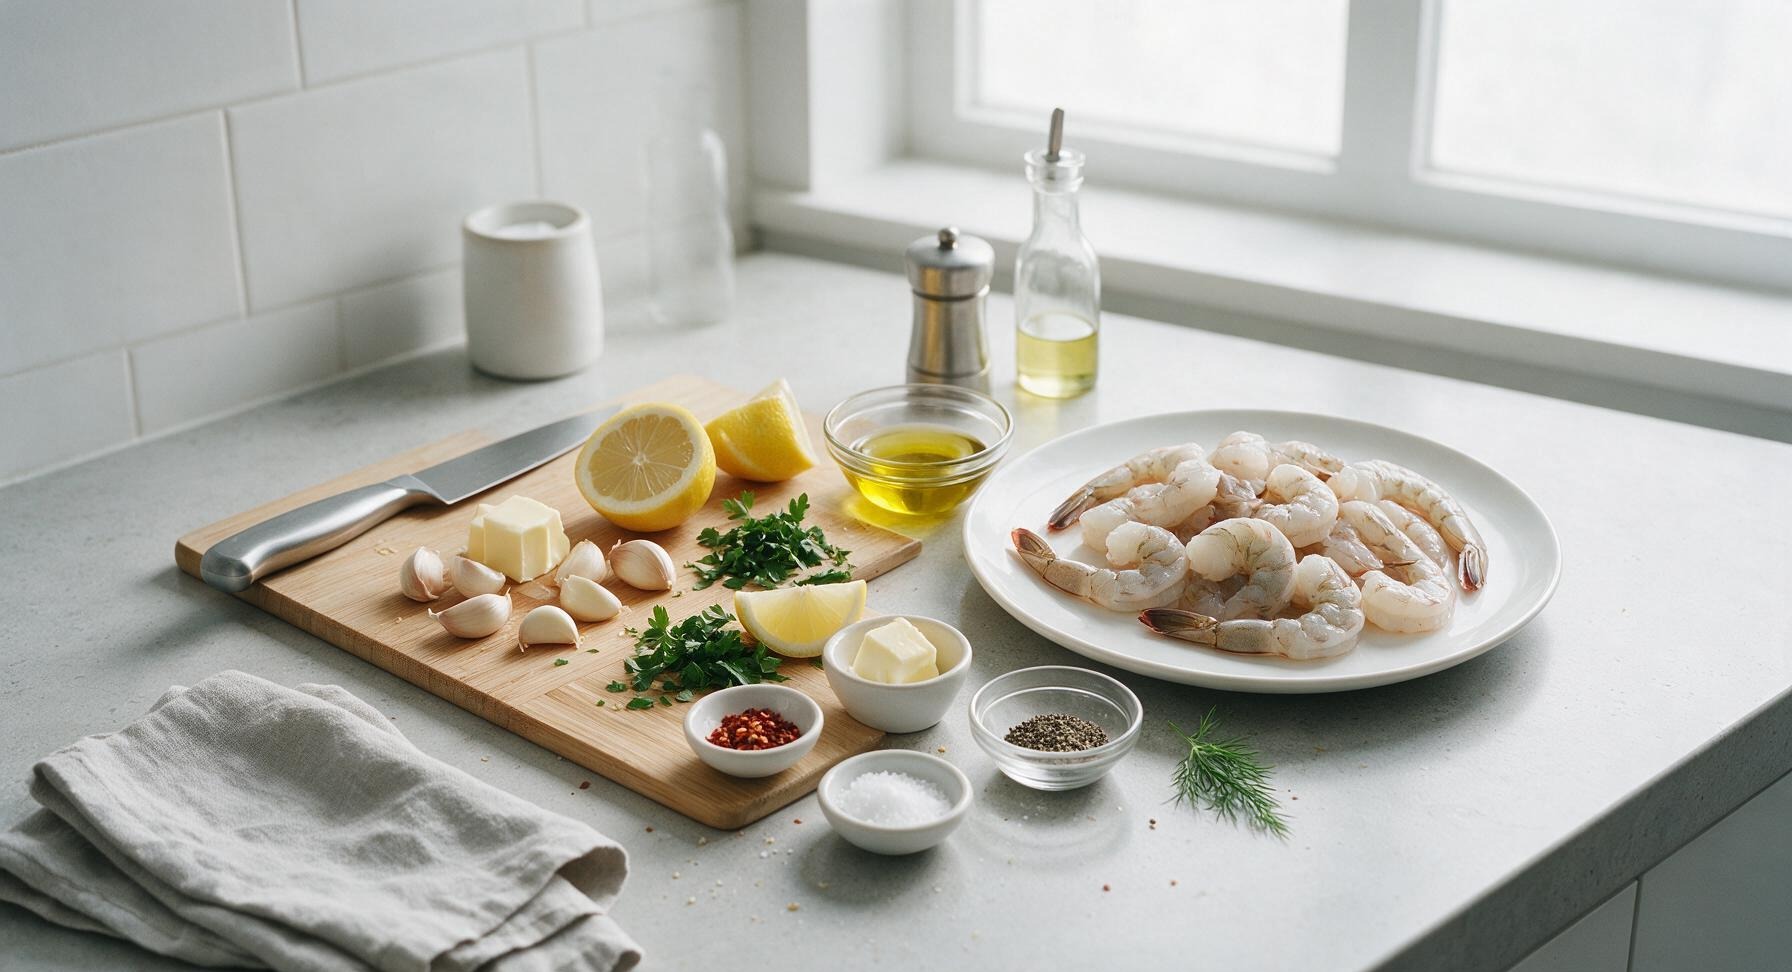
Large raw shrimp (16-20 count, peeled, deveined, tails on) 1 lb (450g)
Unsalted butter 4 tbsp (56g)
Extra-virgin olive oil 1 tbsp (15ml)
Garlic cloves 8 (30g)
Fresh flat-leaf parsley 2 tbsp (chopped)
Medium lemon 1 whole (zest + 2 tbsp juice, plus wedges for serving)
Red pepper flakes 1/4 tsp
Kosher salt 1/2 tsp
Freshly ground black pepper 1/4 tsp

Steps

1

Pat Shrimp Dry

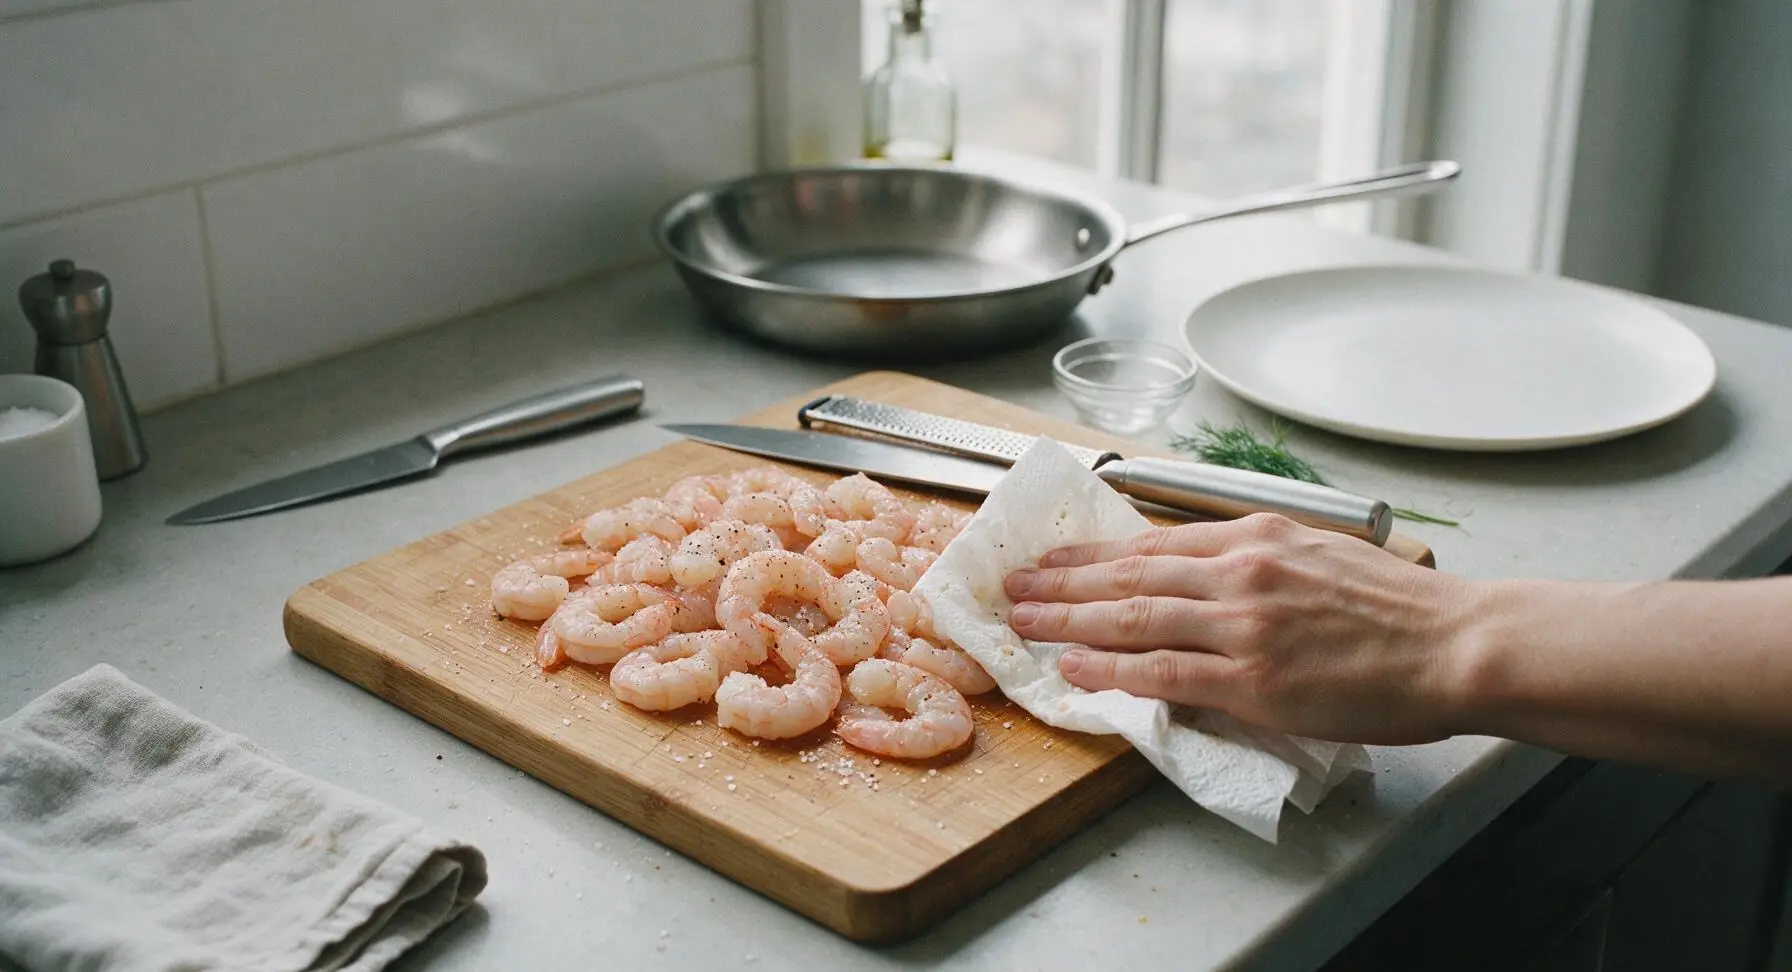
Place the 1 lb raw peeled, deveined shrimp on the honey-toned bamboo cutting board. Pat thoroughly dry on all sides with paper towels (discard used towels off-frame), then season evenly with 1/2 tsp kosher salt and 1/4 tsp freshly ground black pepper. Dry shrimp ensures a crisp, golden sear instead of steaming in the pan, and reduces hot oil splatter during cooking.
Step 1
step1:Pat Shrimp Dry
2

Mince Garlic and Parsley

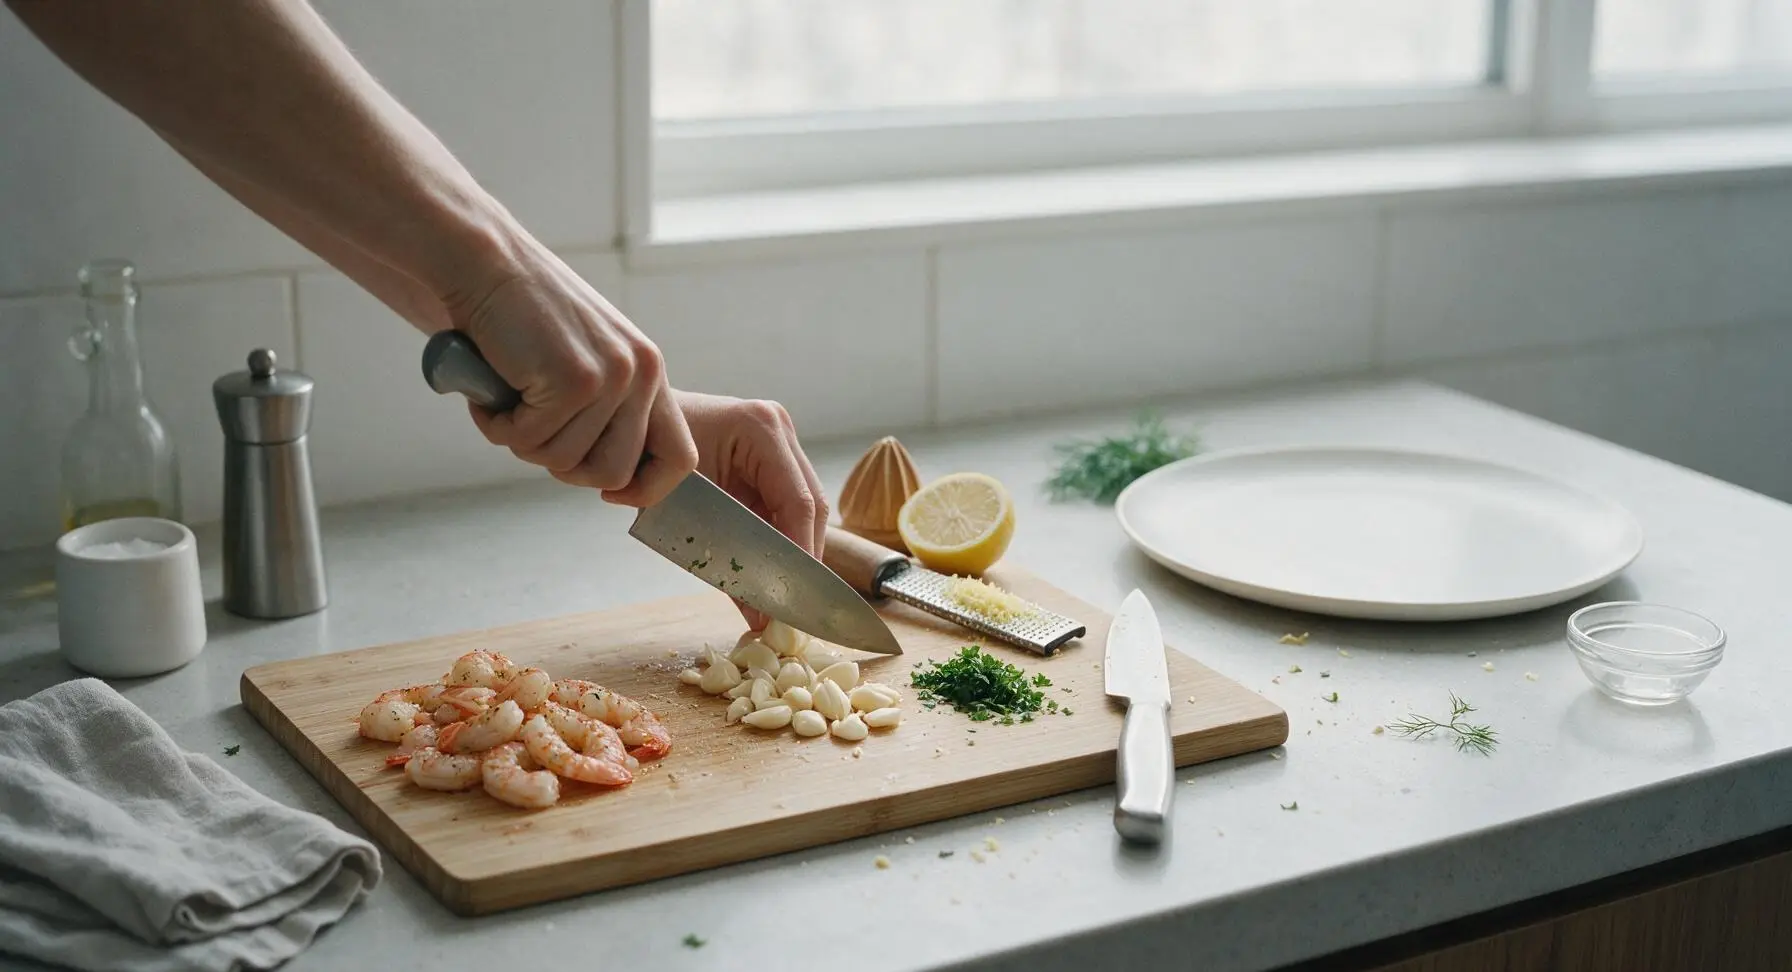
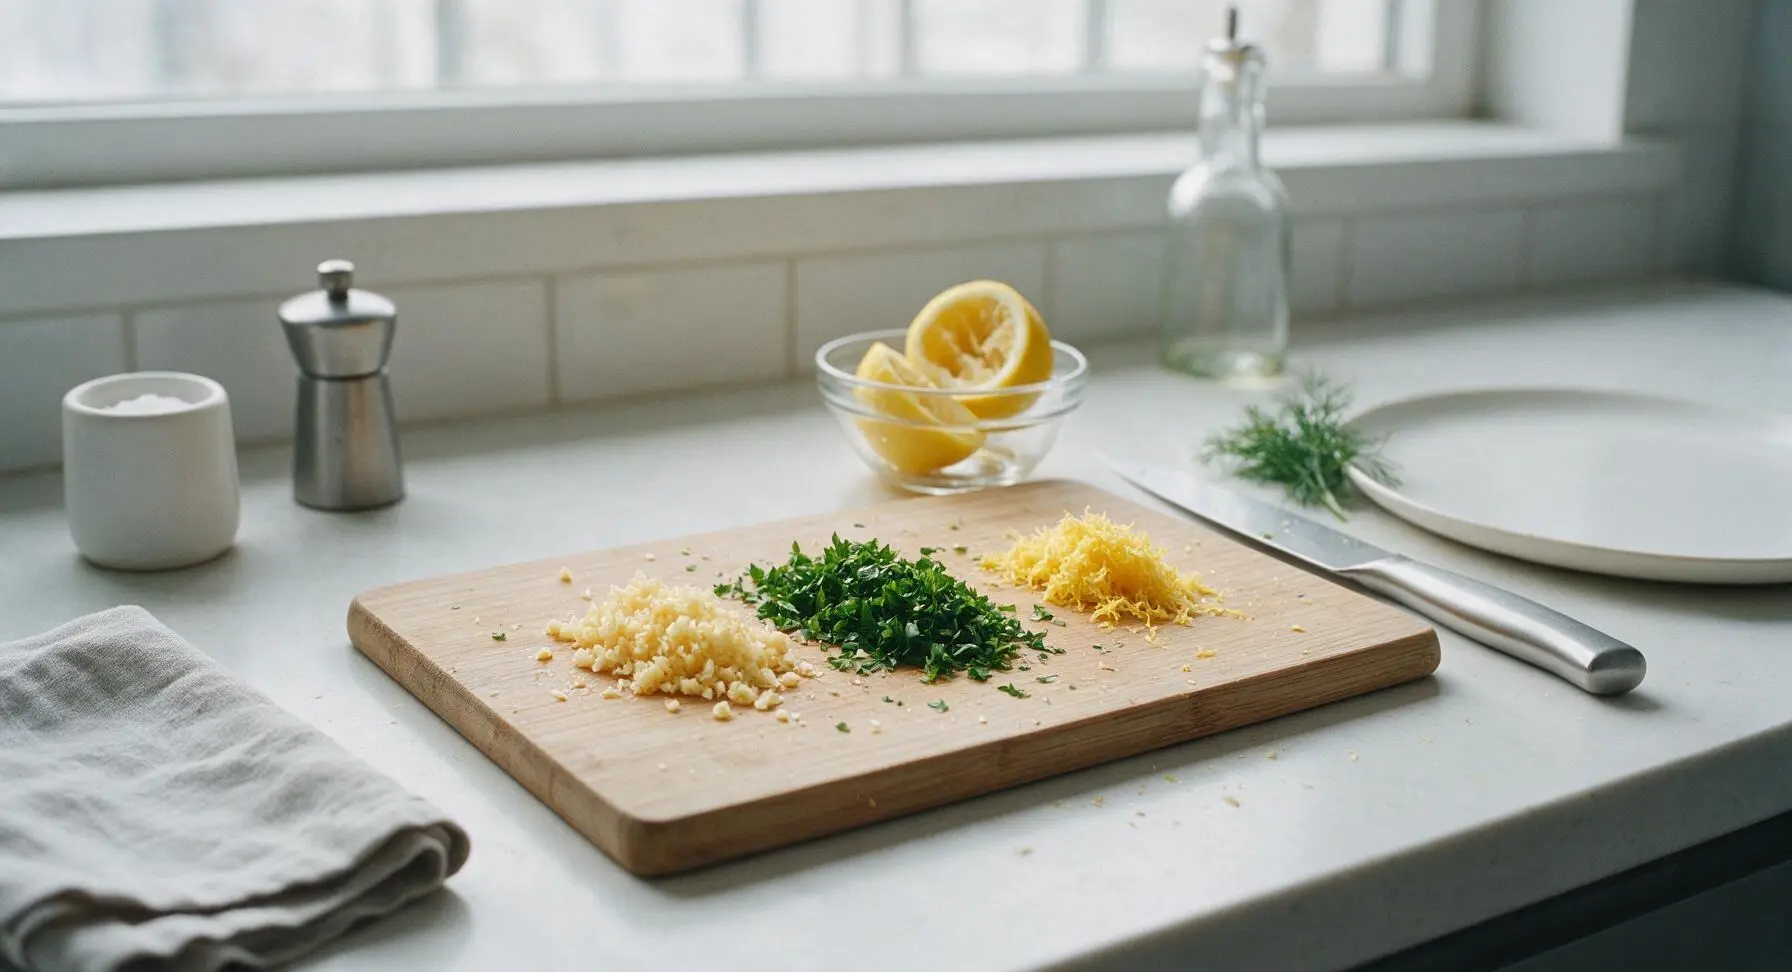
Use the 7-inch chef knife to mince the 8 peeled garlic cloves into fine, even pieces, taking care not to over-chop into a wet paste. Roughly chop the 2 tbsp fresh flat-leaf parsley, and use the microplane zester to remove the thin yellow zest from the lemon, avoiding the bitter white pith just below the peel. Cut the zested lemon in half, and use the beechwood citrus reamer to squeeze 2 tbsp of fresh juice, then cut the remaining lemon into wedges and place in the clear glass citrus dish for serving.
Step 2
step2:Mince Garlic and Parsley
Step 2
step2:Mince Garlic and Parsley
3

Heat Skillet and Oil

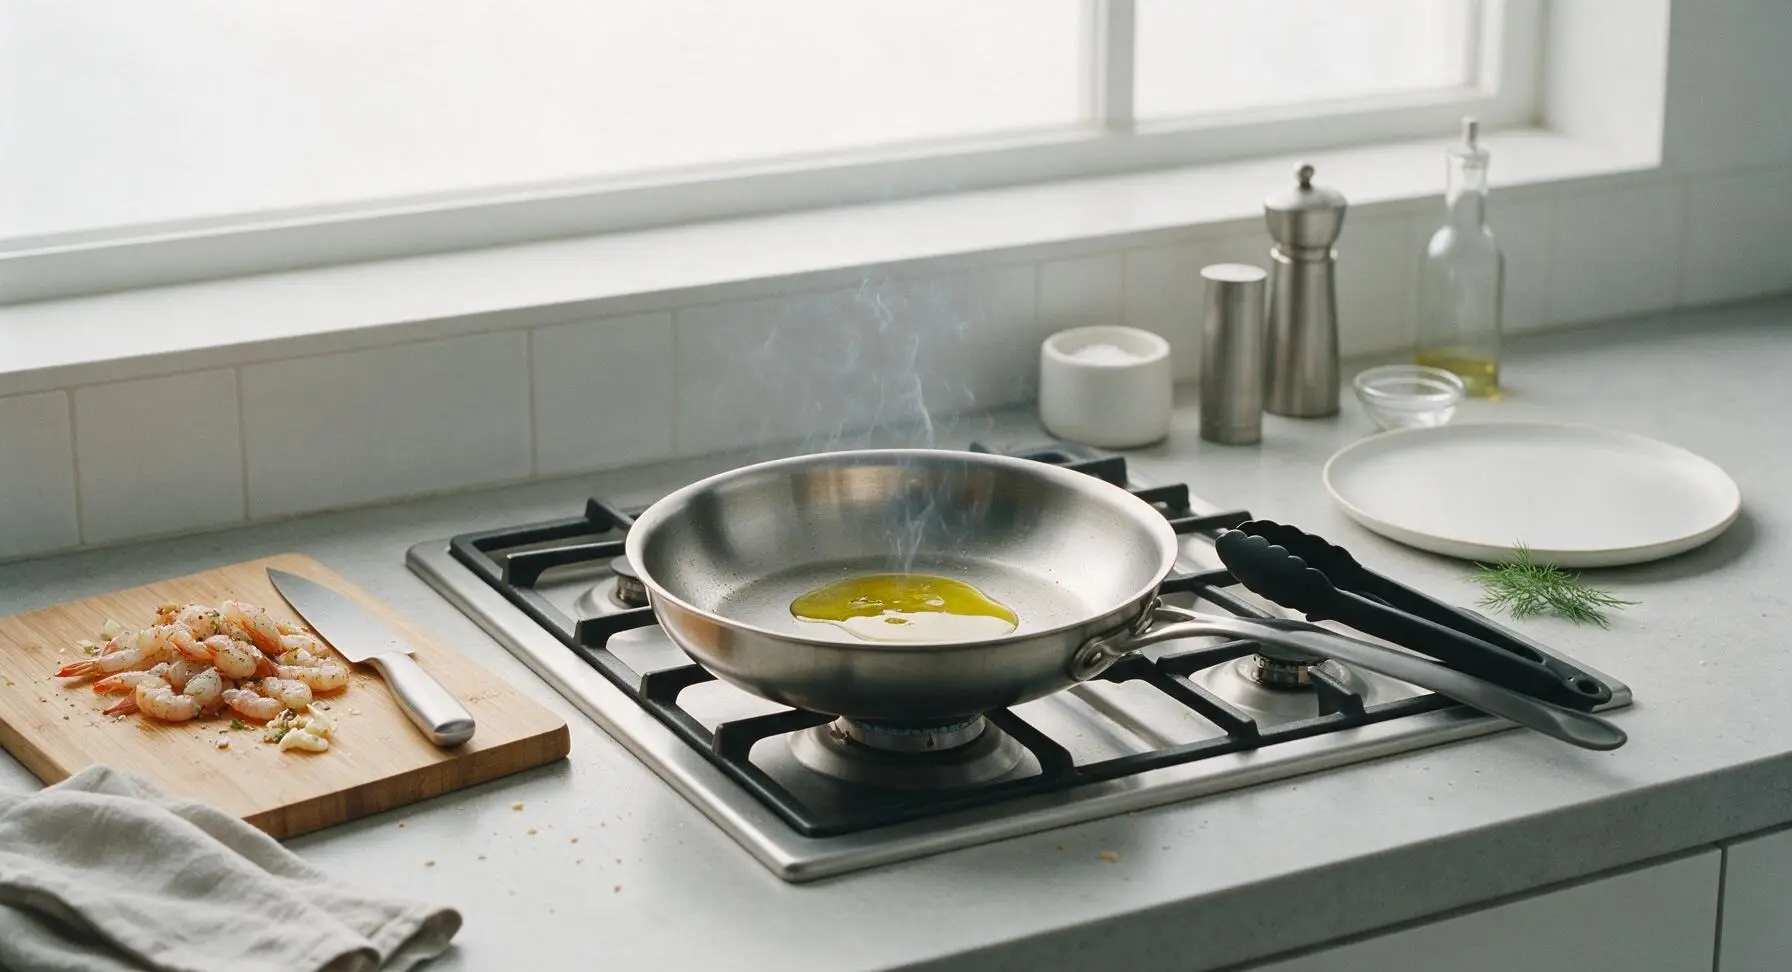
Move the 10-inch stainless steel skillet from its back counter storage position to the center of the gas cooktop over medium-high heat. Add 1 tbsp extra-virgin olive oil, and heat for 2 minutes until the oil shimmers and just begins to send up thin, wispy strands of smoke. Do not let the oil turn dark or smoke heavily, as it will burn and turn bitter.
Step 3
step3:Heat Skillet and Oil
4

Sear Shrimp Until Pink

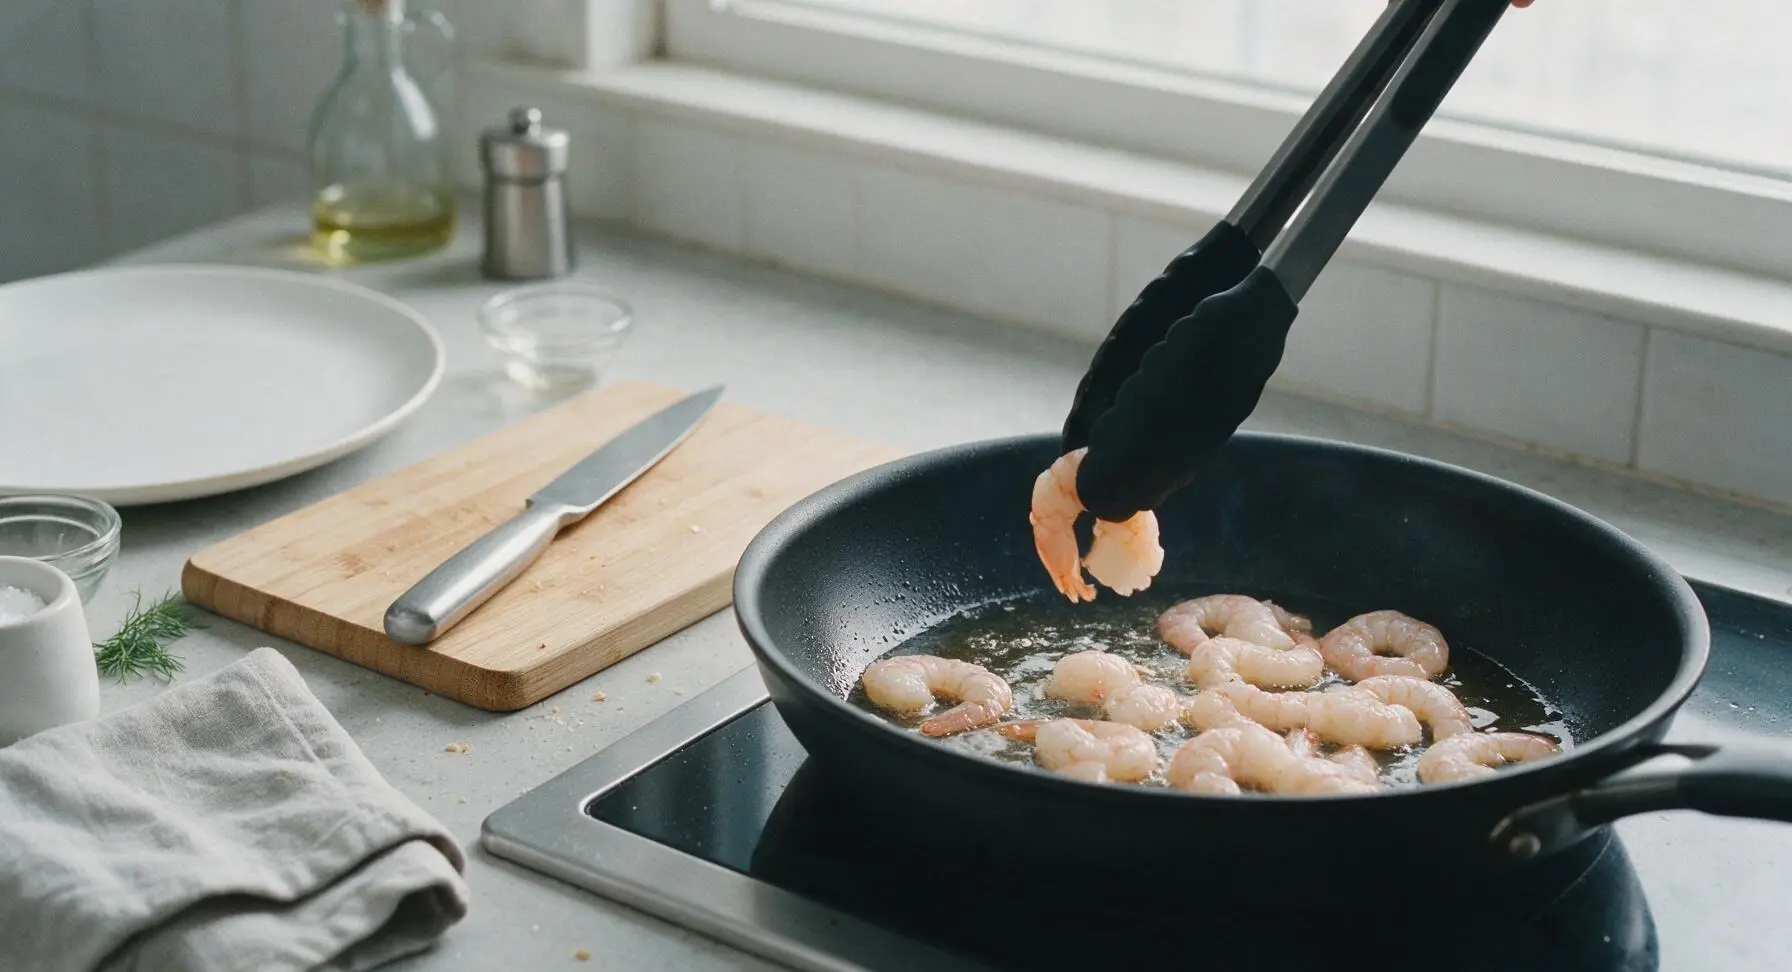
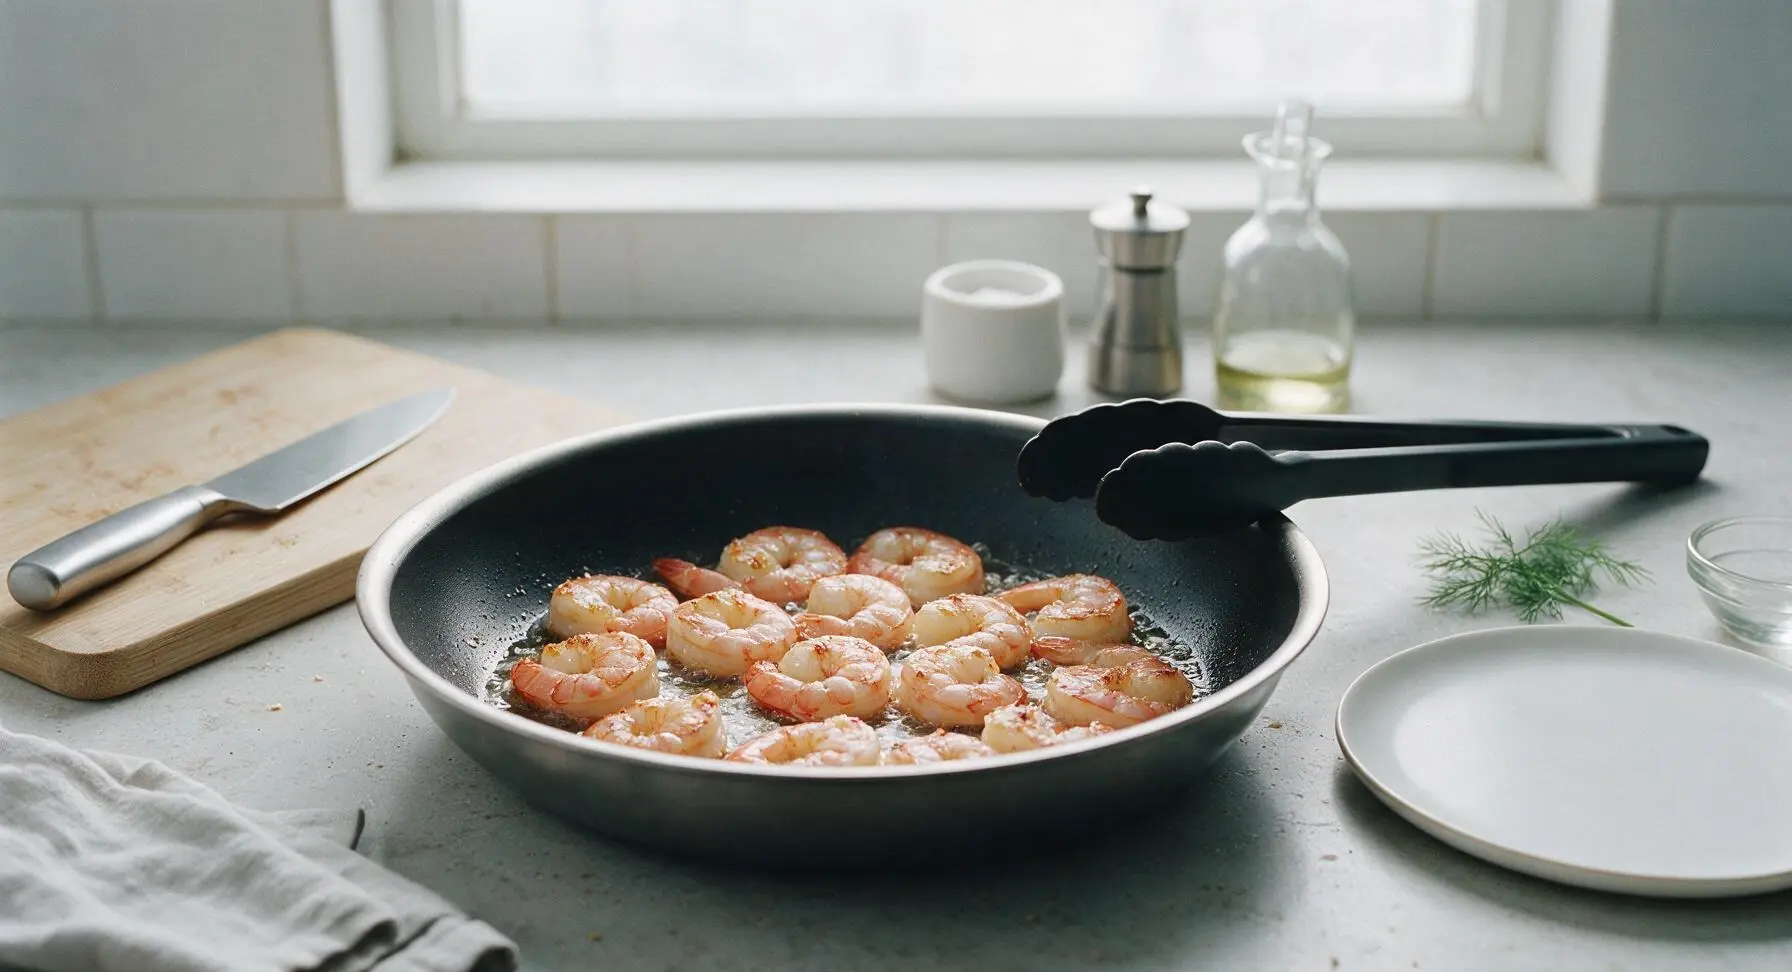
Use the matte black silicone tongs to carefully place the seasoned dry shrimp in a single even layer in the hot skillet, working in two small batches if needed to avoid crowding the pan (crowding causes steaming instead of a crisp sear). Cook the shrimp undisturbed for 2 minutes, until the bottom side turns opaque pink with a light golden sear at the edges.
Step 4
step4:Sear Shrimp Until Pink
Step 4
step4:Sear Shrimp Until Pink
5

Flip Shrimp, Add Garlic

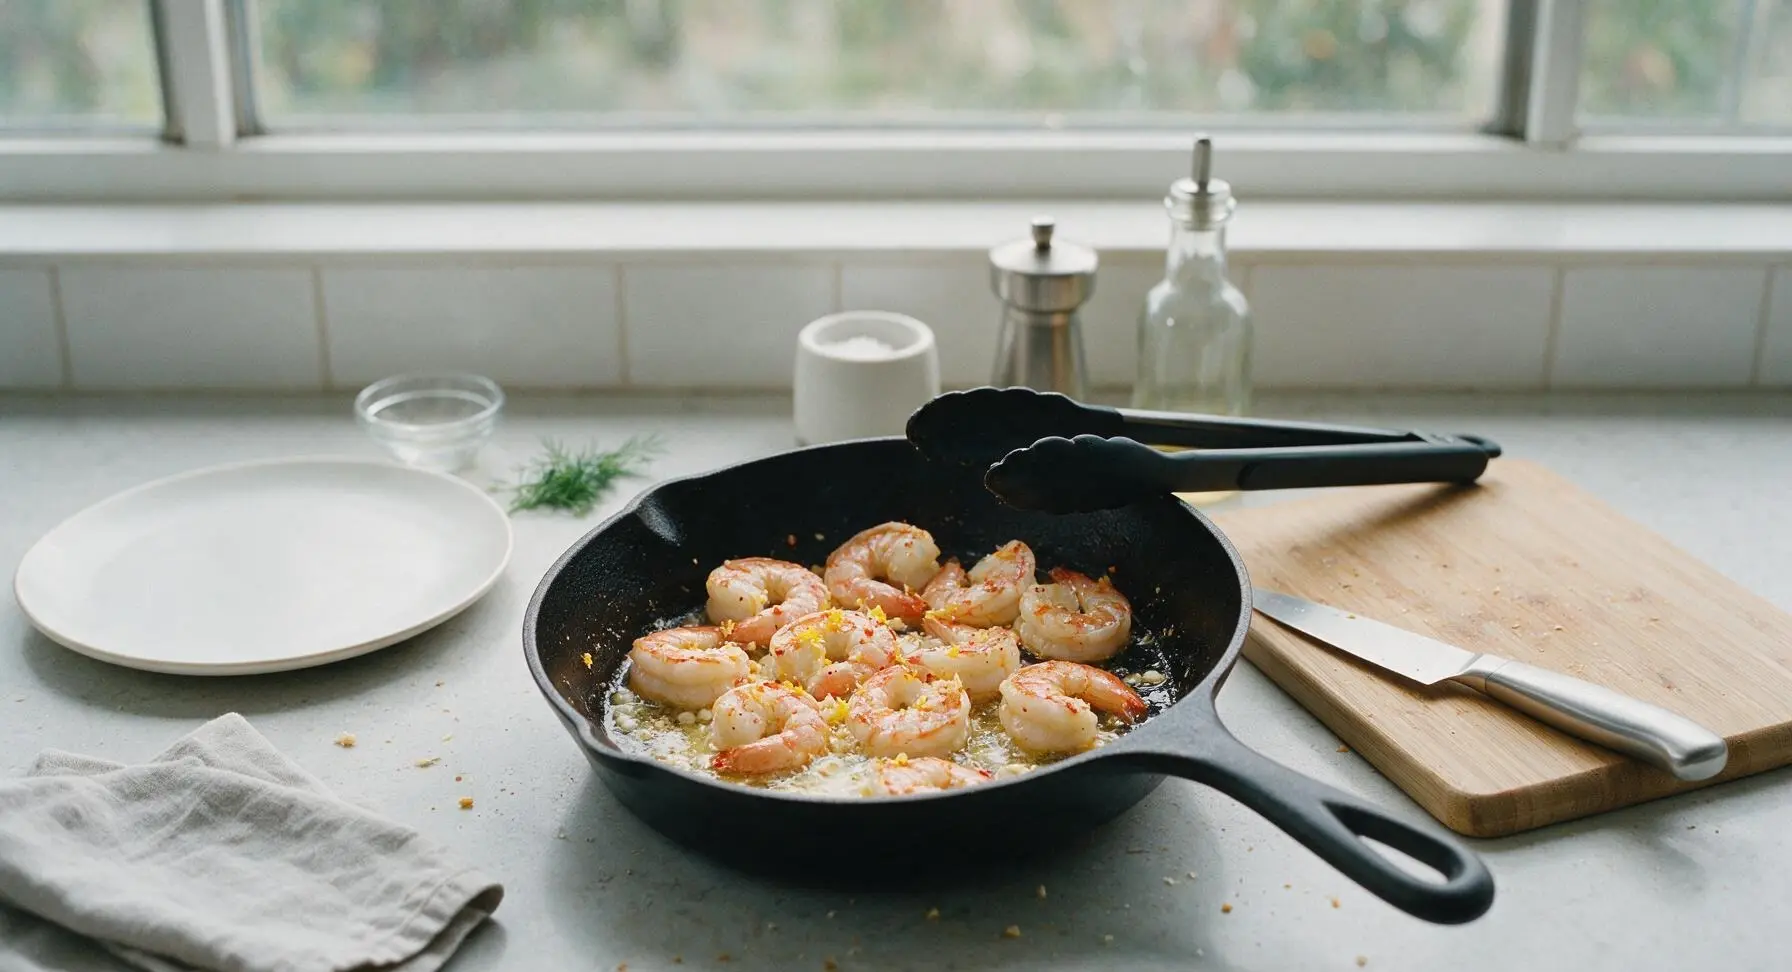
Use the tongs to flip each shrimp to its second side. Add the 4 tbsp unsalted butter, minced garlic, lemon zest, and 1/4 tsp red pepper flakes to the pan, tilting the skillet slightly to let the melted butter pool at one edge. Baste the shrimp continuously by tilting the pan to let the hot garlic butter flow over the shrimp, using the tongs to turn the shrimp occasionally for even coating, for 1.5 minutes, until the garlic turns fragrant and pale golden. Do not let the garlic turn dark brown, as it becomes quickly bitter. The shrimp will be nearly fully opaque and firm to the touch when this step is complete.
Step 5
step5:Flip Shrimp, Add Garlic
6

Toss with Lemon and Parsley

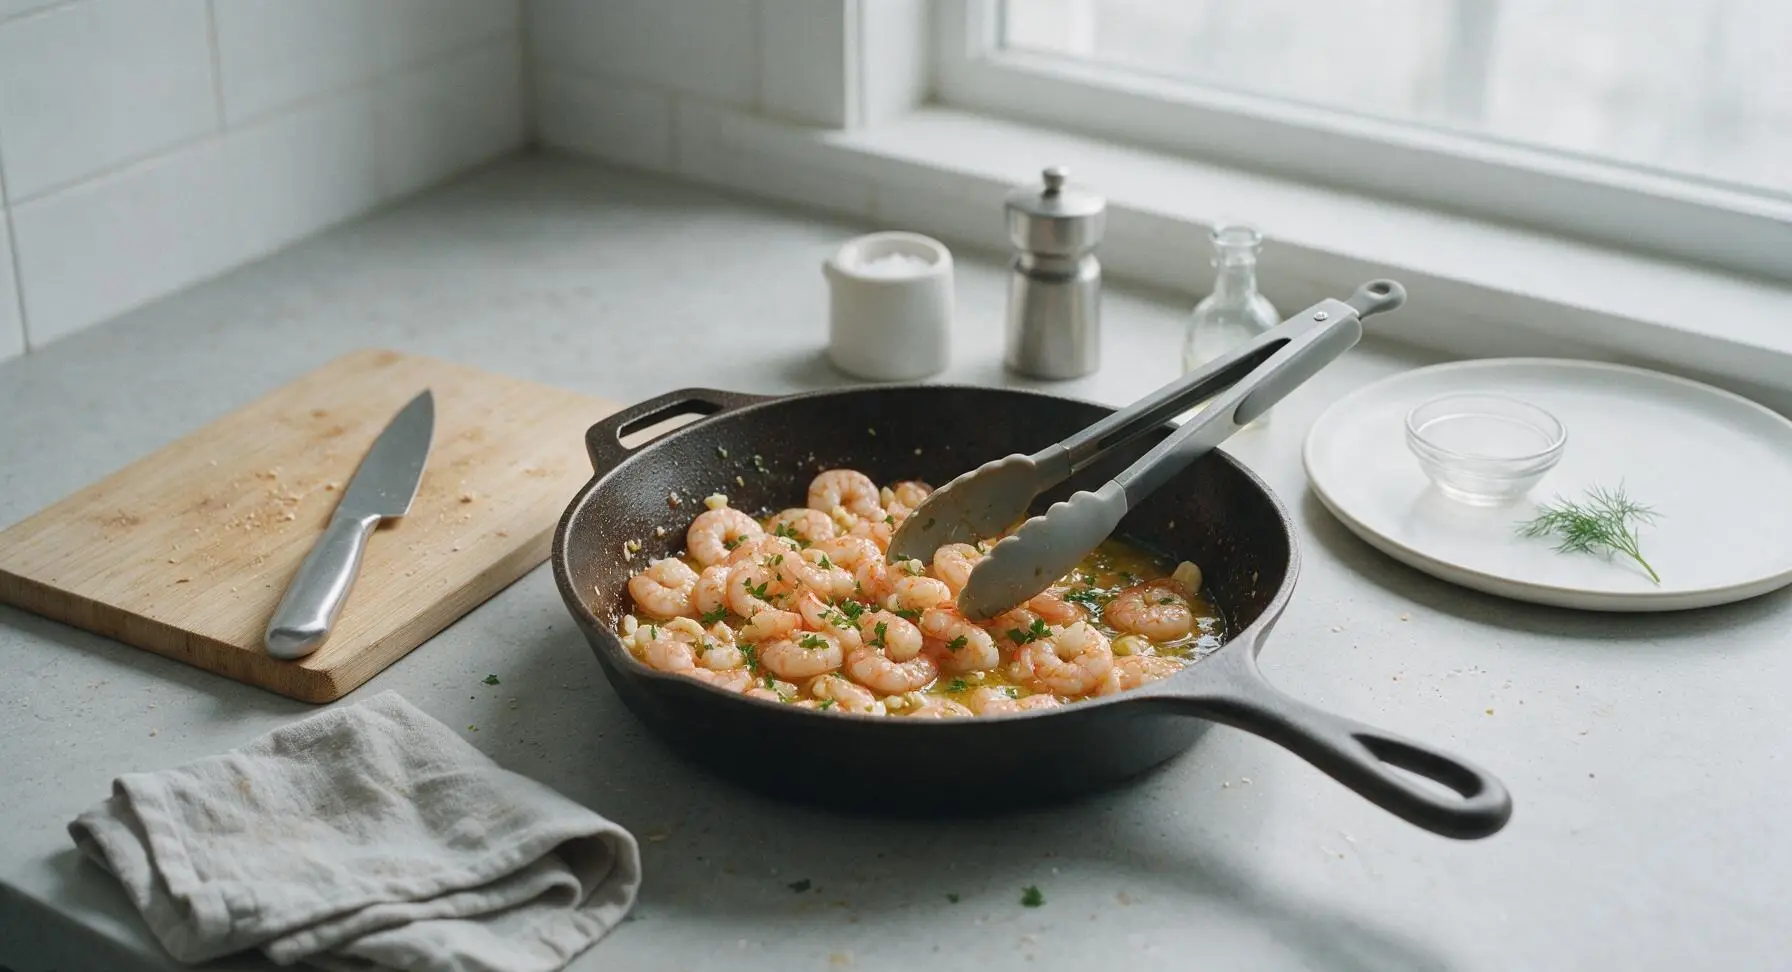
Turn off the heat under the skillet. Pour in the 2 tbsp fresh lemon juice, add half of the chopped parsley, and toss the shrimp gently with the tongs to coat evenly in the glossy garlic butter sauce. Taste a small piece of shrimp, and add extra salt or pepper if desired.
Step 6
step6:Toss with Lemon and Parsley
7

Plate and Garnish Shrimp

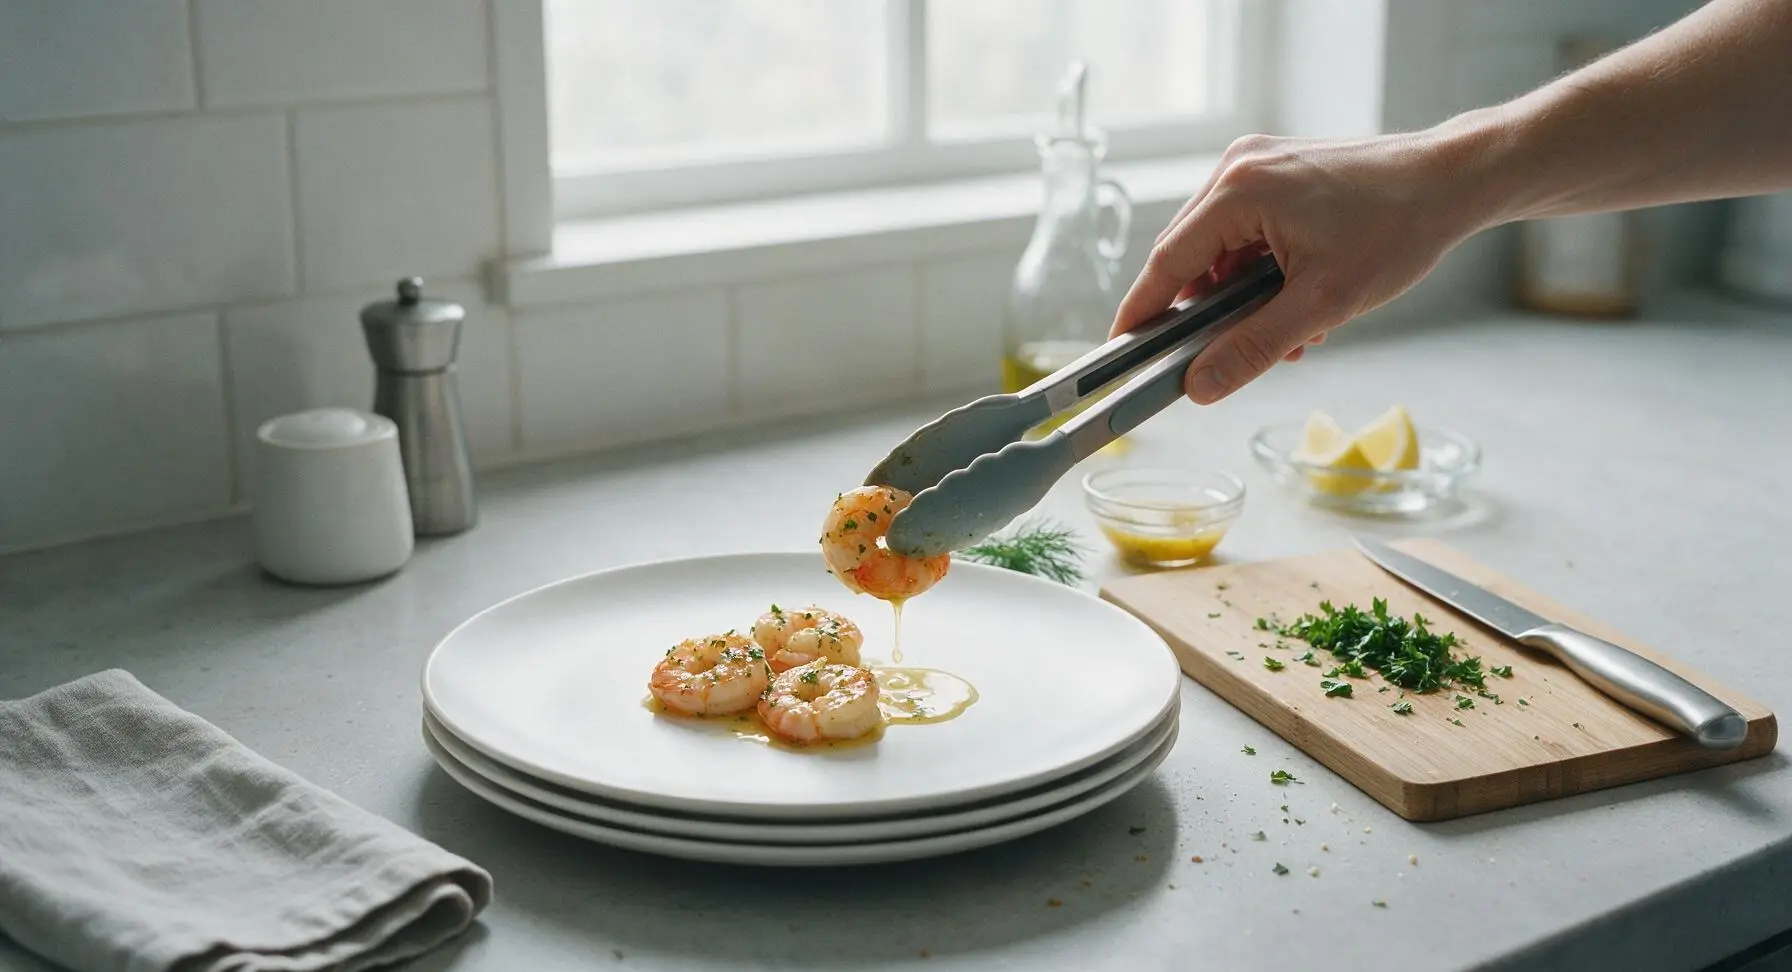
Transfer the cooked shrimp and all of the garlic butter sauce to the top matte off-white ceramic dinner plate from the left-side stack. Garnish with the remaining chopped parsley, and serve immediately with the reserved lemon wedges from the clear glass citrus dish on the side.
Step 7
step7:Plate and Garnish Shrimp

Tips

1.Pat shrimp completely dry with paper towels before searing: any residual surface moisture will cause the shrimp to steam instead of developing a light, flavorful golden crust, and will cause hot oil to splatter dangerously when added to the pan.
2.Watch the garlic closely while basting: garlic burns in as little as 30 seconds over high heat, turning acrid and bitter and ruining the flavor of the butter sauce. Pull the pan slightly off the heat if the butter bubbles too vigorously, and cook garlic only until it smells fragrant and turns a pale golden color.
3.Avoid overcooking the shrimp: shrimp transition from perfectly tender and juicy to rubbery and tough in under a minute. They are fully cooked the moment they turn opaque pink and feel firm but slightly springy when pressed with tongs—residual heat from the hot butter will continue to cook them slightly after the heat is turned off, so there is no need to cook them longer.


✨ You May Also Like

Main Course
🍜 United Kingdom

A showstopping classic of tender seared beef, savory mushroom duxelles, and crisp prosciutto wrapped in flaky golden puff pastry, baked to juicy perfection.

⏱️ 2 hours 1Main Course ★ 4.7
Main Course
🍜 India

Tender charred marinated chicken simmered in a rich, spiced creamy tomato sauce, this iconic Anglo-Indian curry pairs perfectly with basmati rice or warm naan.

⏱️ 50 minuteMain Course ★ 4.6
Main Course
🍜 Thailand

Classic tangy, sweet, and savory Thai stir-fried rice noodles with shrimp, tofu, and crunchy garnishes, balancing all five core Thai flavor profiles.

⏱️ 30 minuteMain Course ★ 4.5
Main Course
🍜 United Kingdom

Crispy golden beer-battered cod and fluffy double-fried chips, served with tangy tartar sauce and malt vinegar: the timeless, beloved British pub comfort classic.

⏱️ 45 minuteMain Course ★ 4.7
Main Course
🍜 Mexico

Smoky, chile-marinated pork tacos with caramelized pineapple, fresh cilantro, and lime: a beloved classic Mexican street food perfect for casual summer gatherings.

⏱️ 1 hour 45Main Course ★ 4.8
Main Course
🍜 United States

Crunchy Fritos corn chips layered with savory beef chili and melted cheddar, topped with cool, zesty fixings for a beloved, cozy Tex-Mex comfort food.

⏱️ 35 minuteMain Course ★ 4.8

easy garlic butter shrimp:Frequently Asked Questions

1.Can I use frozen shrimp for this recipe instead of fresh? ▾
Absolutely! Frozen shrimp works perfectly for this recipe—just thaw it fully first, then pat it completely dry with paper towels before searing so it gets a nice golden crust instead of steaming in the pan. Opt for IQF (individually quick frozen) 16-20 count peeled, deveined shrimp to cut down on prep time even more.
2.Why does the recipe call for both olive oil and butter instead of just butter? ▾
Great question! Extra-virgin olive oil raises the smoke point of the butter, so you can get a perfect, hot sear on your shrimp without the milk solids in butter burning and turning bitter. It also adds a subtle, fruity depth that pairs beautifully with the briny shrimp and mellow, fragrant garlic.
3.How do I keep my shrimp from turning rubbery and overcooked? ▾
The #1 rule is to not walk away from the pan! Sear shrimp for 1.5 to 2 minutes per side over medium-high heat, until they just turn opaque pink with a slight golden edge. They keep cooking for a minute after you pull them off heat, so remove them as soon as they curl into a loose “C” shape to stay juicy.
4.Do I have to leave the tails on the shrimp, or can I peel them fully? ▾
You can absolutely peel the tails off if you prefer easier, no-mess eating! Leaving tails on adds nice visual appeal and a tiny boost of briny seafood flavor as they sear, but it is totally a personal preference. Just make sure any leftover shell bits are fully removed before cooking if you peel them entirely.
5.How do I keep the garlic from burning when I make the butter sauce? ▾
Burnt garlic tastes harsh and bitter, so keep a close eye on it! After searing the shrimp, turn the heat down to medium-low before adding your minced garlic to the butter, and stir it constantly for 30 to 45 seconds until it smells fragrant and turns pale golden. Add the shrimp back right away to stop the garlic from cooking too fast.
6.What can I serve with this garlic butter shrimp to make a full meal? ▾
This shrimp is incredibly versatile! Serve it over buttery pasta, fluffy white rice, or crusty sourdough to soak up every drop of that garlic butter sauce. It also pairs perfectly with roasted broccoli, a crisp green side salad, or roasted asparagus for a lighter, low-carb weeknight meal that comes together fast.
7.Can I add extra seasonings or mix-ins to this base recipe? ▾
Of course! This simple base recipe is super flexible. Add a pinch of red pepper flakes for gentle heat, a splash of dry white wine right after cooking the garlic for bright, tangy depth, or a sprinkle of parmesan if you’re serving it over pasta. Just skip heavy, overpowering spices that would cover up the fresh, bright core flavors.
8.What does 16-20 count shrimp mean, anyway? ▾
That count refers to how many shrimp make up one pound, so 16-20 count means you’ll get 16 to 20 shrimp per pound. This size is ideal for this recipe because they’re large enough to get a nice seared crust without overcooking too fast, and they feel substantial and satisfying as a main dish instead of a tiny appetizer.
9.Can I make this recipe ahead of time for weekly meal prep? ▾
This shrimp is best served right after cooking for the juiciest texture, but you can prep components ahead to cut down on cook time! Peel and devein your shrimp, mince your garlic, and chop your parsley up to 2 days in advance, stored in separate airtight containers in the fridge. I don’t recommend cooking the shrimp fully ahead, as it gets rubbery when reheated.
10.I don’t have fresh parsley on hand—can I use dried instead? ▾
You can use dried parsley in a pinch, but use 1 teaspoon of dried for every 1 tablespoon of fresh called for, since dried herbs are far more concentrated. Fresh flat-leaf parsley adds a bright, grassy pop that cuts through the rich butter, so if you can grab a small bunch on your next grocery run, it makes a noticeable difference.
11.How should I store leftovers, and how long will they keep? ▾
Store any leftover shrimp in an airtight container in the fridge for up to 3 days. Reheat them gently in a skillet over low heat with a tiny extra pat of butter, just until warmed through—avoid microwaving on high, as that will make the shrimp tough and rubbery fast. Toss with a little extra squeeze of lemon before serving to brighten flavors back up.

Comments (4)

2 days ago

OMG this was SO good! I threw this together last minute for weeknight dinner when I forgot to thaw chicken, and my kids literally asked for seconds before they even finished their first serving. The only swap I made was adding a pinch of red pepper flakes for a little kick, and it was chef’s kiss. 10/10 will be adding this to our regular rotation!

1 day ago

Wait the red pepper flake swap is genius! I’ve been making this for potlucks all summer but never thought to add a little heat, can’t wait to try that next time. Did you use regular crushed red pepper or that fancy Aleppo stuff?

yesterday

So happy your family loved it! The red pepper flake addition is such a great call - a little heat pairs perfectly with the rich garlic butter. For anyone who likes extra zing, a quick squeeze of fresh lemon right at the end works great too!

3 days ago

Game changer for my Sunday meal prep! This cooks so fast (the 8 minute cook time is no joke, I timed it) and it reheats perfectly over rice or roasted veggies for weekday lunches. I was worried shrimp would get rubbery when I reheated it, but if you undercook it by just a minute when you first make it, it comes out perfect come lunchtime. I’ve already made it twice this week!

1 week ago

Super easy recipe, perfect for when I’m running late from work and need to get dinner on the table fast. My only note is that I burned the garlic a little my first try because I had the heat up too high - definitely keep the burner on medium like the recipe says, don’t crank it! Tasted amazing even with slightly crispy garlic though, no complaints from the family.

5 days ago

Thanks so much for sharing that helpful tip for other cooks! Garlic burns so quickly, especially once you add the butter, so medium heat is definitely key to getting that sweet, savory garlic flavor without the bitter burnt taste. So glad it still turned out tasty for your family!

5 days ago

Brought this to my neighborhood block party last weekend and people were hounding me for the recipe before I even set the platter down! I served it with crusty French bread for dipping in the extra garlic butter, and there was literally none left by the end of the night. So easy to throw together even for a crowd, 10/10.

2 days ago

Oh the crusty bread for dipping is such a no-brainer, why didn’t I think of that?! I made this last night and had a ton of butter sauce left over that I ended up tossing with pasta, but bread would be even better. Thanks for the idea!



