
easy mexican casserole
intro
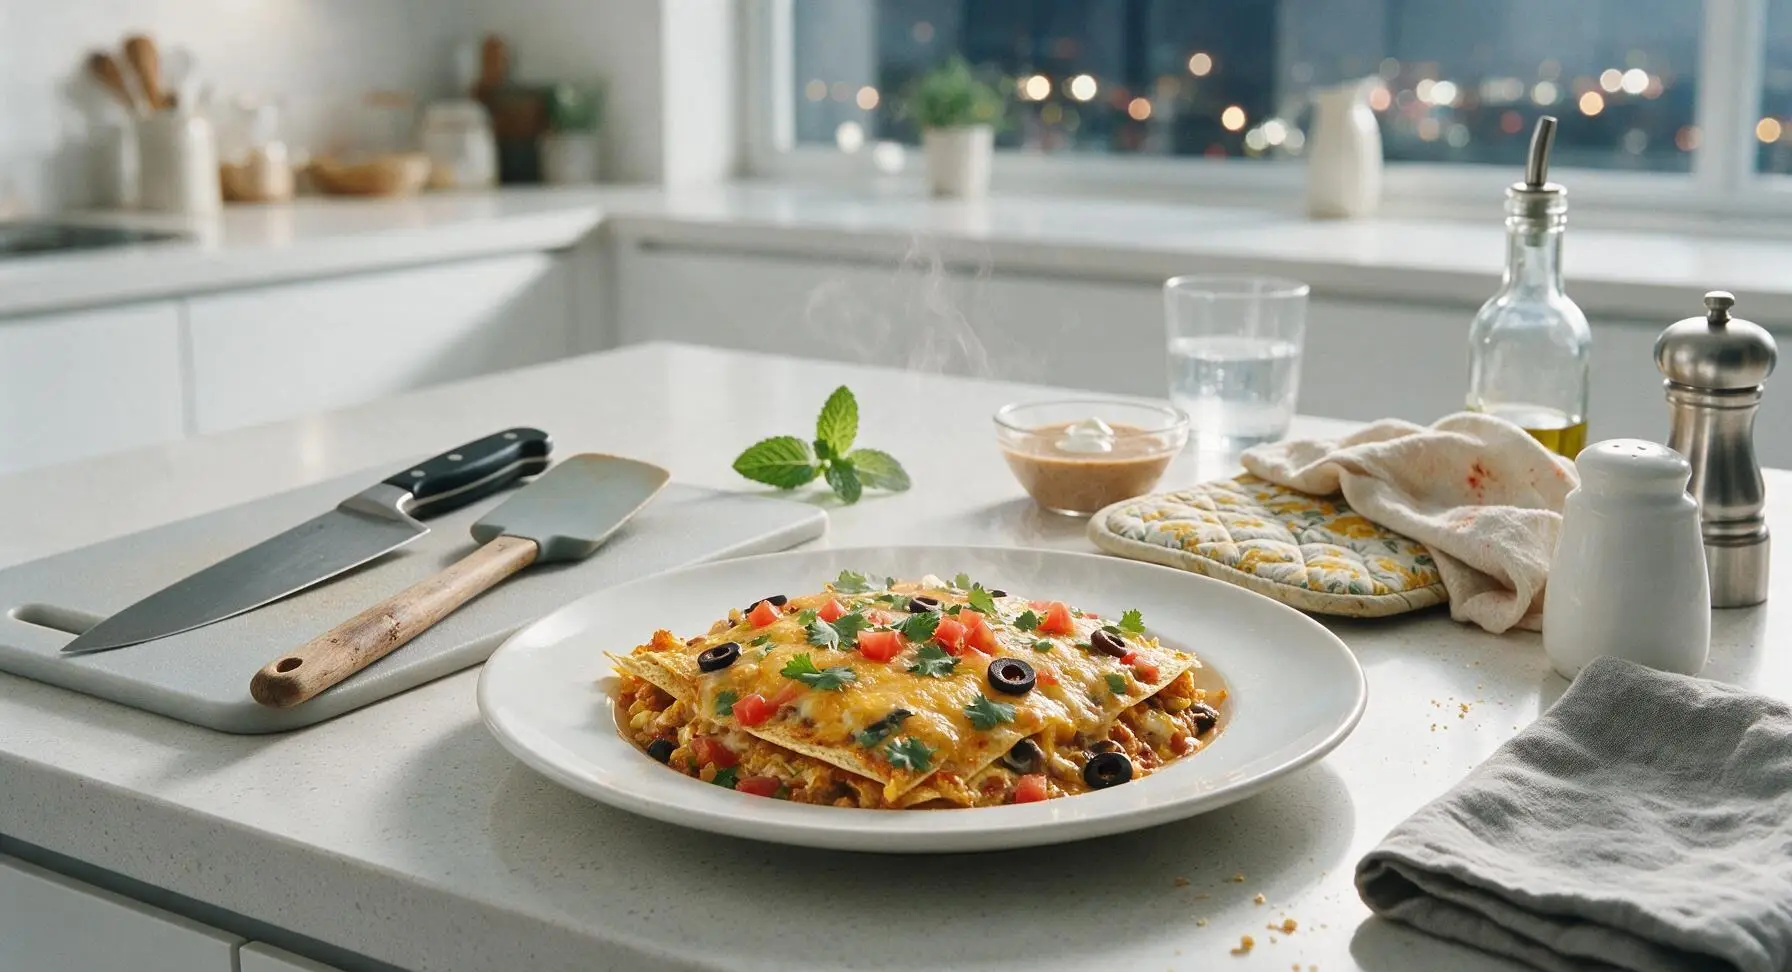
Layered, cheesy, and packed with bold Tex-Mex flavor, this fuss-free casserole comes together fast with pantry staples for a satisfying, crowd-pleasing weeknight meal.
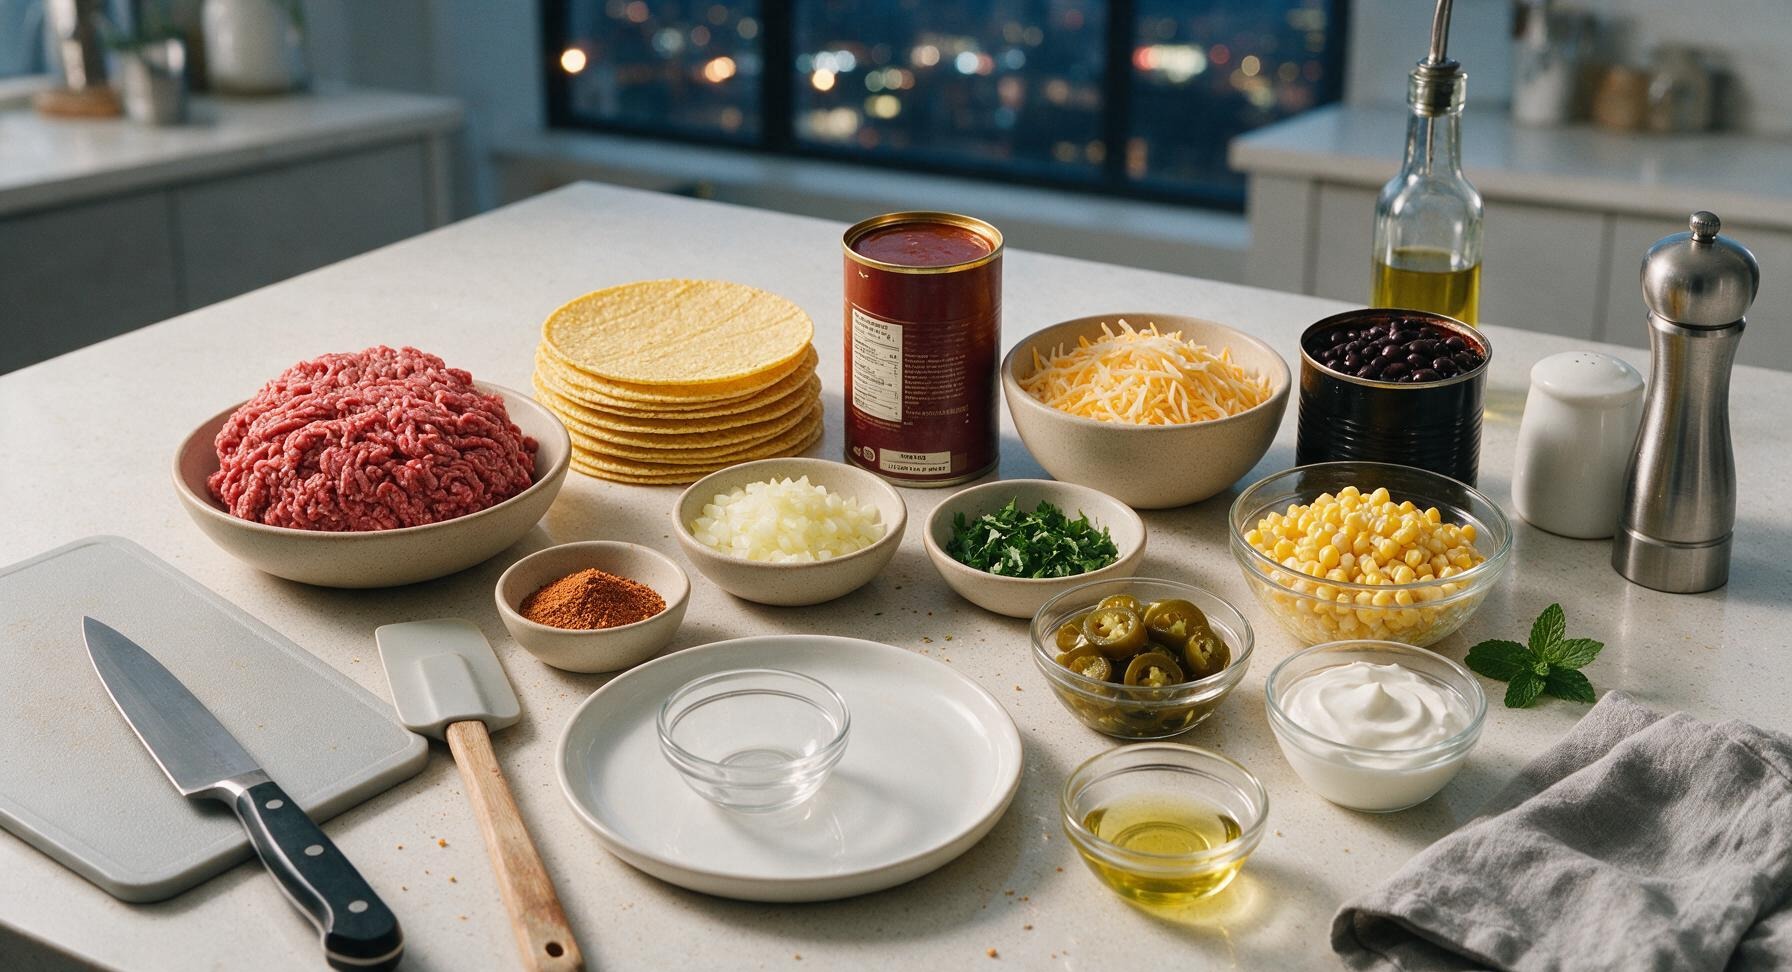
Ingredients
Steps
Preheat and Prep Aromatics
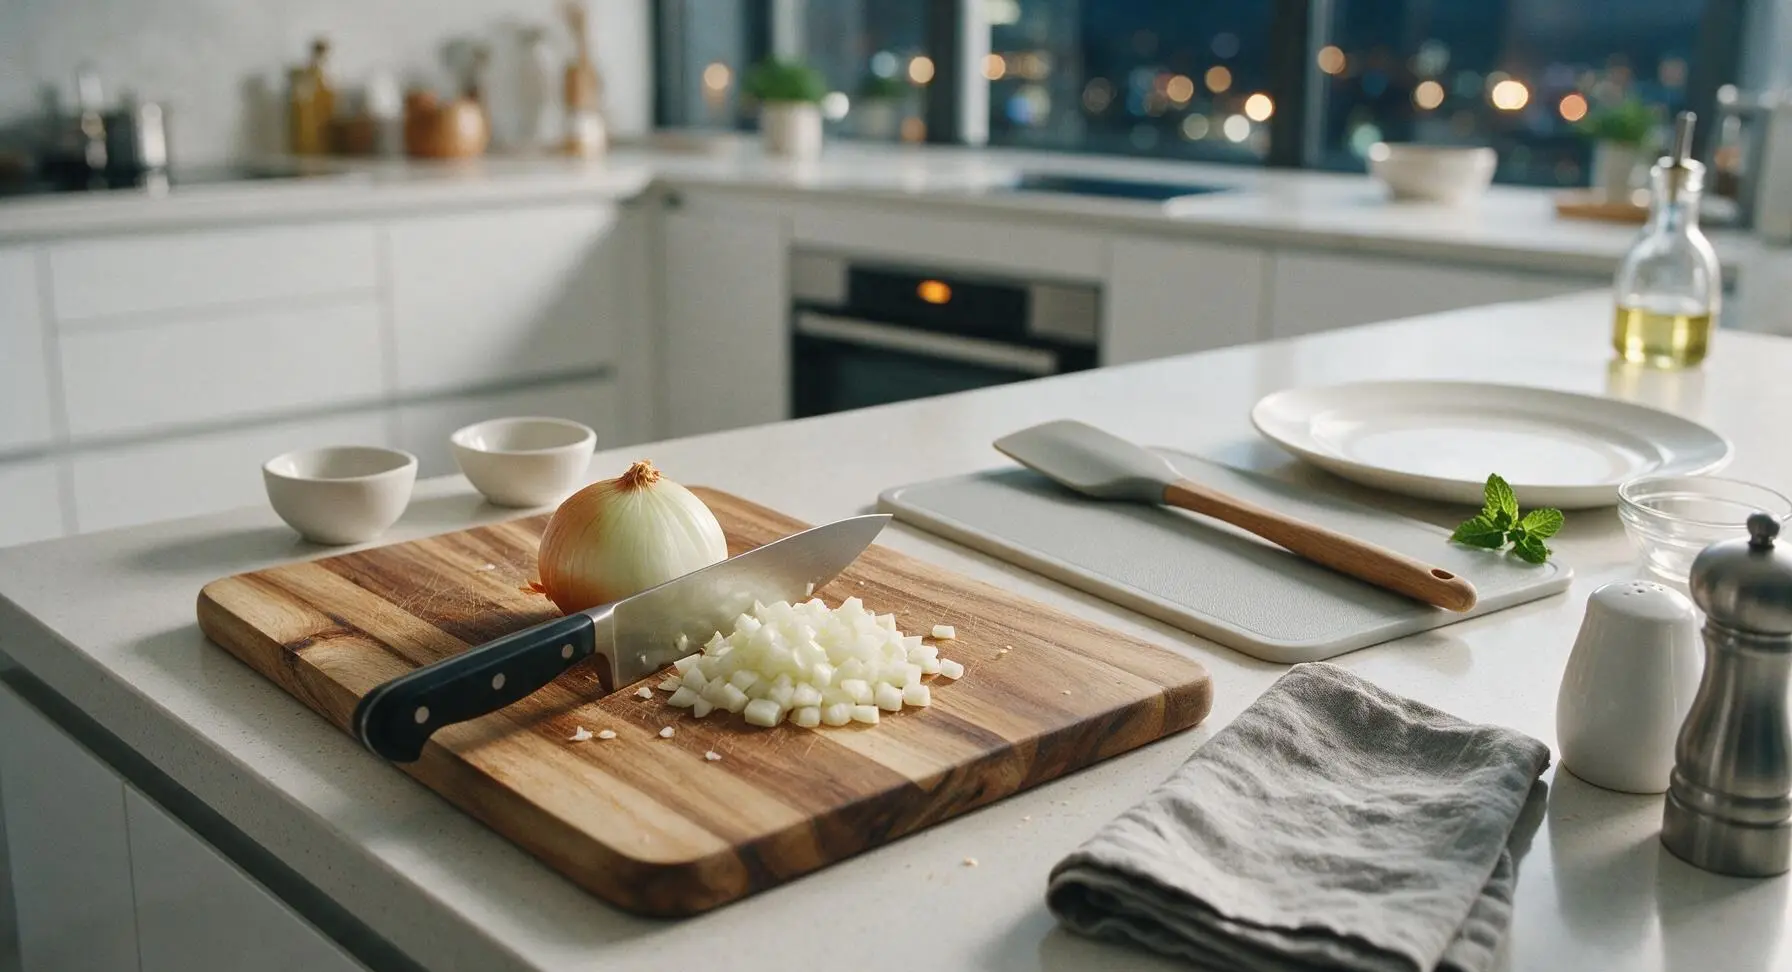
Adjust your oven rack to the middle position and preheat the oven to 190°C (375°F). Set the acacia wood cutting board in its fixed center-left position, place the small yellow onion on the board, and use the 8-inch chef’s knife to dice the onion into uniform 1cm (½-inch) pieces, discarding the papery outer skin and woody root end. Transfer the diced onion to one of the small matte white pinch bowls, and measure 2 tablespoons of taco seasoning into a second pinch bowl, setting both within easy reach.
Brown Beef and Onions
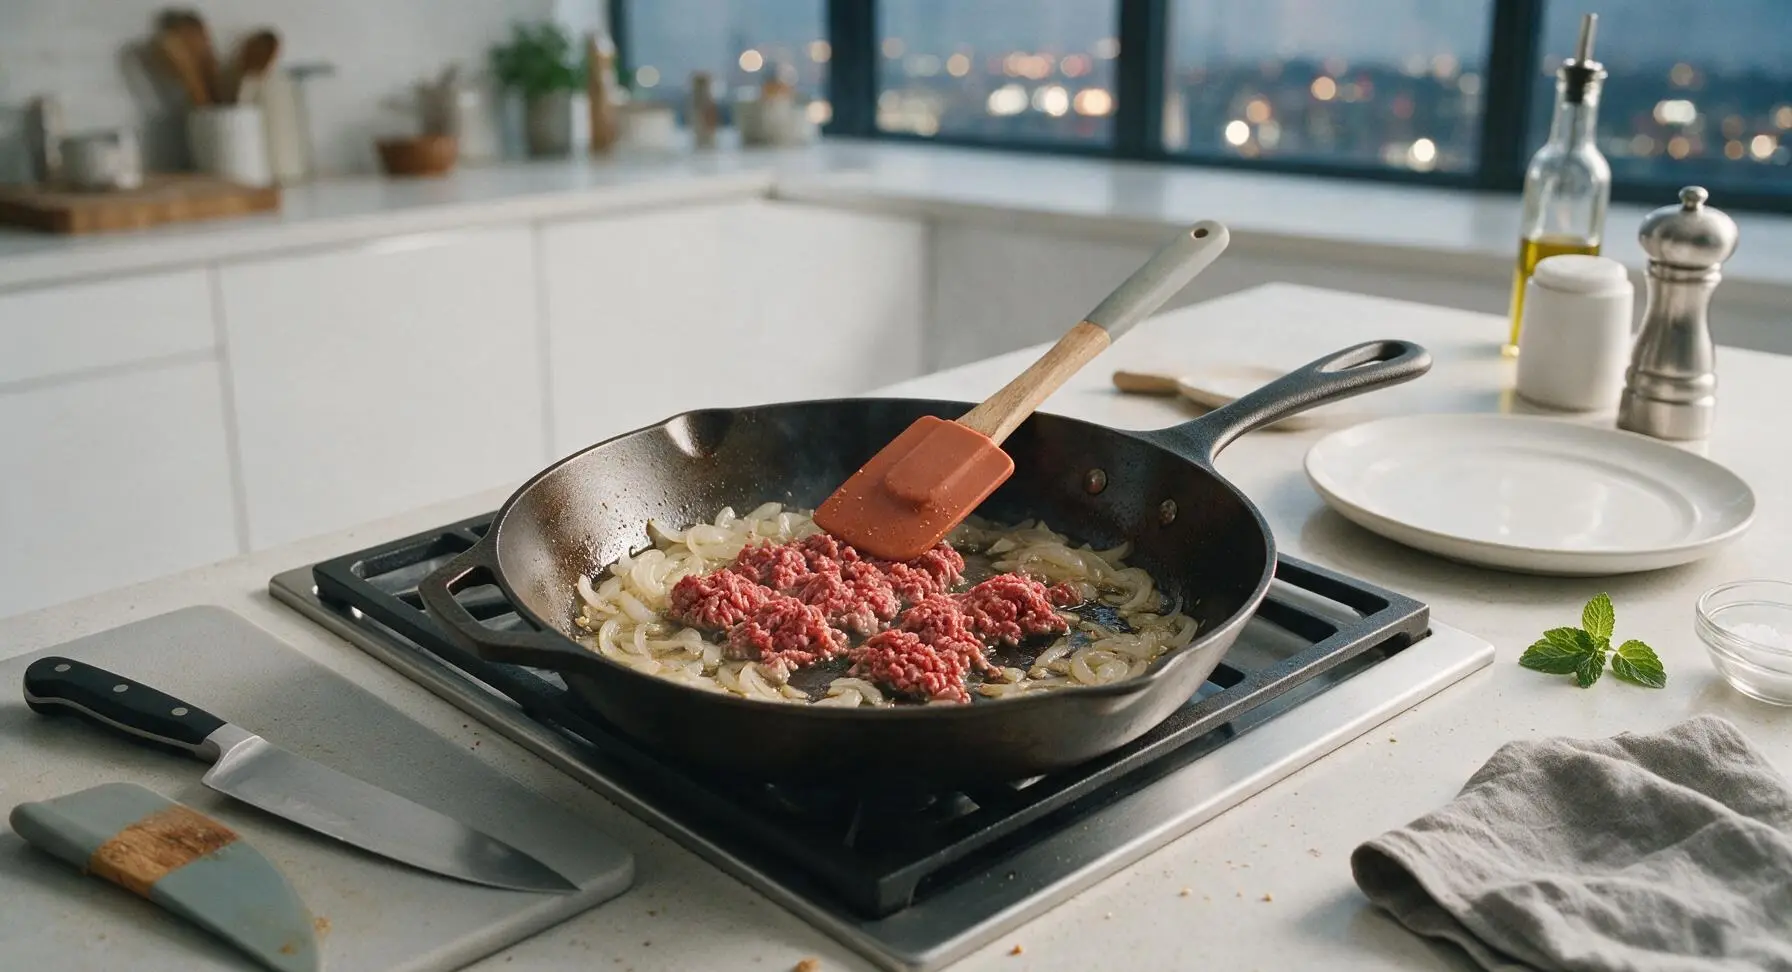
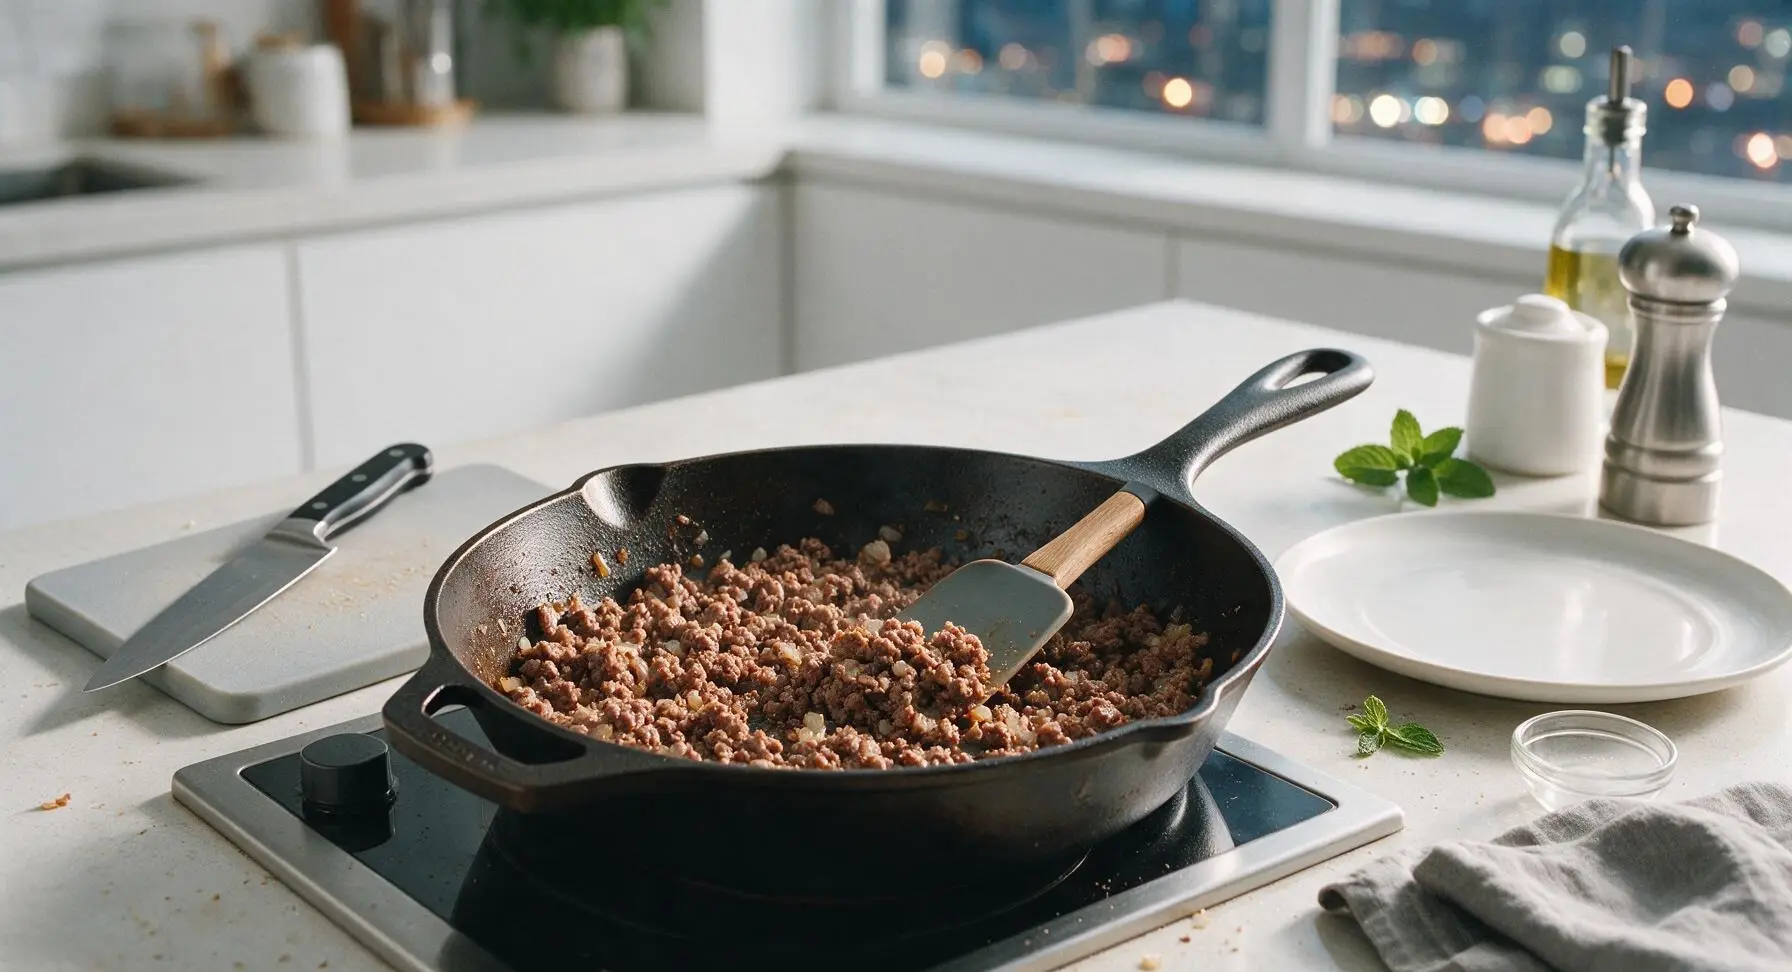
Place the 10-inch seasoned carbon steel skillet on the stovetop over medium heat, and add 1 tablespoon of neutral cooking oil. Once the oil shimmers (about 1 minute of heating), add the diced onion and sauté for 3 minutes until soft and translucent. Add the 450g lean ground beef to the skillet, using the terracotta silicone spatula to break the meat into small crumbles as it cooks. Stir occasionally for 5-6 minutes, until the beef is fully browned with no visible pink remaining. Drain any excess rendered grease from the skillet if needed.
Mix Casserole Filling
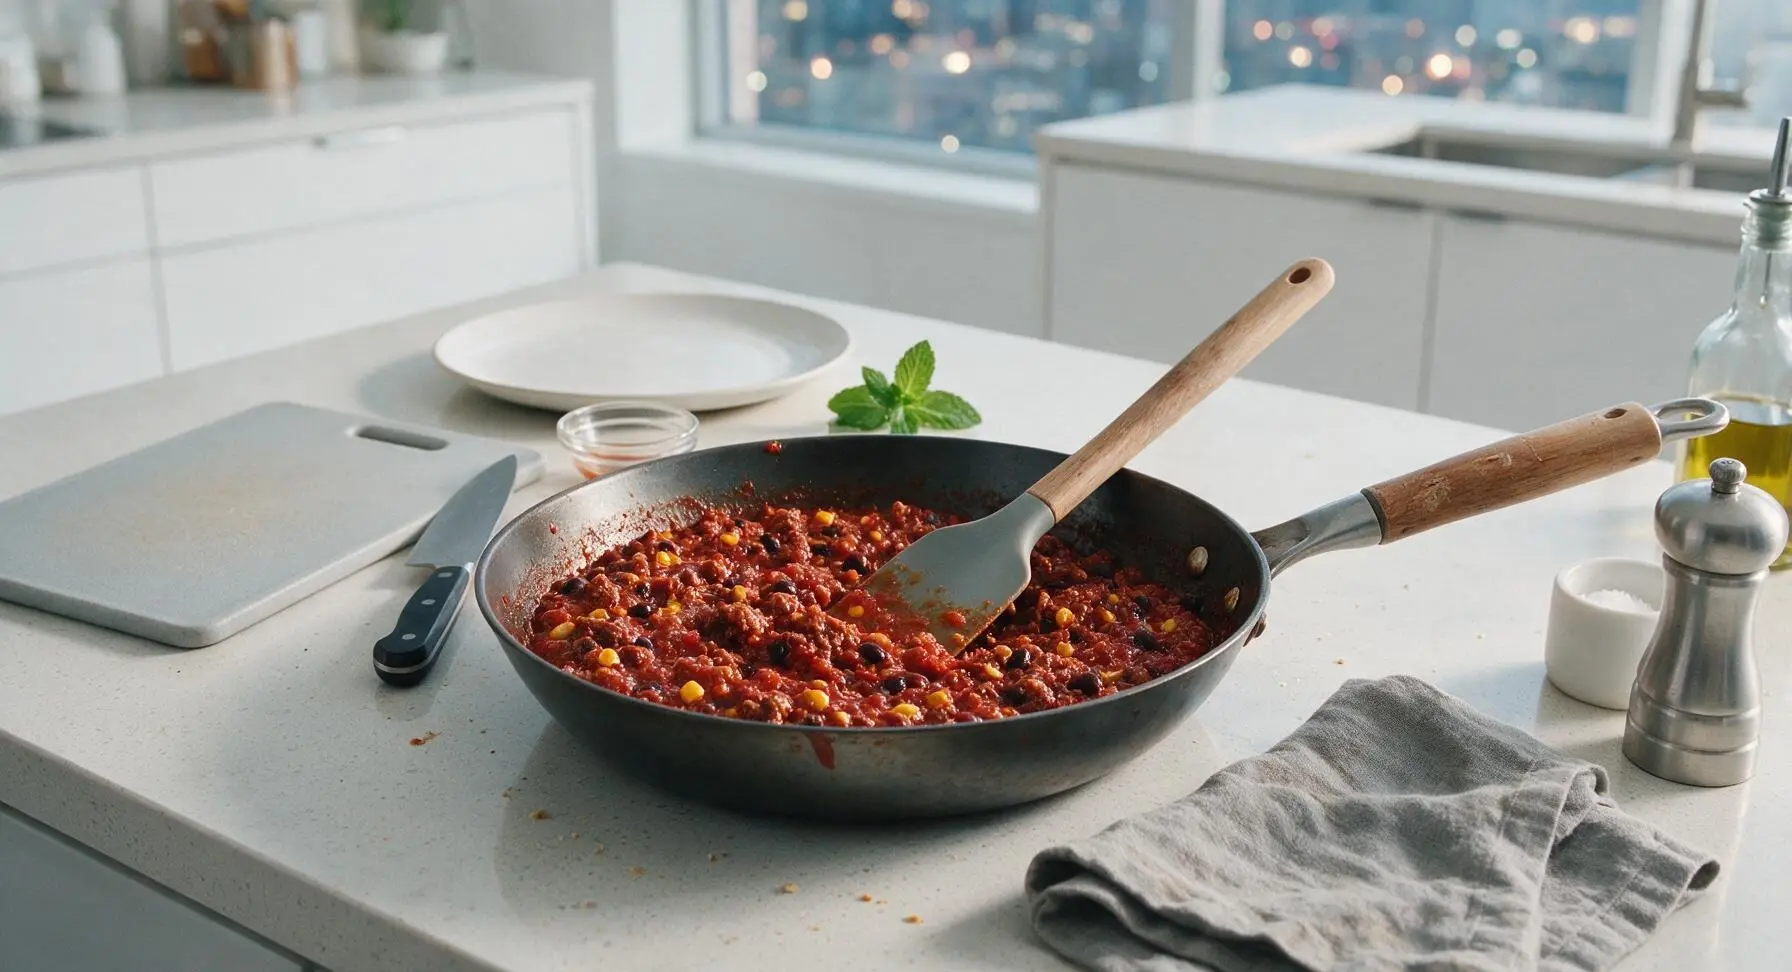
Sprinkle the 2 tablespoons of taco seasoning over the browned beef in the skillet, stirring constantly for 30 seconds until the spice fragrance is noticeable. Add the 400g can of red enchilada salsa, 425g can of rinsed, drained black beans, and 150g thawed sweet corn to the skillet. Stir with the silicone spatula until all ingredients are evenly combined, then remove the skillet from heat. The finished filling should be thick, not runny, with beans and corn distributed evenly throughout the beef.
Layer Casserole Ingredients
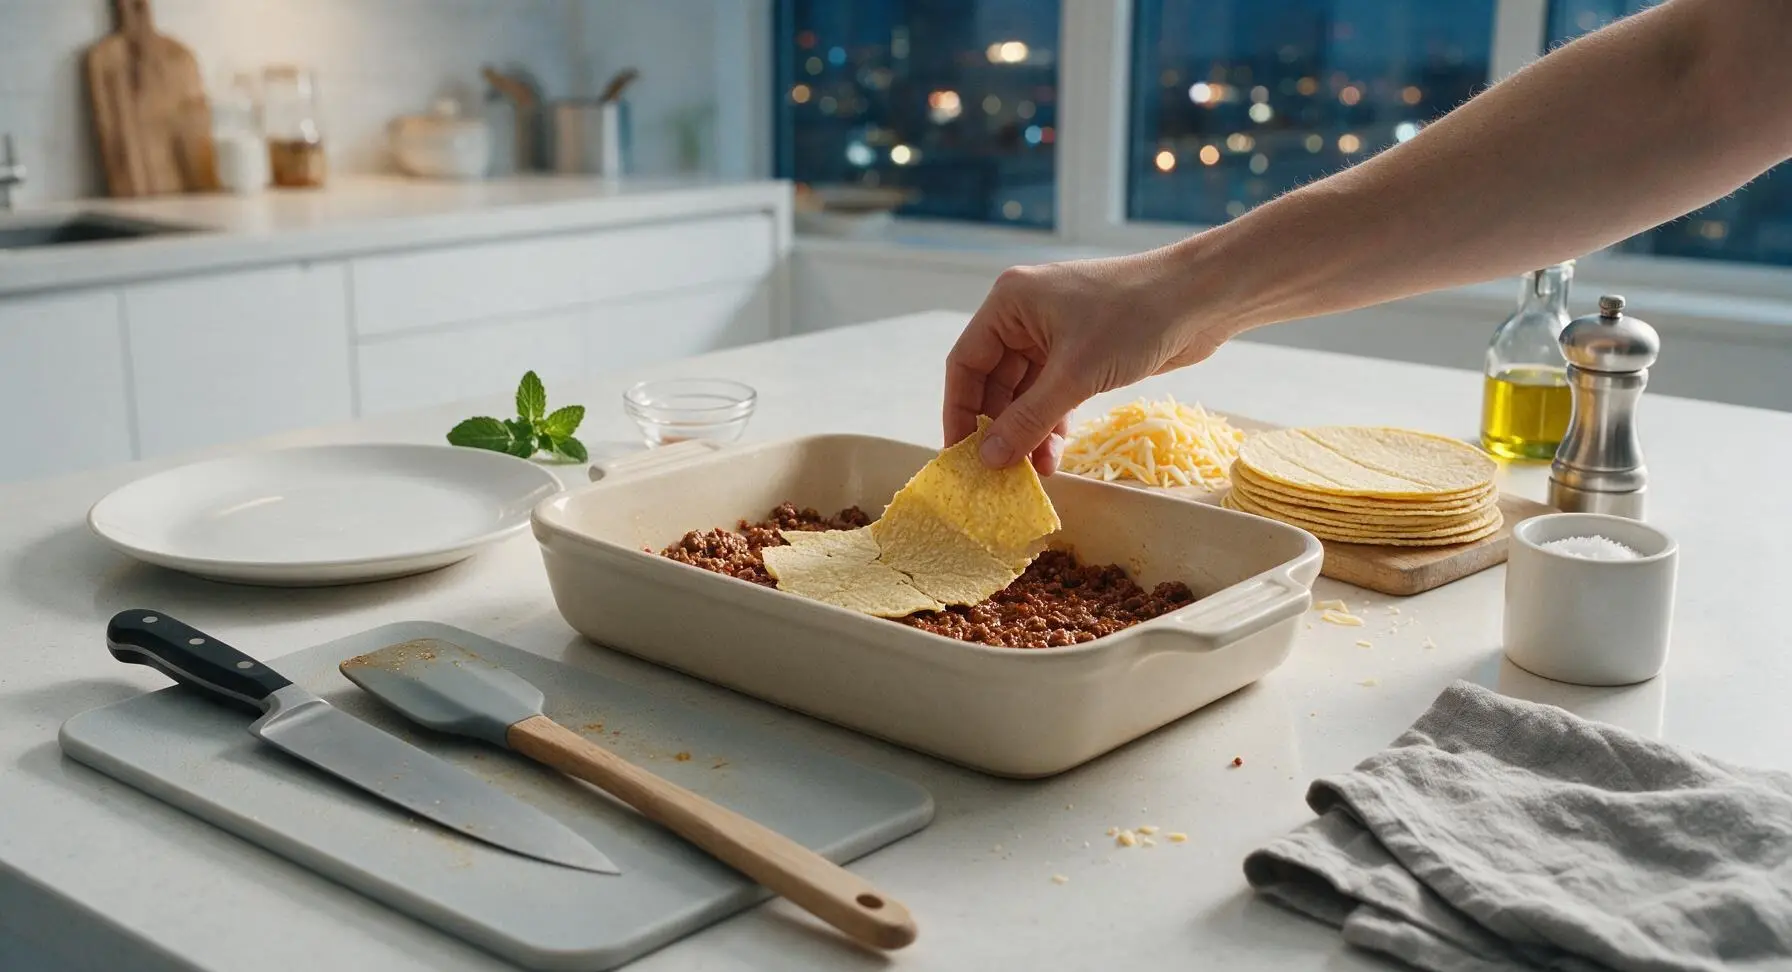
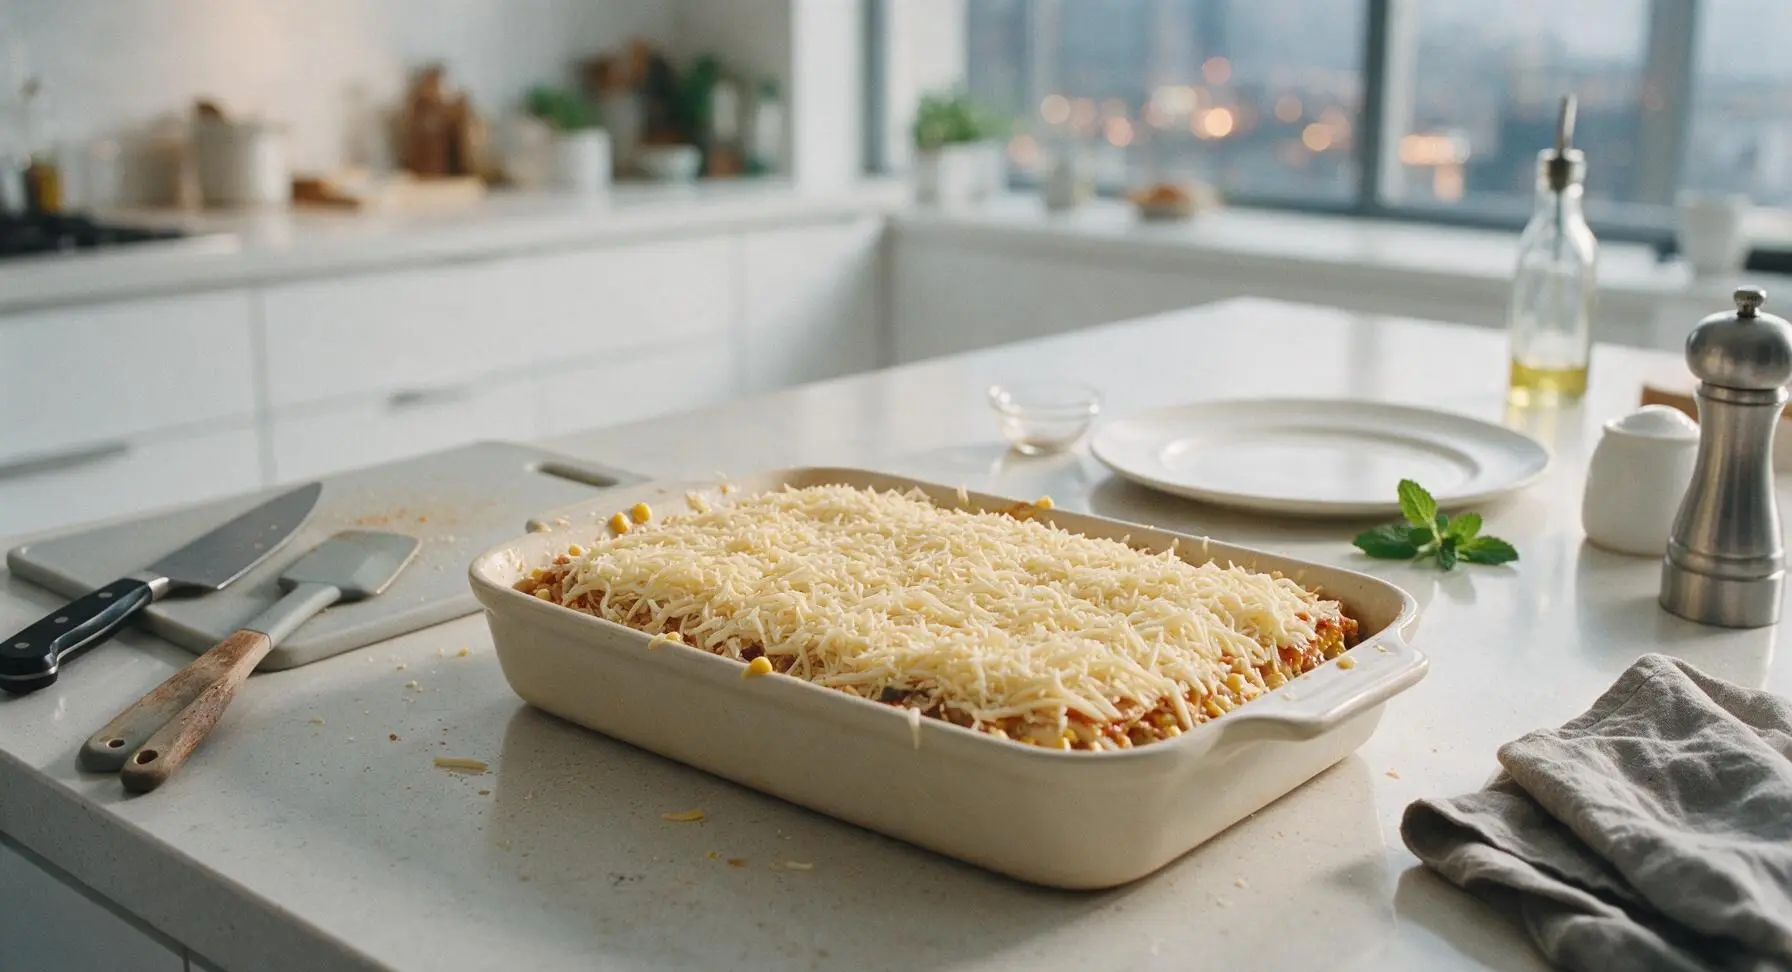
Set the 9x13 inch matte cream ceramic baking dish in its fixed center workspace position. Spread ¼ cup of the beef filling across the very bottom of the dish to prevent sticking. Top with a single overlapping layer of corn tortillas (about 3 tortillas, torn to fit the dish shape as needed), followed by ⅓ of the remaining beef filling, and ¼ of the 150g shredded Mexican cheese blend. Repeat this tortilla-filling-cheese layering pattern two more times, finishing with a final top layer of tortillas, the last of the beef filling, and the remaining shredded cheese spread evenly across the entire surface.
Bake Until Golden Bubbly
Loosely cover the baking dish with a sheet of aluminum foil, then place it on the middle oven rack. Bake for 20 minutes covered, then remove the foil and bake for an additional 10 minutes, until the cheese is fully melted, bubbling around the dish edges, and dotted with light golden-brown crispy spots. Use the burnt orange quilted oven mitts to carefully remove the hot dish from the oven, and set it back on the counter to rest for 5 minutes before slicing.
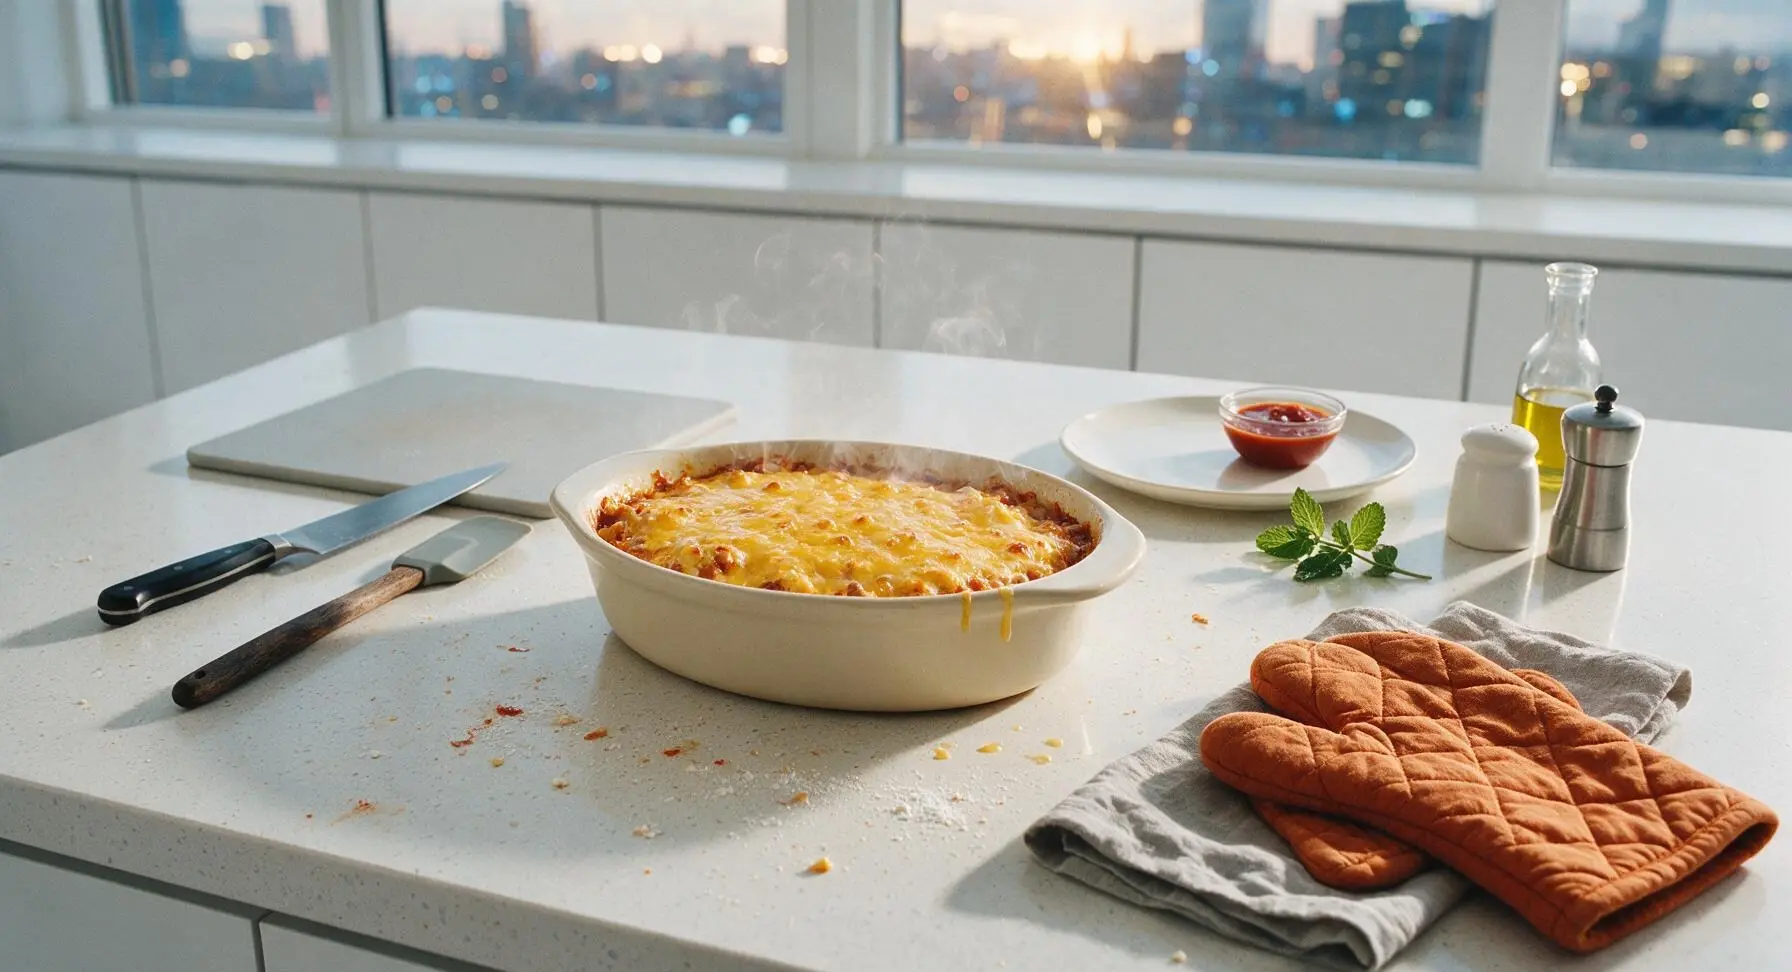
Garnish and Plate Servings
After the 5-minute rest, cut the casserole into 6 equal square slices. Use the silicone spatula to lift one clean slice onto the matte terracotta dinner plate. Top the slice with a small dollop of sour cream, a light sprinkle of fresh chopped cilantro, and 2-3 pickled jalapeño slices if desired. Serve immediately.
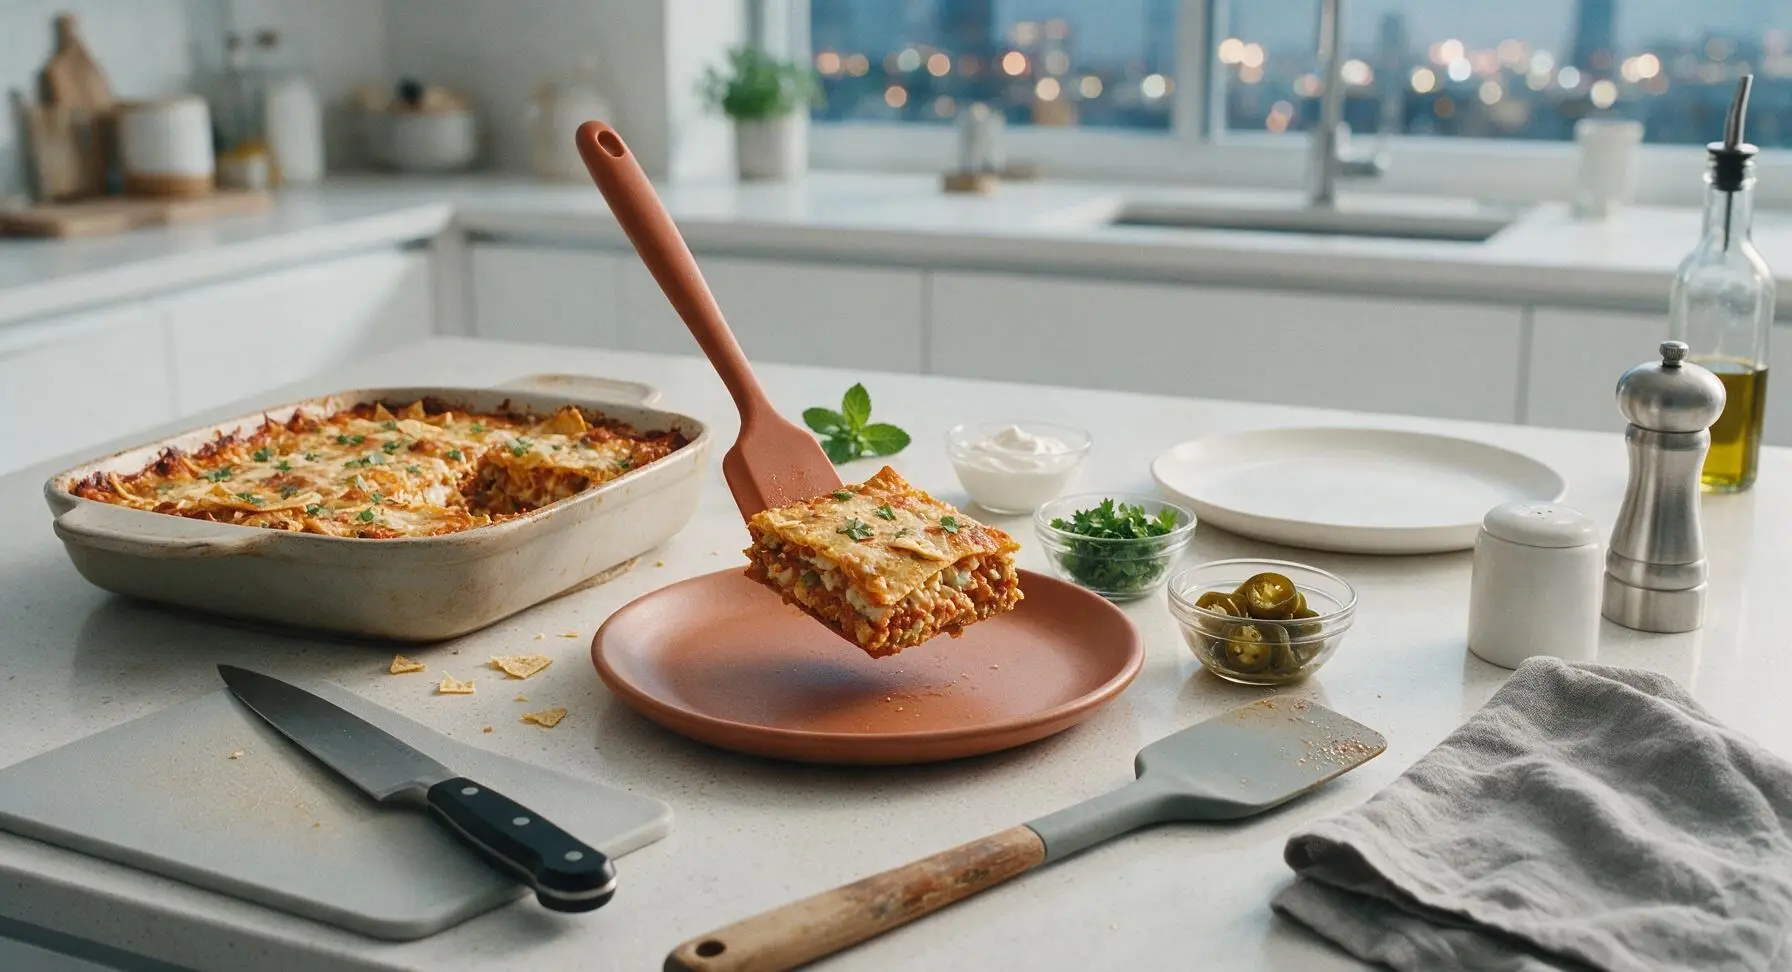
Tips
2.For easy dietary adaptations, replace ground beef with ground turkey for a lower-fat option, or swap the beef for an extra can of rinsed black beans and 1 cup of roasted bell pepper for a fully vegetarian version; the bold taco seasoning and salsa carry enough flavor that the swap feels intentional, not like a compromise.
3.Always spread a thin layer of filling on the dish bottom before adding the first tortilla layer: this prevents tortillas from sticking directly to the hot ceramic dish and turning hard and crispy during baking, ensuring every bite is soft, sauced, and evenly cooked.






OMG this was SO good! I threw this together last night for my family of 4 after soccer practice and my kids devoured it, even my picky 7 year old who hates anything with beans asked for seconds. Total game changer for busy weeknights, I already added all the ingredients to my weekly meal prep rotation! Took exactly 30 minutes like the recipe said, no fancy steps required.
Made this for meal prep Sunday and it held up perfectly all week for lunches! I added a little extra taco seasoning and a handful of crushed tortilla chips on top before baking for crunch, chef’s kiss. Super easy, no weird ingredients I had to run to three stores for. Will definitely make again.
Wait, is there a way to make this gluten free? My husband has celiac so I have to be super careful with cross contamination, but this looks so good I want to make it for our anniversary dinner next week.
Brought this to my office potluck yesterday and people were lined up for seconds! I added a dollop of sour cream and a sprinkle of cilantro on top before serving, and the whole pan was gone in 10 minutes. Only note: I’d probably bake it 5 minutes less next time because my oven runs hot, but that’s just me.
First time cooking anything more complicated than mac and cheese and this actually turned out perfect!!! I was so nervous I’d mess it up but the steps are so straightforward, even I couldn’t screw it up. My roommate said it’s better than the Mexican place down the street, high praise.
This was solid, but I added a can of diced green chiles and a teaspoon of cayenne to give it a little kick because my family likes extra spicy food. It was so flavorful, even with my little additions the base recipe was perfect and didn’t get overpowered. Will be making this on repeat for taco nights from now on.
Made this last night when I had to watch the kids by myself while my wife was out of town, and I didn’t have to stress at all. 30 minutes, one pan, minimal cleanup? Exactly what I needed. My 10 year old said it’s ‘top 5 dinners ever’ which is the highest possible rating from him, honestly.