
easy puddings with custard
intro
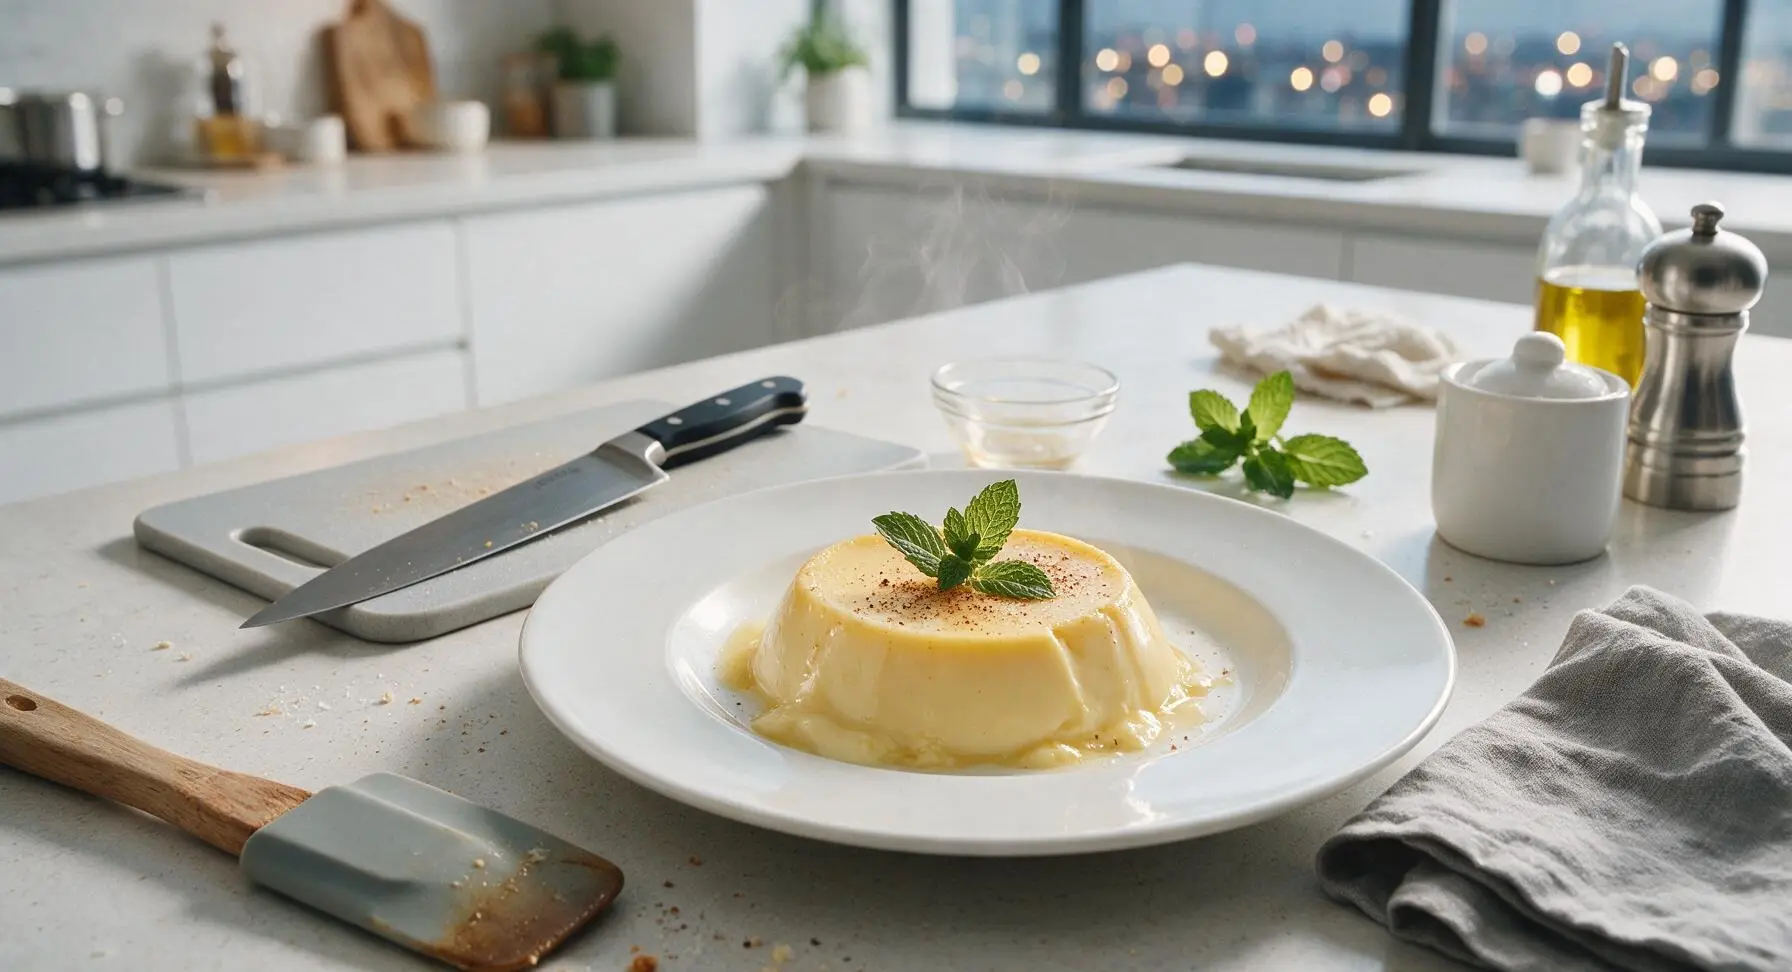
Silky, vanilla-kissed baked custard puddings with a delicate wobbly set, served warm with fresh nutmeg. No fancy equipment, minimal prep, pure cozy cold-weather comfort in every spoonful.
Ingredients
Steps
Preheat and Prep Ramekins
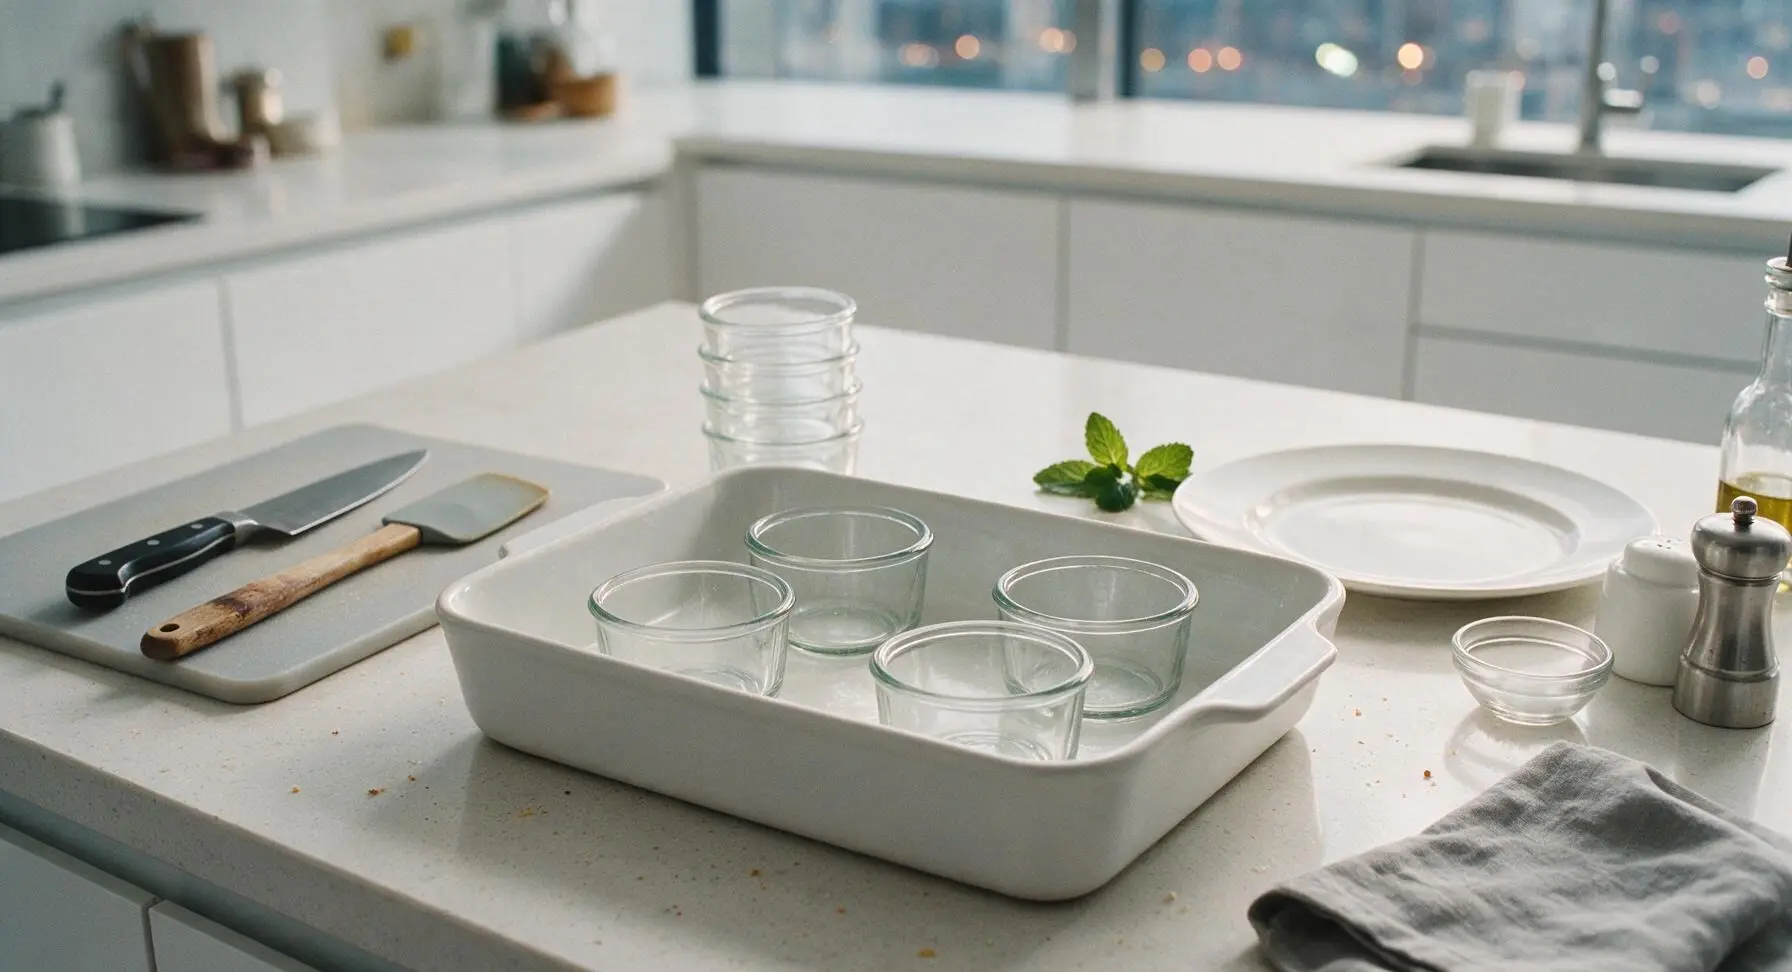
Preheat your oven to 325°F (160°C). Retrieve the 4 clear glass ramekins from the back counter stack and set them inside the 9x13 inch matte white ceramic baking dish, spacing them evenly so they do not touch each other or the sides of the dish. No greasing is required for these puddings, as the smooth glass releases the custard easily once cooled.
Warm the Milk Gently
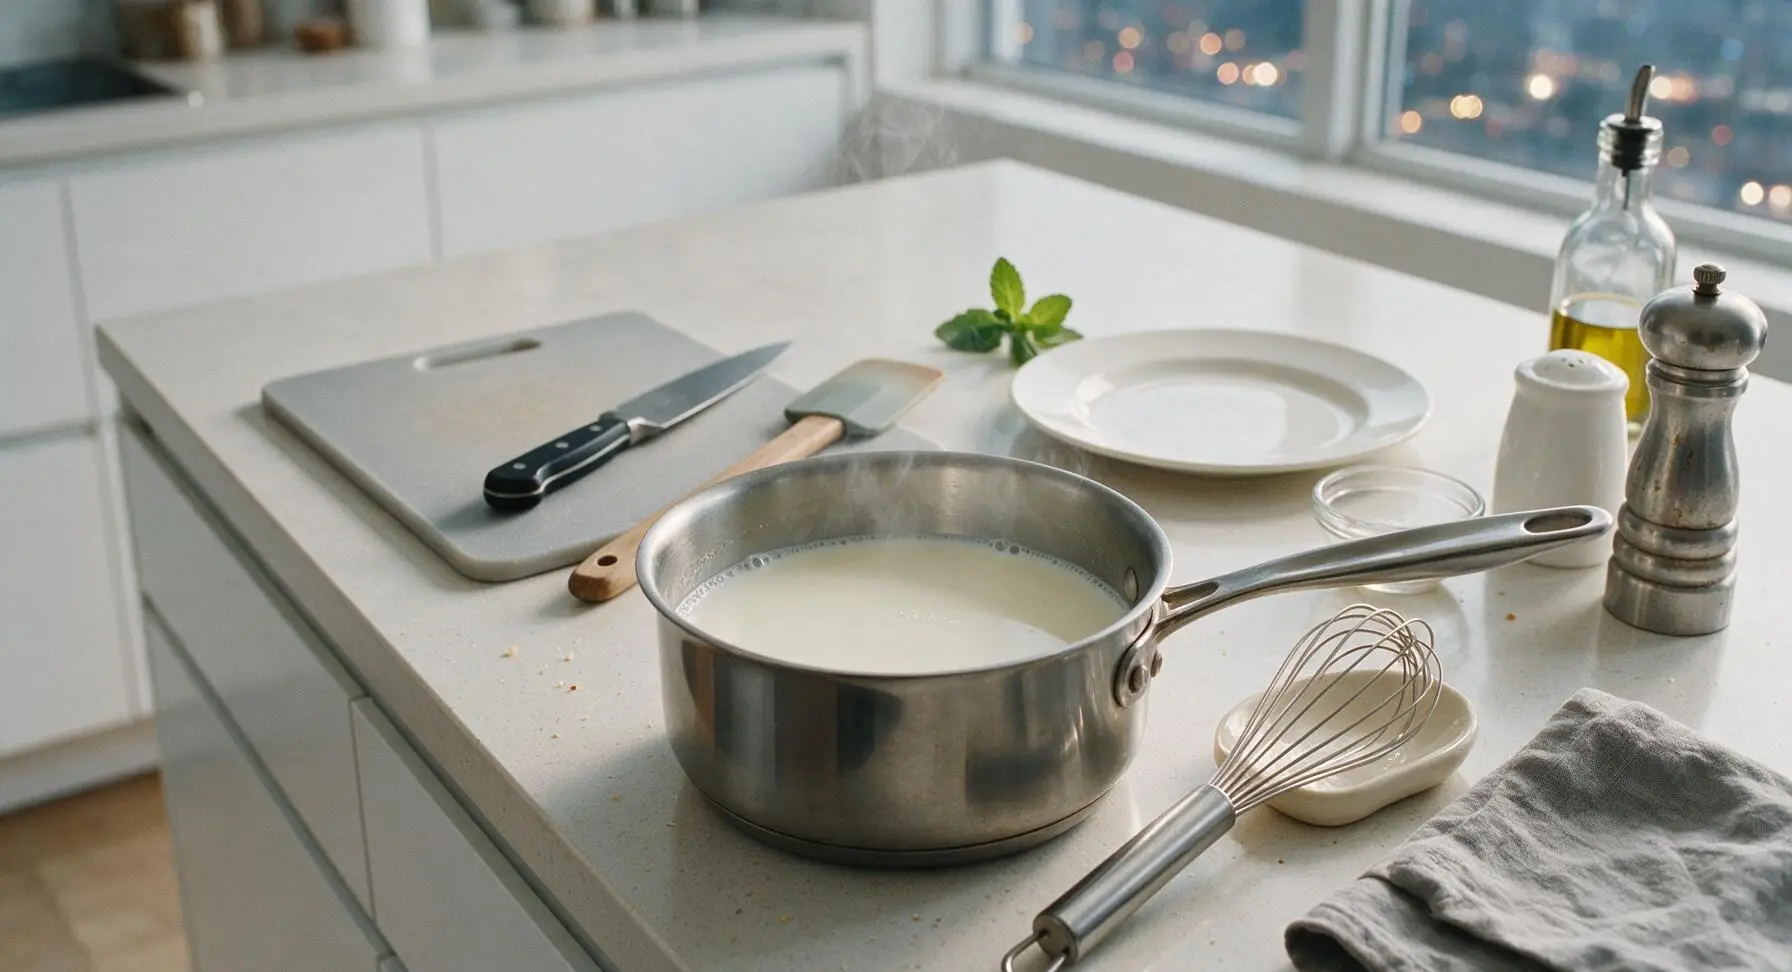
Retrieve the 1.5-quart stainless steel saucepan from the back right, pour in the 2 cups of whole milk, and warm over medium-low heat for 4-5 minutes until the milk just starts to steam and tiny bubbles form around the pan edge. Do not let the milk boil, as high heat will curdle the eggs later. Remove the pan from heat immediately once steaming.
Whisk Egg Sugar Base
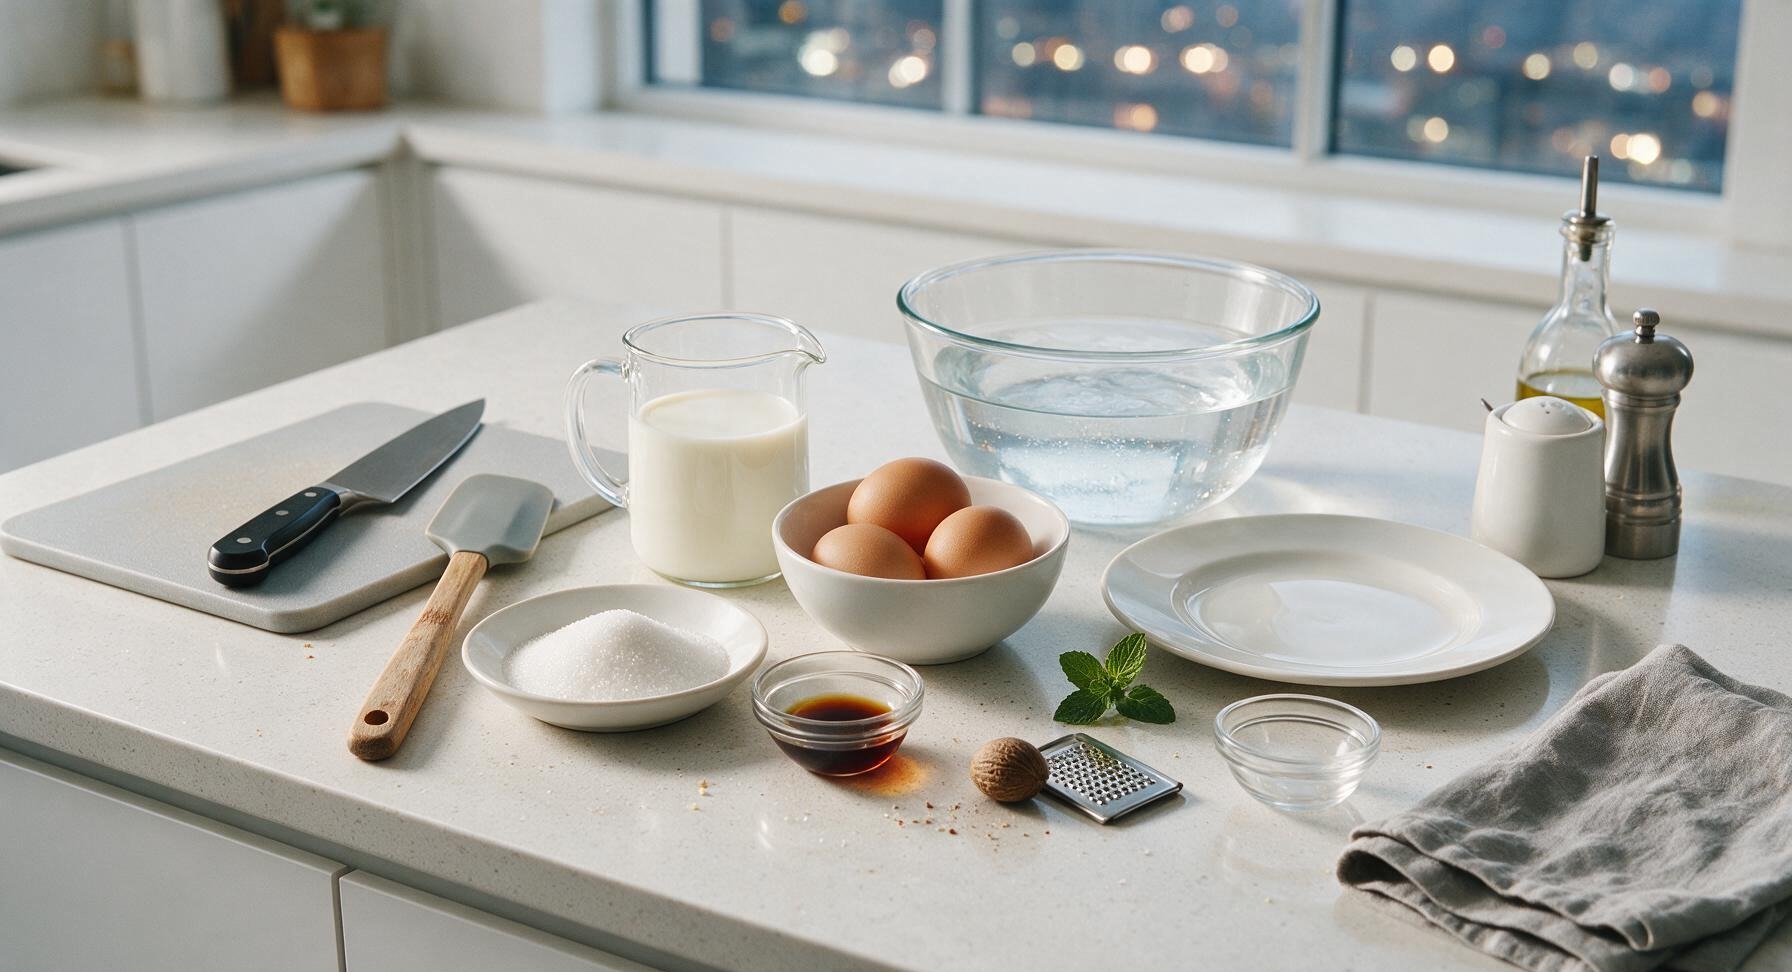
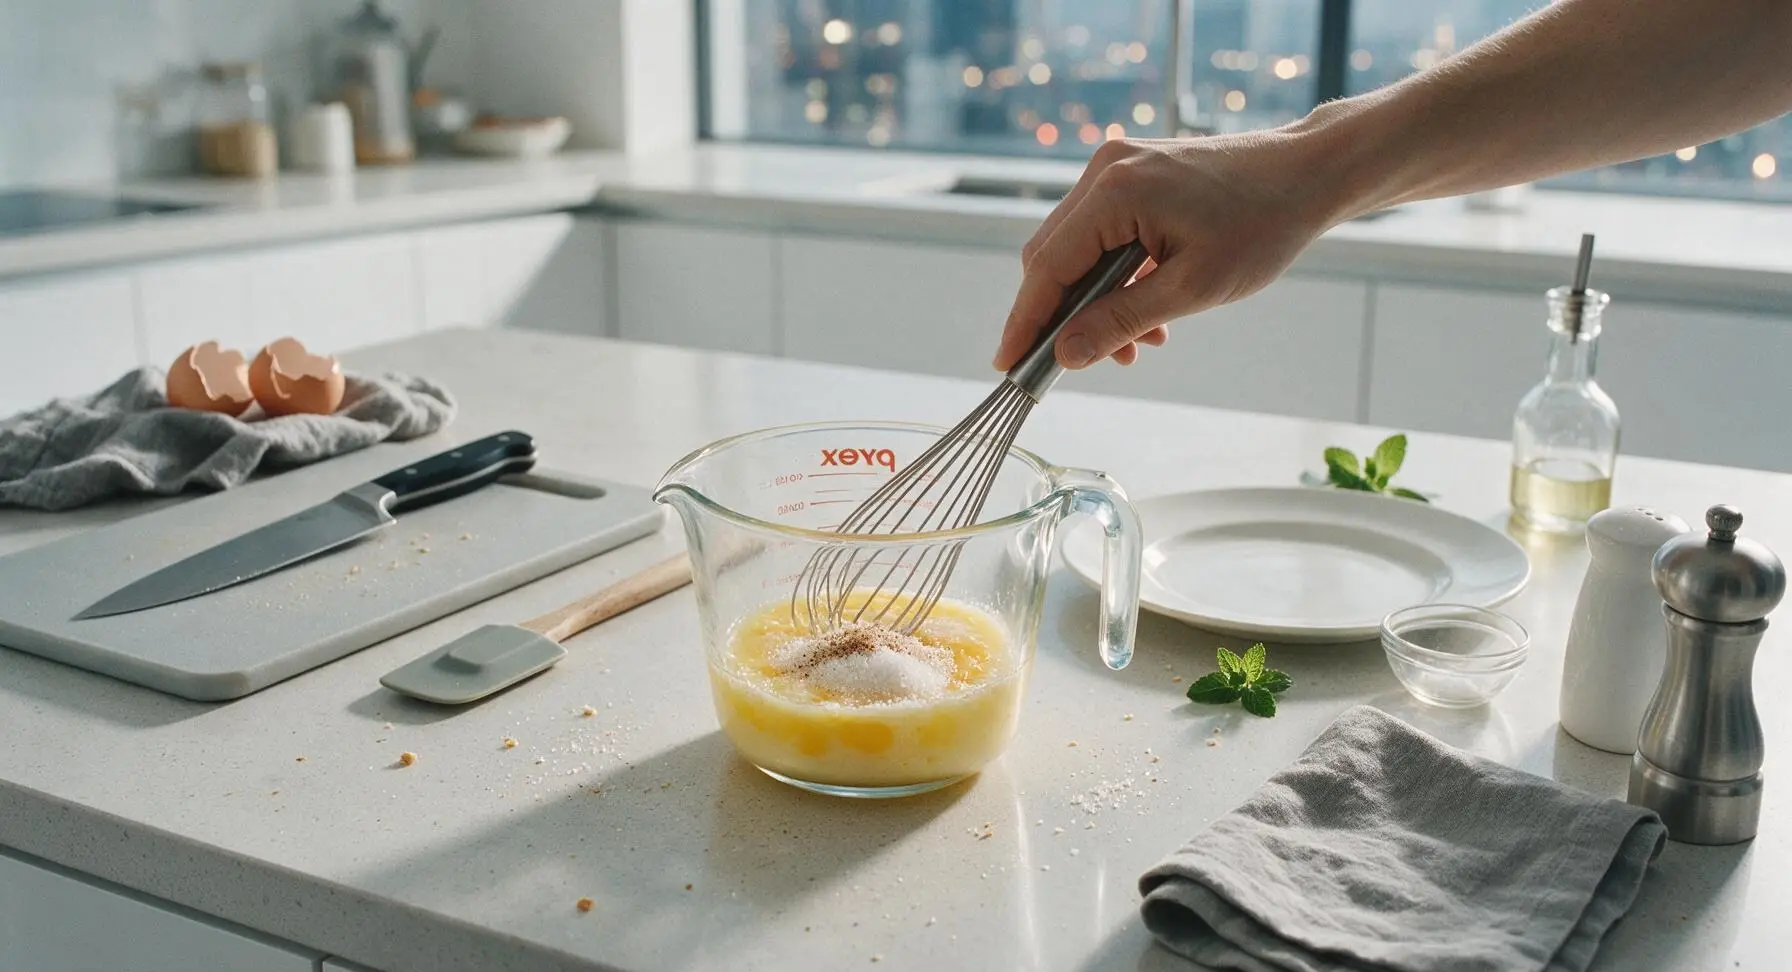
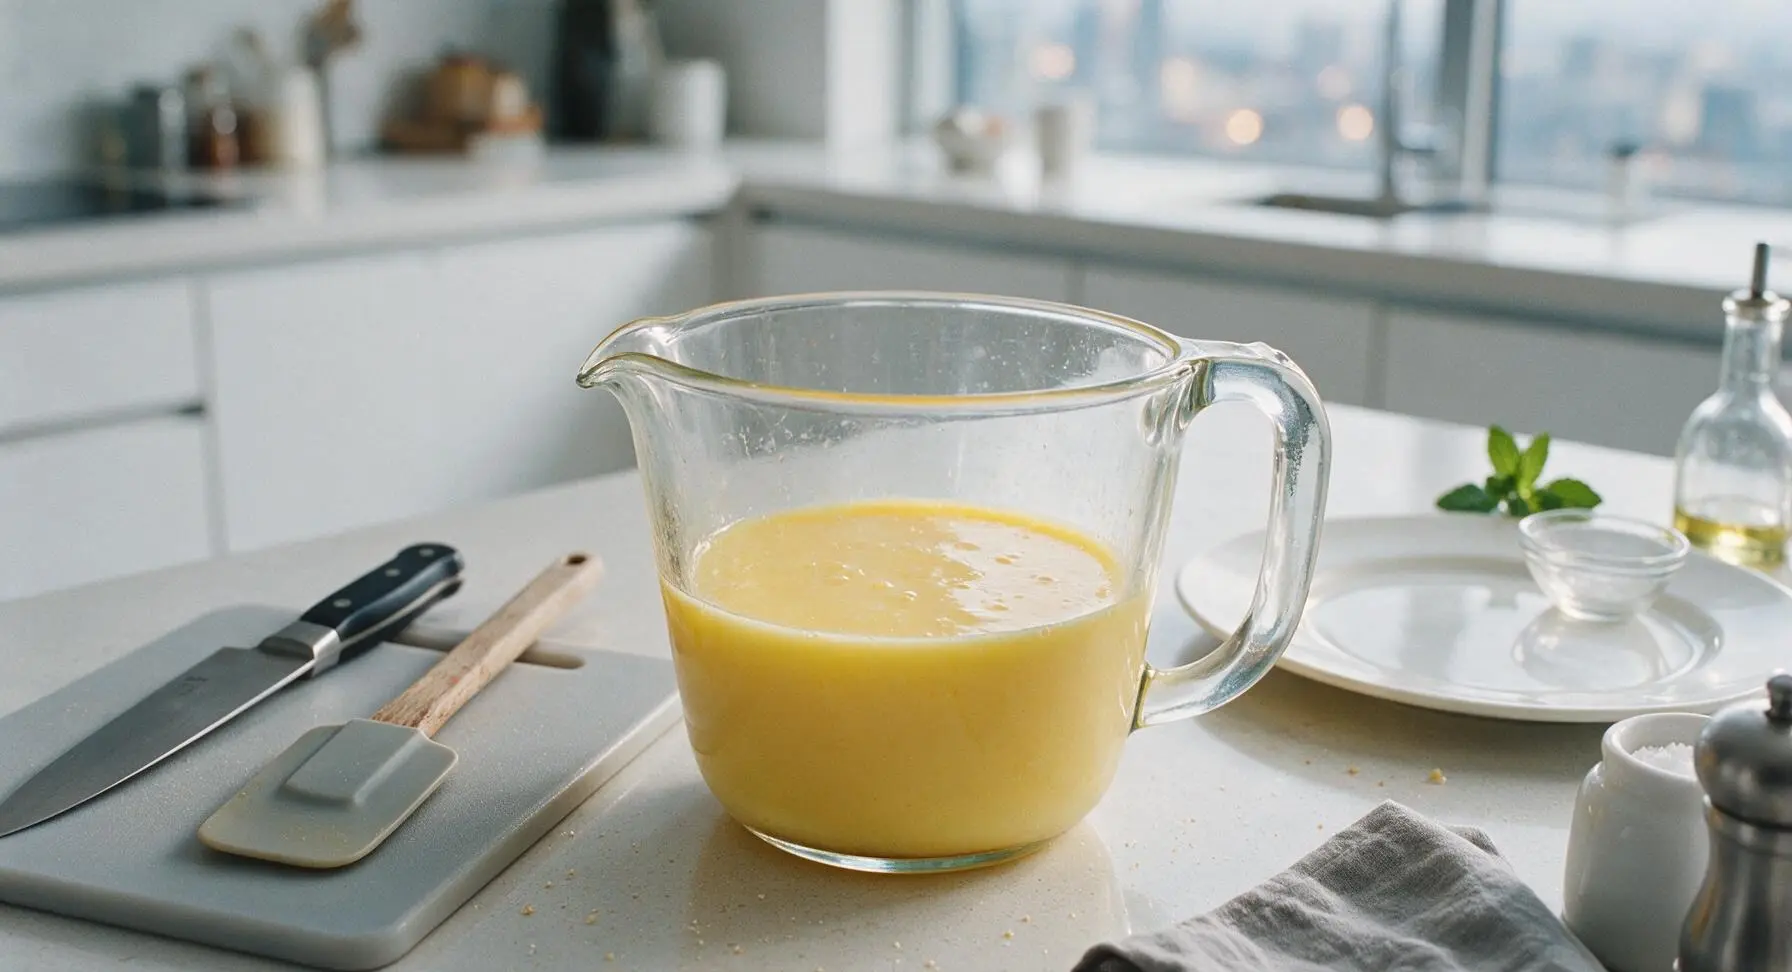
Crack the 3 large eggs into the Pyrex glass measuring jug, add the 1/3 cup granulated sugar and 1/4 teaspoon freshly grated nutmeg. Use the stainless steel wire whisk to mix the ingredients slowly for 30 seconds, until the sugar is fully incorporated, the eggs are pale yellow, and no streaks of egg white remain. Avoid fast whisking, as this creates air bubbles that cause holes in the finished custard.
Temper Eggs with Milk
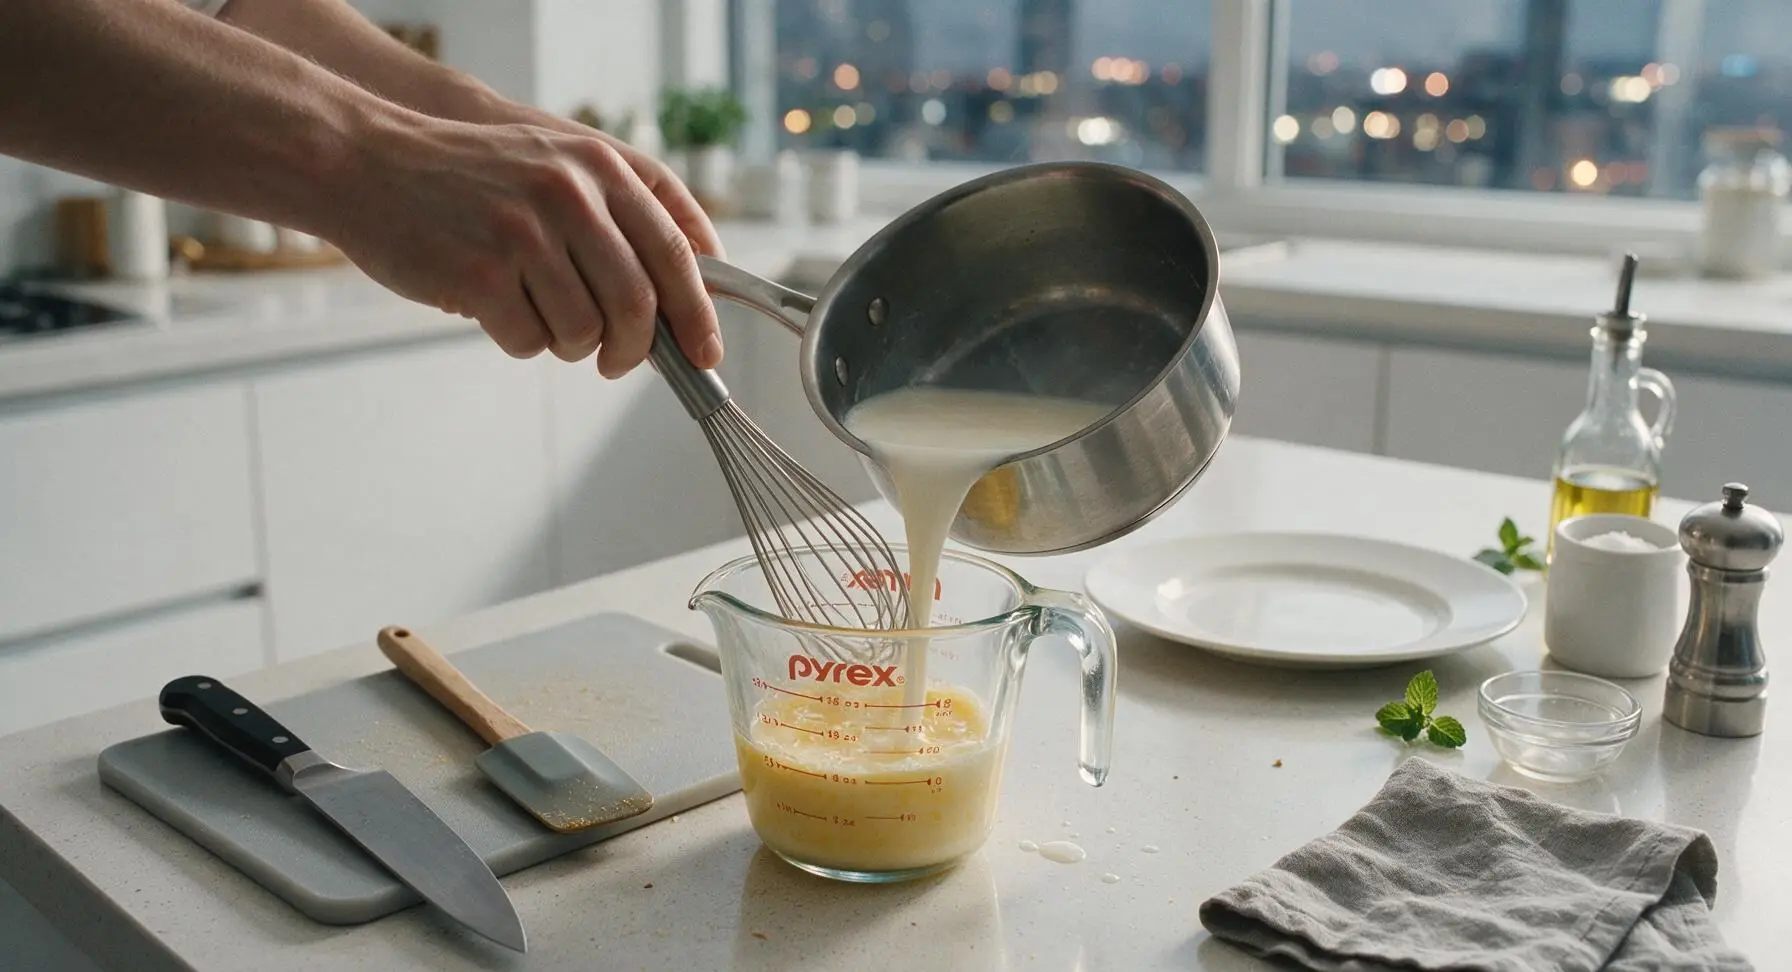
While whisking the egg mixture constantly at a slow pace, pour a thin, steady stream of warm milk into the Pyrex jug, adding roughly 1/4 cup of milk at a time. This gradual addition raises the egg temperature slowly to prevent curdling. Once all milk is fully incorporated, stir in the 1 teaspoon of pure vanilla extract.
Strain Custard Mixture
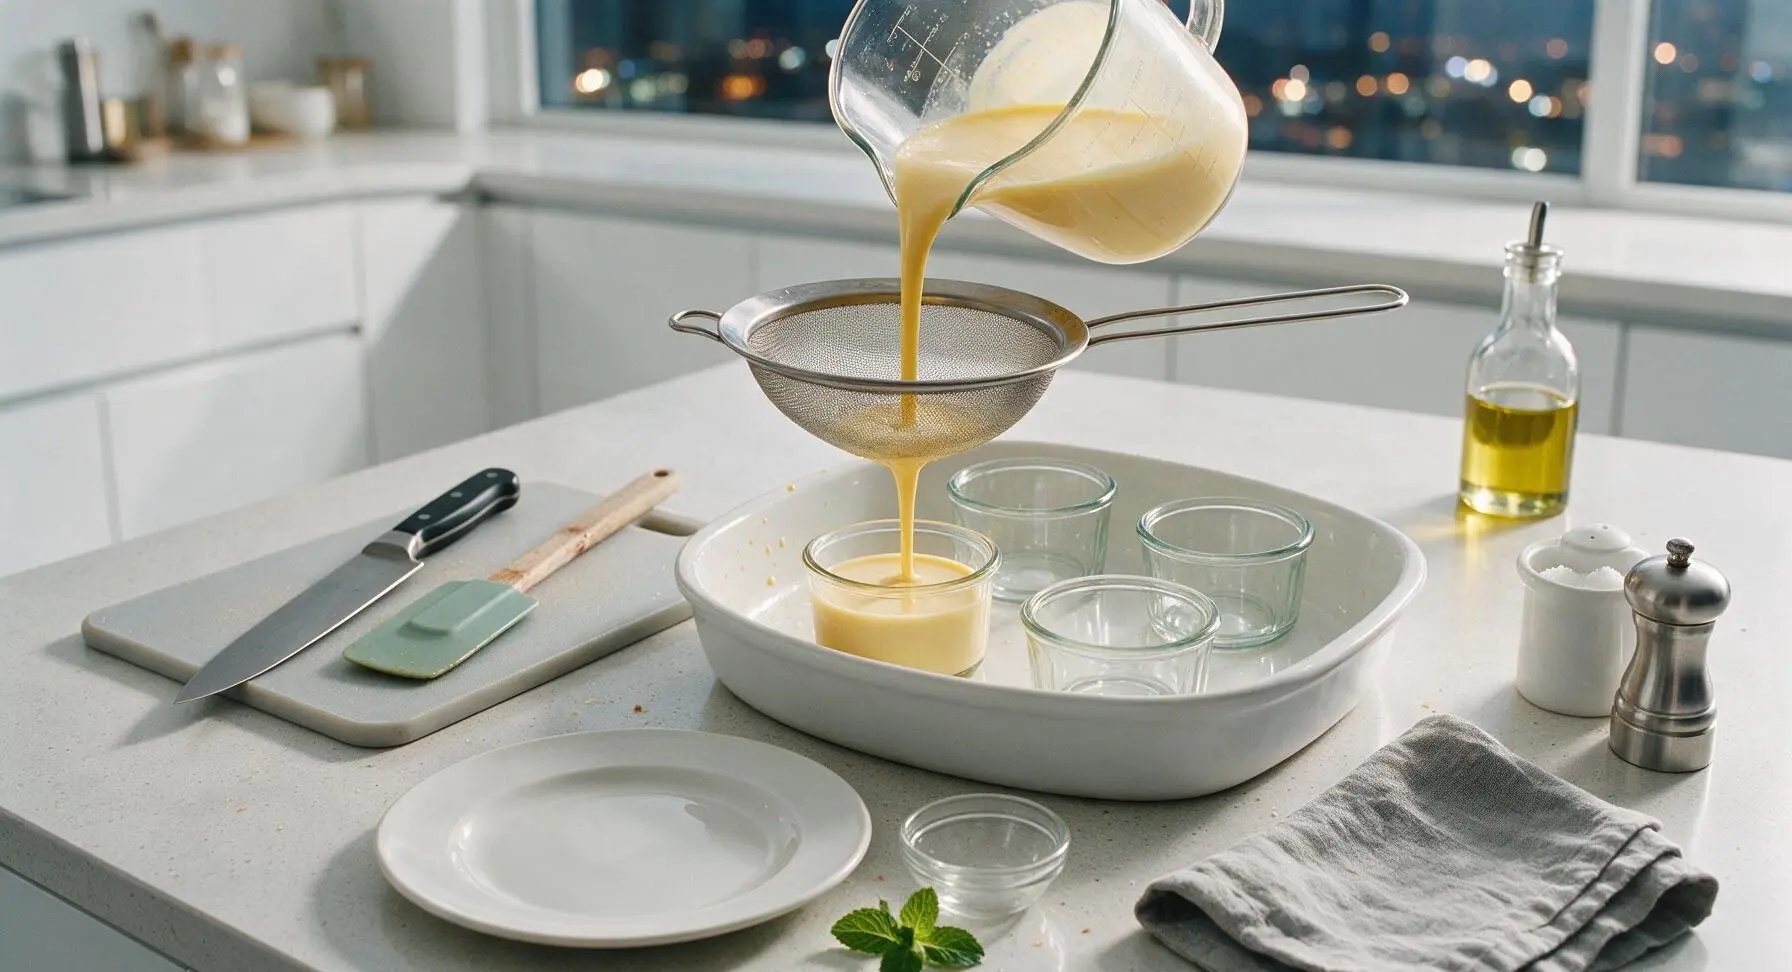
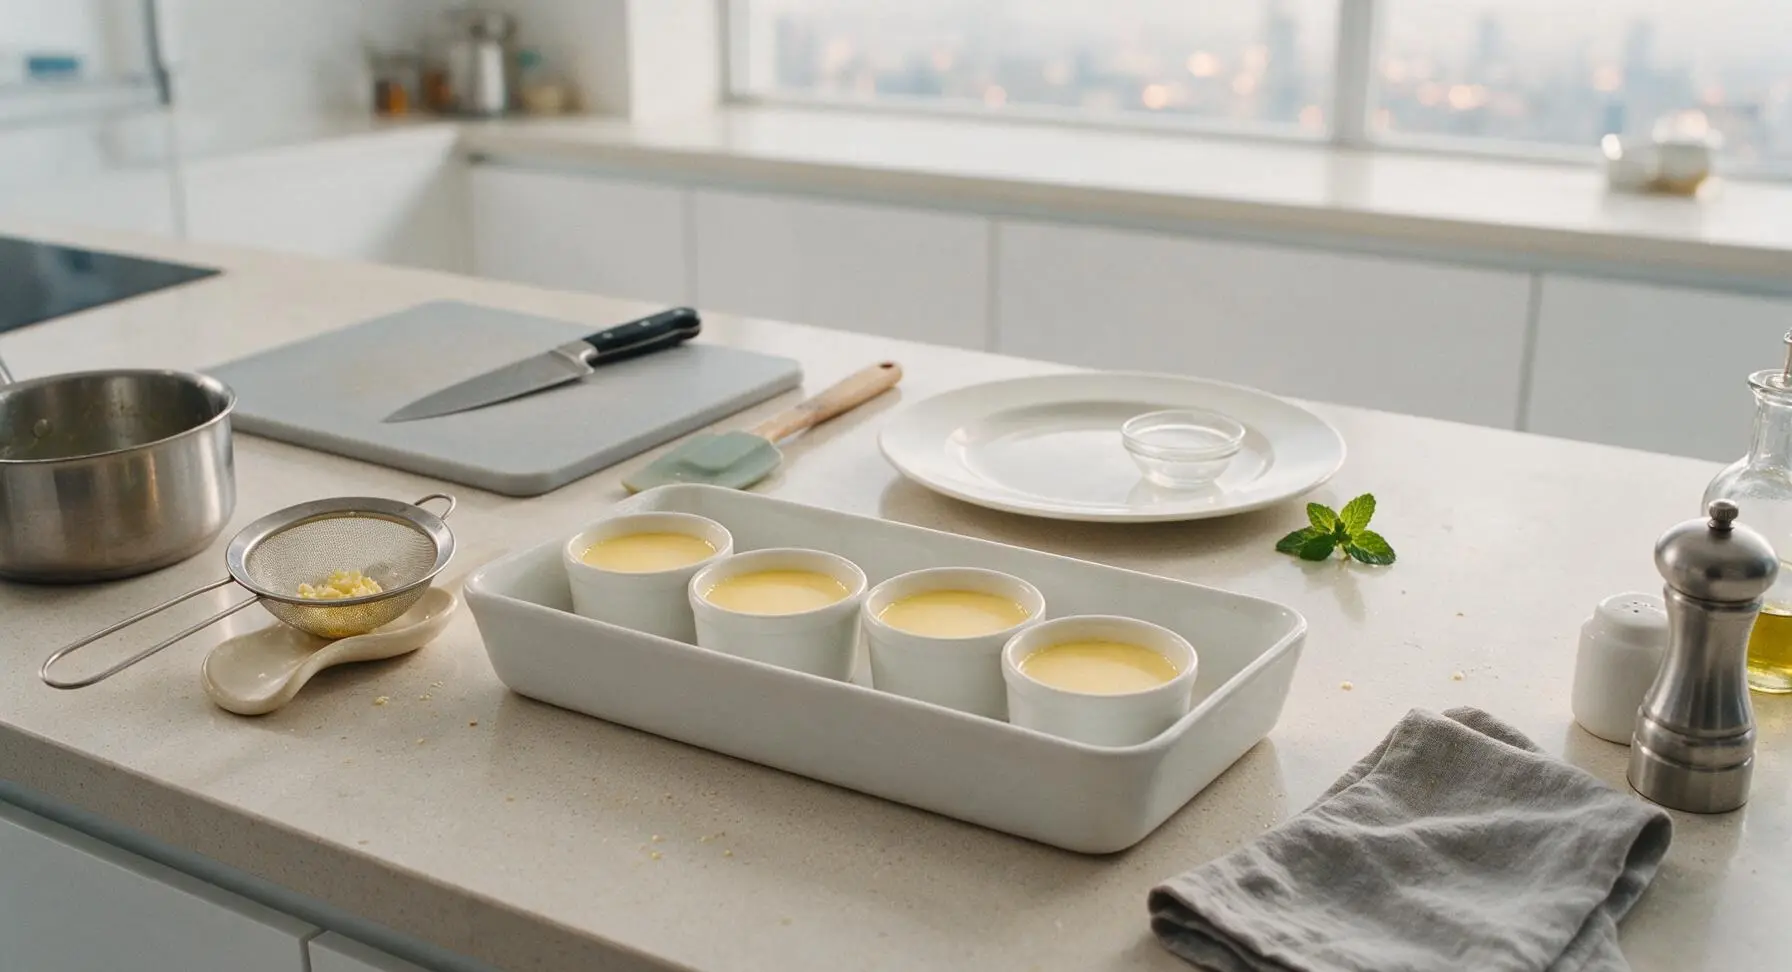
Retrieve the fine-mesh stainless steel sieve from its wall hook, hold it over the arranged ramekins in the baking dish, and pour the custard mixture through the sieve to divide it evenly between the 4 ramekins, filling each about 3/4 full. Straining removes any tiny egg curds or trapped air bubbles for an ultra-silky finish. Discard any small solids left in the sieve after pouring.
Prepare Water Bath
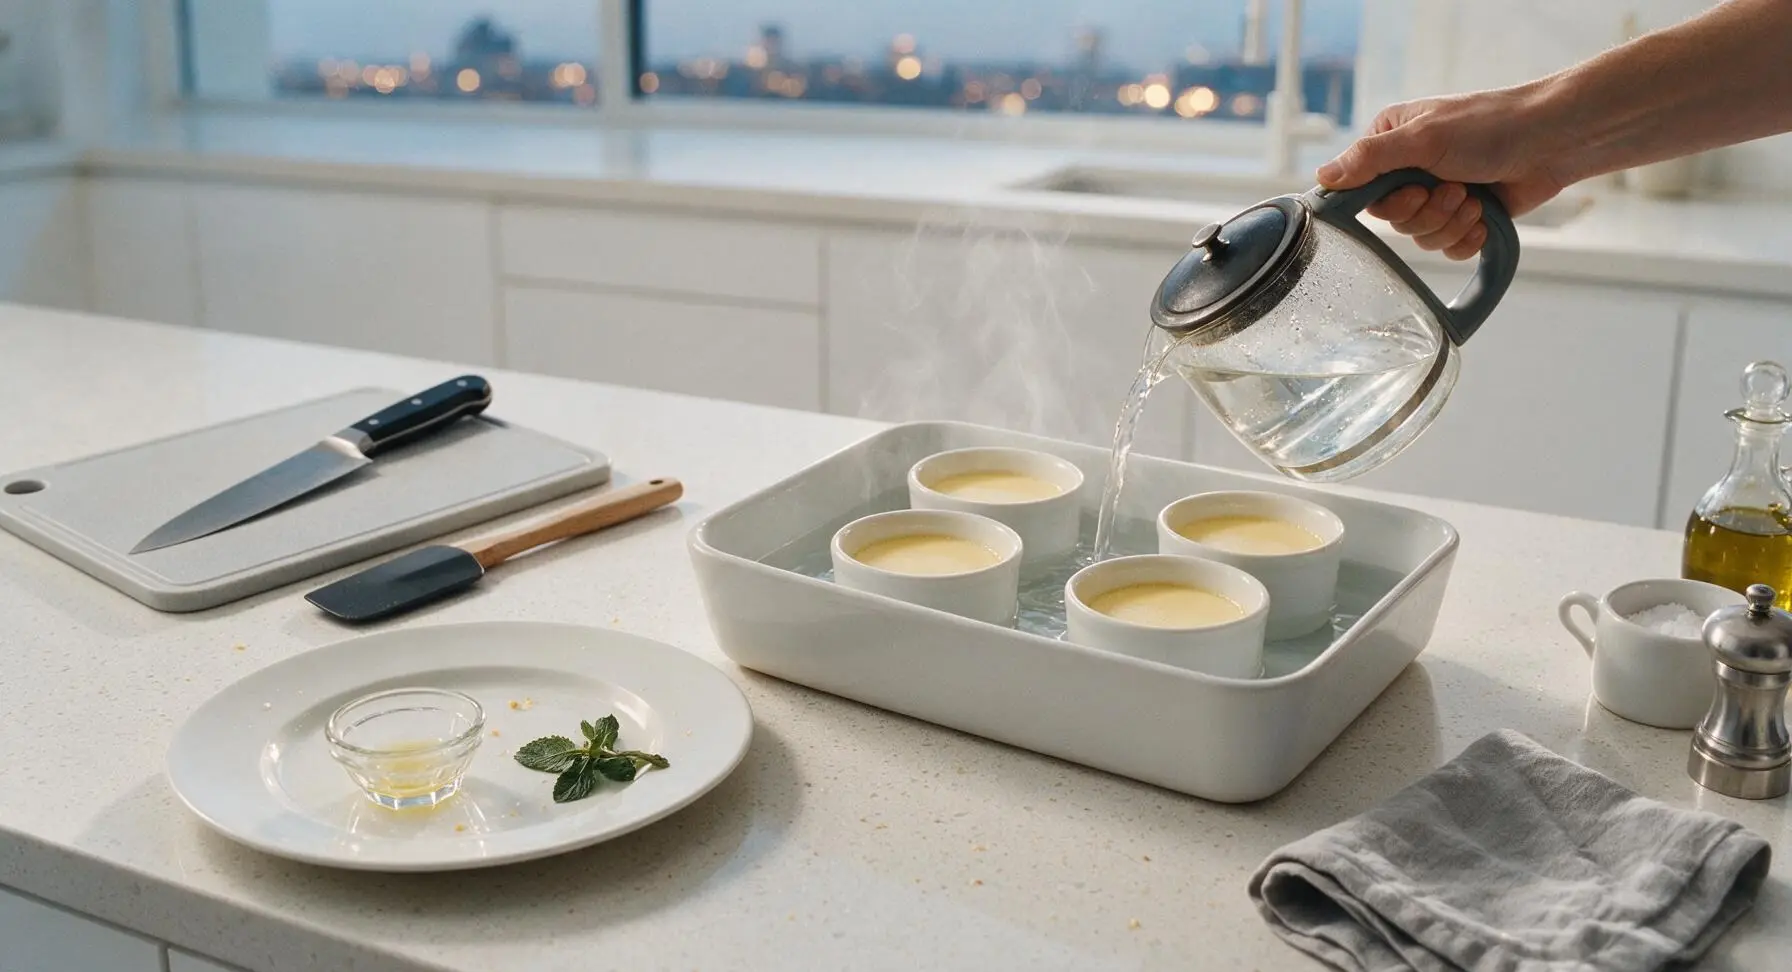
Carefully pour 4 cups of boiling water from the glass kettle into the white baking dish around the outside of the ramekins, until the water level comes halfway up the sides of the ramekins. Take care not to splash any water into the custard-filled ramekins, as this will create soggy, watery spots in the finished puddings.
Bake Until Wobbly Set
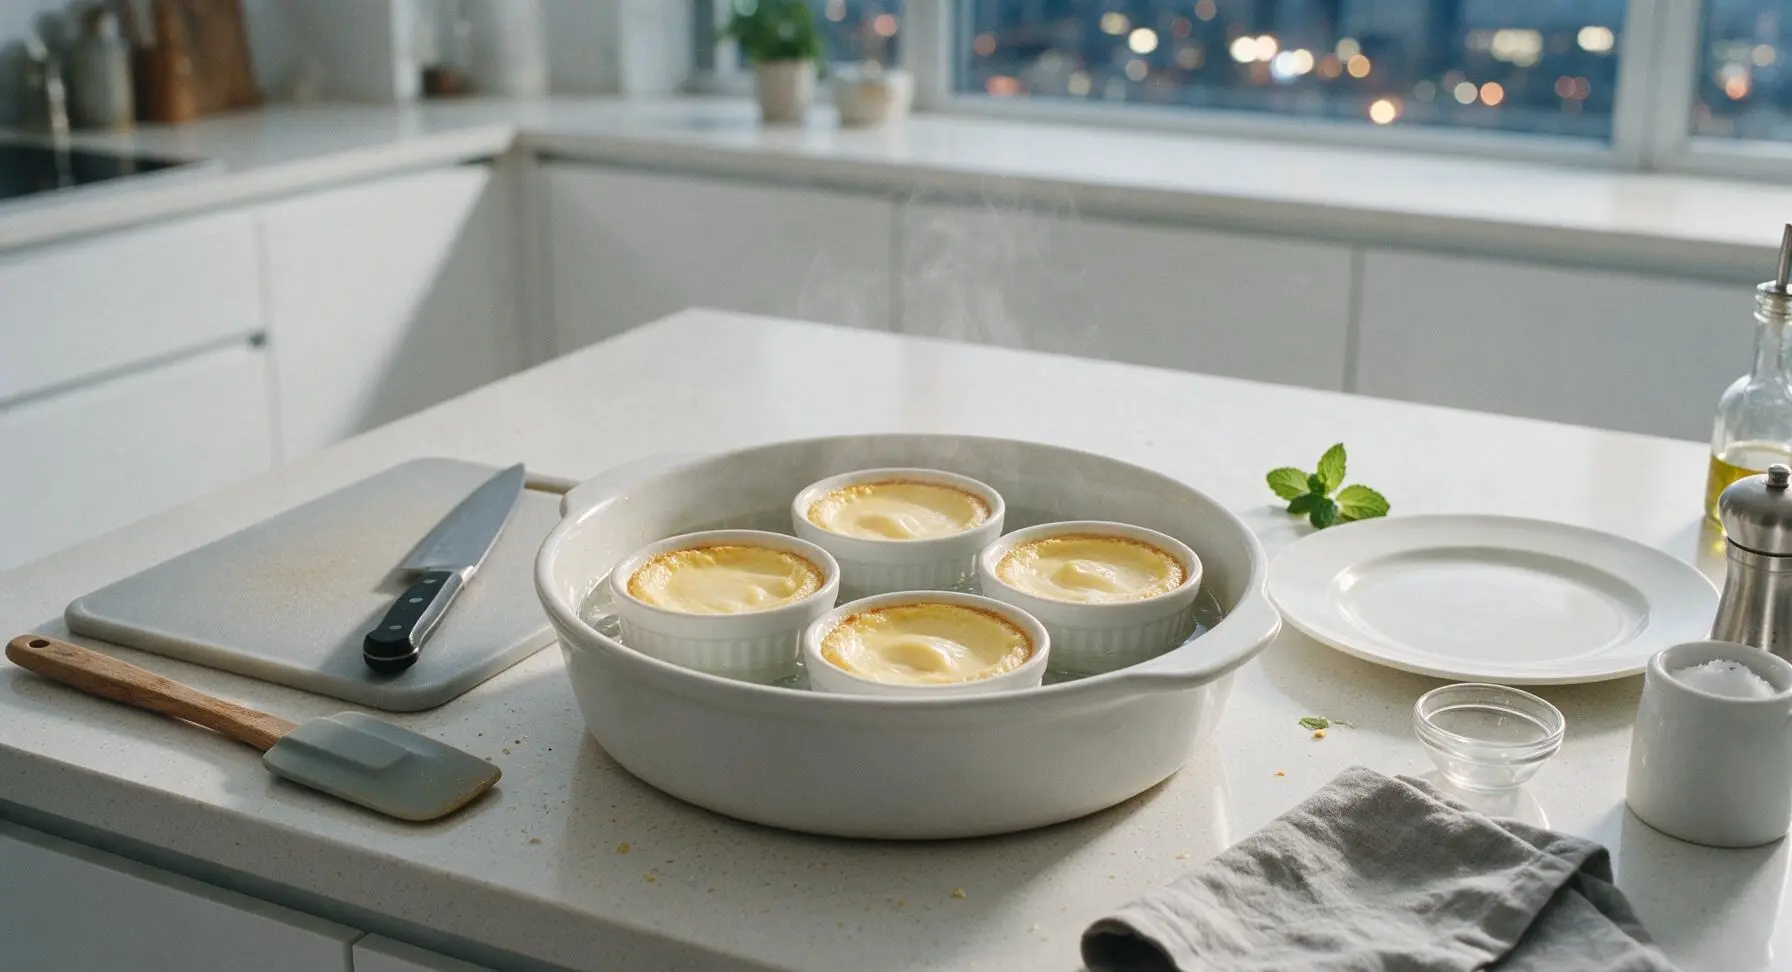
Carefully transfer the baking dish to the preheated oven and bake for 30-35 minutes. The custards are done when the outer edges are fully set, but the center 1 inch of each pudding still has a gentle, Jell-O-like wobble when the dish is nudged. The custards will continue to set as they cool, so do not bake until the center is firm, as this results in rubbery, cracked custard.
Garnish and Serve Warm
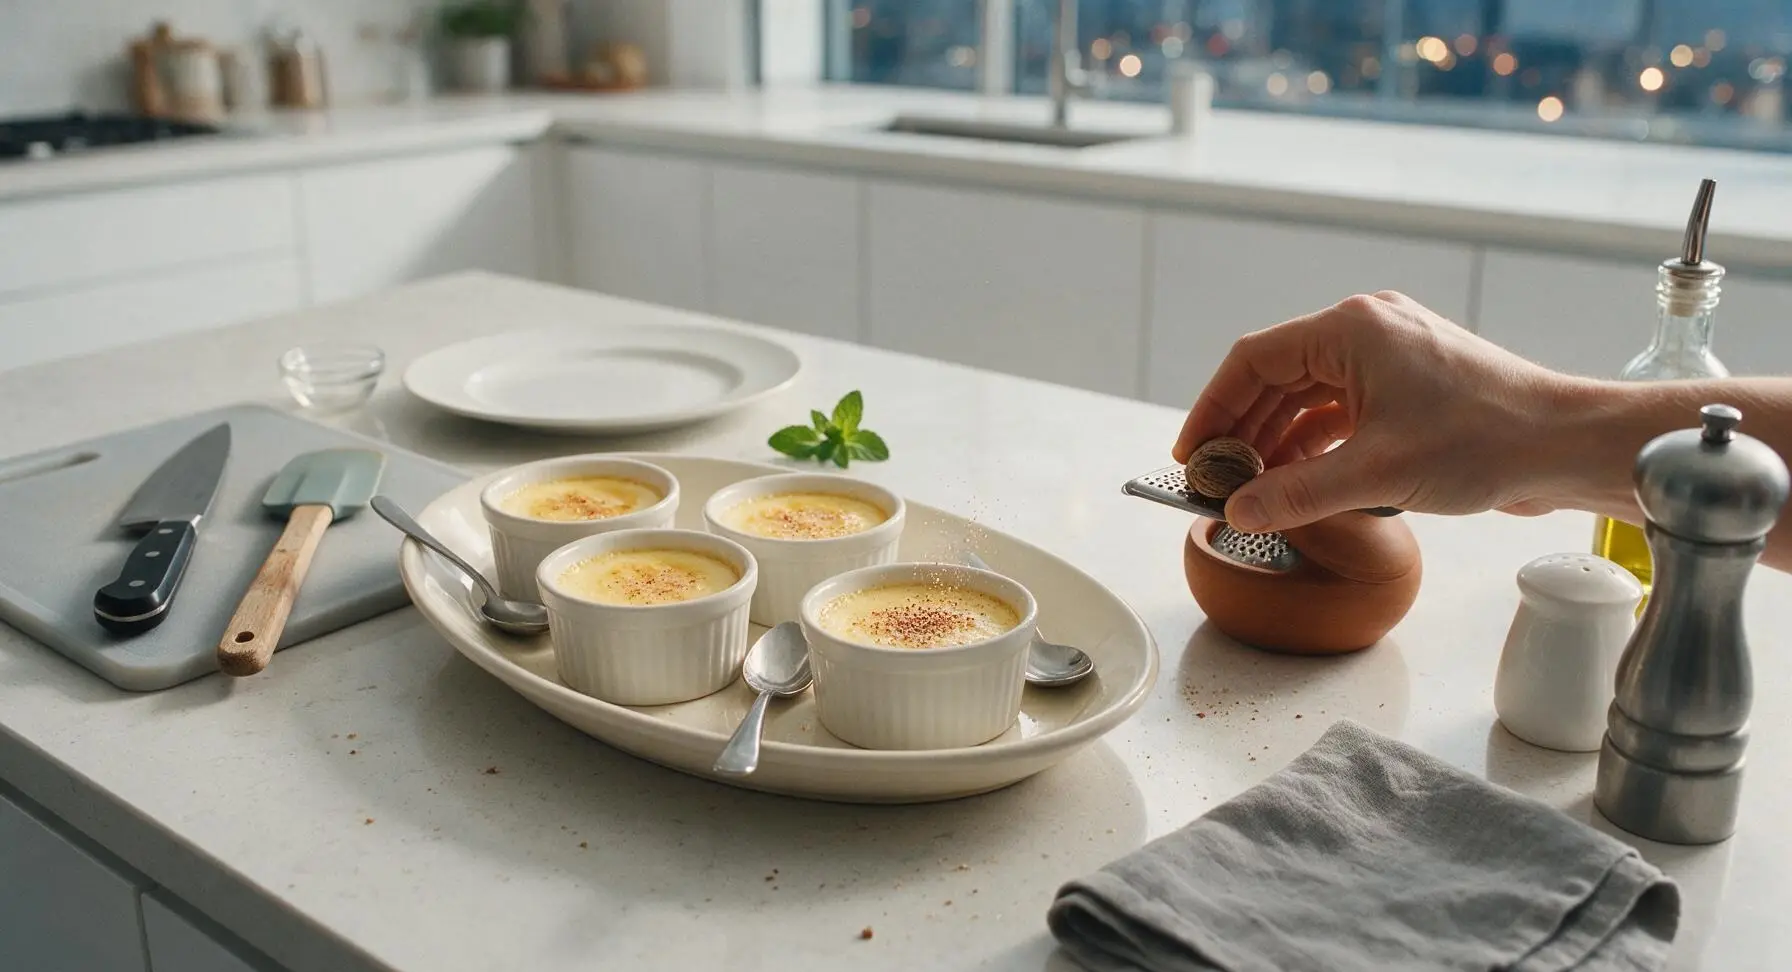
Carefully lift the ramekins out of the hot water bath, pat the bottoms dry with the corner of the heather gray linen towel, and arrange them on the cream white ceramic oval serving platter. Grate a light dusting of fresh nutmeg over the top of each warm custard, and serve immediately while warm, with a dessert spoon for each serving.
Tips
2.Don’t skip the water bath: the gentle, even moist heat from the surrounding hot water prevents custard edges from overcooking, tops from cracking, and texture from turning rubbery. To avoid sloshing hot water, place the baking dish on the pulled-out oven rack first, then pour in the boiling water before carefully sliding the rack in.
3.Pull custards out when the center still jiggles: residual heat will continue to cook the custard during the 5-minute rest after baking, leading to a perfect tender set. Overbaked custard will develop a spongy texture and release watery whey around the ramekin edges.






OMG this was SO good! I threw this together last minute for our Sunday family dinner and everyone was raving. The texture is perfectly silky, no weird lumps at all, and it’s just sweet enough without being cloying. Total game changer for easy weeknight desserts too!
My kids loved it!!! I was worried they’d turn their noses up at a “plain” pudding but they begged for seconds before they even finished their first serving. I prepped these ahead for school lunch treats and they held up perfectly in the fridge all week. 10/10 will make again.
Super easy to follow, turned out great! I only knocked a star because I accidentally overbaked mine by 5 minutes so the edges were a little chewy, but the middle was still perfect. Next time I’ll set a timer for 30 mins and check from there. Tastes just like the custard my grandma used to make!
I brought these to my neighborhood potluck last weekend and people were asking me for the recipe before I even set the tray down! The 35 minute cook time is no joke — I was in and out of the kitchen so fast I had time to make a quick fruit compote to go on top. Chef’s kiss.
As someone who burns toast half the time, I cannot believe how well these turned out. I had all the ingredients in my dorm pantry already (eggs, milk, sugar, vanilla — that’s it??) and I didn’t even need a fancy mixer. Absolute win for broke college students craving something sweet.
So happy this recipe is naturally gluten free! I’ve been searching for a simple custard that doesn’t require weird specialty ingredients and this checks every box. I used oat milk instead of whole milk because that’s what I had on hand and it still came out super creamy.
Made these last night for my partner who’s been under the weather, and they said it tasted like comfort in a cup. I added a tiny dash of cinnamon on top and it made the whole house smell amazing while it baked. So simple, so cozy.
Added these to my weekly meal prep rotation! I portion them into little glass ramekins on Sunday and grab one for a quick sweet treat after dinner every night. They don’t get soggy, they don’t separate, and they satisfy my sweet tooth without me reaching for a candy bar. Total win.
First time making custard ever and I was so nervous I’d mess up the water bath! The instructions were so clear though, and I only had one little mishap where a tiny bit of water sloshed into a ramekin — that one was a little runny but the rest were perfect. Tastes amazing!
I’ve been making baked custard for over 40 years and this recipe is hands down the simplest, most consistent one I’ve ever tried. I used to make it with my mom’s old recipe that required a million steps, but this one is just as good with half the work. My grandkids go crazy for it.
Made these in my disposable aluminum ramekins for a tailgate last weekend and they were a smash. No fancy equipment needed, they travel really well, and even the guys who only eat burgers and chips were coming back for more. Will absolutely be making these for game days from now on.
Texture was perfect, but I found it a little less sweet than I prefer. Next time I’ll probably add an extra tablespoon of sugar and maybe a splash more vanilla to bump up the flavor. Still really good for how easy it is, though!
As a mom working 9-5 with two kids under 5, I need desserts that don’t take all night to make. This was perfect! I mixed everything up while the pasta was boiling for dinner, popped it in the oven, and it was done right as we finished eating. Zero stress, maximum deliciousness.
Tested this with a flax egg and coconut milk to make it vegan and it worked shockingly well! I was worried it wouldn’t set right but it had that perfect jiggly custard texture just like the regular version. Only thing is I had to add 5 minutes to the bake time to get it to set all the way. Great base recipe!
Made these for a little at-home date night with my boyfriend and he thought I spent hours on them. Little does he know it took me 10 minutes of prep! I topped them with fresh strawberries and a drizzle of salted caramel and it felt like a fancy restaurant dessert. 10/10 for impressing people without the work.
This tastes exactly like the baked custard my mother used to make for Sunday suppers when I was a little girl. I’m so glad I found this recipe — I’ve been trying to recreate that flavor for years and this is spot on. I even made it for my church potluck last Sunday and everyone asked for the recipe.
Wait a second, I don’t have ramekins? Can I make this in a regular glass baking dish instead? I really want to make this tonight but I don’t have time to run to the store for little dishes.
I love that this isn’t overly sweet, it’s the perfect post-workout treat for when I’m craving something creamy but don’t want to eat a bunch of processed junk. I used a little less sugar and added a scoop of vanilla protein powder to the mix and it still baked up perfectly! Great versatile recipe.
I poured a little homemade caramel sauce in the bottom of each ramekin before adding the custard mix and it made the most amazing flan-style treat! The caramel oozed out when I flipped them onto plates and my whole family lost their minds. This recipe is so adaptable it’s crazy.