
easy sweet and sour chicken

title 1
easy sweet and sour chicken
⏱️ cook time 20 minutes
🍽️ servings 4
⚡ Difficulty easy

intro

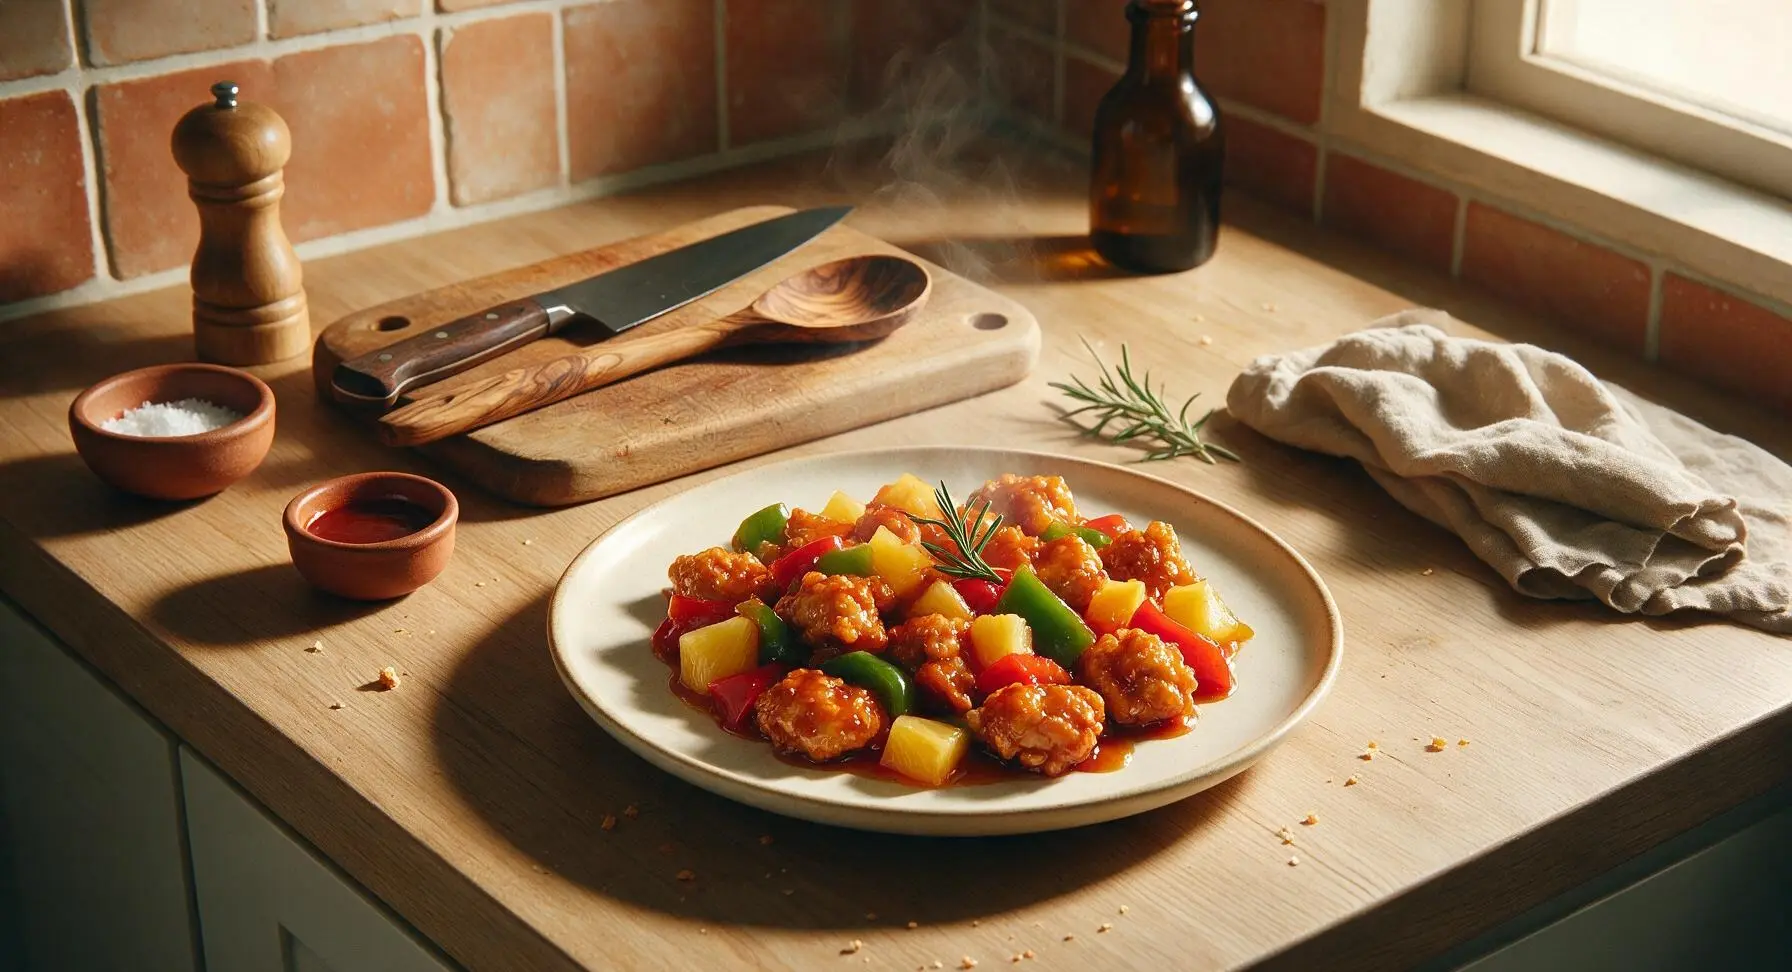
Crispy, juicy chicken chunks tossed in a bright, tangy-sweet glossy sauce, with tender bell peppers and sweet pineapple—this takeout favorite comes together in 30 minutes with no deep frying required.

Ingredients
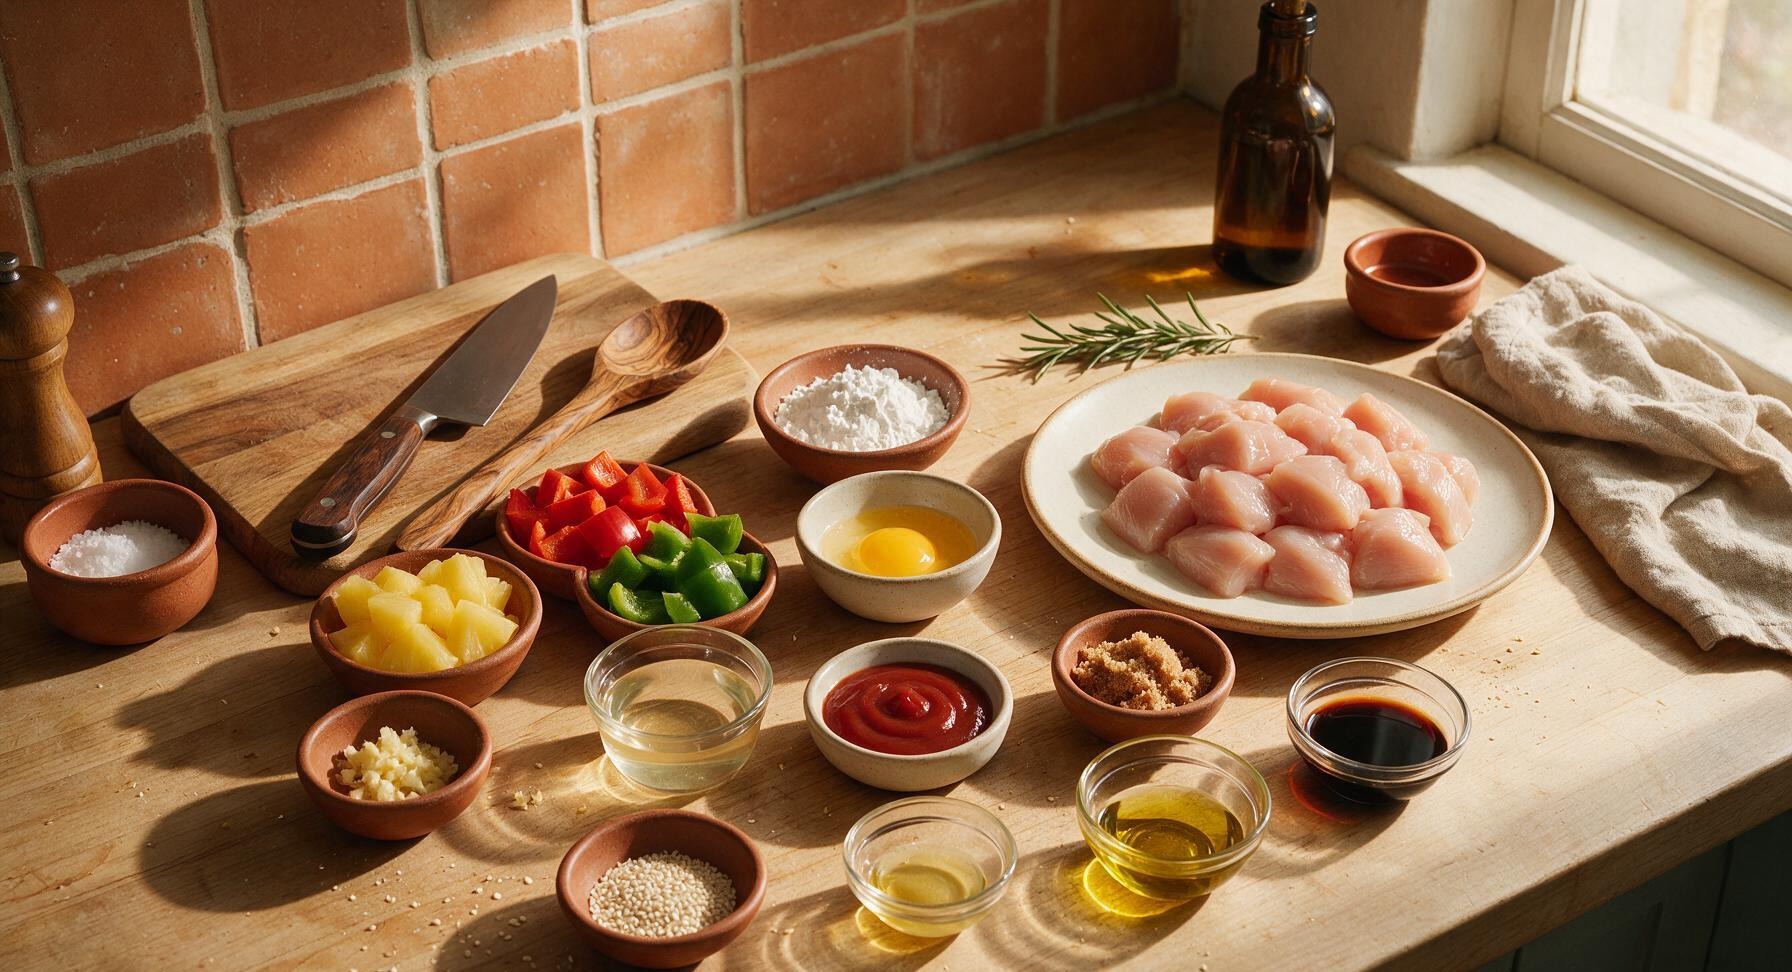
Boneless skinless chicken breast 450g, cut into 2.5cm chunks
Cornstarch 6 tablespoons
Large egg 1, beaten
Red bell pepper 1 medium (150g), cut into 2.5cm chunks
Green bell pepper 1 medium (150g), cut into 2.5cm chunks
Canned pineapple chunks (in 100% juice, drained) 200g
Ketchup 1/3 cup
Unseasoned rice vinegar 1/4 cup
Light brown sugar 3 tablespoons, packed
Low-sodium soy sauce 2 tablespoons
Garlic cloves 2, minced
Fresh ginger 1 teaspoon, grated
Toasted sesame oil 1 teaspoon
Neutral cooking oil (canola or avocado) 3 tablespoons
White sesame seeds 1 teaspoon, for garnish

Steps

1

Prep and coat chicken

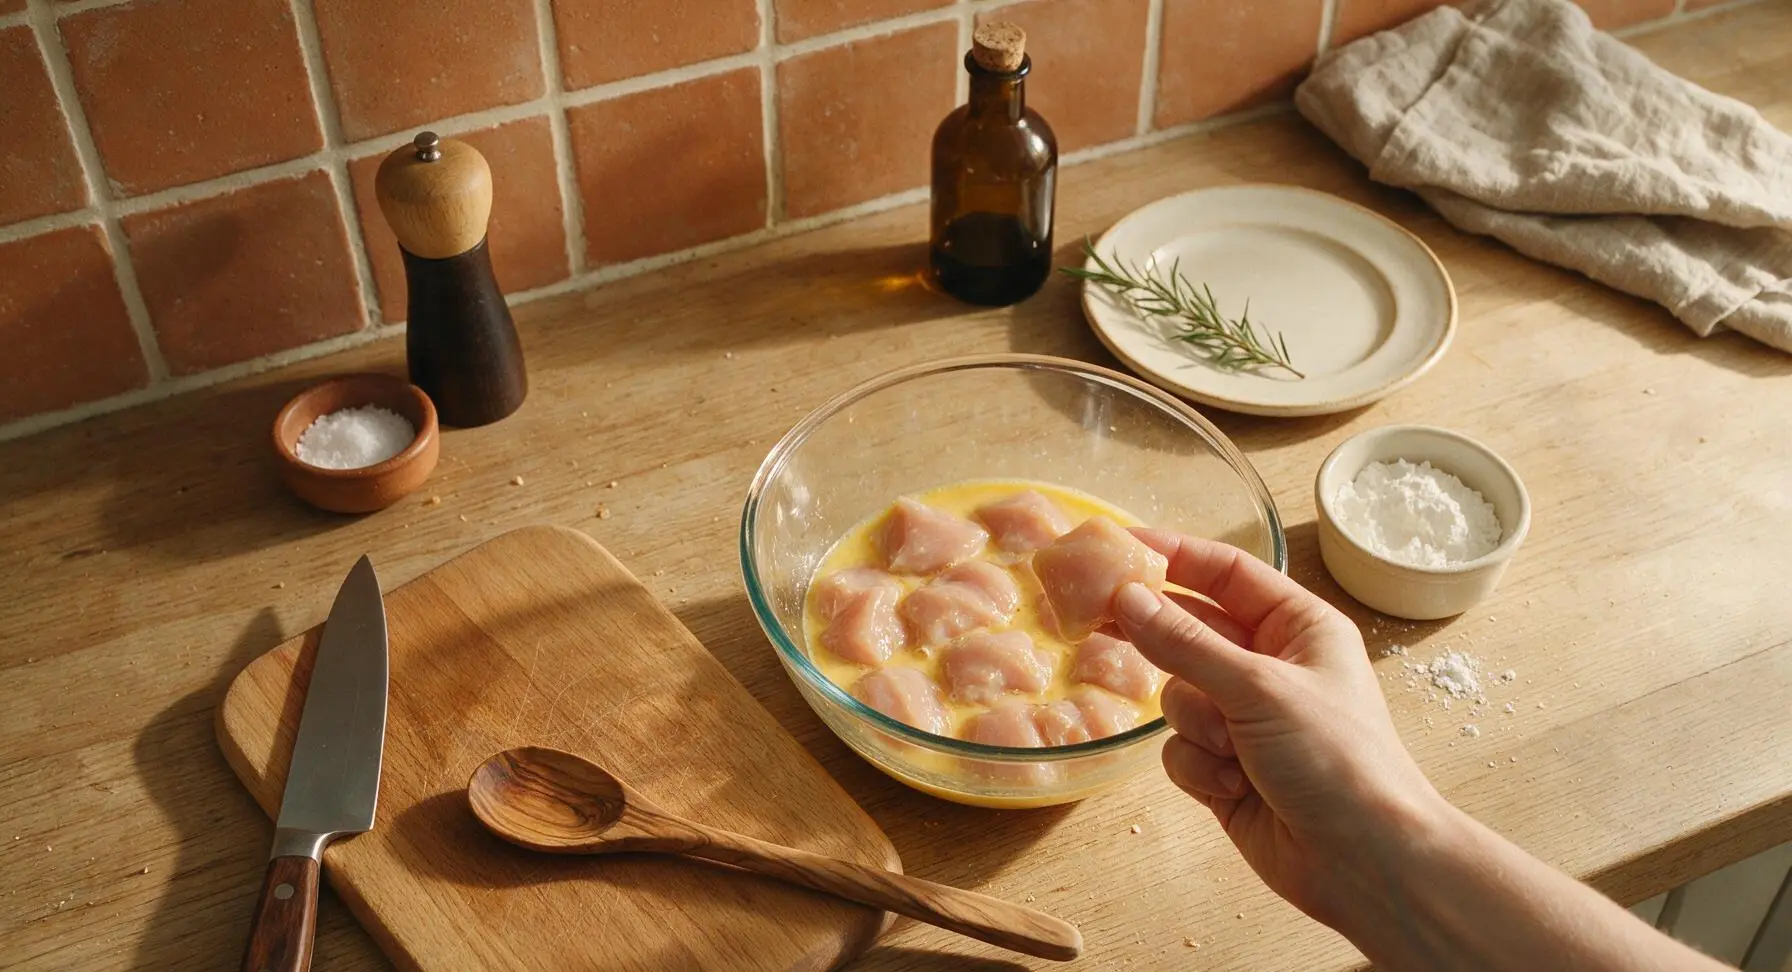
Pat the 450g of 2.5cm chicken chunks completely dry with the cream linen kitchen towel, then transfer them to the 2L clear glass mixing bowl. Pour the 1 beaten large egg over the chicken, and toss gently until every chunk is evenly coated in a thin layer of egg, with no dry, matte patches of chicken visible. Let rest for 2 minutes to let the egg adhere.
Step 1
step1:Prep and coat chicken
2

Coat with cornstarch

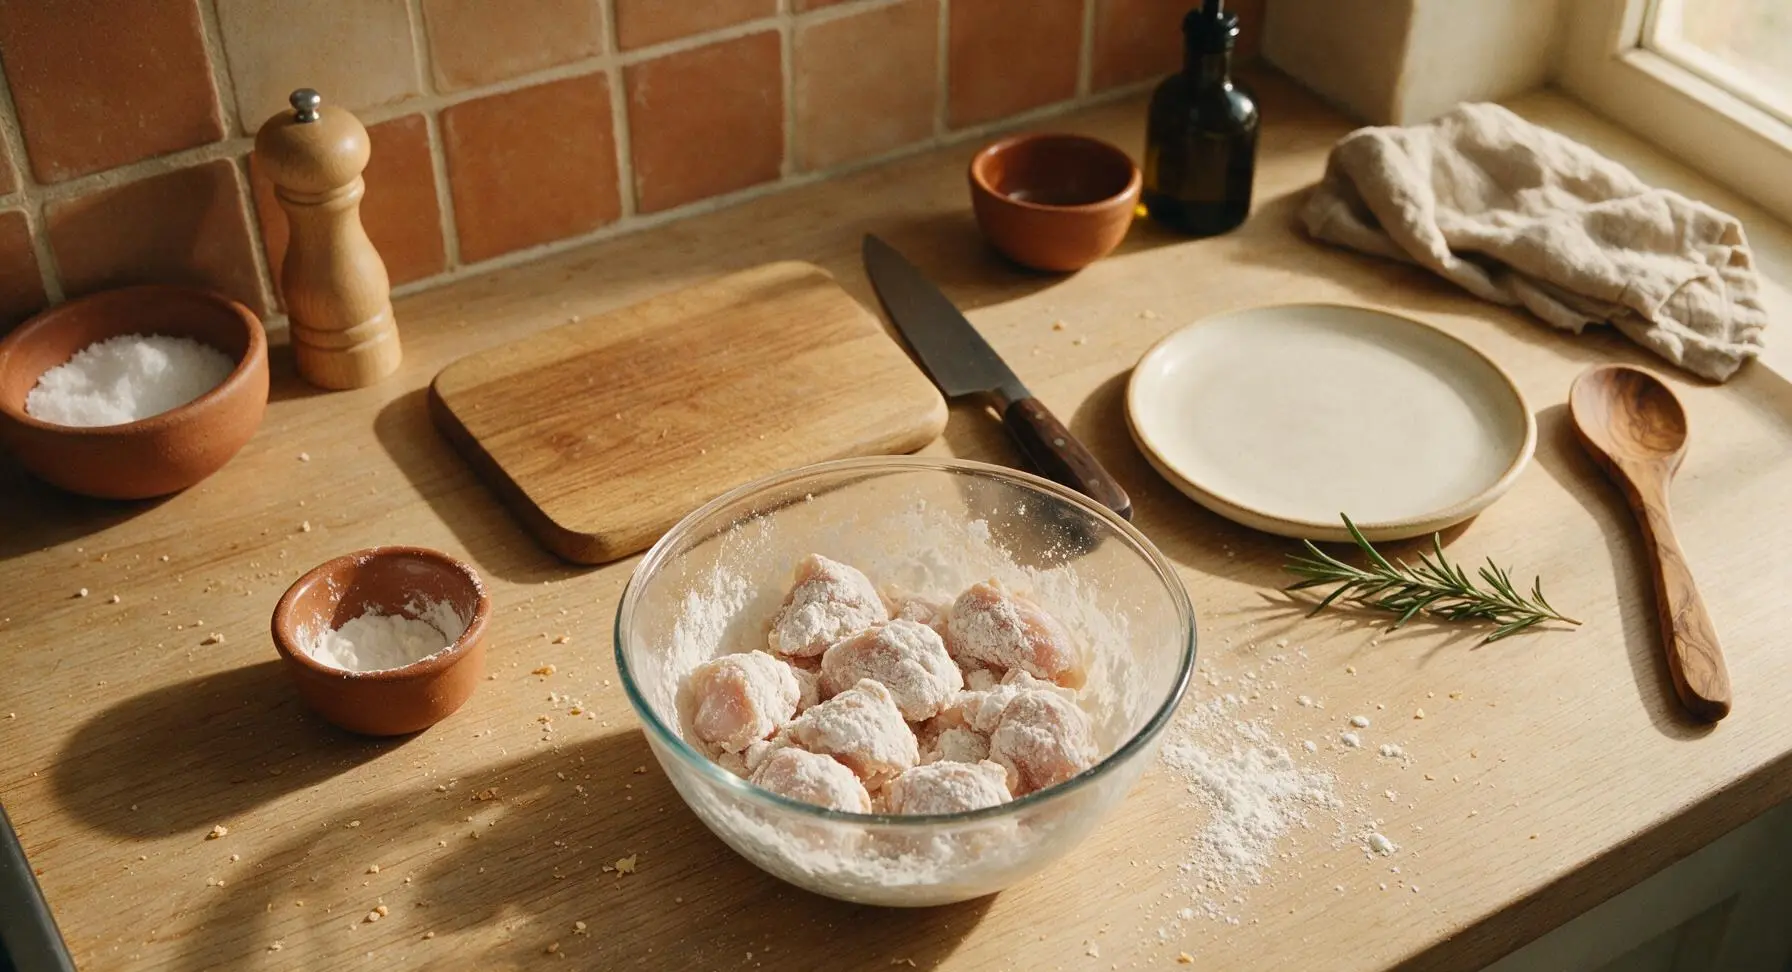
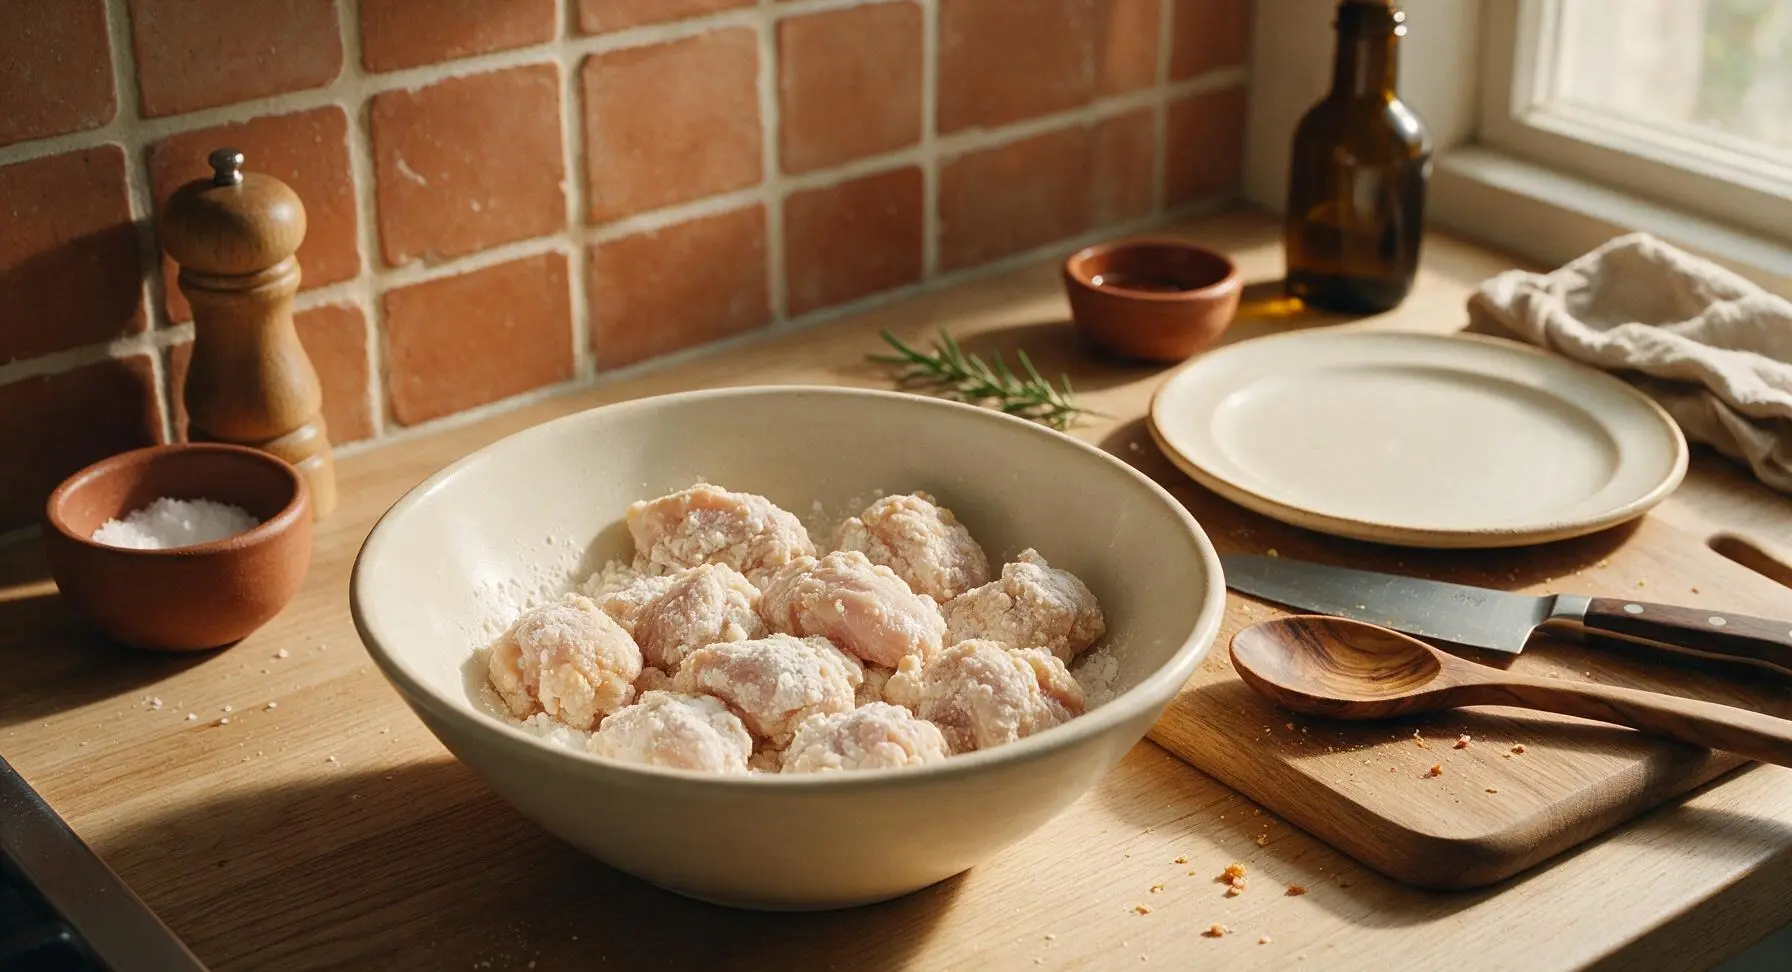
Add 5 tablespoons of cornstarch to the bowl of egg-coated chicken, tossing thoroughly until every chunk is fully covered in a thin, powdery, slightly tacky cornstarch coating. Shake off any loose excess cornstarch as you lift chunks, then set the bowl aside for 5 minutes to let the coating set – this prevents the breading from sliding off during searing. The coating will look slightly clumpy, not perfectly smooth.
Step 2
step2:Coat with cornstarch
Step 2
step2:Coat with cornstarch
3

Mix sweet-sour sauce

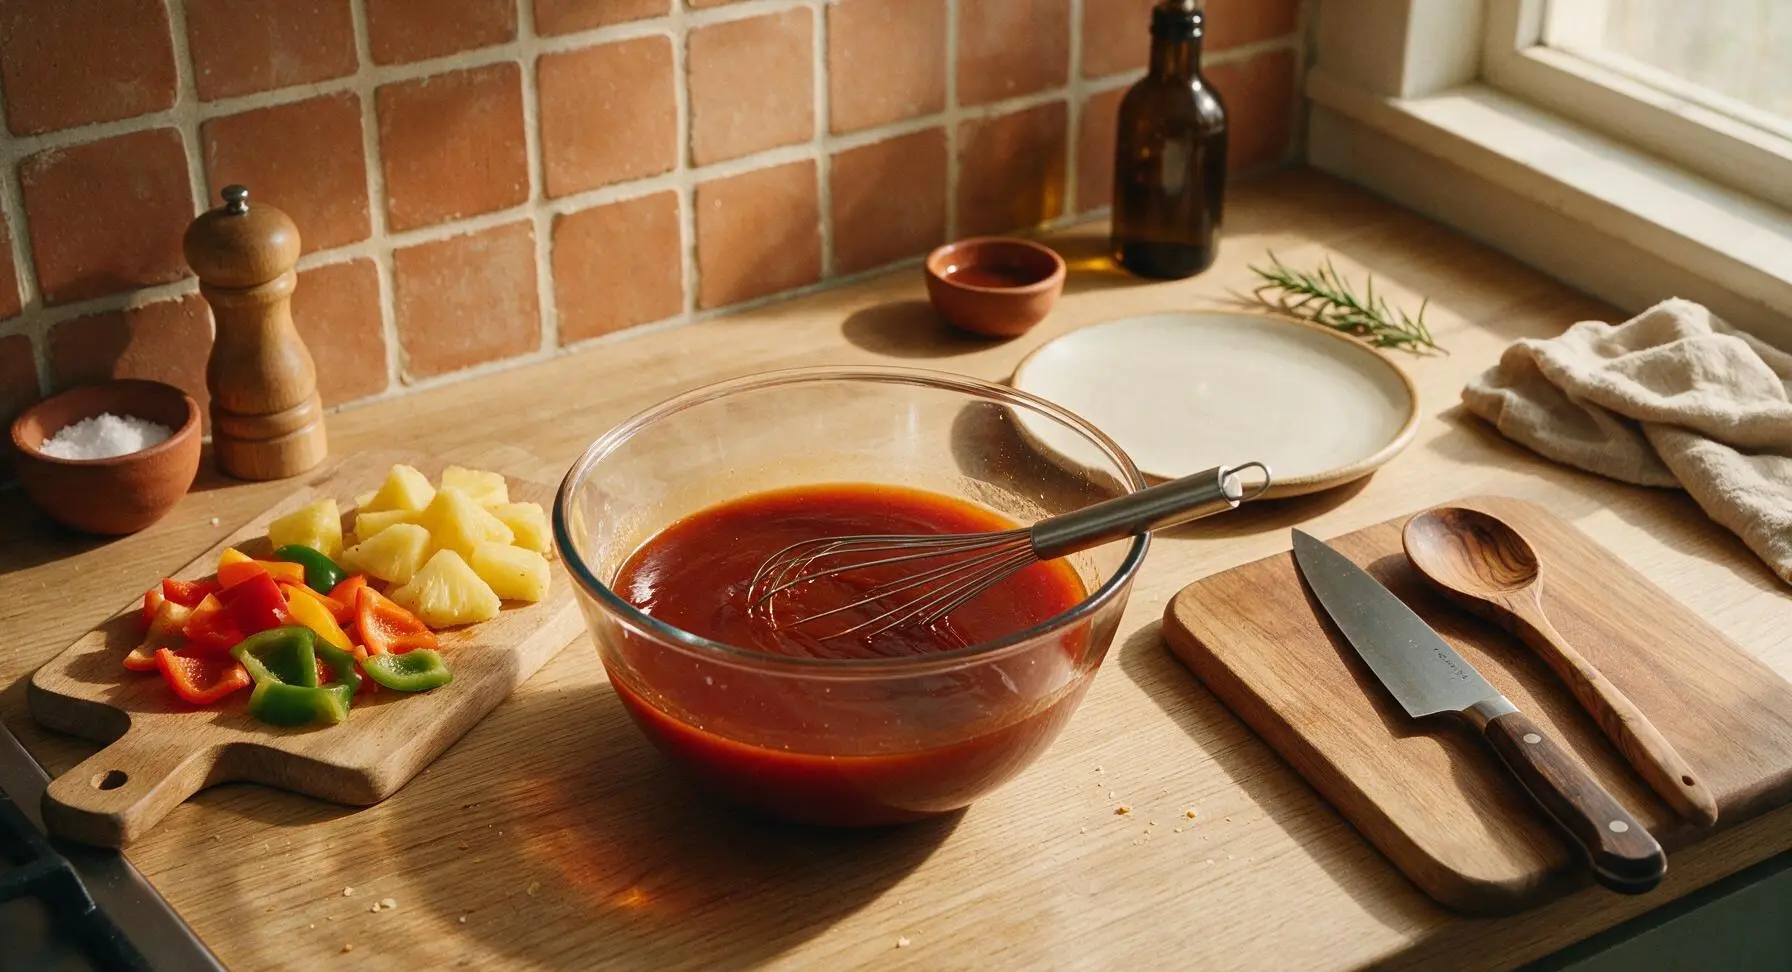
In the 500ml small clear glass mixing bowl, combine 1/3 cup ketchup, 1/4 cup unseasoned rice vinegar, 3 tablespoons packed light brown sugar, 2 tablespoons low-sodium soy sauce, 1 teaspoon grated fresh ginger, 2 minced garlic cloves, and 1 teaspoon toasted sesame oil. Use the stainless steel wire whisk to stir until the brown sugar is fully dissolved, creating a smooth, uniform deep reddish-amber liquid. Whisk in the remaining 1 tablespoon of cornstarch until completely smooth, with no visible lumps, to help the sauce thicken as it cooks.
Step 3
step3:Mix sweet-sour sauce
4

Sear chicken chunks

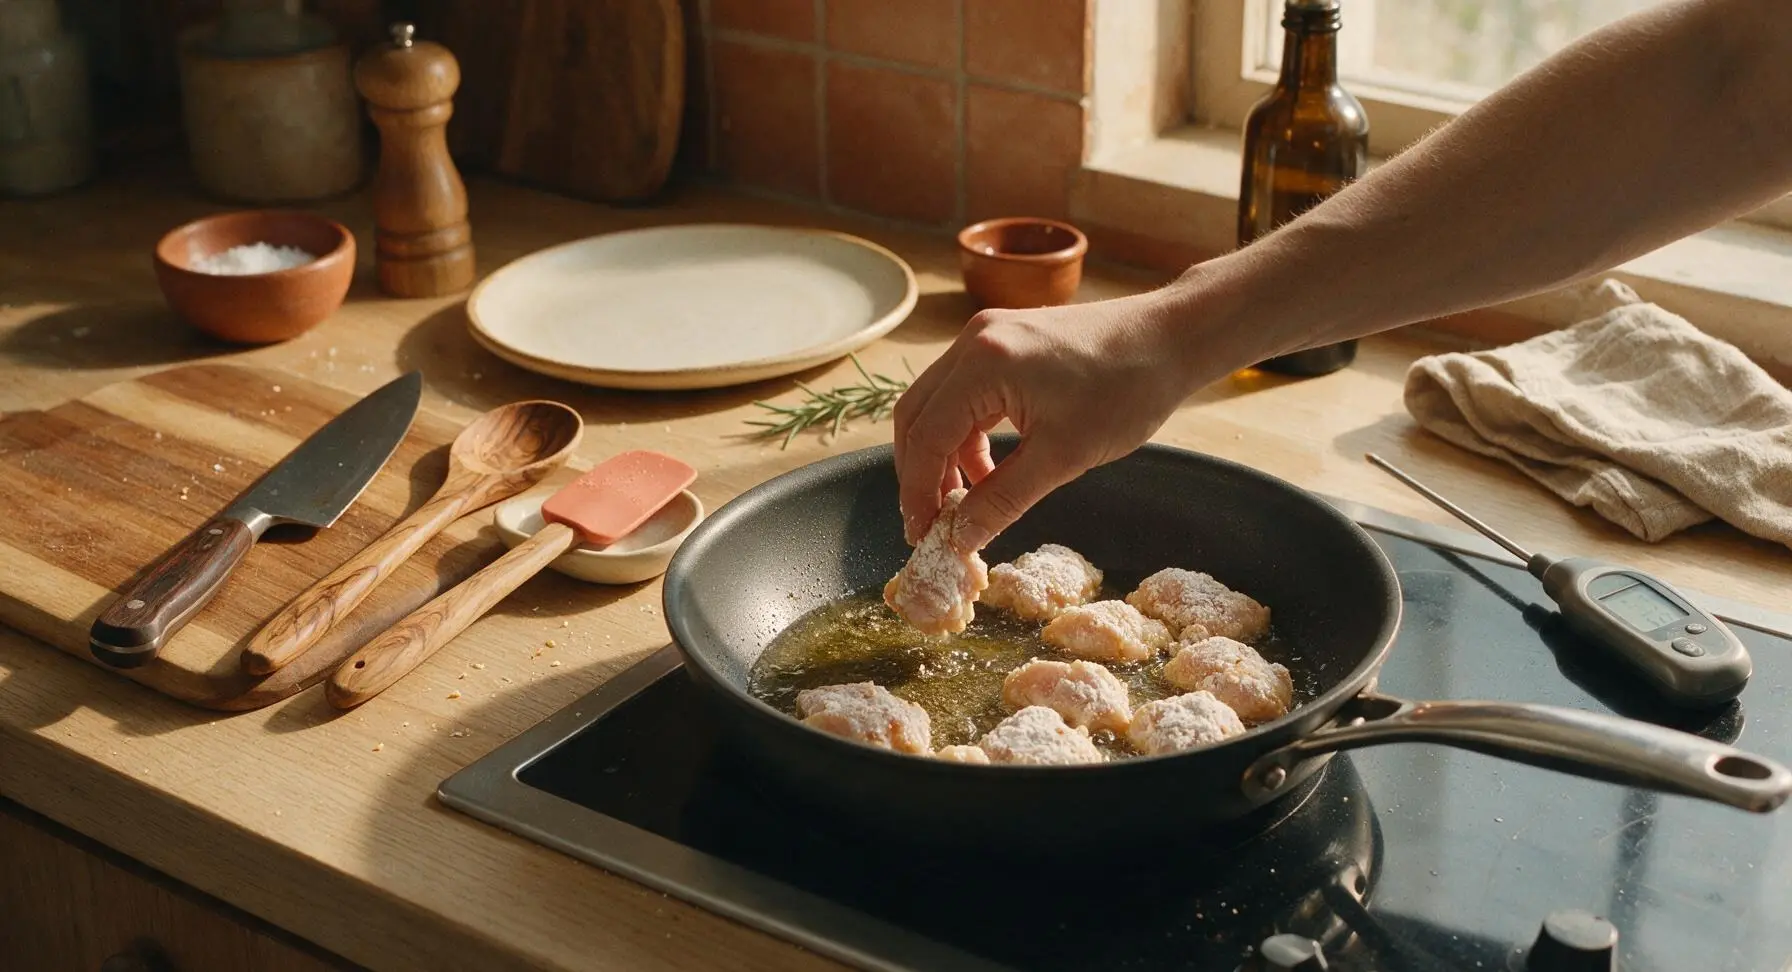
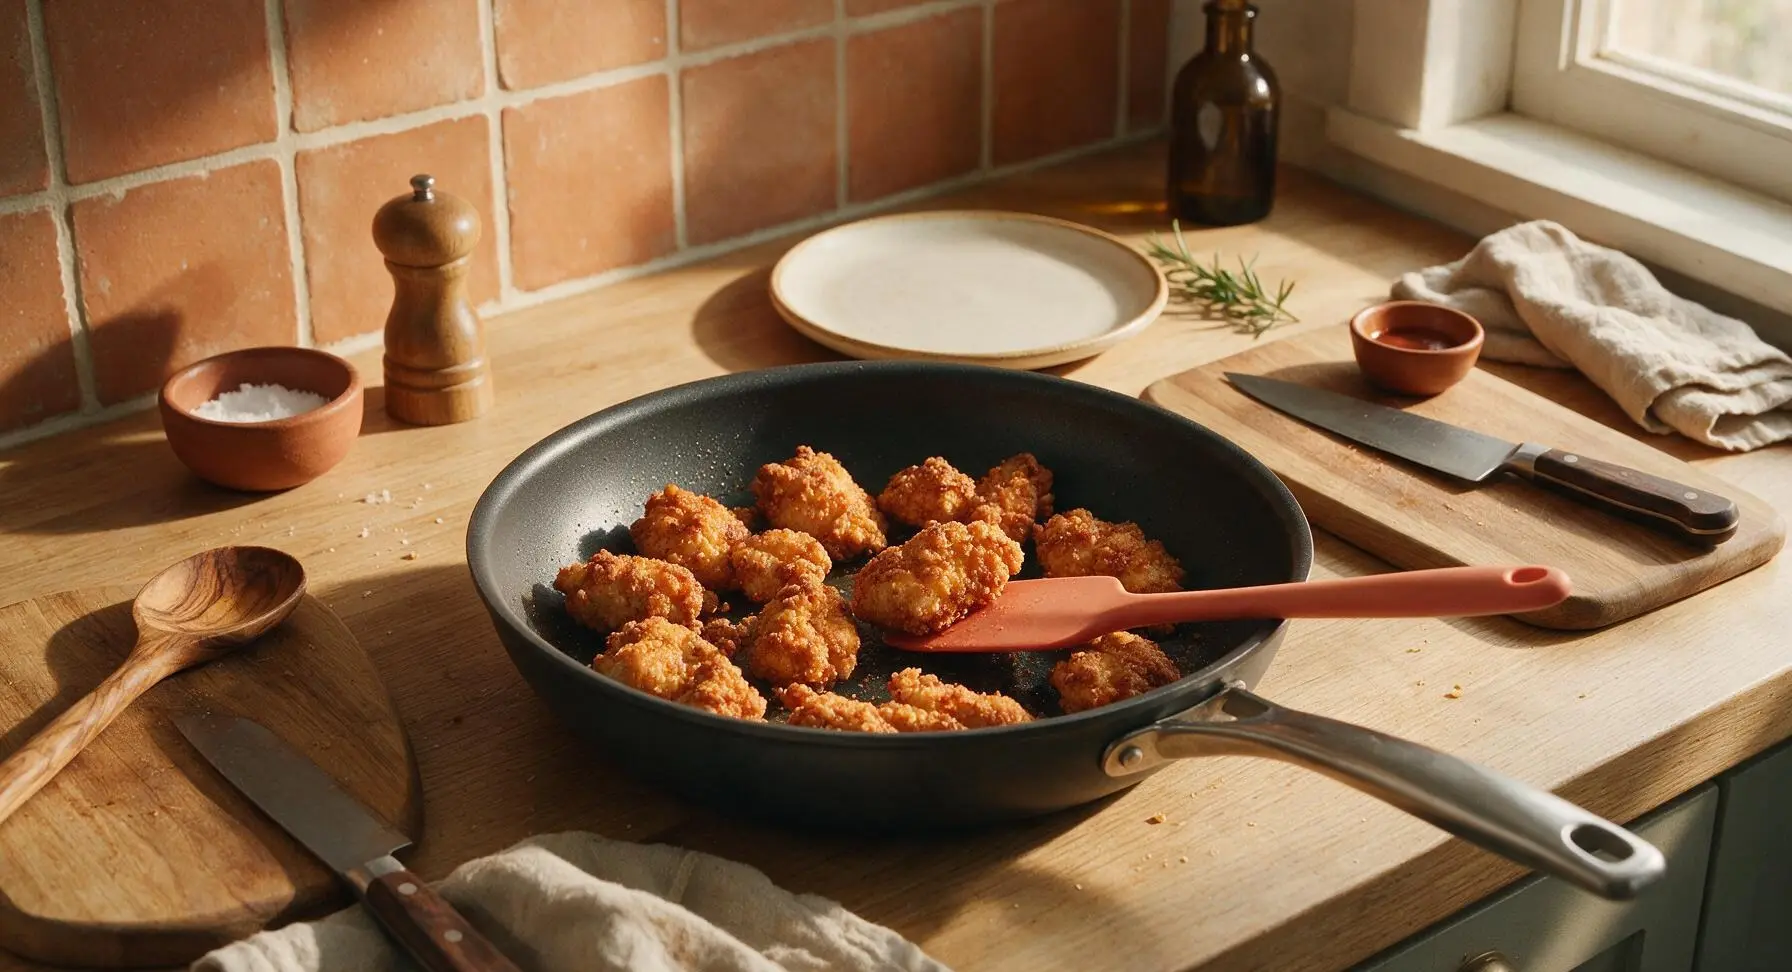
Heat 3 tablespoons of neutral cooking oil in the 12-inch matte charcoal non-stick frying pan over medium heat, until the oil shimmers and reaches 175°C/350°F (check with the digital kitchen thermometer). Add the coated chicken chunks in a single layer, working in two batches if needed to avoid overcrowding. Cook for 4-5 minutes per side, flipping gently with the coral silicone spatula, until all sides are crispy and deep golden brown, and the chicken reaches an internal temperature of 74°C/165°F. Transfer seared chicken to a clean cream white ceramic plate pulled from the stacked set and set aside.
Step 4
step4:Sear chicken chunks
Step 4
step4:Sear chicken chunks
5

Sauté bell peppers

Leave 1 tablespoon of oil in the same pan used for the chicken, and discard any excess burnt cornstarch bits. Add the cut red and green bell pepper chunks, and sauté over medium heat for 2 minutes, stirring occasionally with the silicone spatula, until the peppers are crisp-tender with slightly blistered, bright-colored edges. Do not overcook – peppers should still have a firm crunch, not be soft or mushy.
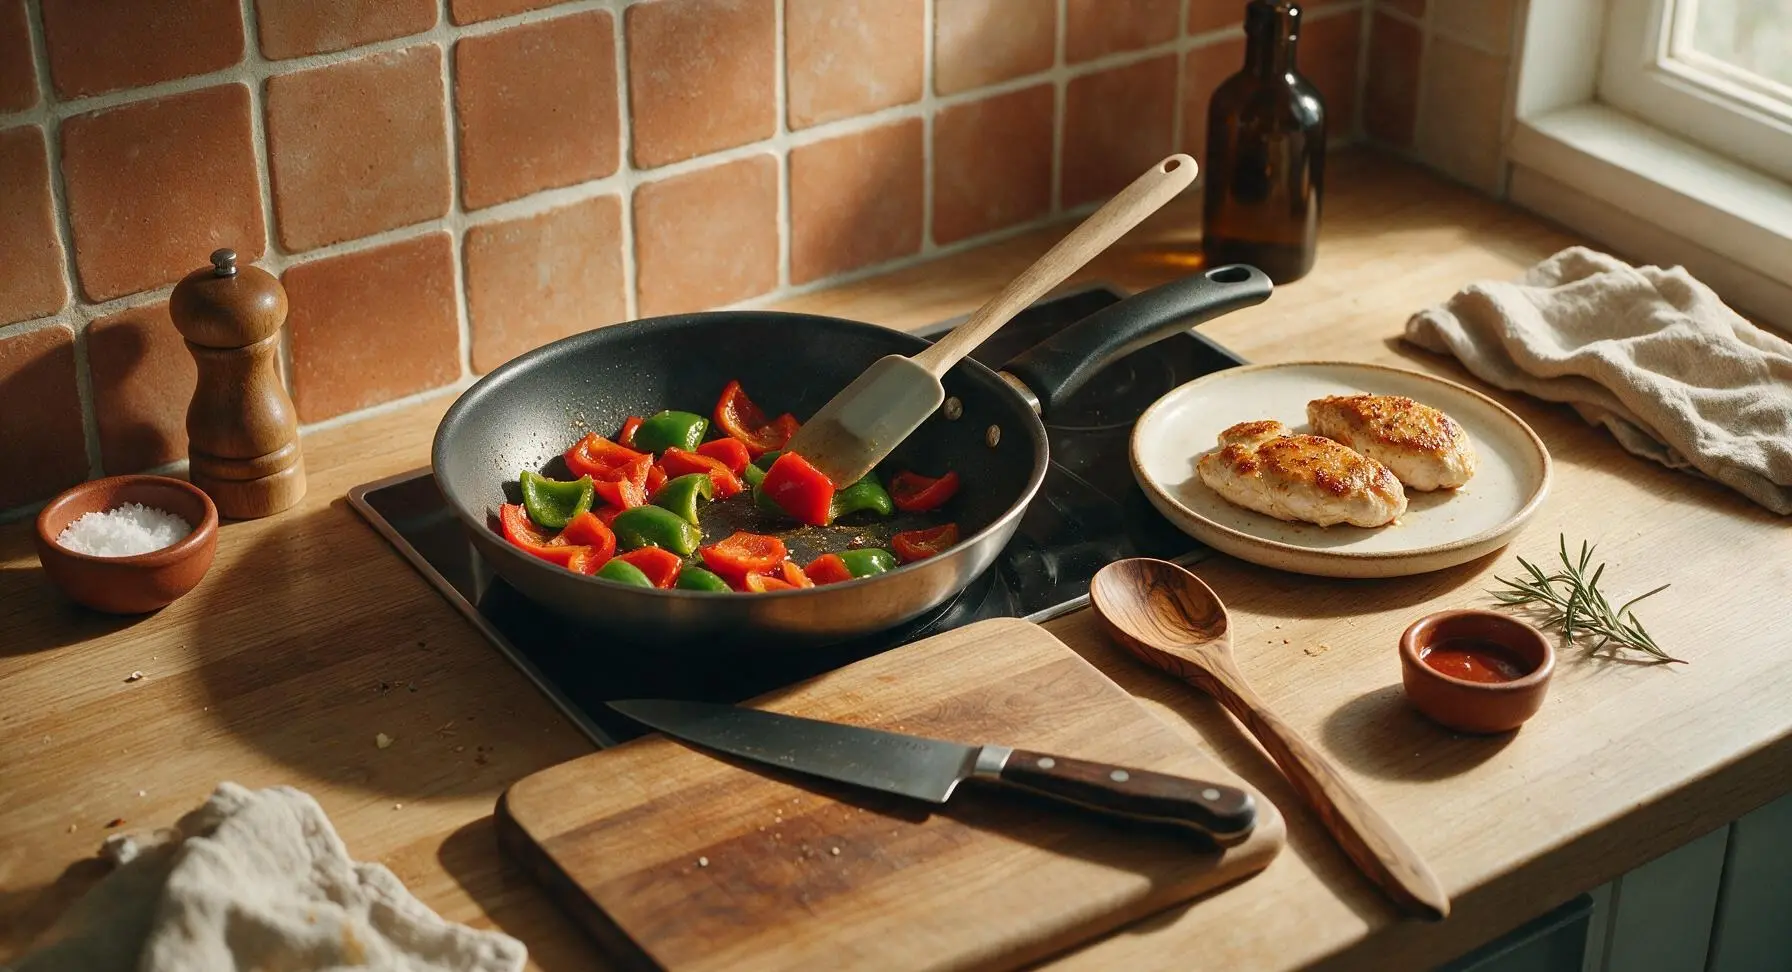
Step 5
step5:Sauté bell peppers
6

Add pineapple and sauce

Add the 200g of drained pineapple chunks to the pan with the peppers, stirring for 30 seconds to warm the fruit through. Pour the pre-mixed sweet and sour sauce into the pan, stirring constantly as the sauce comes to a gentle, low bubble around the edges of the pan.
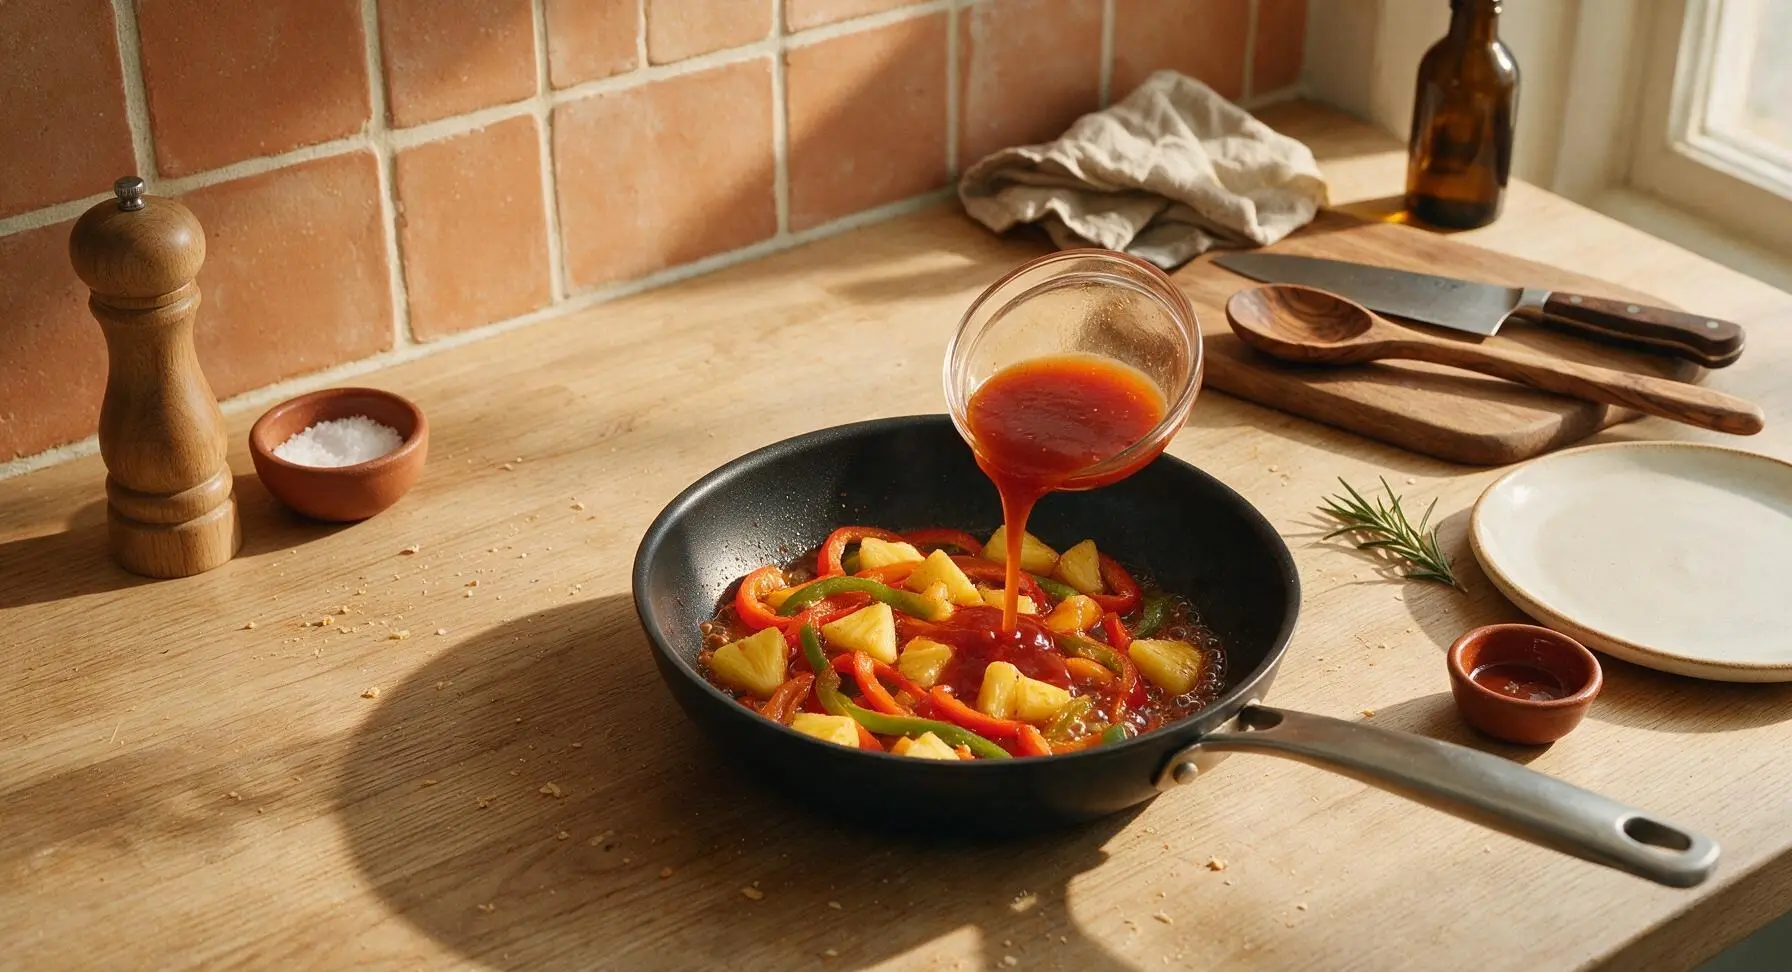
Step 6
step6:Add pineapple and sauce
7

Toss chicken in sauce

Return the seared crispy chicken chunks to the pan, tossing continuously with the silicone spatula for 1-2 minutes, until the sauce thickens to a glossy, clingy consistency that coats every chunk of chicken, pepper, and pineapple evenly. No thin, runny sauce should pool at the bottom of the pan when the dish is done.
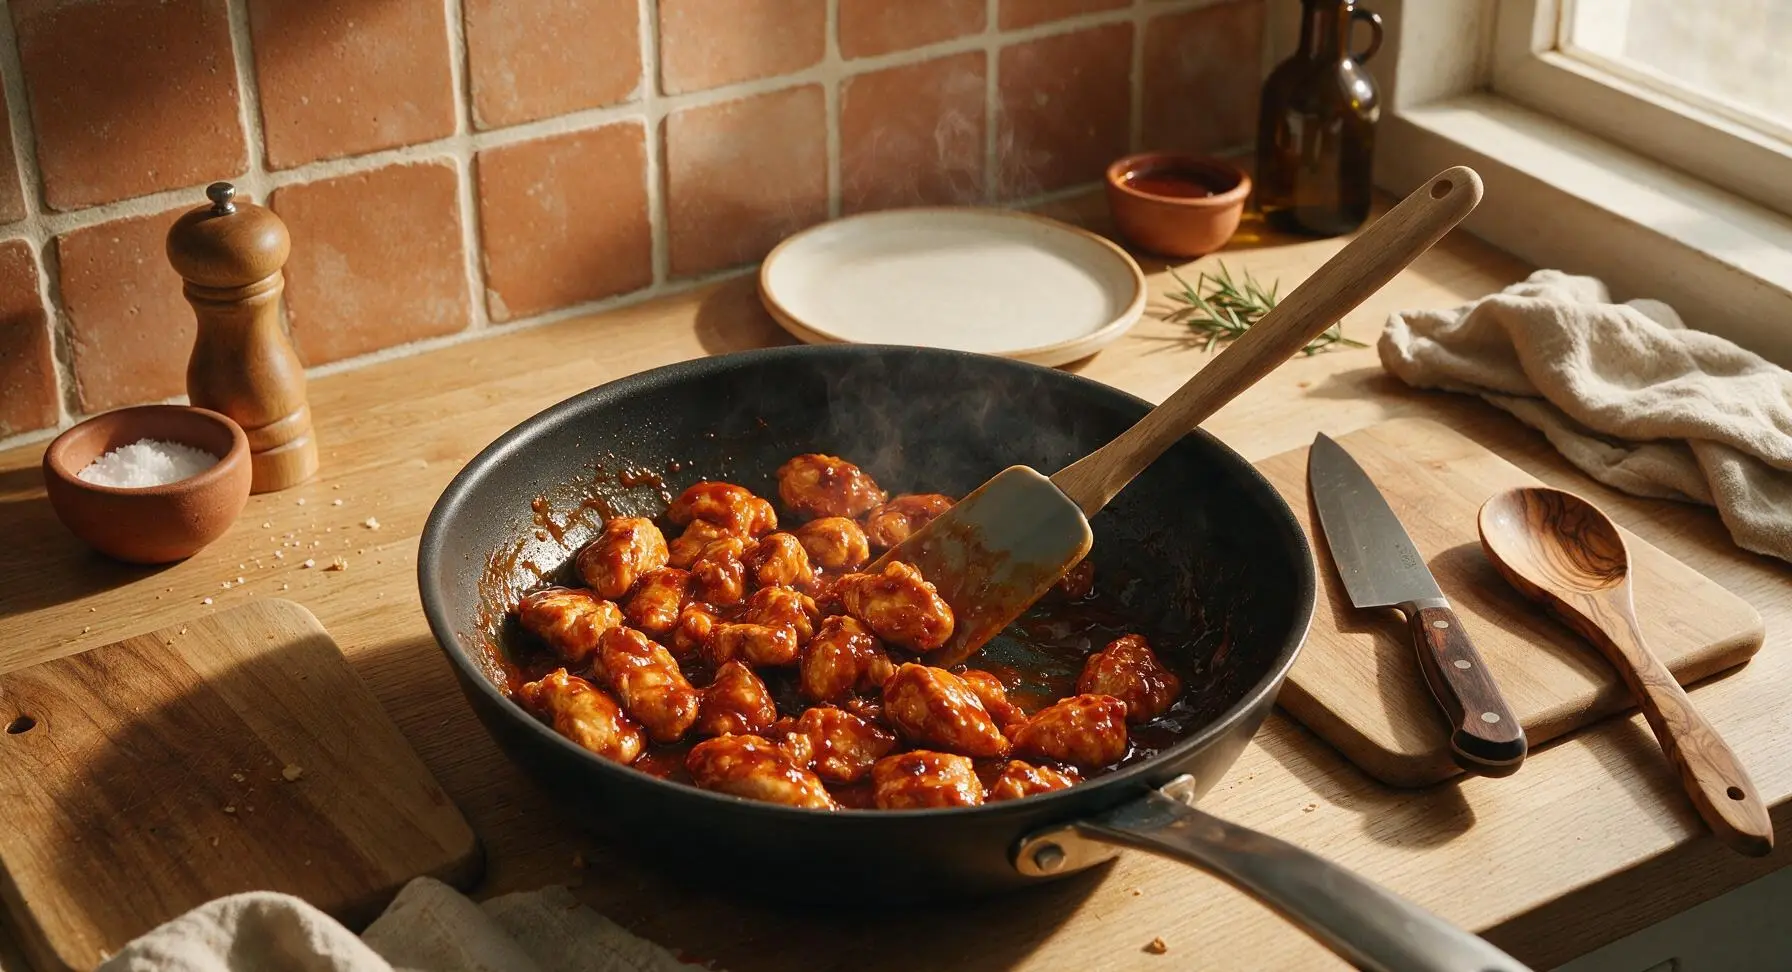
Step 7
step7:Toss chicken in sauce
8

Garnish and serve hot

Turn off the stovetop heat. Use the silicone spatula to transfer the sweet and sour chicken to the matte cream white ceramic dinner plates. Sprinkle 1 teaspoon of white sesame seeds evenly across the top of each serving, and add a tiny fresh basil leaf for garnish if desired. Serve immediately, while the chicken coating is still crisp and the sauce is hot.
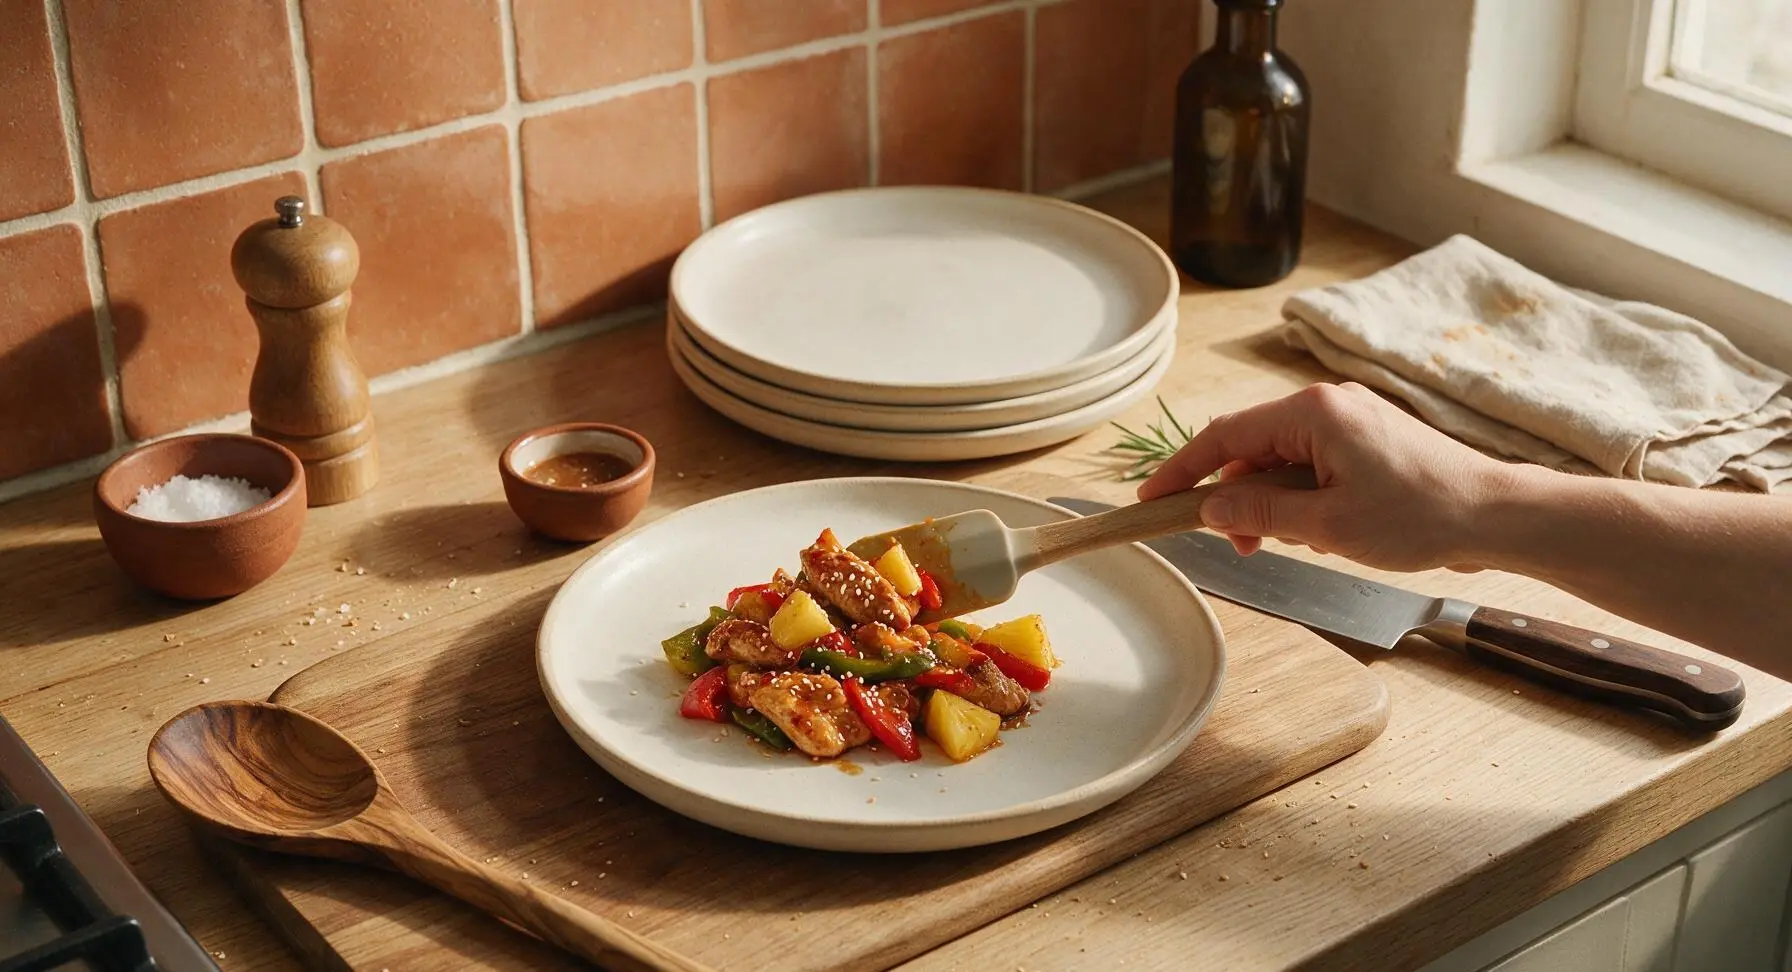
Step 8
step8:Garnish and serve hot

Tips

1.Always pat chicken dry before coating: excess surface moisture will make the cornstarch coating turn gummy instead of crisp, and cause hot oil to splatter dangerously during searing. Dry chicken helps the egg and cornstarch adhere tightly for a shatteringly crisp crust.
2.Avoid crowding the pan when searing: if chicken chunks are packed too tightly, trapped steam will make the coating soggy instead of crispy. For pans smaller than 12 inches, cook the chicken in two separate batches, adding a small extra splash of oil if needed for the second batch.
3.Add cornstarch to cold sauce, not hot pan: whisking cornstarch into the cold sauce base before heating prevents lumpy, grainy sauce. If your sauce ends up too thick, stir in 1 teaspoon of water at a time to reach a glossy, pourable consistency that clings to food without dripping off.


✨ You May Also Like

Main Course
🍜 United Kingdom

A showstopping classic of tender seared beef, savory mushroom duxelles, and crisp prosciutto wrapped in flaky golden puff pastry, baked to juicy perfection.

⏱️ 2 hours 1Main Course ★ 4.7
Main Course
🍜 India

Tender charred marinated chicken simmered in a rich, spiced creamy tomato sauce, this iconic Anglo-Indian curry pairs perfectly with basmati rice or warm naan.

⏱️ 50 minuteMain Course ★ 4.6
Main Course
🍜 Thailand

Classic tangy, sweet, and savory Thai stir-fried rice noodles with shrimp, tofu, and crunchy garnishes, balancing all five core Thai flavor profiles.

⏱️ 30 minuteMain Course ★ 4.5
Main Course
🍜 United Kingdom

Crispy golden beer-battered cod and fluffy double-fried chips, served with tangy tartar sauce and malt vinegar: the timeless, beloved British pub comfort classic.

⏱️ 45 minuteMain Course ★ 4.7
Main Course
🍜 Mexico

Smoky, chile-marinated pork tacos with caramelized pineapple, fresh cilantro, and lime: a beloved classic Mexican street food perfect for casual summer gatherings.

⏱️ 1 hour 45Main Course ★ 4.8
Main Course
🍜 United States

Crunchy Fritos corn chips layered with savory beef chili and melted cheddar, topped with cool, zesty fixings for a beloved, cozy Tex-Mex comfort food.

⏱️ 35 minuteMain Course ★ 4.8

easy sweet and sour chicken:Frequently Asked Questions

1.Do I really not need a deep fryer to get crispy chicken for this recipe? ▾
You absolutely don’t! Toss your 1-inch chicken chunks in beaten egg, coat generously in cornstarch, then pan-fry in a thin layer of neutral oil over medium-high heat for 3-4 minutes per side. You’ll get that same shatteringly crisp exterior without the mess, excess oil, and hassle of heating a full pot of frying oil.
2.Can I use boneless skinless chicken thighs instead of chicken breast? ▾
You sure can! Boneless, skinless chicken thighs will give you even juicier, more forgiving results since they have a touch more fat. Just cut them into the same 1-inch chunks as the recipe calls for breast, keep the egg and cornstarch coating step the same, and reduce cook time by 1 minute per side so they don’t overcook.
3.Why is my cornstarch coating falling off the chicken when I pan-fry it? ▾
This almost always happens if your chicken is too wet when you coat it, or if you move the pieces too early in the pan. Pat chicken dry with paper towels first, dip in egg, press cornstarch firmly to adhere, and let pieces rest 2 minutes before frying. Don’t nudge them for the first 3 minutes so the crust sets properly.
4.What can I use if I don’t have fresh red or green bell peppers on hand? ▾
Frozen bell pepper strips work perfectly here—no need to thaw them first, just toss them straight into the pan when the recipe calls for fresh peppers. If you want a different swap, try snap peas, chopped sweet onion, or even cubed zucchini for a similar tender-crisp texture that pairs great with the tangy-sweet sauce.
5.Should I use fresh or canned pineapple for this recipe? ▾
You can use either, no judgment! Canned pineapple chunks (drained well, save a splash of the juice to brighten your sauce if you want) are super convenient and consistently sweet. Fresh pineapple works too, just cut it into 1-inch chunks to match the size of your chicken and pepper pieces for even bites.
6.How do I keep the chicken crispy instead of getting soggy in the sauce? ▾
Two quick, easy tricks prevent soggy chicken: First, don’t toss the crispy pan-fried chicken in the sauce until right before you’re ready to serve. Second, make sure your sauce is fully bubbling and thickened before adding the chicken, so it coats in a thin glossy layer instead of soaking into the crust as a watery puddle.
7.Can I make this sweet and sour chicken ahead for meal prep? ▾
It holds up really well for 3-4 days in the fridge, though the crust will soften slightly as it sits, which is totally normal for sauced chicken dishes. For the best texture, store the crispy cooked chicken, sautéed veggies, and sauce in separate containers, then toss together and reheat quickly when you’re ready to eat.
8.Is the 30-minute total cook time actually realistic for home cooks? ▾
It totally is, no special tools or pro-level prep skills needed! While your pan heats up for the chicken, chop your bell peppers and pineapple, whisk your sauce together, and coat your chicken in egg and cornstarch. The chicken cooks in 8 minutes total, veggies take 3 minutes to sauté, and the sauce thickens in 2 minutes flat.
9.How do I fix my sweet and sour sauce if it’s too thick or too thin? ▾
It’s super easy to adjust to that perfect glossy consistency! If your sauce is too thick and gloppy, stir in a teaspoon of water or reserved pineapple juice at a time until it coats a spoon smoothly. If it’s too thin, mix a tiny slurry of ½ teaspoon cornstarch and 1 teaspoon cold water, stir in, and bubble 30 seconds to thicken.
10.Can I adapt this recipe to be gluten-free? ▾
Absolutely! The only potential gluten source here is usually pre-mixed sweet and sour sauce, so make your own simple sauce with gluten-free soy sauce or tamari, and double check that your cornstarch is labeled gluten-free (most are, but it never hurts to confirm). All the core ingredients—chicken, eggs, peppers, pineapple—are naturally gluten-free.
11.What are the best sides to serve with this dish? ▾
The classic pairing is steamed white or jasmine rice to soak up that extra glossy, tangy-sweet sauce, but it also works great with cauliflower rice for a lower-carb option, or crispy chow mein noodles. For a quick veggie boost, add a side of steamed broccoli or lightly salted edamame on the side.
12.Can I bake the chicken instead of pan-frying it to use less oil? ▾
You sure can! Arrange the egg and cornstarch-coated chicken chunks on a wire rack set over a baking sheet, spray lightly with cooking oil, and bake at 425°F for 15-18 minutes, flipping halfway, until crispy and cooked through. You won’t get quite the same deep golden crunch as pan-frying, but it’s still delicious and lower-hassle.

Comments (6)

2 days ago

OMG this was such a game changer for our weeknight family dinner! I only had 20 minutes after getting home from soccer practice to throw something together, and this came out perfectly crispy even without deep frying. My kids devoured every bite and asked for seconds before I even sat down. SO good, will be adding this to our regular meal prep rotation!

yesterday

Same! I made this last night for my two boys after practice too, I skipped the green peppers because mine are picky and it still slapped. Even my wife who hates takeout copycats said it’s better than our local Chinese place.

yesterday

So glad this worked for your busy weeknight! Love the tip about skipping veggies for picky eaters — this recipe is super flexible, so feel free to swap in whatever your family loves most.

1 week ago

Made this for our neighborhood potluck this past weekend and it was gone in 10 minutes flat. I doubled the sauce because I knew people would be going back for more, and I was right. Only note is I added a little extra pineapple chunk for sweetness, it was chef’s kiss. Super easy to toss together even when you’re cooking for a crowd.

5 days ago

Great call doubling the sauce for a potluck! The pineapple addition sounds delicious — we love adding fresh pineapple when it’s in season too. Thanks for bringing this to your neighborhood get-together!

30 minutes ago

As someone who can barely boil pasta without burning it, this recipe was foolproof. I was craving takeout but didn’t want to spend $20 on delivery, and this tasted almost identical. Cook time really is 20 minutes, I timed it because I was running late to a study group. 10/10 would make again.

3 days ago

This was SO good when I made it last night, the sauce is perfectly balanced between sweet and tangy! Quick question though: has anyone tried making this ahead for meal prep? I’m wondering if the chicken gets soggy if I store it in the fridge with the sauce for 3-4 days? I want to add it to my Sunday prep lineup but don’t want to waste ingredients if it won’t hold up.

2 days ago

I made this last week for meal prep! I stored the sauce separate from the crispy chicken and just tossed it together when I heated it up at work, it stayed perfectly crunchy that way. If you mix the sauce in ahead it does get a little mushy after day 2.

2 days ago

Great question! We recommend storing the sauce and chicken separately for meal prep to keep the chicken crispy, just like LunchboxDad mentioned. It will keep for up to 4 days in the fridge when stored properly!

yesterday

I was so happy this recipe works with gluten free flour! I swapped the regular all purpose for a 1:1 GF blend for the chicken coating, and it got just as crispy as the regular version. My whole family didn’t even notice a difference, even my super picky teen. This is going to be a staple for our Friday night takeout fakeout nights!

2 hours ago

Thanks for sharing the GF swap! My youngest has a wheat allergy and I’ve been searching for a sweet and sour chicken recipe that doesn’t require weird specialty ingredients. Can’t wait to try this this weekend!

2 weeks ago

Tossed in some extra red pepper flakes to give this a little heat, and wow — total game changer. The sweet and tangy sauce pairs so well with a tiny kick of spice. I served it over jasmine rice and it tasted straight out of a restaurant. Crazy how easy it is for how good it turns out, I’ll never order takeout sweet and sour chicken again.



