
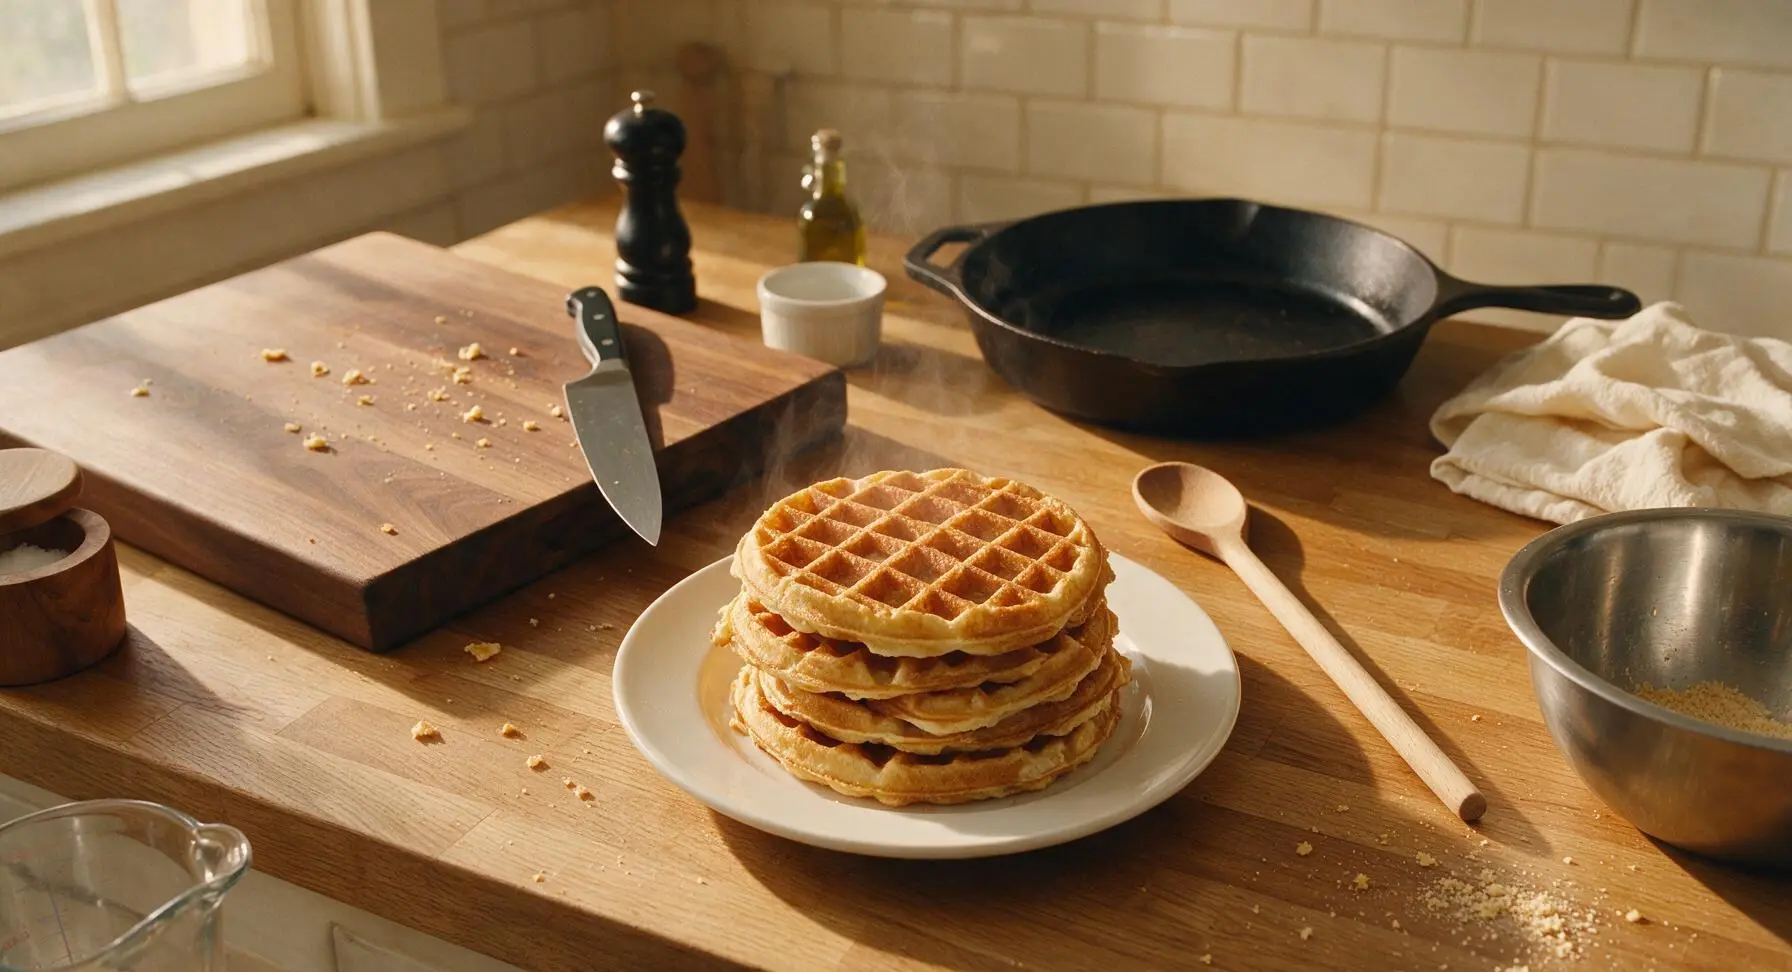
Easy Waffle Recipe

title 1
Easy Waffle Recipe
⏱️ cook time 15 minutes
🍽️ servings 4
⚡ Difficulty easy

intro

Crisp golden on the outside, light and fluffy on the inside, these no-fuss homemade waffles come together in 25 minutes for a cozy, customizable meal perfect for busy mornings or quick dinners.

Ingredients
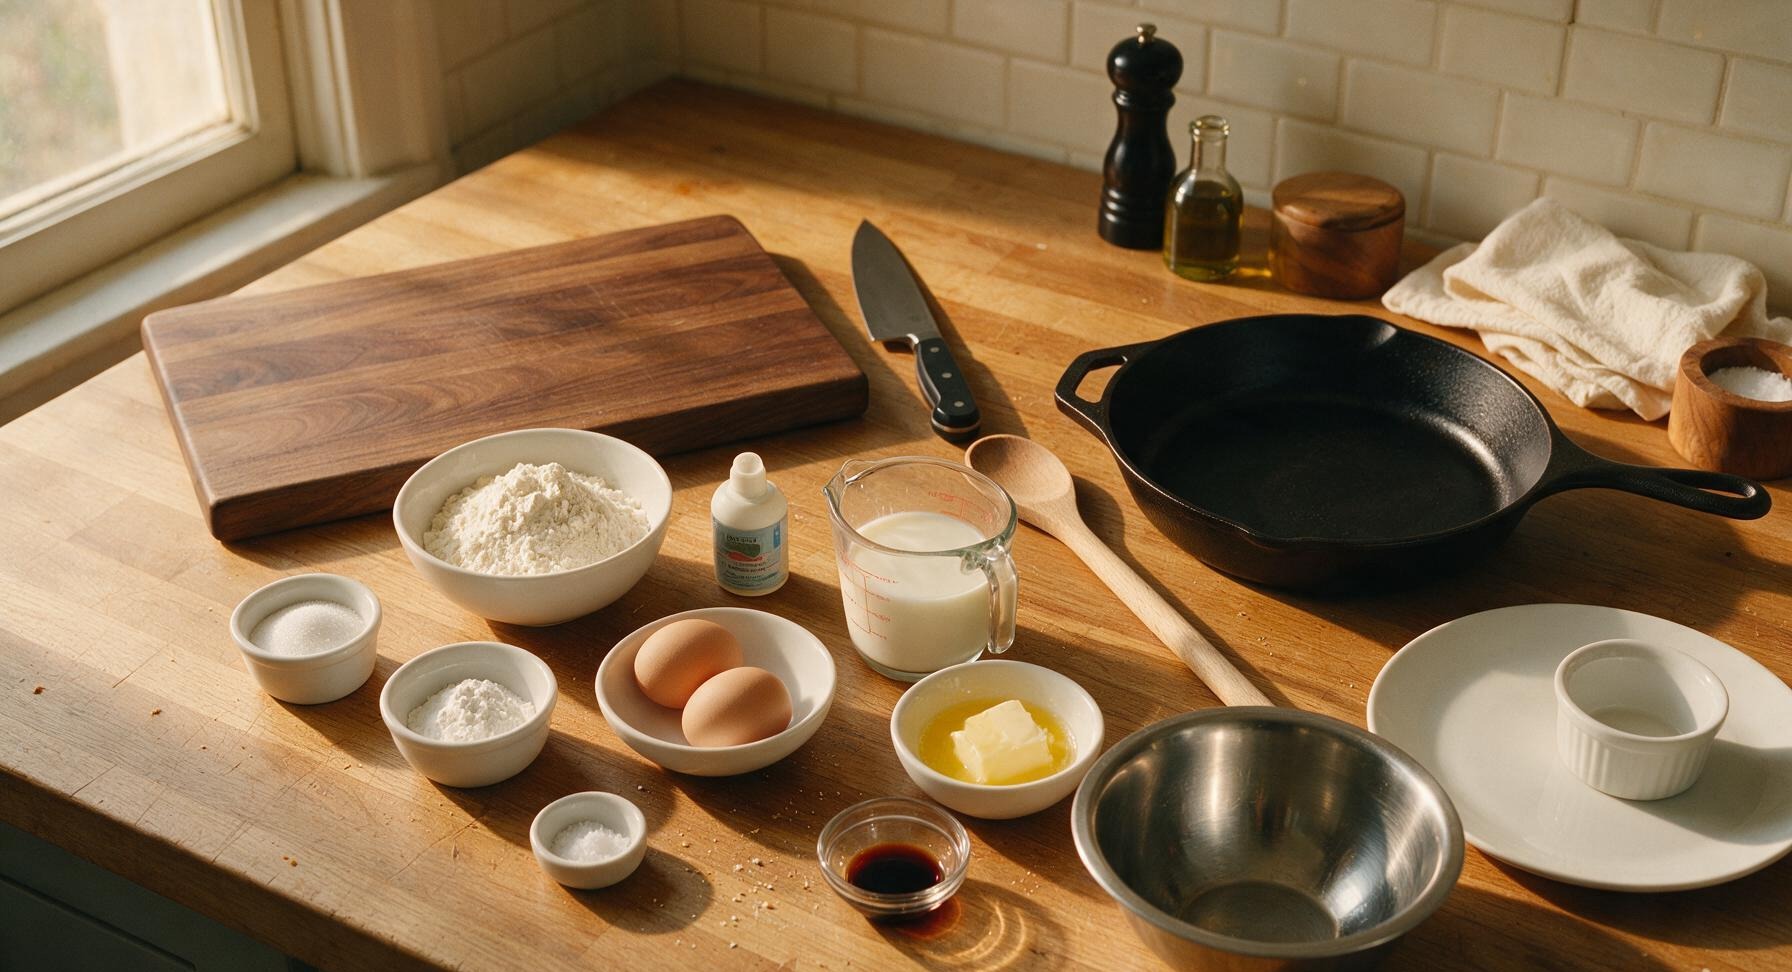
All-purpose flour 2 cups (240g)
Granulated sugar 1 tbsp (12g)
Baking powder 1 tbsp (12g)
Fine sea salt 1/2 tsp
Large eggs 2 whole
Whole milk 1 3/4 cups (420ml)
Unsalted butter, melted and cooled 3 tbsp (42g)
Pure vanilla extract 1 tsp
Nonstick cooking spray 1 short burst

Steps

1

Mix Dry Ingredients

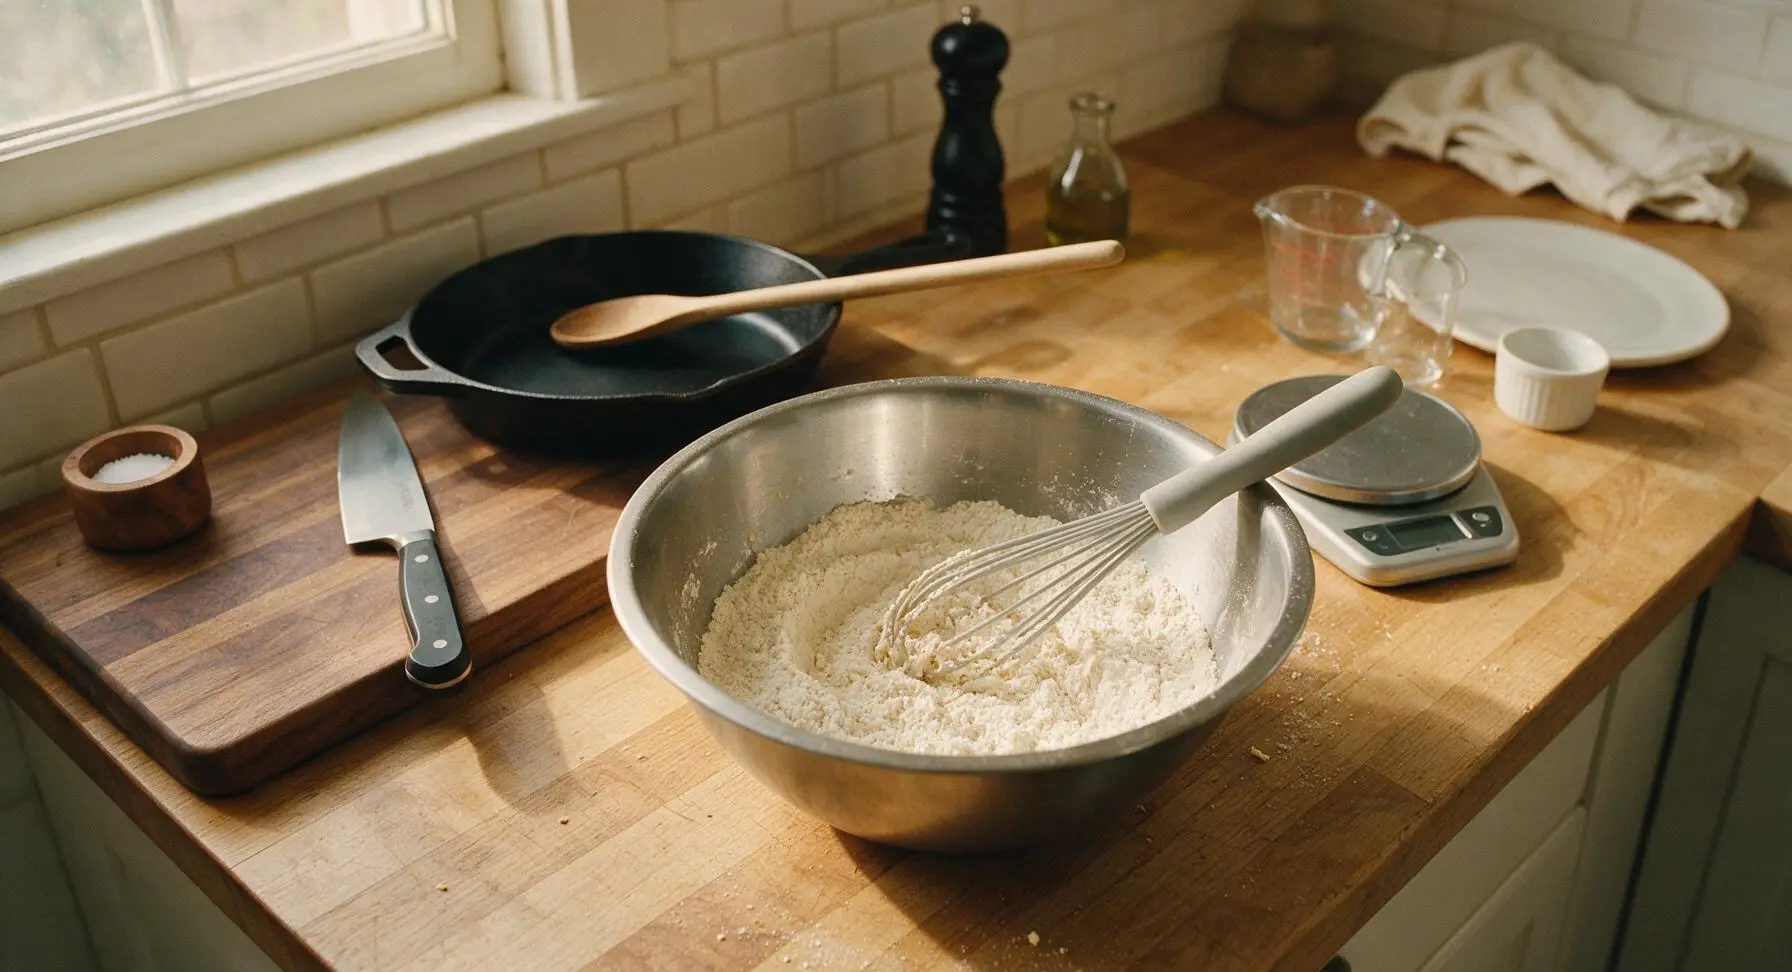
In the medium brushed stainless steel mixing bowl, combine 2 cups (240g) all-purpose flour, 1 tbsp granulated sugar, 1 tbsp baking powder, and 1/2 tsp fine sea salt. Use the silicone whisk to stir the dry ingredients for 30 seconds, until fully evenly mixed with no visible clumps of baking powder or concentrated salt patches. The mixture will be a uniform pale off-white color when fully combined.
Step 1
step1:Mix Dry Ingredients
2

Whisk Wet Ingredients

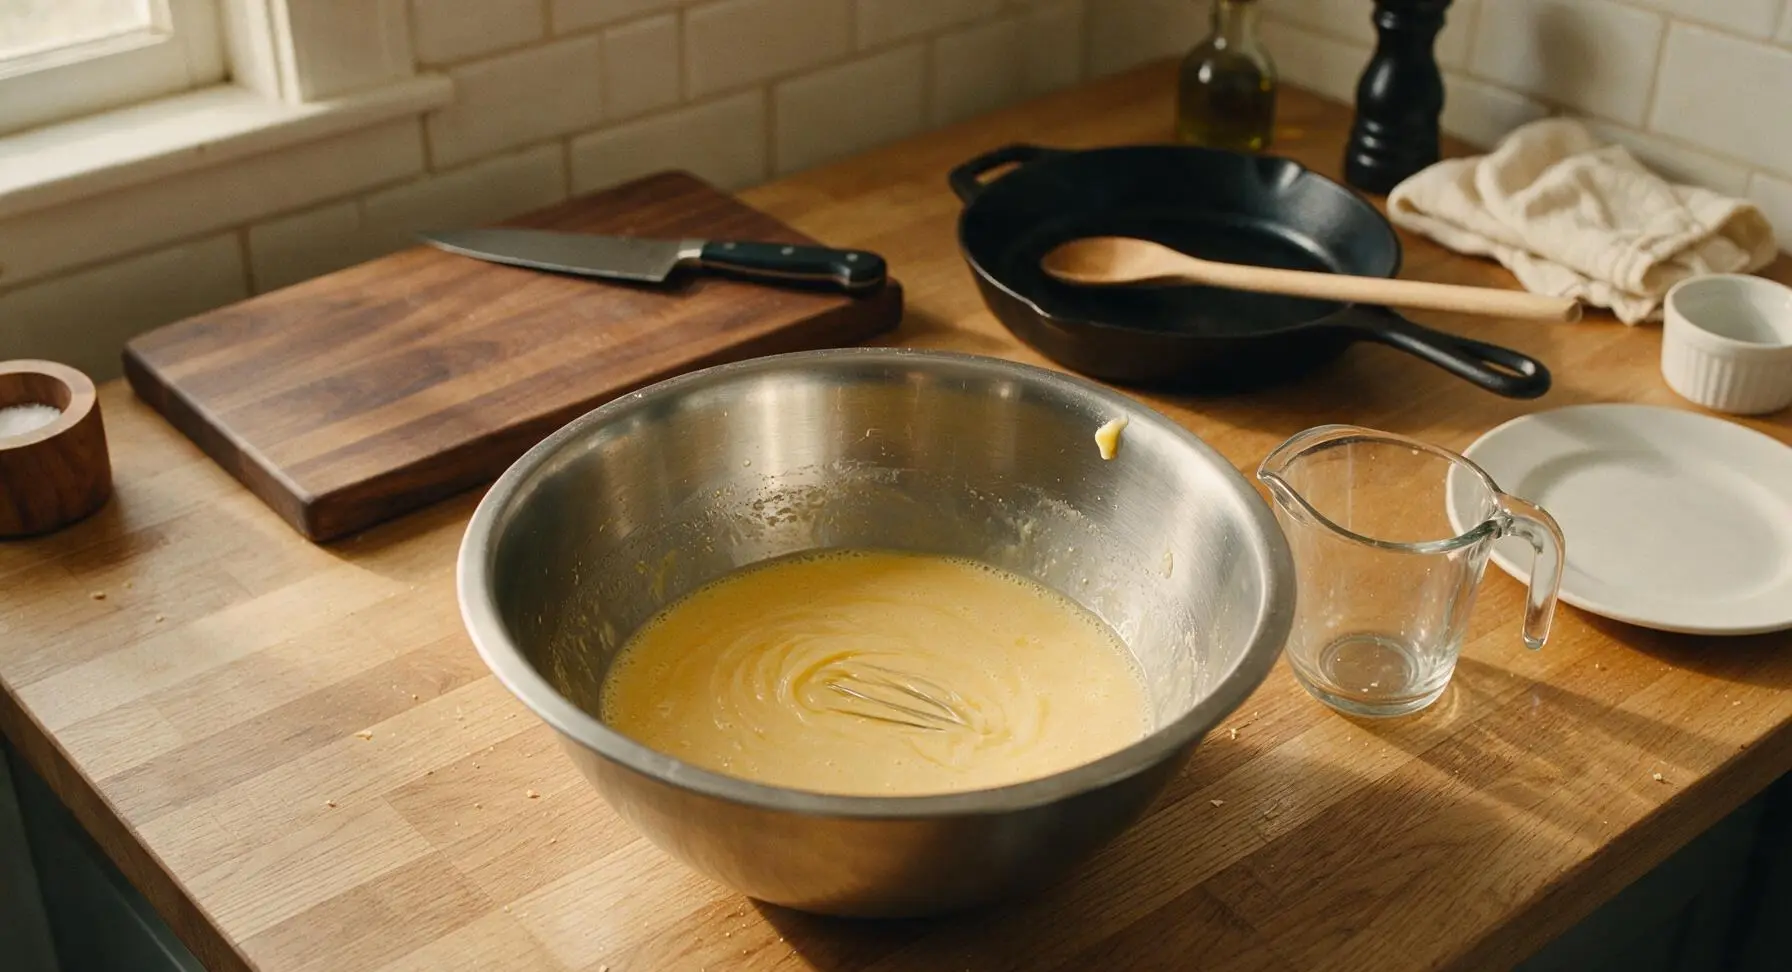
In the small brushed stainless steel mixing bowl, crack 2 large eggs, then add 1 3/4 cups (420ml) whole milk, 3 tbsp (42g) melted and slightly cooled unsalted butter, and 1 tsp pure vanilla extract. Whisk vigorously for 45 seconds until the mixture is completely smooth, with no streaks of unincorporated egg white, and a thin layer of tiny bubbles forms across the pale golden surface.
Step 2
step2:Whisk Wet Ingredients
3

Fold Wet into Dry

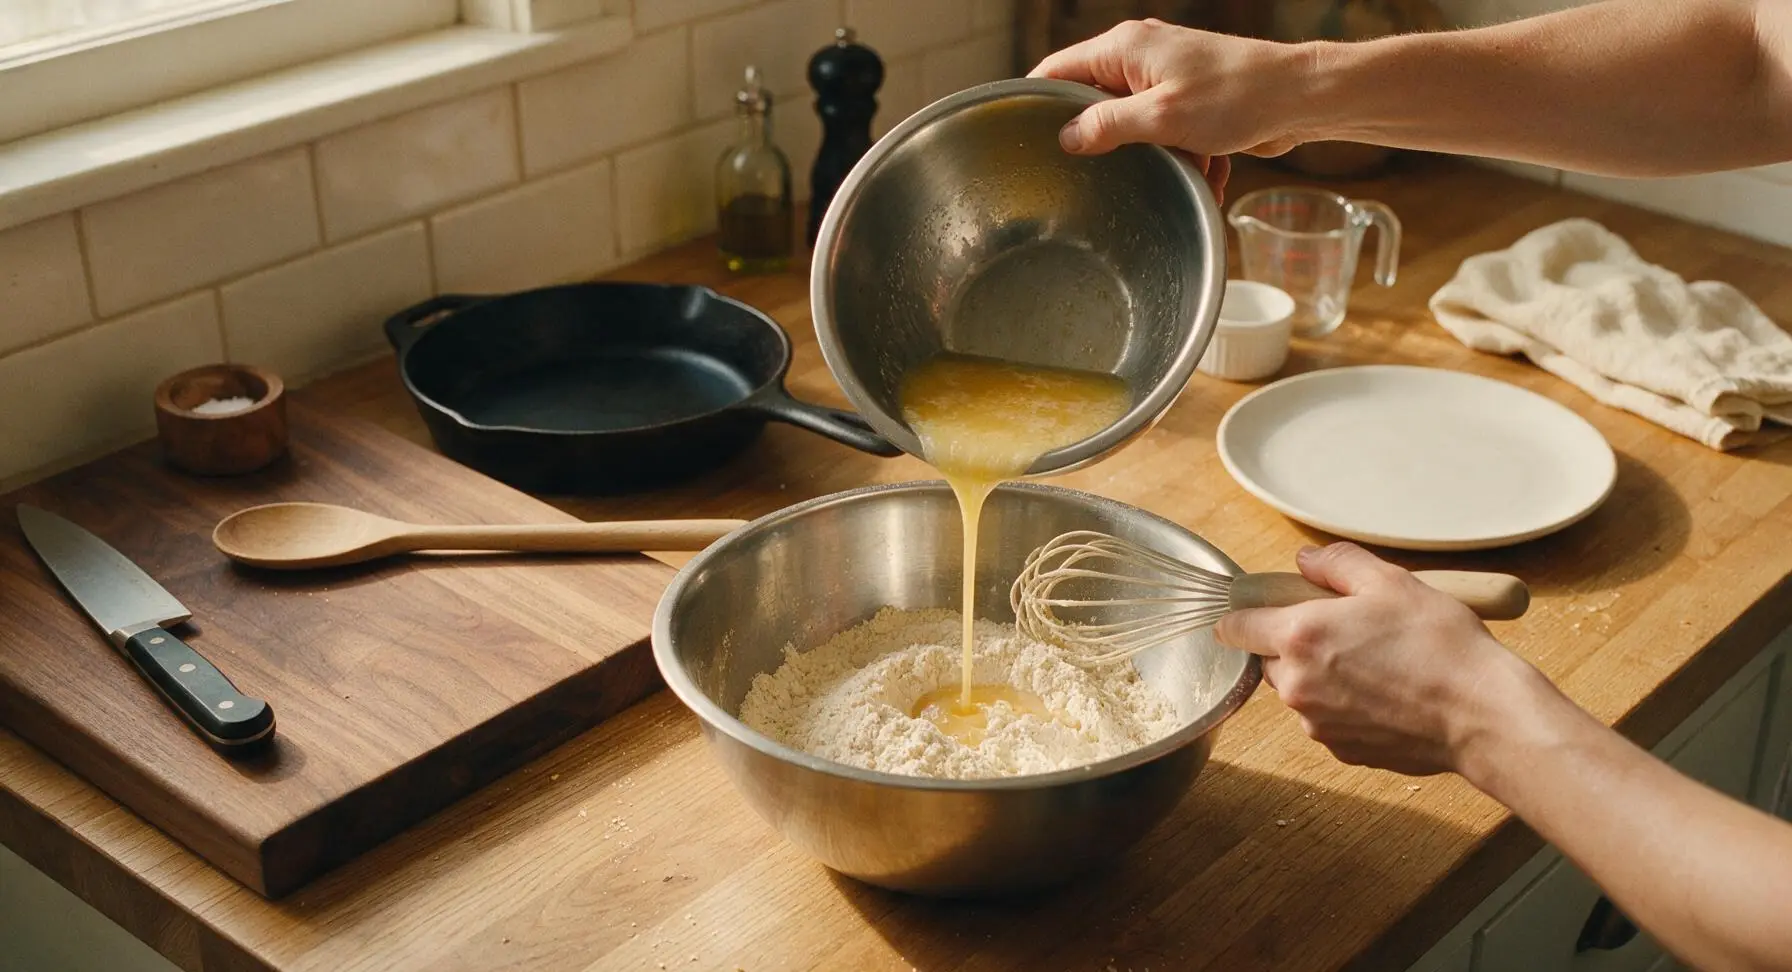
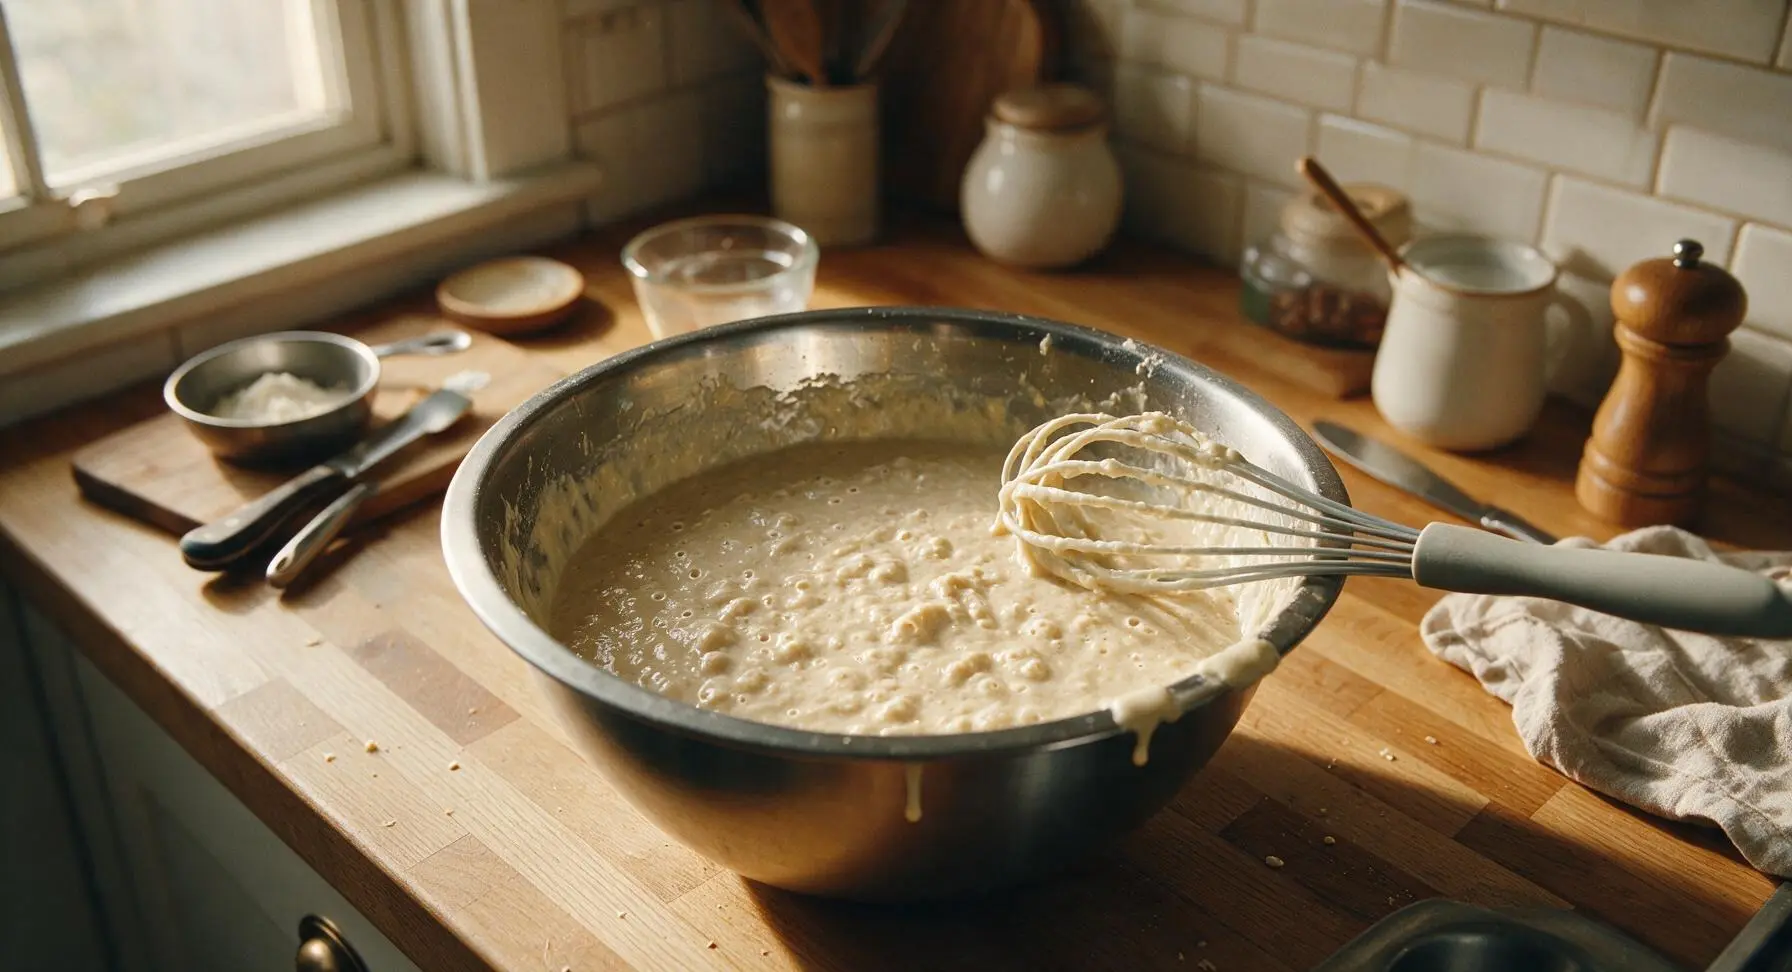
Pour the entire wet ingredient mixture from the small bowl into the medium bowl holding the dry ingredients. Use the silicone whisk to gently fold the two mixtures together, stirring only just until no large dry streaks of flour remain. The batter will be thick and slightly lumpy — do not overmix, as overstirring develops gluten and creates tough, dense waffles. Let the batter rest for 5 minutes at room temperature to allow the baking powder to activate; small bubbles will rise to the surface during this rest period.
Step 3
step3:Fold Wet into Dry
Step 3
step3:Fold Wet into Dry
4

Preheat Waffle Maker

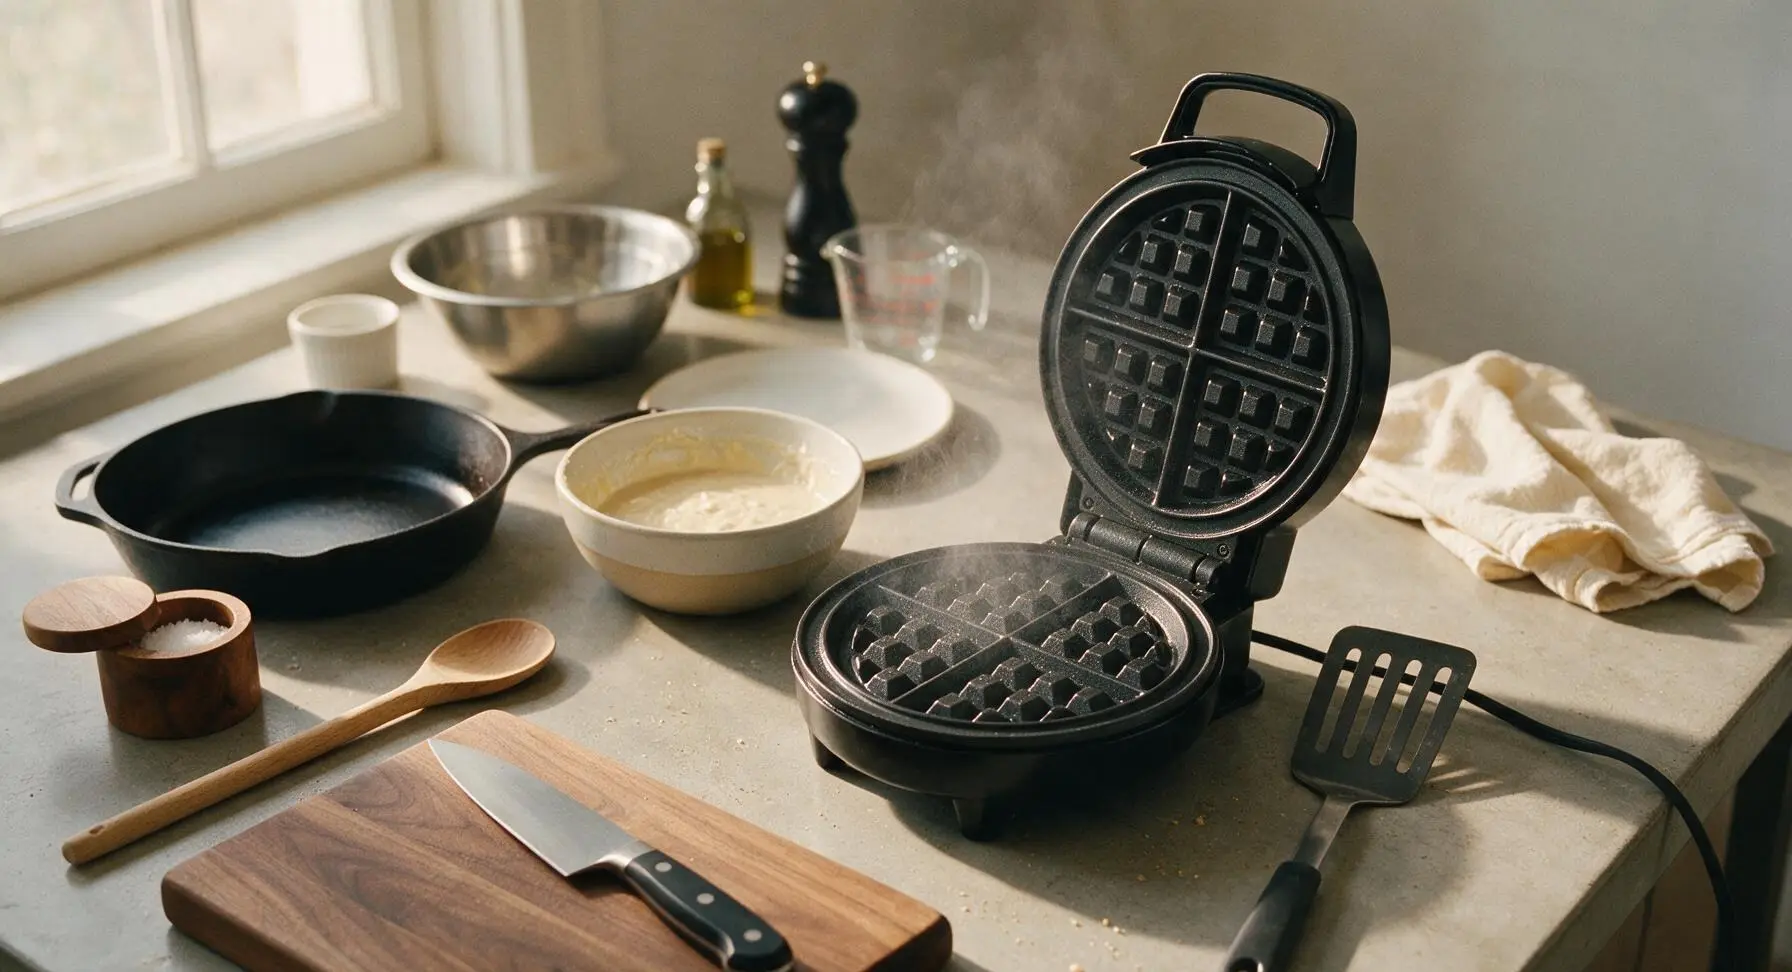
Set the matte black 7-inch electric waffle maker in its fixed center-right position on the counter. Plug it in, set the browning dial to medium (level 3 of 5), close the lid, and preheat for 3-4 minutes until the green ready indicator light illuminates, signaling the plates have reached 375°F (190°C). Lightly coat both top and bottom cooking plates with a short burst of nonstick cooking spray. Place the slotted turner to the right of the waffle maker for easy access.
Step 4
step4:Preheat Waffle Maker
5

Cook Golden Waffles

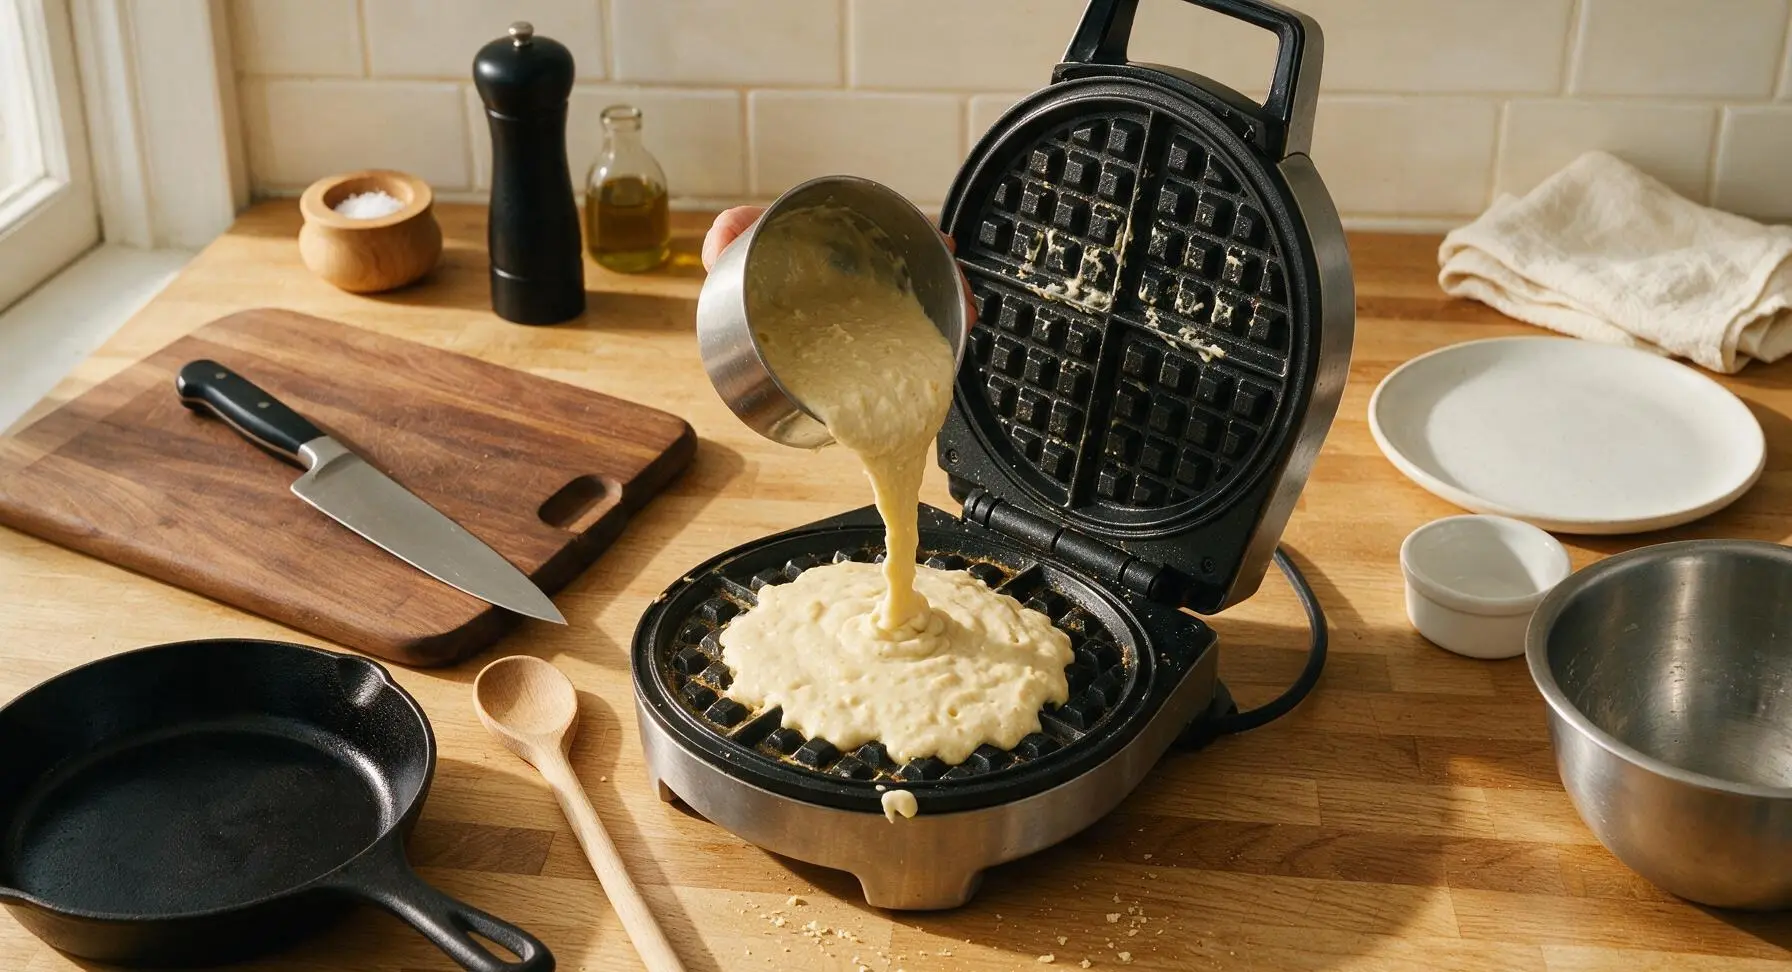
Ladle 1/2 cup of rested batter directly onto the center of the preheated lower waffle plate. Close the lid gently (do not press down firmly, as this will squeeze out batter and create thin, tough waffles) and cook for 3 to 3.5 minutes. Resist opening the lid for the first 2 minutes of cooking, as this can cause the waffle to split and stick. The waffle is fully cooked when steam stops seeping out from the edges of the waffle maker, and the exterior is a deep, even golden brown with crisp raised edges.
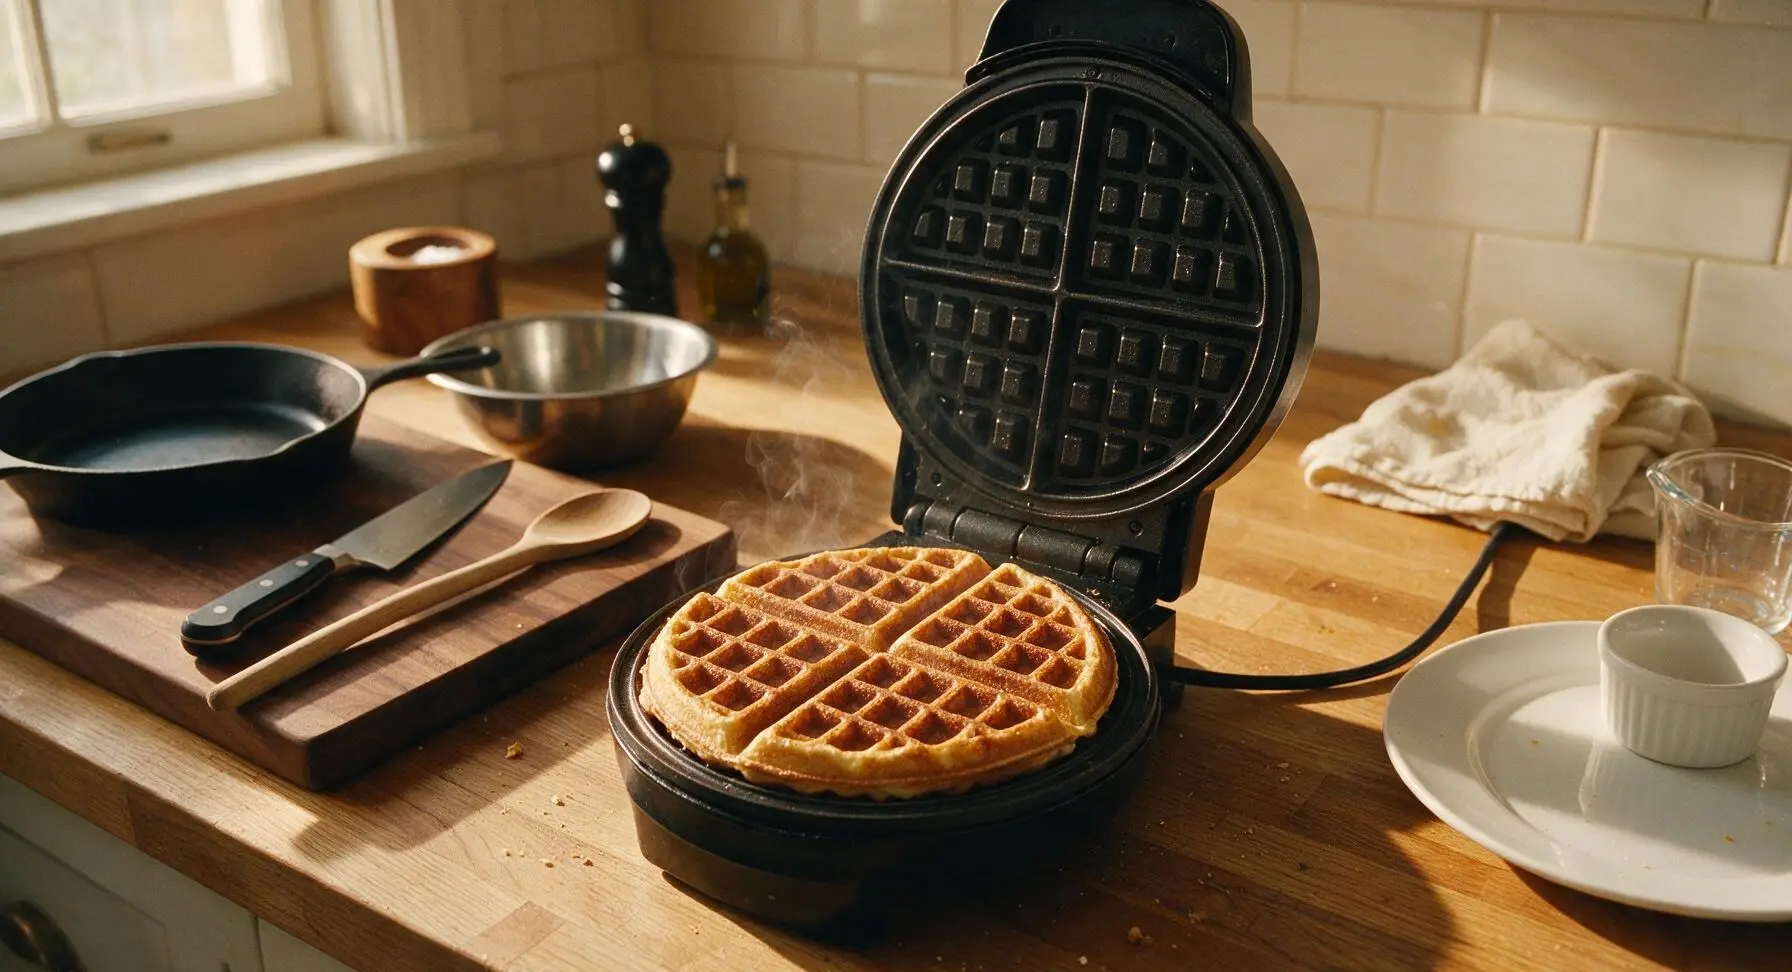
Step 5
step5:Cook Golden Waffles
Step 5
step5:Cook Golden Waffles
6

Rest Cooked Waffles

Set the chrome wire cooling rack in its fixed position to the left of the waffle maker. Use the slotted stainless steel turner to carefully lift the finished waffle from the cooking plates, and transfer it to the rack. Keep waffles in a single layer on the rack (do not stack hot waffles, as trapped steam will make the crisp exterior turn soggy) while you repeat the cooking process with the remaining batter, making 4 total waffles.
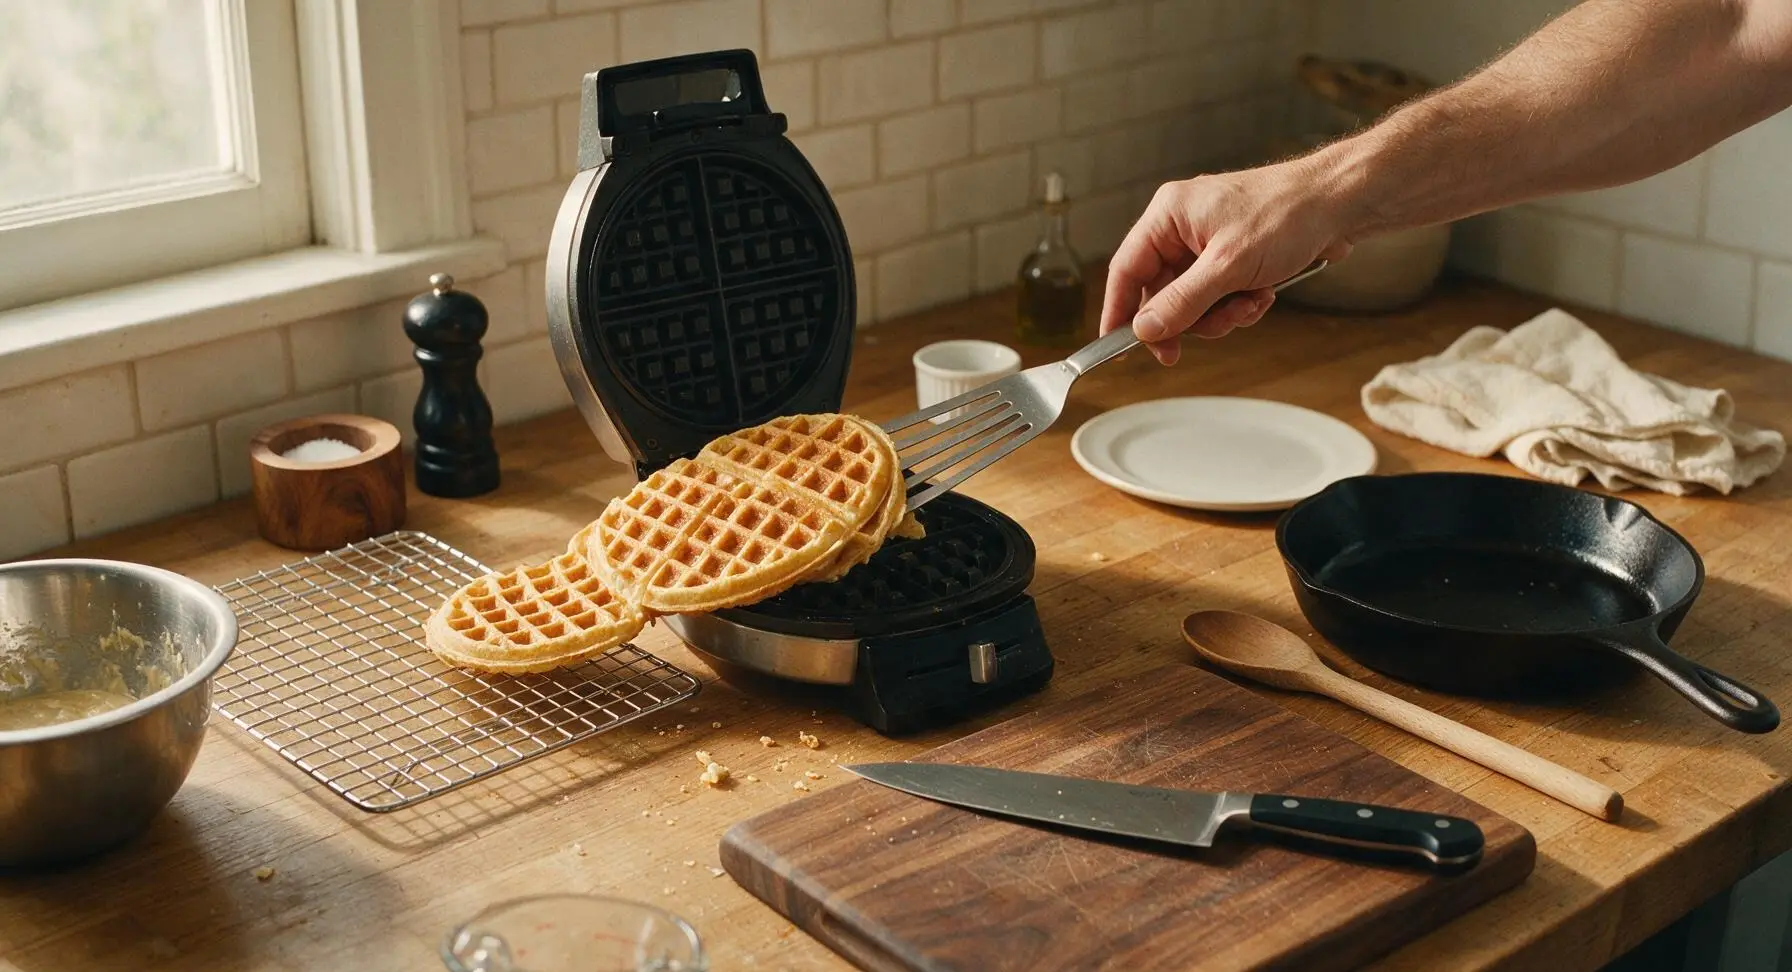
Step 6
step6:Rest Cooked Waffles
7

Plate and Serve Warm

Move the cream white ceramic dinner plate from its back-right storage spot to center front of the counter. Arrange 2 warm waffles slightly offset on the plate, top with a 1-tablespoon pat of salted butter, a light drizzle of pure maple syrup, and optional toppings like fresh apple slices, a dusting of powdered sugar, or whipped cream. Serve immediately to enjoy the signature crisp exterior and light, fluffy interior.
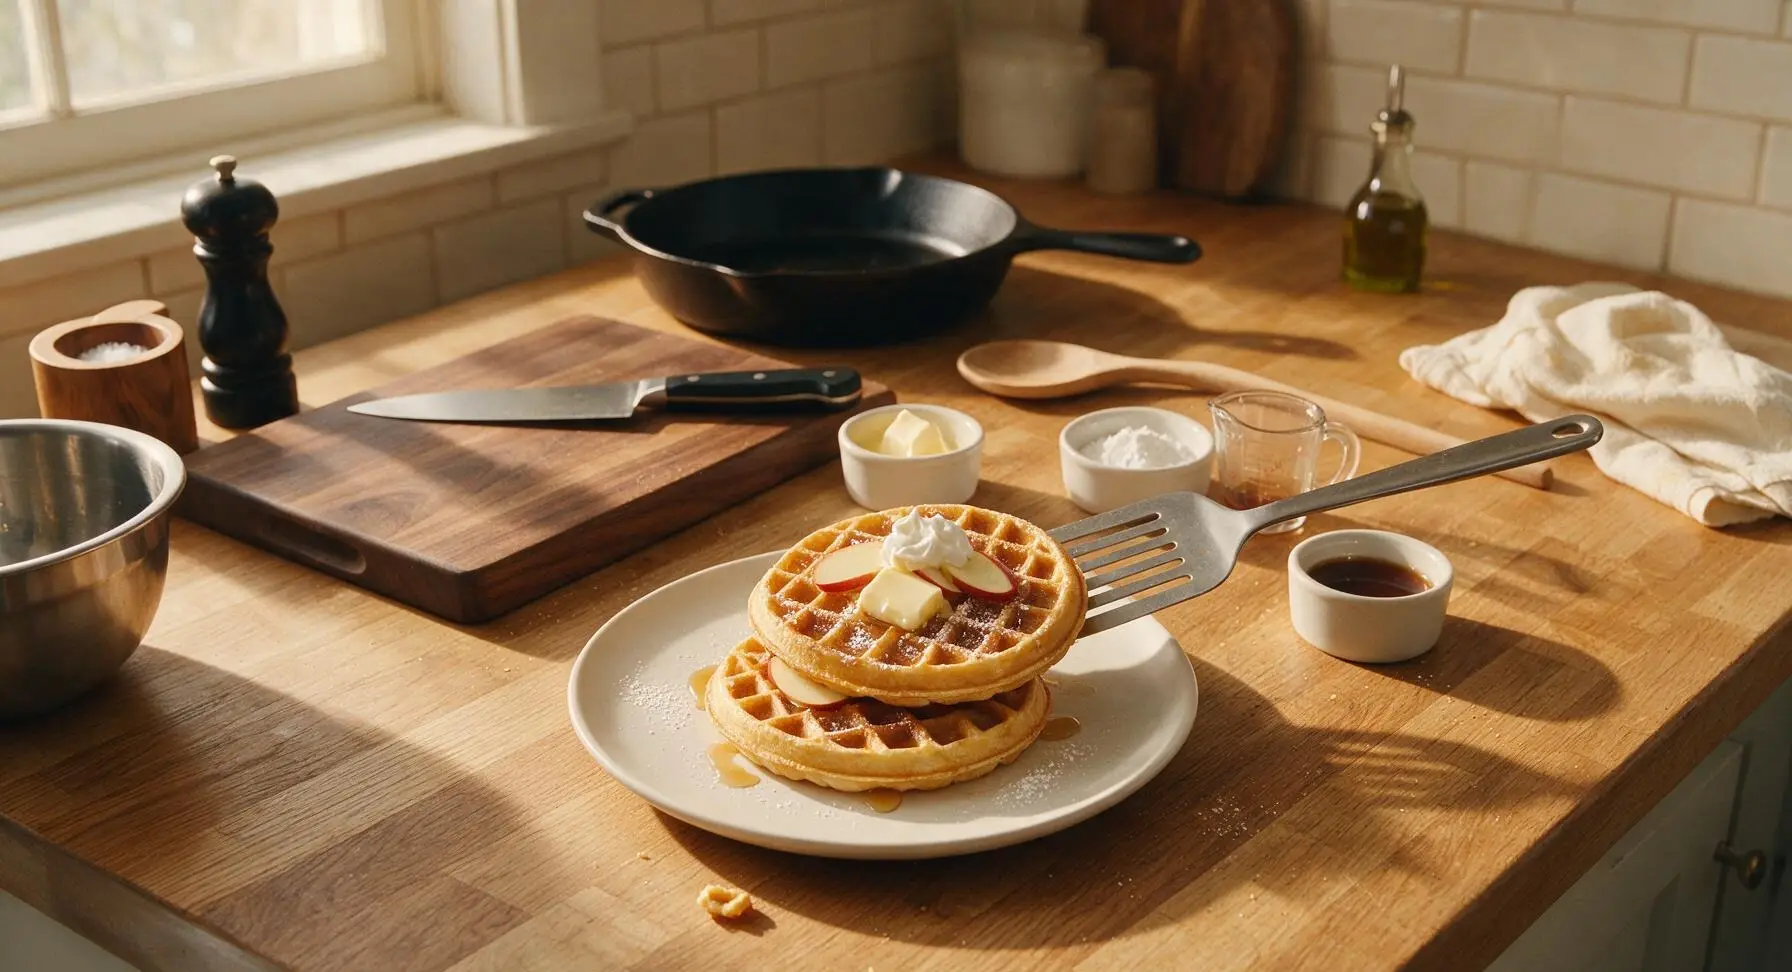
Step 7
step7:Plate and Serve Warm

Tips

1.Do not overmix the batter: a few small lumps are completely normal, and overstirring develops gluten in the flour that will turn your waffles tough and chewy instead of light and tender.
2.Skip stacking hot waffles on a plate straight from the iron: trapped steam from the hot waffles will soften the crisp exterior into a soggy texture. Resting them in a single layer on a wire rack keeps the outside crisp until you are ready to serve.
3.Freeze extra waffles for ultra-quick meals: let cooked waffles cool fully on the rack, then store in a zip-top freezer bag for up to 3 months. Reheat frozen waffles directly in a toaster (no thawing needed) for crisp, fresh-tasting waffles in 2 minutes on busy mornings.


✨ You May Also Like

Breakfast
🍜 United States

Crisp-edged, fluffy lard griddle cakes are a nostalgic homestyle staple, with rich savoriness from rendered lard, perfect topped with maple syrup or savory gravy.

⏱️ 25 minuteBreakfast ★ 4.8
Breakfast
🍜 United States

Flaky, buttery homemade buttermilk biscuits smothered in creamy, peppery pork sausage gravy: a beloved, hearty Southern American comfort food classic.

⏱️ 35 minuteBreakfast ★ 4.8
Breakfast
🍜 United States

Golden, custardy brioche stuffed with sweet cream cheese and fresh berries, pan-fried to crisp perfection. An indulgent, cozy breakfast perfect for slow weekend mornings.

⏱️ 30 minuteBreakfast ★ 4.7
Breakfast
🍜 United States

Flaky, buttery Southern-style biscuits stuffed with savory salty country ham, a portable, satisfying classic perfect for casual on-the-go meals.

⏱️ 25 minuteBreakfast ★ 4.8
Breakfast
🍜 United States

Iconic puffy baked pancake popularized in Seattle, with crisp golden edges and soft custardy center, served warm with classic sweet toppings.

⏱️ 35 minuteBreakfast ★ 4.6
Breakfast
🍜 United States

Fluffy, golden pancakes studded with juicy peak-summer mixed berries, drizzled with maple syrup for a bright, comforting, crowd-pleasing family breakfast.

⏱️ 25 minuteBreakfast ★ 4.7

Easy Waffle Recipe :Frequently Asked Questions

1.How long does this easy waffle recipe take to make from start to finish? ▾
This no-fuss recipe takes just 25 minutes total from when you pull out your ingredients to when you’re serving warm waffles. That breaks down to roughly 10 minutes of prep to mix the batter, and 15 minutes of cook time across standard waffle iron batches, with no long batter rest required.
2.Why do my waffles turn out soggy instead of crisp and golden on the outside? ▾
Soggy waffles usually come from two easy-to-fix missteps: overmixing the batter, which develops tough gluten and traps excess moisture, or setting your waffle iron to too low a heat. Cook waffles until steam stops escaping from the iron edges, and transfer finished waffles to a wire rack instead of stacking them to lock in crispness.
3.Can I prep this waffle batter the night before to save time on busy mornings? ▾
You can absolutely prep components the night before for even faster morning meals. Mix all dry ingredients in a sealed container, and store combined wet ingredients in a separate jar in the fridge. Don’t mix wet and dry early, as the baking powder will lose leavening power and lead to flat, dense waffles.
4.What’s the secret to getting that light, fluffy waffle interior the recipe promises? ▾
The key to that soft, fluffy interior is properly handling your eggs and avoiding overmixed batter. For extra lift, separate egg whites, whip them to soft peaks, and fold them gently into the batter right before cooking. This creates tiny air pockets that expand as waffles cook for that perfect airy center.
5.Do I need a fancy, expensive waffle iron to make these waffles well? ▾
You don’t need a high-end waffle iron at all for this recipe! A basic budget electric waffle iron, or even a stovetop cast iron waffle maker, works perfectly as long as you preheat it fully before adding batter. Give plates a light coat of nonstick spray or melted butter before your first batch to prevent sticking.
6.Can I substitute all-purpose flour with a gluten-free blend for this recipe? ▾
You can absolutely swap the all-purpose flour for a 1:1 gluten-free all-purpose baking blend that contains xanthan gum for best results. You may need to add 1 to 2 extra tablespoons of milk if the batter feels too thick, and you’ll get the same crisp, fluffy texture as the original version.
7.How much granulated sugar does the recipe use, and can I reduce it for less sweet waffles? ▾
The core recipe uses 2 tablespoons of granulated sugar per 2 cups of all-purpose flour, just enough to add subtle sweetness and help the exterior crisp as it cooks. You can cut the sugar in half for more savory, neutral waffles that pair perfectly with dinner toppings like fried chicken or melted cheese.
8.Why is baking powder a key ingredient, and can I swap it for baking soda? ▾
Baking powder is the main leavener that creates those light, fluffy air pockets inside waffles without requiring a long fermented batter. You can’t swap it 1:1 for baking soda, but if you’re out, use ¼ teaspoon baking soda plus ½ teaspoon cream of tartar for every 1 teaspoon of baking powder called for.
9.Do I really need to add fine sea salt to sweet waffles, or can I skip it? ▾
Fine sea salt is ideal here because it dissolves evenly into the batter without leaving gritty flecks, and you absolutely shouldn’t skip it! The salt cuts through cloying sweetness, amplifies the nutty flavor of cooked flour, and balances the richness of butter, syrup, or other sweet toppings you add later.
10.Can I freeze leftover cooked waffles for quick future meals? ▾
Freezing leftover waffles is one of my go-to meal prep hacks for busy weeks. Let cooked waffles cool completely on a wire rack, then stack them between sheets of parchment paper in a sealed freezer bag for up to 3 months. Reheat straight from the freezer in a toaster for crisp, fresh-tasting results in minutes.
11.How do I tell when waffles are fully cooked without opening the iron too early? ▾
A foolproof sign your waffles are done is when steam stops steadily pouring out from the edges of the closed waffle iron, usually 3 to 4 minutes per batch. Resist peeking before the 2-minute mark, as opening the iron too early can split half-cooked waffles and leave you with messy, stuck-on results.
12.Are these waffles only good for sweet breakfasts, or can they work for quick dinners too? ▾
These waffles are perfectly versatile for both sweet breakfasts and savory quick dinners! The base has mild, subtle sweetness that pairs beautifully with maple syrup, fruit, and whipped cream for breakfast, and works equally well topped with fried chicken, chili, or sautéed veggies for fast weeknight meals.
13.What happens if I overmix the waffle batter? ▾
Overmixing waffle batter develops the gluten in all-purpose flour, which leads to tough, chewy waffles instead of the light, tender, fluffy texture the recipe promises. Mix the batter just until you no longer see dry streaks of flour—it’s totally fine if a few small lumps remain, as those will cook out without issue.
14.Do I have to separate my eggs for this recipe, or can I mix them in whole? ▾
For the fastest, no-fuss version of this recipe, you can whisk whole large eggs straight into the wet ingredients without separating them, and you’ll still get great, fluffy waffles. If you have 2 extra minutes, separating whites and whipping them to soft peaks will give you an even lighter, airier restaurant-style texture.
15.My waffles keep sticking to the waffle iron—what am I doing wrong? ▾
Sticking usually happens for one of three reasons: your waffle iron isn’t fully preheated before adding batter, you skipped a thin layer of fat (nonstick spray, melted butter, or oil) on the plates before the first batch, or you’re trying to remove waffles too early before they’re fully set and crisp.
16.Can I add mix-ins like chocolate chips or blueberries to this basic batter? ▾
This simple base batter is perfect for customizing with your favorite mix-ins! Fold in up to ½ cup of chocolate chips, fresh blueberries, chopped nuts, or crumbled cooked bacon right after you finish mixing the batter, being careful not to overstir. Add mix-ins right before cooking to keep them from sinking to the bowl bottom.
17.How many waffles does one batch of this recipe make? ▾
One standard batch of this recipe makes roughly four 7-inch round waffles, or six to eight smaller square waffles depending on your specific waffle iron size. That’s enough to serve three to four people for a quick meal, and you can easily double the batch if you’re cooking for a crowd or prepping freezer extras.
18.What’s the best way to keep cooked waffles warm while I finish making all batches? ▾
To keep waffles crisp and warm while you cook remaining batches, set your oven to 200°F and place a wire rack over a baking sheet on the middle rack. Set finished waffles directly on the rack in a single layer instead of stacking them on a plate, as stacking traps steam that turns crisp exteriors soggy fast.

Comments (6)

2 hours ago

OMG this is the easiest waffle recipe I’ve ever tried! I whipped these up before school dropoff this morning and my kids devoured every single bite, even asked for seconds. They were crispy on the outside, fluffy inside, no weird fancy ingredients needed. Total game changer for our weekday breakfast rotation! 10/10

30 minutes ago

Wait, did you use regular all-purpose flour or the self-rising kind? I tried a different easy waffle recipe last week and they turned out super dense, so I’m nervous to mess this one up!

5 minutes ago

Great question! This recipe works perfectly with regular all-purpose flour, just make sure you don’t overmix the batter – a few lumps are totally fine, that’s what keeps them fluffy! Hope you love them.

yesterday

SO good! I made these for a weekend brunch potluck with my friend group yesterday and everyone was asking for the recipe. I added a handful of blueberries to half the batch and chocolate chips to the other, both versions were a hit. 15 minute cook time is no lie, I had the whole batch done before my guests even arrived. Will be making these every Sunday from now on!

3 days ago

Quick question – can I make the batter the night before for meal prep? Mornings are chaotic with my early work shift, so I’m always looking for ways to cut down on morning cooking time.

2 days ago

Absolutely! You can mix the dry and wet ingredients separately the night before, then combine them right before cooking – just don’t mix them ahead of time or the waffles won’t rise as nicely. It saves so much time on busy mornings!

5 days ago

Wait, does this work in a regular old waffle iron? I’m so excited to make these this weekend, but mine’s the cheap $20 one I got for my dorm in college, no fancy settings, and I’ve had so many waffle recipes stick or burn on me in the past.

3 days ago

Girl I have the exact same cheap dorm waffle iron and these came out perfect! I just sprayed it with a little nonstick spray before pouring the batter and they slid right out, no burning at all.

2 days ago

So glad to hear it worked with the budget waffle iron! As a quick tip, letting your iron preheat fully before pouring batter in helps prevent sticking too, no fancy equipment required for this recipe.

1 week ago

Made these with my 7 year old last night for dinner (breakfast for dinner night, our favorite!) and we had a blast. He got to help stir the batter and pick toppings – we did whipped cream, sprinkles, and a little maple syrup. Super easy to follow even with a tiny helper hovering over the bowl. Will absolutely make again.

2 weeks ago

I was skeptical because most waffle recipes require separating eggs and beating whites and all that extra work, but this one was so straightforward! I didn’t have to pull out my stand mixer at all, just a bowl and a whisk. They came out light and crispy, just like the diner waffles I grew up eating. So good!

1 week ago

Right?! I hate the recipes that make you do all the egg separating nonsense for a basic weekday breakfast. I made these right after you commented and couldn’t believe how simple they were, way better than the boxed mix!



