
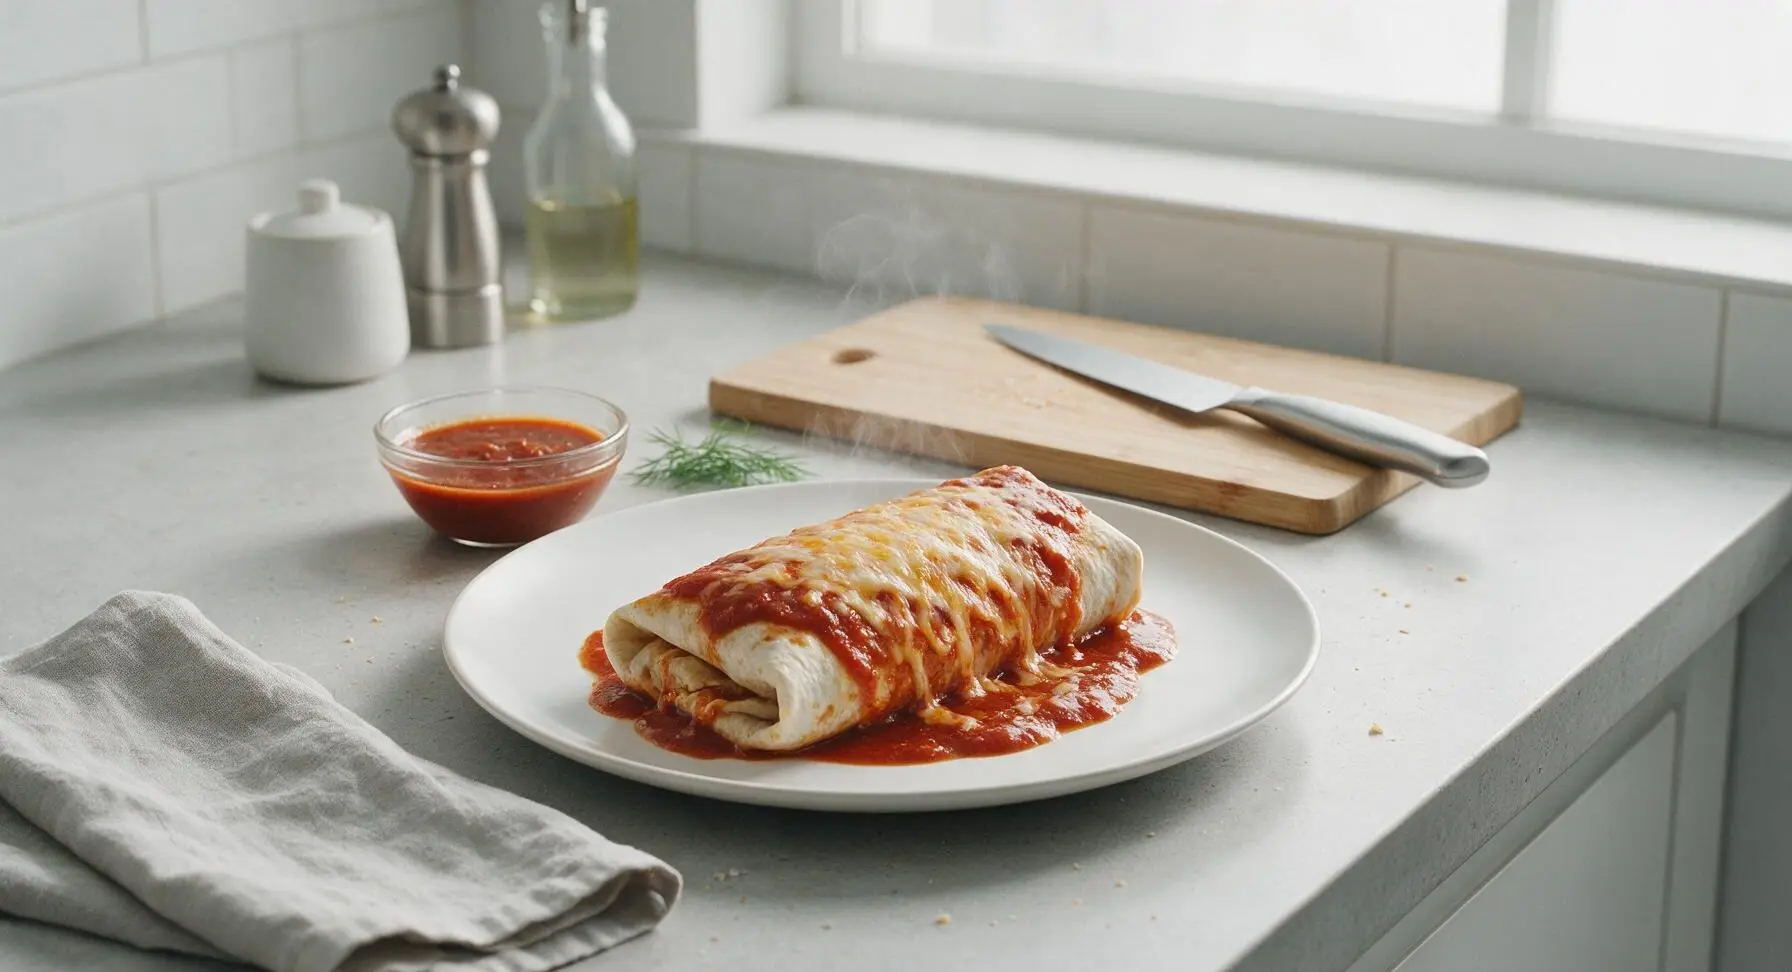
easy wet burrito

title 1
easy wet burrito
⏱️ cook time 25 minutes
🍽️ servings 4
⚡ Difficulty easy

intro

Smothered in rich red enchilada sauce and bubbly melted cheese, these hearty easy wet burritos come together in under 40 minutes for a cozy, satisfying weeknight meal.

Ingredients
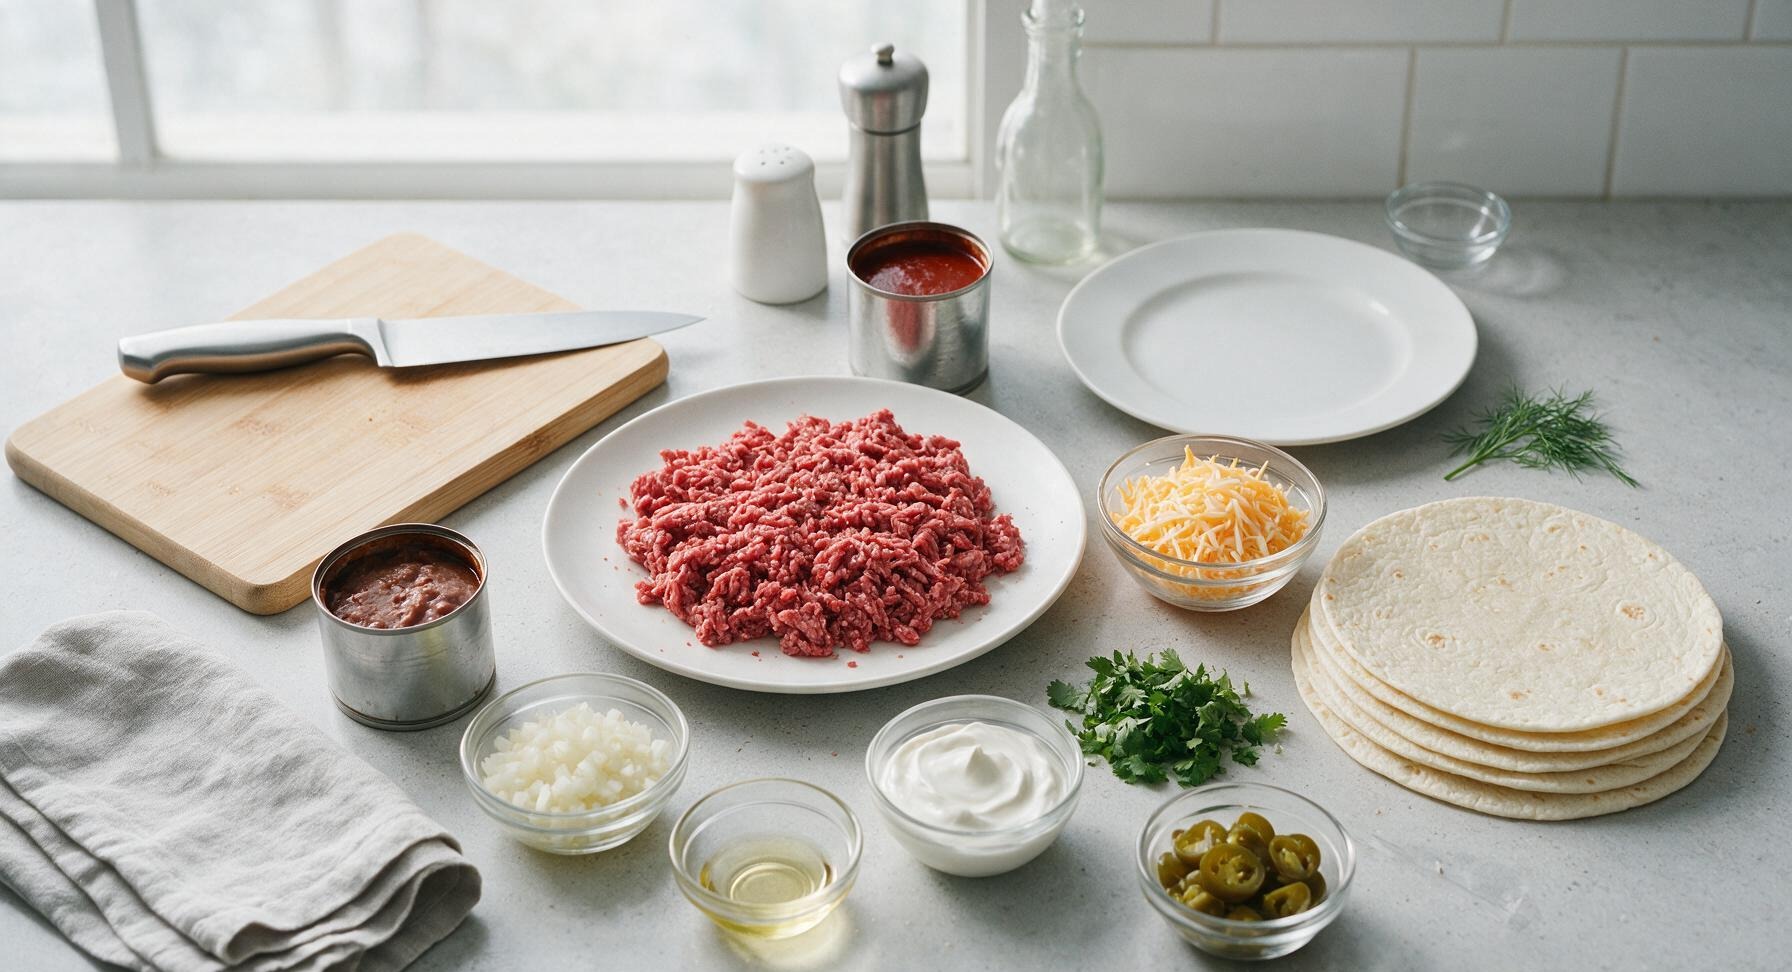
Lean ground beef 450g (1lb)
10-inch flour tortillas 4 count
Canned red enchilada sauce 280g (10oz can)
Shredded sharp cheddar cheese 113g (1 cup)
Canned refried beans 425g (15oz can)
Taco seasoning mix 28g (1oz packet)
Finely diced yellow onion 80g (1/2 cup)
Neutral cooking oil 15ml (1 tbsp)
Sour cream 60g (1/4 cup)
Fresh cilantro 10g (2 tbsp chopped)
Sliced pickled jalapeños 35g (1/4 cup, optional)

Steps

1

Sauté Beef and Onion

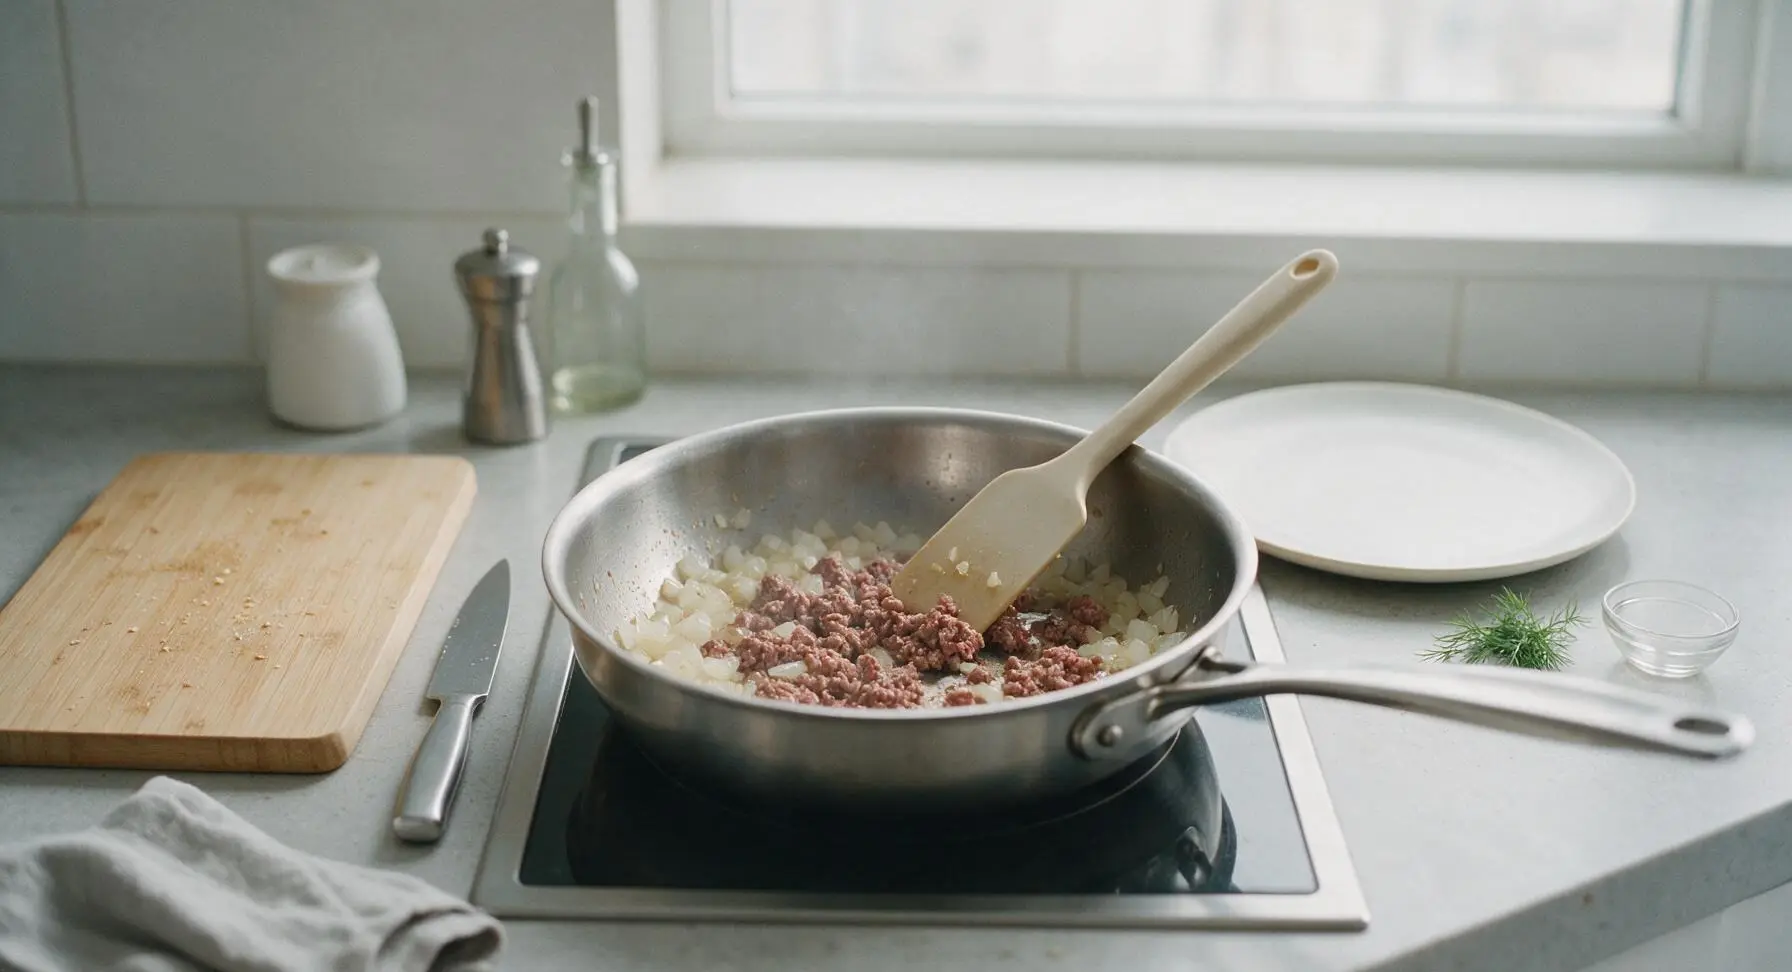
Preheat your oven to 375°F (190°C). Heat 1 tablespoon neutral oil in the 10-inch stainless steel skillet over medium heat. Add the 1/2 cup finely diced yellow onion, and sauté for 3 minutes until soft and translucent. Add the 1lb lean ground beef to the skillet, breaking it apart with the beige silicone spatula as it cooks, for 5-6 minutes until fully browned with no pink remaining. Carefully tilt the skillet to drain any excess rendered grease into a small heatproof container.
Step 1
step1:Sauté Beef and Onion
2

Season Filling Mixture

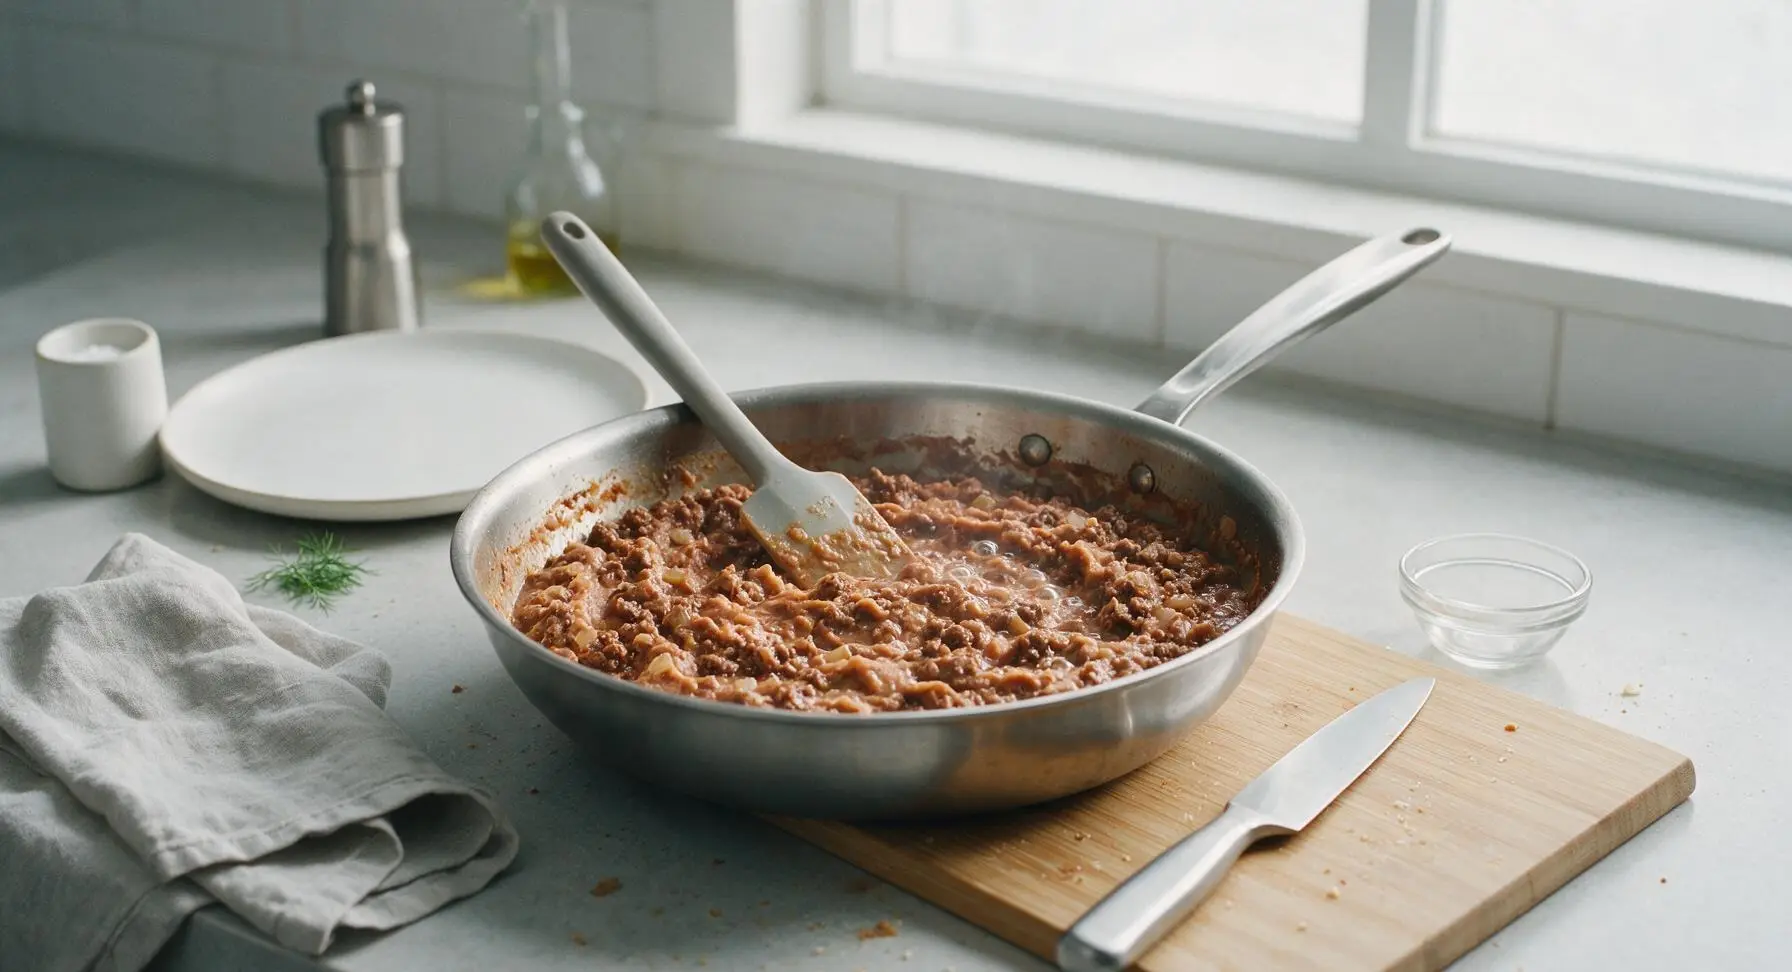
Sprinkle the full 1oz packet of taco seasoning over the browned beef in the skillet, stirring to coat evenly for 30 seconds until the spice fragrance is noticeable. Pour in the entire 15oz can of refried beans, stirring with the silicone spatula to fully combine with the beef, and cook for 2 minutes until the mixture is thick and evenly warmed through. Remove the skillet from the stovetop burner to rest.
Step 2
step2:Season Filling Mixture
3

Warm Tortillas for Rolling

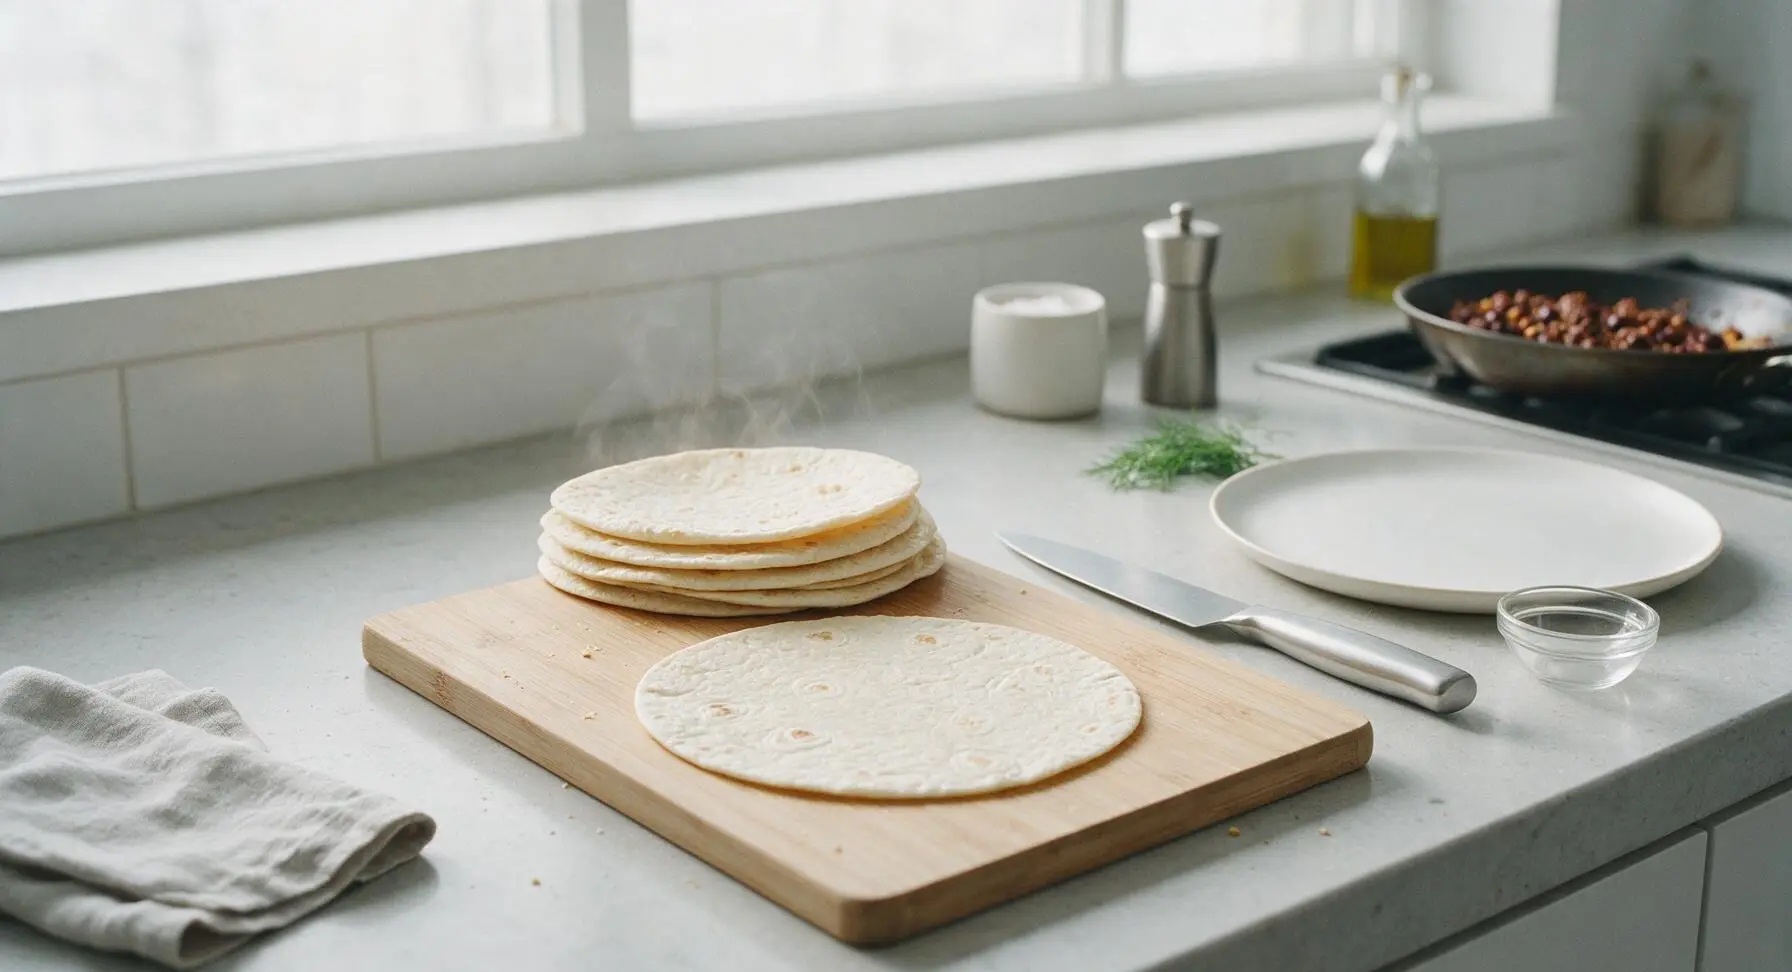
Stack the 4 large 10-inch flour tortillas on a small plate, cover with a damp paper towel, and warm in the microwave for 30 seconds until soft and pliable (this prevents cracking during rolling). Place one warm tortilla flat in the center of the honey maple cutting board, with the remaining tortillas kept stacked and covered to stay warm.
Step 3
step3:Warm Tortillas for Rolling
4

Roll Stuffed Burritos

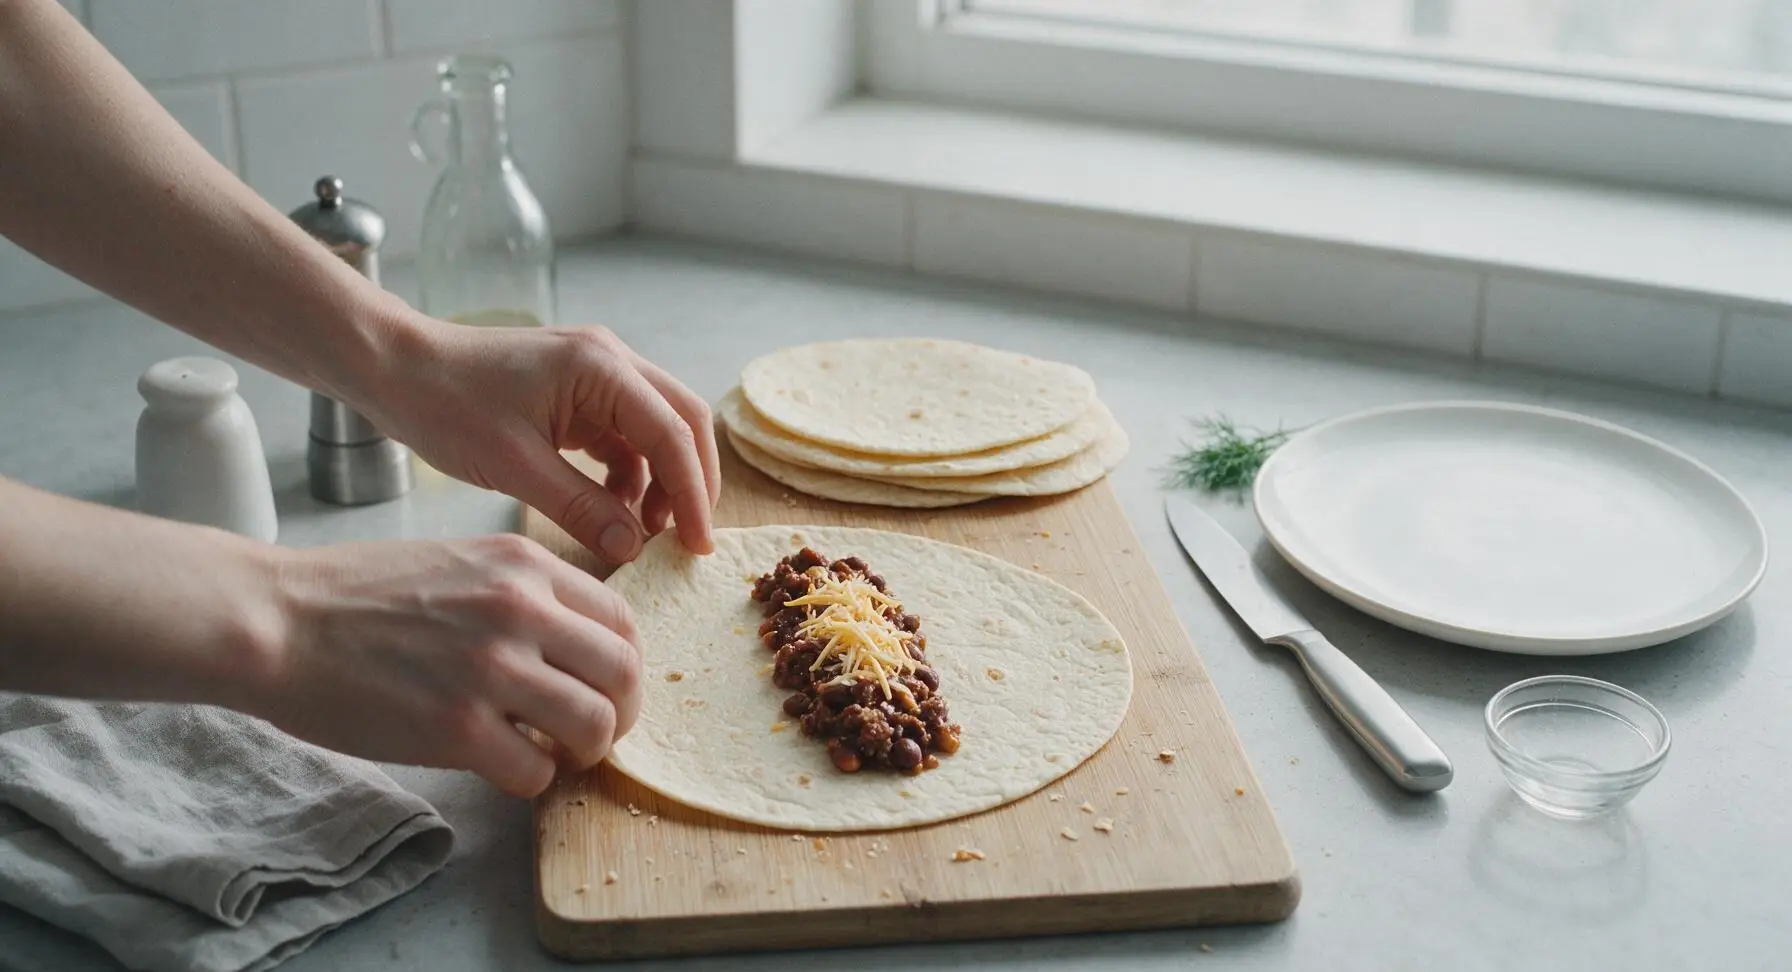
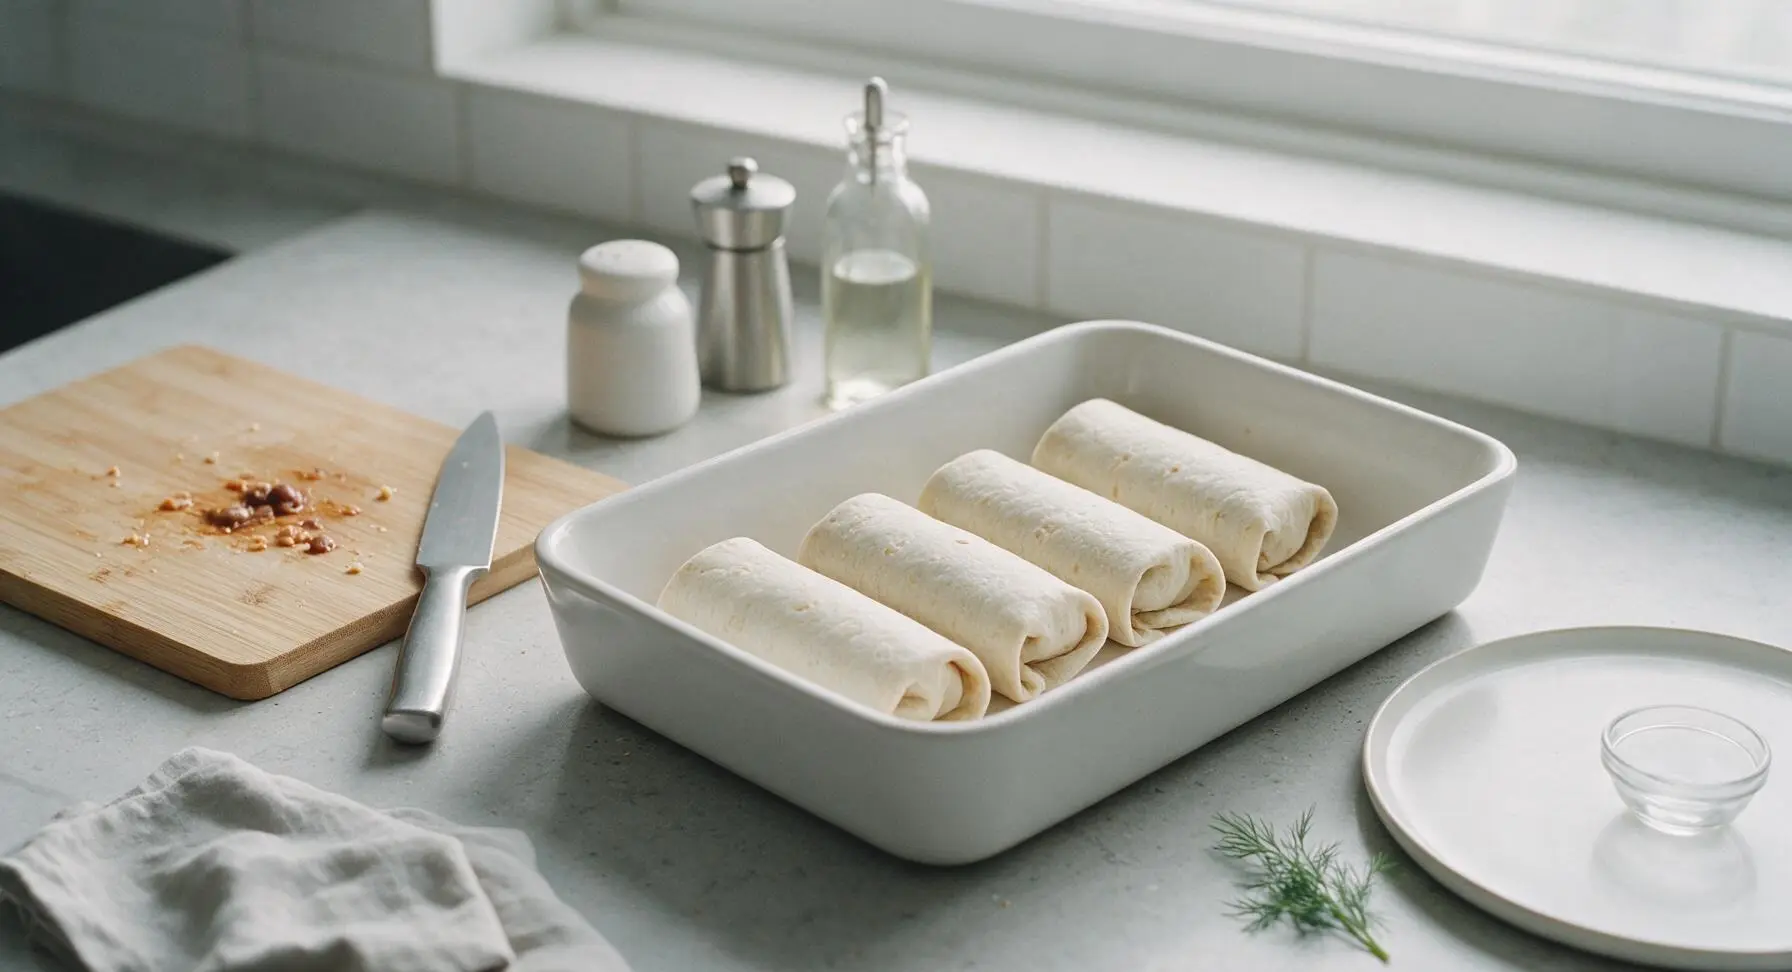
Scoop 1/4 of the beef and bean filling (approximately 1 cup) in a straight line down the center of the flat tortilla. Top the filling with 1 tablespoon of shredded sharp cheddar. Fold the two short ends of the tortilla in over the filling by 1 inch, then roll tightly from the long edge to form a neat, sealed burrito. Place each finished burrito seam-side down in the 9x13 inch matte white ceramic baking dish, and repeat with the remaining tortillas and filling.
Step 4
step4:Roll Stuffed Burritos
Step 4
step4:Roll Stuffed Burritos
5

Add Sauce and Cheese

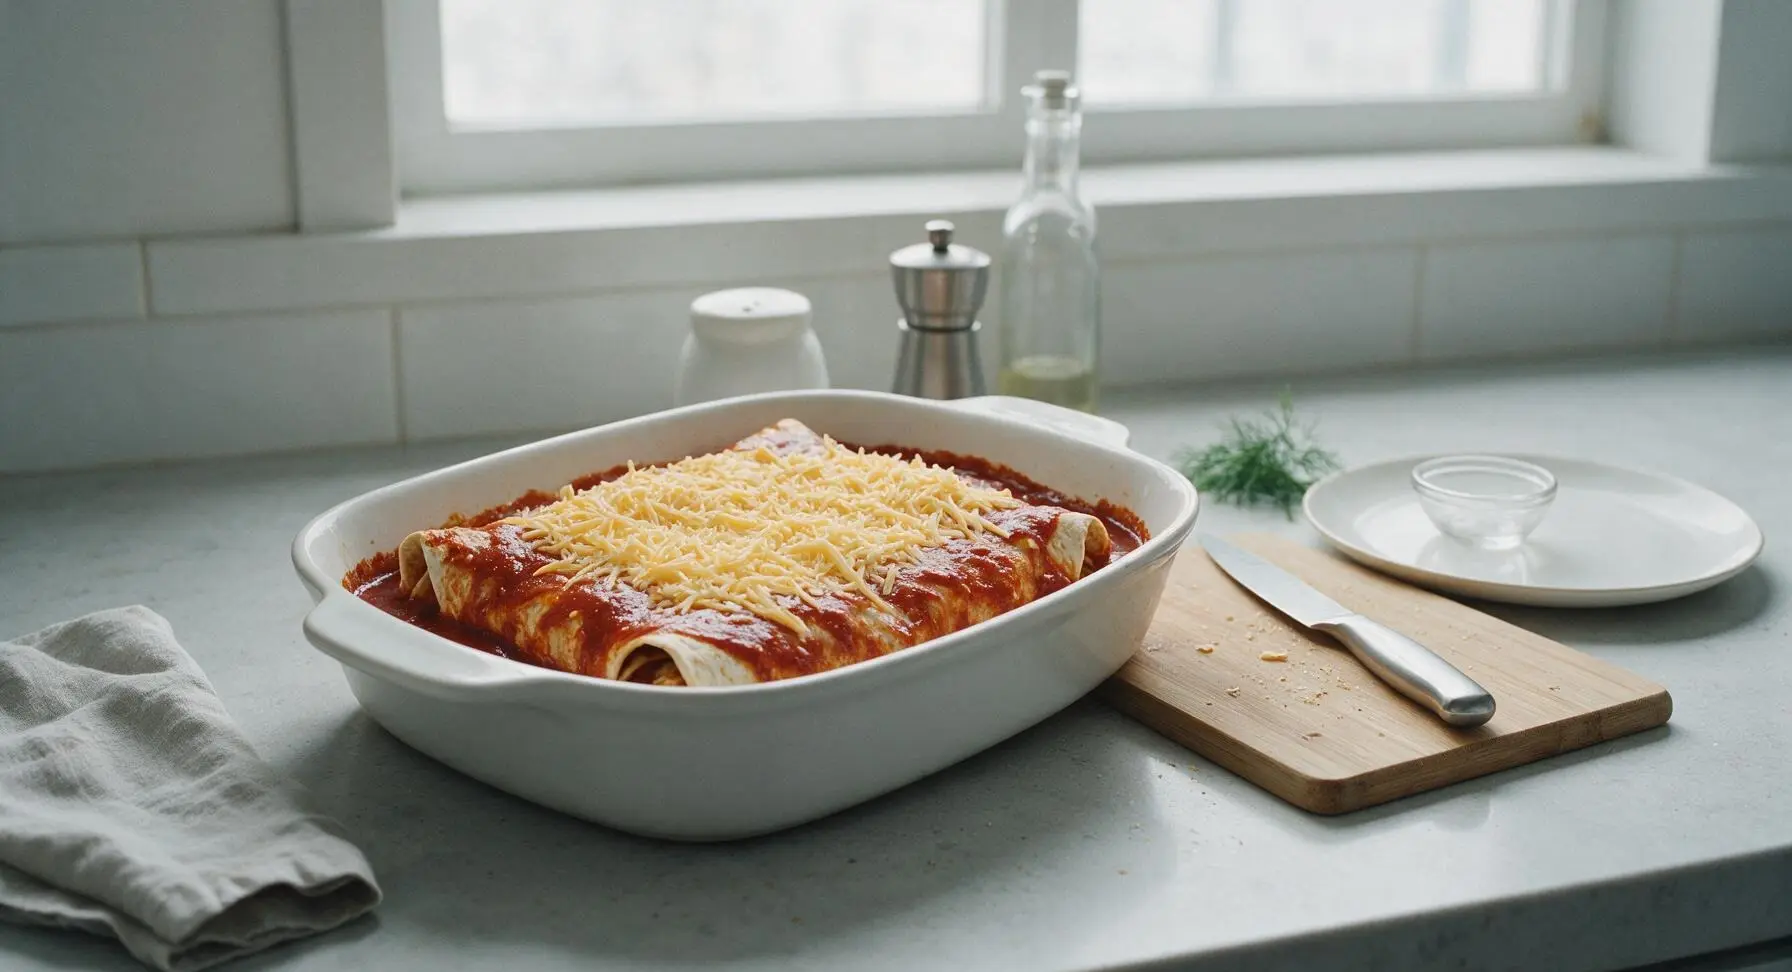
Open the 10oz can of red enchilada sauce, and pour it evenly over the top of the rolled burritos in the baking dish, making sure every exposed tortilla surface is coated with sauce to prevent drying during baking. Sprinkle the remaining shredded cheddar cheese (roughly 3/4 cup) in an even layer over the sauced burritos, covering the sauce completely.
Step 5
step5:Add Sauce and Cheese
6

Bake to Melty Perfection

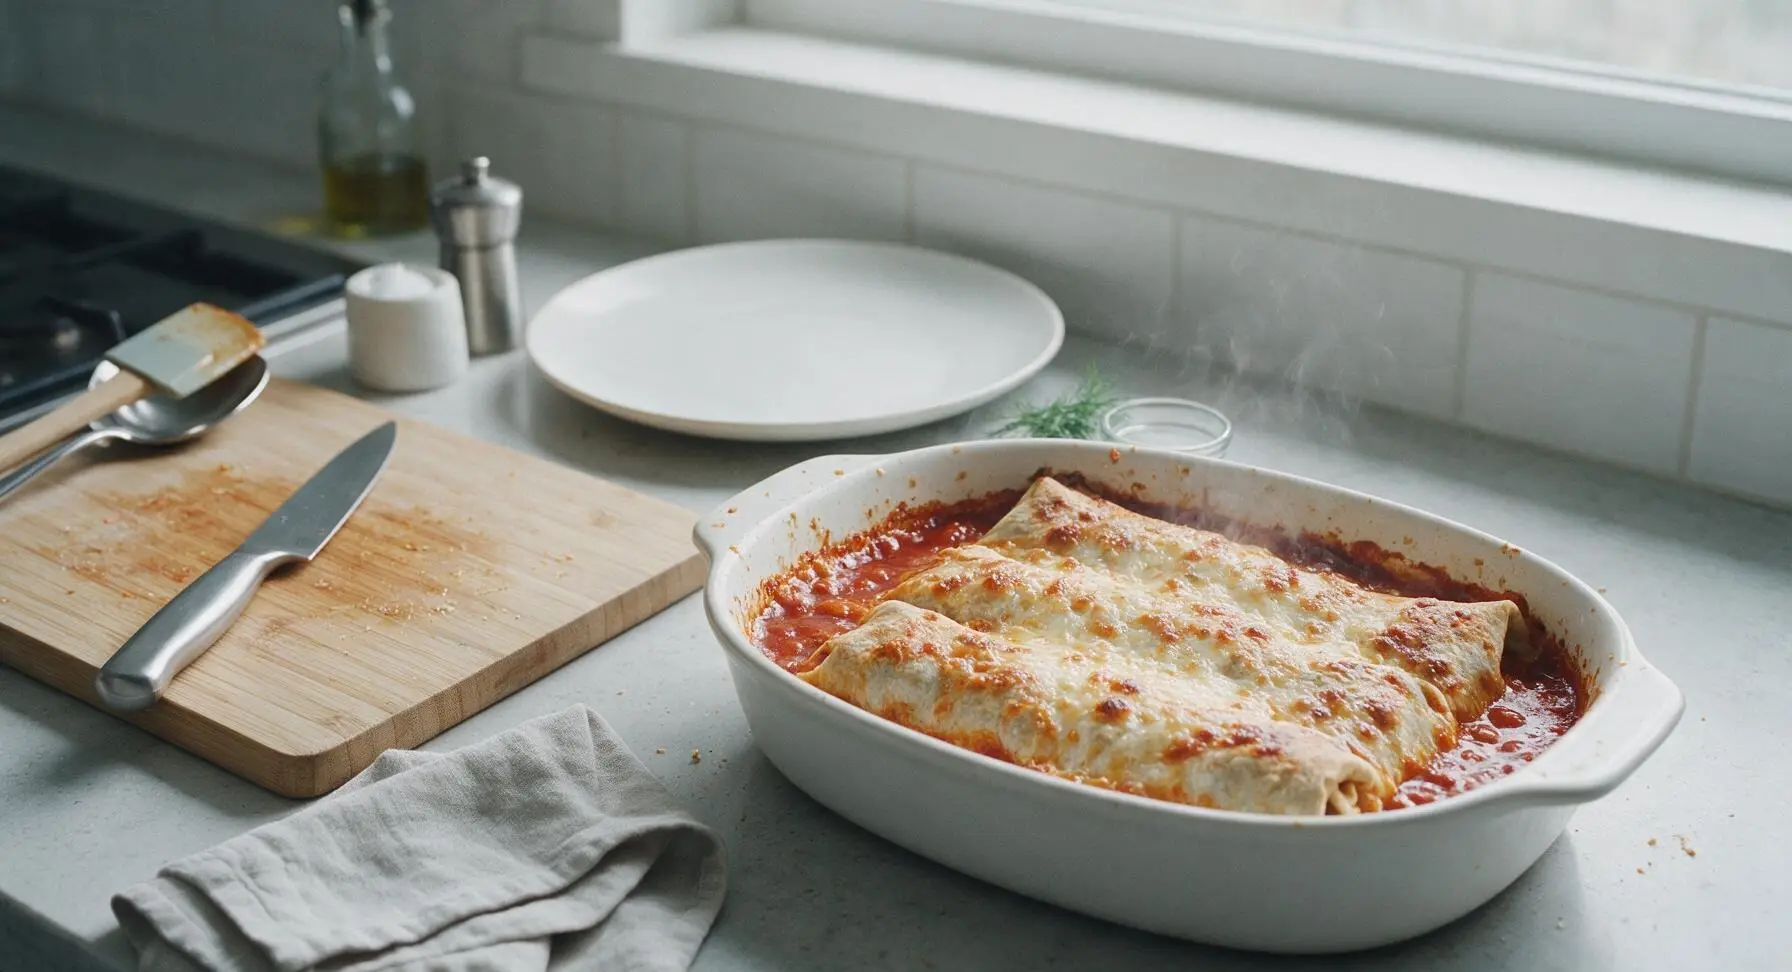
Place the uncovered baking dish on the middle rack of the preheated 375°F (190°C) oven, and bake for 15 minutes. The dish is done when the cheese is fully melted, the red sauce is bubbling vigorously around the edges of the dish, and small patches of the cheese have turned light golden brown. Carefully remove the hot dish from the oven, and let it rest for 3 minutes before serving to allow the filling to set.
Step 6
step6:Bake to Melty Perfection
7

Plate and Garnish Burritos

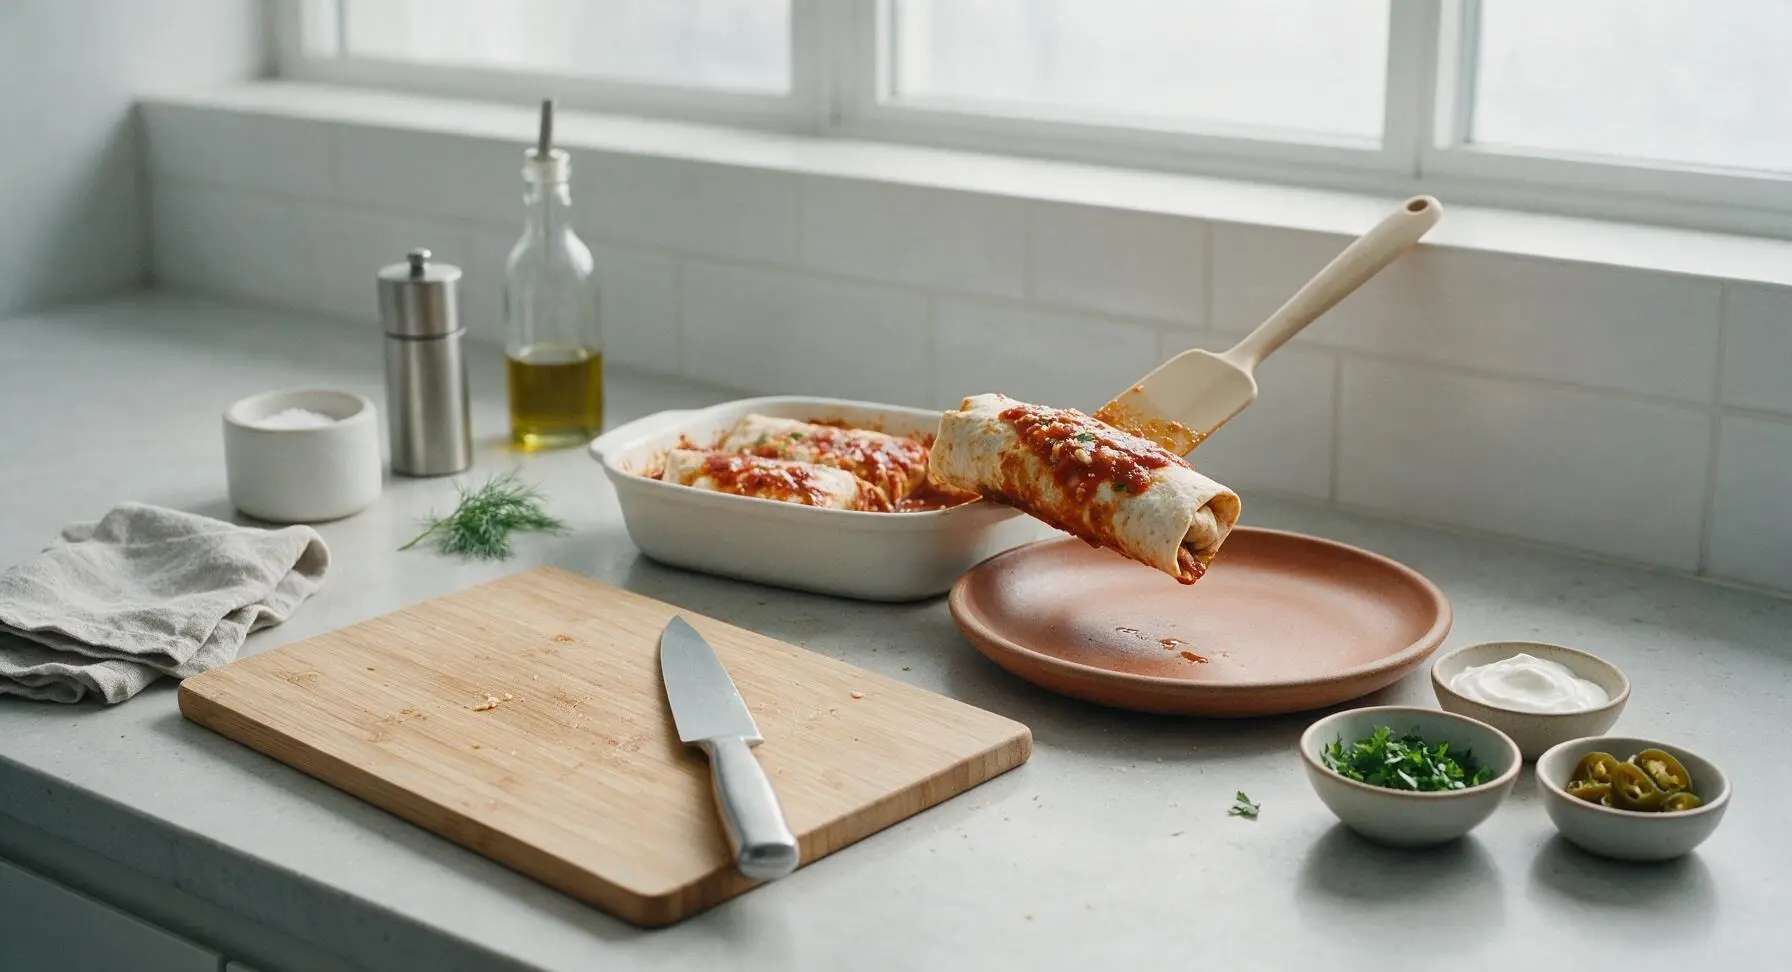
Use the silicone spatula to carefully lift one hot burrito from the baking dish, and place it centered on the wide-rimmed matte terracotta dinner plate. Spoon 1 tablespoon of extra sauce from the baking dish over the top of the burrito, add a 1 tablespoon dollop of sour cream to the side, sprinkle with 1/2 tablespoon of fresh chopped cilantro, and top with 2-3 pickled jalapeño slices if desired. Serve immediately while hot.
Step 7
step7:Plate and Garnish Burritos

Tips

1.Warm tortillas for 30 seconds in the microwave under a damp paper towel before rolling: cold, stiff tortillas crack easily when folded, causing filling to leak out during baking, and the light steam makes them pliable enough for tight, neat rolls.
2.Coat every exposed tortilla surface with enchilada sauce before adding cheese: any dry tortilla edges left uncovered will turn hard and brittle in the oven, rather than staying soft and infused with rich sauce flavor.
3.Let the baked burritos rest for 3 full minutes after removing them from the oven: this gives the hot, loose filling time to set, so it won’t gush out when you cut into the burrito, and reduces the risk of burnt tongues from superheated filling.


✨ You May Also Like

Main Course
🍜 United Kingdom

A showstopping classic of tender seared beef, savory mushroom duxelles, and crisp prosciutto wrapped in flaky golden puff pastry, baked to juicy perfection.

⏱️ 2 hours 1Main Course ★ 4.7
Main Course
🍜 India

Tender charred marinated chicken simmered in a rich, spiced creamy tomato sauce, this iconic Anglo-Indian curry pairs perfectly with basmati rice or warm naan.

⏱️ 50 minuteMain Course ★ 4.6
Main Course
🍜 Thailand

Classic tangy, sweet, and savory Thai stir-fried rice noodles with shrimp, tofu, and crunchy garnishes, balancing all five core Thai flavor profiles.

⏱️ 30 minuteMain Course ★ 4.5
Main Course
🍜 United Kingdom

Crispy golden beer-battered cod and fluffy double-fried chips, served with tangy tartar sauce and malt vinegar: the timeless, beloved British pub comfort classic.

⏱️ 45 minuteMain Course ★ 4.7
Main Course
🍜 Mexico

Smoky, chile-marinated pork tacos with caramelized pineapple, fresh cilantro, and lime: a beloved classic Mexican street food perfect for casual summer gatherings.

⏱️ 1 hour 45Main Course ★ 4.8
Main Course
🍜 United States

Crunchy Fritos corn chips layered with savory beef chili and melted cheddar, topped with cool, zesty fixings for a beloved, cozy Tex-Mex comfort food.

⏱️ 35 minuteMain Course ★ 4.8

easy wet burrito:Frequently Asked Questions

1.Can I prep these easy wet burritos ahead for busy weeknights? ▾
Totally! Assemble filled burritos without the top layer of sauce and cheese, wrap tightly in plastic wrap, and stash in the fridge for up to 3 days or freeze for 3 months. When ready to cook, unwrap, arrange in a baking dish, top with sauce and cheese, and bake until bubbly, adding 10 extra minutes for frozen burritos.
2.Why do my flour tortillas crack when I roll the burritos? ▾
Cold tortillas are the most common culprit! Warm your 10-inch flour tortillas for 10-15 seconds in the microwave, wrapped in a damp paper towel, before filling. This makes them pliable enough to roll tightly without splitting, so no filling leaks out while they bake for neat, easy-to-serve burritos.
3.Can I swap the lean ground beef for a different protein? ▾
Absolutely! Ground turkey, ground chicken, shredded rotisserie chicken, or crumbled plant-based ground all work perfectly here. Season whichever protein you choose with a pinch of cumin, garlic powder, and salt to match the original beef’s savoriness, so your burritos keep that rich, cozy, classic flavor.
4.How do I keep my wet burritos from getting soggy? ▾
A quick pro trick is to spread a thin layer of refried beans on the inside of the tortilla before adding beef filling—it acts as a barrier to keep excess sauce from soaking through. Also, avoid overfilling burritos, and don’t add the top sauce and cheese until right before baking.
5.Can I make these wet burritos vegetarian? ▾
Definitely! Swap the lean ground beef for crumbled seasoned tofu, sautéed bell peppers and onions, or extra refried beans and black beans. Double check that your canned red enchilada sauce is vegetarian (most standard store-bought versions are), then top with cheese as directed for a hearty, meat-free meal.
6.What temperature and how long do I bake these wet burritos? ▾
Bake assembled, sauce-and-cheese-topped burritos in a preheated 375°F oven for 20-25 minutes, covered with foil for the first 15 minutes. Remove the foil for the last 5-10 minutes to let the cheese get bubbly and slightly golden, and confirm the internal temp hits 165°F for food safety.
7.Can I use green enchilada sauce instead of red? ▾
Of course! Canned green enchilada sauce has a brighter, slightly tangier, milder flavor from roasted green chiles that pairs beautifully with refried beans, beef, and cheddar. There’s no hard rule here—use whichever sauce you prefer, or mix half red and half green for a fun custom flavor twist.
8.Can I use corn tortillas instead of 10-inch flour tortillas? ▾
You can, but note that standard corn tortillas are much smaller, so you’ll make mini smothered burritos rather than full-sized ones. Warm corn tortillas extra well to prevent cracking, and expect to use 2-3 per serving to match the hearty portion size you get with large flour tortillas.
9.Do I need to add rice to these wet burritos? ▾
Rice is totally optional! The base recipe is designed to be quick and hearty without extra add-ins, but if you love a rice-stuffed burrito, tuck ¼ cup of cooled, seasoned Spanish or plain white rice into each tortilla along with beef and beans. Just don’t overstuff, or you’ll struggle to roll tortillas closed.
10.Can I use a different cheese instead of sharp cheddar? ▾
Absolutely! Shredded Monterey Jack, pepper Jack for a little spicy kick, a pre-mixed Mexican cheese blend, or even crumbled queso fresco all work beautifully. Sharp cheddar is recommended for its bold, tangy flavor that cuts through rich sauce and beans, but any good melting cheese works.
11.How should I store leftover wet burritos? ▾
Let leftover baked burritos cool completely, then wrap each individual burrito tightly in plastic wrap or aluminum foil and store in an airtight container in the fridge for up to 4 days. Reheat in the oven at 350°F for 15 minutes, or in the microwave for 1-2 minutes, until heated all the way through.
12.Do I need to drain the canned refried beans before using them? ▾
No need to drain refried beans! Their thick, creamy texture is exactly what you want for this recipe—they help bind the filling together and add that classic rich, savory burrito flavor. If your refried beans feel extra stiff, stir in a tablespoon of water or enchilada sauce to loosen them slightly before spreading.
13.Can I add extra veggies to the burrito filling? ▾
Definitely! Sautéed diced onion, bell pepper, sweet corn, diced green chiles, or even a handful of fresh spinach all make great, nutrient-dense additions. Cook any veggies you add before tucking them into tortillas, and pat off excess moisture to keep burritos from getting soggy as they bake.
14.Why does the recipe call for lean ground beef? ▾
Lean ground beef (usually 90/10 or 93/7) is recommended because it has less excess fat that can make burritos greasy and soggy as they bake. If you only have higher-fat ground beef on hand, brown it fully, then drain off all rendered grease before seasoning to avoid that heavy, greasy mouthfeel.
15.Can I make these wet burritos in an air fryer? ▾
Yes! Assemble your burritos, top with sauce and cheese, and place them in a single layer in your air fryer basket. Cook at 360°F for 8-10 minutes, until the cheese is fully melted and the filling is heated through. Keep a close eye on them to make sure tortilla edges don’t burn, as air fryers circulate hot air very efficiently.
16.What are good toppings to serve alongside these wet burritos? ▾
Classic fresh toppings work perfectly here! Try a dollop of sour cream, diced fresh tomato, sliced avocado, a sprinkle of chopped cilantro, pickled red onions, a squeeze of lime juice, or a spoonful of salsa on the side. Add these after baking to keep them fresh and bright to cut through the rich, cheesy, saucy flavor.
17.Do I need to toast the burritos before adding sauce and baking? ▾
It’s not required for this easy weeknight recipe, but if you want an extra texture boost, quickly sear rolled burritos seam-side down in a hot skillet for 1-2 minutes per side before adding sauce and cheese. This creates a slightly crisp outer tortilla layer that holds up really well to the wet sauce for subtle crunch.
18.Can I use homemade enchilada sauce instead of canned? ▾
Of course! Homemade red enchilada sauce is a delicious swap if you have extra time, but canned sauce is called for here to keep total recipe time under 40 minutes for busy weeknights. If using homemade, let it cool slightly before pouring over burritos, and use the same amount as canned for consistent results.
19.My burritos won’t stay rolled while baking—what’s the fix? ▾
First, don’t overstuff your tortillas—stick to about ½ cup of total filling per 10-inch tortilla to leave enough room to fold. Roll them tightly, tucking the sides in as you go, and place them seam-side down in the baking dish. The burrito’s weight, plus sauce and cheese on top, will hold them closed as they bake.

Comments (7)

2 hours ago

OMG these wet burritos were a total game changer for our Tuesday taco night! Cook time was actually only 25 minutes like it said, no fancy steps at all. My 3 kids devoured theirs and asked for seconds before I even sat down to eat. I used leftover ground beef from taco night last week and it worked perfectly. 10/10 will be adding this to our weekly rotation!

30 minutes ago

Wait did you add extra cheese on top? I’m thinking of dousing mine in queso for our potluck this weekend!

5 minutes ago

So glad your family loved them! Extra queso on top sounds absolutely delicious — that would be perfect for a potluck, just make sure to keep the sauce warm until serving!

yesterday

Super easy recipe, I threw this together for meal prep on Sunday and it held up all week in the fridge! My only note is I added a little extra enchilada sauce because I like mine extra saucy, no complaints from my roommate at all. Way better than the takeout wet burritos I usually order down the street.

2 hours ago

Great call adding extra enchilada sauce — more sauce is always a win in our book! So stoked this worked out for your weekly meal prep, thanks for giving it a try!

30 minutes ago

SO good! I’m a total beginner in the kitchen and I didn’t mess this up at all. Used shredded chicken I grabbed from the grocery store deli, rolled everything up, poured the sauce on, baked it, and bam. Had my girlfriend over for dinner and she thought I ordered from a restaurant. Will be making this again for sure.

3 days ago

Made these for our neighborhood block party last weekend and people were begging me for the recipe! I made a big batch with both ground beef and veggie filling for our vegetarian neighbors, and every single burrito was gone in 20 minutes. So easy to scale up for a crowd, I can’t recommend it enough.

2 days ago

Wait I was at that block party!!! Those were the burritos everyone was raving about? No wonder, I had three lmao. Saving this recipe right now.

1 week ago

I was skeptical an easy wet burrito could actually be good, but wow — this knocked my socks off. I used whole wheat tortillas, lean ground turkey, and added a handful of black beans and corn to the filling to bump up the fiber, and it still tasted totally indulgent. Perfect post-gym dinner that doesn’t feel like diet food.

5 days ago

Oh the whole wheat tortilla swap is genius! Did you notice if it got soggy at all with all the wet sauce? I’ve had bad luck with whole wheat tortillas falling apart in saucy bakes.

3 days ago

Love those healthy swaps! To answer the tortilla question: to avoid sogginess, you can lightly toast the tortillas before filling them, or add a thin layer of refried beans on the inside of the tortilla to act as a barrier against the sauce. Works every time!

2 weeks ago

Made these for Sunday family dinner with the in-laws and even my super picky father-in-law went back for a second helping. I added a dollop of sour cream and some pickled jalapeños on top when serving, which gave it the perfect little kick. Only took 25 minutes start to finish so I didn’t miss the first quarter of the football game, too. Total win.

1 week ago

Sounds like the perfect game day dinner to us! Pickled jalapeños on top is such a great call for that extra tang. Glad the quick cook time let you catch kickoff!

just now

Really solid base recipe! I upped the seasoning a little with some extra cumin and smoked paprika, and topped mine with cilantro and a squeeze of fresh lime after baking. Super simple, super customizable, great for nights when I don’t feel like putting a ton of effort into dinner but still want something that tastes like I put in work. Will definitely be testing out different fillings next time I make it!



