
egg battered chicken
intro
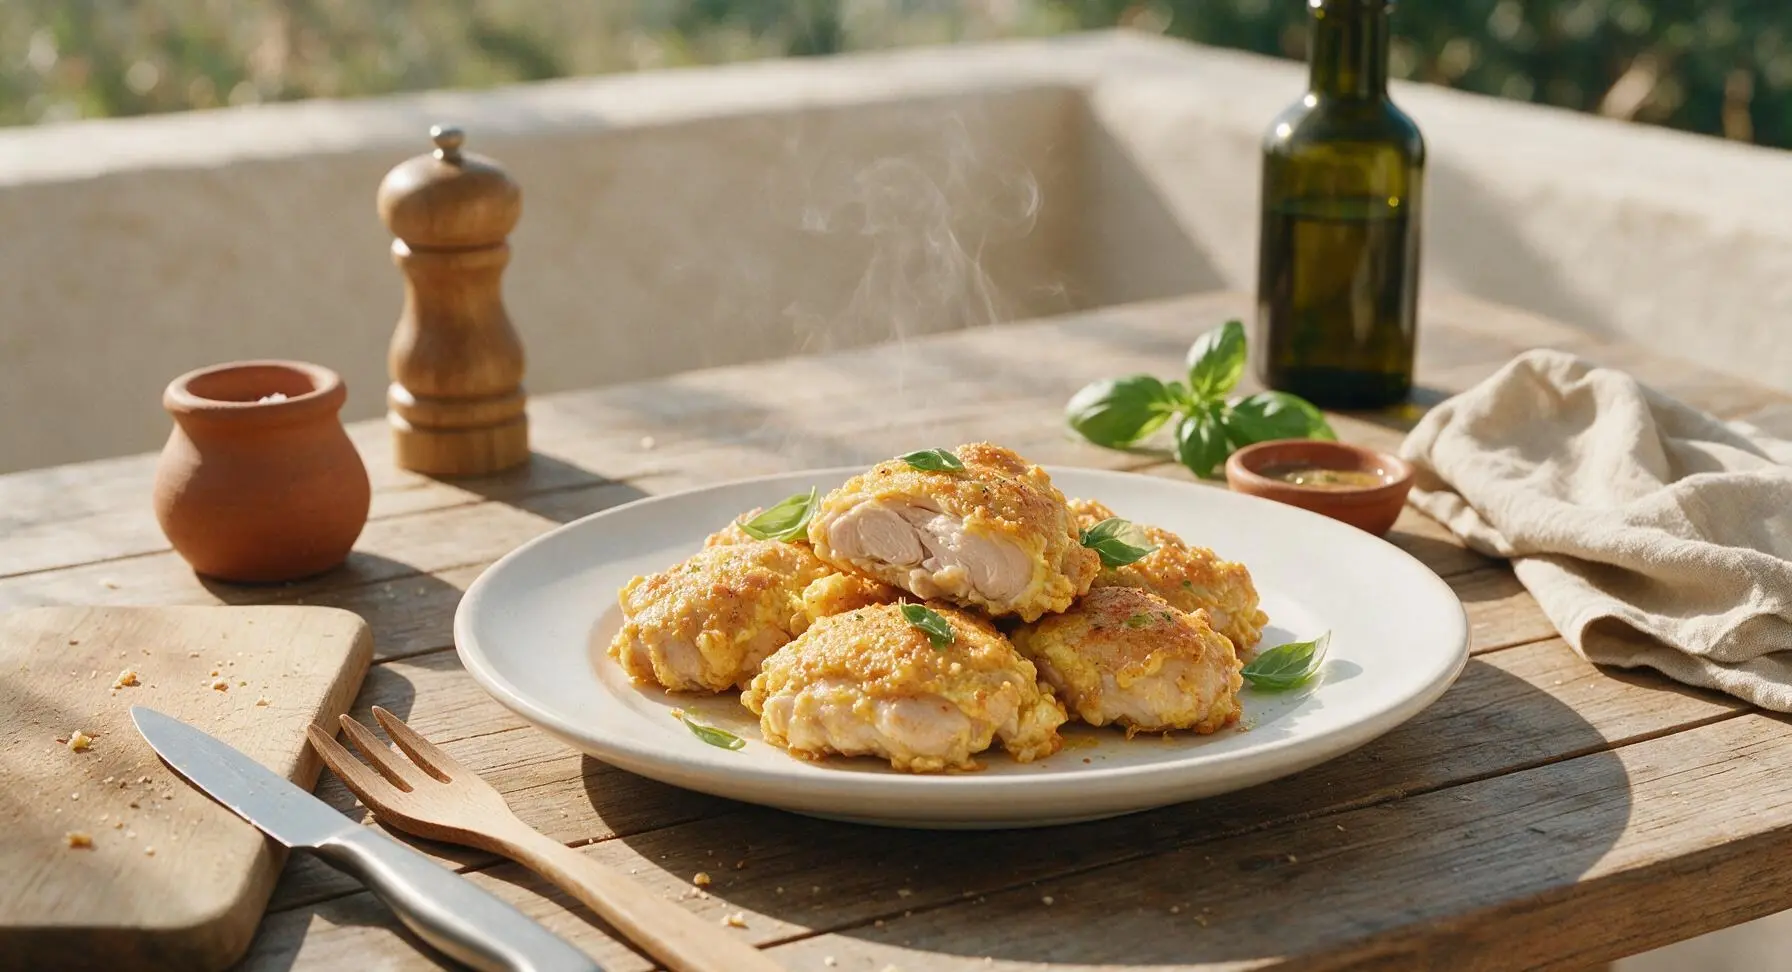
Tender, juicy chicken thighs coated in a light, crispy egg batter, seasoned simply for a comforting, fast weeknight meal made with everyday pantry ingredients.
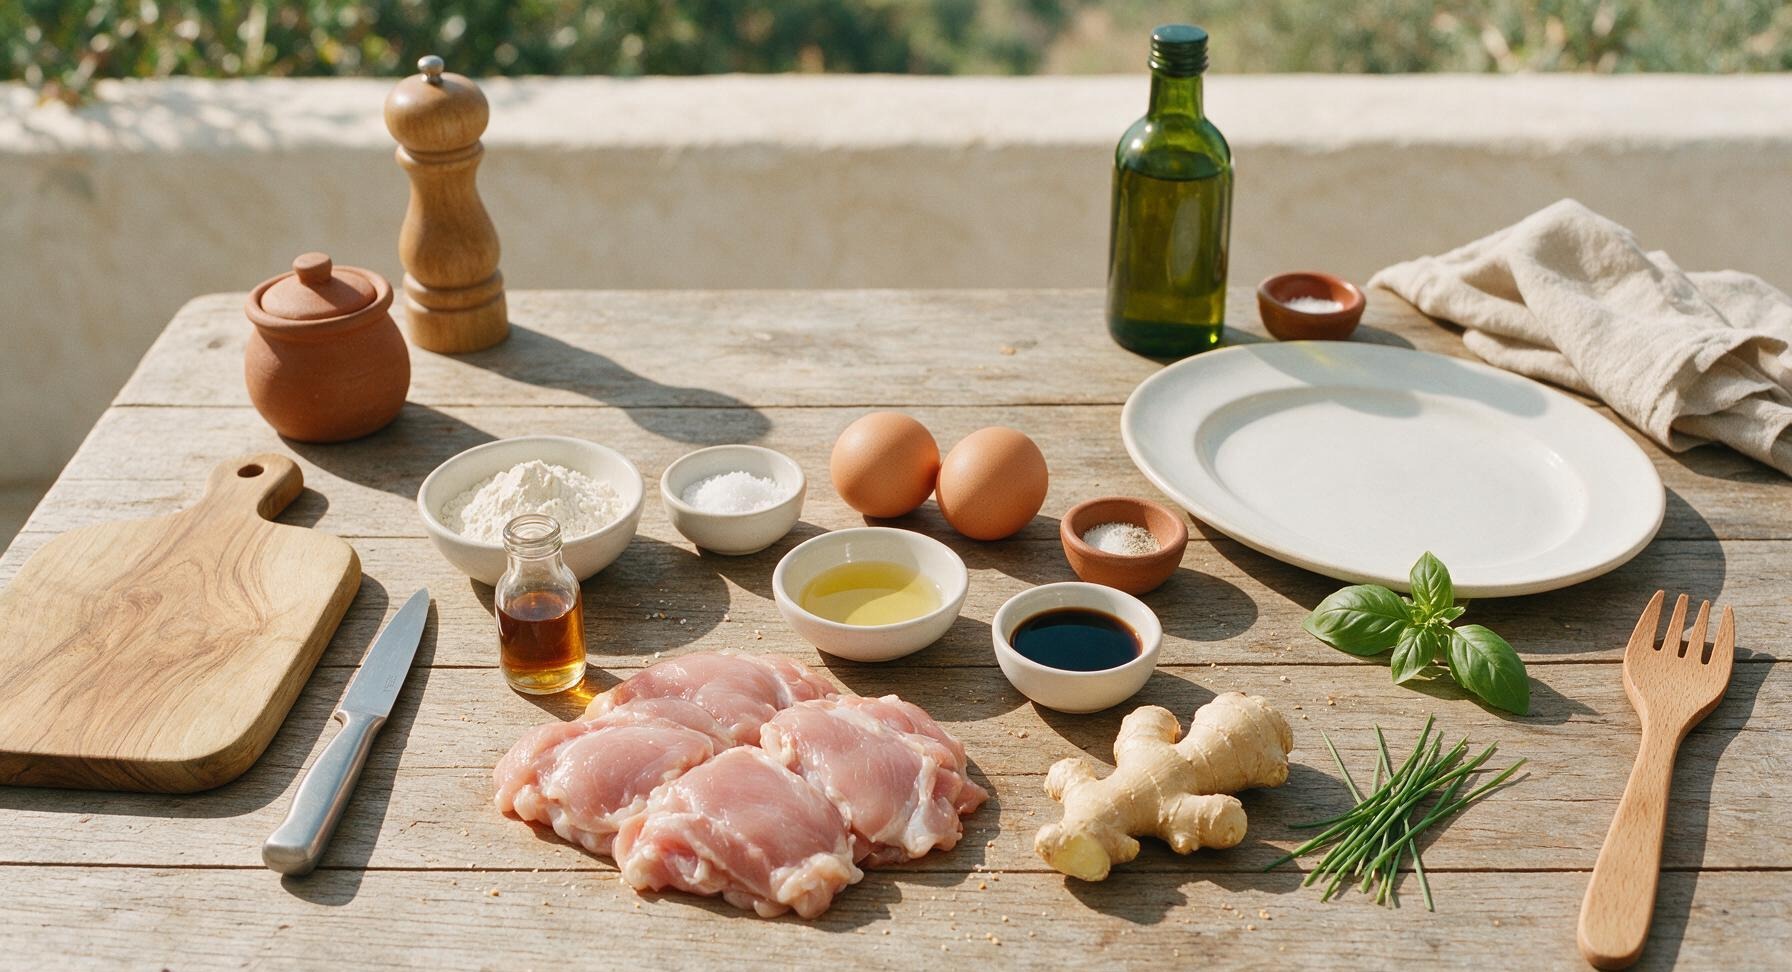
Ingredients
Steps
Cut Chicken into Pieces
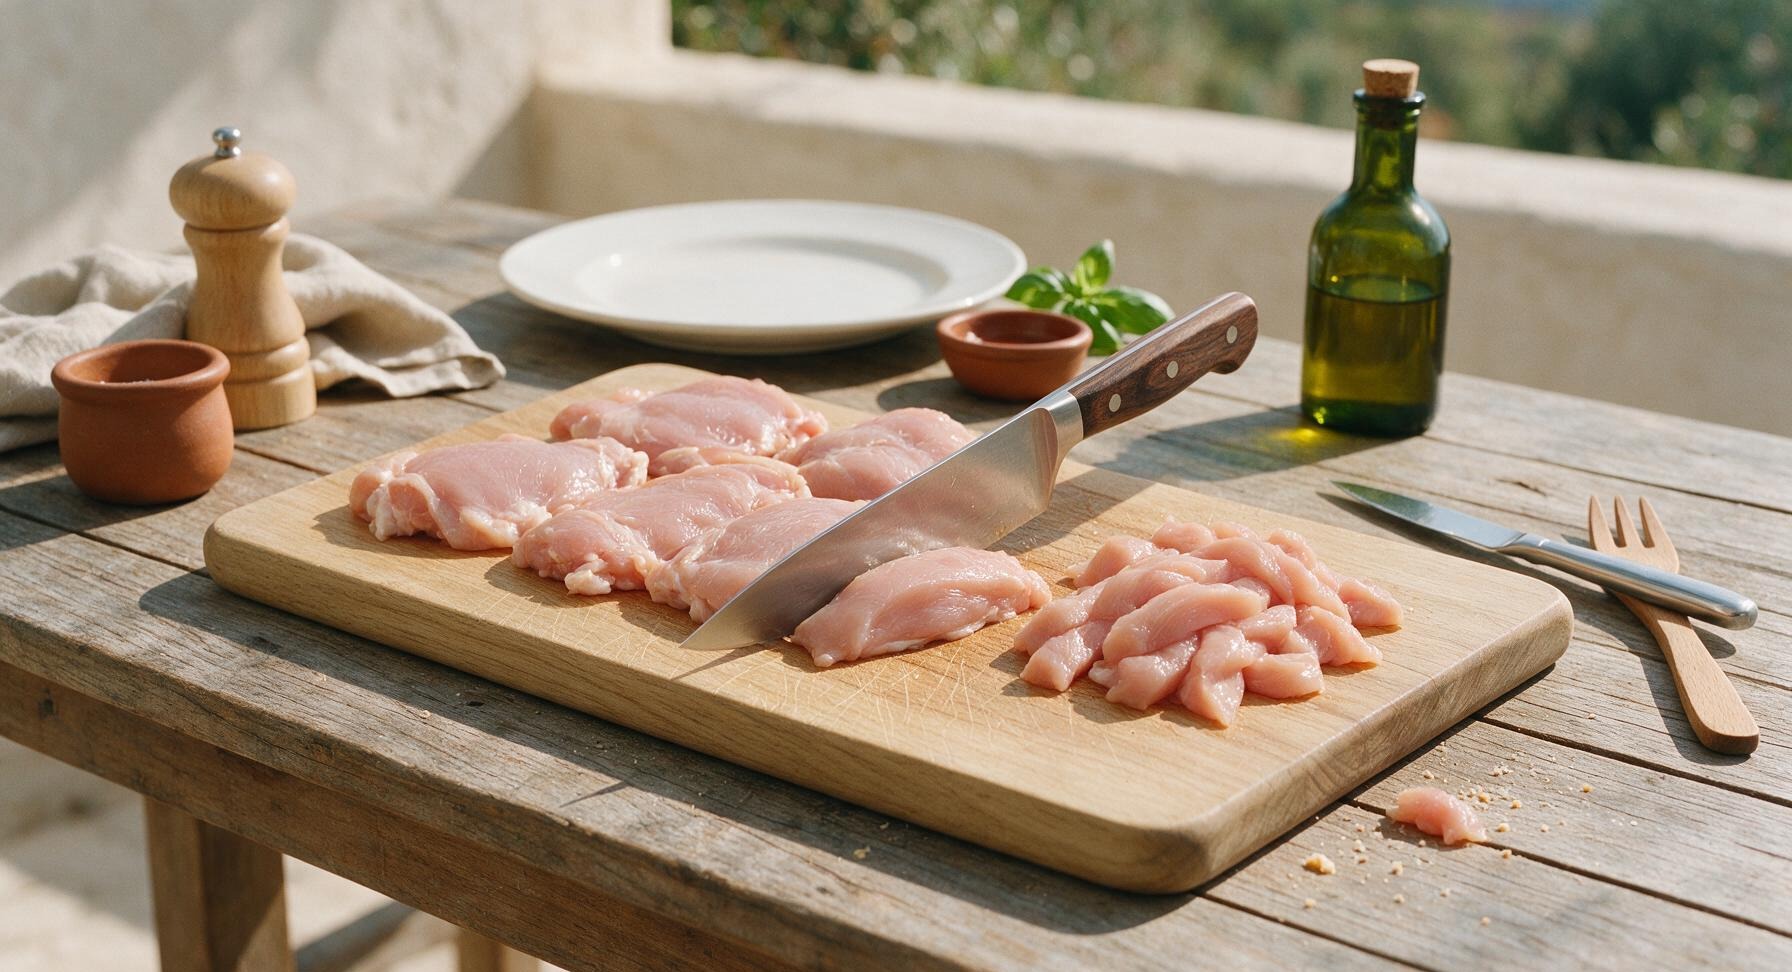
Place the boneless, skinless chicken thighs on the light bamboo cutting board. Use the 8-inch walnut-handled chef knife to trim any excess hard fat or silver skin from the thighs, then cut each thigh into 4cm-wide, evenly sized strips roughly 1cm thick. Pat the chicken strips completely dry with the corner of the folded cream cotton towel to help the batter adhere properly during cooking.
Season Chicken Strips
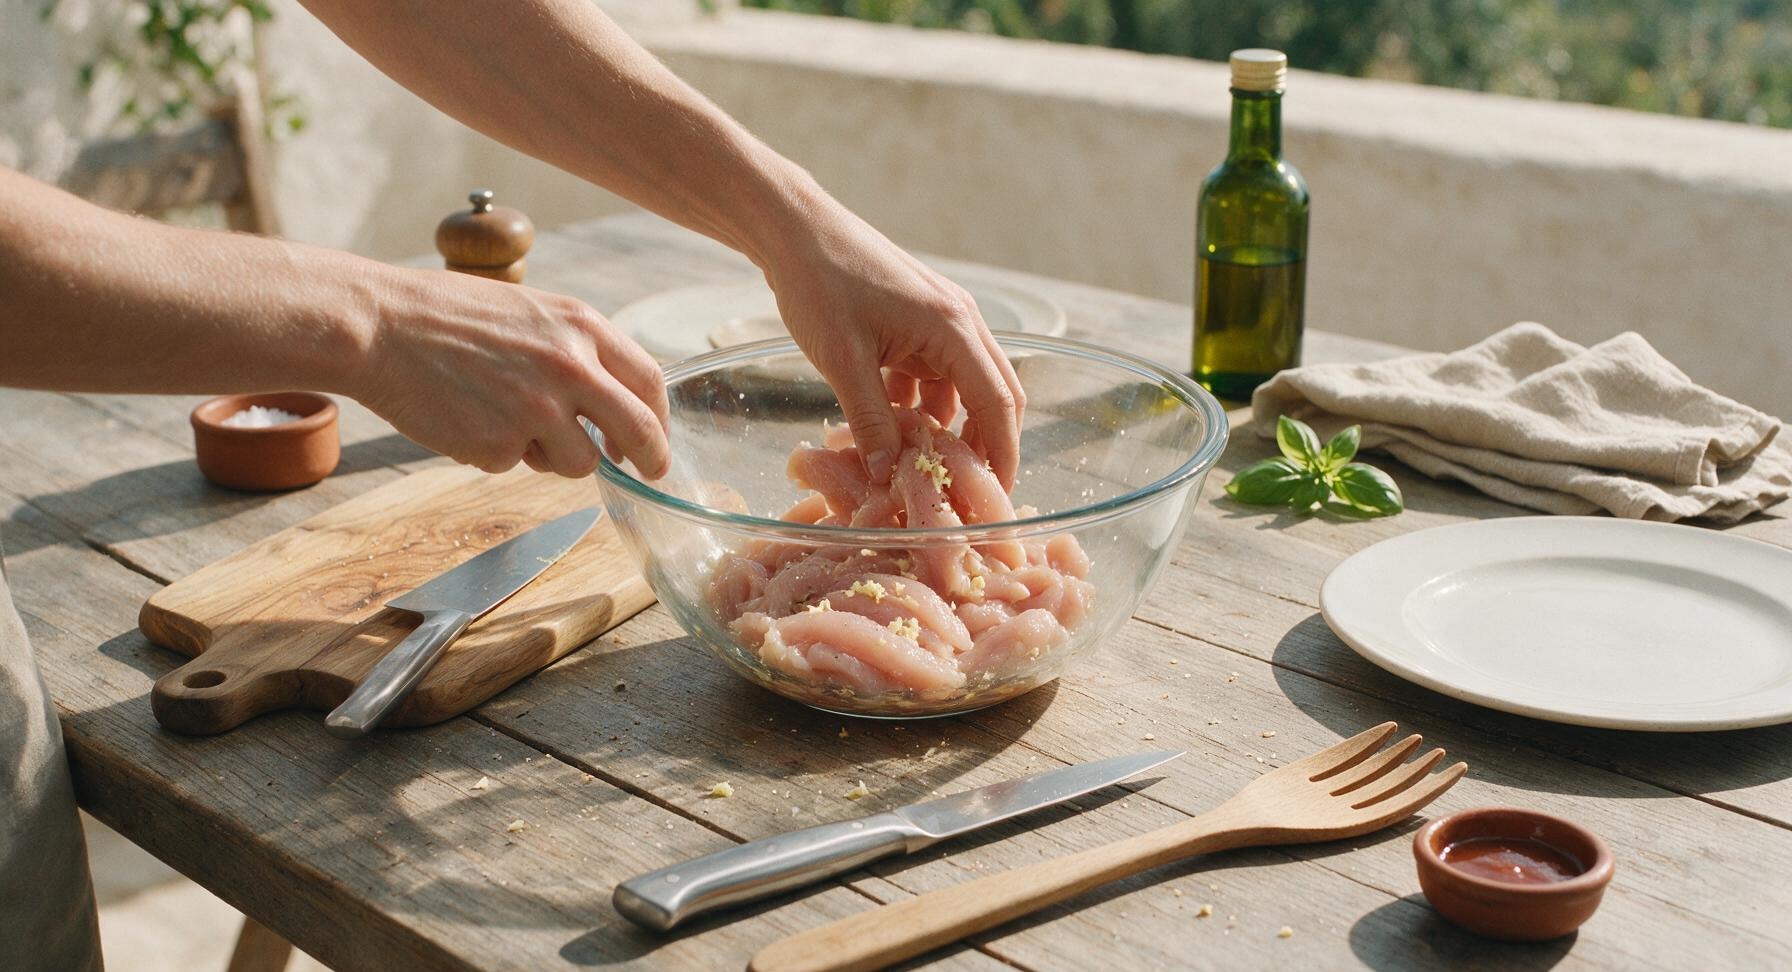
Transfer the cut chicken strips to the 18cm clear glass mixing bowl. Add ½ teaspoon of fine sea salt, ½ teaspoon ground white pepper, 1 teaspoon grated fresh ginger, and 1 teaspoon Shaoxing wine to the bowl. Toss the strips thoroughly with clean hands to coat every piece evenly, then let rest for 5 minutes at room temperature to allow the seasonings to absorb.
Whisk Smooth Egg Batter
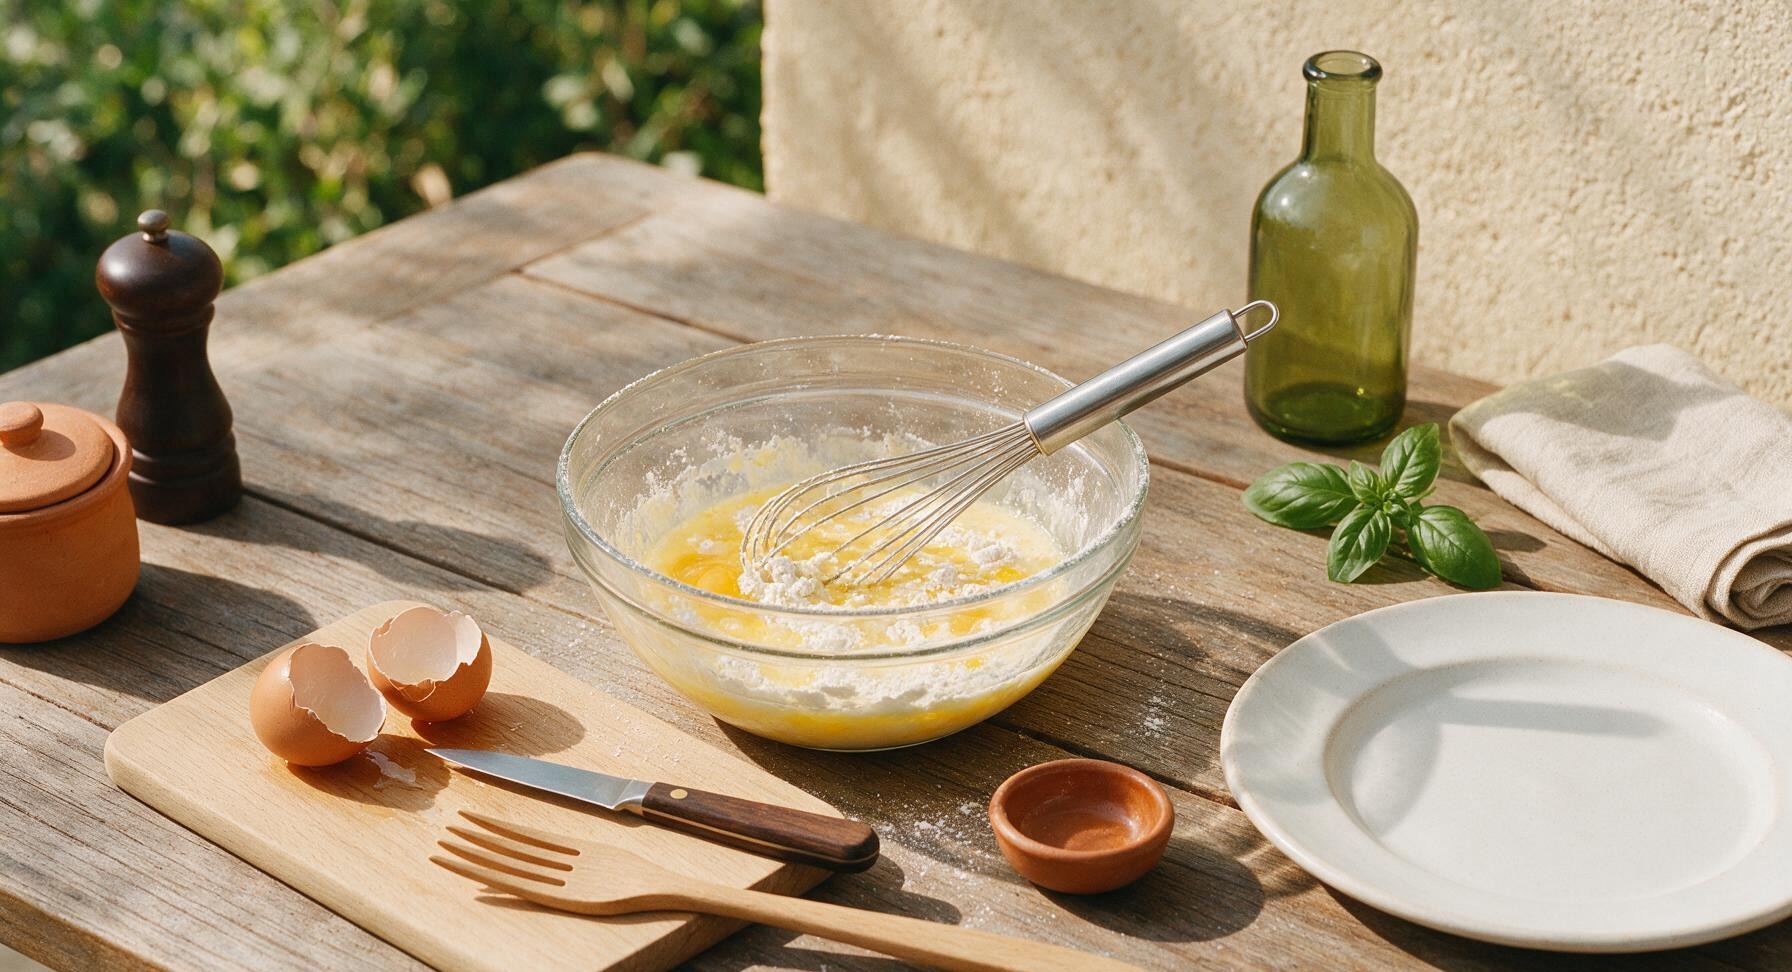
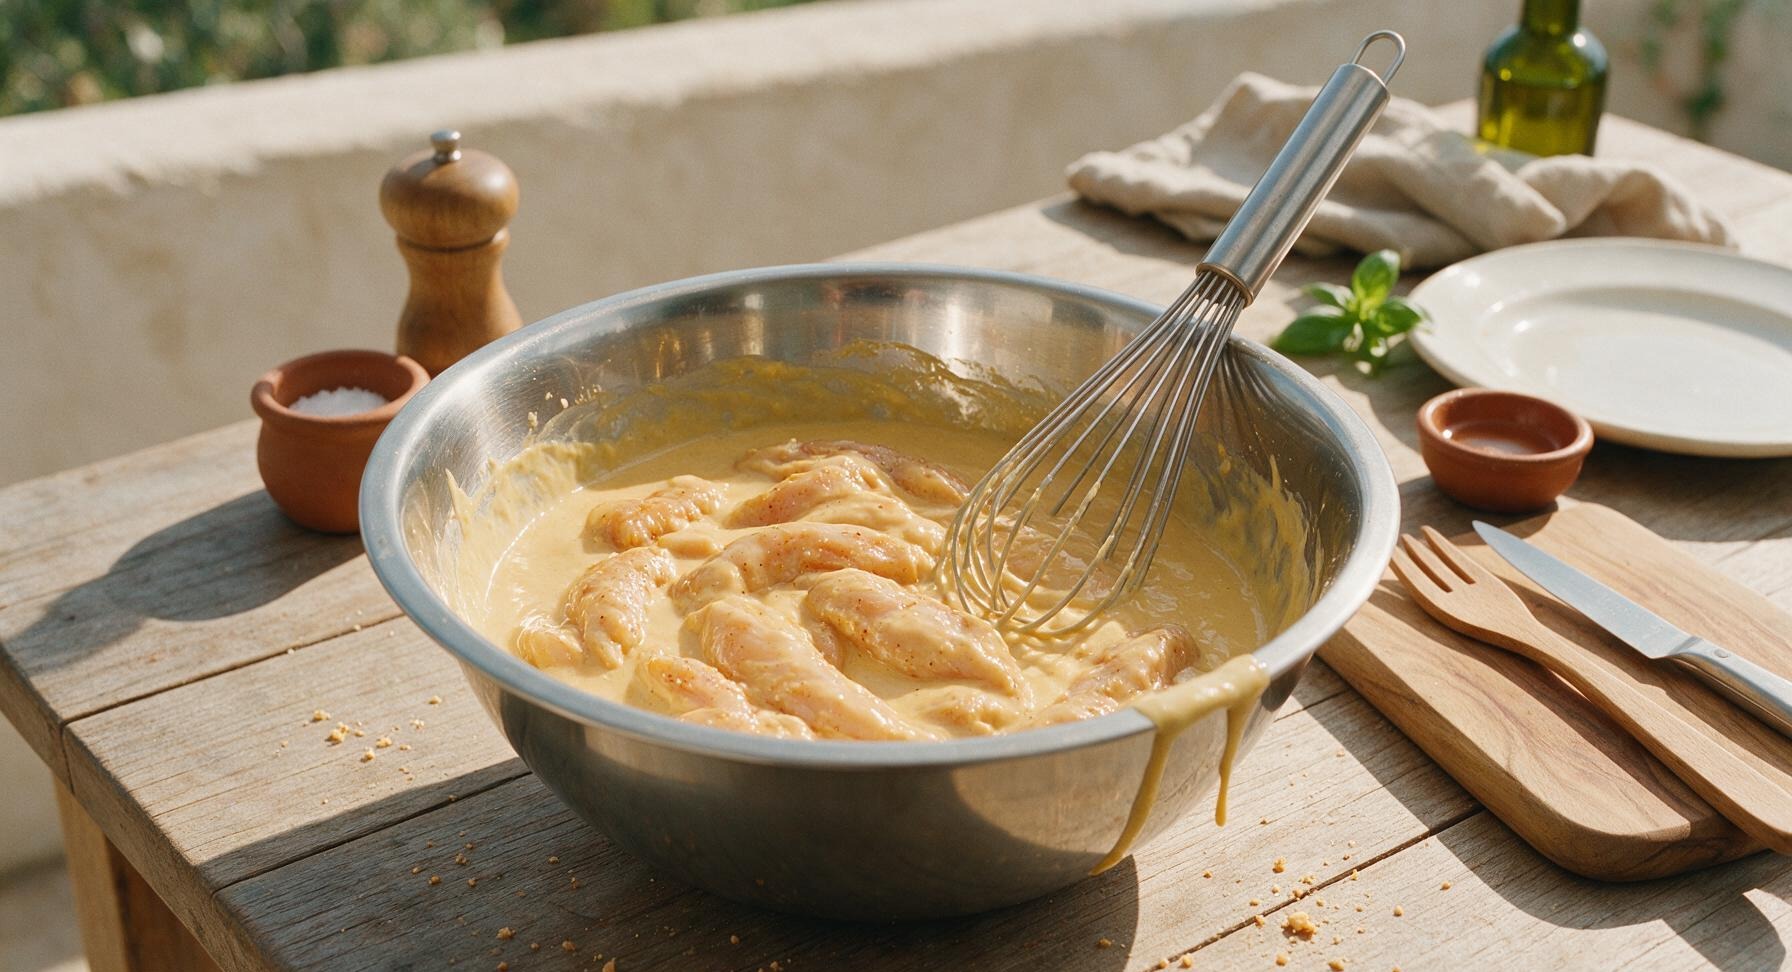
Crack the 2 large eggs into the mixing bowl with the seasoned chicken. Add the remaining ½ teaspoon fine sea salt and 3 tablespoons all-purpose flour to the bowl. Use the 20cm stainless steel wire whisk to stir the mixture until completely smooth, with no dry flour lumps remaining. The finished batter should be thin enough to lightly coat the back of a spoon, clinging gently to each chicken strip.
Heat Pan and Oil
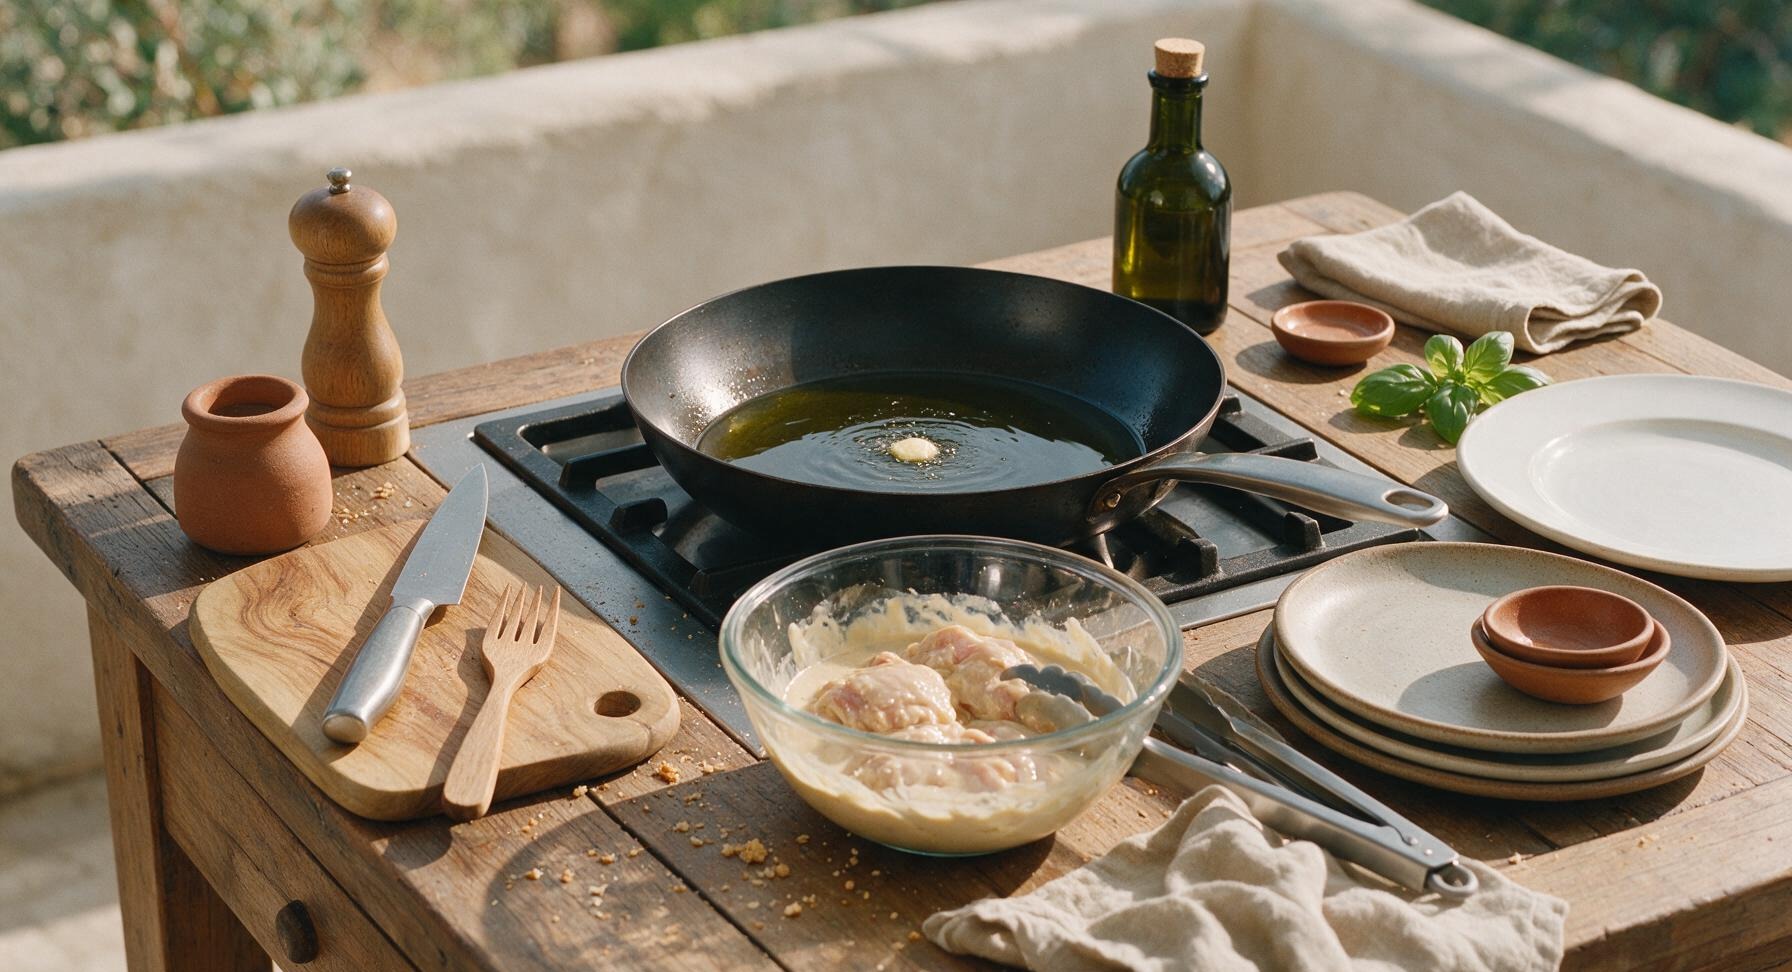
Place the 12-inch matte black carbon steel frying pan on the integrated stovetop burner set into the back center of the oak counter. Turn heat to medium, add 2 tablespoons of neutral canola oil, and heat for 2 minutes until the oil shimmers and reaches 175C (350F). Test oil readiness by dropping a tiny dot of batter into the oil: it should sizzle immediately and rise to the surface within 1 second to confirm correct temperature.
Fry First Chicken Side
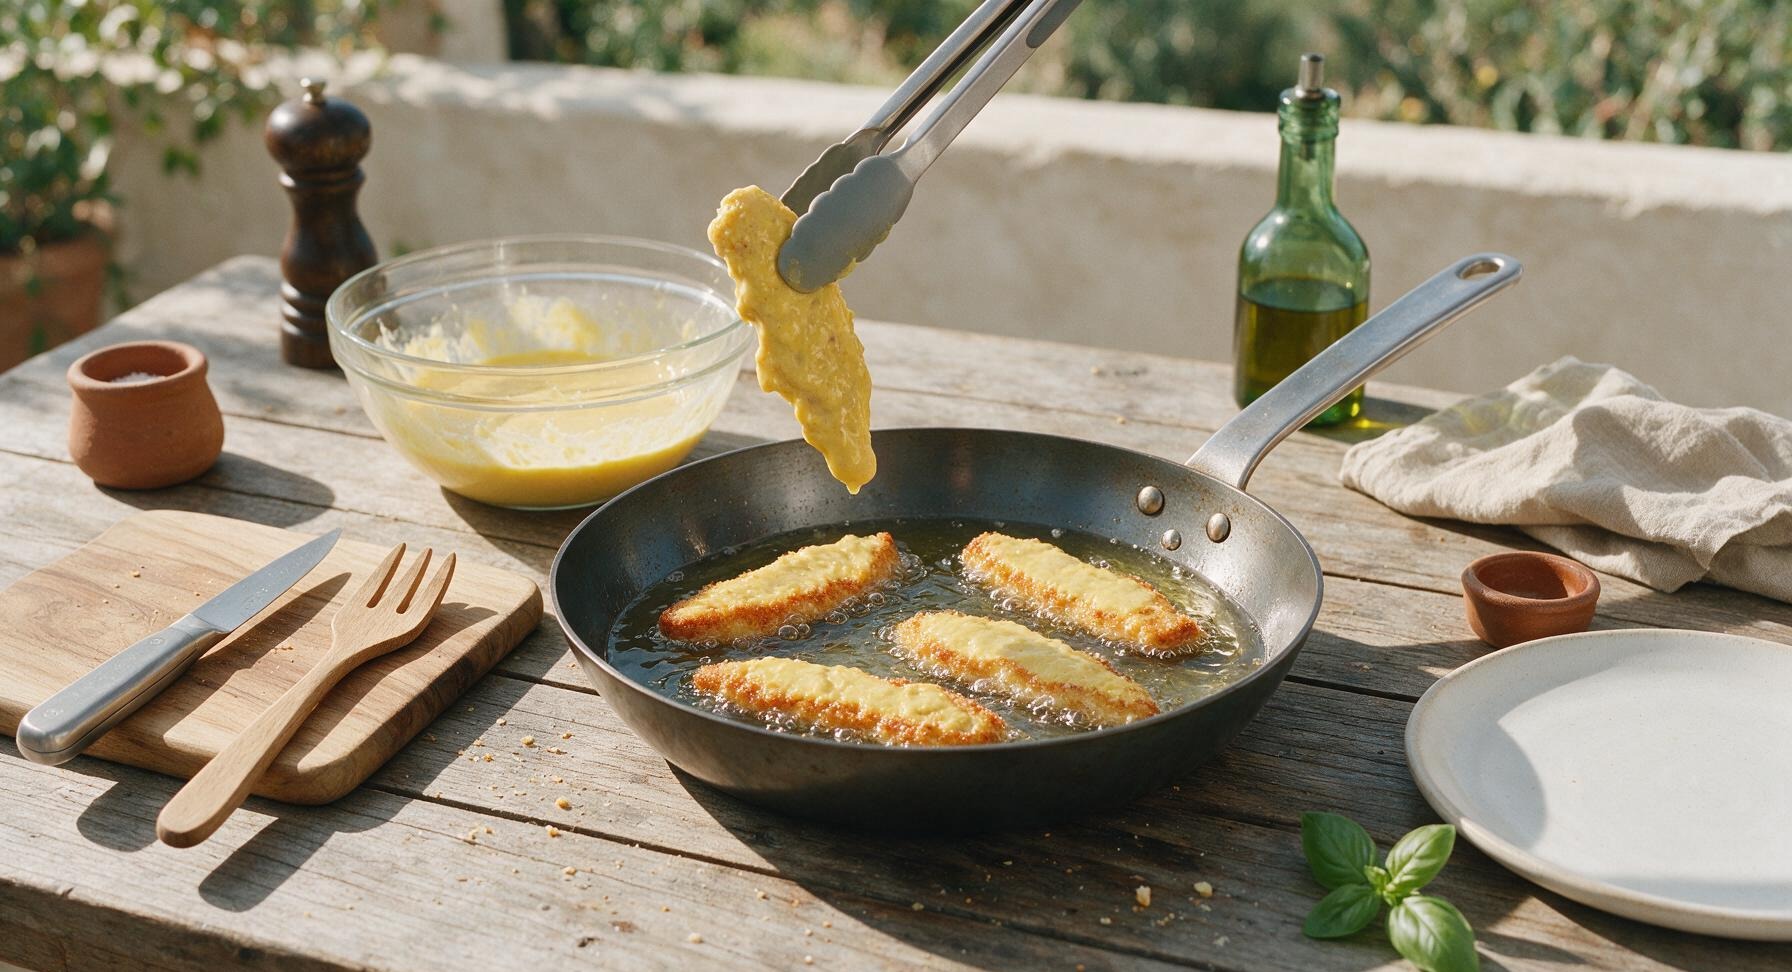
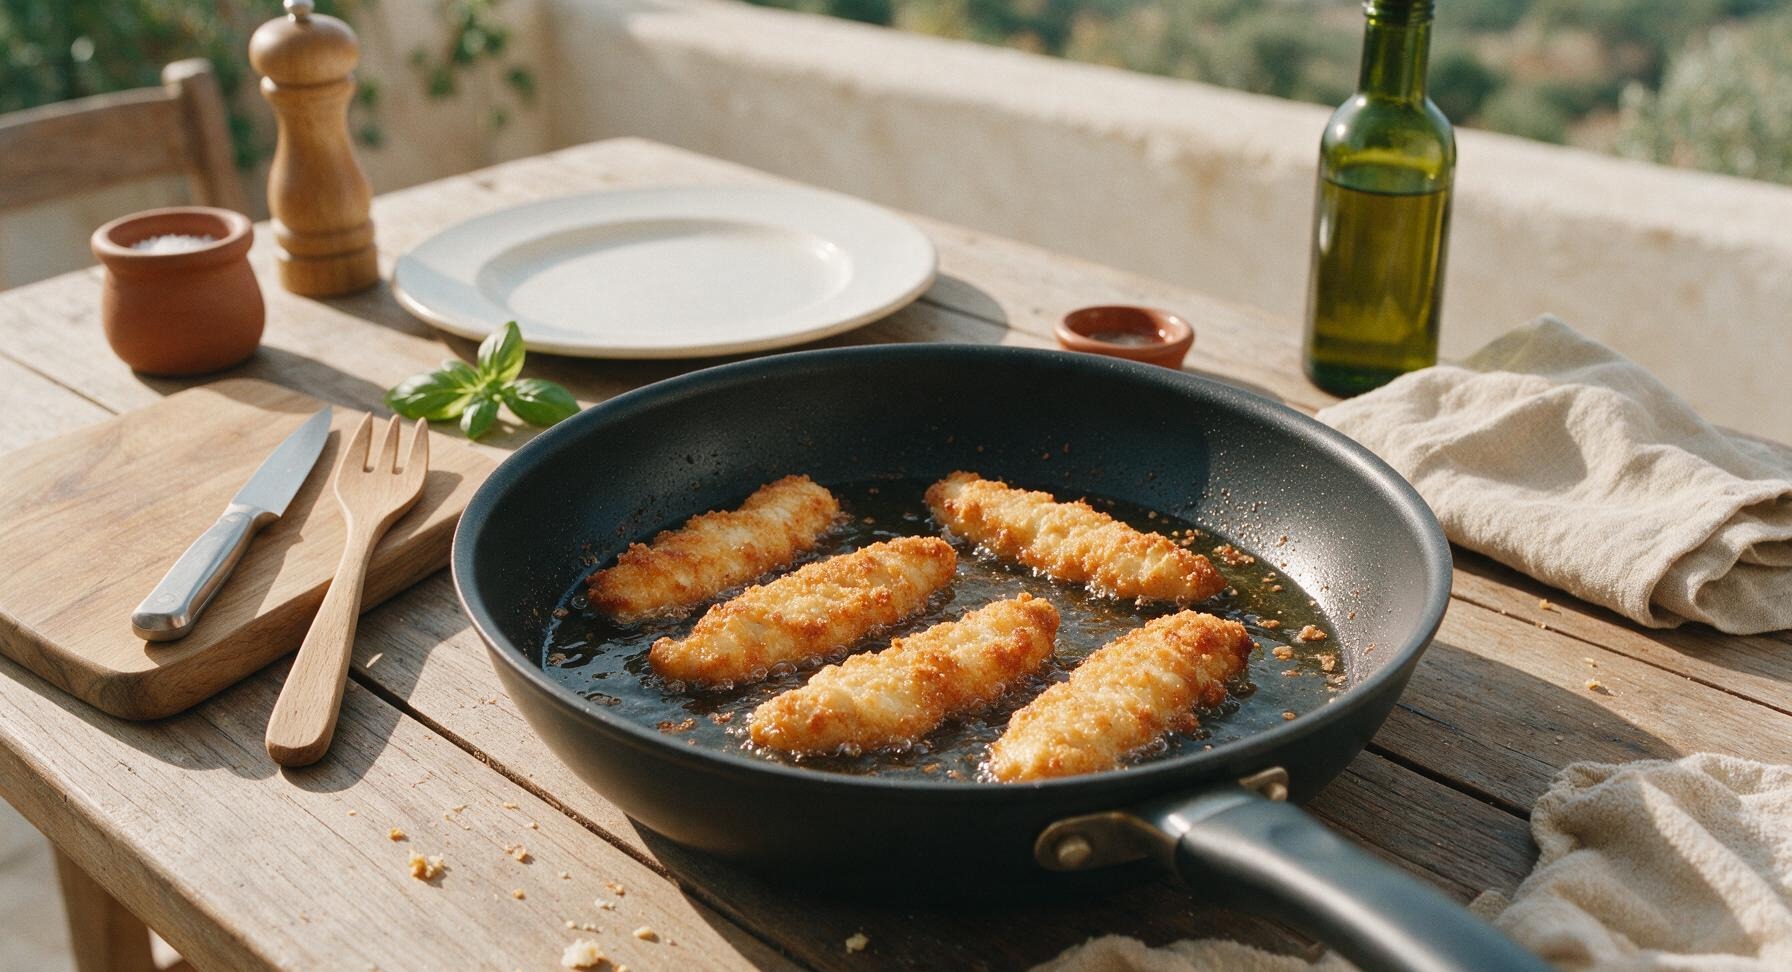
Use the stainless steel tongs to lay each batter-coated chicken strip in the hot pan in a single layer, leaving 1cm of space between each piece to avoid steaming. Do not overcrowd the pan — cook in 2 batches if needed to maintain oil temperature. Fry for 3-4 minutes on the first side, until the bottom is deep golden brown and the egg batter is fully set, with no runny raw batter remaining on the top surface.
Flip and Cook Through
Use the slotted metal turner to flip each chicken strip carefully to the second side. Fry for an additional 2-3 minutes, until the second side is evenly golden brown and the internal temperature of the chicken reaches 75C (165F), with no pink remaining in the thickest part of each strip. Transfer cooked pieces to the edge of the folded cream kitchen towel to drain excess oil for 30 seconds, cooking any remaining battered strips in a second batch if needed.
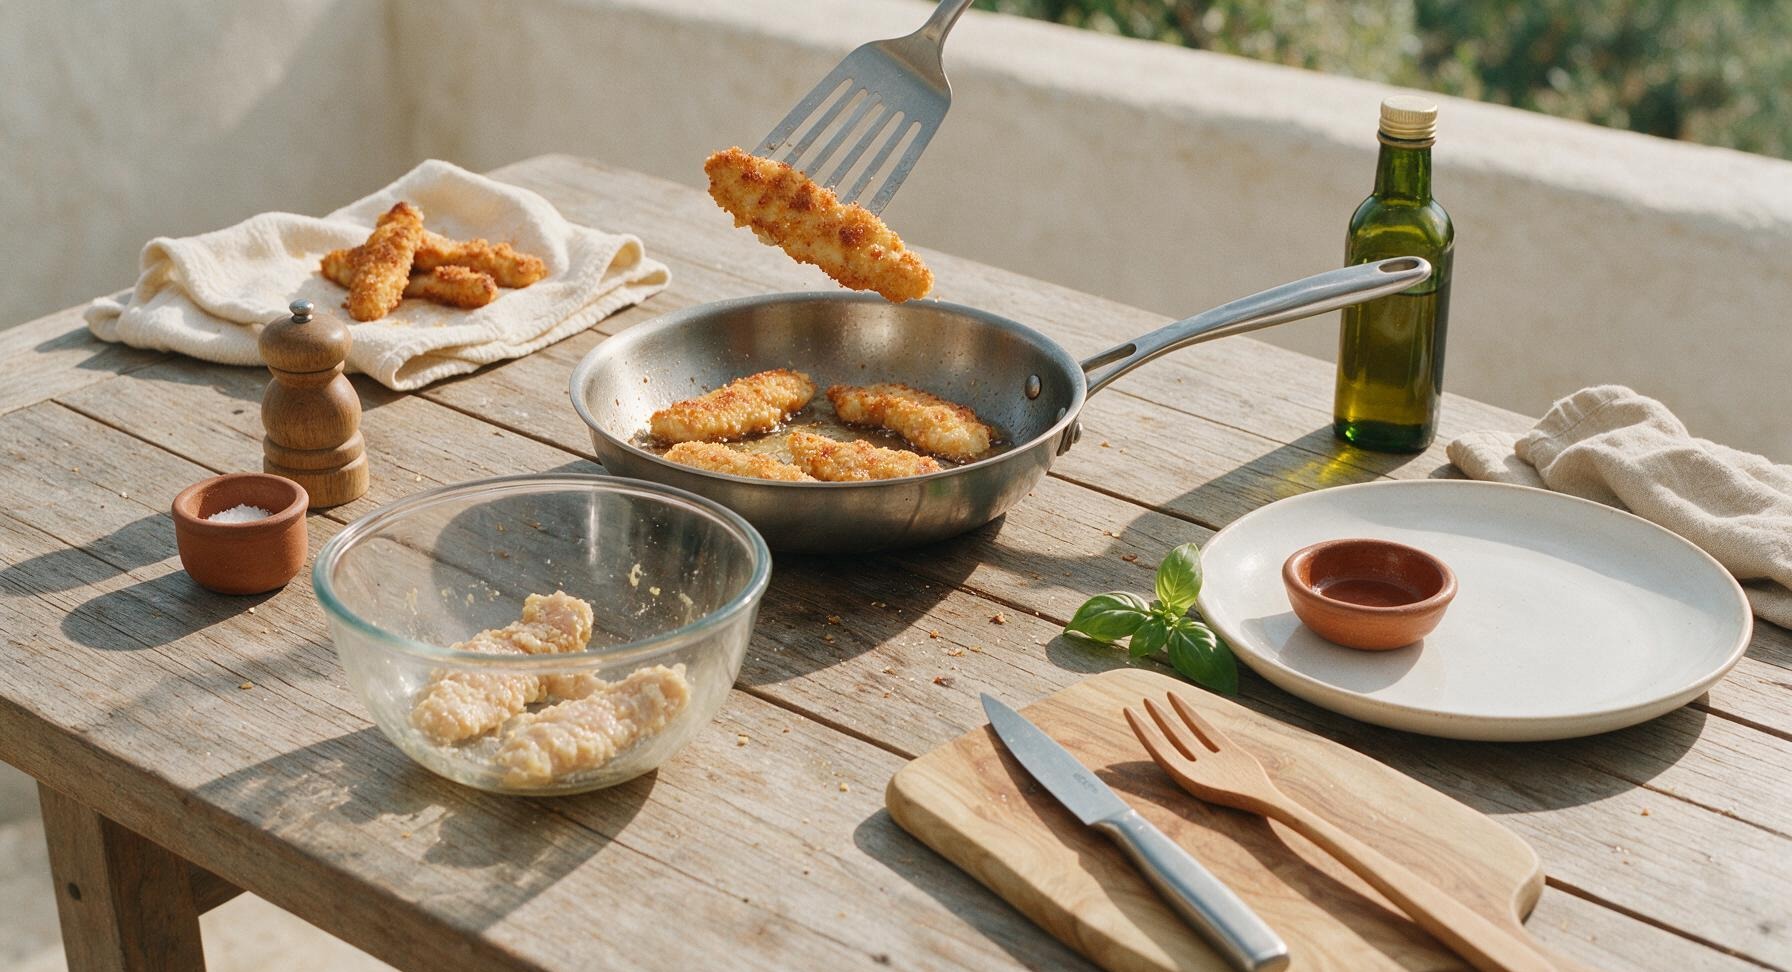
Plate and Garnish
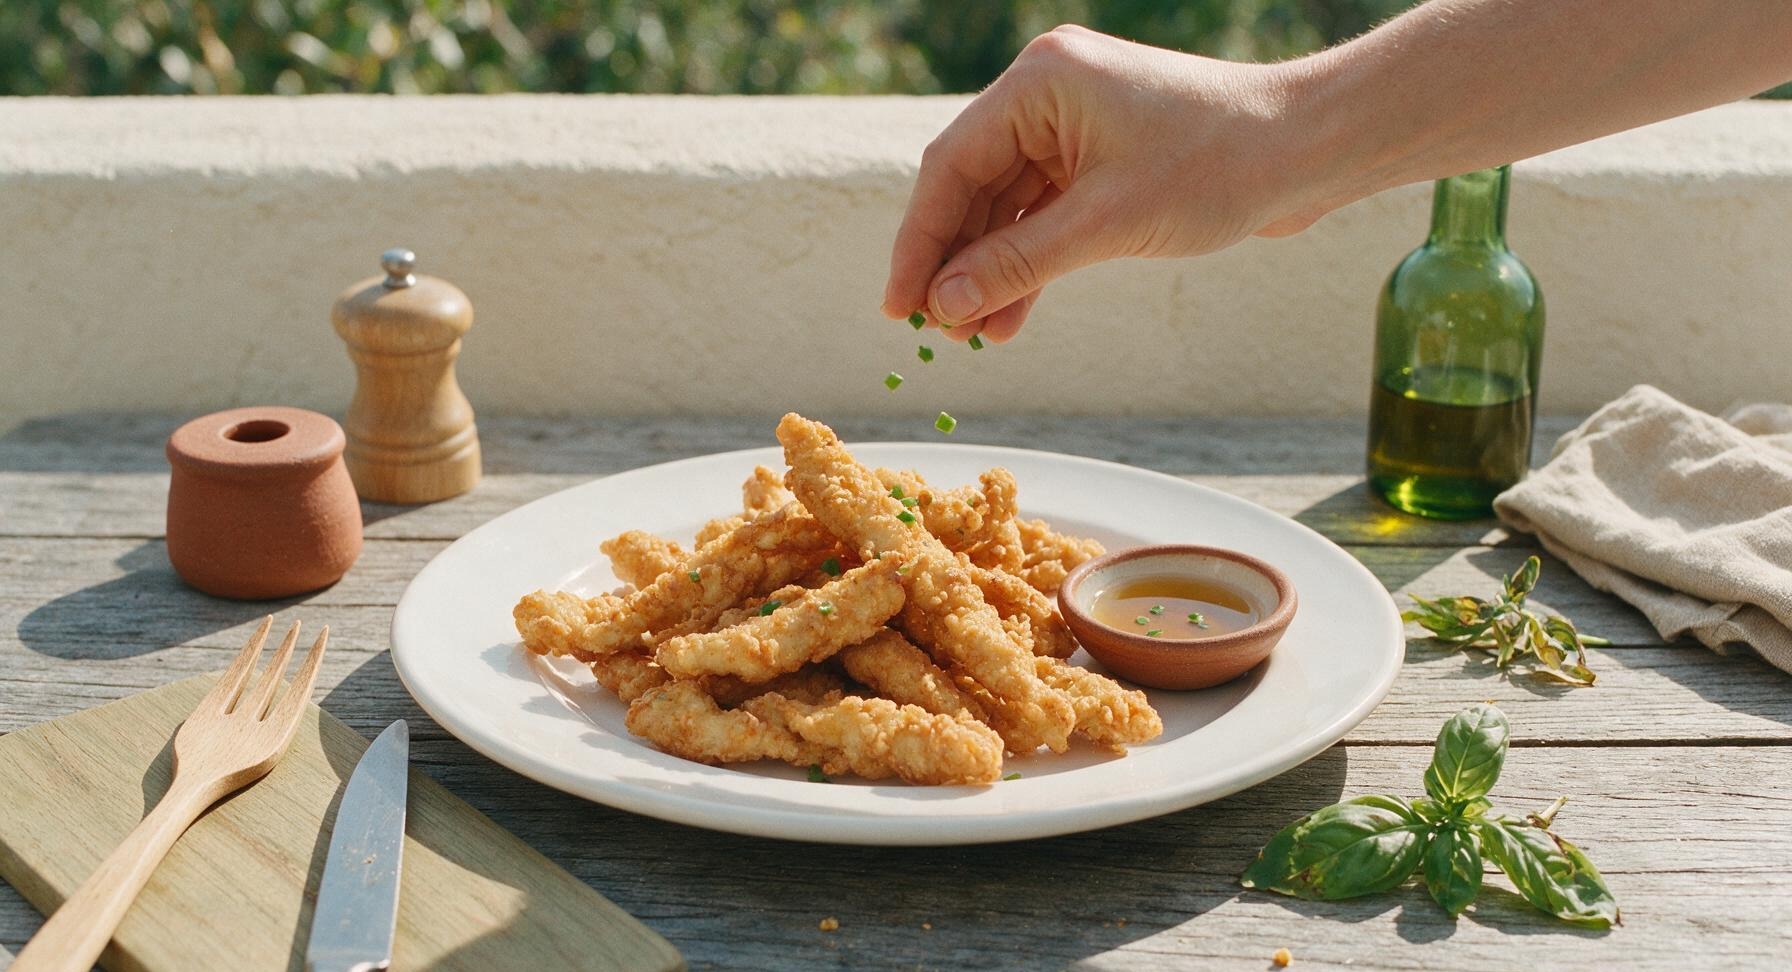
Return the matte off-white stoneware dinner plate to the central work zone. Arrange the drained, crispy egg-battered chicken strips in a loose, inviting pile on the plate. Finely chop 1 tablespoon of fresh chives from the back left bunch, then sprinkle evenly over the top of the chicken. Pour 1 tablespoon of light soy sauce into one of the small stoneware dipping bowls, and place it on the edge of the dinner plate for serving.
Tips
2.Pat raw chicken completely dry before seasoning: any excess surface moisture will thin the egg batter, causing it to slide off the chicken instead of forming a thin, crisp, evenly adherent crust during frying.
3.Resist the urge to move chicken strips around the pan during the first 2 minutes of frying: letting the batter set undisturbed prevents it from sticking to the pan and helps form a uniform, crispy golden crust on every piece.






OMG this was SO good! I made this for last night’s family dinner and even my super picky 7 year old asked for seconds. The crunch was perfect, not greasy at all, and it came together so fast for a weeknight. Total game changer for our meal rotation!
Super easy recipe! I tossed a little garlic powder and paprika into the egg wash because we love extra seasoning, and it turned out crispy even when I reheated leftovers for lunch today. Would absolutely bring this to our next neighborhood potluck.
15 minute cook time? Sign me up. I’m a total beginner in the kitchen and this came out perfectly crispy on the first try. No fancy ingredients needed, just stuff I already had in my fridge. 10/10 for dorm cooking.
I made a big batch of this on Sunday for meal prep and it held up way better than I thought it would! I was worried the crust would get soggy in the fridge, but a quick 2 minutes in the air fryer and it’s just as crispy as night one. Perfect for quick work lunches.
Made this before my kid’s soccer practice last night and it was a hit with the whole carpool. I served it with a little honey mustard dip on the side and the kids were fighting over the last piece. Will be making this on repeat.
Wait, I followed the recipe exactly but my crust came out a little soggier than I expected? Did I have the oil temp too low? I was so excited for that crispy crunch everyone is talking about!
This recipe is so versatile! I used the same egg batter for chicken tenders last week and for thin sliced pork chops last night, both came out incredible. My husband said it’s better than the fried chicken we get at our local diner.
I swapped the regular all purpose flour for gluten free all purpose and it worked like a charm! My whole family is gluten free and we’ve been missing that classic crispy fried chicken taste, this totally hit the spot. No weird gritty texture from the GF flour either, which is a win.
Quick question – can I bake these instead of pan frying to cut down on oil? I don’t love frying on the stovetop because it makes my whole apartment smell like fried food for days, lol.
Brought this to my office potluck yesterday and it was gone in 10 minutes flat. People were asking me for the recipe before I even finished my first plate! The crispy egg coating is way better than the regular breadcrumb fried chicken I usually make.
Made this for my at-home date night last weekend and my boyfriend thought I ordered takeout from that fancy southern spot downtown. It looked and tasted so impressive, but it was so easy to throw together while we were waiting for our movie to start.
15 minute cook time is no joke. I got home late from work, threw this together, and had dinner on the table before the kids finished their homework. Tasted way better than the frozen chicken tenders I usually resort to on busy nights, and no weird processed ingredients. Will be a weeknight staple for us.