
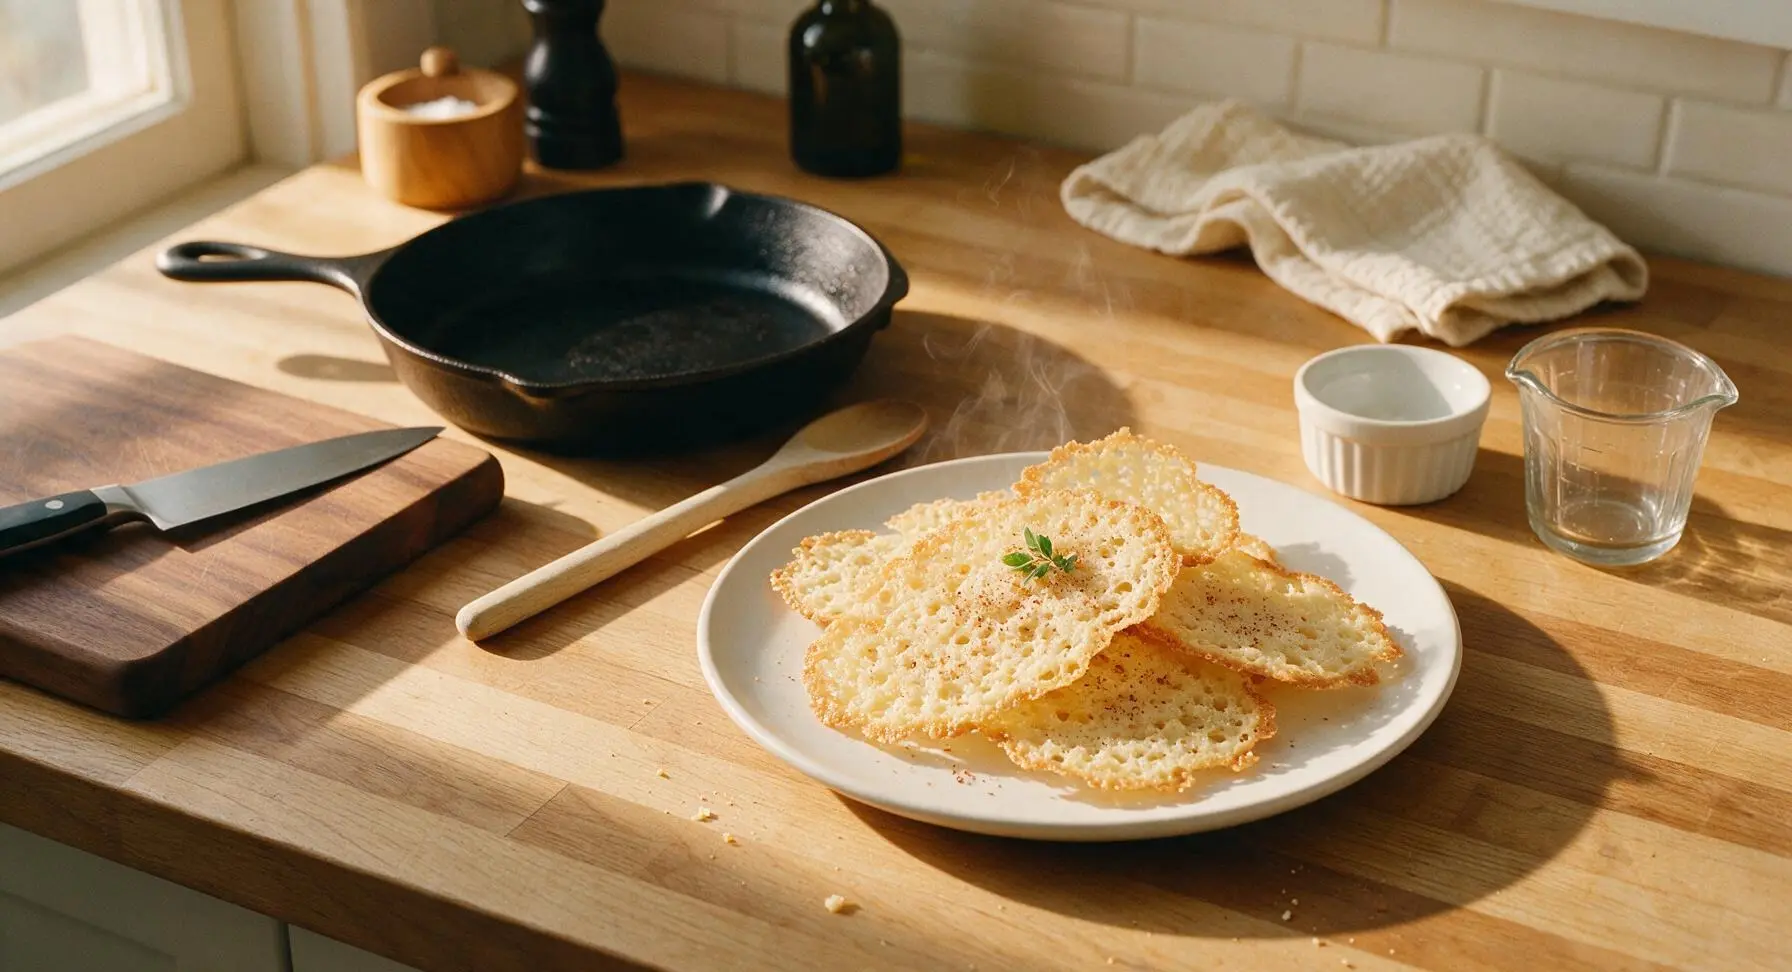
Eggnog Tuiles

title 1
Eggnog Tuiles
⏱️ cook time 30 minutes
🍽️ servings 12
⚡ Difficulty medium

intro

Delicate, crisp lacy cookies infused with warm eggnog and nutmeg, buttery and light, perfect for pairing with holiday cocoa or gifting from your Christmas cookie tin.

Ingredients
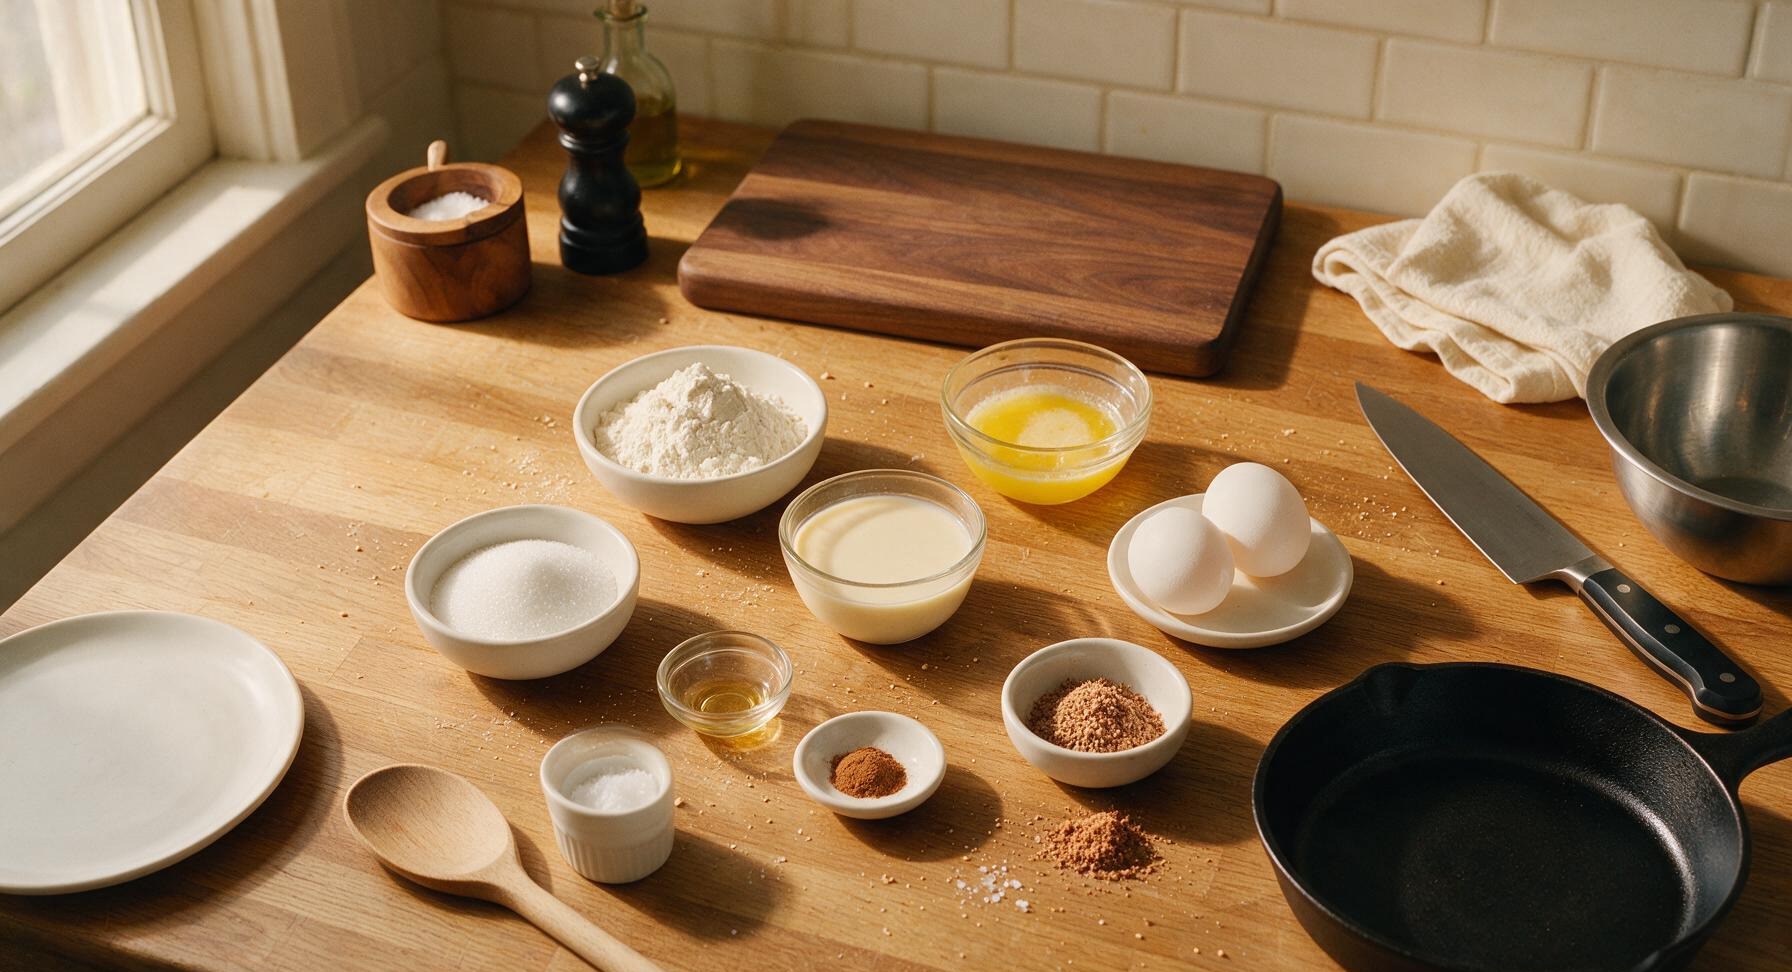
All-purpose flour 60g (1/2 cup, spooned and leveled)
Granulated sugar 75g (1/3 cup)
Unsalted butter 57g (4 tbsp, melted and cooled slightly)
Full-fat dairy eggnog 45ml (3 tbsp, cold)
Large egg whites 2 (room temperature, ~60g total)
Pure vanilla extract 1 tsp
Freshly grated nutmeg 1/2 tsp, plus extra for dusting
Ground cinnamon 1/4 tsp
Fine sea salt 1/8 tsp

Steps

1

Sift Dry Ingredients

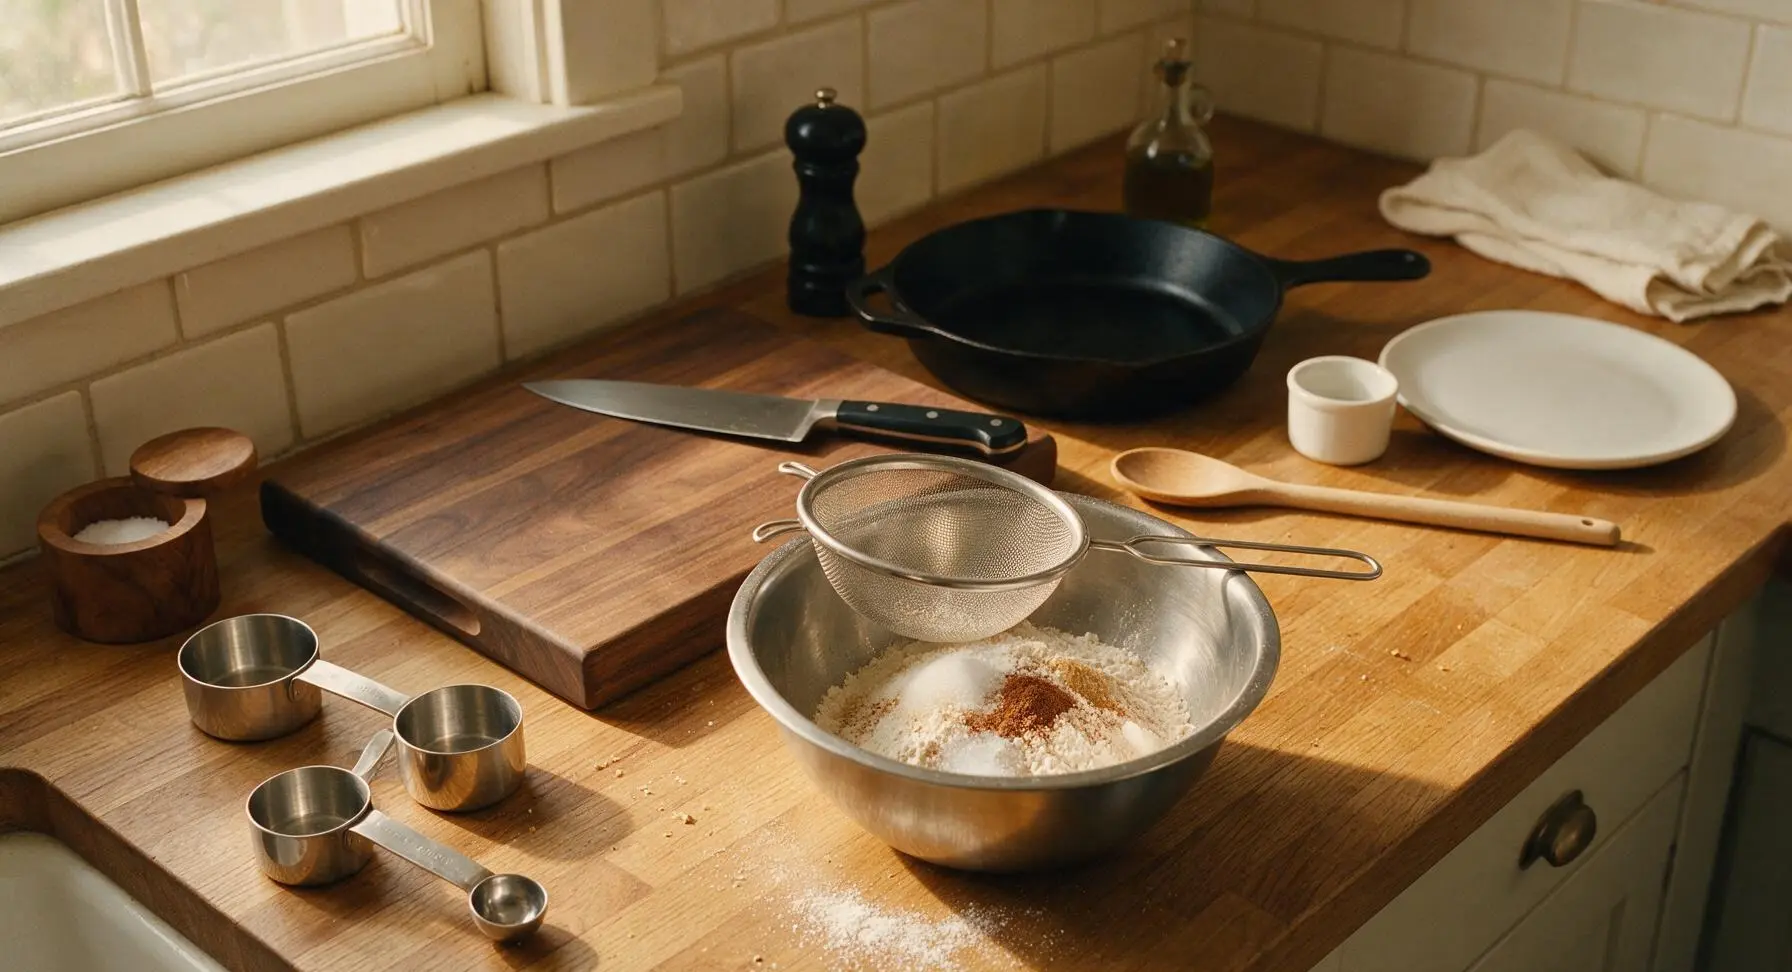
Place the fine-mesh stainless steel sieve over the medium stainless steel mixing bowl. Add the all-purpose flour, granulated sugar, ground cinnamon, freshly grated nutmeg, and fine sea salt to the sieve. Tap the edge of the sieve gently until all dry ingredients pass through into the bowl, discarding any small hard lumps left in the sieve. Whisk briefly to evenly combine the spiced flour mixture.
Step 1
step1:Sift Dry Ingredients
2

Combine Wet Ingredients

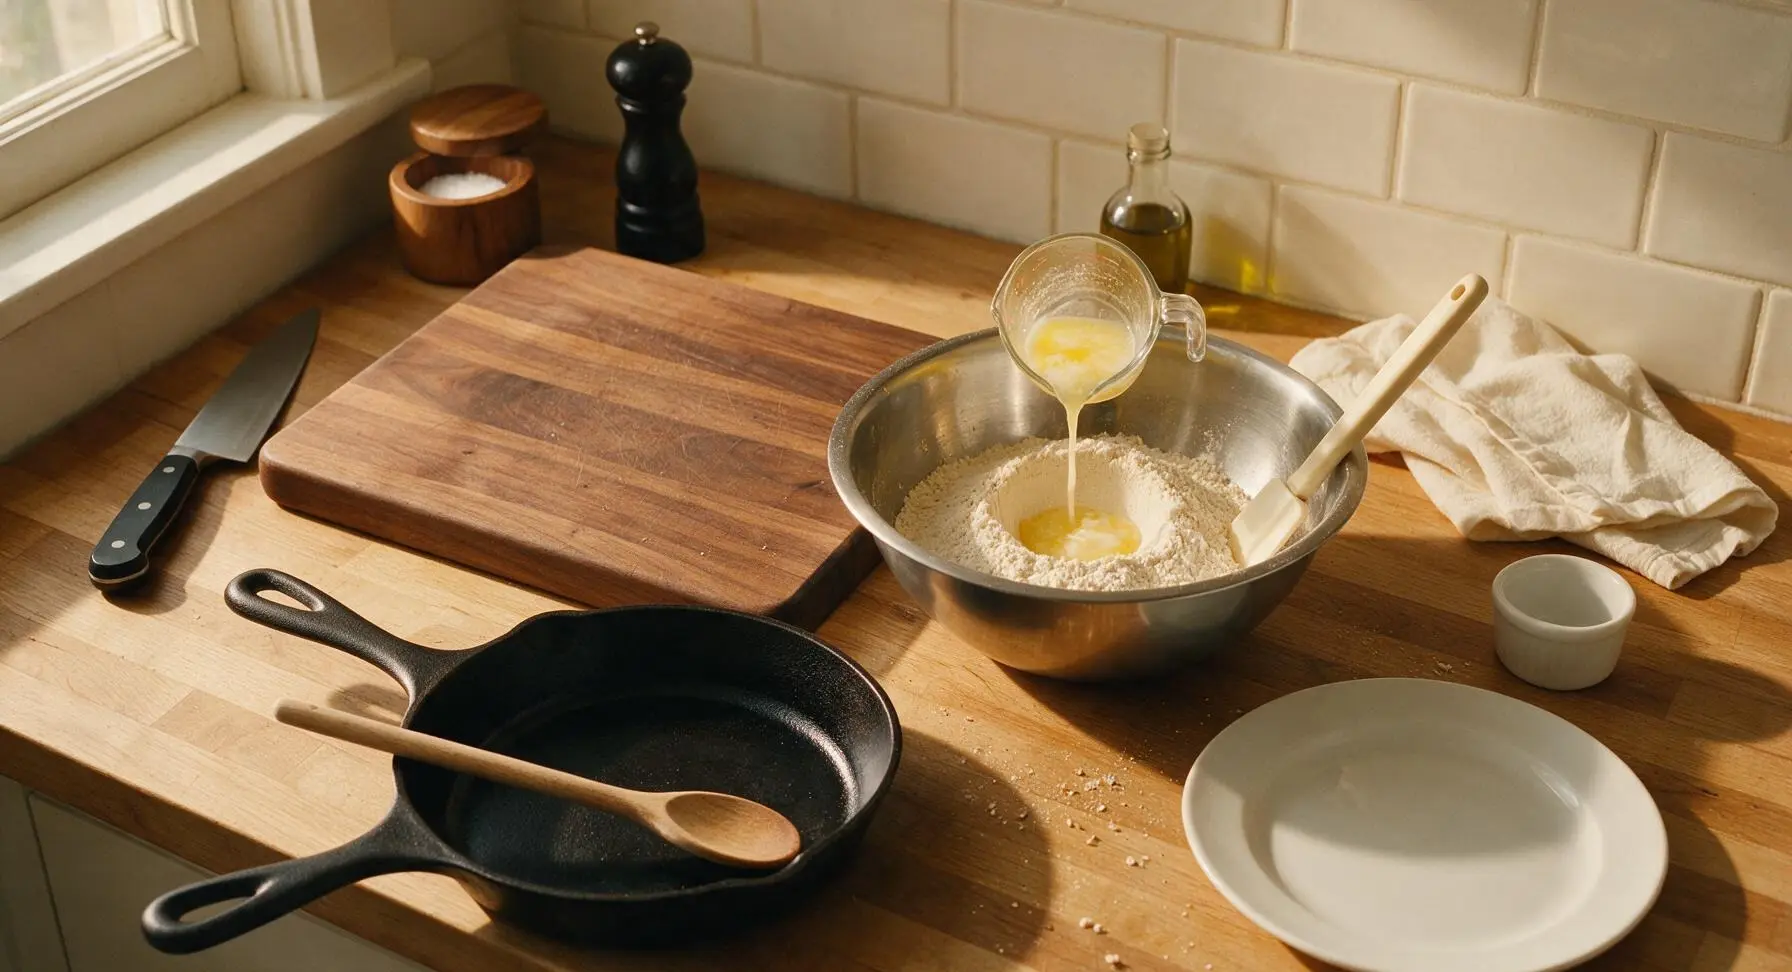
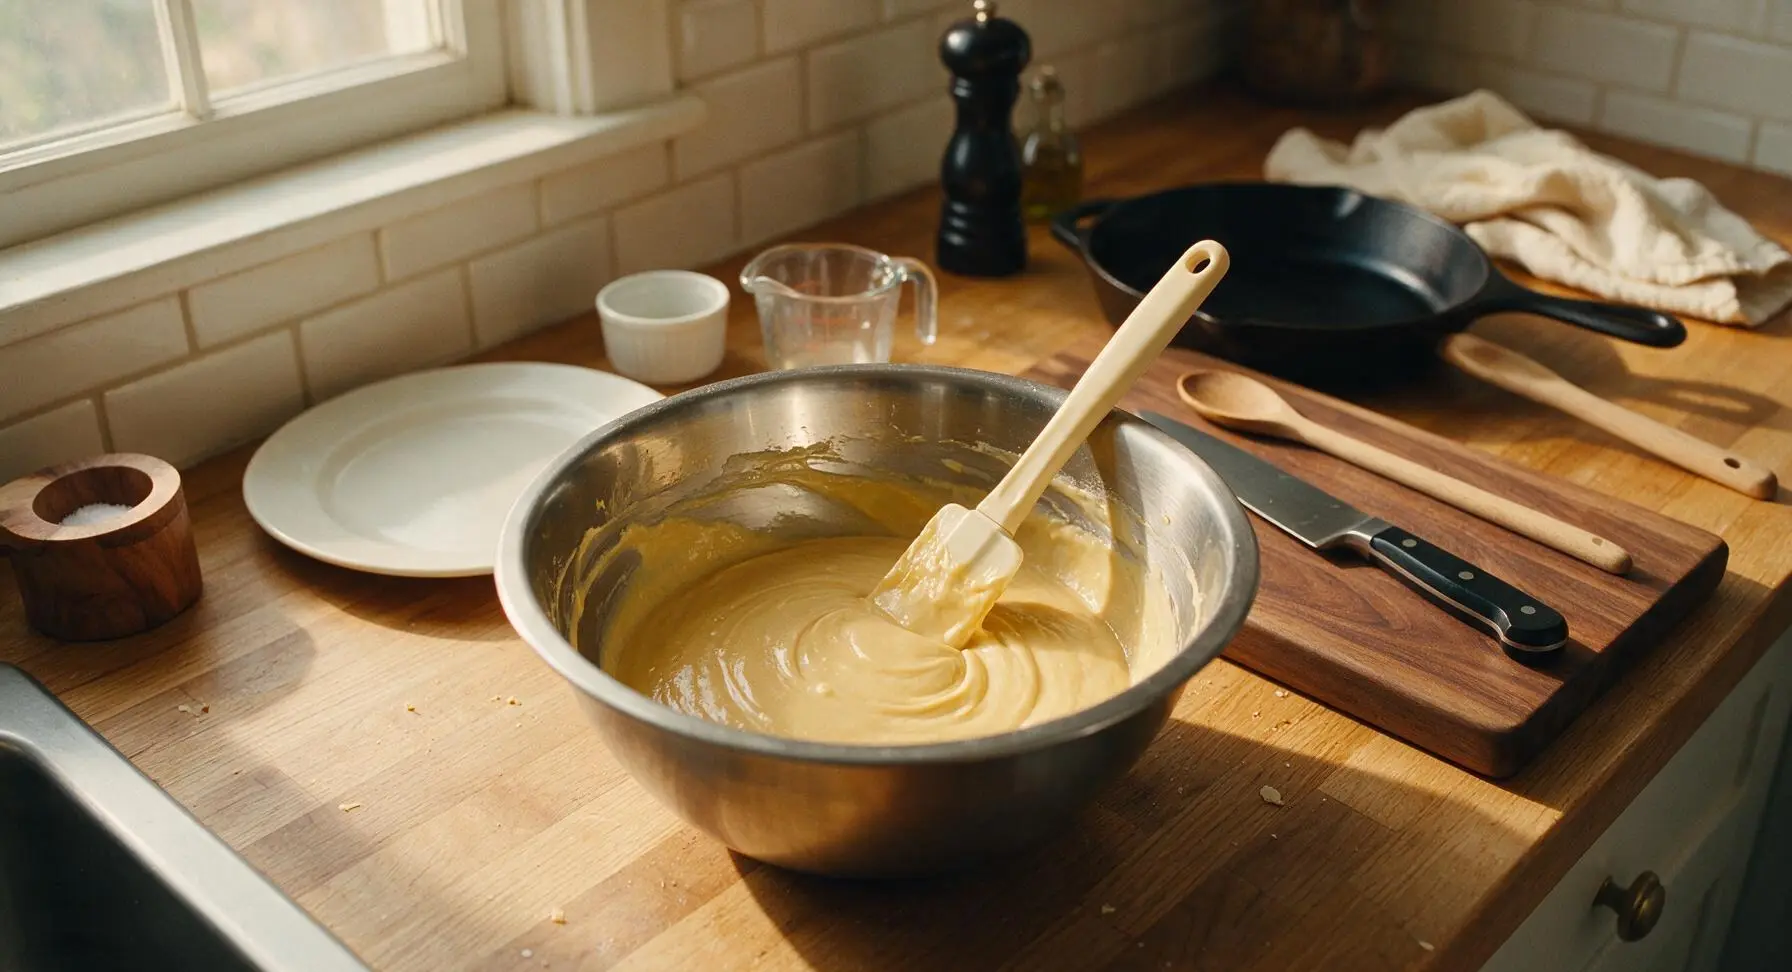
Make a small well in the center of the sifted dry ingredients. Pour in the cooled melted butter, cold eggnog, room temperature egg whites, and pure vanilla extract. Use the cream-handled silicone spatula to stir the mixture in slow, circular motions, starting from the center and working outward, until you have a completely smooth, thin, pourable batter with no lumps. Do not overmix, as this will develop gluten and make tough tuiles. Let the batter rest at room temperature for 10 minutes to allow air bubbles to dissipate, which prevents holes in the baked cookies.
Step 2
step2:Combine Wet Ingredients
Step 2
step2:Combine Wet Ingredients
3

Prep Baking Sheet

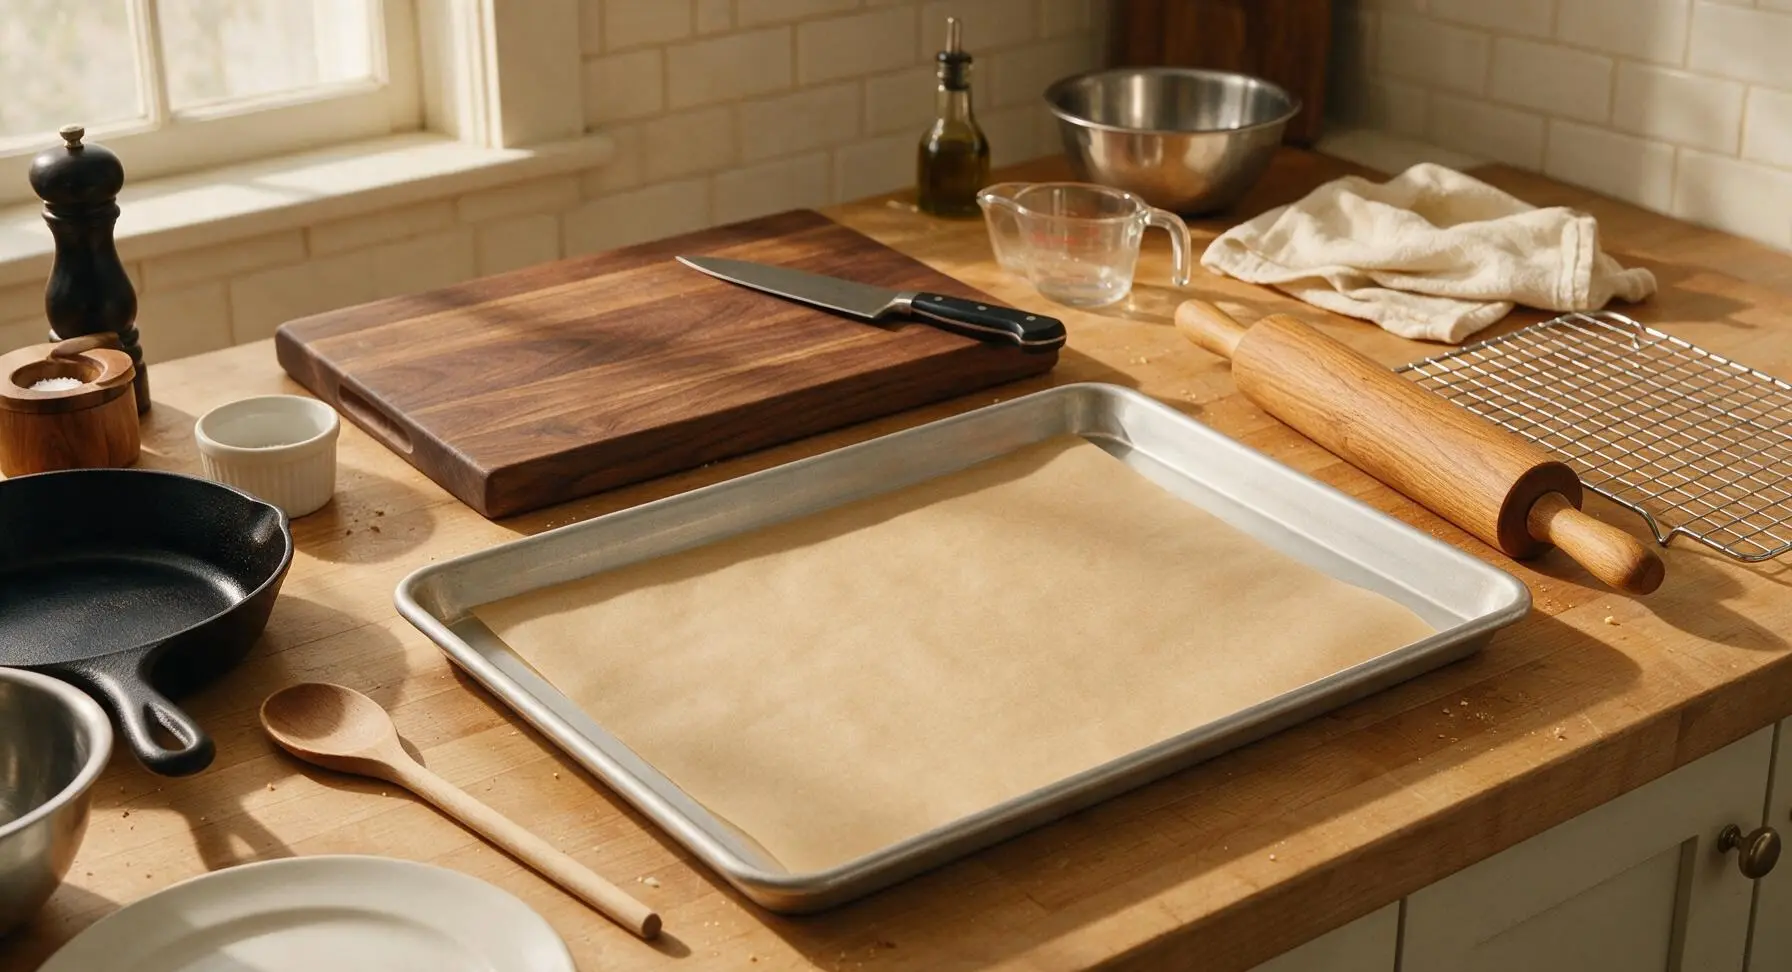
While the batter rests, preheat the oven to 180°C (350°F). Line the large heavy-gauge aluminum baking sheet with a sheet of unbleached tan parchment paper, smoothing out any wrinkles to create a perfectly flat surface. Because tuiles spread very thin during baking, you will only bake 4 cookies per sheet to prevent them from merging into one another.
Step 3
step3:Prep Baking Sheet
4

Portion Batter Dollops

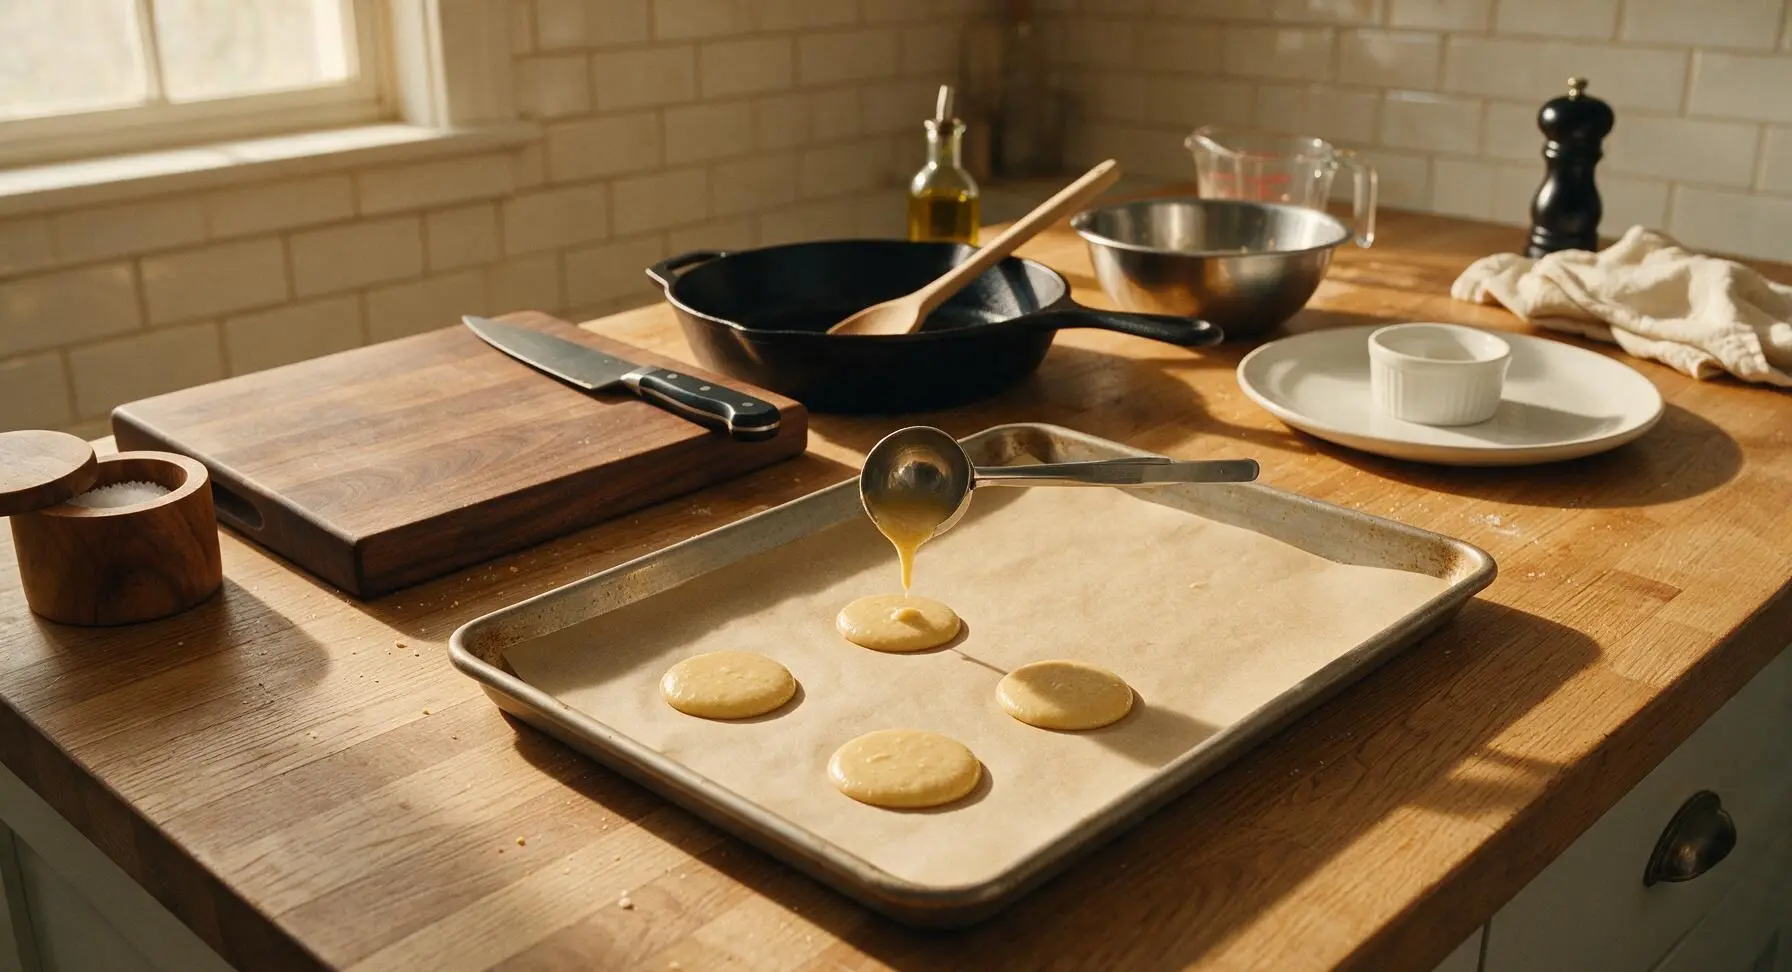
Once the batter has rested, scoop 1-teaspoon sized dollops of batter onto the parchment-lined baking sheet, spacing them at least 10cm (4 inches) apart to allow for spreading. You should have exactly 4 dollops per sheet for the first batch. Do not place larger dollops, as they will spread too thin and burn at the edges before the center sets.
Step 4
step4:Portion Batter Dollops
5

Spread Batter Thin

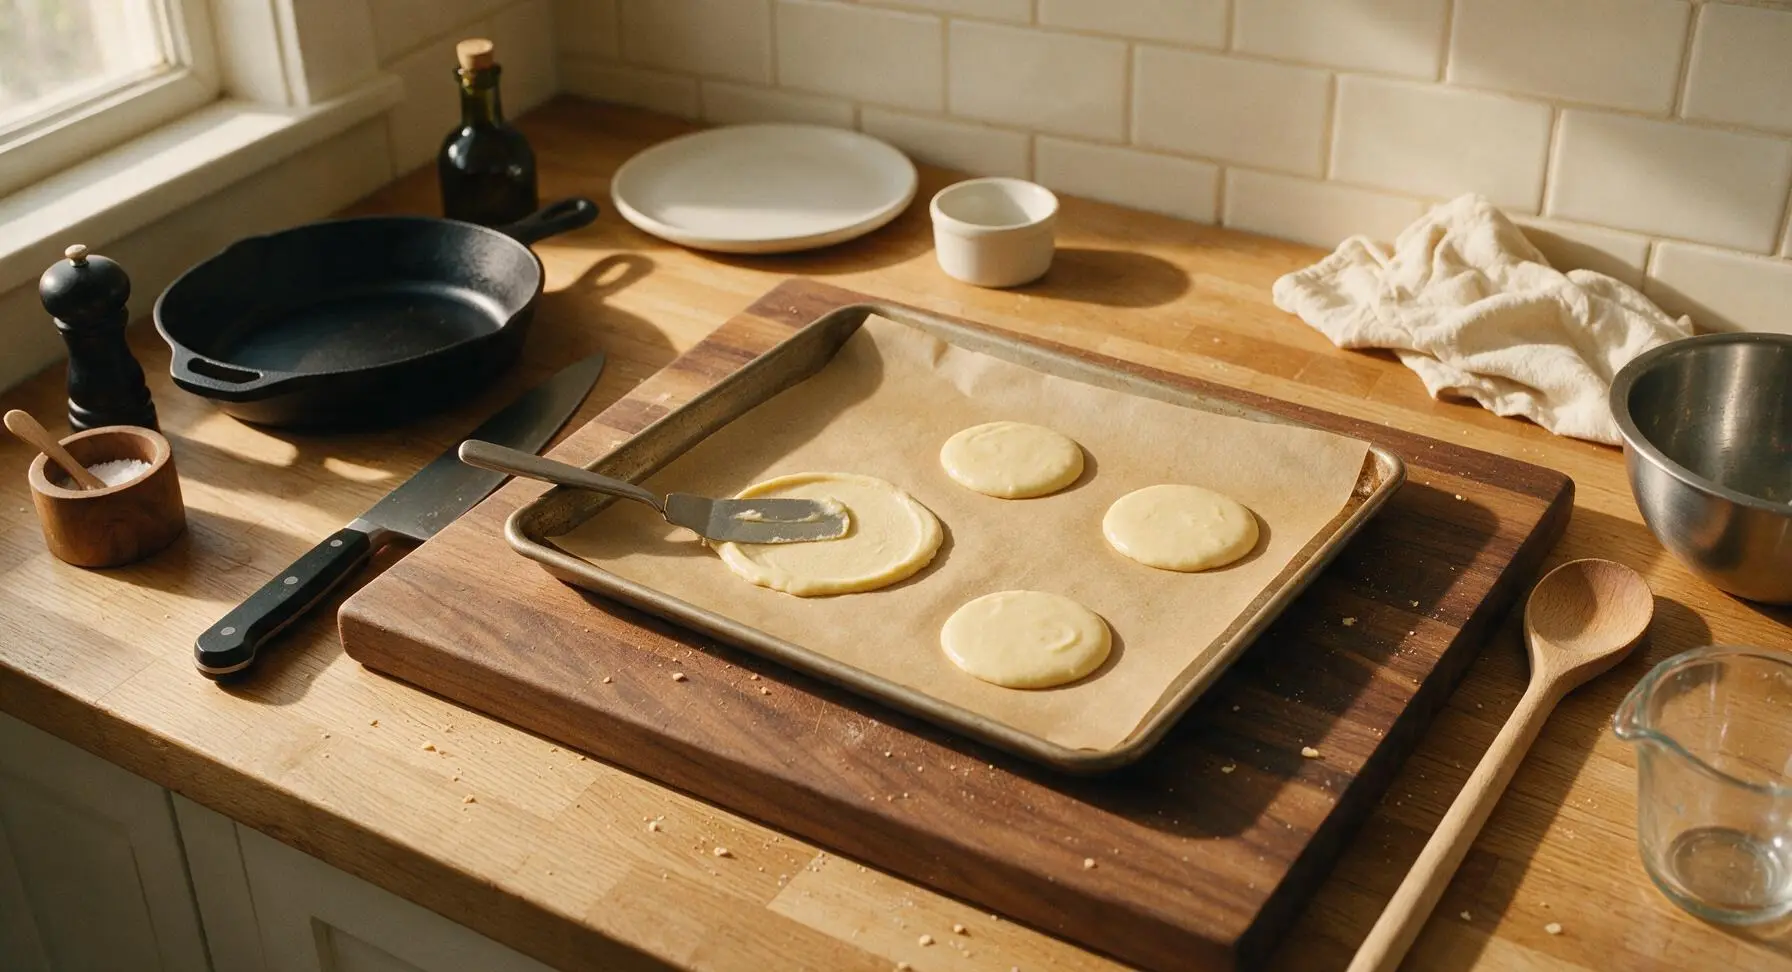
Use the small offset metal spatula to spread each batter dollop into a very thin, even 8cm (3 inch) wide circle. The batter should be thin enough that you can faintly see the parchment paper through it. Consistent thickness is key: thick spots will be chewy instead of crisp, while too-thin spots will burn quickly.
Step 5
step5:Spread Batter Thin
6

Bake Until Golden

Place the baking sheet on the middle rack of the preheated oven. Bake for 6-7 minutes, until the edges of the tuiles are a deep golden brown and the centers are just set and pale golden. Do not walk away from the oven during the last minute of baking, as tuiles go from perfectly golden to burnt in 30 seconds. Remove from the oven immediately once done.
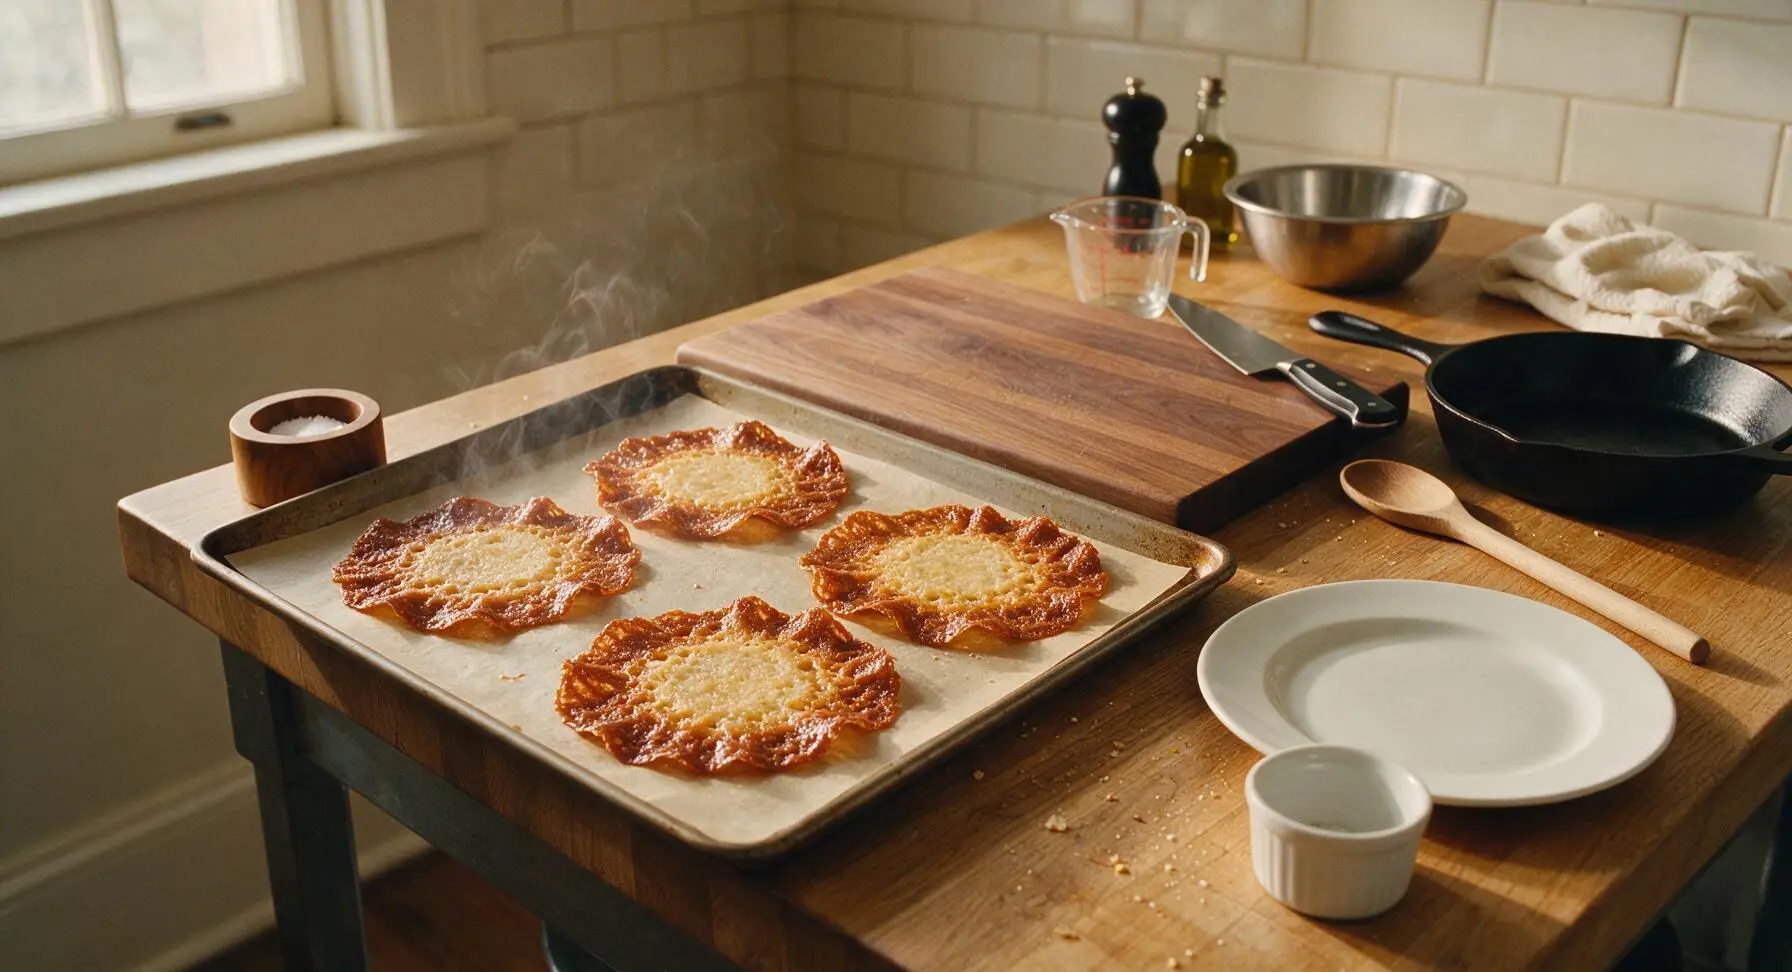
Step 6
step6:Bake Until Golden
7

Shape Warm Tuiles

Working extremely quickly (you have only 60-90 seconds before the tuiles harden and become brittle), use the offset spatula to lift each hot tuile off the parchment paper. Drape each tuile over the wooden rolling pin, pressing gently to form a gentle curved arc, the classic tuile shape. If the tuiles harden before you shape them, place them back in the oven for 30 seconds to soften, then resume shaping.
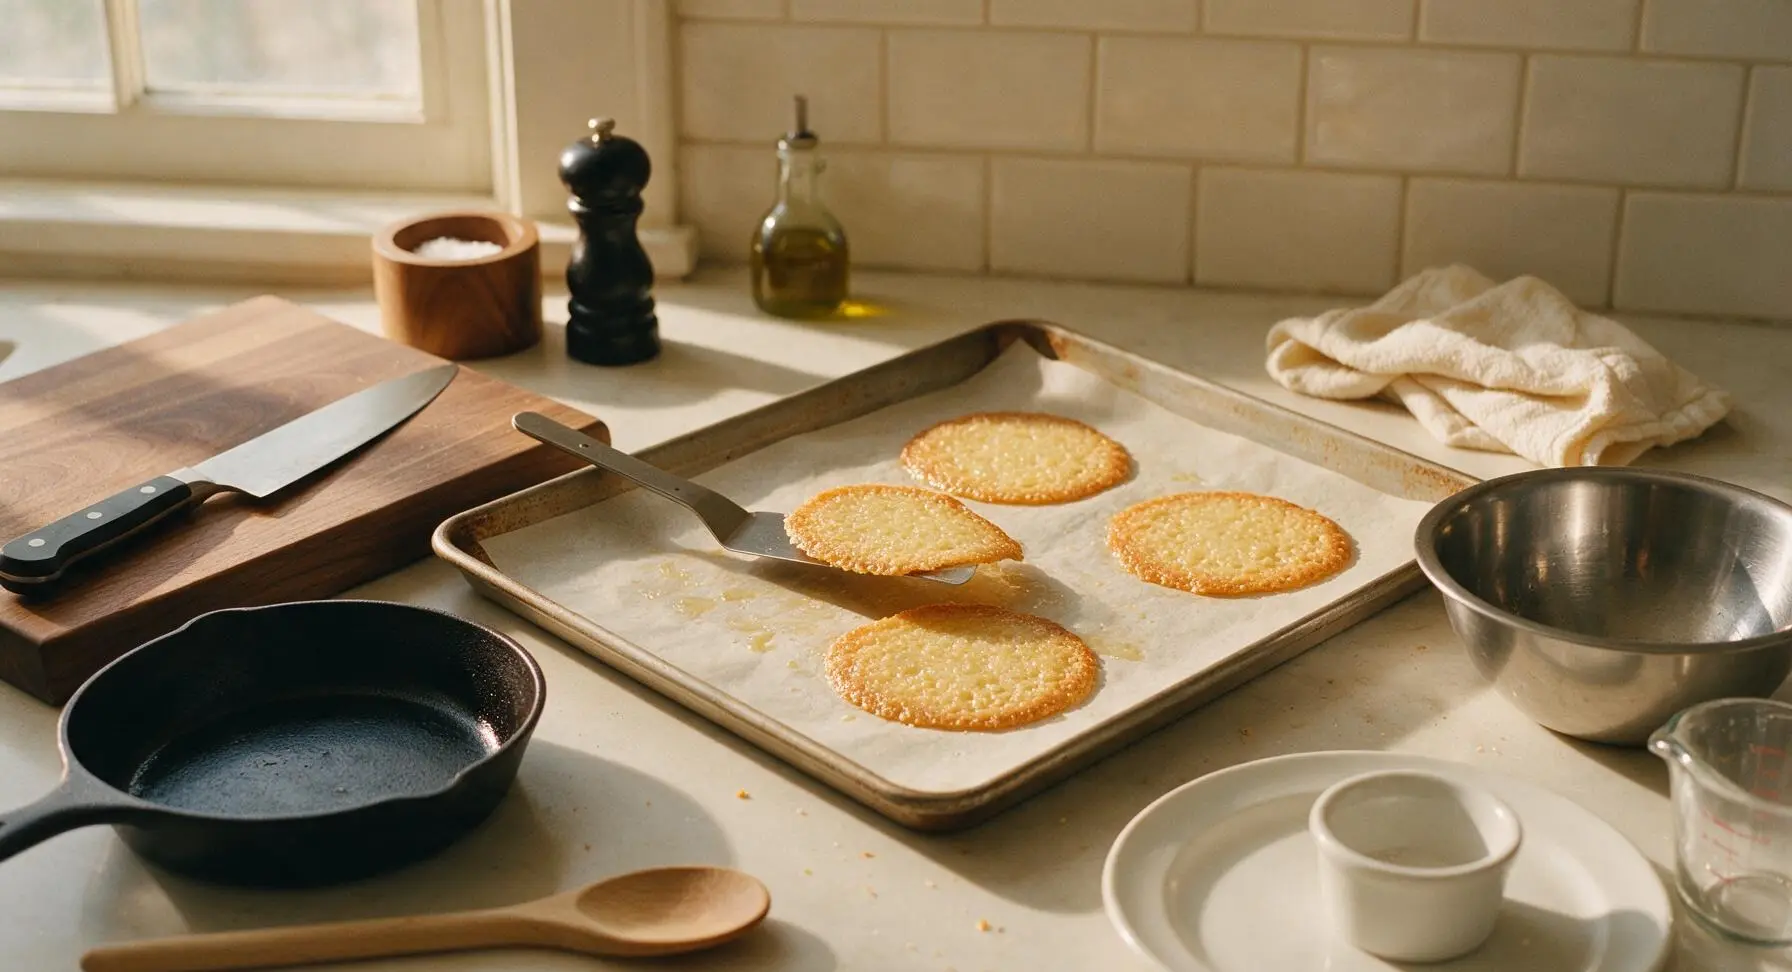
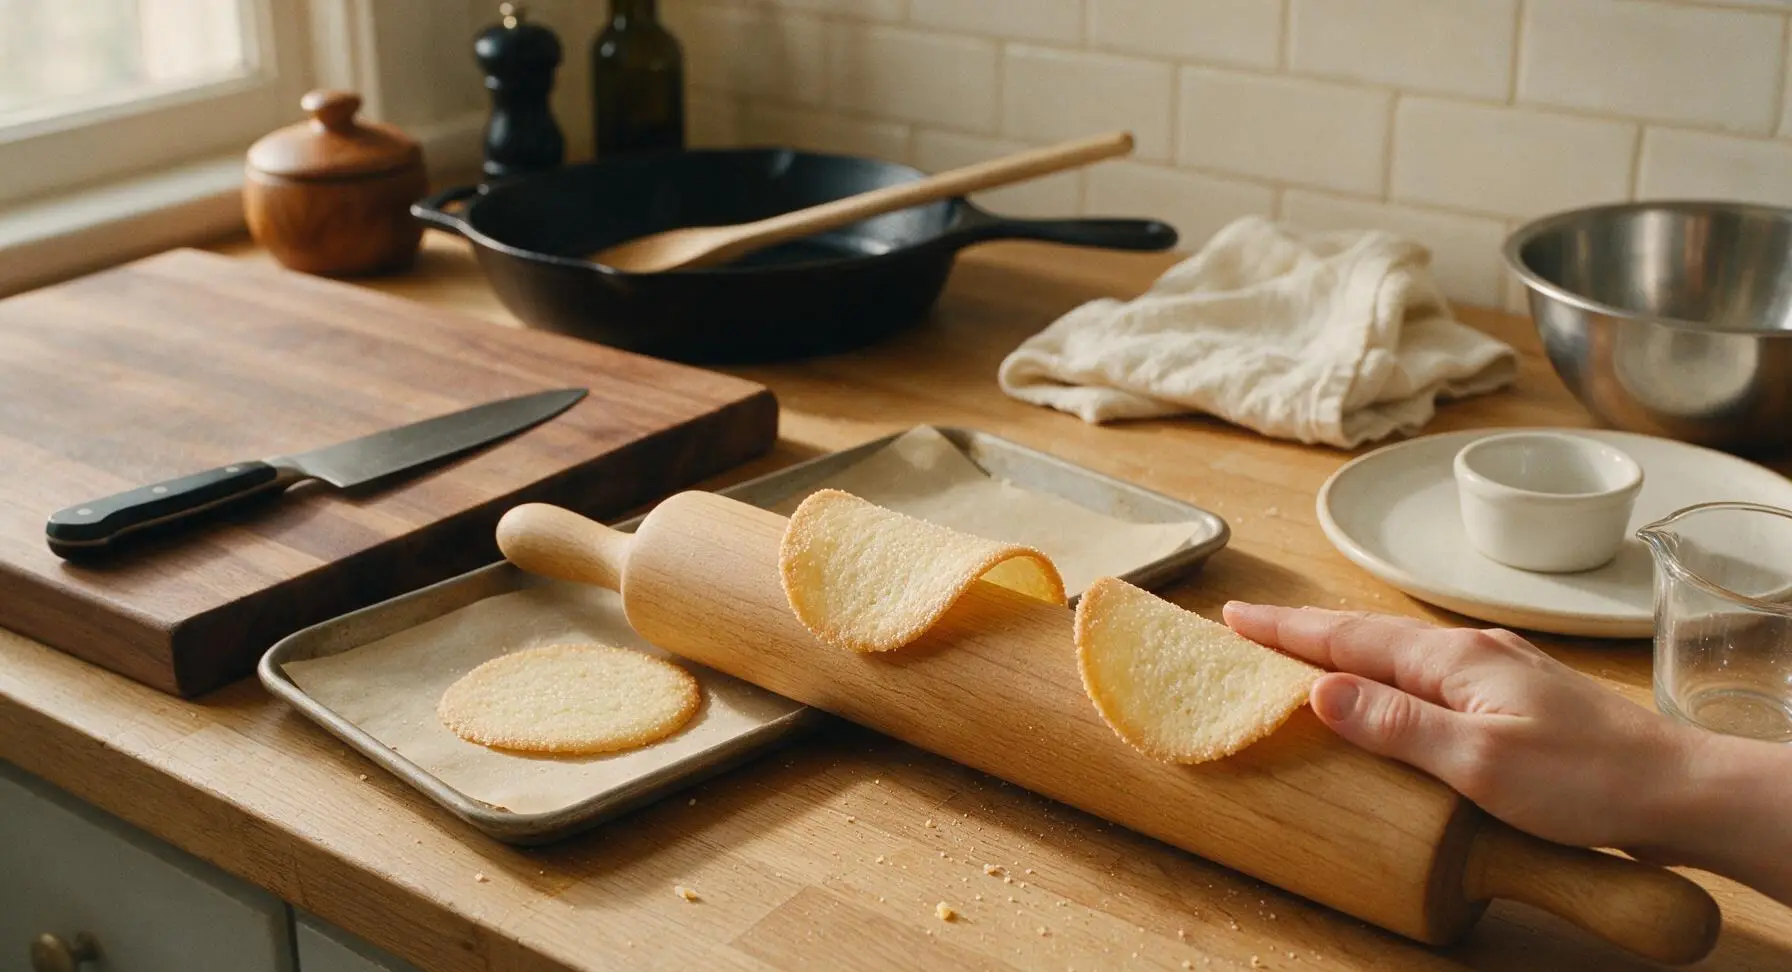
Step 7
step7:Shape Warm Tuiles
Step 7
step7:Shape Warm Tuiles
8

Cool and Dust

Once the shaped tuiles hold their curved form (about 2 minutes on the rolling pin), transfer them to the chrome wire cooling rack to cool completely to room temperature, about 5 minutes. Repeat the baking, shaping, and cooling process with the remaining batter. Once all tuiles are cool, use the fine-mesh sieve to dust a light layer of freshly grated nutmeg over the top of all the cookies before transferring to the serving platter.
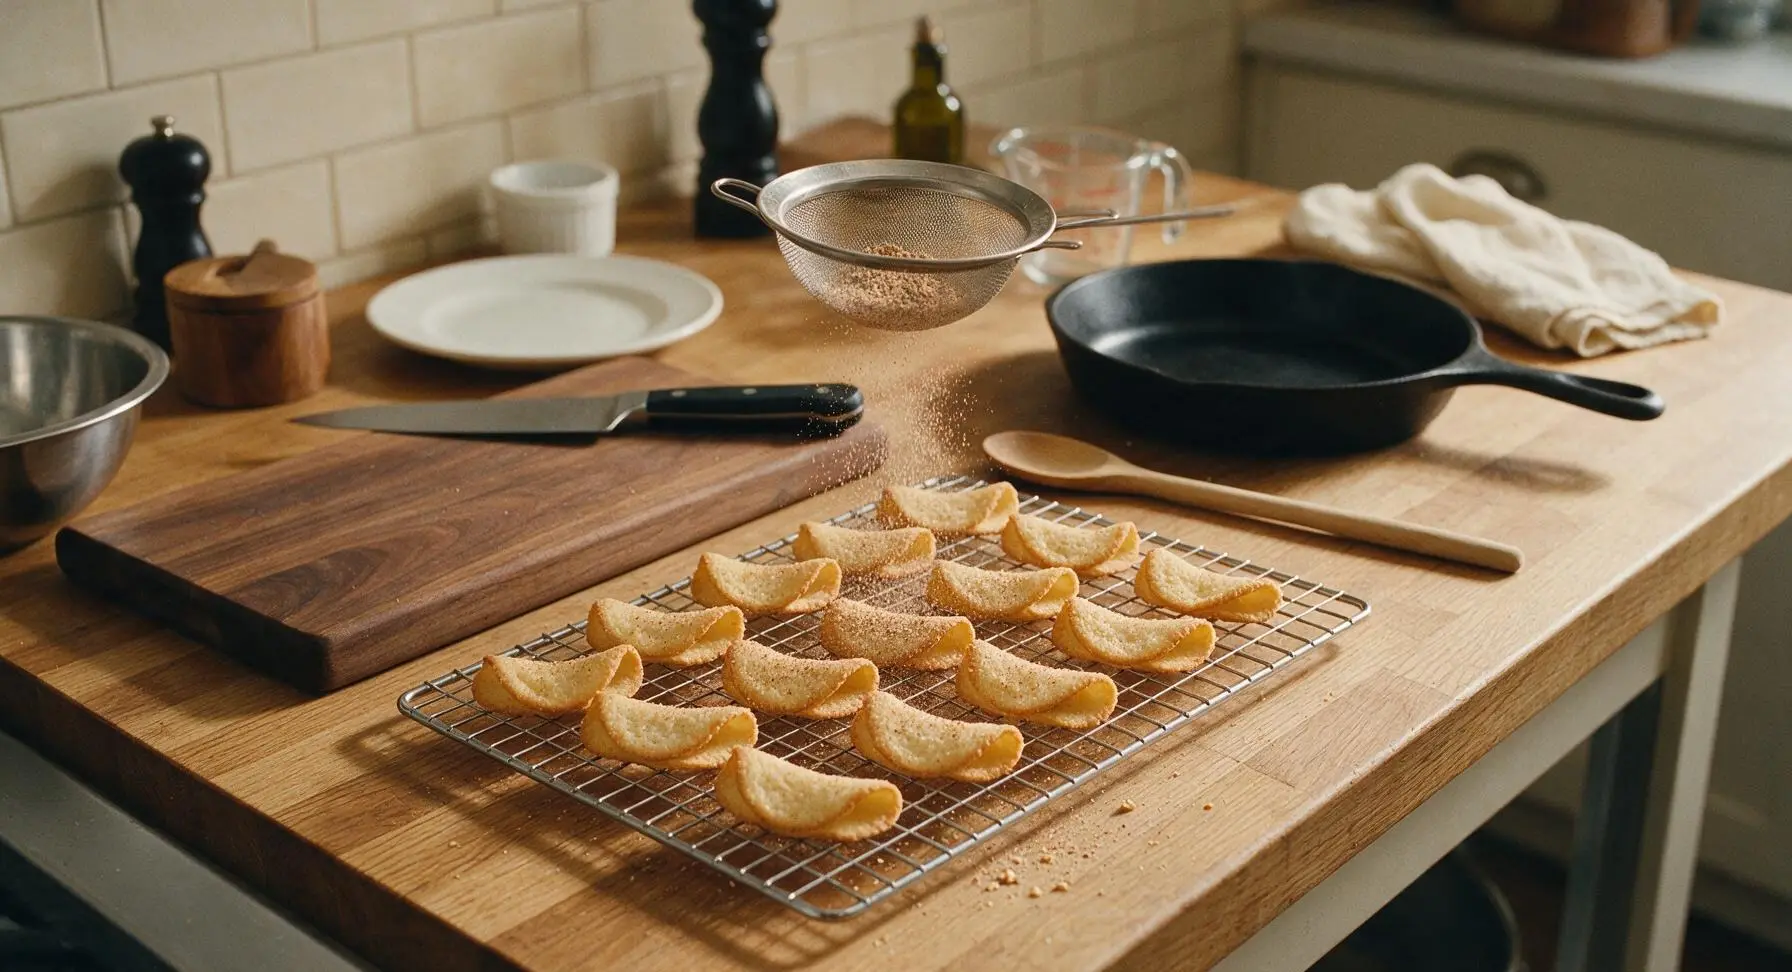
Step 8
step8:Cool and Dust

Tips

1.Bake only 4 cookies per sheet, even if you have extra pan space. Tuiles harden completely in 60-90 seconds after leaving the oven, so baking more than 4 will leave you unable to shape all of them before they turn brittle and crack.
2.Cool melted butter to lukewarm (around 35°C / 95°F) before mixing it into the batter. Hot butter will partially cook the raw egg whites, creating small lumps that cause uneven spreading and holey, misshapen tuiles.
3.Store fully cooled tuiles in an airtight container at room temperature for up to 5 days, with parchment paper between layers to prevent sticking. Never refrigerate tuiles, as trapped moisture will turn the crisp cookies soft and chewy in as little as 2 hours.


✨ You May Also Like

Desserts & Baking
🍜 Italy

Creamy, coffee-kissed classic Northern Italian no-bake dessert, with layers of rum-spiked mascarpone cream, soft ladyfingers, and a rich cocoa dusting.

⏱️ 4 hours 3Desserts & Baking ★ 4.7
Desserts & Baking
🍜 France

Flaky, shatteringly crisp, buttery French croissants with golden exteriors and soft, airy layered interiors, perfect for pairing with coffee for a special morning treat.

⏱️ 12 hours Desserts & Baking ★ 4.5
Desserts & Baking
🍜 United States

Warm, spiced baked apples topped with a fluffy golden biscuit crust, this cozy dessert pairs perfectly with vanilla ice cream for cool-weather comfort.

⏱️ 55 minuteDesserts & Baking ★ 4.6
Desserts & Baking
🍜 United States

A star-spangled classic American blueberry pie with buttery flaky crust and bright sweet-tart filling, perfect for summer patriotic gatherings.

⏱️ 1 hour 25Desserts & Baking ★ 4.7
Desserts & Baking
🍜 United States

A beloved no-bake regional Maine candy with a chewy coconut-potato center coated in rich dark chocolate, a New England holiday staple since the 1870s.

⏱️ 2 hours 3Desserts & Baking ★ 4.8
Desserts & Baking
🍜 France

Luxuriously creamy, floral frozen custard made with aromatic Tahitian vanilla beans, boasting a smooth, rich texture that melts slowly on the tongue.

⏱️ 3 hours 3Desserts & Baking ★ 4.5

Eggnog Tuiles:Frequently Asked Questions

1.Why did my eggnog tuiles turn out soft and chewy instead of crisp and lacy? ▾
That’s one of the most common tuile missteps! It usually happens if you underbaked them enough to leave excess moisture, or let them cool flat on the baking sheet too long. Stick to the recommended bake time, move them to your shaping surface immediately out of the oven, and store fully cooled tuiles in an airtight container to lock in that crisp snap.
2.Can I make these eggnog tuiles ahead of time for holiday cookie tins? ▾
Absolutely—they’re ideal for gifting! Once they are fully cooled and set, tuck them into an airtight container with sheets of parchment between layers to prevent sticking, and keep them at cool room temperature for up to 1 week. Skip adding any moist fillings or drizzles until right before gifting, as moisture will make them lose their crunch quickly.
3.Do I have to curve these tuiles, or can I leave them flat? ▾
You can absolutely leave them flat! The classic curved shape is perfect for perching on mugs of holiday cocoa, but flat rounds work just as well for snacking or stacking in tins. If you do want to shape them, only bake 2 to 3 cookies at a time, since they harden completely 60 to 90 seconds after coming out of the oven.
4.Can I use low-fat or non-fat eggnog instead of full-fat for this recipe? ▾
I don’t recommend it for the best texture and flavor. Low-fat and non-fat eggnog have higher water content and less of that rich, spiced creaminess that defines these cookies. The extra water also causes uneven spreading and faster sogginess after baking. If that’s all you have, stir in 1 tablespoon of melted heavy cream per cup of eggnog to bump up the fat first.
5.My tuiles spread too much in the oven and merged into one big sheet—what went wrong? ▾
That almost always traces back to two easy-to-fix issues: your melted butter was too hot when you mixed the batter, or you spaced your batter dollops too close together. Let melted butter cool for 5 minutes before mixing, and leave at least 3 inches between each tablespoon of batter, since these spread into thin, lacy rounds as they bake.
6.Can I add mix-ins like chocolate chips or chopped nuts to the batter? ▾
Stick to very fine, sparse mix-ins so you don’t weigh down the delicate, thin batter. A light sprinkle of extra freshly grated nutmeg or finely crushed candied pecans on top before baking works beautifully, as does a thin white chocolate drizzle after cooling. Skip large chocolate chips or chunky nut pieces, which cause uneven spreading and cracking.
7.I don’t own a special tuile mold—what common household items work for shaping? ▾
No fancy equipment is required! Drape warm, freshly baked cookies over a rolling pin for the classic curved shape, tuck them into muffin tin cups to make tiny edible bowls, or wrap them gently around a wooden spoon handle to make tight cookie curls. Just move fast—they harden quickly once they’re out of the oven.

Comments (18)

2 days ago

OMG these eggnog tuiles are the perfect addition to my annual Christmas cookie platter! I was worried they’d be too fussy since tuiles can be tricky, but the instructions were so straightforward. My kids loved them so much they asked for a second batch before I even finished plating the first. SO good with a little spiced whipped cream on top!

yesterday

Wait do you think they’d hold up for a neighborhood potluck? I’m supposed to bring desserts this weekend and want something festive that doesn’t get soggy!

yesterday

Great question! These tuiles stay perfectly crisp for 2-3 days when stored in an airtight container at room temperature, so they’re ideal for potlucks. Just hold off on adding any whipped cream or dip until you’re ready to serve to keep that crunch!

3 days ago

Made these for my family dinner last night and everyone kept asking where I got the recipe! The nutmeg and rum extract hit exactly that classic eggnog flavor without being overpowering. Only note is I had to bake mine a full 2 minutes longer than the recipe said because my oven runs cold, but that’s a me thing.

2 days ago

So happy they were a hit at your family dinner! Oven temp variations are super common, so that extra bake time is a great call—you just want the edges to turn a light golden brown for that perfect snap.

1 week ago

These are so tasty! I swapped the all-purpose flour for a 1:1 gluten free baking blend and they turned out pretty well, though they spread a tiny bit more than the photos showed. Still crispy, still that perfect eggnog taste, will definitely make again for my holiday meal prep.

5 days ago

Game changer! I’ve been making the same Christmas cookies for 10 years and decided to switch things up this year, and these did not disappoint. I even shaped a few of them into little cups while they were warm to hold eggnog mousse – chef’s kiss.

3 days ago

Wait how did you shape them into cups? I tried shaping tuiles once before and they cracked on me before I could get them formed!

2 days ago

I draped them over the back of a greased mini muffin tin right as soon as I pulled them out of the oven! You have to work fast, like within 30 seconds, before they harden. If they start to crack, pop them back in the oven for 10 seconds to soften up again!

1 week ago

These are SO good paired with my morning latte this week! I made a big batch on Sunday for snacking and they’ve held up great. The only thing I might do differently next time is add a tiny bit more nutmeg, because I’m obsessed with that warm spice.

5 days ago

Ooh adding extra nutmeg is such a good call! I might even sprinkle a little on top before baking next time I make these, thanks for the idea!

2 weeks ago

Taste is great, but these were way harder to get right than I expected? I followed the instructions exactly but my first two batches spread way too thin and turned into crispy crumbs. Maybe it’s because I’m a total beginner, I’ll have to try again when I have more patience.

1 week ago

I brought these to my office holiday party last week and they were gone in 10 minutes! Multiple people asked for the recipe, I felt like a total baking rockstar. Pro tip: a little white chocolate drizzle on the edges takes them to the next level.

5 days ago

That white chocolate drizzle tip is genius! So stoked these were a hit at your office party—nothing beats watching a dessert disappear that fast.

3 days ago

Oh my gosh I’m doing the white chocolate drizzle AND a tiny sprinkle of crushed candy canes on top! That sounds like the perfect festive twist.

yesterday

Quick question—can I make the batter ahead of time and keep it in the fridge to bake off fresh on Christmas Eve? I made a test batch earlier this week and these were unreal, I just want to cut down on day-of work for our big family gathering.

2 hours ago

Absolutely! The batter stays great in an airtight container in the fridge for up to 3 days. Just give it a quick stir before scooping, and add 30-60 seconds to the bake time since the batter will be cold. Merry Christmas!

5 days ago

I was nervous about the medium difficulty rating as someone who almost never bakes, but these were totally doable, and the 30 minute cook time meant I didn’t have to spend half the day in the kitchen! I used a silicone baking mat and didn’t have any issues with sticking, and they came out looking just like the recipe photos. 10/10, will make again next year.

3 days ago

Made these with my teen daughter last night for our annual cookie bake night, and we had a blast! We messed up the first batch by leaving them on the baking sheet too long after taking them out, so they stuck, but the rest came out perfectly. She even added a little extra rum extract because she loves that boozy eggnog flavor (no judgment, they were delicious).

2 days ago

Did you use actual rum or rum extract? I have a bottle of spiced rum I’ve been trying to use up and I’m curious if that would work instead of extract!

yesterday

Love that you two made a baking memory out of these! To answer the rum question: you can swap the extract for 1 tsp of spiced rum, just cut back the vanilla by 1/4 tsp to keep the flavor balanced. Enjoy!

2 days ago

These are the perfect light dessert after a heavy holiday meal! I feel like most Christmas cookies are so rich and chocolatey, so these crisp, spiced tuiles are such a nice change of pace. I served them alongside eggnog ice cream and everyone raved.

yesterday

Serving them with eggnog ice cream is such a genius combo! I’m doing that for my Christmas dinner dessert for sure, thank you for the idea!

1 week ago

Love that this recipe uses basic pantry staples! I didn’t have to run to the grocery store for any fancy ingredients, which is a huge win this time of year when stores are a madhouse. The tuiles came out crisp, flavorful, and way cheaper than the fancy bakery versions I’ve seen at the grocery store.

5 minutes ago

The flavor of these is amazing, but I can’t get the texture right! My tuiles keep coming out chewy instead of crisp even after following the bake time exactly and letting them cool on a wire rack. Any tips?

just now

So sorry the texture is off! Chewy tuiles usually mean they either need 1-2 extra minutes in the oven to bake off excess moisture, or your batter was scooped too thickly. Try spreading the batter into an even thinner layer and adding a minute or two to the bake time, that should give you that perfect crisp snap!

2 weeks ago

I made these vegan by swapping the butter for vegan stick butter and using a flax egg, and they turned out incredible! You honestly can’t even tell they’re vegan, my omnivore boyfriend ate half the batch in one sitting. Will absolutely be adding these to my yearly holiday rotation.

1 week ago

Oh thank you so much for sharing this swap! I’ve been looking for a vegan-friendly tuile recipe for ages, I can’t wait to try this for my holiday party next weekend.

5 days ago

Did you use dark rum extract or regular? My kid has a tree nut allergy so I have to be careful with extracts, just want to make sure I pick the right one!

3 days ago

I made these for my book club holiday meeting and everyone thought I bought them from a fancy patisserie! I felt so fancy passing around a plate of delicate tuiles instead of my usual chocolate chip cookies. The eggnog flavor is so nostalgic, it really feels like Christmas in a cookie.

2 days ago

Wait were you at our book club last night? Because someone brought these exact cookies and I’ve been searching for the recipe ever since! They were absolutely incredible, I’m so glad I found this.

30 minutes ago

Just pulled my second batch out of the oven and they’re even better than the first! Perfect amount of spice, perfect crunch, 10/10 no notes.

1 week ago

Brought these up to our cabin in Colorado for our annual ski trip with friends, and they were the perfect apres-ski snack! Light, crispy, warm spice, paired perfectly with spiked hot cocoa by the fire. Everyone kept asking for seconds.

5 days ago

There’s no better review than tuiles enjoyed after a day on the slopes! So glad these made your ski trip a little cozier.

2 weeks ago

My grandma used to make eggnog tuiles every Christmas when I was a kid, and I’ve been searching for a recipe that tastes like hers for years. This is it! The balance of nutmeg, rum, and sweet crispy cookie is exactly what I remember. I almost cried when I took the first bite, thank you so much for sharing this.

1 week ago

This is so sweet! I’m on the hunt for my grandma’s old tuile recipe too, I can’t wait to try this one to see if it matches my childhood memories.

5 days ago

This comment made our whole day! There’s nothing more special than a recipe that brings back warm family memories, and we’re so honored this one matches your grandma’s. Happy holidays!



