
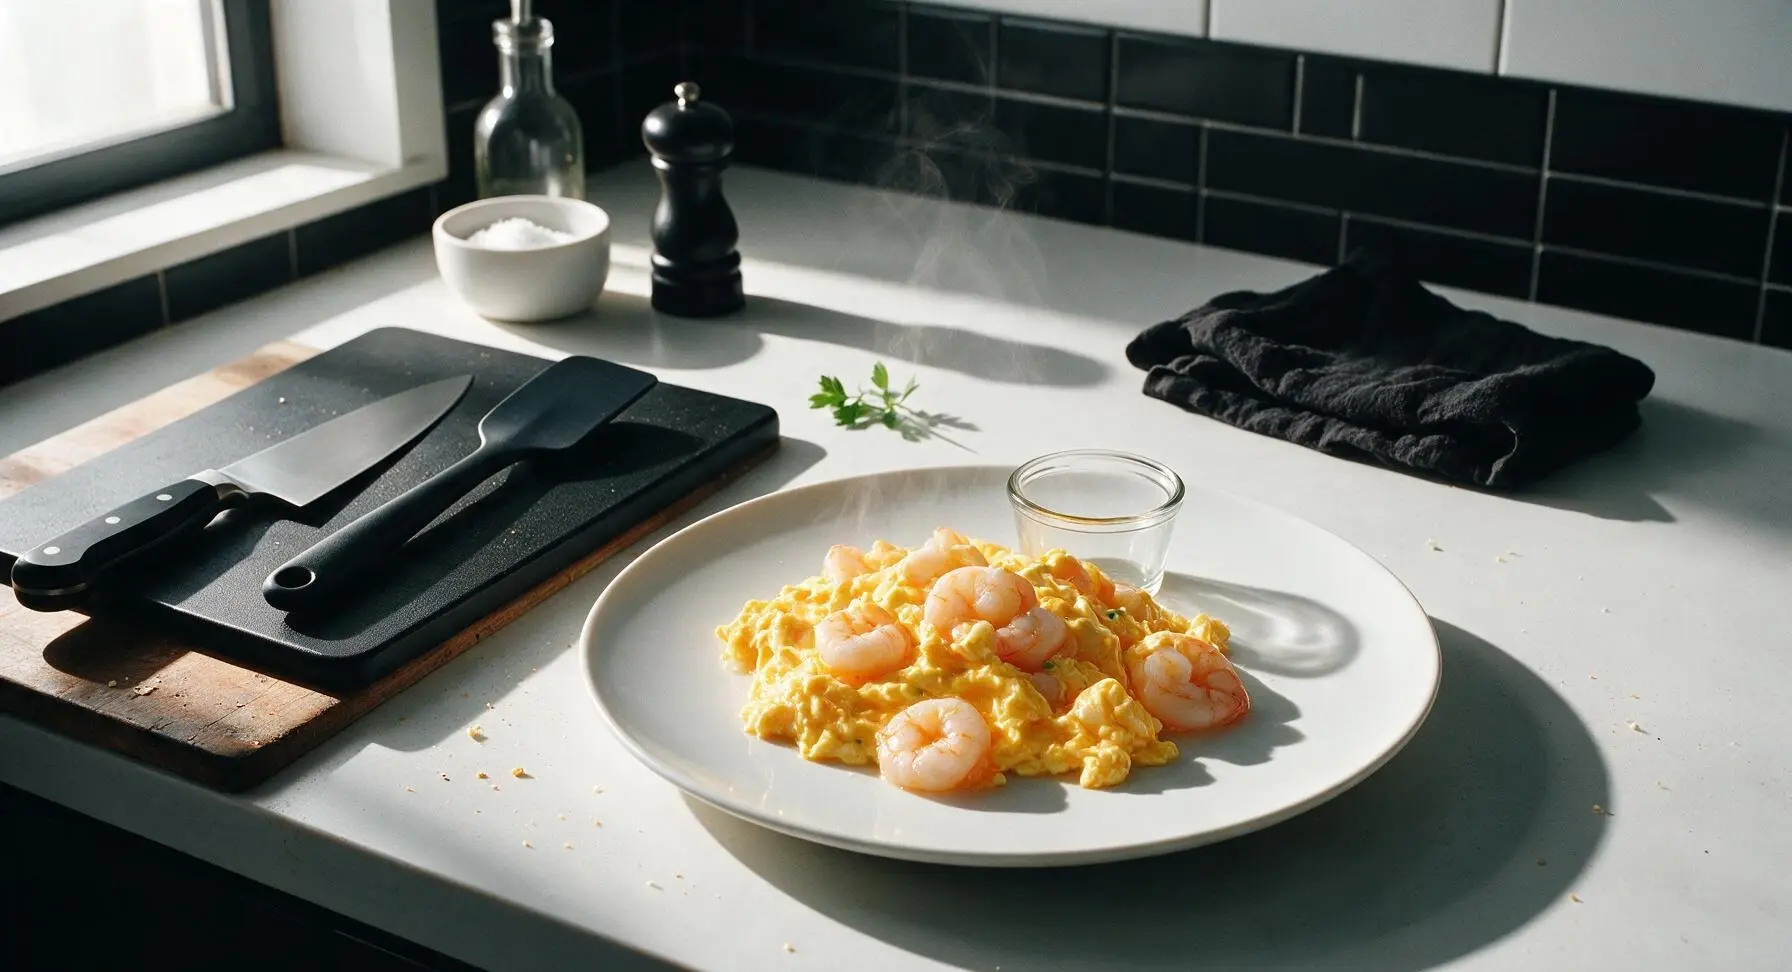
eggs and shrimp

title 1
eggs and shrimp
⏱️ cook time 6 minutes
🍽️ servings 2
⚡ Difficulty easy

intro

Silky, custardy soft-scrambled eggs paired with sweet, bouncy plump shrimp, a light umami-rich Cantonese home-style dish ready in under 20 minutes, perfect for fast weeknight meals.

Ingredients
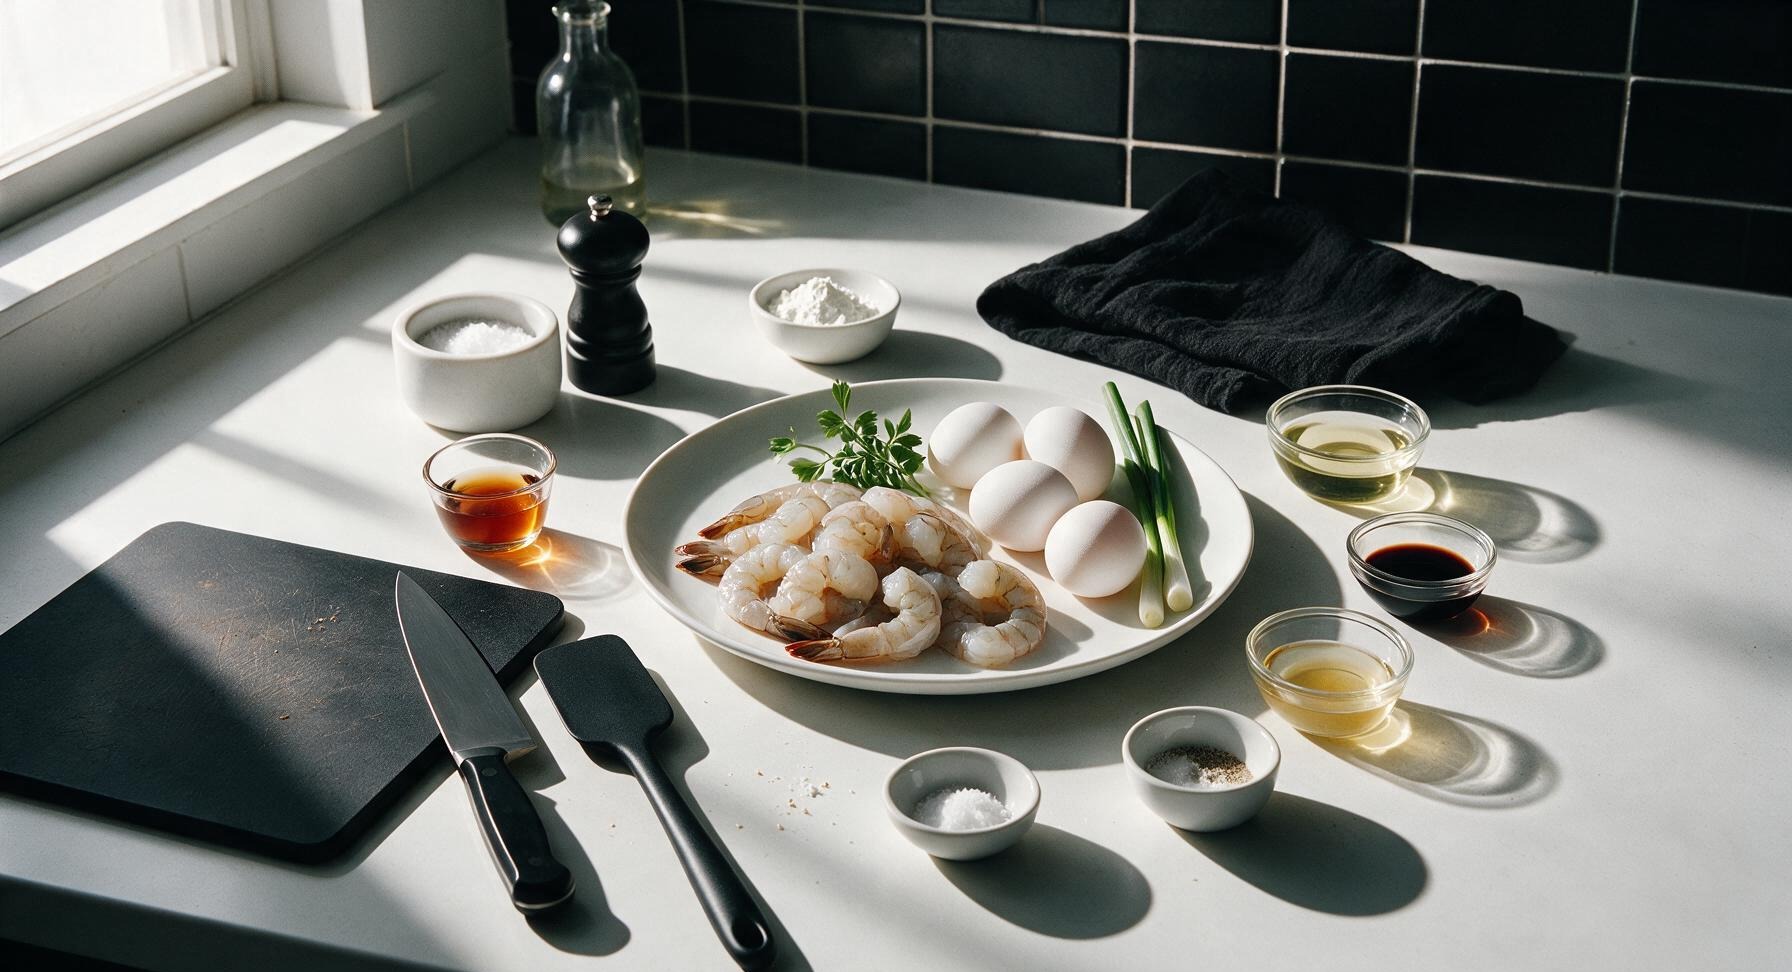
Raw large shrimp (peeled, deveined, tail-off) 200g
Large grade A eggs 4 units (≈200g)
Scallions 2 stalks (≈20g)
Shaoxing rice wine 1 tablespoon
Cornstarch 1 teaspoon
Fine sea salt 1/4 teaspoon
Ground white pepper 1/8 teaspoon
Neutral canola oil 2 tablespoons
Light soy sauce 1 teaspoon
Toasted sesame oil 1/2 teaspoon

Steps

1

Marinate the peeled shrimp

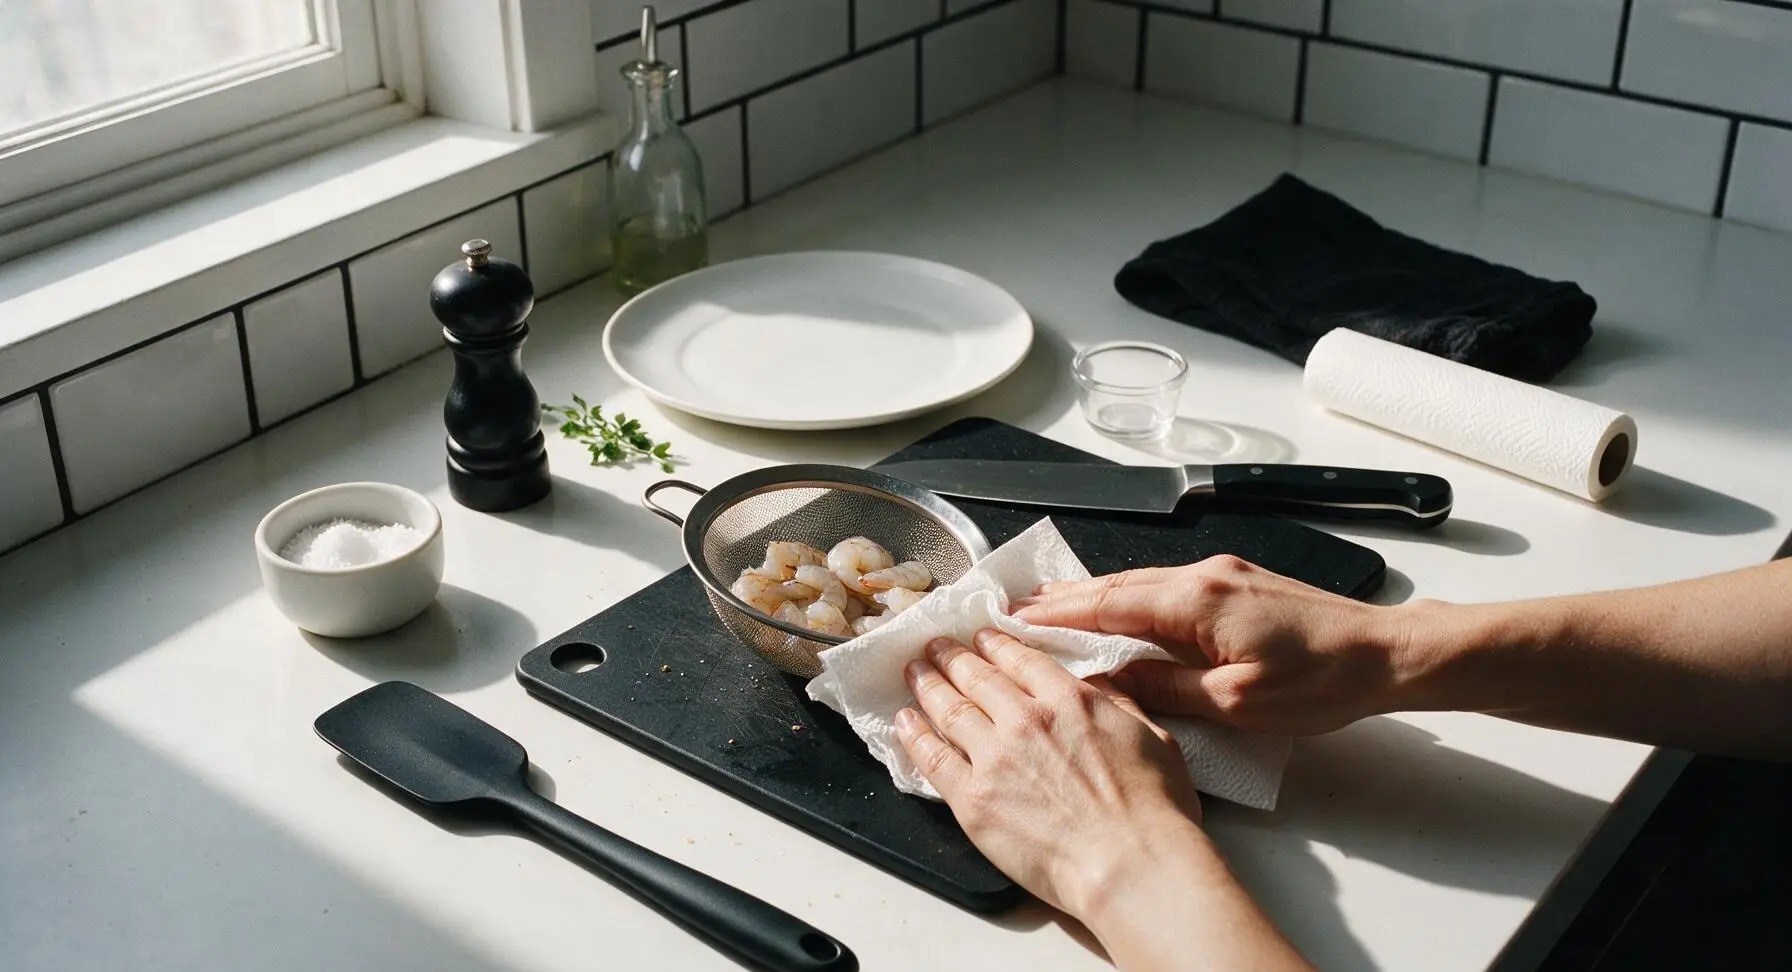
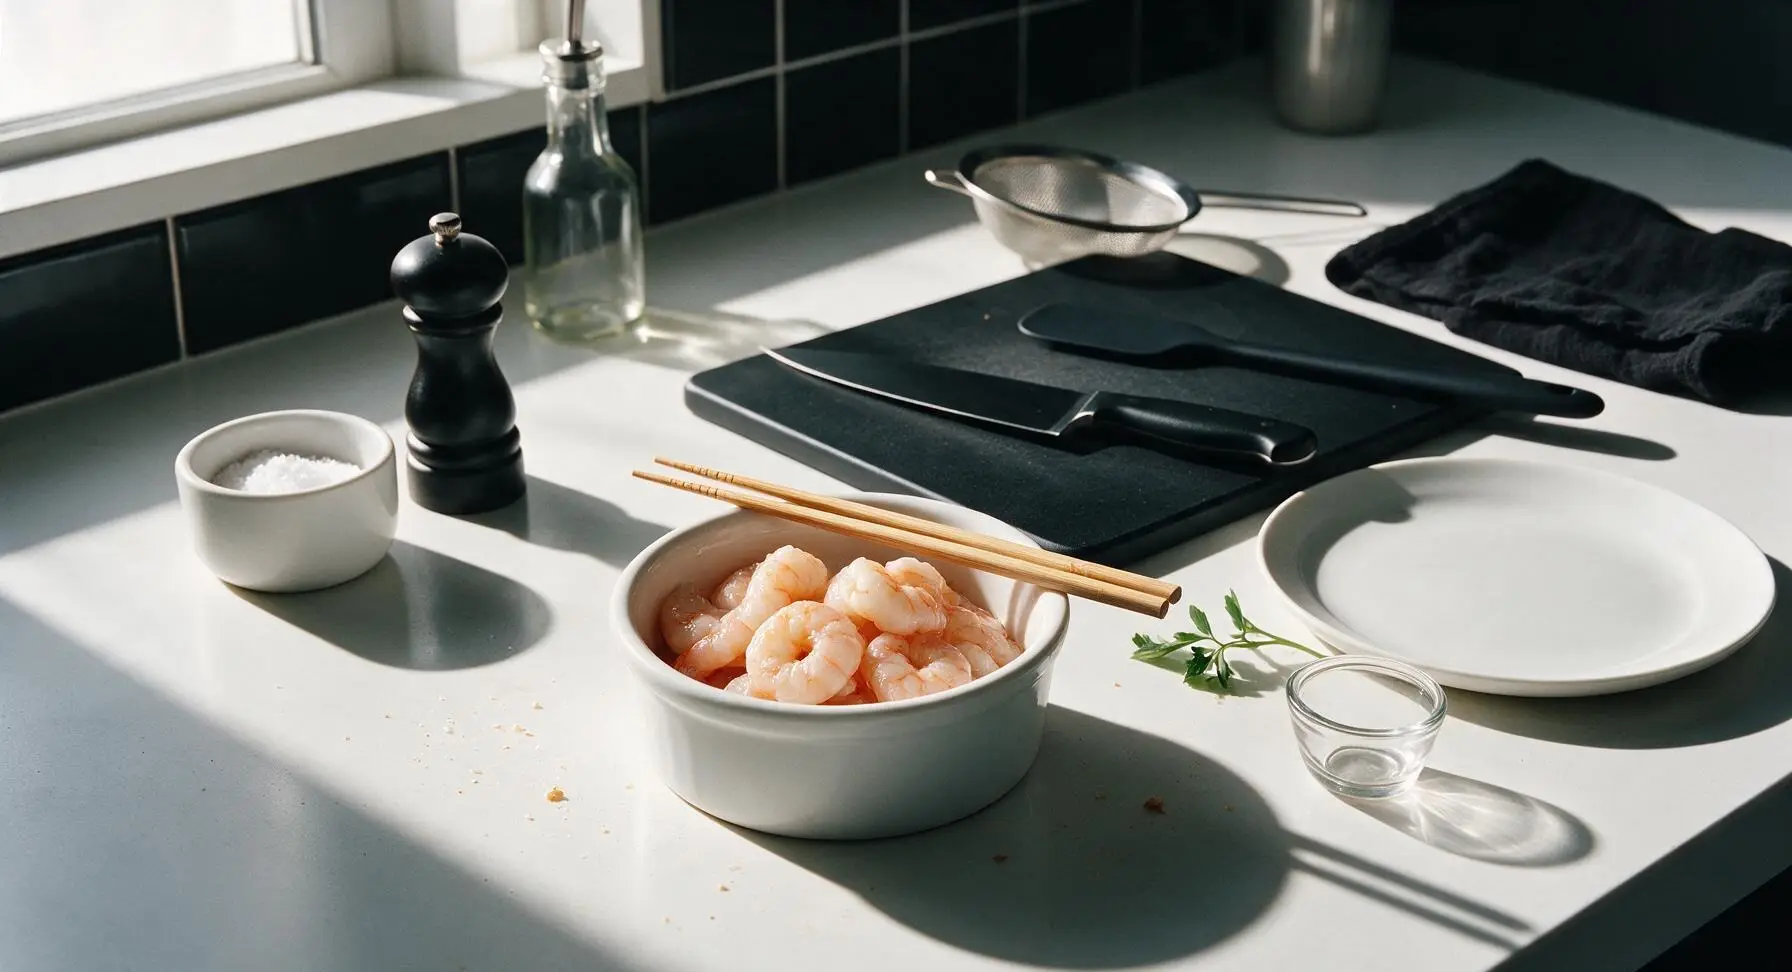
Place 200g peeled, deveined tail-off shrimp in the fine-mesh stainless steel strainer, rinse briefly under cool running water, then shake off excess moisture. Transfer shrimp to a sheet of paper towel from the roll beside the cooktop and pat completely dry, then place dried shrimp in one of the small white porcelain ramekins. Add 1 tablespoon Shaoxing rice wine, 1 teaspoon cornstarch, and a tiny pinch of fine sea salt, toss gently with the bamboo chopsticks to coat every shrimp evenly. Let rest 5 minutes at room temperature; the shrimp will have a thin, glossy, translucent coating with no dry cornstarch patches visible when ready.
Step 1
step1:Marinate the peeled shrimp
Step 1
step1:Marinate the peeled shrimp
2

Beat and season eggs

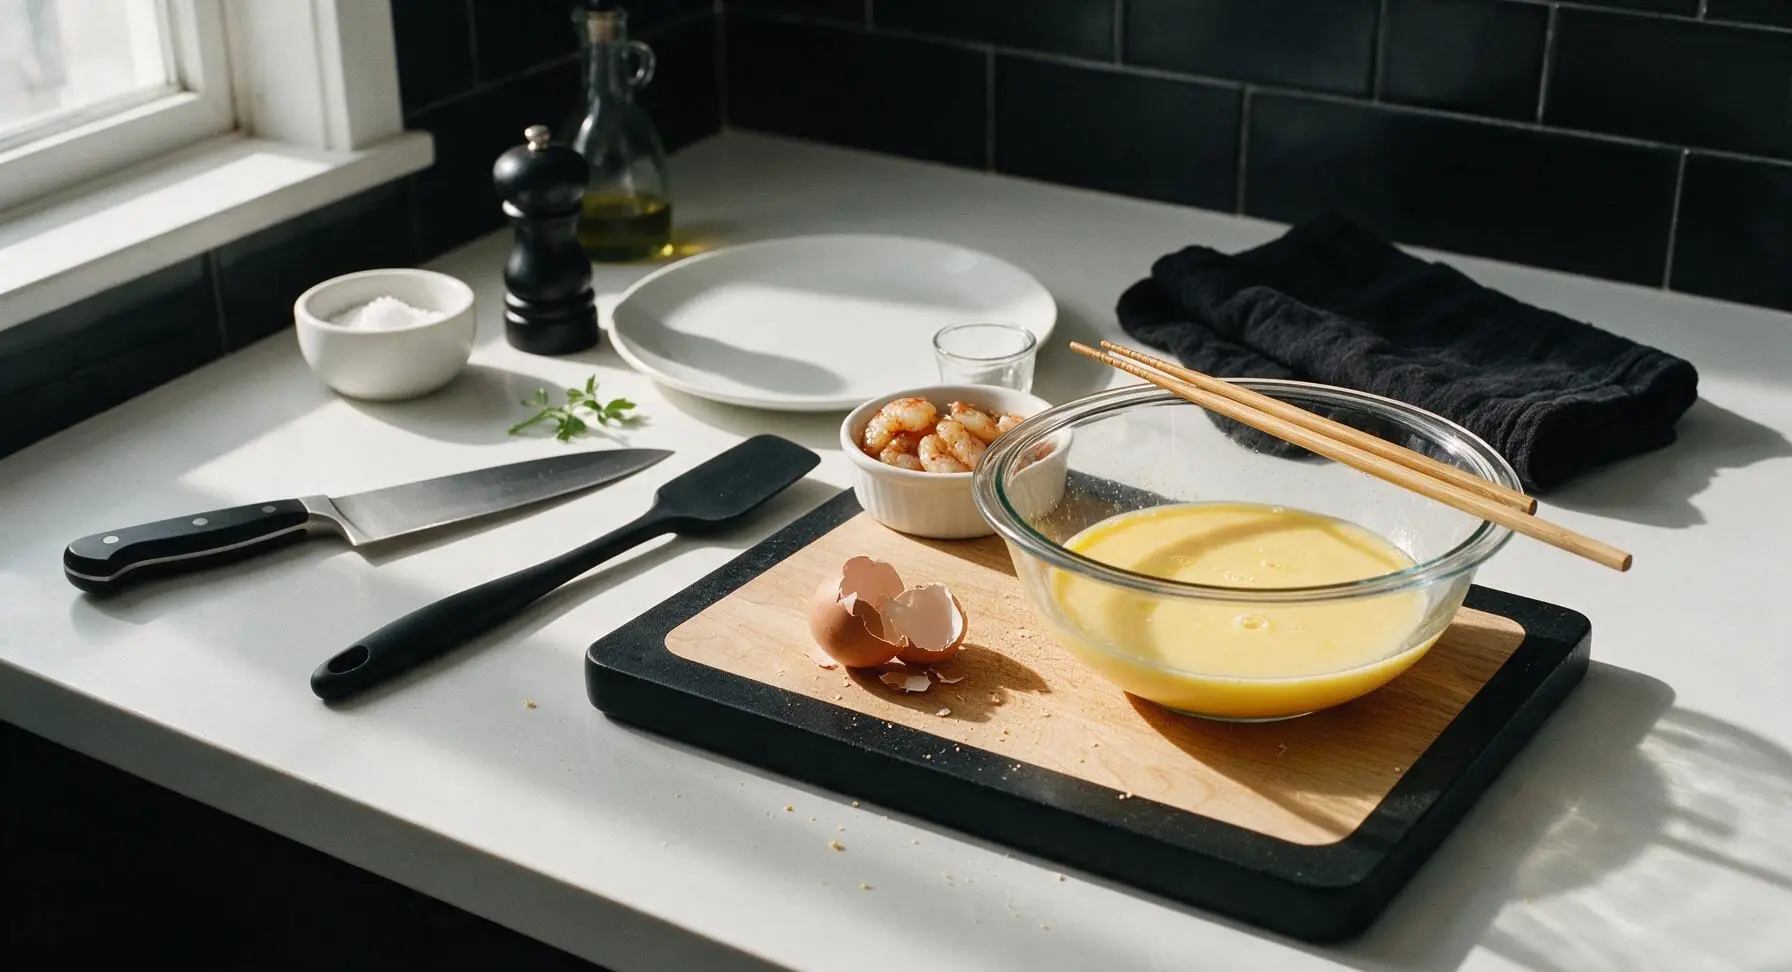
Crack 4 large grade A eggs into the clear glass mixing bowl. Add the remaining 1/4 teaspoon fine sea salt, 1/8 teaspoon ground white pepper, and 1 teaspoon light soy sauce. Beat gently with the bamboo chopsticks for 30 seconds until yolks and whites are fully combined into a uniform pale yellow mixture, with no streaks of clear egg white remaining. Avoid over-beating to prevent large air bubbles that will make cooked eggs tough; only a few small bubbles should sit on the egg surface when ready.
Step 2
step2:Beat and season eggs
3

Slice fresh scallions

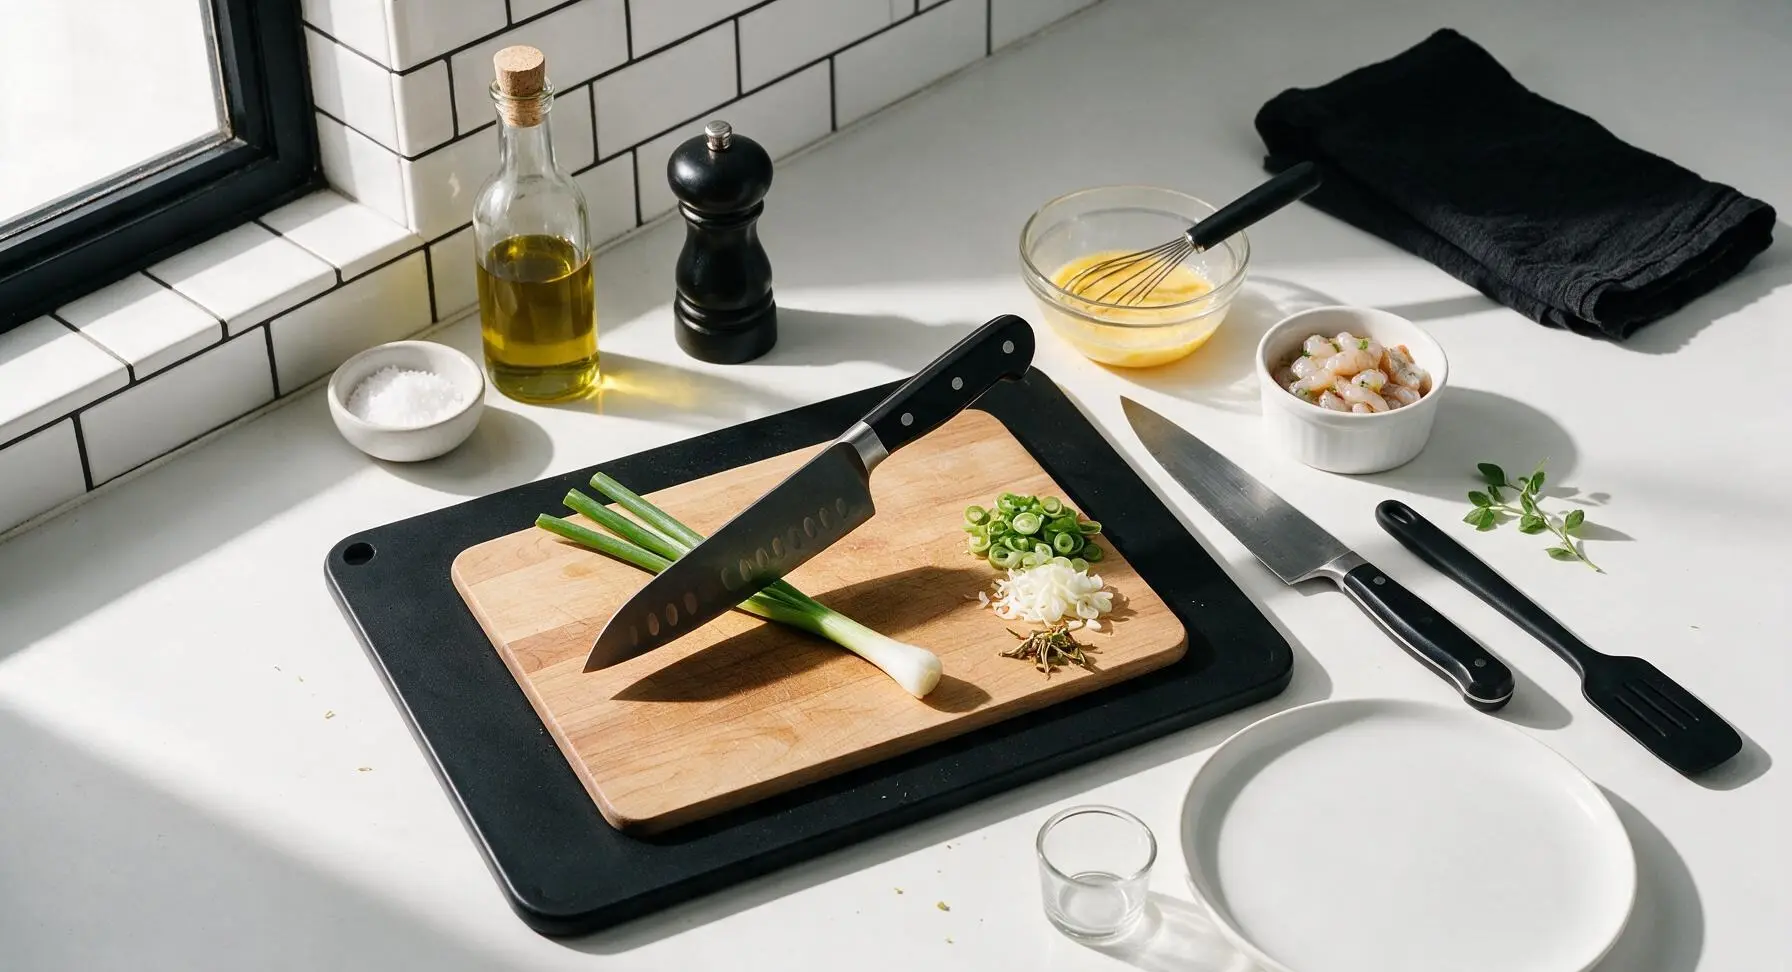
Take the 2 scallion stalks from their fixed position propped against the oil bottles, place on the maple cutting board. Use the santoku knife to slice the bright green upper tops into thin 5mm rounds, and the pale white lower portions into finer 2mm slices, keeping green and white parts in separate small piles on the board. Discard any dry, wilted tip ends into the scrap pile at the board corner.
Step 3
step3:Slice fresh scallions
4

Sear marinated shrimp

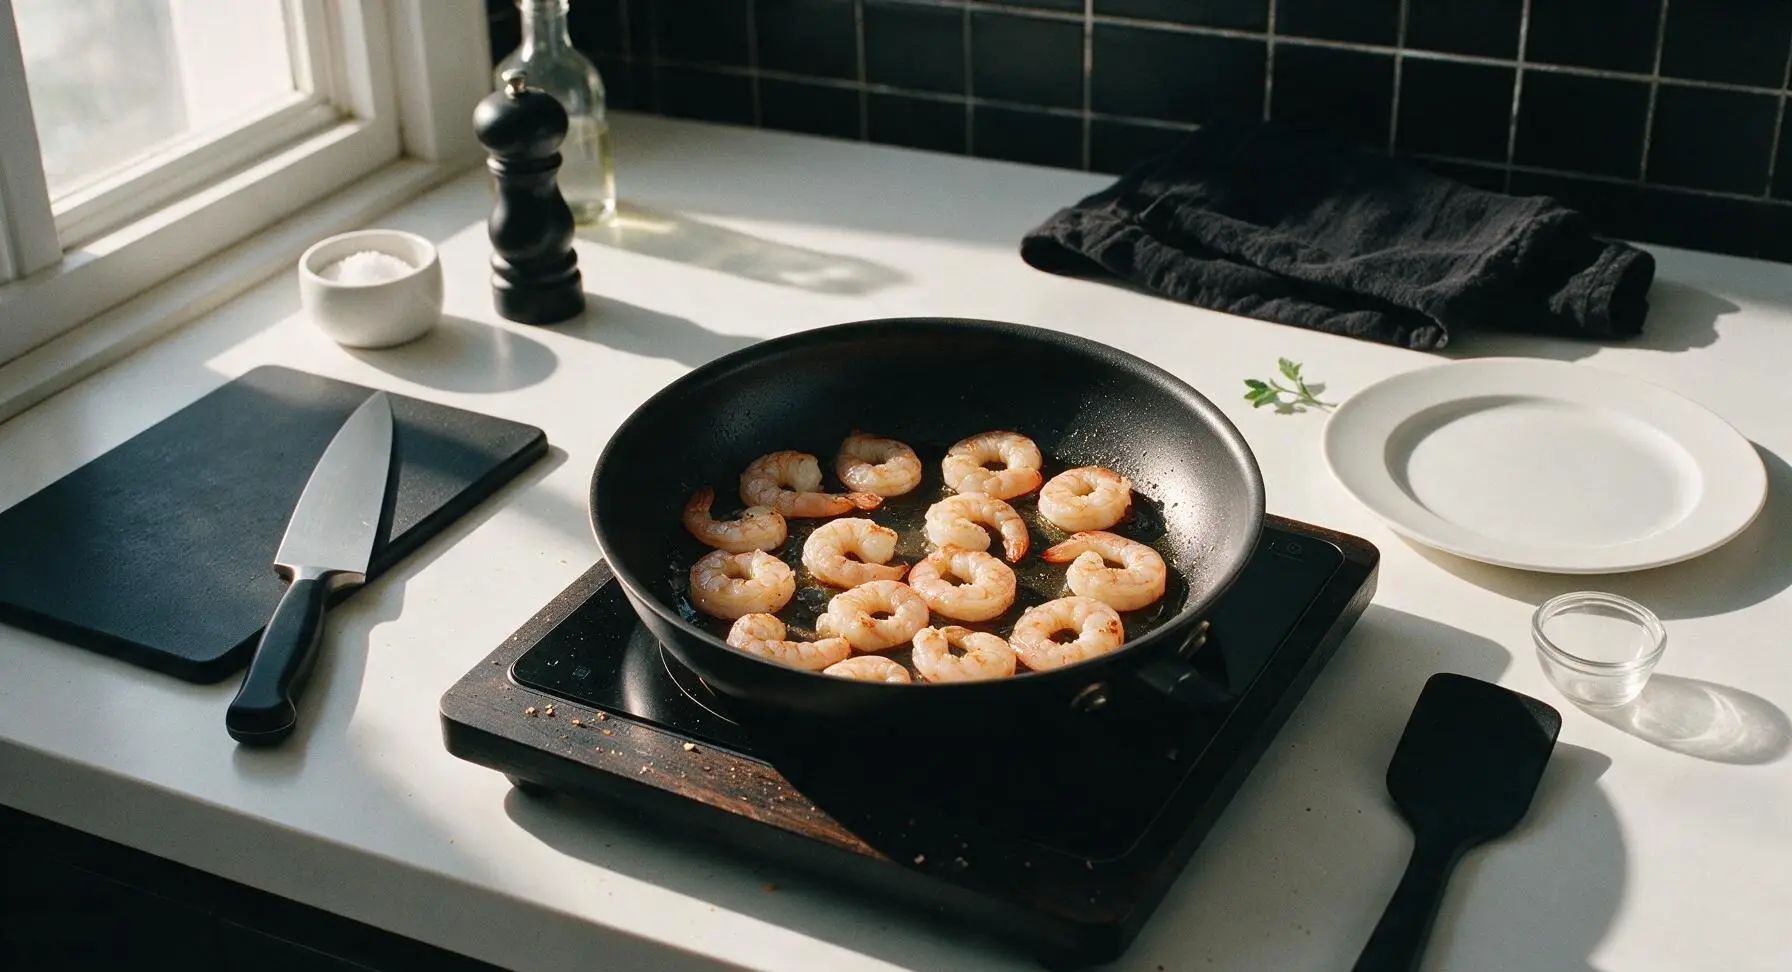
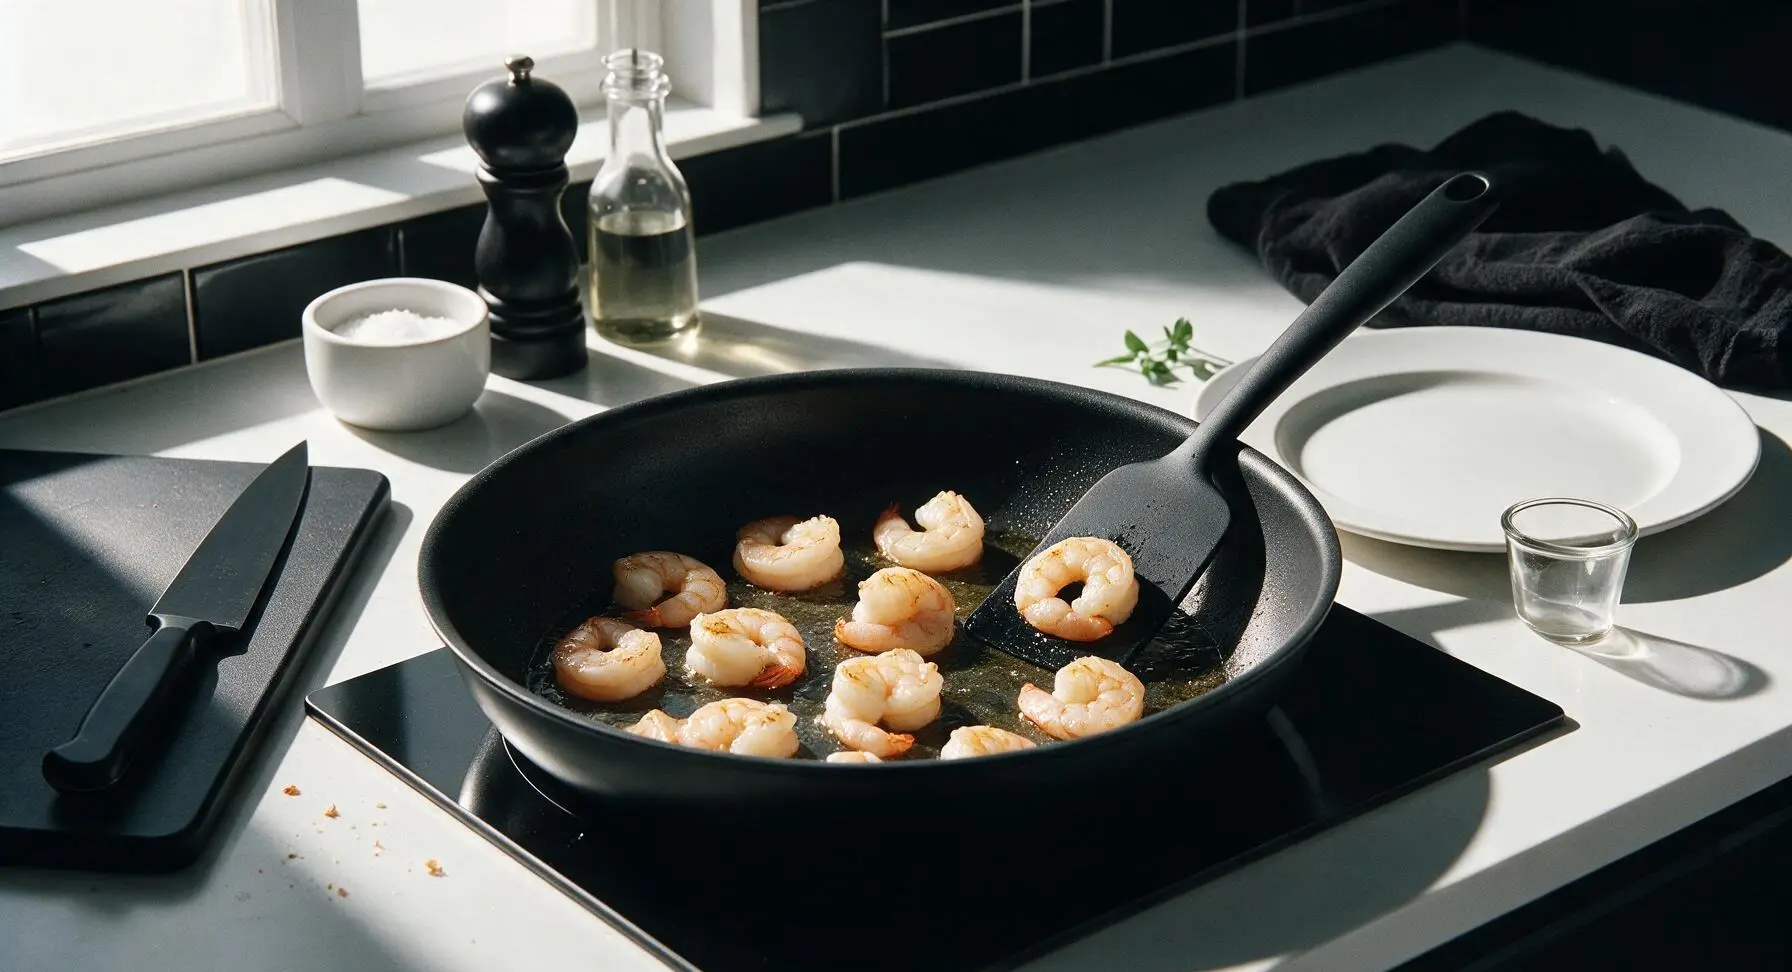
Retrieve the 28cm non-stick frying pan from the under-counter cabinet, place it on the induction cooktop set to medium heat (160C/320F). Add 1 tablespoon of neutral canola oil, heat for 30 seconds until the oil shimmers but does not smoke. Add the marinated shrimp in a single layer, sear for 45 seconds on the first side until the bottom turns opaque pale pink, then flip with the silicone spatula and sear for another 30 seconds on the second side. The shrimp will be about 80% cooked, slightly firm to the touch, curled into loose C-shapes with no translucent gray areas remaining. Do not fully cook through at this stage, as they will finish cooking with the eggs.
Step 4
step4:Sear marinated shrimp
Step 4
step4:Sear marinated shrimp
5

Scramble eggs gently

Reduce the induction cooktop heat to low (110C/230F). Pour the remaining 1 tablespoon of canola oil into the pan with the shrimp, wait 10 seconds for the oil to warm. Pour the beaten egg mixture evenly over the shrimp in the pan. Let the eggs sit undisturbed for 15 seconds until the edges just start to set, then use the silicone spatula to push set egg curds from the pan edge toward the center, tilting the pan to let uncooked egg flow into empty spaces. Continue this slow, gentle pushing motion for 2 minutes total, until eggs form soft, large, pale golden curds that are just barely set, with no runny liquid remaining. Avoid over-stirring or using high heat, which will make eggs tough and rubbery.
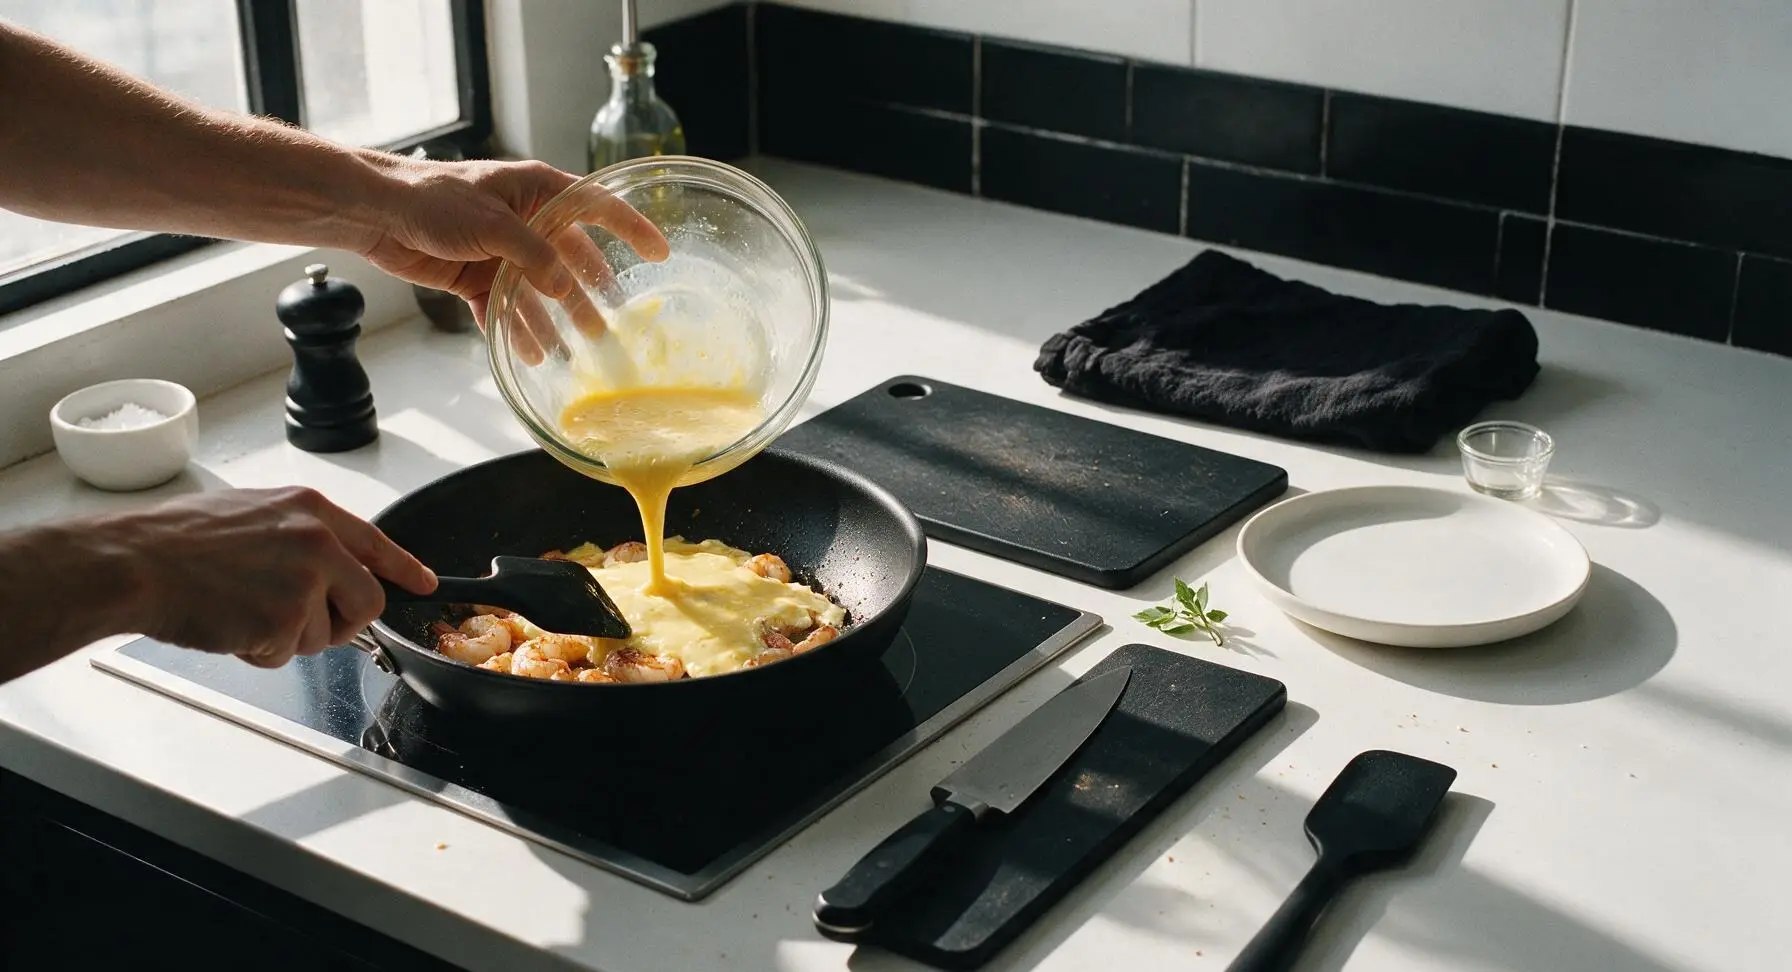
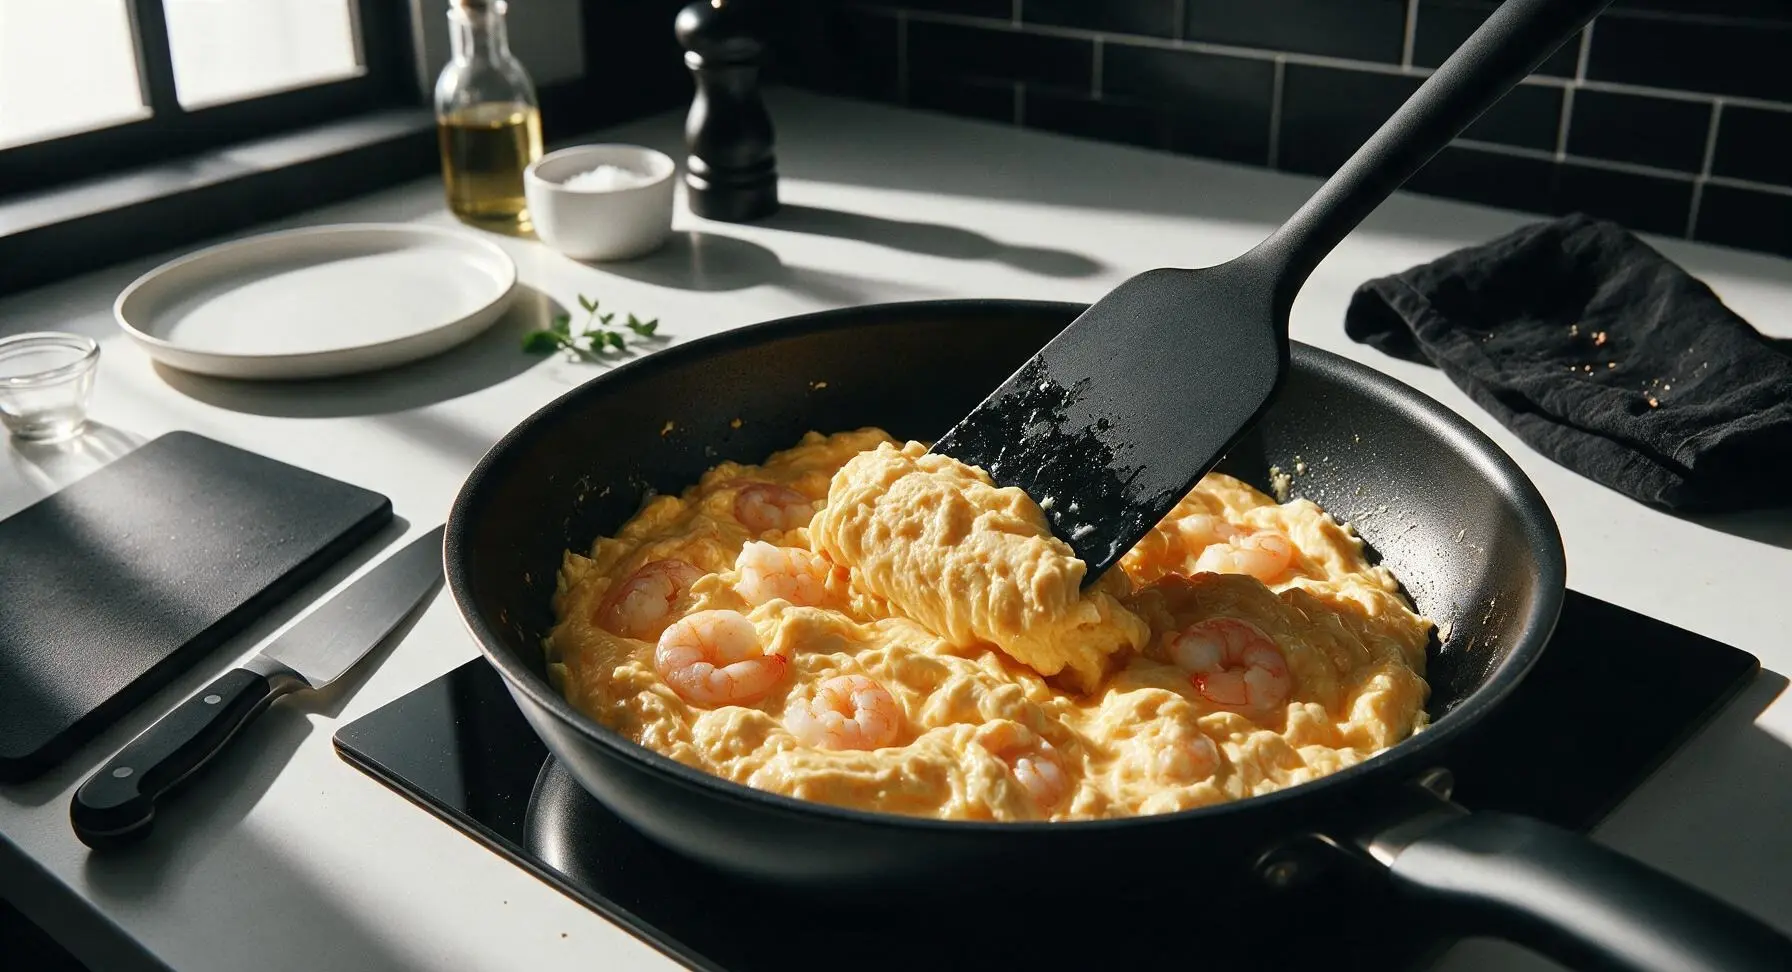
Step 5
step5:Scramble eggs gently
Step 5
step5:Scramble eggs gently
6

Plate and garnish dish

Turn off the induction cooktop heat. Drizzle 1/2 teaspoon toasted sesame oil evenly over the eggs and shrimp, then sprinkle the sliced white scallion pieces over top and give one gentle toss with the silicone spatula to combine. Retrieve the matte off-white ceramic shallow dinner plate from the under-counter shelf, place it center-right on the counter. Transfer the entire egg and shrimp mixture to the plate, mounding it slightly in the center. Sprinkle the bright green scallion slices over the top as a final garnish, and serve immediately while warm.
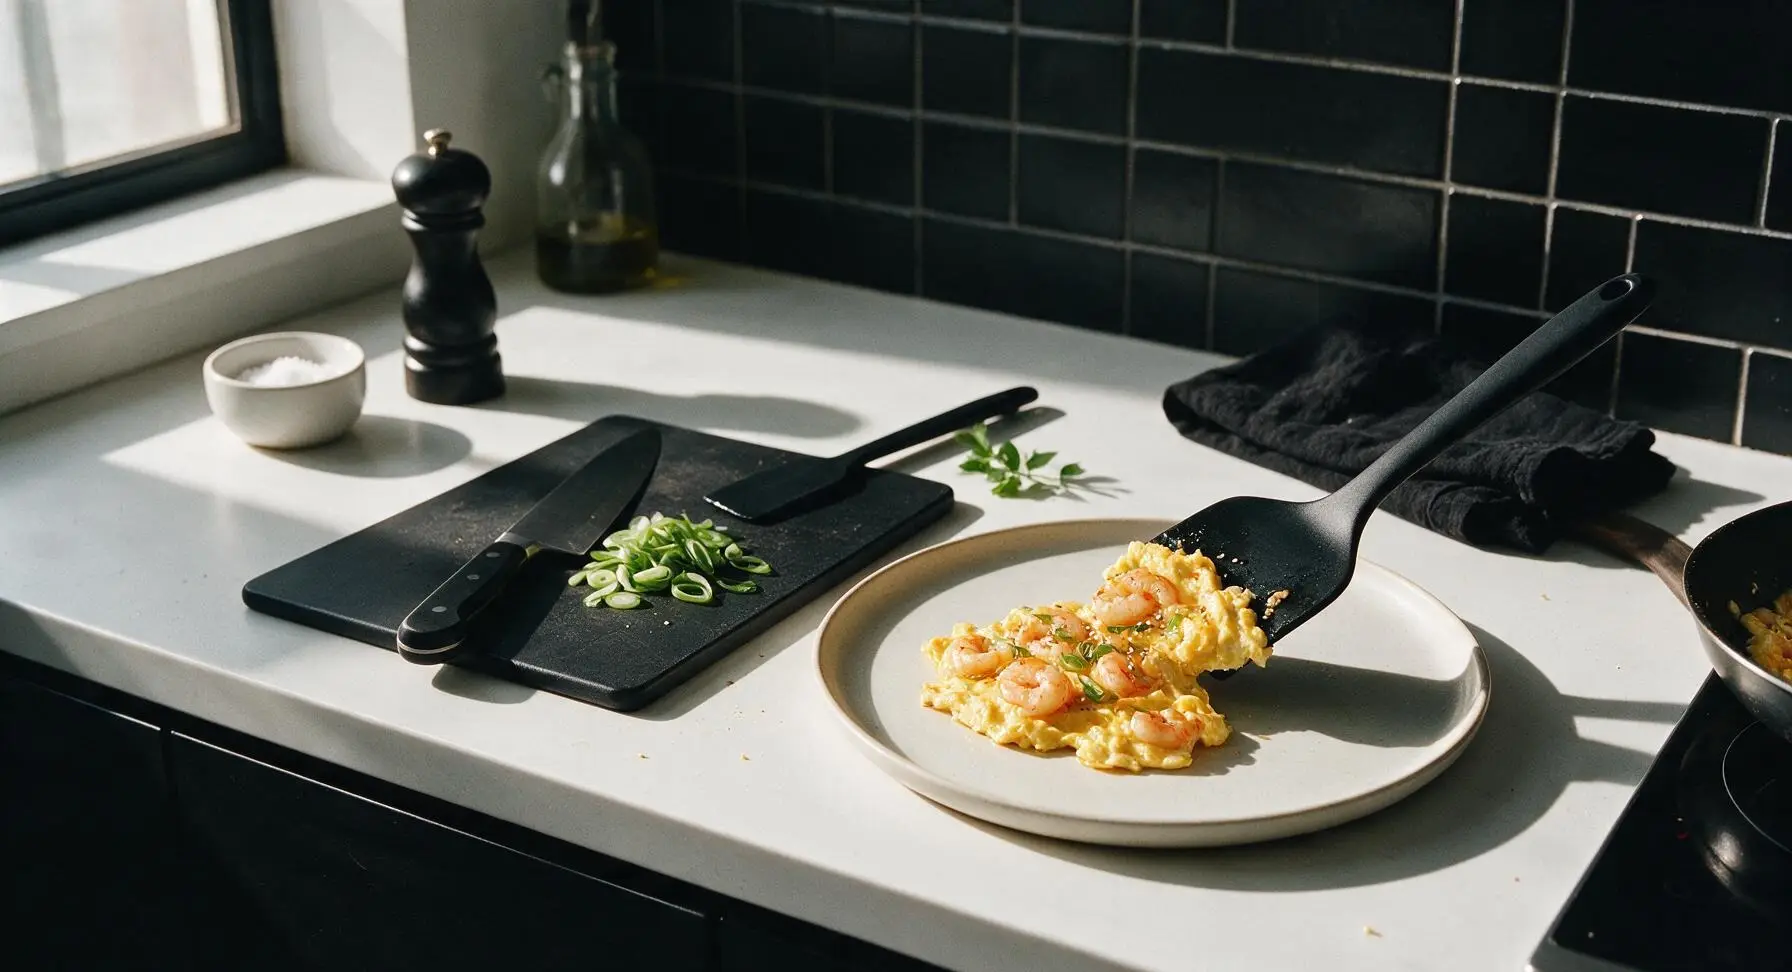
Step 6
step6:Plate and garnish dish

Tips

1.Pat shrimp completely dry before marinating: Excess surface moisture prevents the thin cornstarch coating from adhering, leading to less bouncy, tender shrimp and watery liquid pooling in the finished scrambled eggs.
2.Cook eggs on consistently low heat: High heat causes eggs to brown quickly and turn rubbery; low, slow scrambling creates the signature silky, custardy egg texture that defines this classic Cantonese dish.
3.Remove eggs from heat when slightly under-set: Residual heat from the pan and serving plate will continue to cook the eggs for 1-2 minutes after plating, so stopping early ensures eggs stay tender instead of becoming overcooked at the table.


✨ You May Also Like

Main Course
🍜 United Kingdom

A showstopping classic of tender seared beef, savory mushroom duxelles, and crisp prosciutto wrapped in flaky golden puff pastry, baked to juicy perfection.

⏱️ 2 hours 1Main Course ★ 4.7
Main Course
🍜 India

Tender charred marinated chicken simmered in a rich, spiced creamy tomato sauce, this iconic Anglo-Indian curry pairs perfectly with basmati rice or warm naan.

⏱️ 50 minuteMain Course ★ 4.6
Main Course
🍜 Thailand

Classic tangy, sweet, and savory Thai stir-fried rice noodles with shrimp, tofu, and crunchy garnishes, balancing all five core Thai flavor profiles.

⏱️ 30 minuteMain Course ★ 4.5
Main Course
🍜 United Kingdom

Crispy golden beer-battered cod and fluffy double-fried chips, served with tangy tartar sauce and malt vinegar: the timeless, beloved British pub comfort classic.

⏱️ 45 minuteMain Course ★ 4.7
Main Course
🍜 Mexico

Smoky, chile-marinated pork tacos with caramelized pineapple, fresh cilantro, and lime: a beloved classic Mexican street food perfect for casual summer gatherings.

⏱️ 1 hour 45Main Course ★ 4.8
Main Course
🍜 United States

Crunchy Fritos corn chips layered with savory beef chili and melted cheddar, topped with cool, zesty fixings for a beloved, cozy Tex-Mex comfort food.

⏱️ 35 minuteMain Course ★ 4.8

eggs and shrimp:Frequently Asked Questions

1.Why do my scrambled eggs turn out rubbery instead of silky and custardy for this recipe? ▾
The two biggest culprits are too-high heat and overcooking. Use low to medium-low heat, pull the pan off the heat as soon as the eggs form soft, wet curds—residual heat will finish cooking them. Stir 1 teaspoon of light cornstarch slurry into beaten eggs to lock in moisture and prevent curds from seizing up into tough bits.
2.Do I need to marinate the shrimp first, and if so, how? ▾
Yes, a quick 10-minute marinade gives shrimp that signature bouncy, sweet texture and prevents watery results. Toss peeled, deveined shrimp with 1/4 teaspoon Shaoxing rice wine, a pinch of salt, and 1/8 teaspoon cornstarch right before cooking. The light cornstarch coating locks in shrimp juices so they don’t leach into your eggs.
3.Can I use frozen shrimp instead of fresh for this dish? ▾
Absolutely, as long as you thaw them properly first. Pat fully thawed shrimp completely dry with paper towels before marinating—excess moisture is the enemy of both bouncy shrimp and silky eggs. Opt for large, wild-caught frozen shrimp for the sweetest, firmest texture that nearly matches fresh quality for this quick stir-fry.
4.What does Shaoxing rice wine do, and can I substitute it if I don’t have it? ▾
Shaoxing rice wine cuts any briny, fishy aftertaste from shrimp and adds subtle warm umami that balances rich eggs. If you don’t have it, substitute dry pale sherry at a 1:1 ratio, or use 1/4 teaspoon unseasoned rice vinegar mixed with a pinch of sugar. Skip heavily salted grocery store cooking wines for the best flavor.
5.How do I keep shrimp from overcooking and getting tough and rubbery? ▾
Cook marinated shrimp first over medium heat for just 45 to 60 seconds per side, until they just turn opaque with pale pink edges, then scoop them out of the pan before scrambling the eggs. Add shrimp back to the pan during the last 10 seconds of cooking eggs so they don’t sit on heat long enough to turn chewy.
6.Should I add milk or cream to the eggs to make them silkier? ▾
Skip milk or cream for authentic Cantonese silky eggs—dairy dilutes the bright flavor of the large grade A eggs the recipe calls for, and can make curds watery if heat isn’t perfectly calibrated. Instead, beat eggs with a tiny pinch of salt and 1 teaspoon warm water, plus a touch of cornstarch slurry, for delicate, custardy curds.
7.What kind of pan works best to keep this dish from sticking? ▾
A well-seasoned carbon steel wok or heavy-bottomed nonstick skillet works perfectly here. If using stainless steel, heat the pan fully before adding oil, and wait for the oil to shimmer before adding ingredients to prevent eggs from sticking. Skip thin, lightweight pans, which create hot spots that burn eggs and overcook shrimp fast.
8.How much cornstarch do I need, and do I have to mix it with water? ▾
You only need 1/2 teaspoon of cornstarch total for the whole dish: 1/8 teaspoon for the shrimp marinade, and 3/8 teaspoon mixed with 2 teaspoons cold water to make a light slurry for the eggs. Don’t overdo it; too much cornstarch will make eggs gummy and starchy instead of soft and custardy, so measure carefully.
9.When should I add the scallions for the best, brightest flavor? ▾
First, separate scallion whites and greens. Add thinly sliced whites to the pan right before pouring in beaten eggs to release their mild, oniony aroma into the oil. Toss thinly sliced greens in during the last 5 seconds of cooking, so they stay bright and fresh instead of wilting and turning bitter from prolonged heat.
10.Why do my eggs sometimes turn grayish with a faint metallic taste? ▾
That gray tinge and off flavor comes from overcooking eggs at too high a heat, which triggers a reaction between iron in egg yolks and sulfur in egg whites. Stick to low-medium heat, stir constantly with a silicone spatula to form soft curds, and pull the pan off heat the second eggs are 90% set to avoid this issue.
11.Can I make this dish ahead of time for weekly meal prep? ▾
This dish is best served immediately right after cooking, as soft eggs will firm up and lose their silky texture as they sit, and shrimp will turn chewy when reheated. That said, you can prep components ahead: peel and marinate shrimp, beat and season eggs, and chop scallions the night before to cut cook time to 5 minutes.
12.What should I serve with Cantonese silky eggs and shrimp? ▾
This light, savory dish pairs perfectly with steamed white jasmine rice, which soaks up soft egg curds and umami pan juices. For a balanced weeknight meal, serve it alongside a simple side of stir-fried baby bok choy, with a small dish of light soy sauce on the side for anyone who wants an extra salty kick.
13.My shrimp released tons of water and made my eggs soggy—how do I fix that next time? ▾
Excess water from shrimp comes from two common mistakes: not patting shrimp fully dry before marinating, and cooking shrimp on heat that’s too low to sear the surface quickly. Next time, press fresh or thawed shrimp firmly between paper towels to remove all surface moisture, and cook on medium heat until seared, so no watery liquid pools in the pan.

Comments (11)

2 days ago

OMG this was SO good! Threw it together last night for a quick weeknight dinner when I forgot to thaw chicken, and both my picky 7 and 9 year old cleaned their plates. The eggs came out perfectly silky even on my first try, and the shrimp had that perfect little pop. 10/10 will be making this at least every other week!

just now

Super quick and tasty, though I added a tiny splash of sesame oil at the end because I can’t leave well enough alone. Great base recipe, perfect for when you don’t feel like spending an hour in the kitchen after work.

1 week ago

Made this for a casual potluck with my roommates this weekend and everyone was asking for the recipe! It’s so fancy looking but takes literally no time at all, total game changer for when you have people over last minute.

30 minutes ago

Wait, hold on — do you use medium or low heat for the eggs? I tried making scrambled eggs last week and they turned all rubbery, I’m scared I’ll mess this up even though it says easy lol.

5 minutes ago

Great question! Stick to low heat and keep stirring gently the whole time the eggs are in the pan — that’s the secret to that silky, melt-in-your-mouth texture, no rubbery bits I promise!

yesterday

This is my new go-to lazy weekend brunch! I served it over a little bowl of steamed rice and added a sprinkle of scallions on top, felt like I ordered takeout from my favorite dim sum spot down the street for a fraction of the price.

2 hours ago

Omg the steamed rice idea is genius! I’ve been eating it plain but that would make it a full, filling meal — trying that for brunch tomorrow.

3 days ago

Super solid recipe! I did find I needed to add just a pinch more salt than the recipe called for, but that’s just personal preference since I like my food a little more seasoned. Cook time was spot on 6 minutes, no joke.

2 days ago

So glad the cook time worked out for you! Seasoning is totally adjustable to taste — a little extra white pepper or salt never hurts if that’s what you prefer!

2 weeks ago

I meal prepped this on Sunday to eat for quick lunches throughout the week and it held up way better than I thought it would! I was worried the eggs would get weird in the fridge but they stayed soft and tasty even after reheating for 30 seconds in the microwave.

1 week ago

Wait this is such a good meal prep idea! I’ve been stuck on chicken and rice for weeks, this will be such a nice switch up.

2 hours ago

Wait, can I use frozen shrimp for this? I always have a bag in the freezer but I never think to thaw it ahead of time, would that work if I thaw it quick in cold water?

30 minutes ago

I used frozen shrimp last week when I made this! Thawed it in cold water for 10 minutes, patted it super dry before cooking, and it turned out exactly the same as fresh, no weird texture at all.

5 minutes ago

Great tip from SeafoodSally! Frozen shrimp works perfectly here, just make sure to pat it really dry so it sears nicely instead of steaming in the pan.

5 days ago

My whole family went crazy for this! Even my husband who swears he “doesn’t like egg dishes” went back for seconds. I added a little pinch of white pepper like my grandma used to put in her egg dishes and it hit so hard.

3 days ago

The white pepper addition sounds chef’s kiss! I’ve been defaulting to black pepper for everything but white pepper is so much better for mild, silky egg dishes — I’m definitely adding that on my next batch.

2 days ago

Love that you added a family touch with the white pepper! So glad this won over your husband — that’s the biggest win in our book 😊

1 week ago

Okay I messed this up the first time because I had the heat too high and the eggs cooked too fast, but I tried again yesterday and they came out perfect! Literally the silkiest eggs I’ve ever made at home, tasted exactly like the ones I get at dim sum. Don’t be like me and crank the stove, low and slow is key!

5 days ago

Oh thank you for the heads up! I almost always cook eggs on medium high so I definitely would’ve made the same mistake, I’ll turn it down to low when I make this tonight.

3 days ago

We’ve all been there! High heat is the #1 culprit for rubbery eggs, so we’re so glad you gave it another shot and got that perfect silky texture the second time around.

3 days ago

How does this reheat? I want to make it for my elderly mom who loves soft food, but I usually cook for her a couple days in advance so I don’t have to stop by every single night. Would this work for that?

2 days ago

I make this for my dad who has difficulty chewing too! It reheats really well on 50% power in the microwave for 45 seconds, just stir it halfway through and it stays silky, no weird rubbery texture.

yesterday

Such great advice from CaregiverCarol! Low power reheating is the way to go to keep the eggs soft — we hope your mom loves it, it’s such a gentle, tasty dish perfect for anyone who loves softer foods.



