
enchilada sauce recipe authentic

title 1
enchilada sauce recipe authentic
⏱️ cook time 25 minutes
🍽️ servings 6
⚡ Difficulty medium

intro

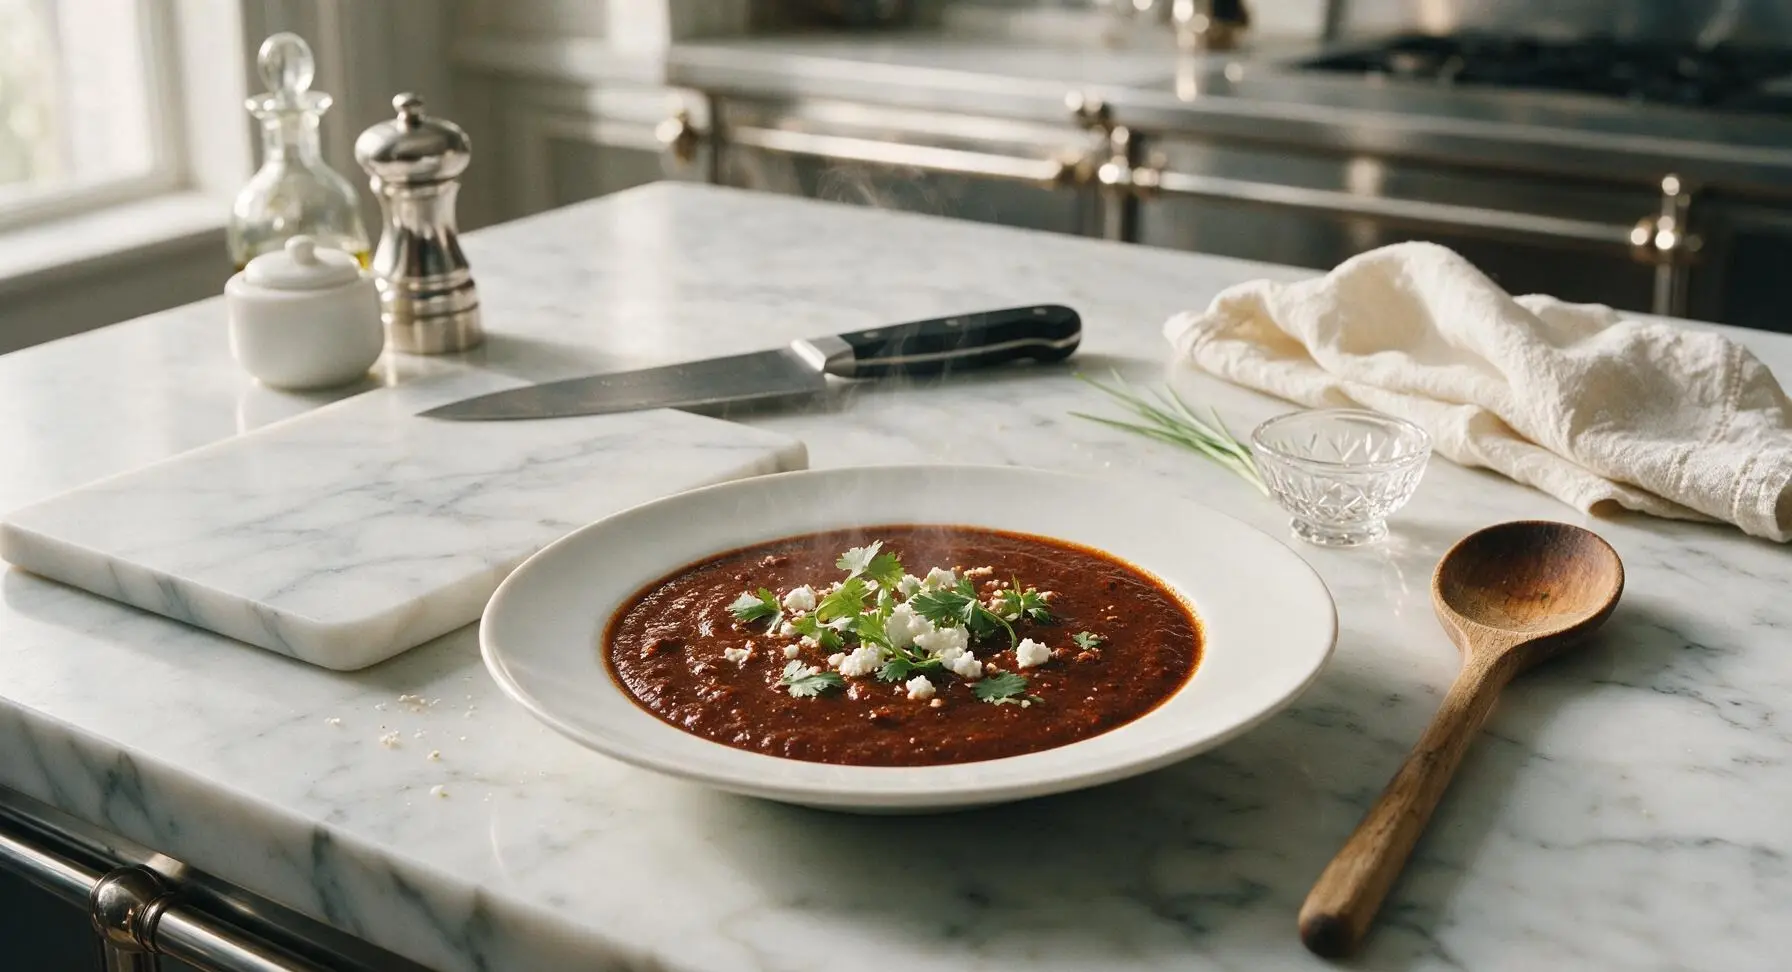
Deep, earthy, fruit-forward authentic central Mexican red enchilada sauce, made with toasted dried chiles and zero canned shortcuts, perfect for classic family enchiladas.

Ingredients
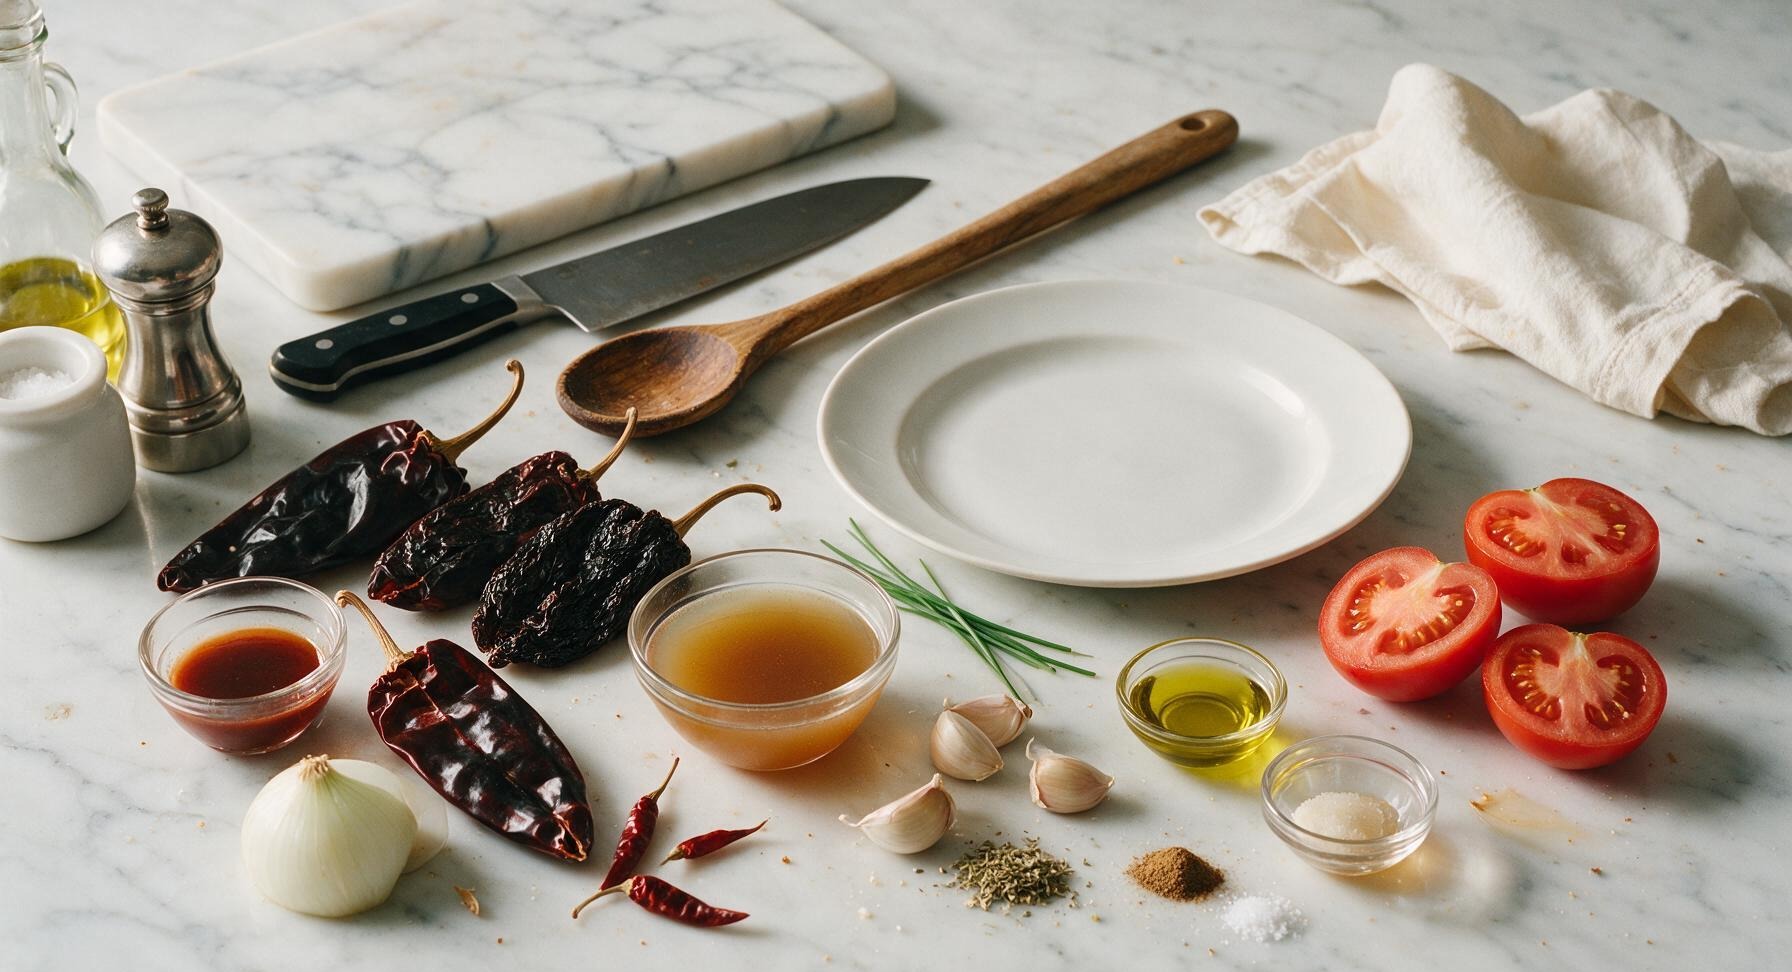
Dried ancho chiles 4 (about 50g, stemmed and seeded)
Dried guajillo chiles 2 (about 20g, stemmed and seeded)
Dried chile de árbol 1 (optional, for mild heat)
White onion 1 small (150g, quartered)
Garlic cloves 3 (unpeeled)
Roma tomatoes 2 medium (200g, cored and halved)
Low-sodium chicken or vegetable broth 1.5 cups (360ml, warm)
Extra-virgin olive oil 1 tbsp
Dried Mexican oregano 1 tsp
Ground cumin 1/2 tsp
Fine sea salt 1/4 tsp (adjust to taste)
Ground cinnamon 1 pinch (about 1/8 tsp)
Apple cider vinegar 1 tsp

Steps

1

Toast Dried Chiles

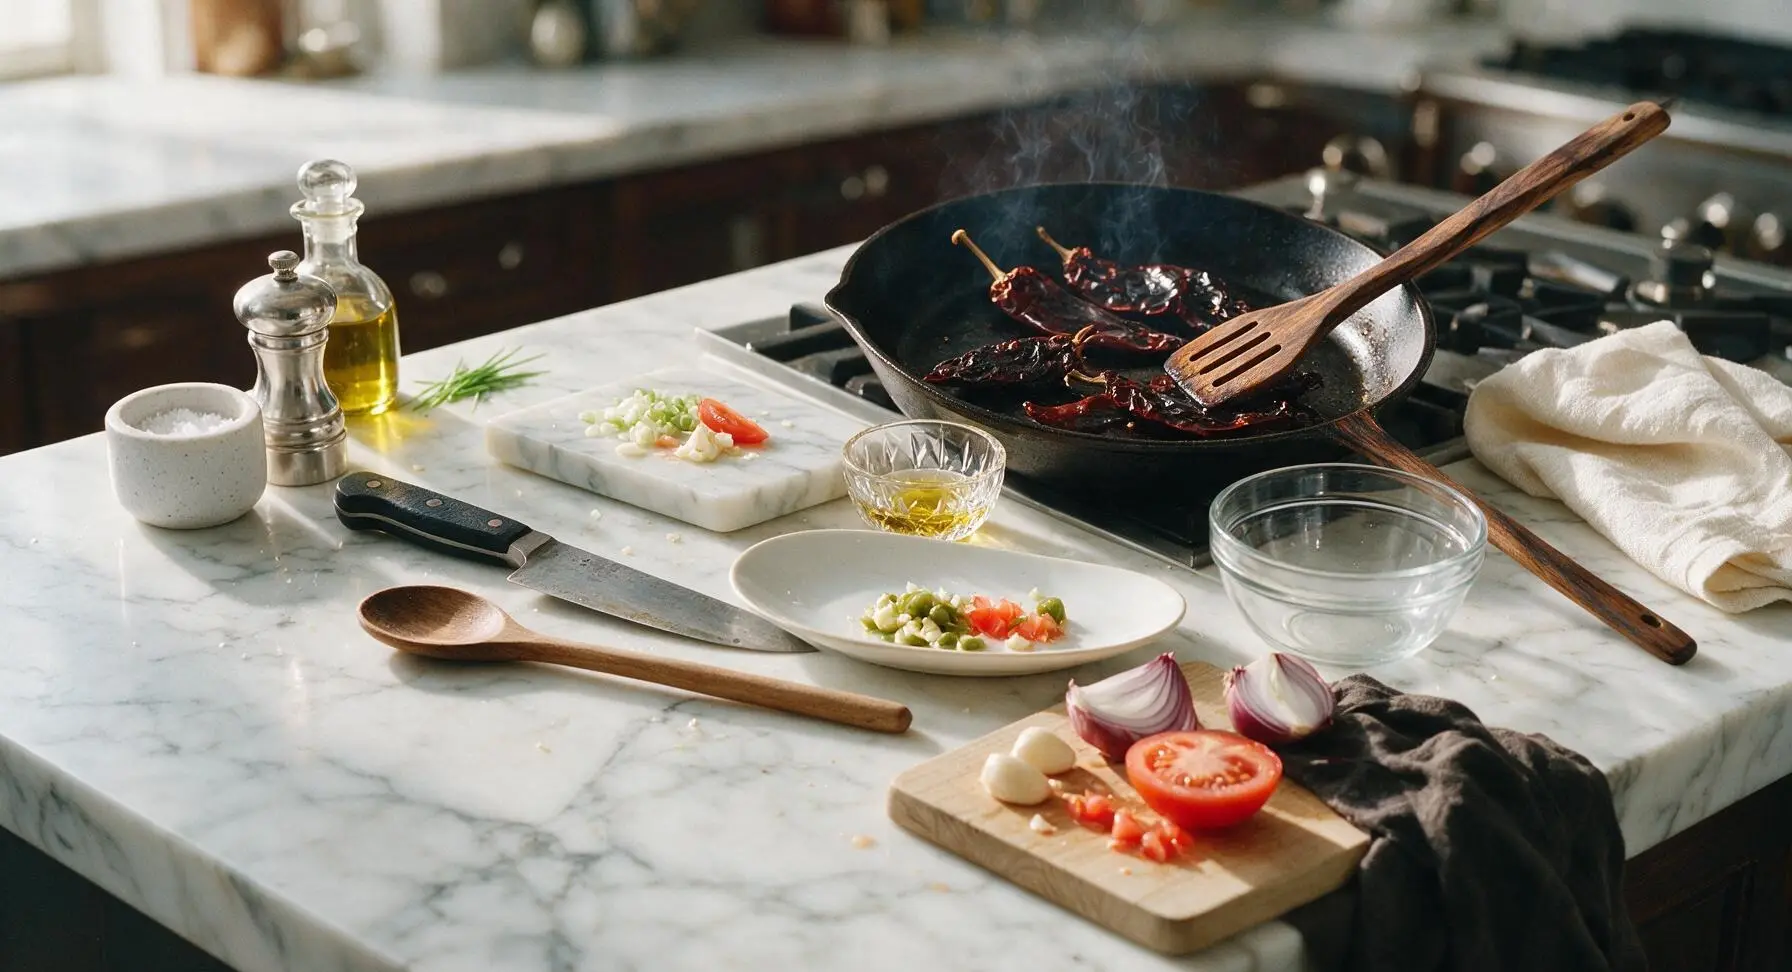
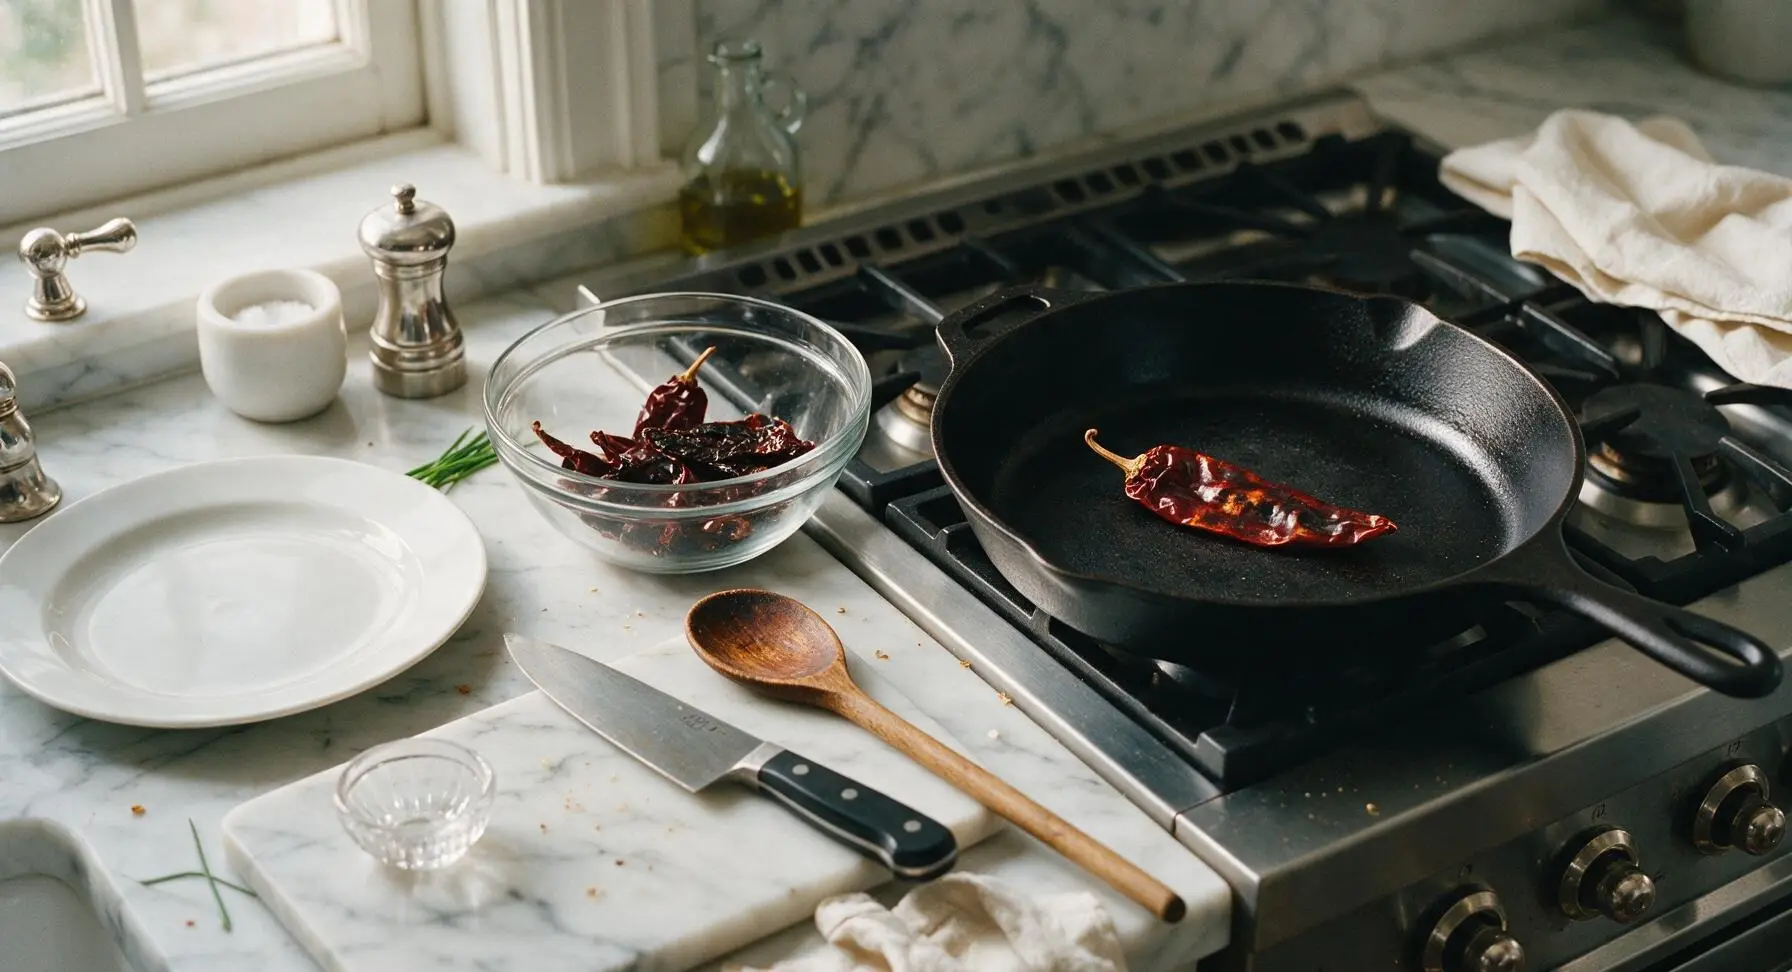
Place the seasoned matte black cast iron skillet on its permanent right rear burner over medium-low heat (325°F / 160°C). Lay the stemmed, seeded ancho, guajillo, and optional chile de árbol flat on the dry skillet surface in a single layer. Toast for 10–15 seconds per side, pressing gently with the back of the mesquite slotted spoon to make full contact with the hot pan. Stop when the chiles release a deep, fruity, earthy aroma and develop faint light brown blisters—do not let them blacken, as this will make the sauce unpleasantly bitter. Transfer all toasted chiles to the clear glass mixing bowl (pulled from under the counter) as they finish toasting.
Step 1
step1:Toast Dried Chiles
Step 1
step1:Toast Dried Chiles
2

Roast Aromatics and Tomatoes

In the same dry cast iron skillet, place the quartered white onion cut-side down, unpeeled garlic cloves, and halved Roma tomatoes cut-side down. Roast over medium heat for 8–10 minutes, turning the garlic after 4 minutes with the slotted spoon, until the onion and tomato cut surfaces develop dark charred spots, and the garlic skins are papery and slightly blackened in spots. Transfer all roasted vegetables to the glass mixing bowl with the toasted chiles.
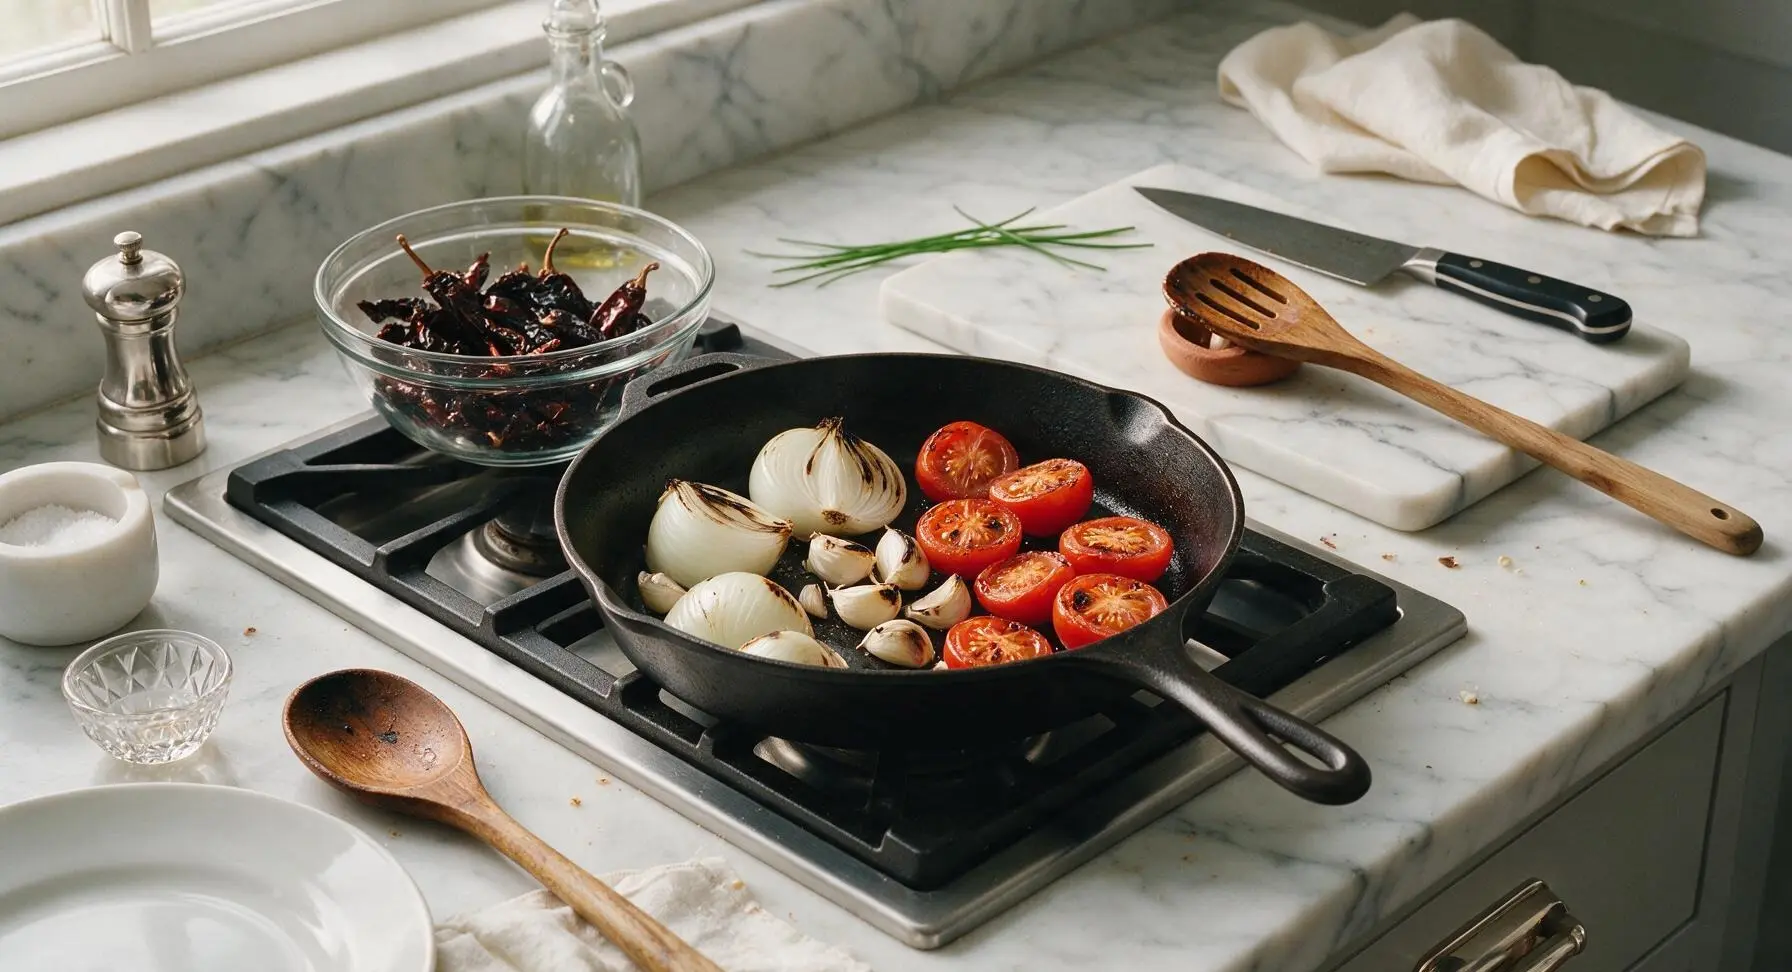
Step 2
step2:Roast Aromatics and Tomatoes
3

Rehydrate Toasted Chiles

Pour 1 cup of the warm chicken or vegetable broth over the toasted chiles and roasted vegetables in the glass mixing bowl. Cover the bowl tightly with the terracotta saucer (pulled from the lower shelf) to trap steam, and let the mixture rest for 15 minutes to allow the chiles to fully soften and rehydrate. Chiles are ready when they are plump, flexible, and sink partially into the warm broth.
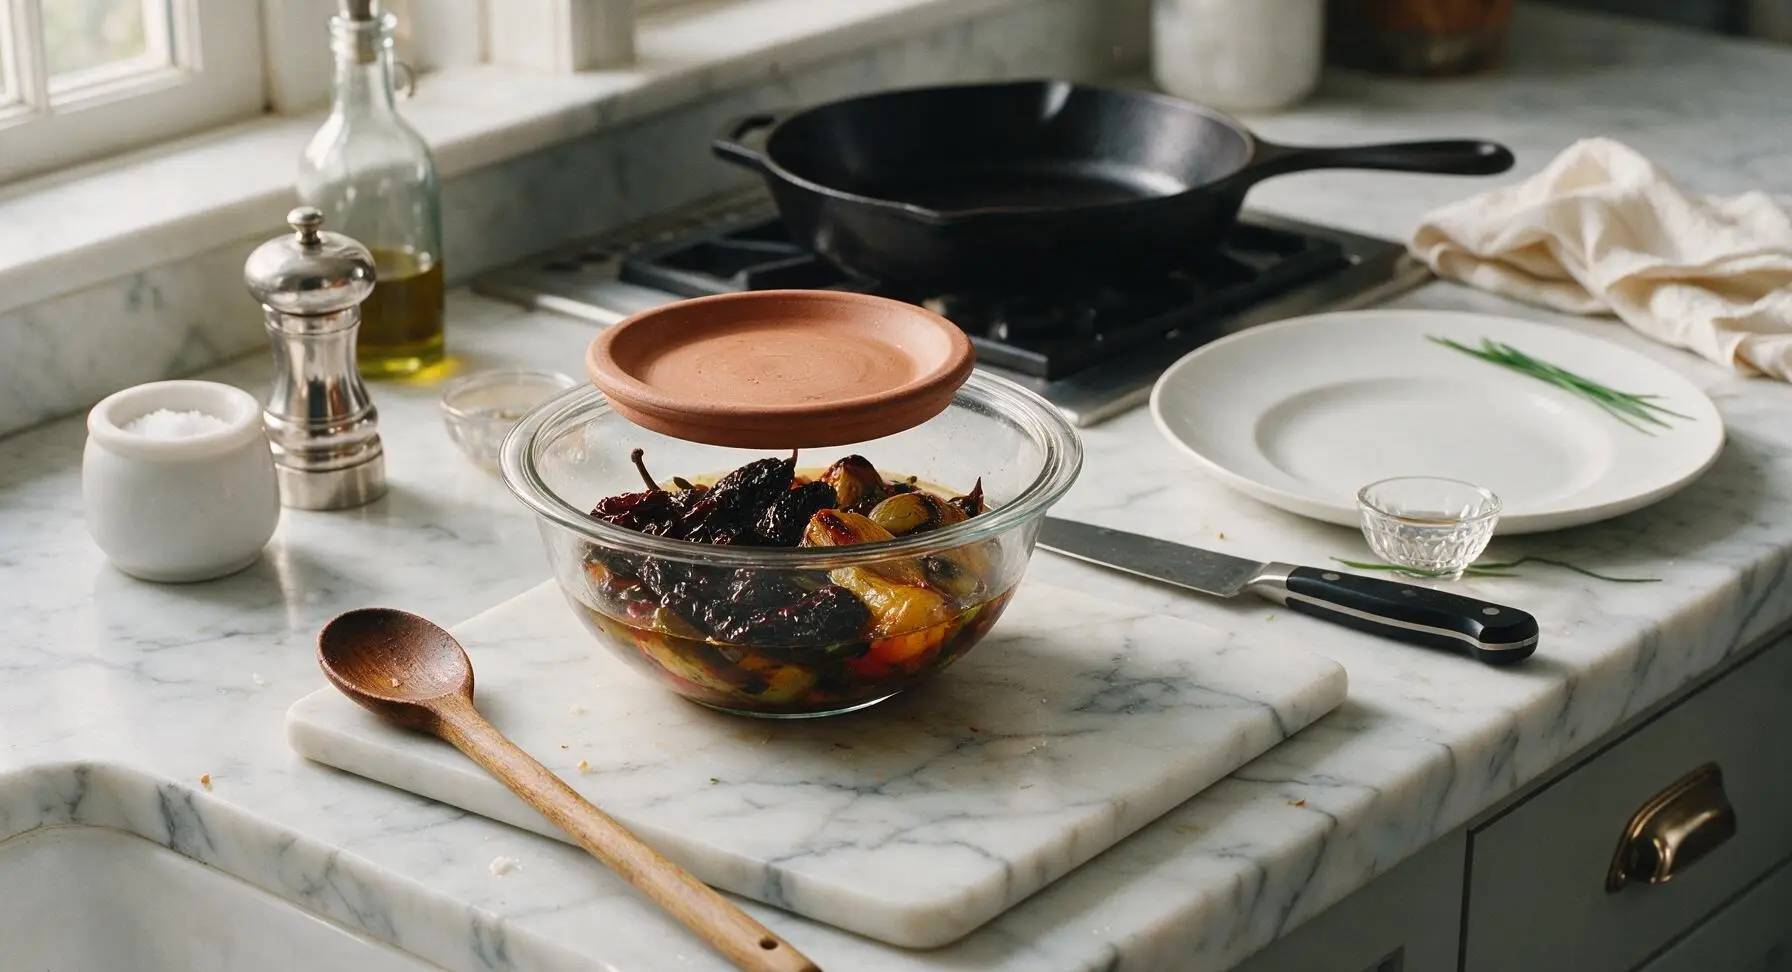
Step 3
step3:Rehydrate Toasted Chiles
4

Blend Sauce Base

After 15 minutes of steeping, uncover the glass mixing bowl, and transfer all contents (rehydrated chiles, roasted onion, garlic, tomatoes, and steeping broth) to the permanently placed clear blender pitcher. Add the measured Mexican oregano, ground cumin, pinch of cinnamon, sea salt, and apple cider vinegar from the terracotta ramekins. Secure the blender lid, hold it down with a corner of the fixed cotton kitchen towel to prevent hot splatters, and blend on high speed for 60–90 seconds until the mixture forms a completely smooth, uniform deep red puree, with no visible large chile skin fragments.
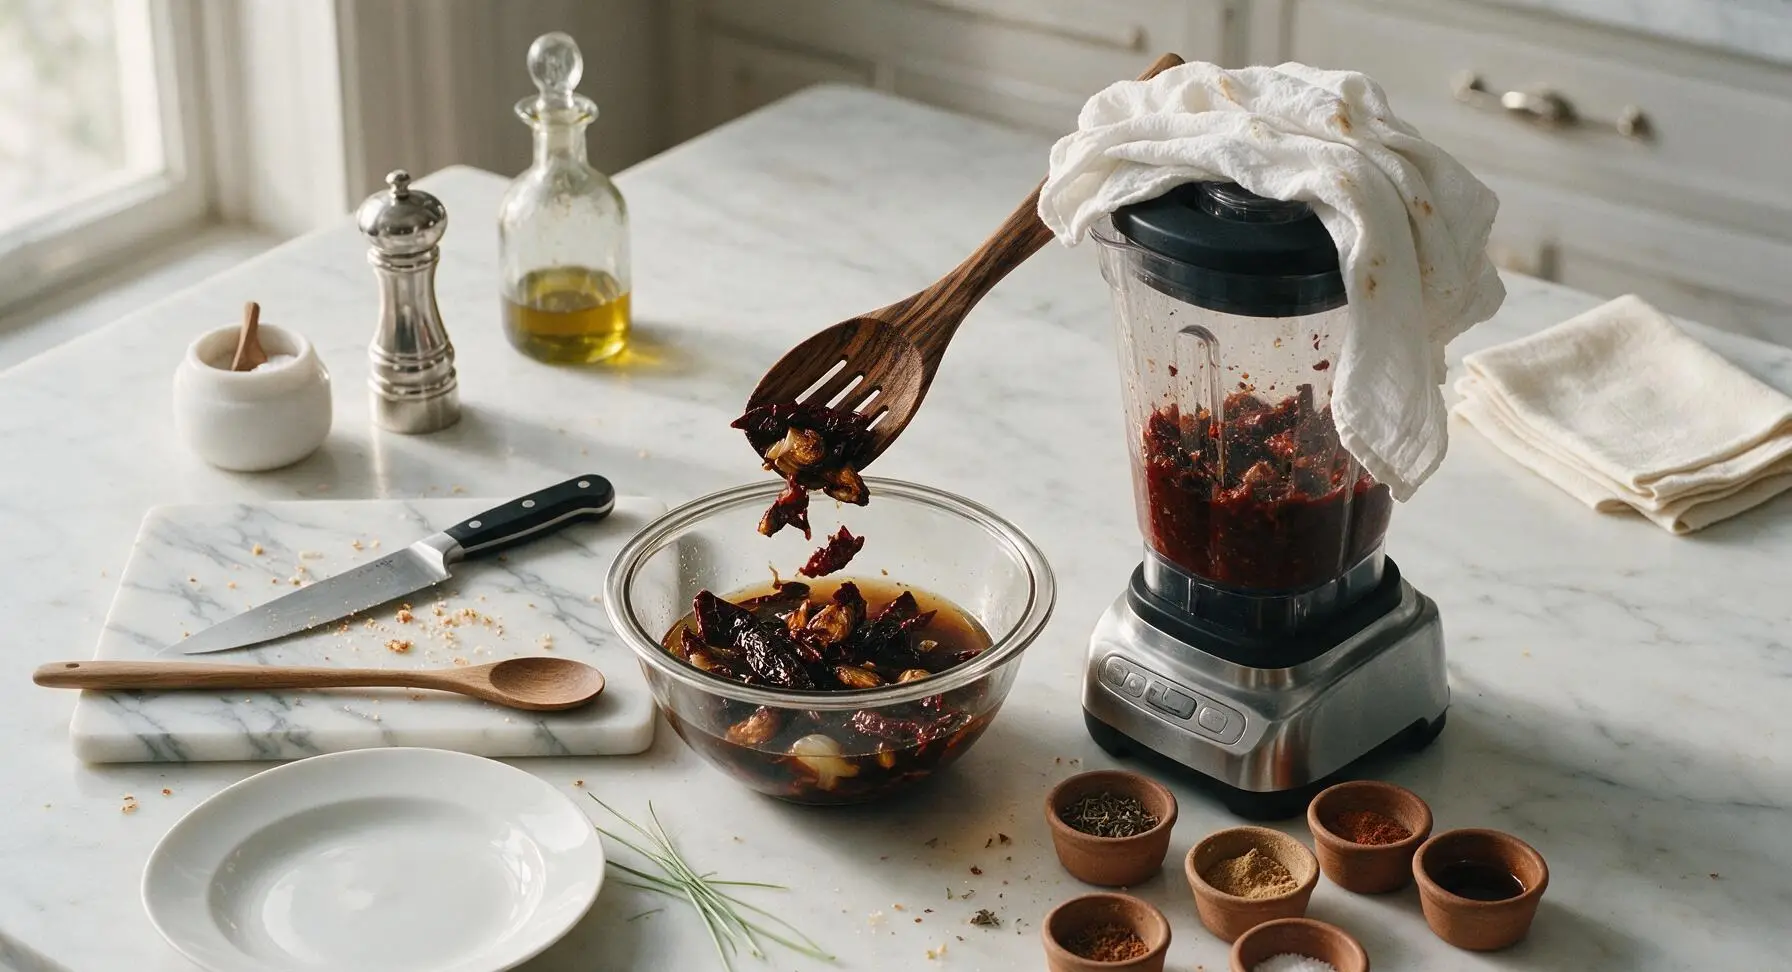
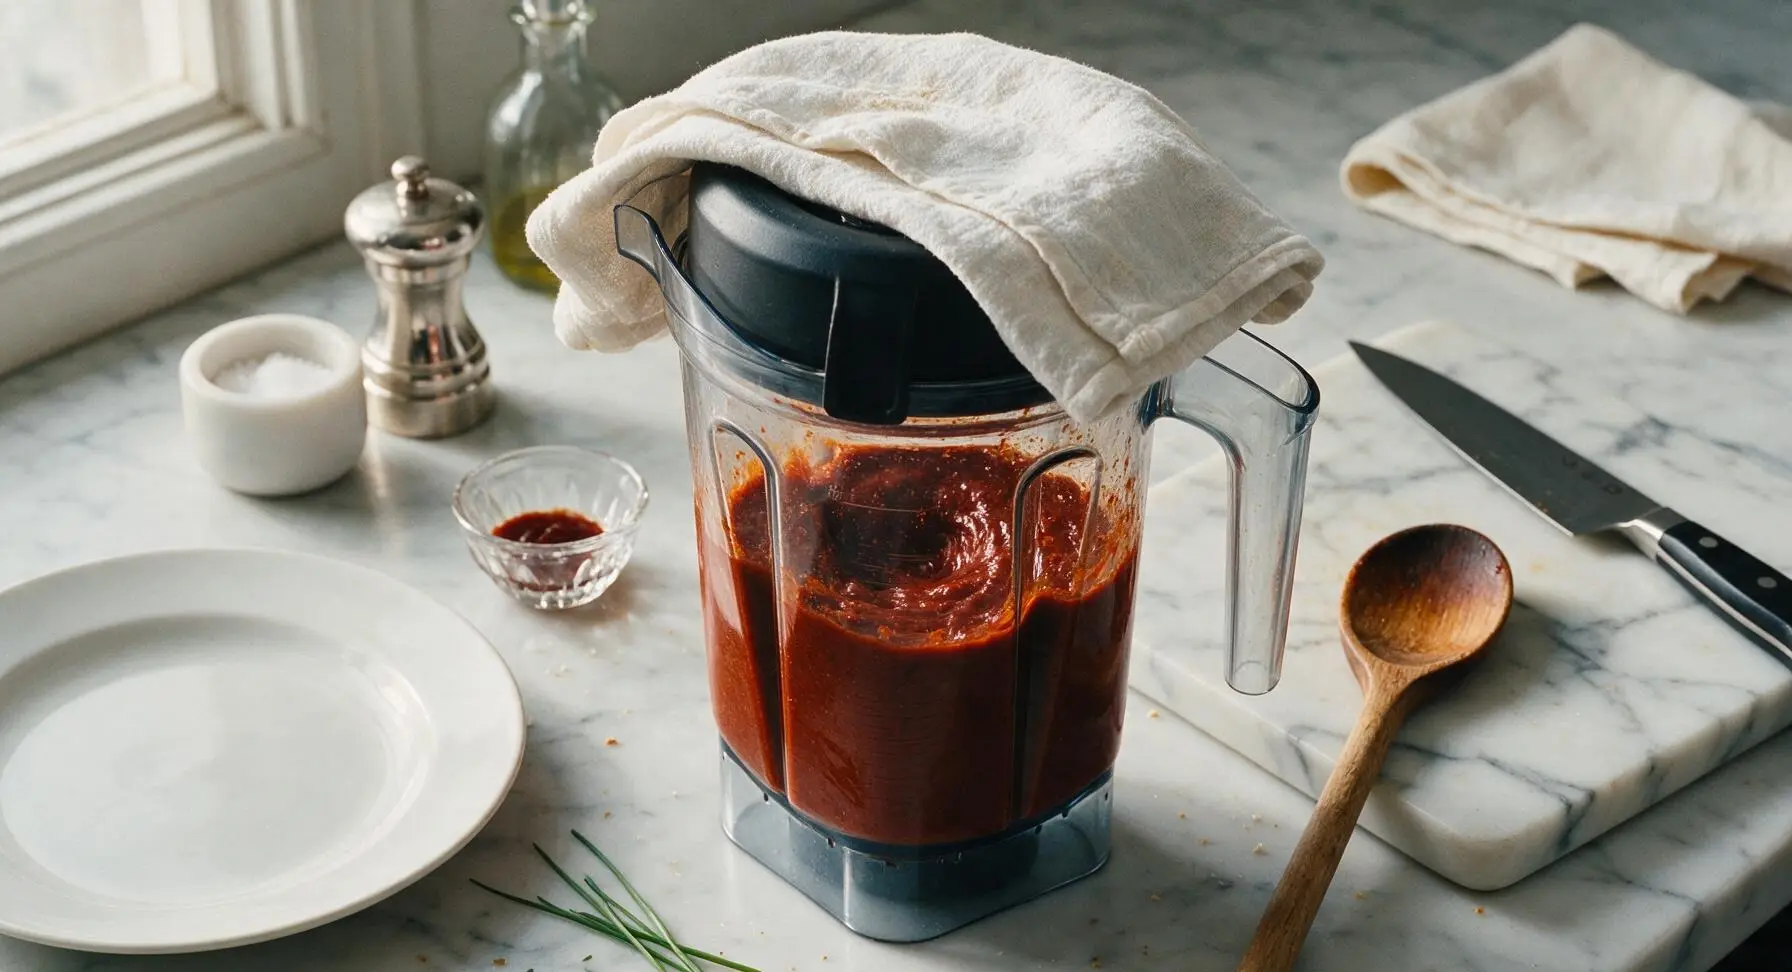
Step 4
step4:Blend Sauce Base
Step 4
step4:Blend Sauce Base
5

Strain Sauce Mixture

Move the fine-mesh stainless steel strainer from its permanent position leaning against the blender base, and set it over the clear glass saucepan on its permanent left burner. Pour the blended chile puree through the strainer, using the back of the mesquite slotted spoon to press the mixture through, leaving only tough, fibrous chile skins and seed bits behind in the strainer. Discard the leftover solids.
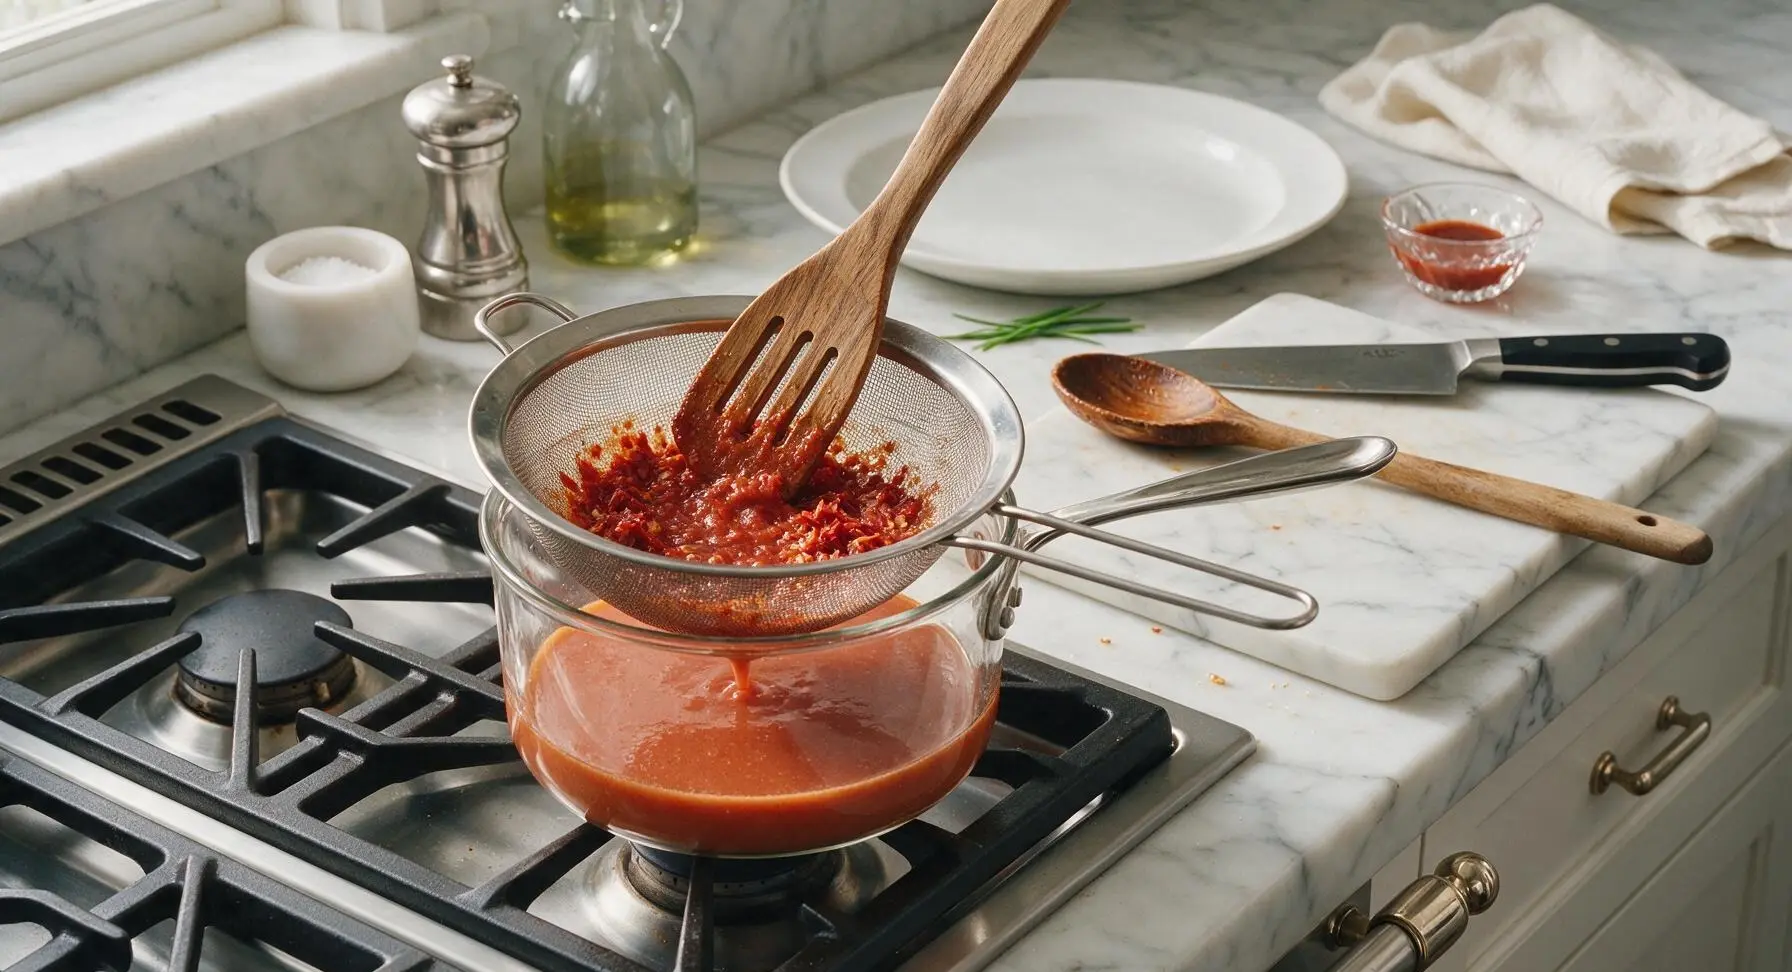
Step 5
step5:Strain Sauce Mixture
6

Simmer Sauce to Thicken

Add the remaining 1/2 cup warm broth and 1 tablespoon extra-virgin olive oil to the strained sauce in the glass saucepan. Stir to combine with the slotted spoon, then bring to a gentle simmer over medium-low heat (300°F / 150°C). Reduce heat to low, and cook uncovered for 10 minutes, stirring occasionally, until the sauce thickens enough to coat the back of a spoon, with a rich, deep, rounded flavor. Taste and adjust salt if needed before serving.
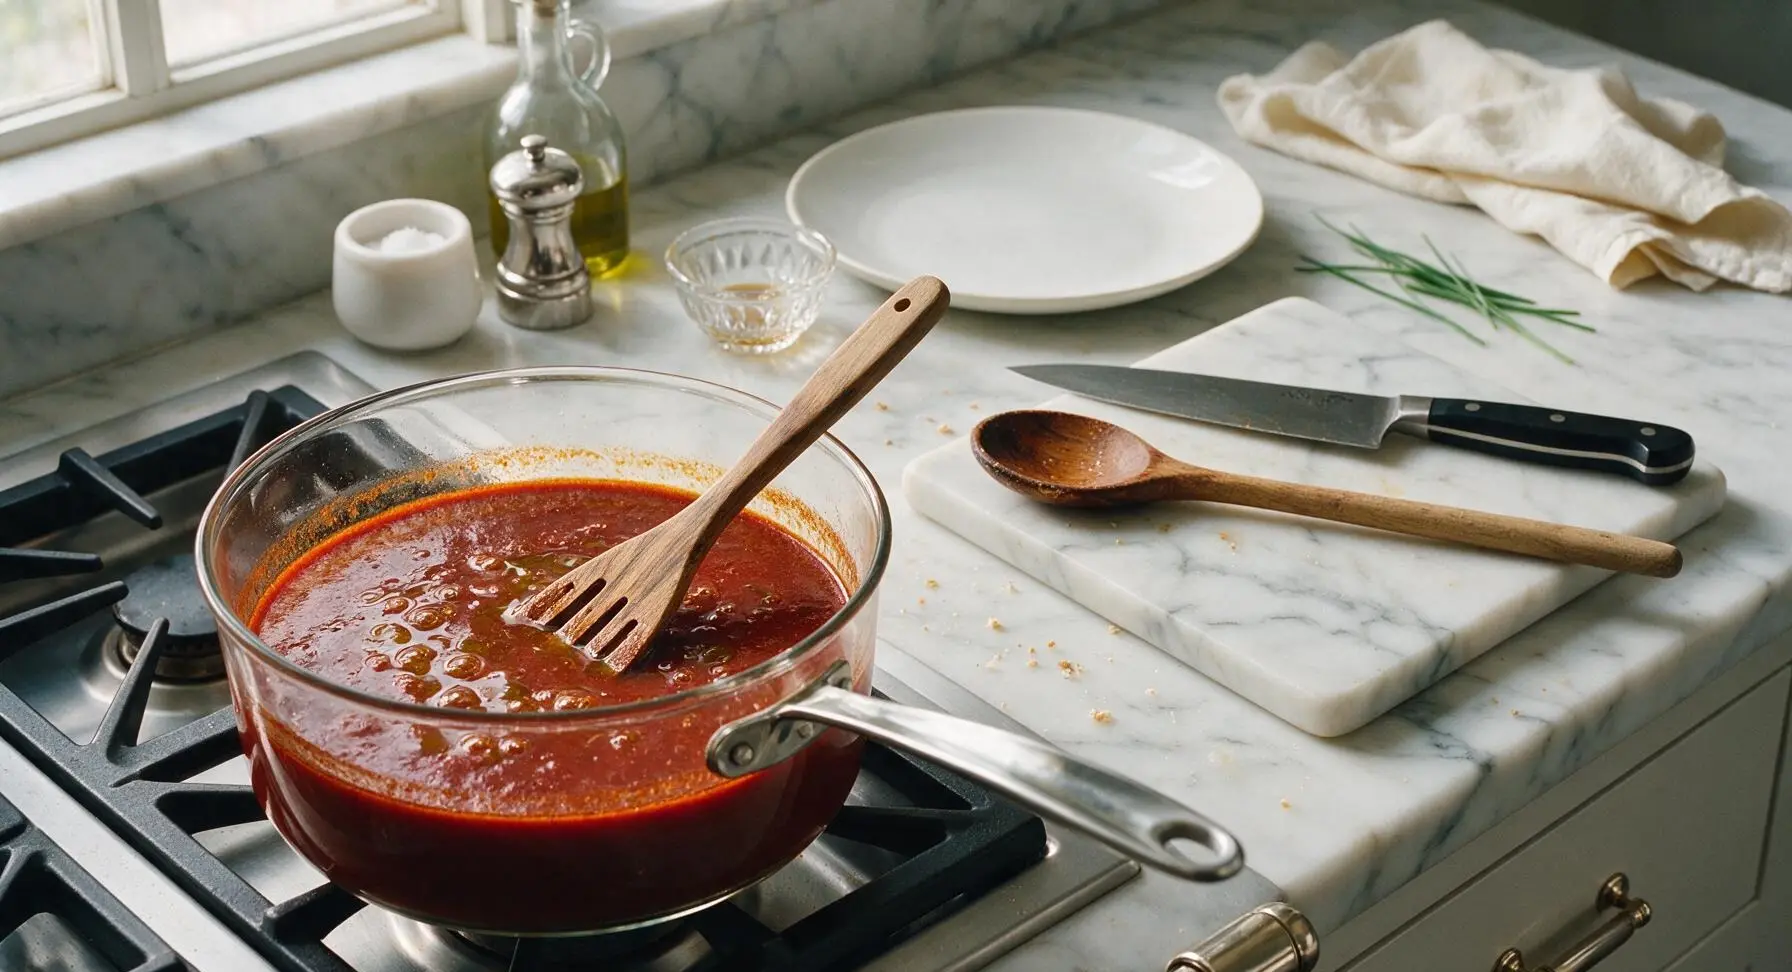
Step 6
step6:Simmer Sauce to Thicken

Tips

1.Always toast dried chiles over medium-low heat for only 10–15 seconds per side: chiles burn in as little as 20 seconds over high heat, and even one small blackened spot will lend the entire sauce a sharp, bitter flavor that cannot be corrected. Short, gentle toasting brings out their sweet, raisiny, fruity depth.
2.Do not skip the straining step, even if you own a high-speed blender: tiny, tough fragments of chile skin will remain in the puree, creating a gritty, unpleasant texture. Pressing the puree through a fine-mesh strainer yields the silky, restaurant-smooth texture traditional enchilada sauce is known for.
3.The tiny pinch of cinnamon is not a dessert ingredient mistake: it is a classic central Mexican addition that adds a warm, subtle background depth that amplifies the earthy chile flavor and balances the bright acidity of the tomatoes and vinegar, without adding a noticeable cinnamon taste.


✨ You May Also Like

Main Course
🍜 United Kingdom

A showstopping classic of tender seared beef, savory mushroom duxelles, and crisp prosciutto wrapped in flaky golden puff pastry, baked to juicy perfection.

⏱️ 2 hours 1Main Course ★ 4.7
Main Course
🍜 India

Tender charred marinated chicken simmered in a rich, spiced creamy tomato sauce, this iconic Anglo-Indian curry pairs perfectly with basmati rice or warm naan.

⏱️ 50 minuteMain Course ★ 4.6
Main Course
🍜 Thailand

Classic tangy, sweet, and savory Thai stir-fried rice noodles with shrimp, tofu, and crunchy garnishes, balancing all five core Thai flavor profiles.

⏱️ 30 minuteMain Course ★ 4.5
Main Course
🍜 United Kingdom

Crispy golden beer-battered cod and fluffy double-fried chips, served with tangy tartar sauce and malt vinegar: the timeless, beloved British pub comfort classic.

⏱️ 45 minuteMain Course ★ 4.7
Main Course
🍜 Mexico

Smoky, chile-marinated pork tacos with caramelized pineapple, fresh cilantro, and lime: a beloved classic Mexican street food perfect for casual summer gatherings.

⏱️ 1 hour 45Main Course ★ 4.8
Main Course
🍜 United States

Crunchy Fritos corn chips layered with savory beef chili and melted cheddar, topped with cool, zesty fixings for a beloved, cozy Tex-Mex comfort food.

⏱️ 35 minuteMain Course ★ 4.8

enchilada sauce recipe authentic:Frequently Asked Questions

1.Can I skip toasting the dried chiles to save prep time? ▾
I get wanting to cut corners on prep, but don’t skip this 2-minute step! Toast each chile in a dry, hot skillet for 20–30 seconds per side until fragrant, taking care not to burn them. Toasting unlocks those deep, earthy, fruit-forward notes that make this sauce taste authentic, rather than flat and raw.
2.Why did my sauce turn out bitter, and how do I fix it? ▾
Bitter sauce almost always comes from burnt chiles during toasting, or leaving too many bitter seeds and tough inner veins in the chiles. Fix it by stirring in a tiny pinch of sugar, a splash of apple cider vinegar, or 1/4 teaspoon of cocoa powder to balance the flavor, then strain through a fine sieve to remove gritty, bitter particles.
3.Can I substitute fresh chiles for the dried ancho, guajillo, and chile de árbol? ▾
Skip fresh chiles here—they have a bright, grassy, crisp flavor that won’t give you that signature deep, slow-cooked enchilada sauce profile. If you’re missing one dried chile, swap in equal weight of another dried red chile like pasilla, but stick to dried varieties for the most authentic result.
4.How long does this homemade sauce stay good in the fridge or freezer? ▾
Stored in an airtight glass jar, this sauce will stay fresh in the fridge for up to 1 week, and freezes beautifully for up to 6 months. I recommend portioning it into 2-cup freezer-safe bags or containers so you can thaw exactly what you need for quick, delicious enchilada dinners on busy weeknights.
5.Do I have to remove every last seed from the dried chiles? ▾
For a mild, family-friendly sauce, shake out and discard all seeds and tough inner veins from the chiles before rehydrating. If you want a little extra heat, leave 1/2 to 1 teaspoon of chile de árbol seeds in—just taste as you go, since those small chiles pack a surprising amount of spicy punch.
6.Why is my sauce gritty even after I blend it? ▾
Gritty texture happens when you don’t rehydrate chiles long enough, or skip straining entirely. Make sure you soak toasted chiles in very hot water for 20–30 minutes until completely soft before blending, then pour the sauce through a fine-mesh sieve, pressing with a spatula to extract smooth liquid and leave tough fibrous bits behind.
7.Can I use this sauce for dishes other than enchiladas? ▾
Absolutely! This rich, deeply flavored sauce is incredibly versatile. Toss it with shredded chicken for taco filling, drizzle it over chilaquiles or huevos rancheros, stir a spoonful into posole, or use it as a braising liquid for slow-cooked pork shoulder to add that perfect warm, deep chile flavor.
8.Do I need any special equipment to make this sauce? ▾
You don’t need fancy, expensive gear! A basic high-speed blender (or even an immersion blender) works perfectly for pureeing the chiles, aromatics, and soaking liquid. The only extra item I strongly recommend is a fine-mesh sieve to strain out fibrous chile bits for that silky, restaurant-smooth texture everyone loves.
9.How spicy is this sauce, and can I adjust the heat level? ▾
As written, the sauce is mild to medium heat, with warm, fruity chile flavor rather than overwhelming burn. For less heat, leave out the chile de árbol entirely and stick to just ancho and guajillo. For extra heat, add 1–2 extra chiles de árbol or a pinch of cayenne to match your spice preference.
10.Why do you call for white onion instead of yellow onion here? ▾
White onion has a sharper, brighter, cleaner flavor that softens beautifully when blended into the sauce, without the heavy, sweet caramelized note you get from yellow onion. It pairs perfectly with earthy dried chiles and pungent garlic to create that balanced central Mexican flavor profile that beats any canned version.

Comments (8)

2 days ago

OMG this red enchilada sauce is a total game changer! I’ve been buying the canned stuff for years and it never tastes right, but this? Tastes exactly like the sauce my abuela used to make for our Sunday family dinners. I made a big batch last night for enchilada night and my kids begged for seconds, even my picky 7 year old! The dried chiles make such a huge difference, don’t skip toasting them like I almost did. SO good, will be making this for our next potluck for sure.

yesterday

Wait, did you use all the chile types listed? I only have ancho and guajillo on hand, wondering if I can skip the arbol without losing too much heat?

yesterday

So glad your family loved it, Tess! If you don’t have chile de arbol, you can add a pinch of cayenne to get that subtle heat, or just leave it out for a milder sauce that’s still super flavorful — toasting whatever chiles you do have will still make it taste way better than canned!

1 week ago

I was so intimidated to make homemade enchilada sauce because I thought it’d be too fussy, but this was totally doable even on a busy weeknight! 25 minutes cook time is no joke, I had it simmering while I shredded the chicken for our enchiladas. Meal prepped a double batch and froze half, can’t wait to pull it out for quick dinners later this month. Only note: I added a tiny extra pinch of cumin because we love that smoky flavor in our house.

5 days ago

Love that you meal prepped a double batch, Molly! Freezing this sauce works perfectly for up to 3 months, so you’re already set for those chaotic busy nights. Extra cumin is never a bad call in my book!

5 days ago

Tried this last night for the first time and it was solid! Good depth of flavor, way better than the jarred stuff I usually grab on my grocery run. My only feedback is that I found it a tiny bit too tangy for my taste, so next time I’ll cut back on the apple cider vinegar just a touch. Otherwise, great base recipe that’s easy to tweak to your own preferences.

3 days ago

FINALLY an authentic red enchilada sauce recipe that doesn’t have weird fillers or flour! I have celiac so I have to be super careful with store bought sauces that sneak in wheat, and this is 100% gluten free if you use cornstarch to thicken like I did. Made enchilada casserole for my friend’s potluck last weekend and everyone was asking for the recipe! Even people who said they “don’t like spicy food” went back for a second helping.

2 days ago

Oh thank you for mentioning the cornstarch swap! I was about to ask if there’s a gluten free thickener option, that’s perfect. Did you use the same amount of cornstarch as the flour called for?

2 days ago

Great question! For a gluten free swap, use 1.5 teaspoons of cornstarch mixed with a little cold water instead of the 2 teaspoons of all purpose flour, since cornstarch has more thickening power. So happy the recipe worked for your potluck, Gina!

30 minutes ago

Bro, I’m a broke college student who mostly survives on ramen and frozen burritos, and even I could pull this off! Didn’t have dried chiles so I used the canned chipotles in adobo I had in my pantry and it still slapped. Tossed it with some fried eggs and tortillas for a quick breakfast this morning, 10/10 would make again. Way cheaper than buying takeout enchiladas that cost $15 a plate.

5 minutes ago

Wait how much chipotle did you use? I have a can in my cabinet too and I wanna try your hack, that sounds way easier than tracking down dried chiles near campus

yesterday

I brought enchiladas made with this sauce to our neighborhood block party last weekend and I swear people were lined up for seconds! The sauce has that perfect balance of smoky, slightly sweet, and a tiny kick that doesn’t overpower the fillings. I did add a handful of chopped cilantro at the end like I do with all my Mexican recipes and it added such a nice fresh pop. Will absolutely be adding this to my regular rotation.

yesterday

Block parties are the perfect place to show off this sauce, Pam! Adding fresh cilantro at the end is such a great call, that bright herby flavor cuts through the richness of the sauce so well. So glad it was a hit with your neighbors!

2 weeks ago

I made this sauce for a car camping trip last weekend, heated it up over the camp stove with some pre-cooked pork and tortillas, and it was the best camp meal I’ve ever had! Way easier to prep ahead than I thought, I stored it in a mason jar in the cooler and it held up perfectly for 3 days. My only tiny complaint is that I blended it a little too long and it came out smoother than I like, next time I’ll leave it a bit chunkier for texture.

2 hours ago

This is the real deal, y’all! I grew up in southern California eating authentic enchiladas at my local taqueria and this sauce tastes exactly like what they serve. Don’t let the medium difficulty scare you — if you take your time toasting the chiles and blending everything smooth, it’s totally straightforward. I added a tiny bit of Mexican chocolate to my batch like my tiá used to do and it added that perfect subtle depth that people can’t put their finger on. 10/10, no more canned sauce for me!

30 minutes ago

Wait Mexican chocolate? That sounds incredible! How much did you add? I love that little hint of sweet in savory sauces, I need to try that next time I make this.

5 minutes ago

Adding a small square of Mexican chocolate is such a classic trick, Maria! It balances out the tang and heat beautifully without making the sauce taste sweet at all. For folks who want to try it, 1/2 ounce of unsweetened Mexican chocolate stirred in at the end of simmering is perfect.



