
Feta Grilled Cheese
intro
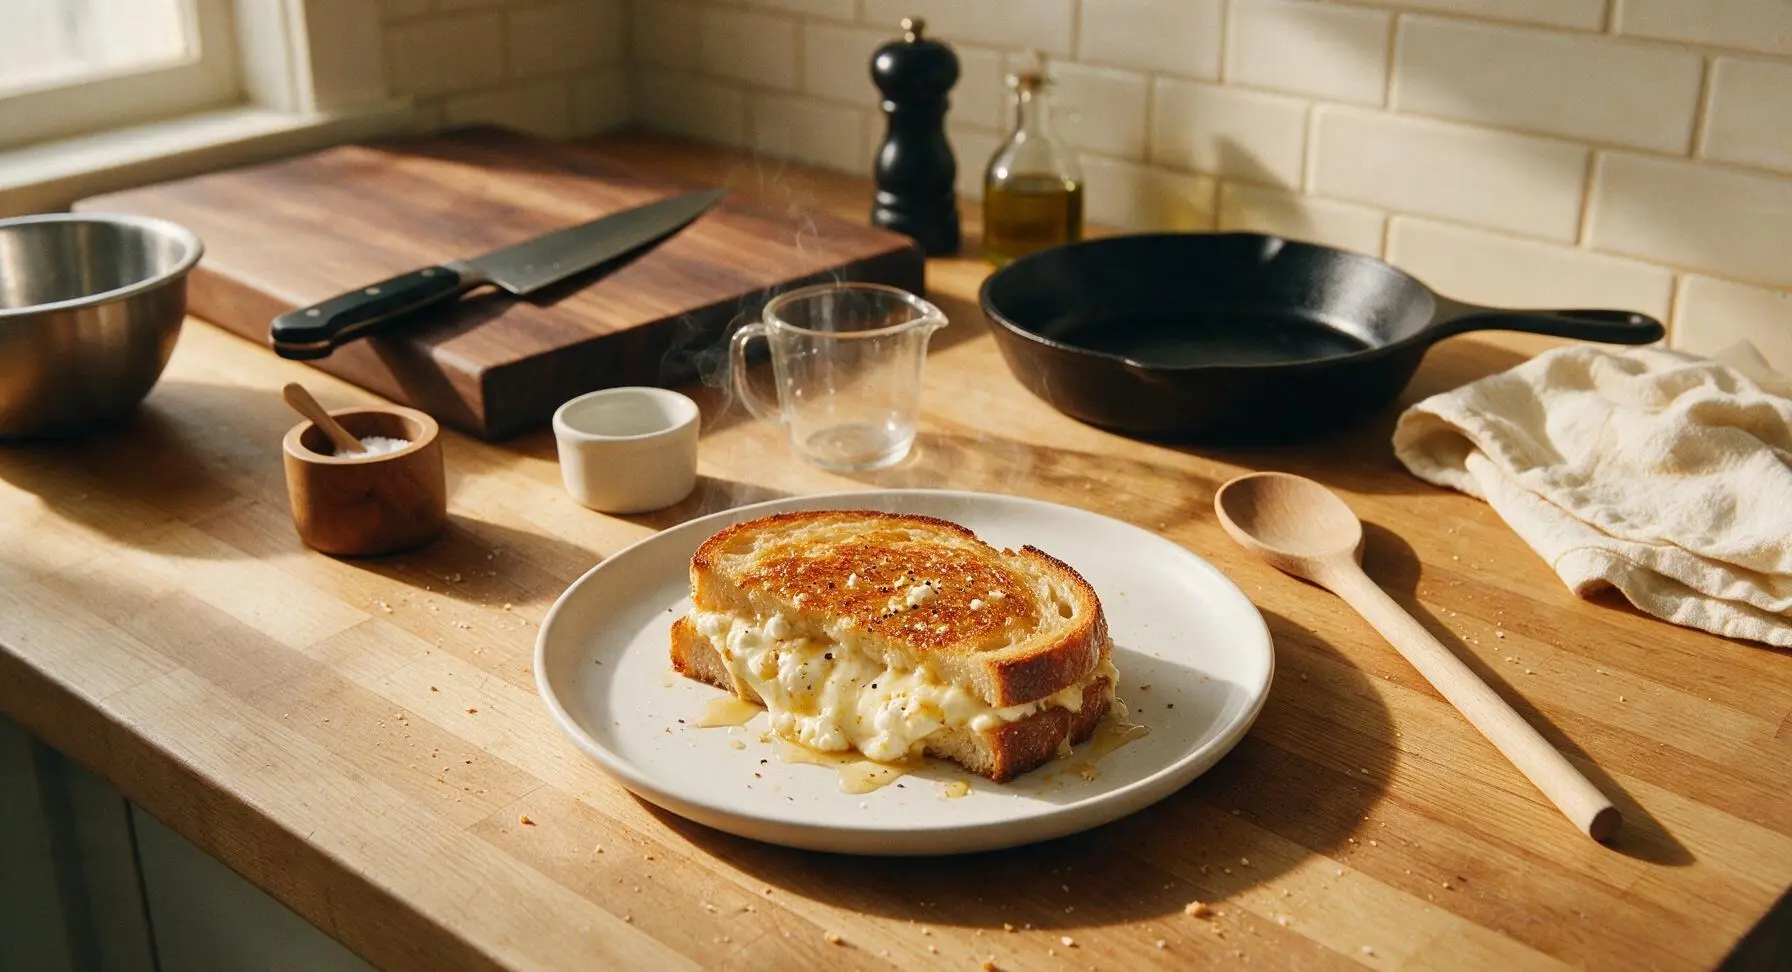
Crispy buttery sourdough oozing with tangy feta and melted mozzarella, accented with honey and black pepper for a cozy, perfectly balanced comfort food bite.
Ingredients
Steps
Mix Cheese Filling
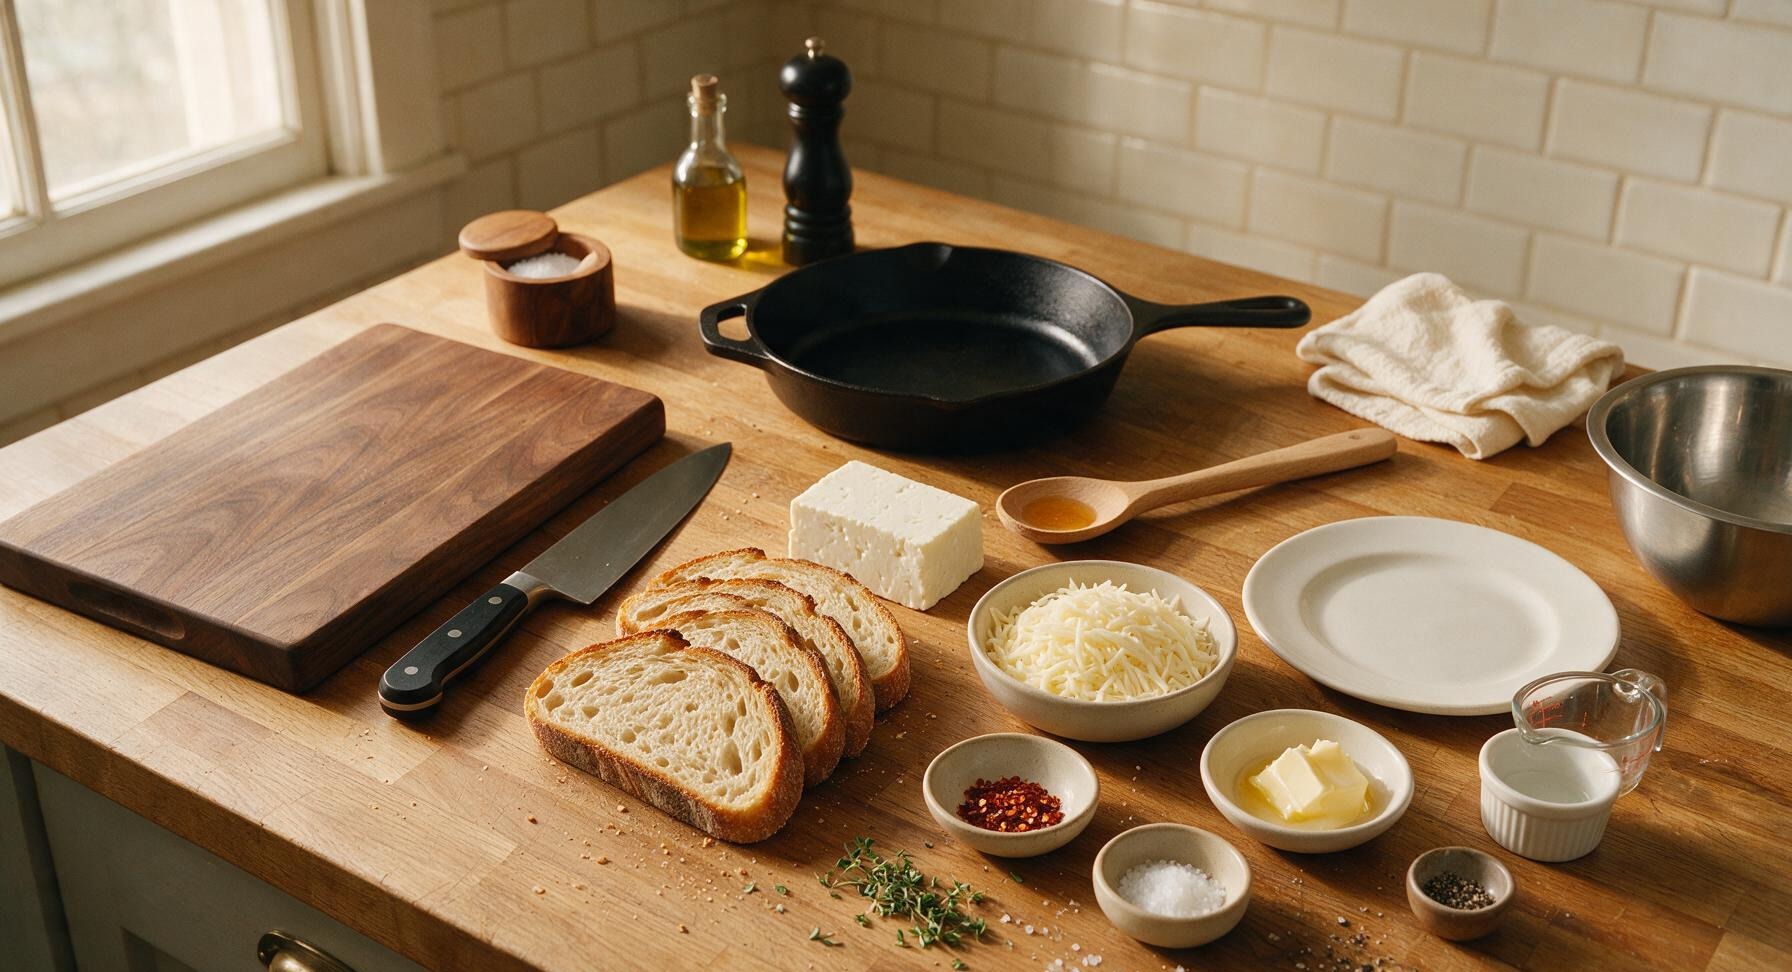
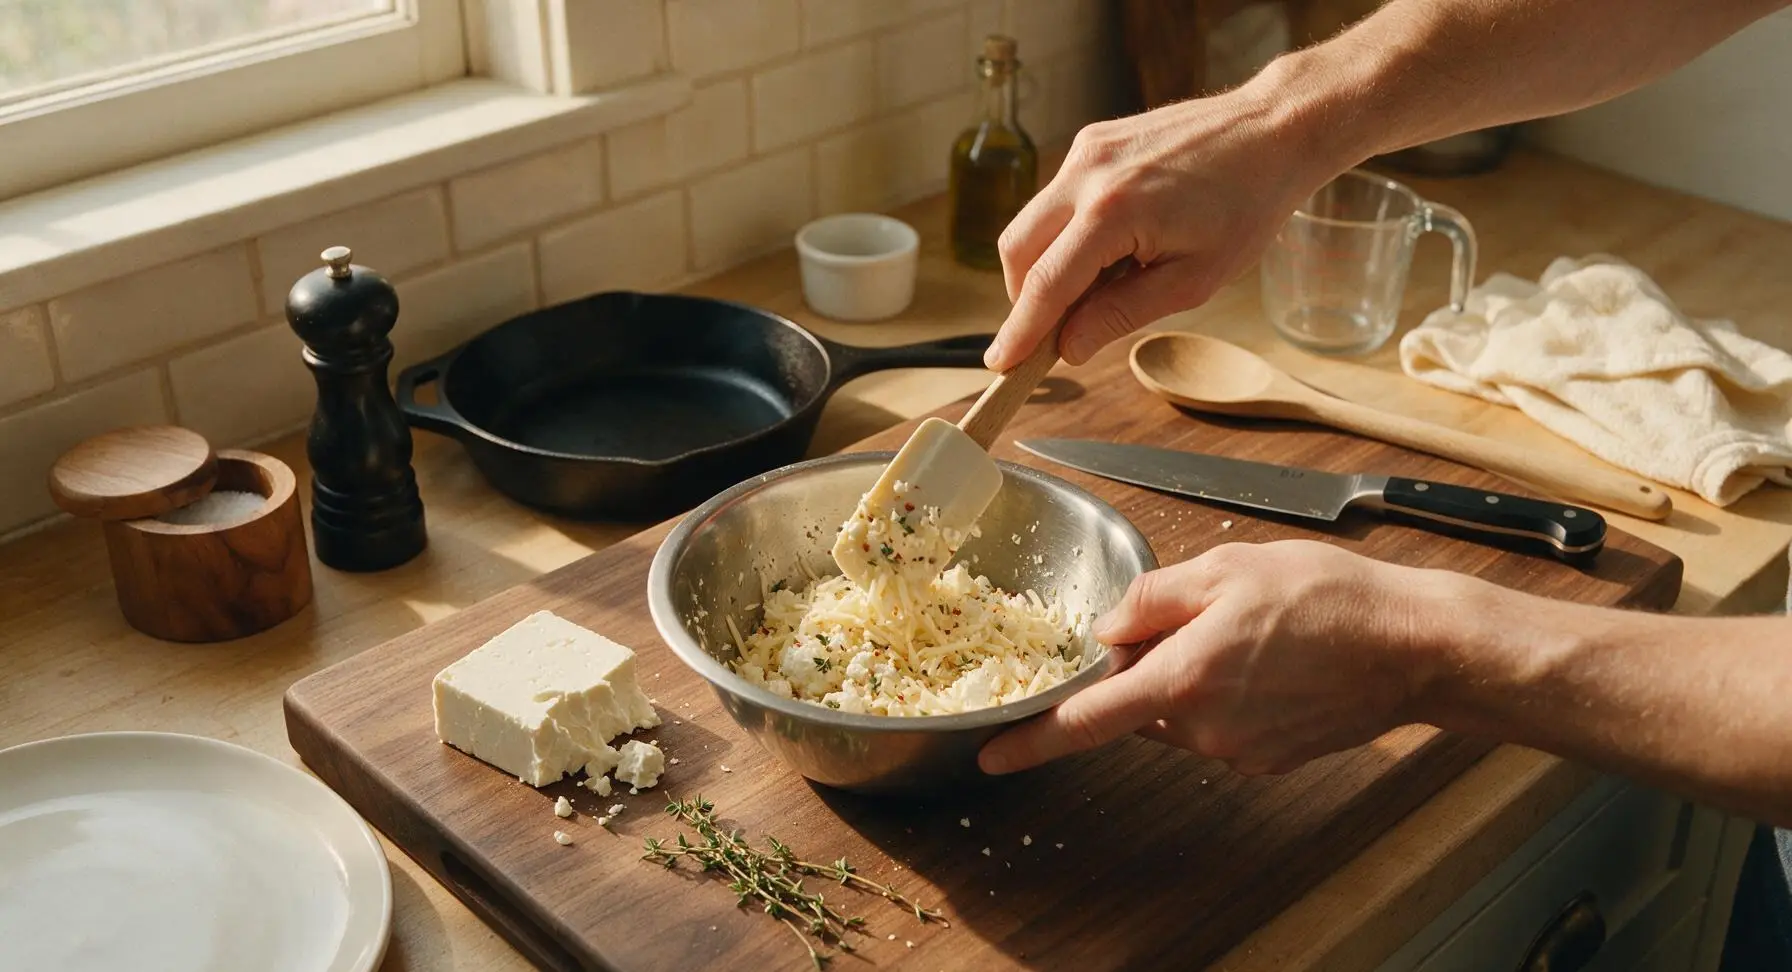
Crumble the 110g (4oz) feta block into the small stainless steel mixing bowl, add 85g (3oz) shredded low-moisture mozzarella, 1 tsp picked fresh thyme leaves, 1/8 tsp cracked black pepper, and 1/4 tsp red pepper flakes. Toss gently with the silicone spatula until evenly combined, taking care not to overmix—small, uneven feta crumbles add pleasant texture to the finished sandwich. Set the bowl aside while you prep the bread.
Butter Bread Slices
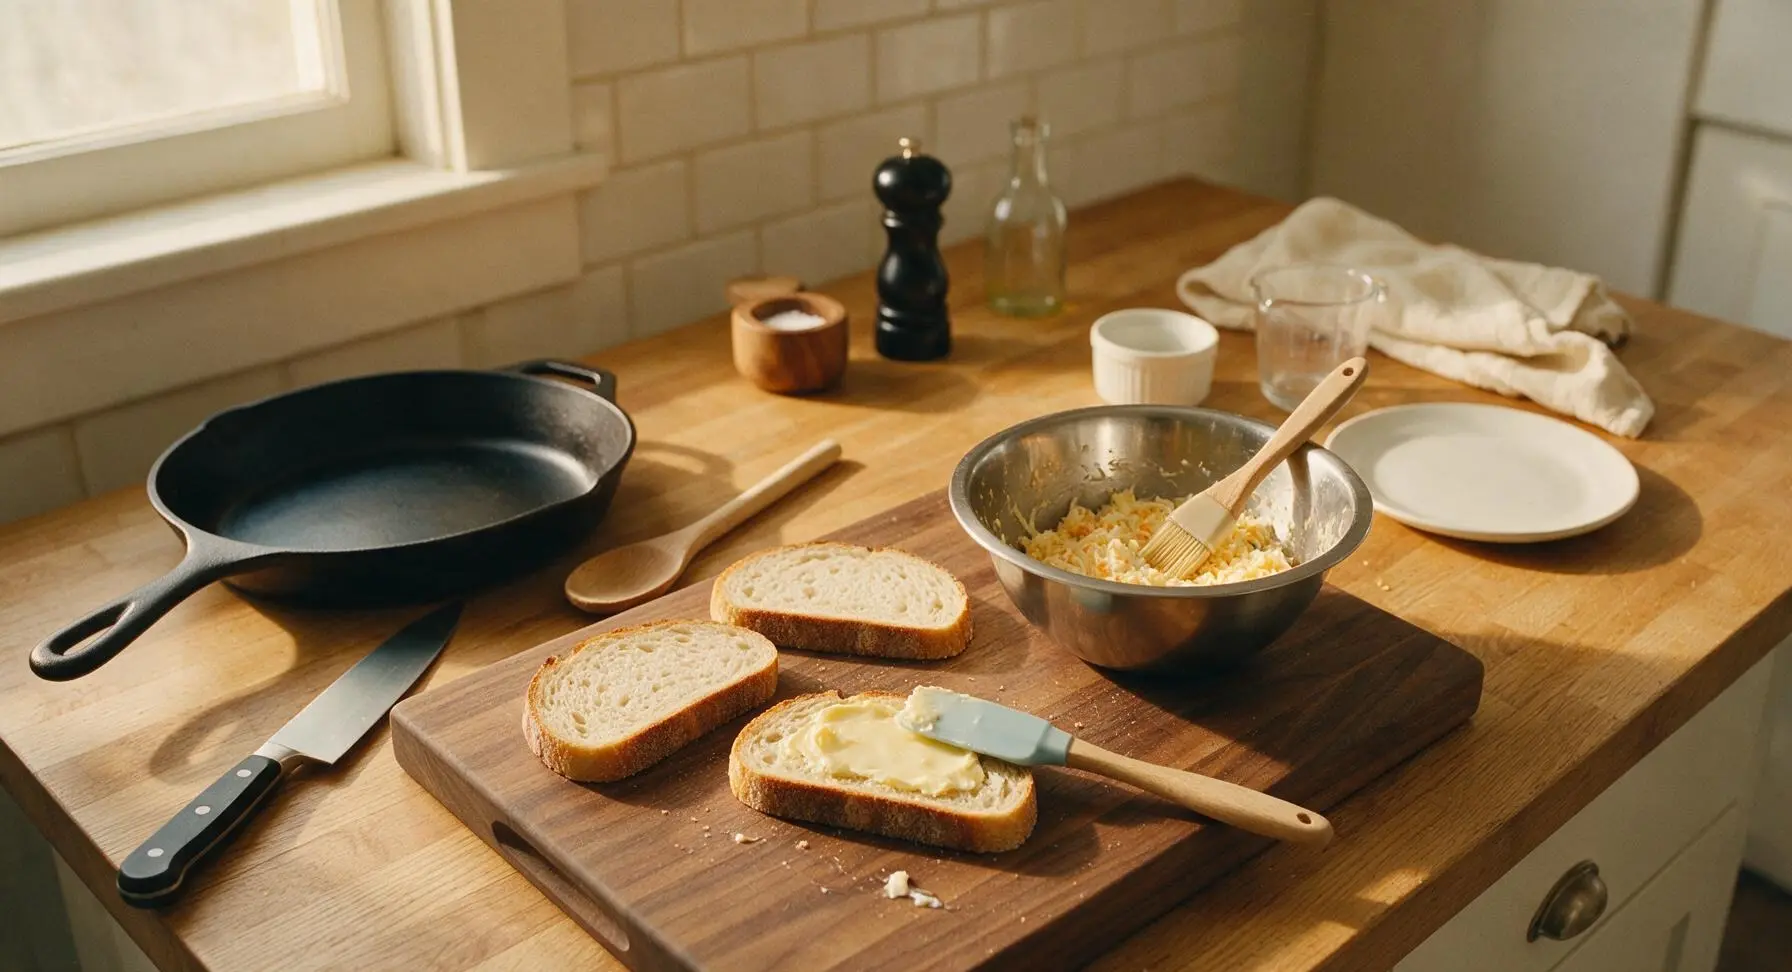
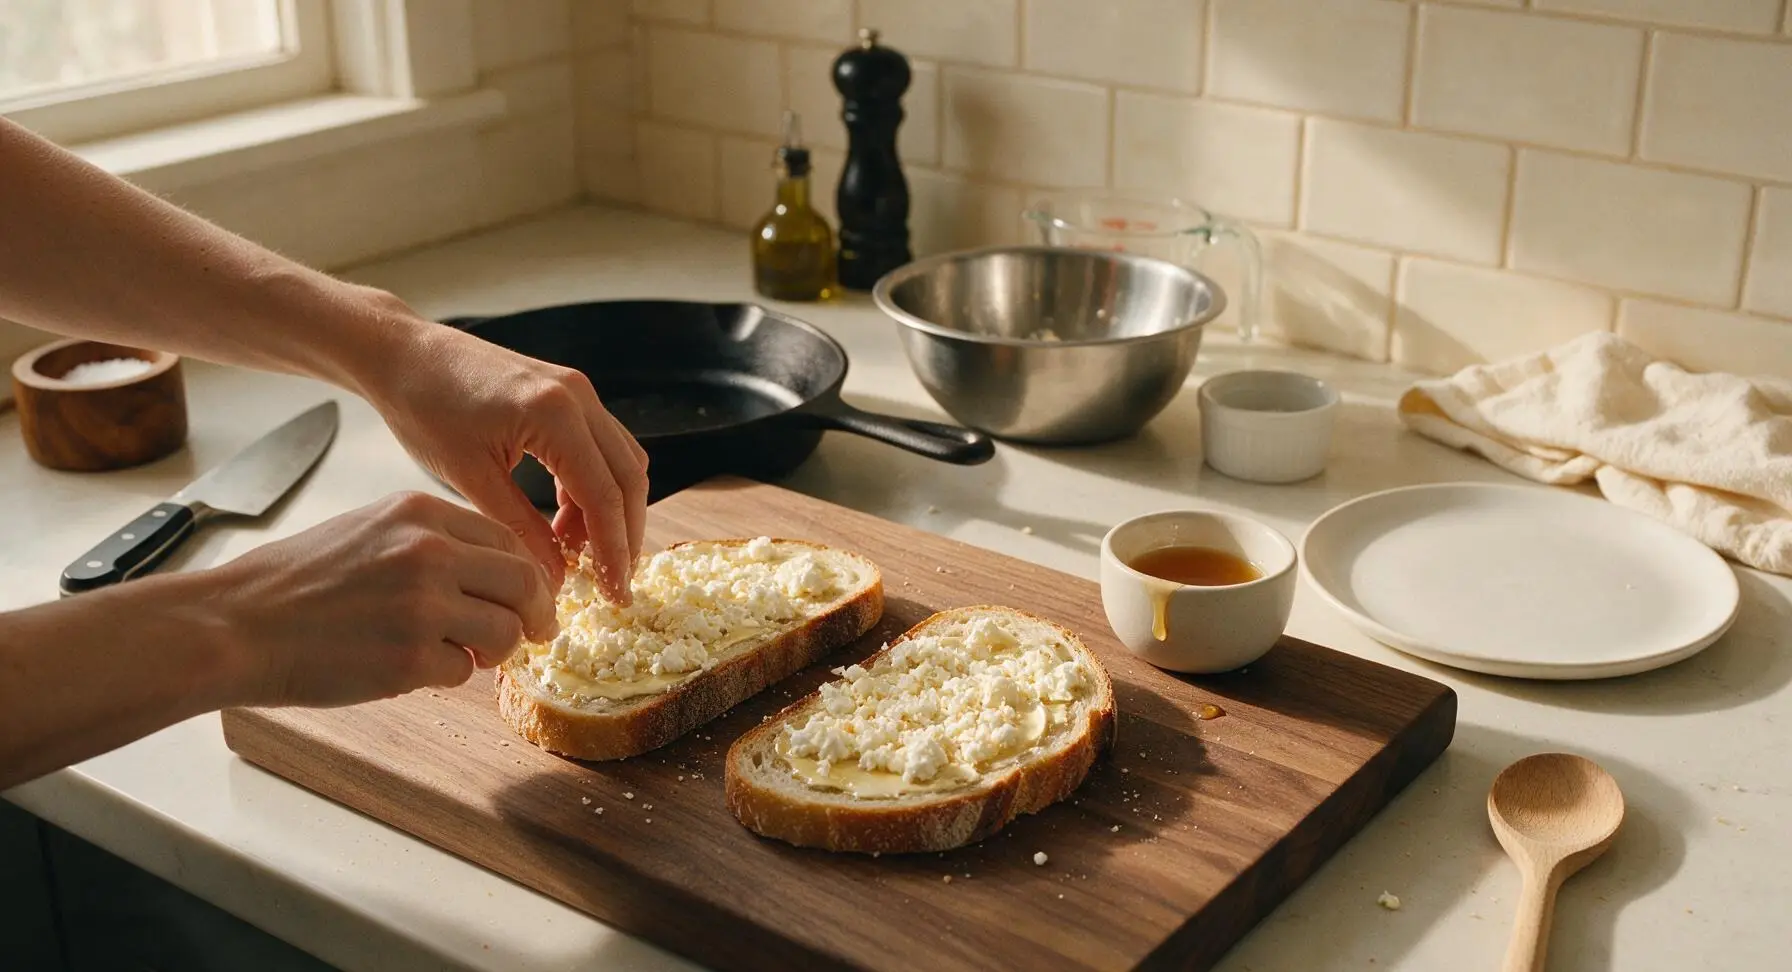
Lay all 4 sourdough slices flat on the acacia wood cutting board. Use the silicone spatula to spread the 2 tbsp (28g) softened unsalted butter evenly across one full side of each bread slice, creating a thin, uniform 1/8-inch thick layer. Ensure butter reaches all the way to the crust edges to prevent dry, un-browned spots during cooking.
Layer Sandwich Fillings
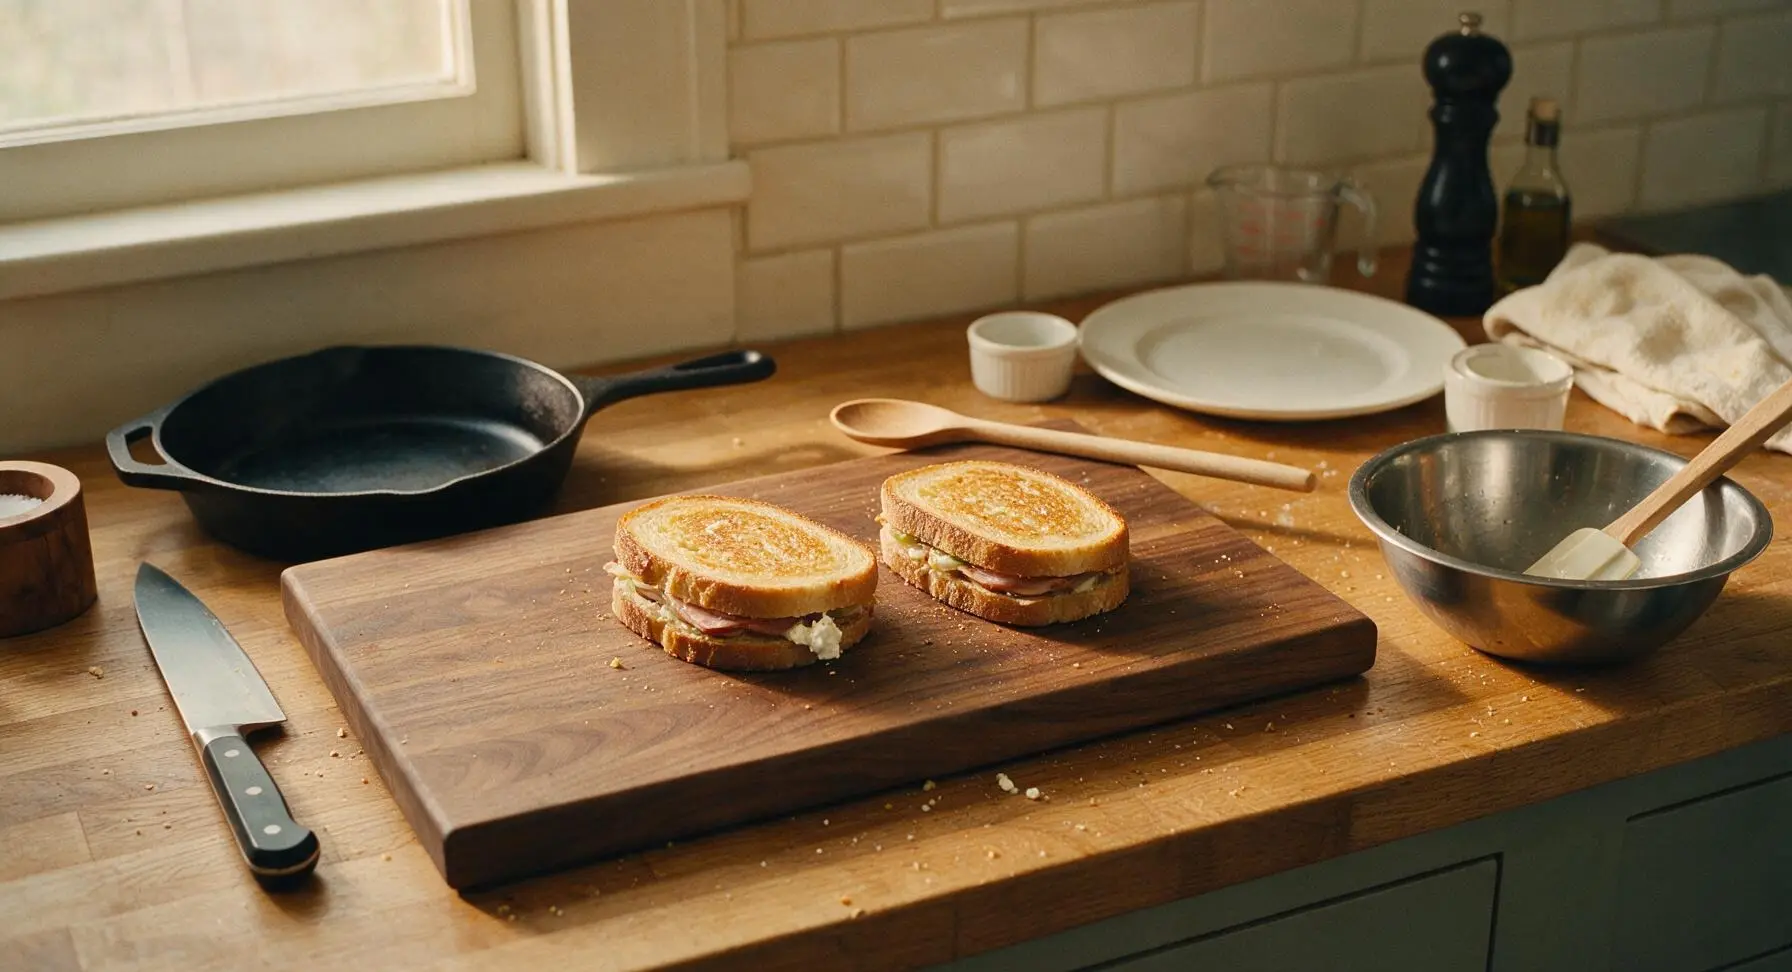
Flip two of the bread slices so their buttered side faces down on the cutting board. Divide the mixed cheese filling evenly between these two slices, spreading it in a loose, even layer up to 1/4 inch from the crust edge to prevent cheese oozing out during cooking. Drizzle 1/2 tsp of raw honey over the cheese layer on each sandwich, then top with the remaining two bread slices, buttered side facing outward. Press down gently on each sandwich with the palm of your hand to compact the layers slightly.
Preheat Cooking Skillet
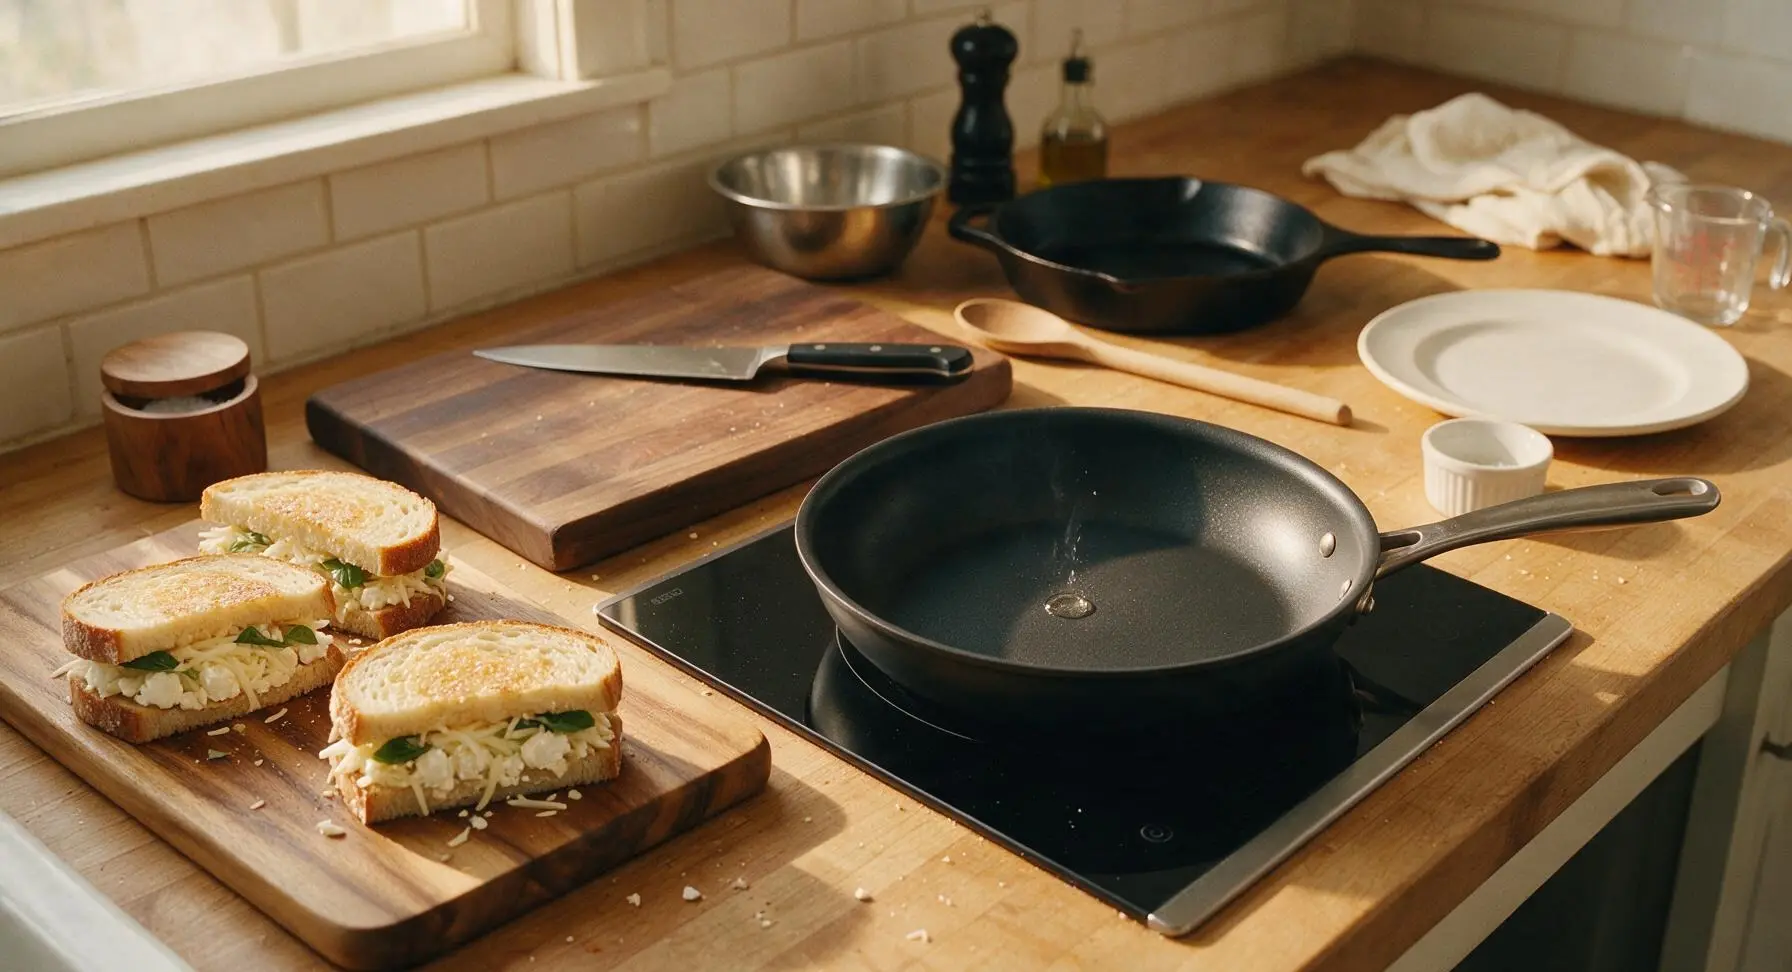
Place the 10-inch nonstick carbon steel skillet on the center-right induction burner, set heat to medium-low (3/10 on most stovetop dials). Let the pan preheat for 2 full minutes—do not use high heat, as this will burn the bread before the dense feta has time to soften. Test pan temperature by sprinkling a single drop of water: it should sizzle gently and dance across the surface, not evaporate instantly on contact.
Cook First Sandwich Side
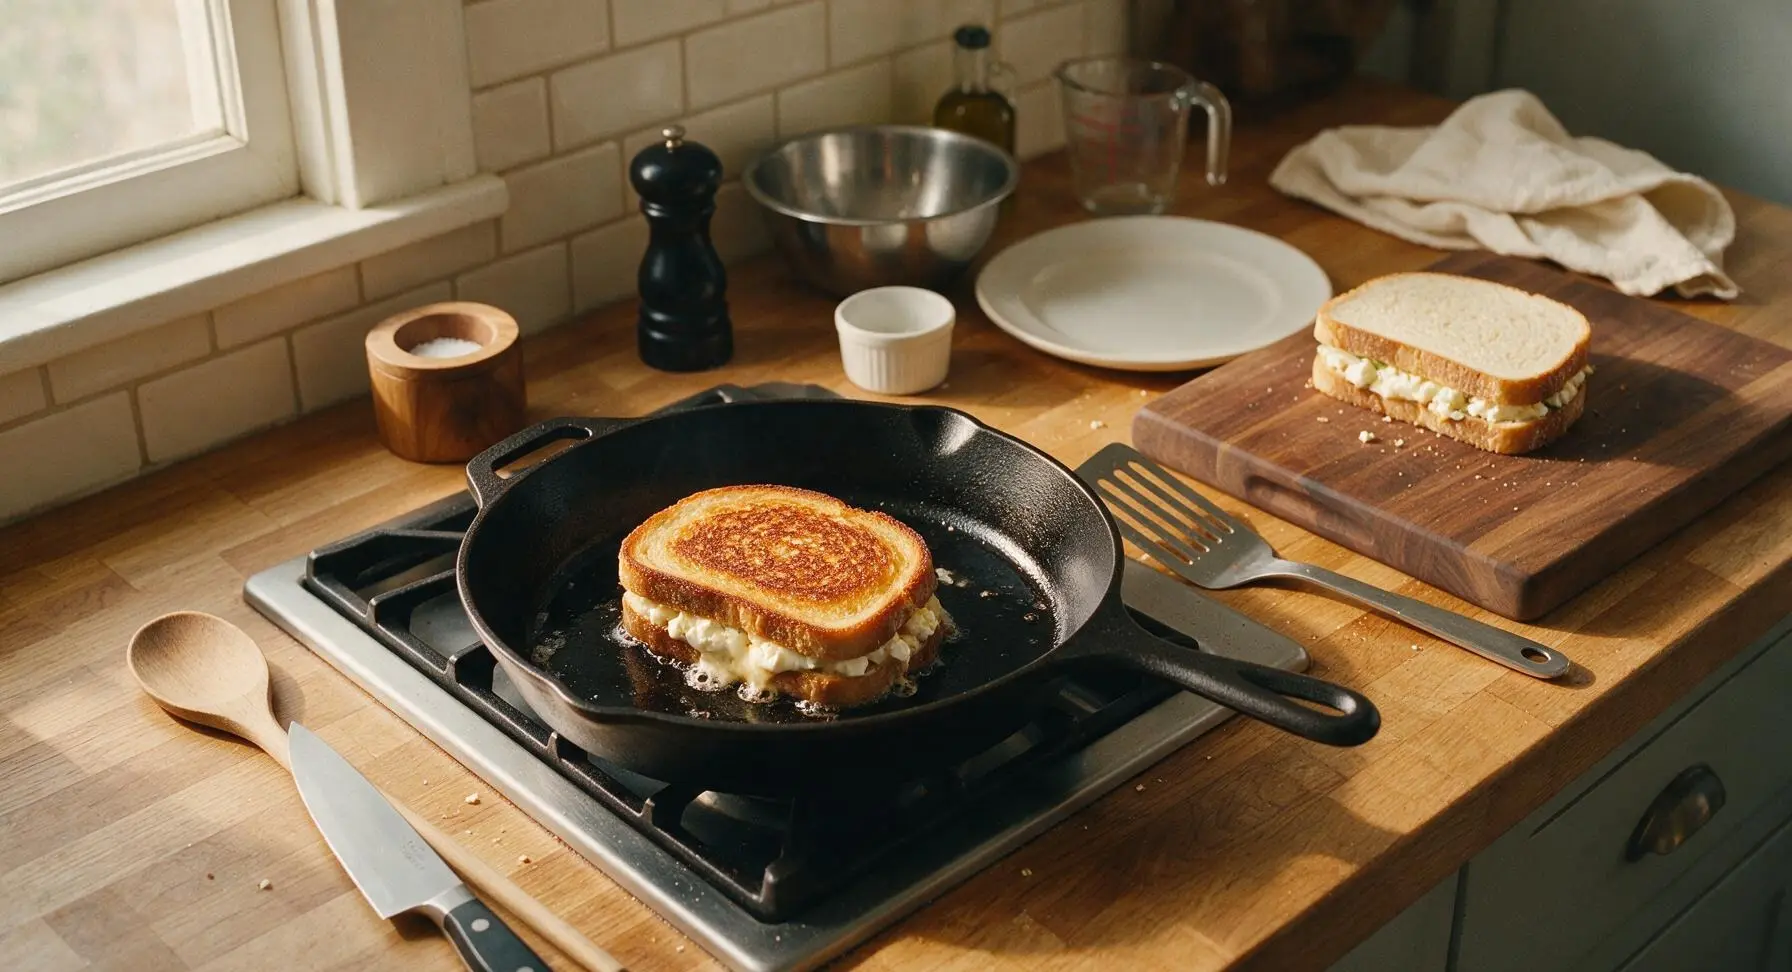
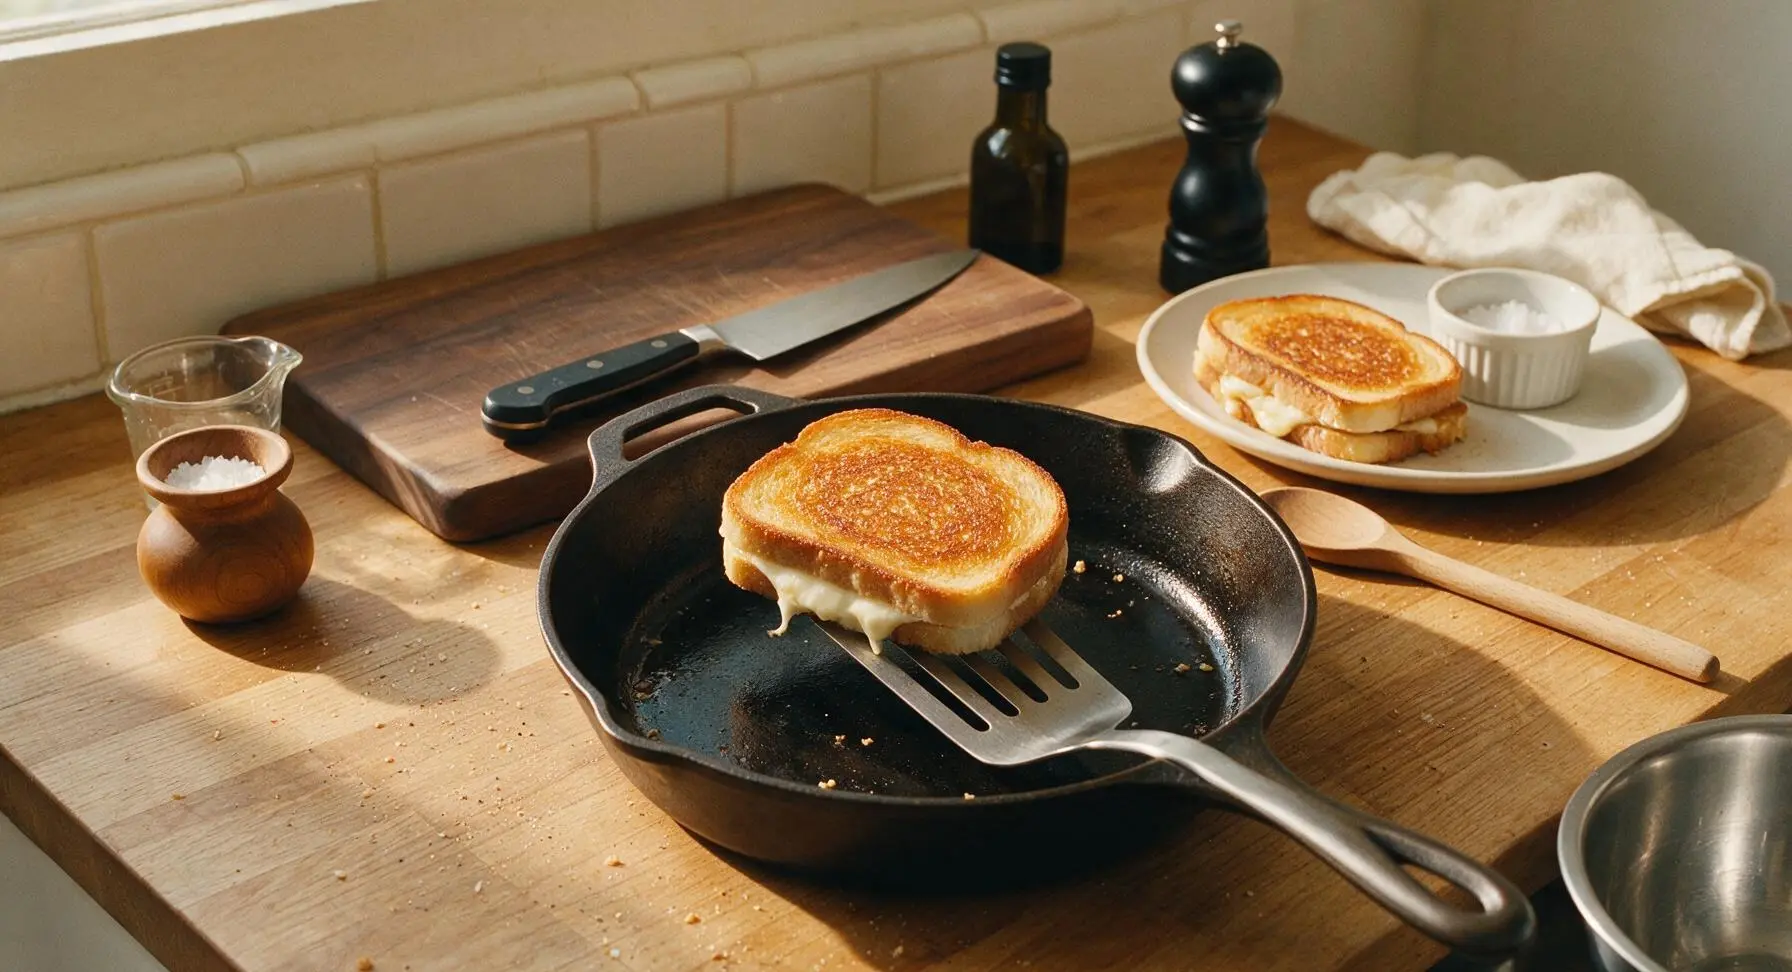
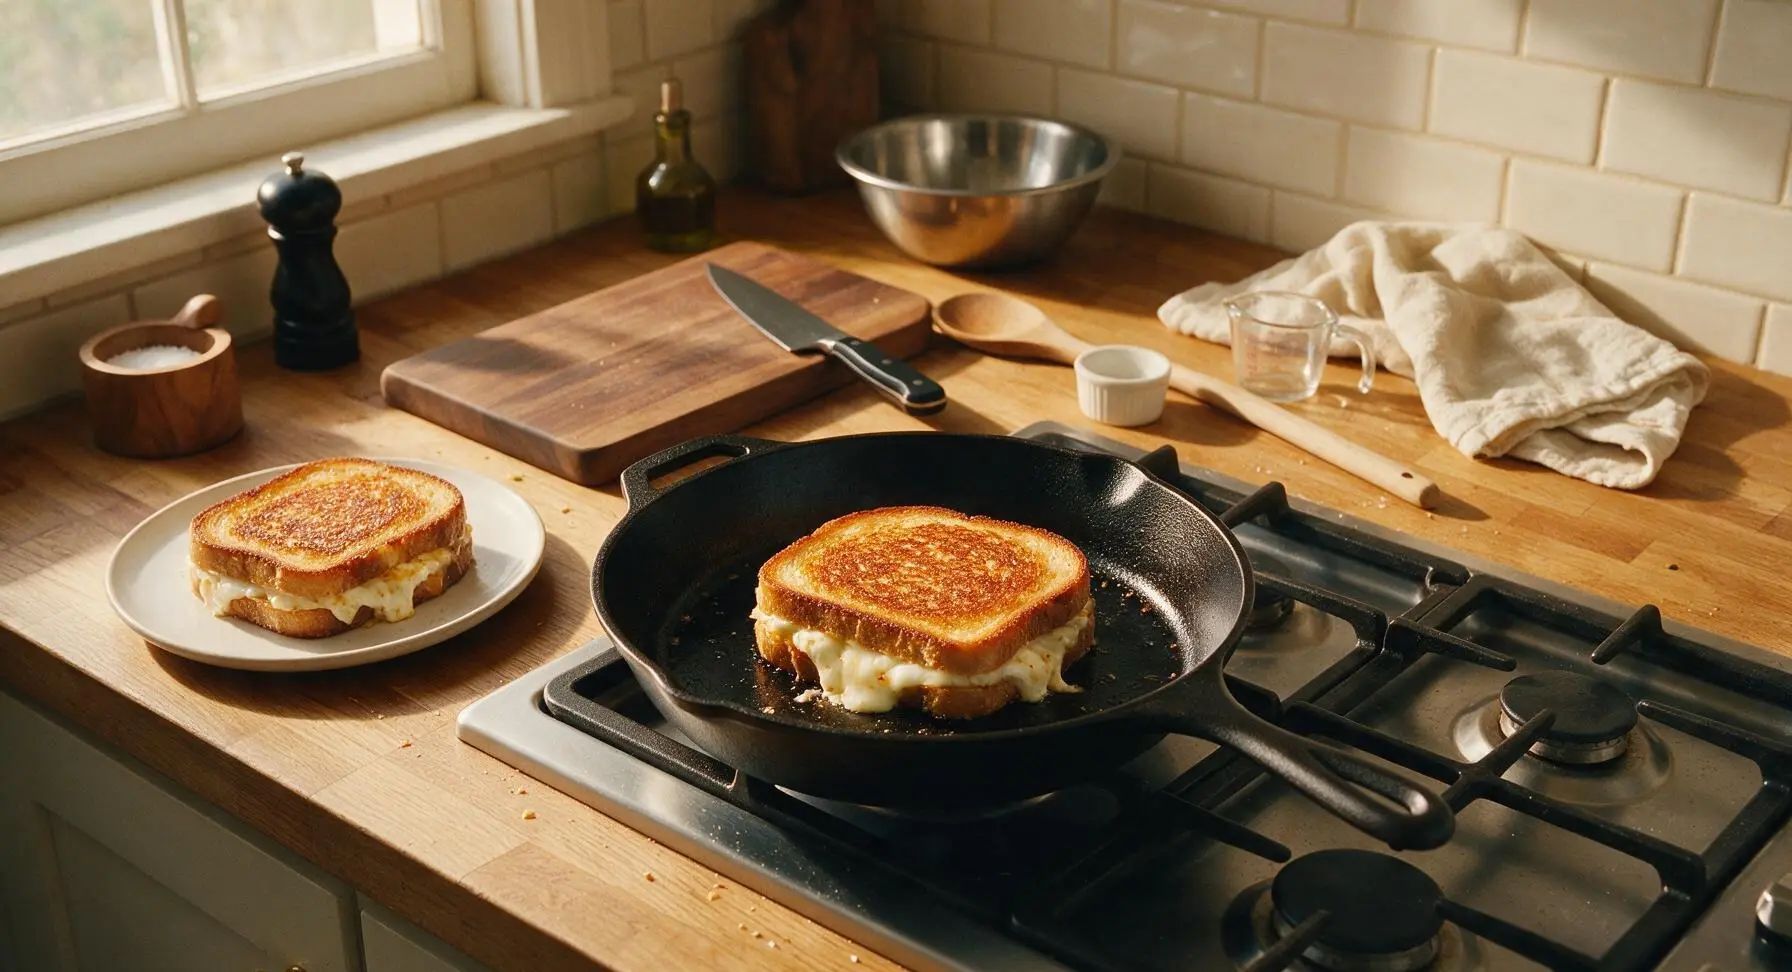
Use the slotted metal spatula to carefully lift one assembled sandwich and place it in the preheated skillet. Cook for 3-4 minutes, adjusting heat down slightly if the bread starts to brown too quickly, until the bottom bread slice is deep golden brown and crispy to the touch, and the cheese closest to the pan starts to soften and melt. Resist the urge to press down hard on the sandwich while cooking, as this will squeeze out melted cheese and create dry spots.
Flip and Cook Second Side
Slide the slotted metal spatula fully under the center of the cooking sandwich, lift gently, and flip in one smooth, steady motion. Cook the second side for another 3-4 minutes, until equally golden brown and crispy, and all cheese in the center is fully melted (you will see steady, small oozes of cheese from the sandwich edges when it is ready). Transfer the first cooked sandwich to the cream ceramic round lunch plate temporarily, then repeat the cooking process with the second sandwich.
Season and Plate Sandwiches
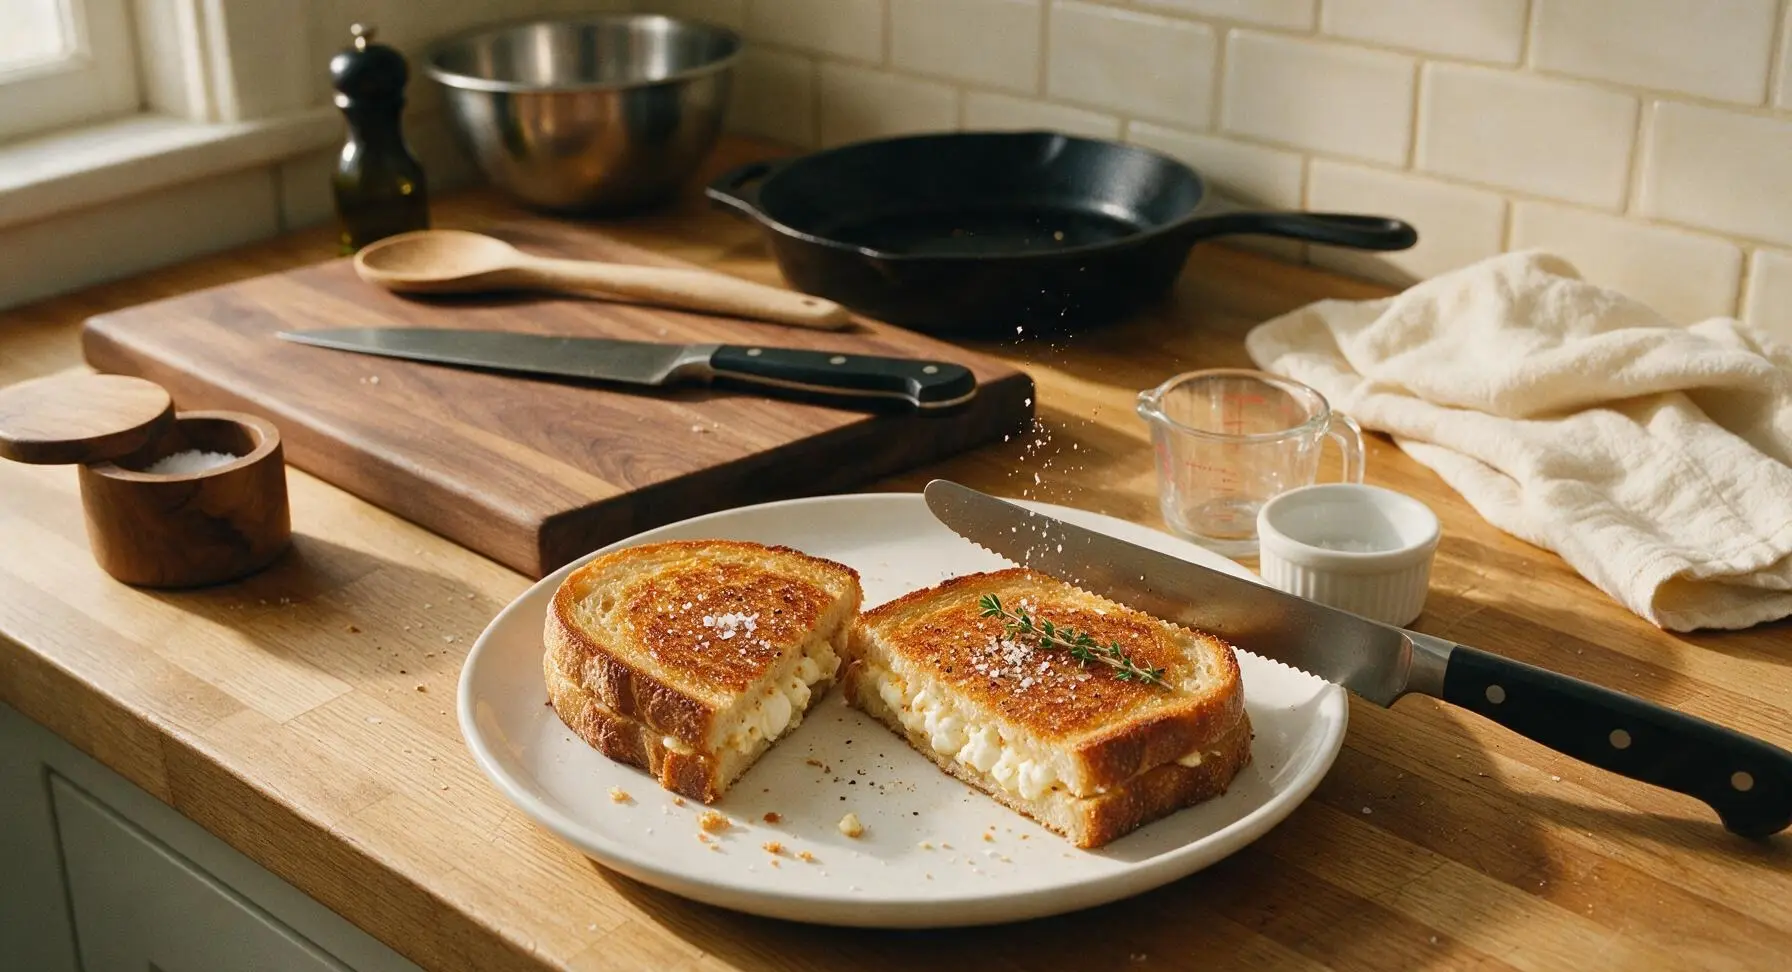
Transfer both cooked sandwiches to the cream ceramic round lunch plate. Cut each sandwich diagonally in half with the serrated utility knife, sprinkle the tops with a 1/8 tsp pinch of flaky sea salt, add a light extra crack of black pepper, and tuck a small fresh thyme sprig for garnish. Let rest 1 minute before serving to let the cheese set slightly, so it does not run out when you take the first bite.
Tips
2.Keep heat at medium-low the entire cook time: feta is a denser, lower-moisture cheese that takes longer to soften than soft melting cheeses like cheddar, so high heat will burn the buttered crust before the feta fully melts into the filling.
3.Don’t skip the 1-minute rest after cooking: cutting into the sandwich immediately will cause all the hot, runny melted cheese to gush out the sides, while a short rest lets the cheese thicken slightly for perfect, stringy bites that stay inside the bread.






OMG this feta grilled cheese is a GAME CHANGER!!! I’ve been making basic American cheese grilled cheese my whole adult life and never thought to mix in crumbled feta? The tang is unreal. My kids devoured two each with tomato soup last night, no leftovers at all. So easy too, perfect for busy weeknights.
Bro this took me literally 7 minutes to make with my tiny dorm panini press I got for move-in, zero skill needed. Way better than the sad dining hall grilled cheese. Already sent the recipe to my whole group chat.
Really solid recipe! I added a little spinach and a drizzle of hot honey between the cheese layers and it was chef’s kiss. Only reason it’s not 5 stars is I burned the first side because I got distracted answering a work text, oops. Definitely making this again for my next day hike lunch prep, it holds up great wrapped in foil.
Brought these cut into little triangles to my neighborhood potluck last weekend and they were the first thing gone! People kept asking me for the recipe, I just sent them all this link. Who knew fancy grilled cheese could be so low effort?
I’m the worst cook ever, like I burn toast regularly. But this? I nailed it first try! My 8 year old said it’s the best thing I’ve ever made, which is both a win and a little rude tbh. 10/10, no notes.
Made a big batch of these for my work meal prep this week, they reheat really well in the office toaster oven! I used whole grain bread instead of sourdough because that’s what I had on hand, still tasted amazing. Only con is the feta is a little salty for me, so next time I’ll cut it with a little more mozzarella.
Y’all. Add a couple slices of pickled jalapeño to this. Trust me. The brininess with the tangy feta and crispy buttered bread? I ate two sandwiches for lunch and didn’t even feel bad about it. SO good.
Made this for a lazy Sunday brunch with my roommates, paired it with mimosas and we were all in heaven. I thought feta on grilled cheese would be weird but it melts so nicely? I’ll never go back to plain cheddar again.
I’ve been making grilled cheese for my grandkids for 40 years, and this feta twist is the first new recipe that actually made them ask for seconds instead of their usual plain. It’s quick, it’s tasty, and I don’t need a bunch of fancy ingredients. What more could you ask for?
Great high protein snack option! I added a little turkey and used low-fat cheese to hit my macros, came out to like 32g of protein per sandwich. Only thing is I used light butter on the bread and it didn’t get as crispy as I wanted, so next time I’ll use regular or spray the pan a little more.
Made this for a casual date night in with my partner last night and they were so impressed! They thought I spent way more time on dinner than 8 minutes, lmao. We paired it with a side salad and it felt like a fancy cafe meal without the price tag.
I run a little small town cafe and tested this recipe as a lunch special last week. It sold out by 12:30pm three days in a row! Customers keep asking when we’re putting it on the permanent menu. Total home run.
My super picky 6 year old who only eats plain pasta and Goldfish crackers ate an entire half of this sandwich without complaining!!! I almost cried. I didn’t even add anything fancy, just the feta and a little mozzarella like the recipe says. Total mom win.
Just made this as a 2am snack after getting home from a concert and it might be the best thing I’ve ever eaten while half asleep. The crispy bread, the melty tangy cheese? I’m mad I didn’t find this recipe sooner. 10/10 drunchie approved.
Used fresh feta from the local farmers market and homegrown tomato slices in this, and it tasted like summer on bread. So simple but so flavorful, I’ll be making this every week until tomato season ends. The cook time is so quick I can whip it up between weeding the garden and watering the plants.
Great base recipe! I tossed in leftover roasted red peppers from last night’s dinner and a sprinkle of oregano, and it turned out amazing. It’s such a versatile recipe, you can throw in almost any leftover veg or meat you have in the fridge and it works. Only reason it’s 4 stars is I wish the recipe listed more fun mix-in ideas, but that’s just me being lazy!
This is the first recipe I’ve ever made that didn’t turn into a total disaster! I just moved out on my own and I’m still learning to cook, so 8 minutes and super simple steps were exactly what I needed. It tasted so good I even made a second one for my roommate to prove I can cook lol.