
filipino chicken adobo
intro
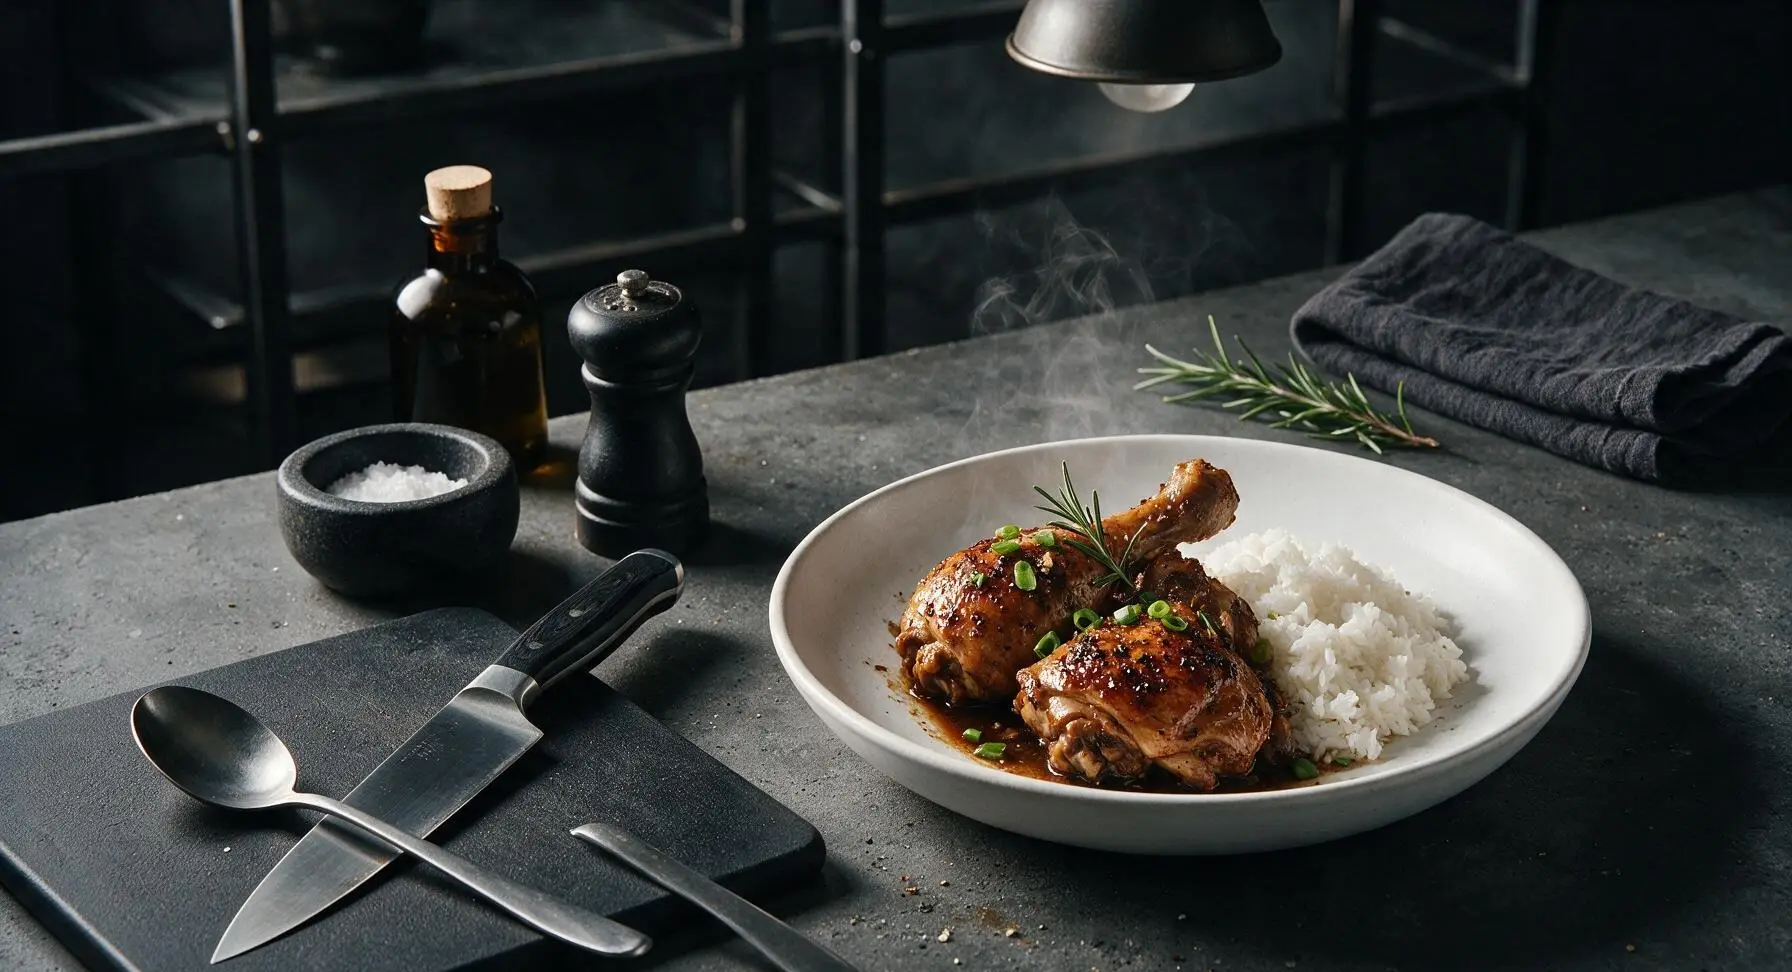
Tangy, savory, and deeply aromatic Filipino chicken adobo is a classic one-pot braise of tender chicken simmered in soy, vinegar, garlic, and pepper, perfect served over fluffy steamed rice for family meals.
Ingredients
Steps
Prep Chicken and Aromatics
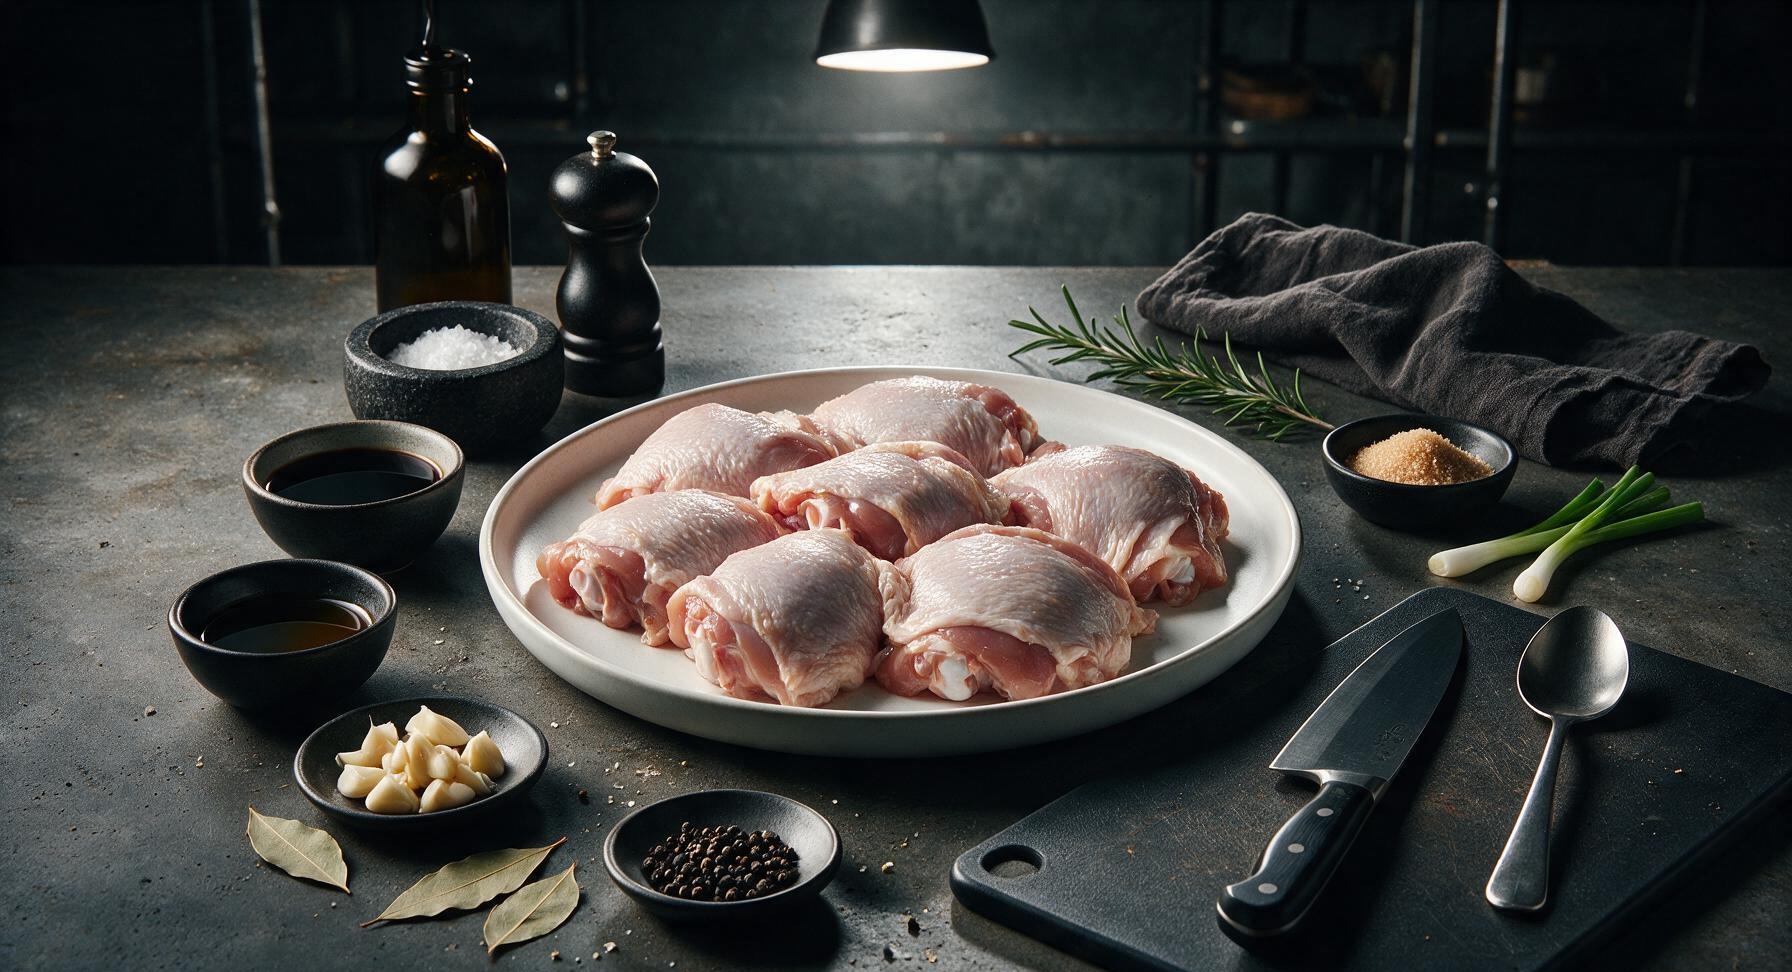
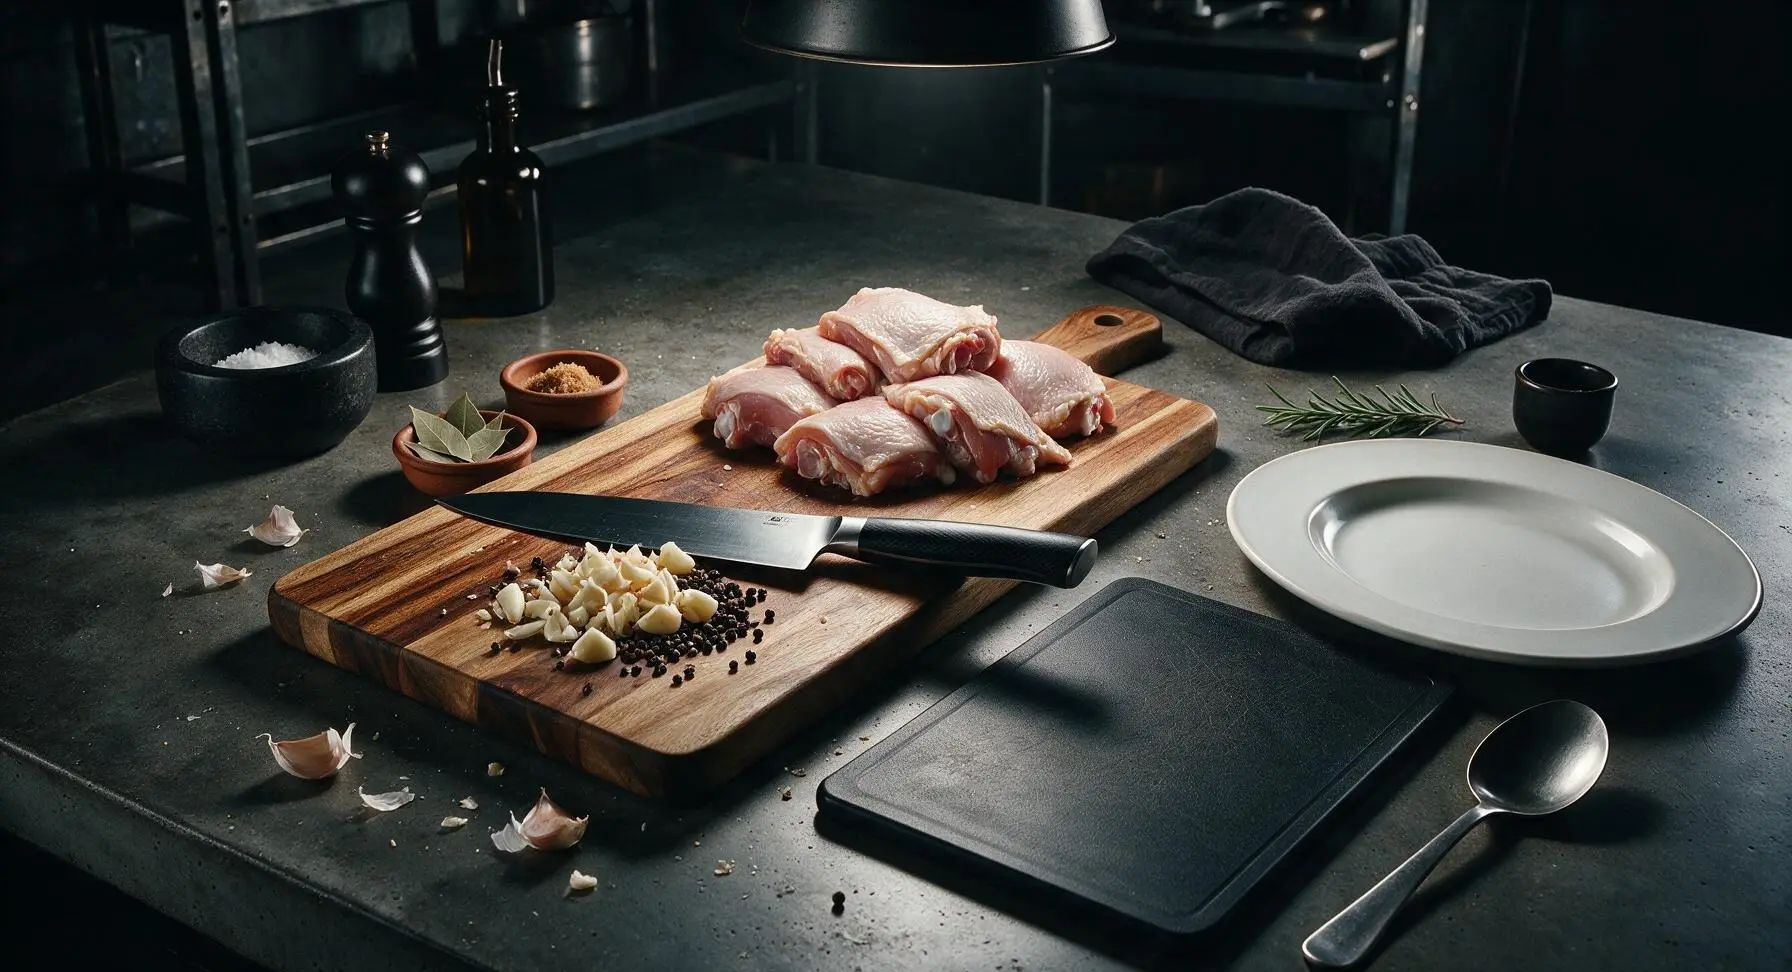
Pat the 1.2kg (6-piece) bone-in, skin-on chicken thighs completely dry with paper towels, trimming any excess loose skin or hard fat deposits with the chef knife. Set the honey-toned acacia cutting board center-left on the counter, then use the 8-inch walnut-handle chef knife to lightly crush 12 peeled garlic cloves, and slightly crack 1 tablespoon whole black peppercorns with the flat side of the knife. Measure all remaining ingredients and set within arm’s reach to streamline cooking. This prep step takes 10 minutes total.
Sear Chicken Until Golden
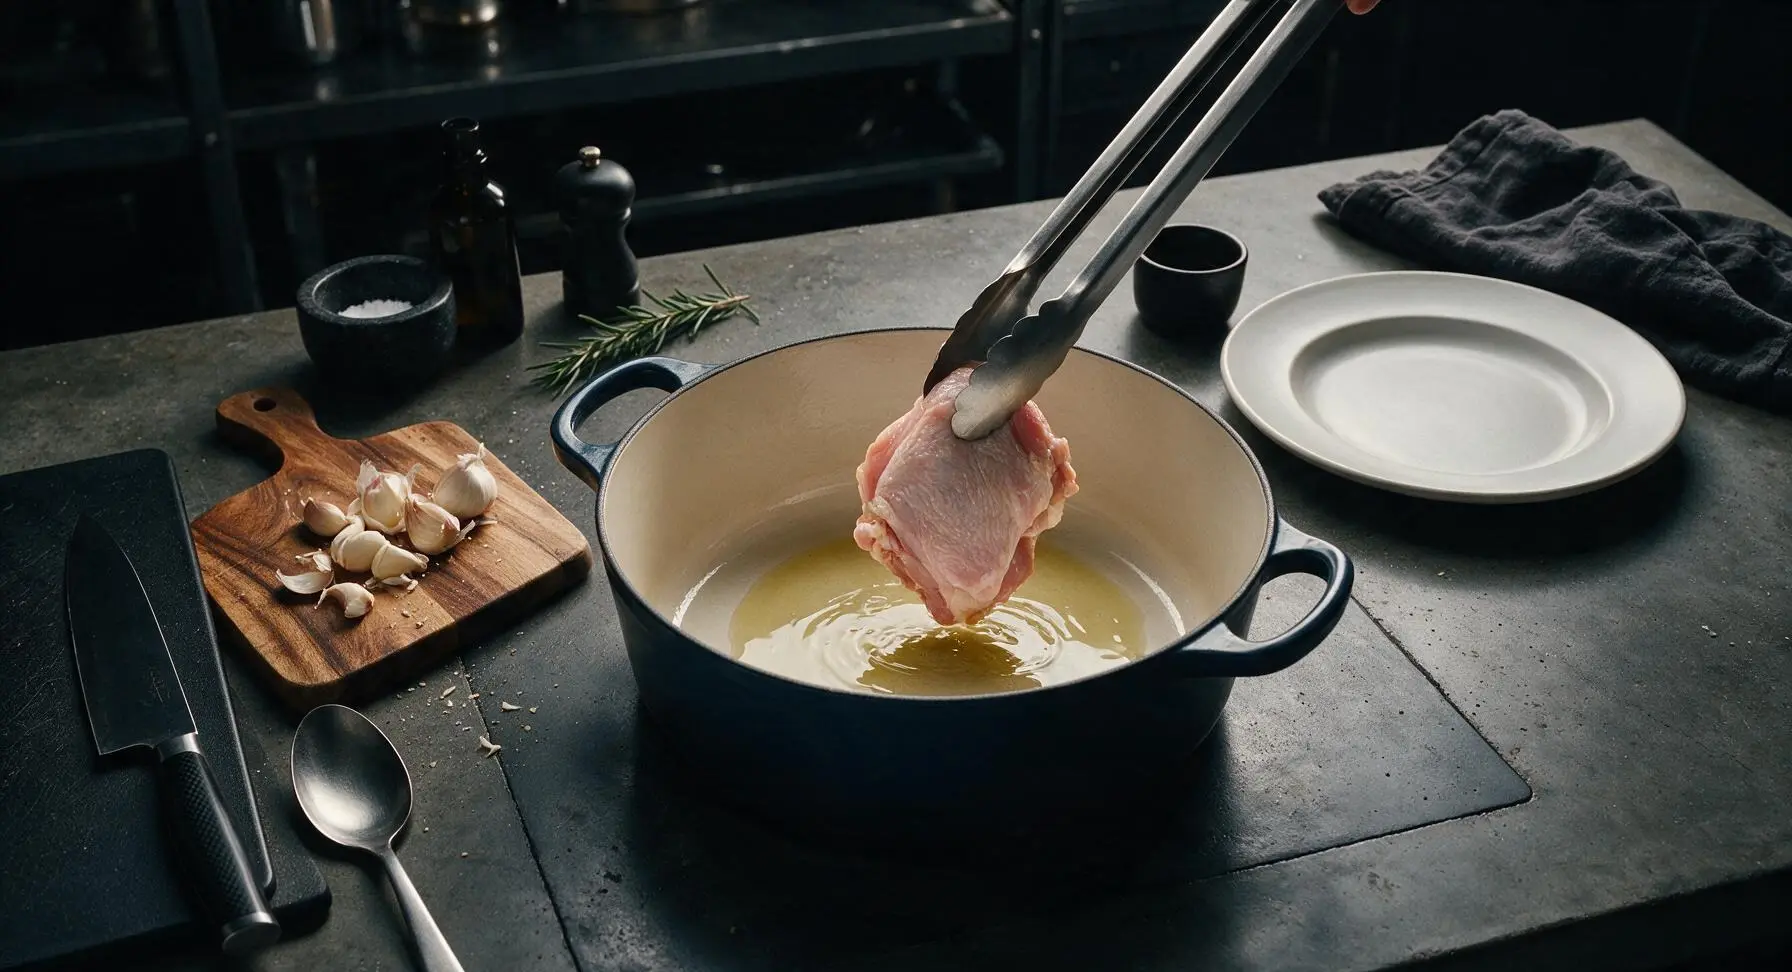
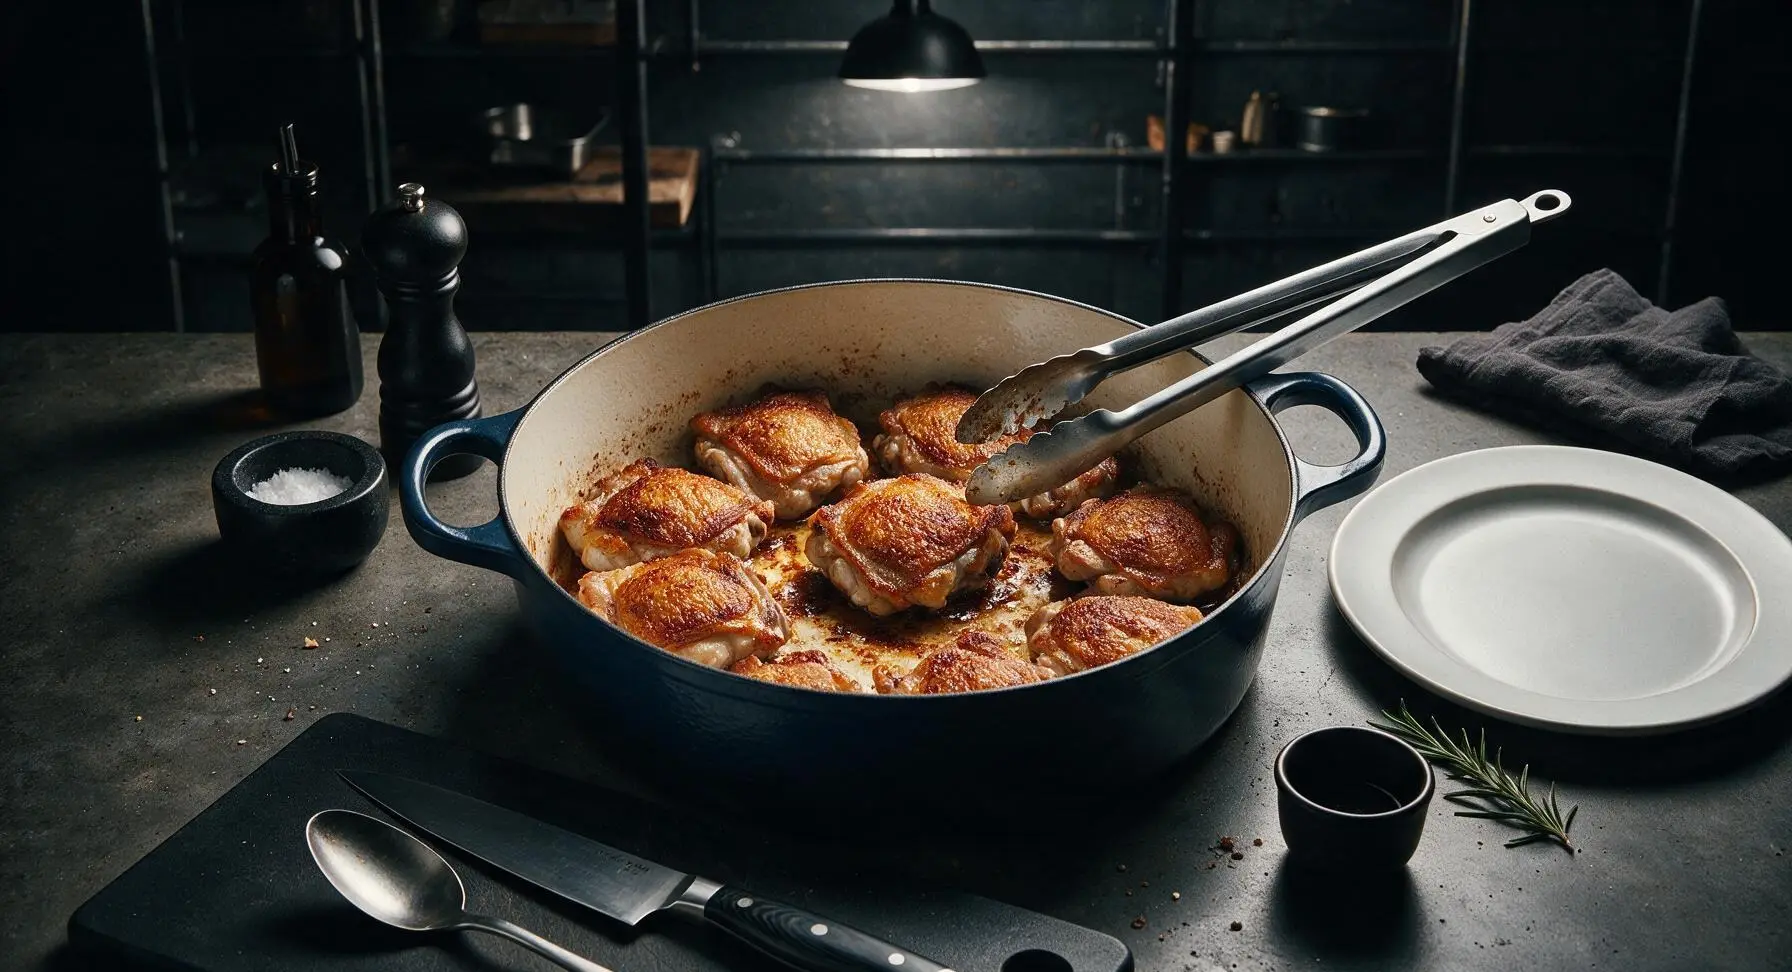
Heat 1 tablespoon neutral canola oil in the matte navy enameled Dutch oven over medium heat (350°F/175°C). Once the oil shimmers and moves easily across the pot bottom, arrange chicken thighs skin-side down in a single layer, working in two batches if needed to avoid crowding the pan (crowding causes steaming instead of crisping). Sear for 5-6 minutes per side until deep golden brown and crisp on the skin, then use the 12-inch brushed stainless steel tongs to transfer seared chicken to a clean temporary plate. Do not scrape up the dark golden brown fond (browned bits) from the pot bottom, as this builds the base of the sauce flavor.
Sauté Aromatics in Fond
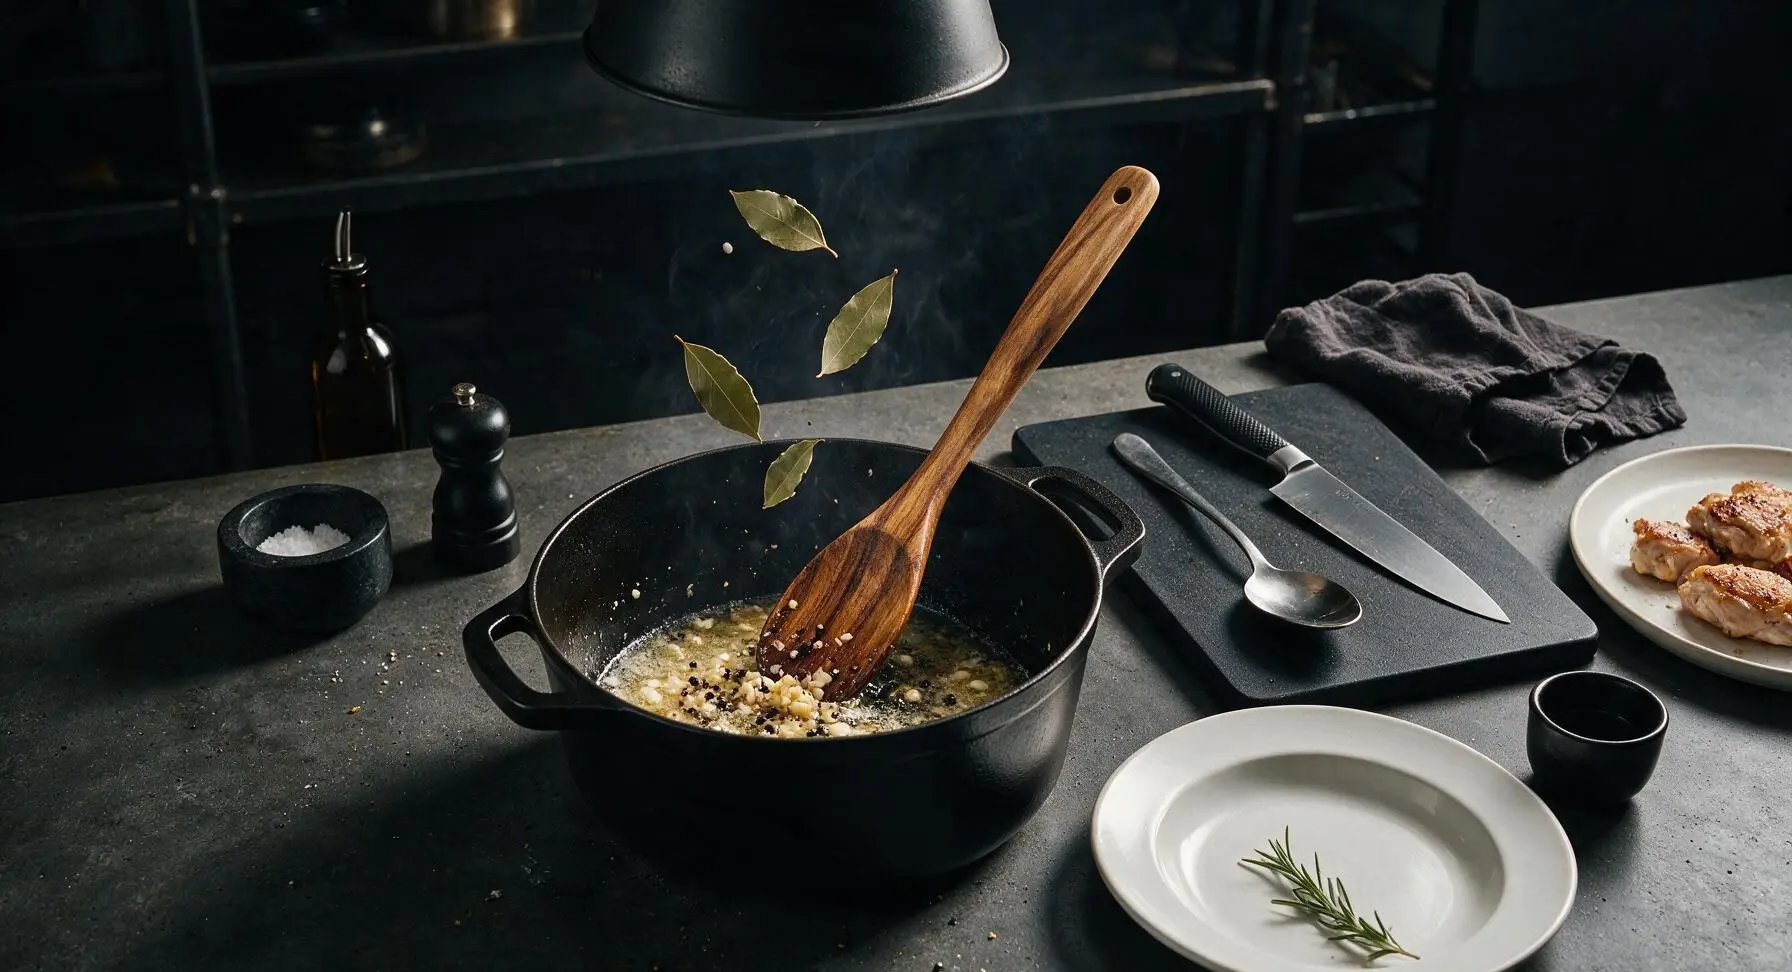
Reduce heat to medium-low (325°F/160°C). Leave the rendered chicken fat and fond in the Dutch oven, and add the crushed garlic cloves and cracked black peppercorns. Sauté for 1-2 minutes, stirring with the 14-inch acacia wood cooking spoon, until garlic is fragrant and pale golden (watch closely to avoid burning, as burnt garlic gives the sauce a bitter, off flavor). Add the 3 dried bay leaves and stir for 10 seconds to release their woody, herbal aroma.
Add Braising Liquids
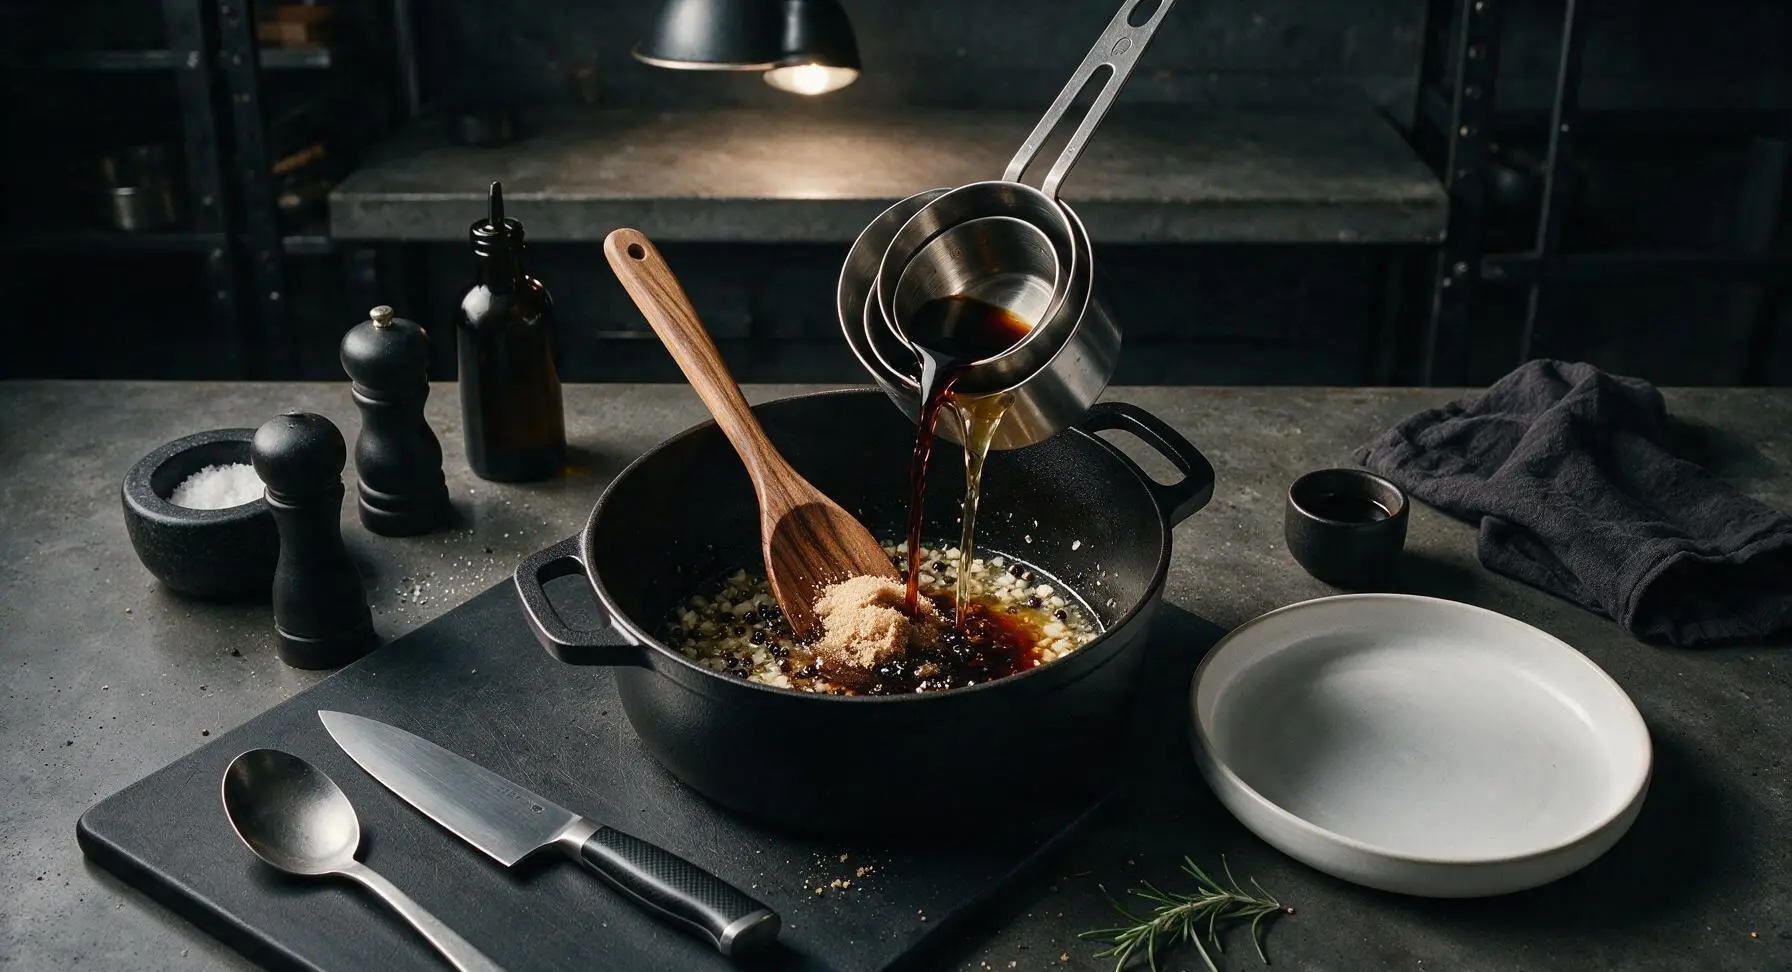
Pour 1/2 cup low-sodium soy sauce, 1/3 cup Filipino cane vinegar, and 1 tablespoon light brown sugar into the Dutch oven, stirring with the wooden spoon to fully dissolve the sugar and scrape up all the browned fond from the pot bottom. Bring the liquid to a gentle, low simmer; do not stir vigorously once it begins to bubble, as this prevents the vinegar from mellowing properly as it cooks.
Braise Chicken Low and Slow
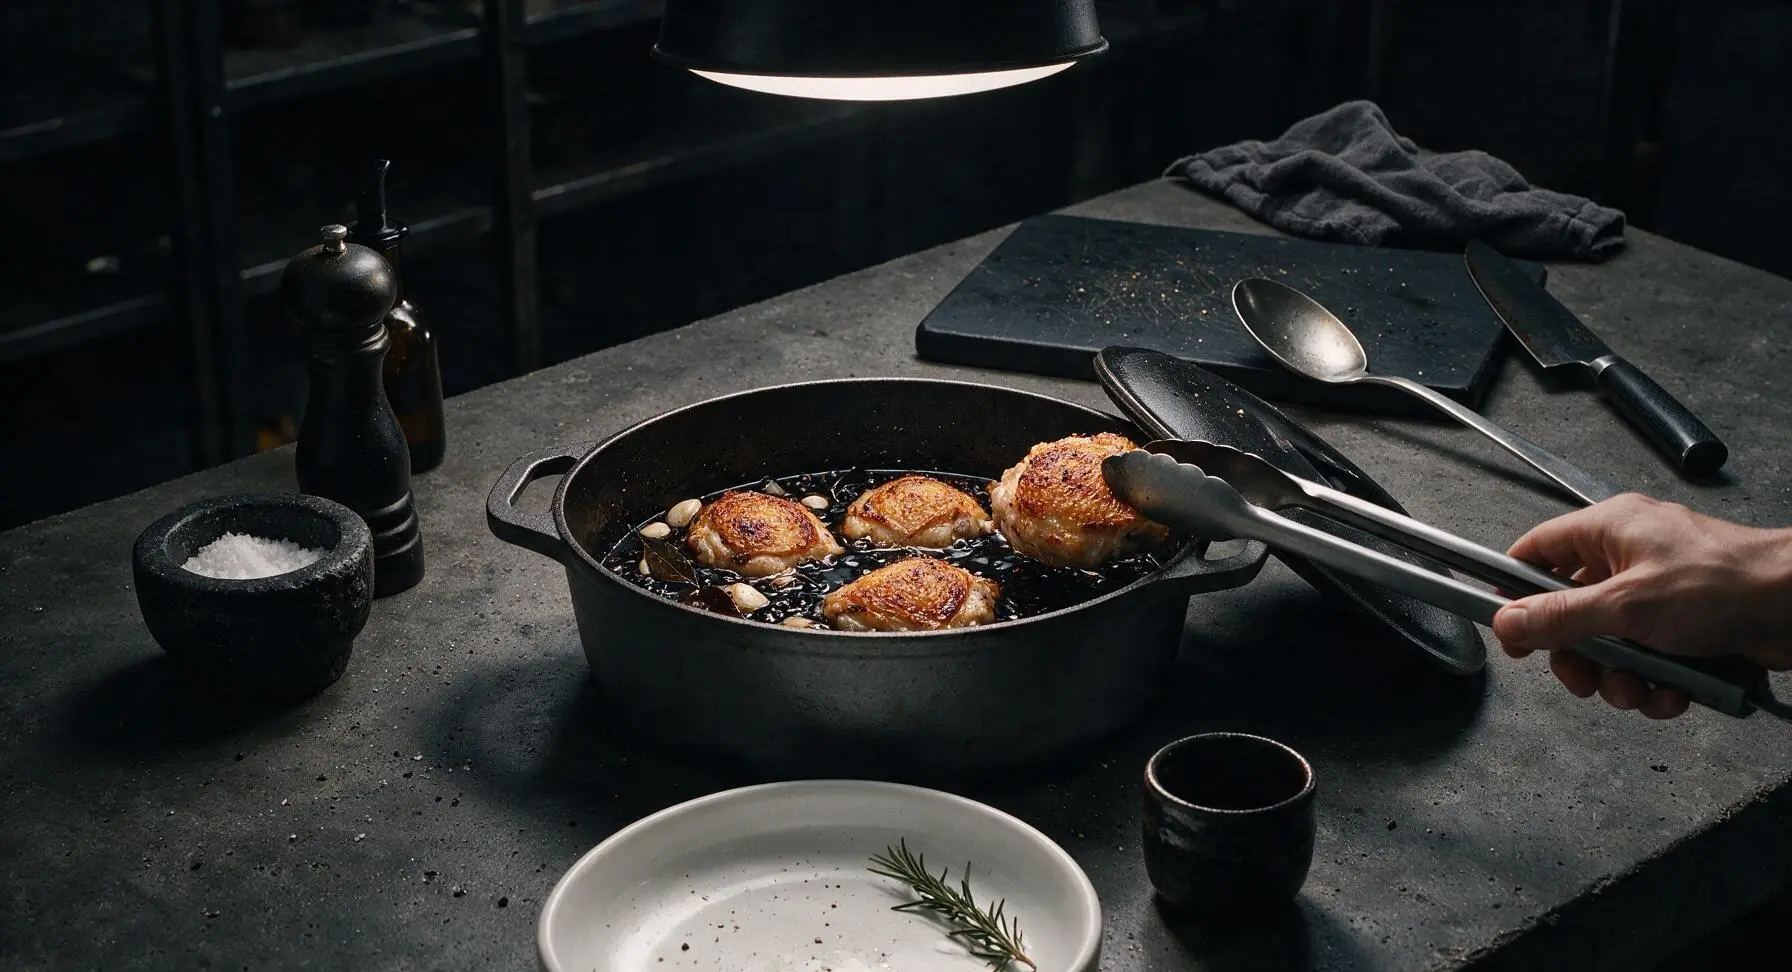
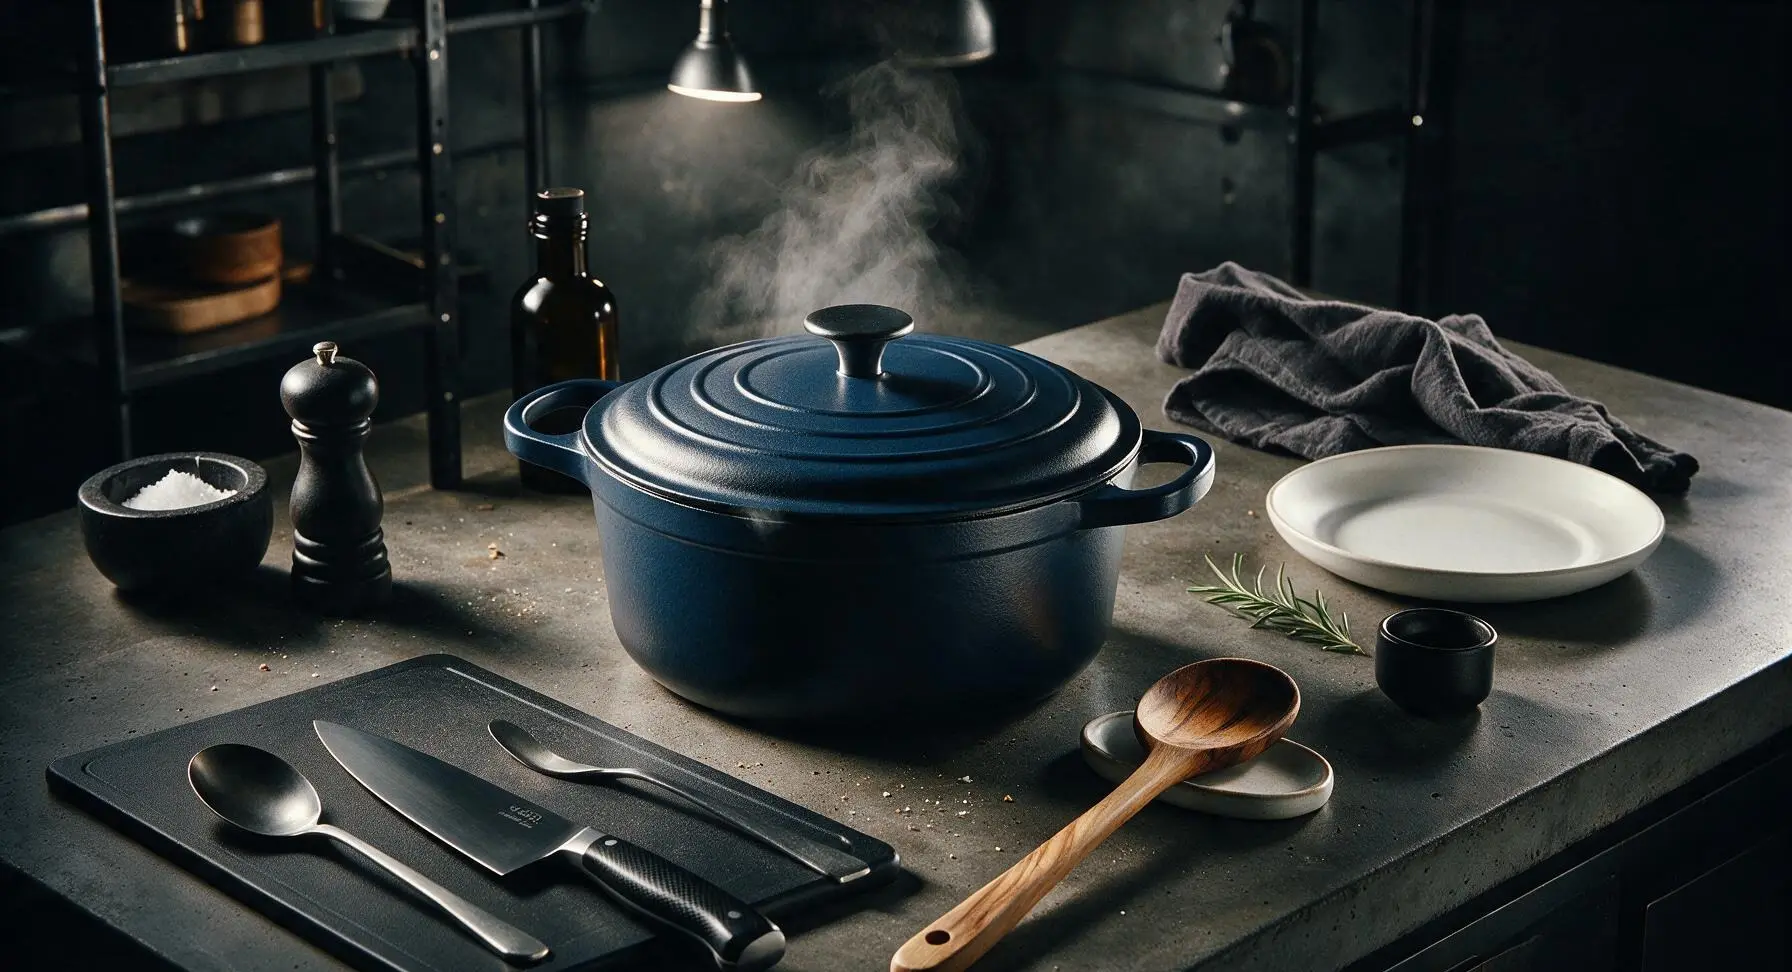
Return all seared chicken thighs to the Dutch oven using the tongs, arranging them skin-side up in a single layer so they are half-submerged in the braising liquid. Bring the liquid back to a low simmer, then reduce heat to low (225°F/110°C), cover the pot with its matching navy lid, and cook for 25 minutes. Avoid lifting the lid unnecessarily during this time, as trapped steam keeps the temperature consistent for even, tender cooking. Chicken is done braising when it reaches an internal temperature of 175°F/79°C.
Reduce Sauce to Glaze
After 25 minutes of covered braising, remove the Dutch oven lid. Use the tongs to flip the chicken pieces so they are skin-side down, turn heat up to medium-low, and simmer uncovered for 8-10 minutes, basting the chicken occasionally with spoonfuls of the sauce, until the liquid reduces by half and forms a thick, glossy, deep brown glaze that coats the back of the wooden spoon. Taste the sauce and adjust if needed: add a tiny splash more vinegar if too salty, or a pinch more sugar if too tart.
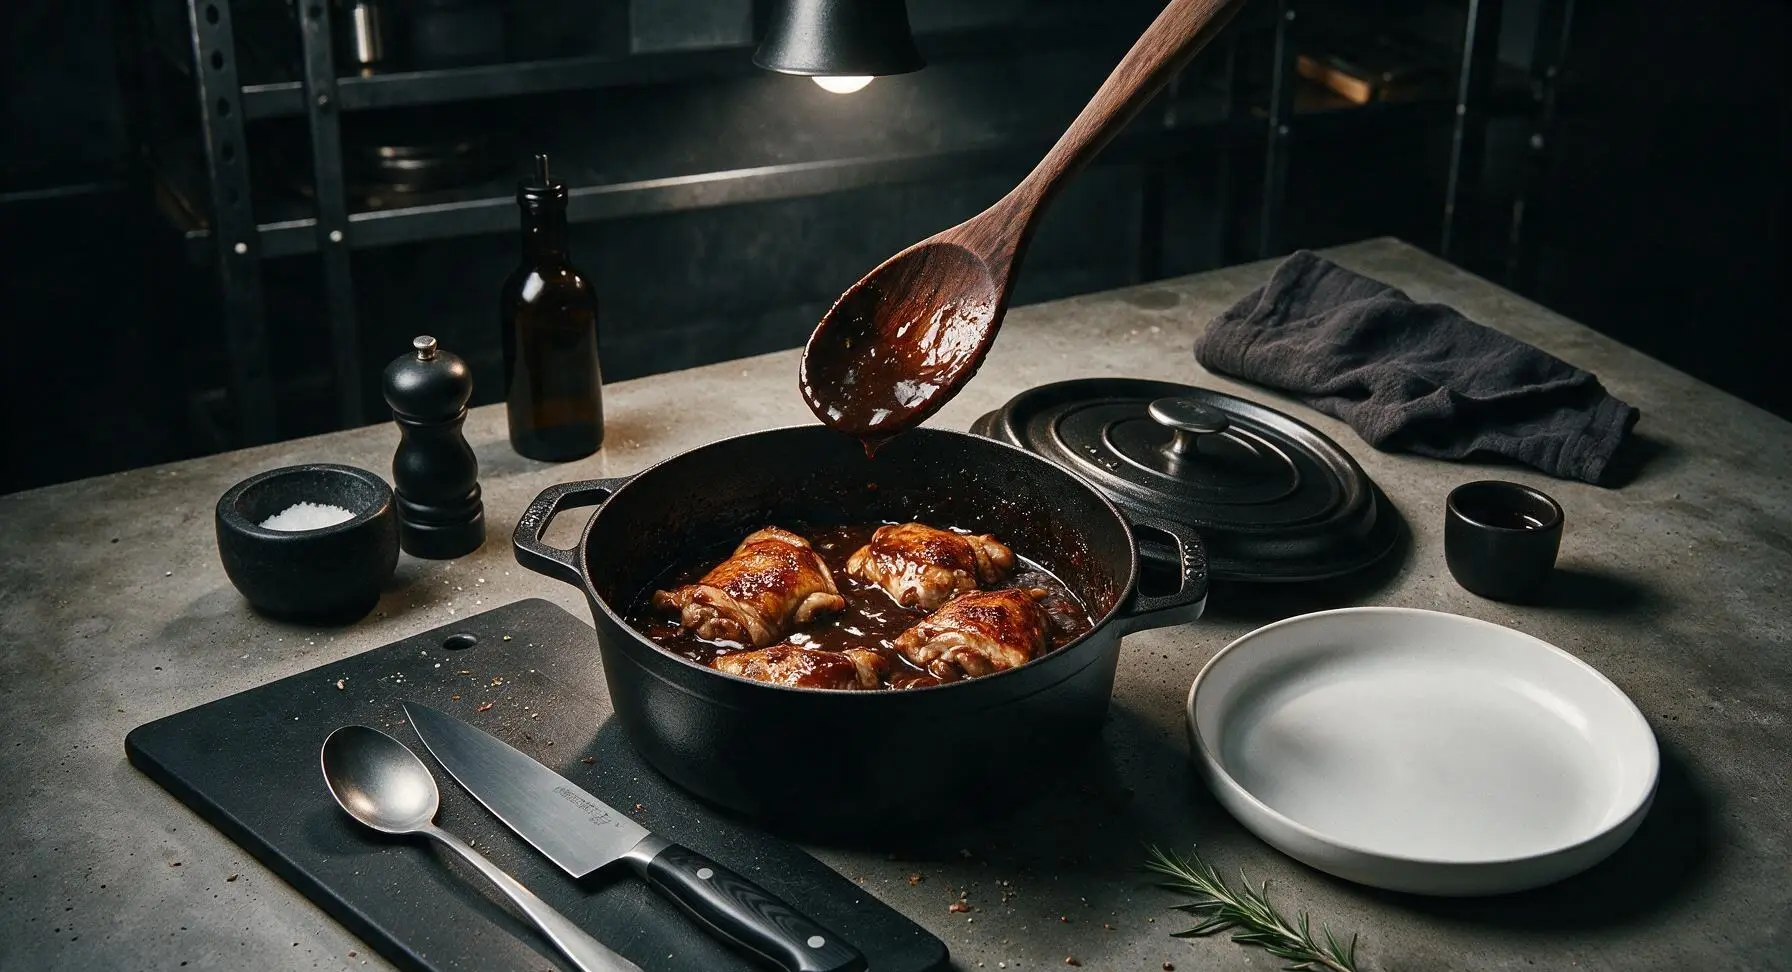
Plate and Garnish Adobo
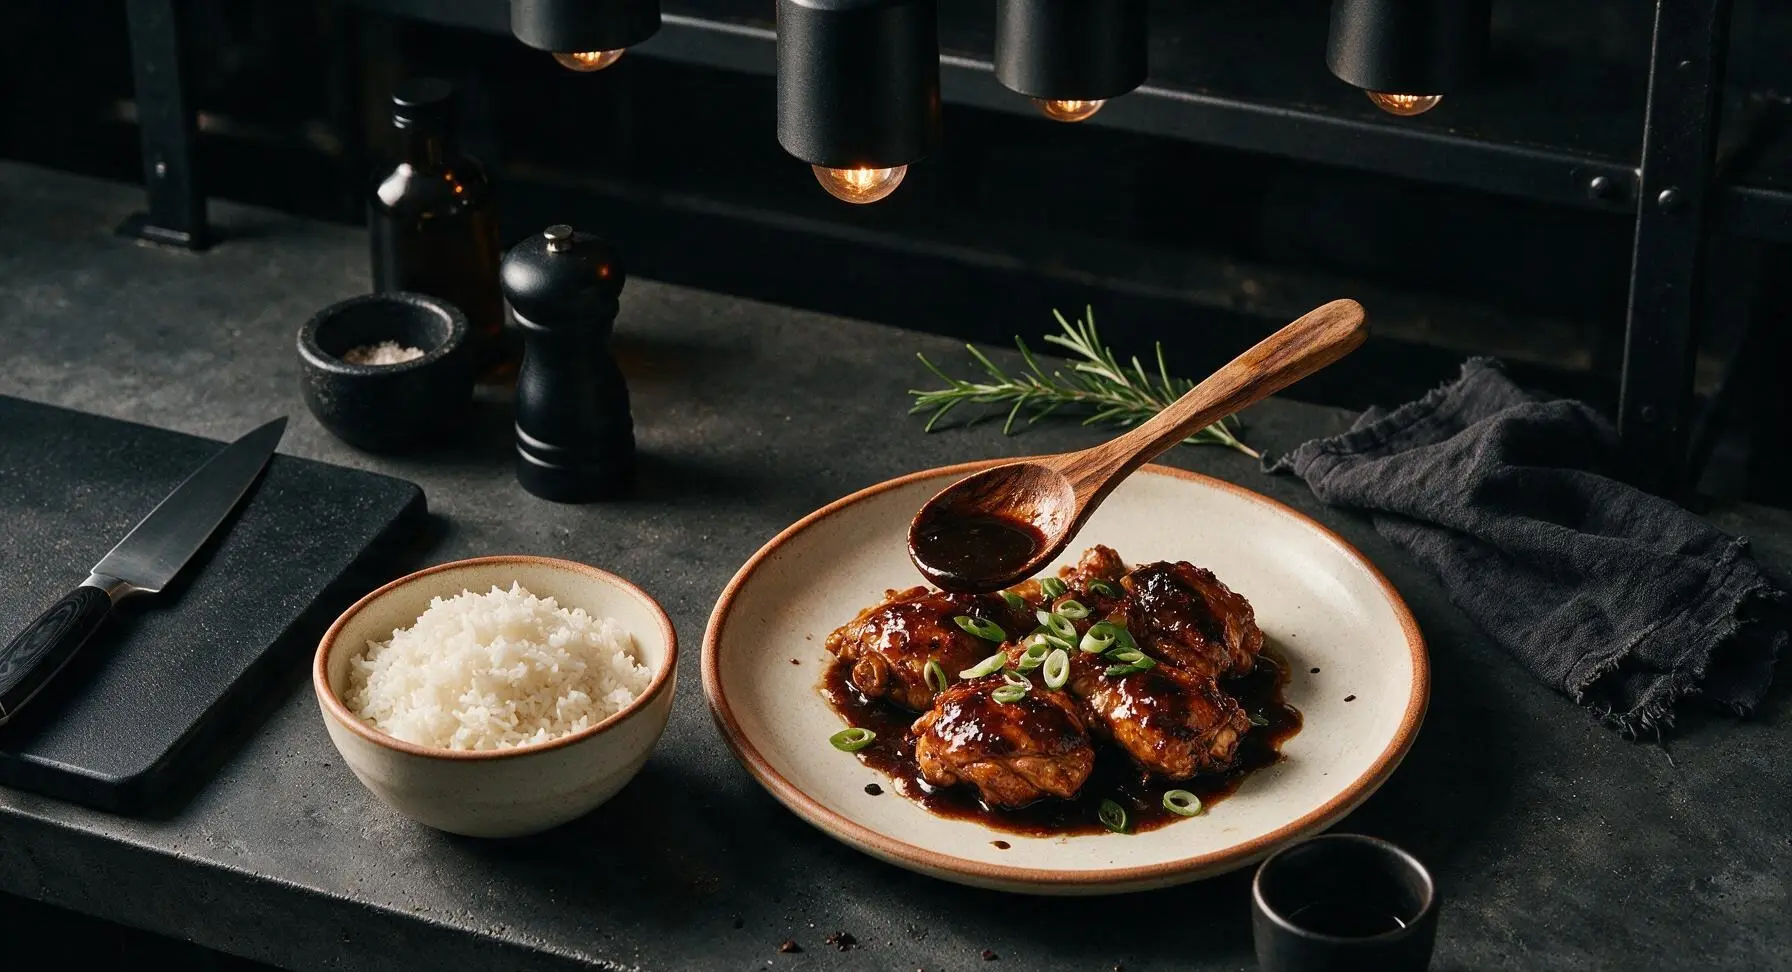
Turn off the heat, and let the chicken rest in the sauce for 5 minutes to absorb flavor. Fish out and discard the spent bay leaves before serving. Arrange chicken pieces on the hand-thrown cream stoneware plate with terracotta rim, spoon extra glossy sauce over the top, and garnish with thinly sliced scallions. Serve alongside fluffy steamed white rice in the matching stoneware rice bowl.
Tips
2.Avoid stirring the vinegar immediately after adding it to the pot: Letting the vinegar come to a simmer undisturbed allows its sharp, harsh acidic bite to mellow into a bright, balanced tang, preventing the finished adobo from tasting overly sour or sharp.
3.Make adobo a day ahead if possible: The flavors meld and deepen dramatically when stored in an airtight container in the fridge overnight; simply reheat gently on the stovetop before serving, and the sauce will thicken into an even glossier coating as it chills.






OMG this adobo is SO good! I’ve been intimidated to make Filipino food at home for ages but this recipe was so easy, even I didn’t mess it up. The soy/vinegar/garlic combo is perfectly balanced, no weird bitter aftertaste like the takeout I got last month. Served it over jasmine rice for my family dinner last night and everyone went back for seconds!
Game changer! I used to get adobo from the little Filipino spot down the street from my apartment but now I can make it better at home for half the cost. I added a couple extra bay leaves because I love that earthy flavor, and tossed in some baby potatoes the last 15 minutes of cooking. Chef’s kiss.
My kids loved it! I was worried the vinegar would be too strong for my picky 7 and 9 year old but they ate every bite and asked if we could have it again next week. Only reason it’s 4 stars is I wish it had a little note about how salty regular soy sauce can be, I used low sodium and it was perfect, but if I’d used regular I think it would’ve been too much for us.
I meal prepped this on Sunday and ate it for lunch all week, and it somehow got better every single day? The sauce sinks into the chicken more the longer it sits, I’m obsessed. 10/10 will be adding this to my regular meal prep rotation for sure.
Took me a little longer than 45 minutes because I had to debone my chicken thighs first, but the flavor was spot on. I used bone-in skin-on thighs like the recipe said and the skin got so nice and crispy when I seared it first, yum.
Made this for my Filipina girlfriend for our anniversary dinner and she said it tasted exactly like her lola’s adobo! I was so nervous I’d mess it up but the steps were super straightforward, no fancy ingredients needed. She almost cried when she took the first bite, total win.
First time cooking any kind of Asian-inspired dish at home and I didn’t burn anything! The recipe didn’t use any weird hard-to-find ingredients, I already had soy sauce, vinegar, and garlic in my pantry. My roommate said it smelled so good he begged for a plate, ha. Will make again.
Brought this to our office potluck yesterday and people were literally scraping the serving dish clean! Multiple coworkers asked for the recipe before they even finished their first serving. I added a handful of hard boiled eggs at the end like I saw some people mention online and they were the perfect little extra touch.
Made this in my tiny RV kitchen last night with just my little two-burner stove and it came out amazing! Only thing I changed was I used apple cider vinegar because I didn’t have white vinegar on hand, still tasted great. Next time I’ll make sure to grab the right vinegar to see the difference.
I’ve been making a version of adobo for years but this recipe’s ratio of soy to vinegar to sugar is absolutely perfect. I used to just eyeball everything and it would come out too sour or too salty half the time, now I just follow the measurements here and it’s perfect every single time. Game changer for my weeknight dinners.
I added a little extra black pepper and a splash of fish sauce like my neighbor who’s from Manila taught me, and it was out of this world. This recipe is the perfect base to tweak to your family’s tastes, so easy even my teen grandson could follow the steps when he helped me cook.
Super cheap to make, feeds me for like 4 days for less than $10 total, which is perfect for my college budget. I used chicken drumsticks because they were on sale at the campus grocery store and it worked great. Only knock is my dorm smoke alarm went off when I was searing the chicken, oops, had to wave a towel at it for 5 minutes. Worth it though.
My husband is Filipino and he’s been bugging me to make adobo for months but I was scared I’d get it wrong. This recipe was so easy to follow and he said it’s better than the version his mom makes? Don’t tell his mom that, obviously. We’re already planning to make it for his family’s next get together.
I made this with coconut aminos instead of soy sauce to make it gluten free for my sister who has celiac, and you couldn’t even tell the difference! It was just as rich and savory as the regular version, she was so happy she could eat it without getting sick. Such a great adaptable recipe.
Flavor was really good, but I think I overcooked my chicken a little bit because it got tough. I left it simmering for 30 minutes like the recipe said but maybe my stovetop runs hotter than most? Not a big deal, I’ll just adjust the heat lower next time and keep a closer eye on it.
Made a double batch of this on Sunday, portioned it out with rice and roasted broccoli, and it’s held up perfectly all week for work lunches. The sauce is so good I even drizzle a little extra over my rice when I reheat it. 10/10, no notes, this is going into my permanent meal prep rotation.
I was skeptical about making something that doesn’t get smoked or grilled on my offset smoker, but my wife begged me to try this recipe. I seared the chicken in my cast iron like it said and let it simmer, and damn, it was really good. I might even throw a little smoked paprika in next time to give it that Texas twist, but the base recipe is solid.
First time making adobo ever and I’m obsessed! I used boneless skinless thighs because that’s what I had in the freezer and it still came out juicy and flavorful. Served it with garlic fried rice and some pickled papaya on the side, just like I saw on TikTok, and it felt like a restaurant meal.