
Fondant Fancies
intro
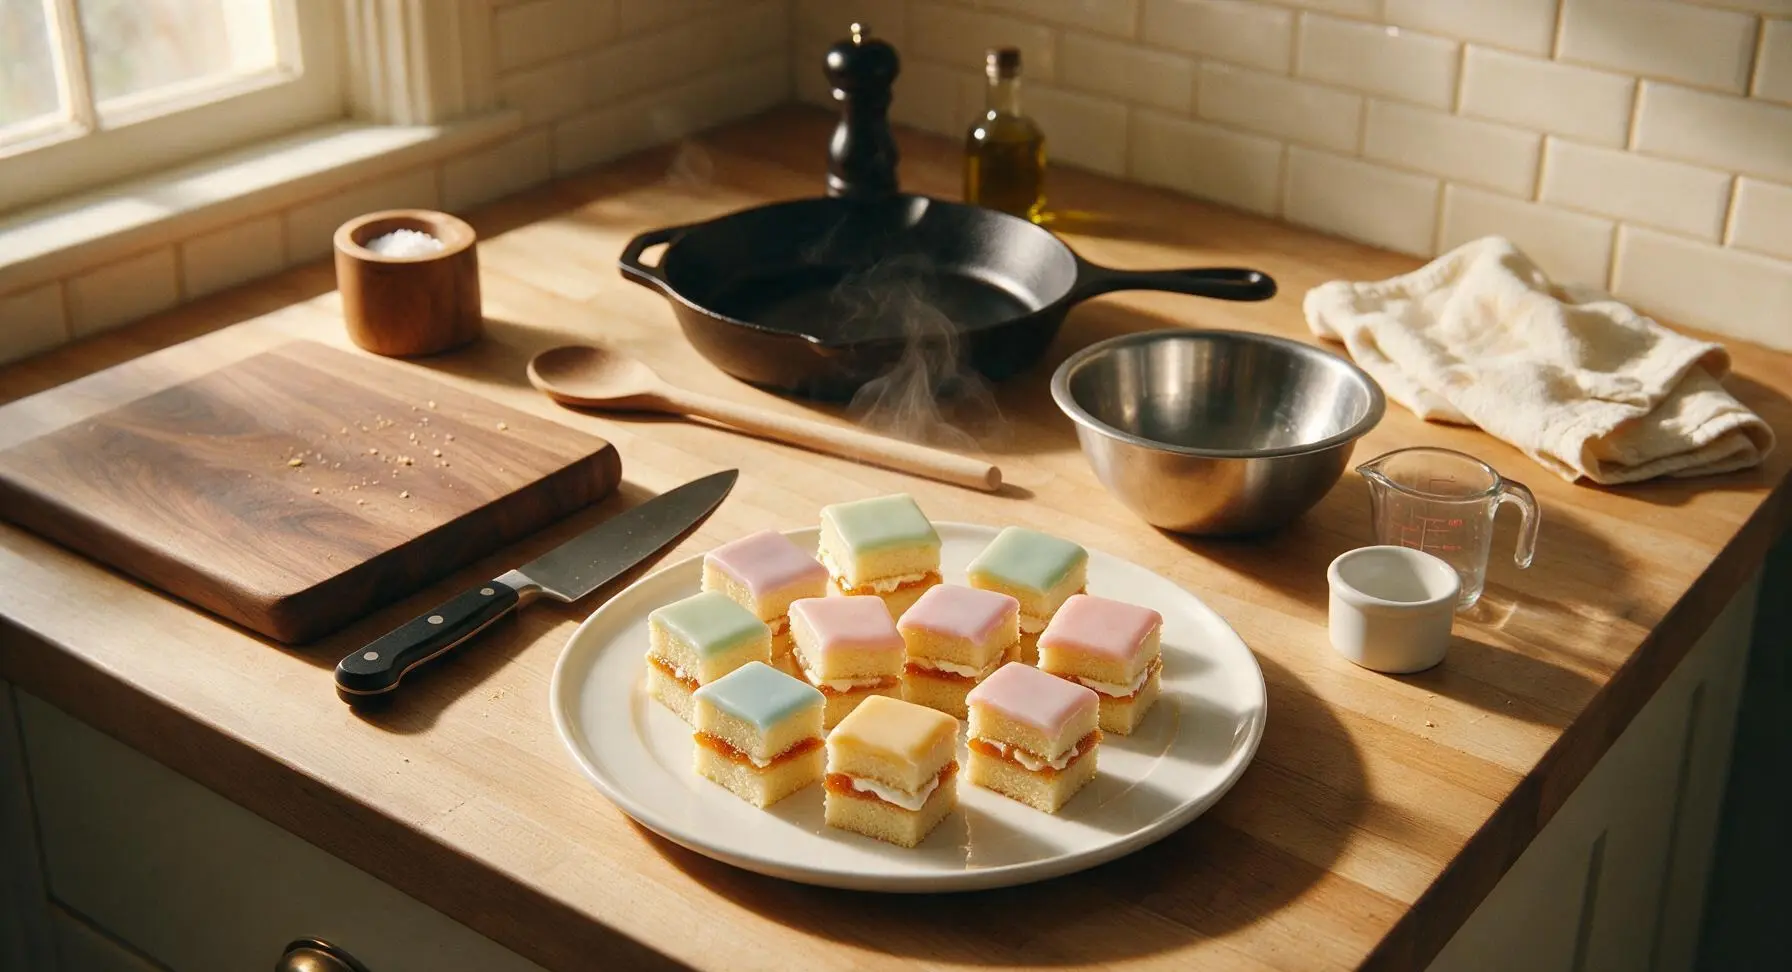
Tender mini vanilla sponge squares layered with apricot jam and buttercream, enrobed in smooth pastel fondant: a classic British teatime treat perfect for festive sharing.
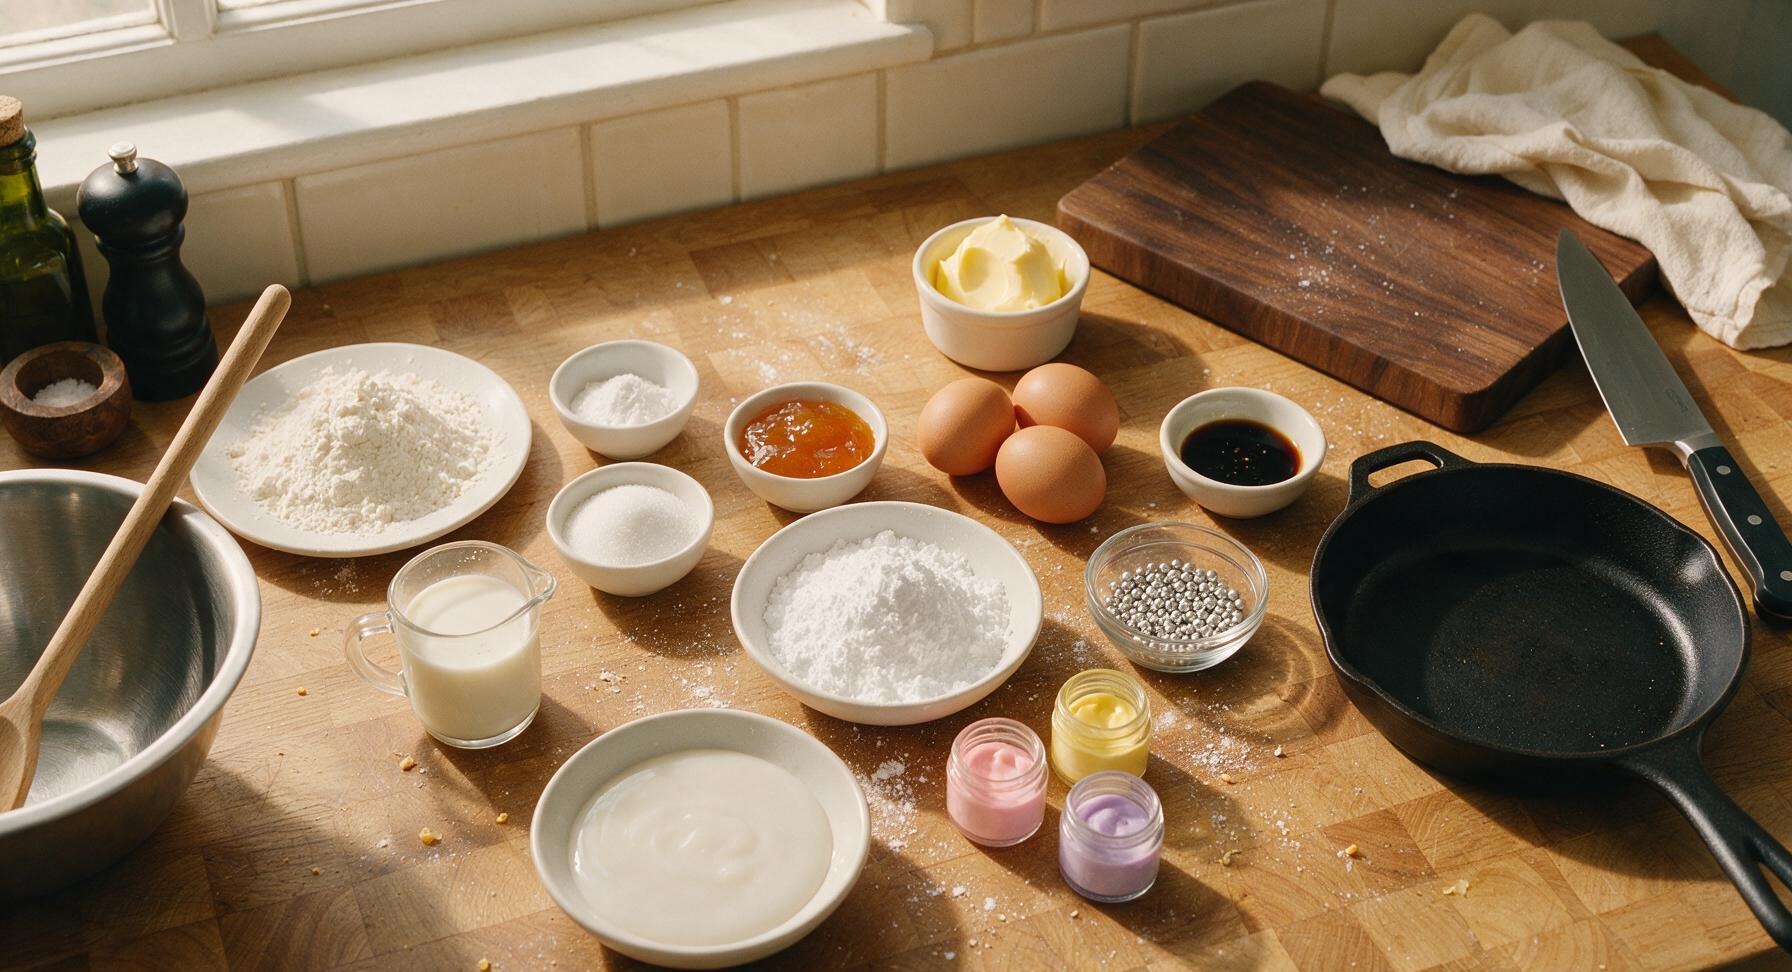
Ingredients
Steps
Bake Vanilla Sponge
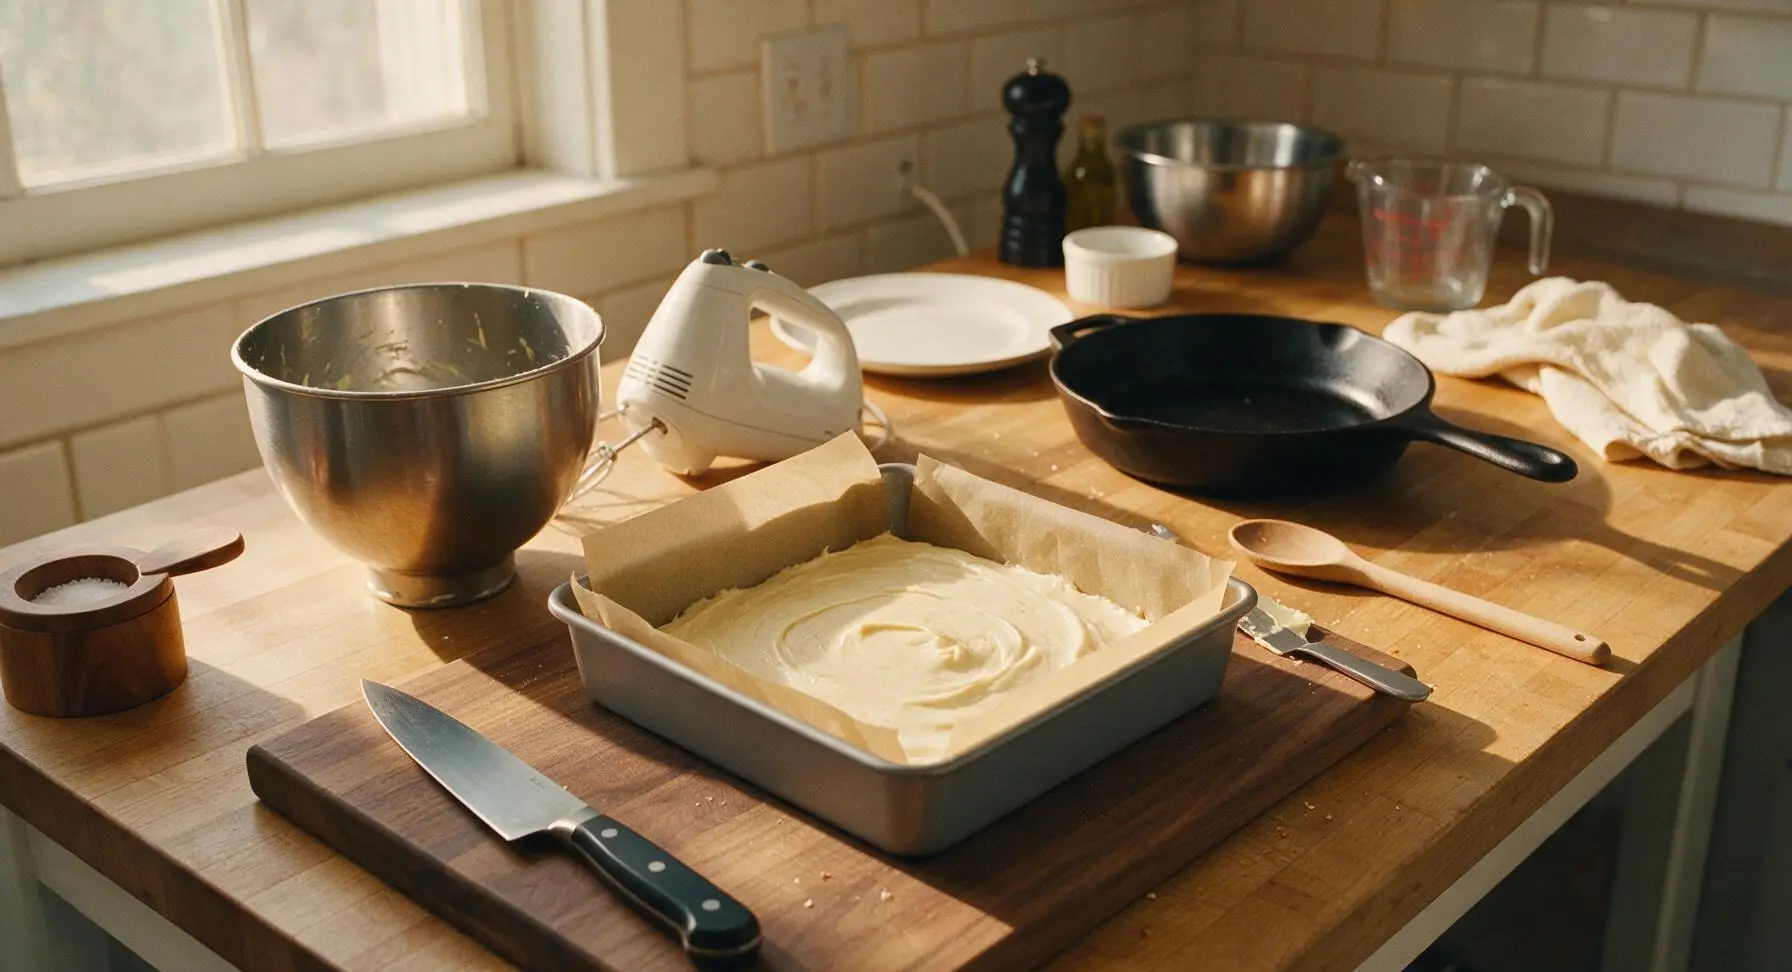
Preheat oven to 180°C (350F). Line the 20cm square baking tin with unbleached parchment paper, leaving a 2cm overhang on two sides for easy lifting. In the medium stainless steel mixing bowl, combine 150g softened butter, 150g caster sugar, and 1 tsp vanilla extract. Beat with the electric hand mixer for 3 minutes until pale and fluffy. Add eggs one at a time, beating well after each addition, adding 1 tbsp of the measured flour if the mixture shows signs of curdling. Sift in the remaining flour and baking powder, fold gently with the silicone spatula, then stir in milk to create a smooth, thick dropping-consistency batter. Pour batter into the prepared tin, smooth the top with the offset palette knife, and bake for 20-22 minutes until golden on top, and a skewer inserted into the center comes out clean with no wet batter attached.
Cool Sponge Fully
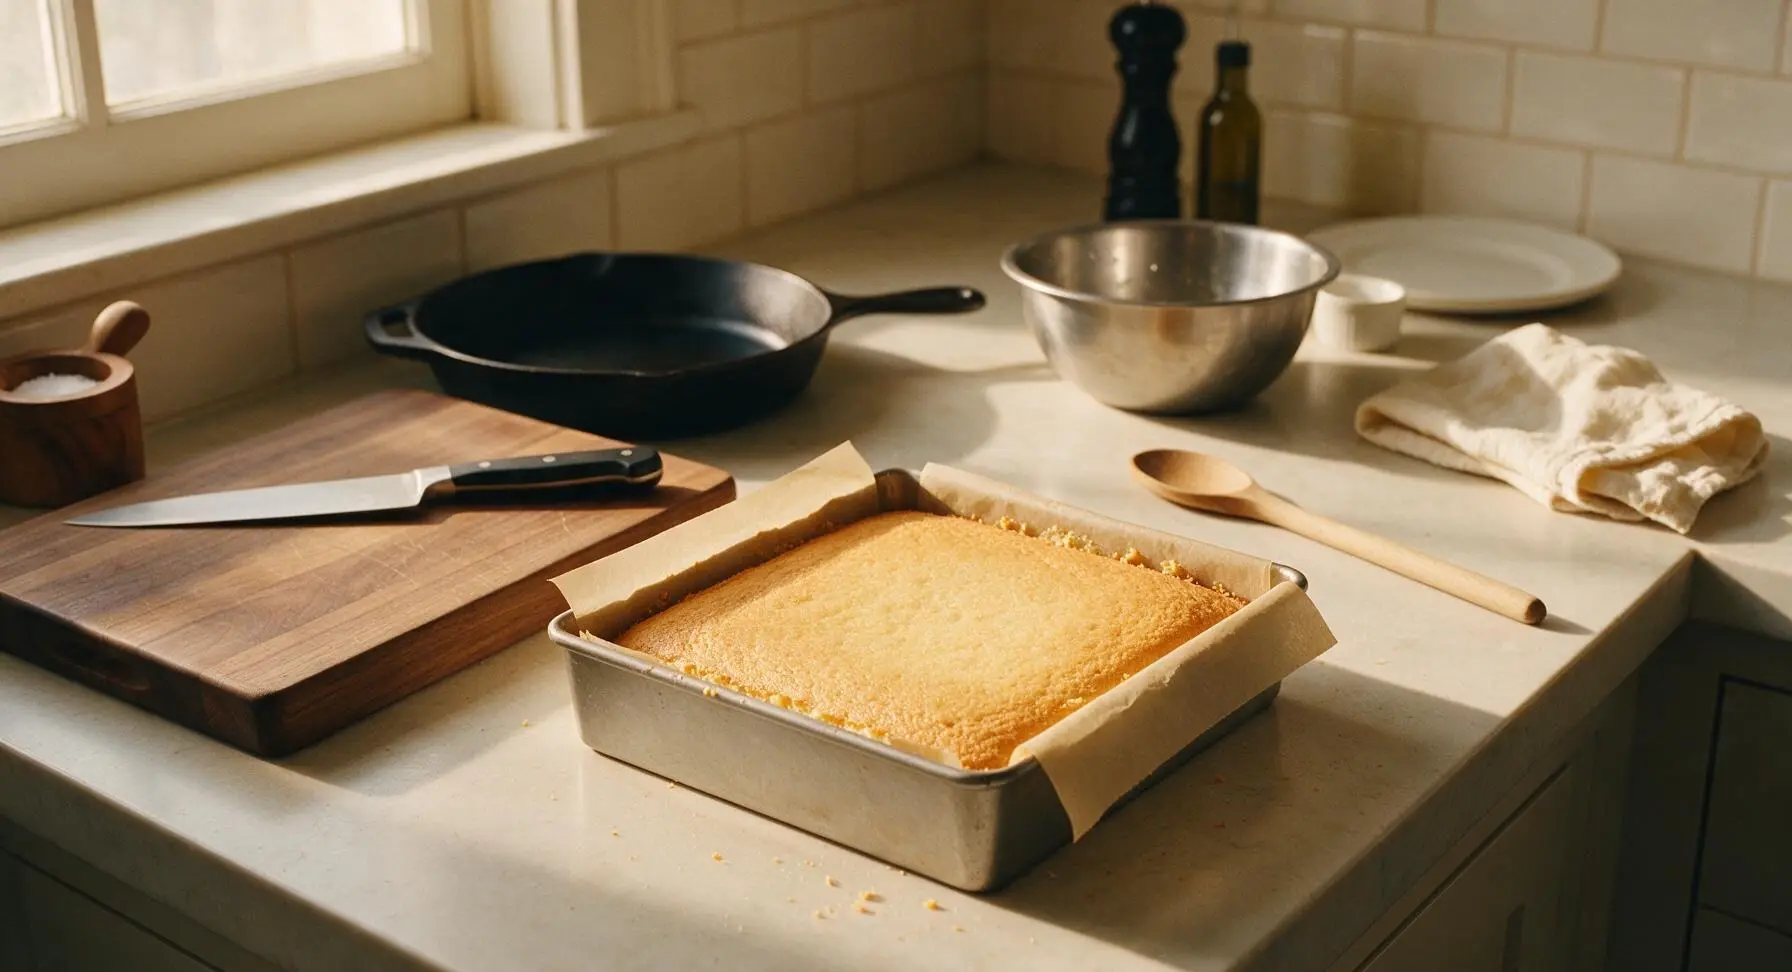
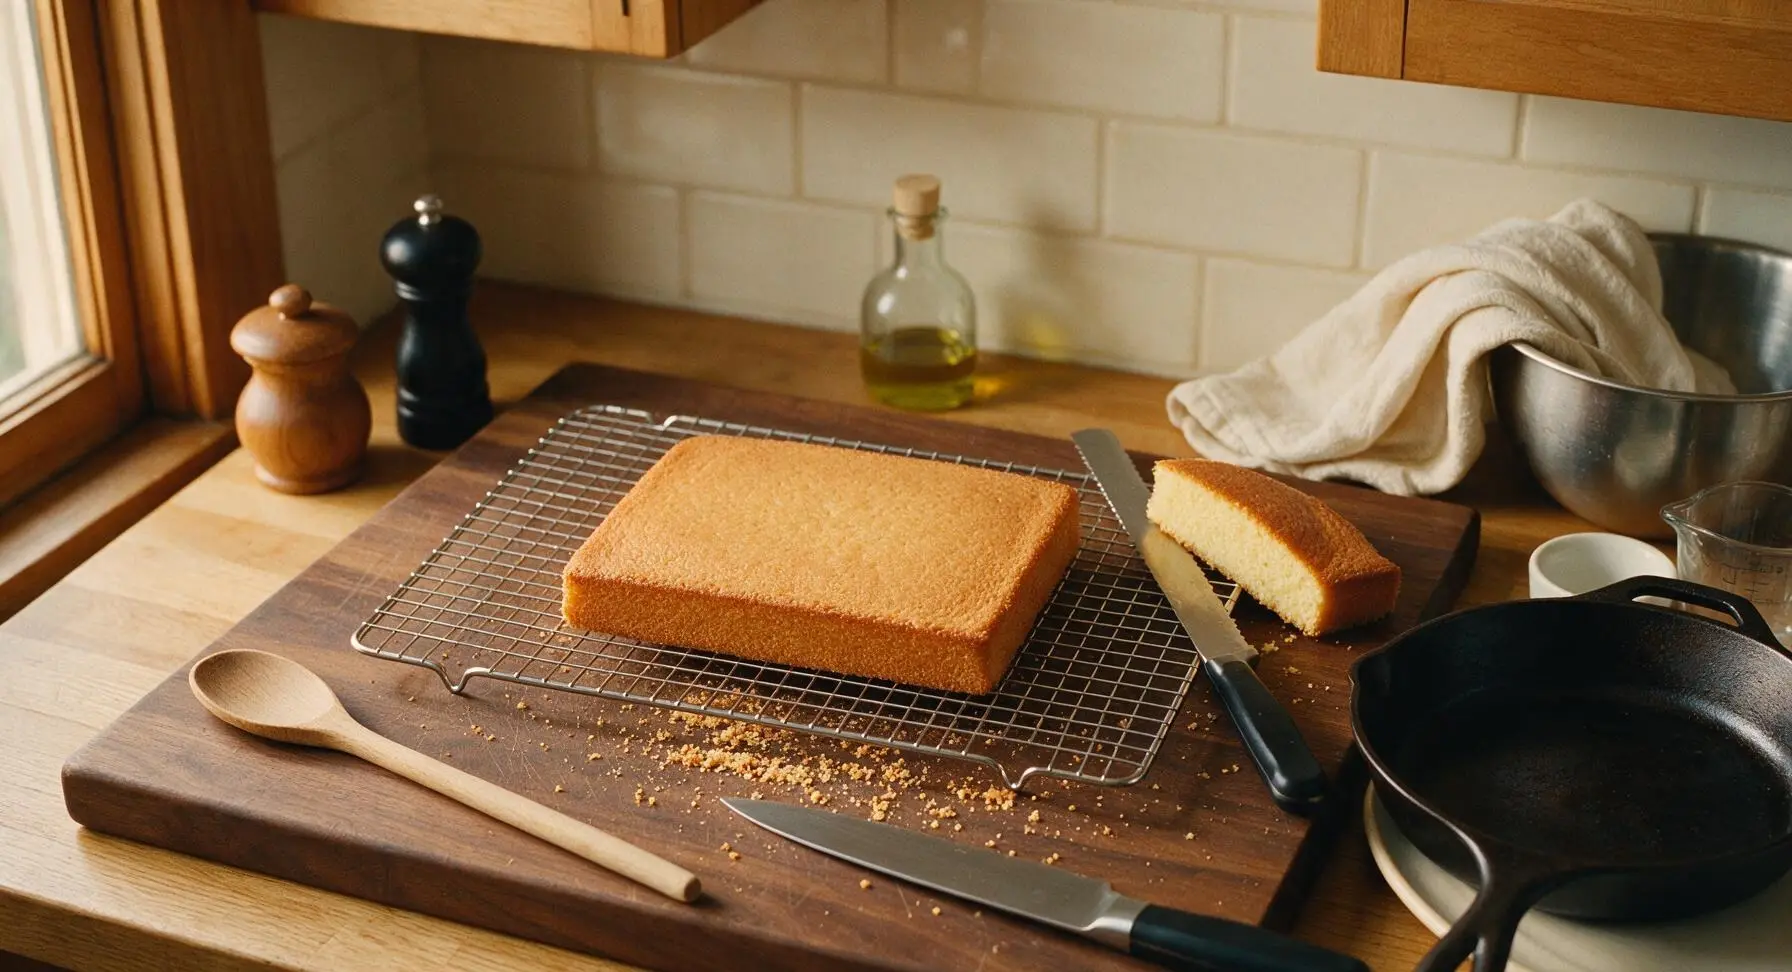
Lift the warm sponge from the tin using the parchment overhang, and transfer it directly to the chrome wire cooling rack. Allow to cool completely to room temperature (approximately 1 hour) before assembling; do not attempt to fill or cut warm sponge, as this will cause fillings to melt and edges to crumble. Once cool, use the long serrated bread knife to level the slightly domed top of the sponge to create a perfectly flat, even surface, reserving trimmed crumbs for another use if desired.
Fill and Layer Sponge
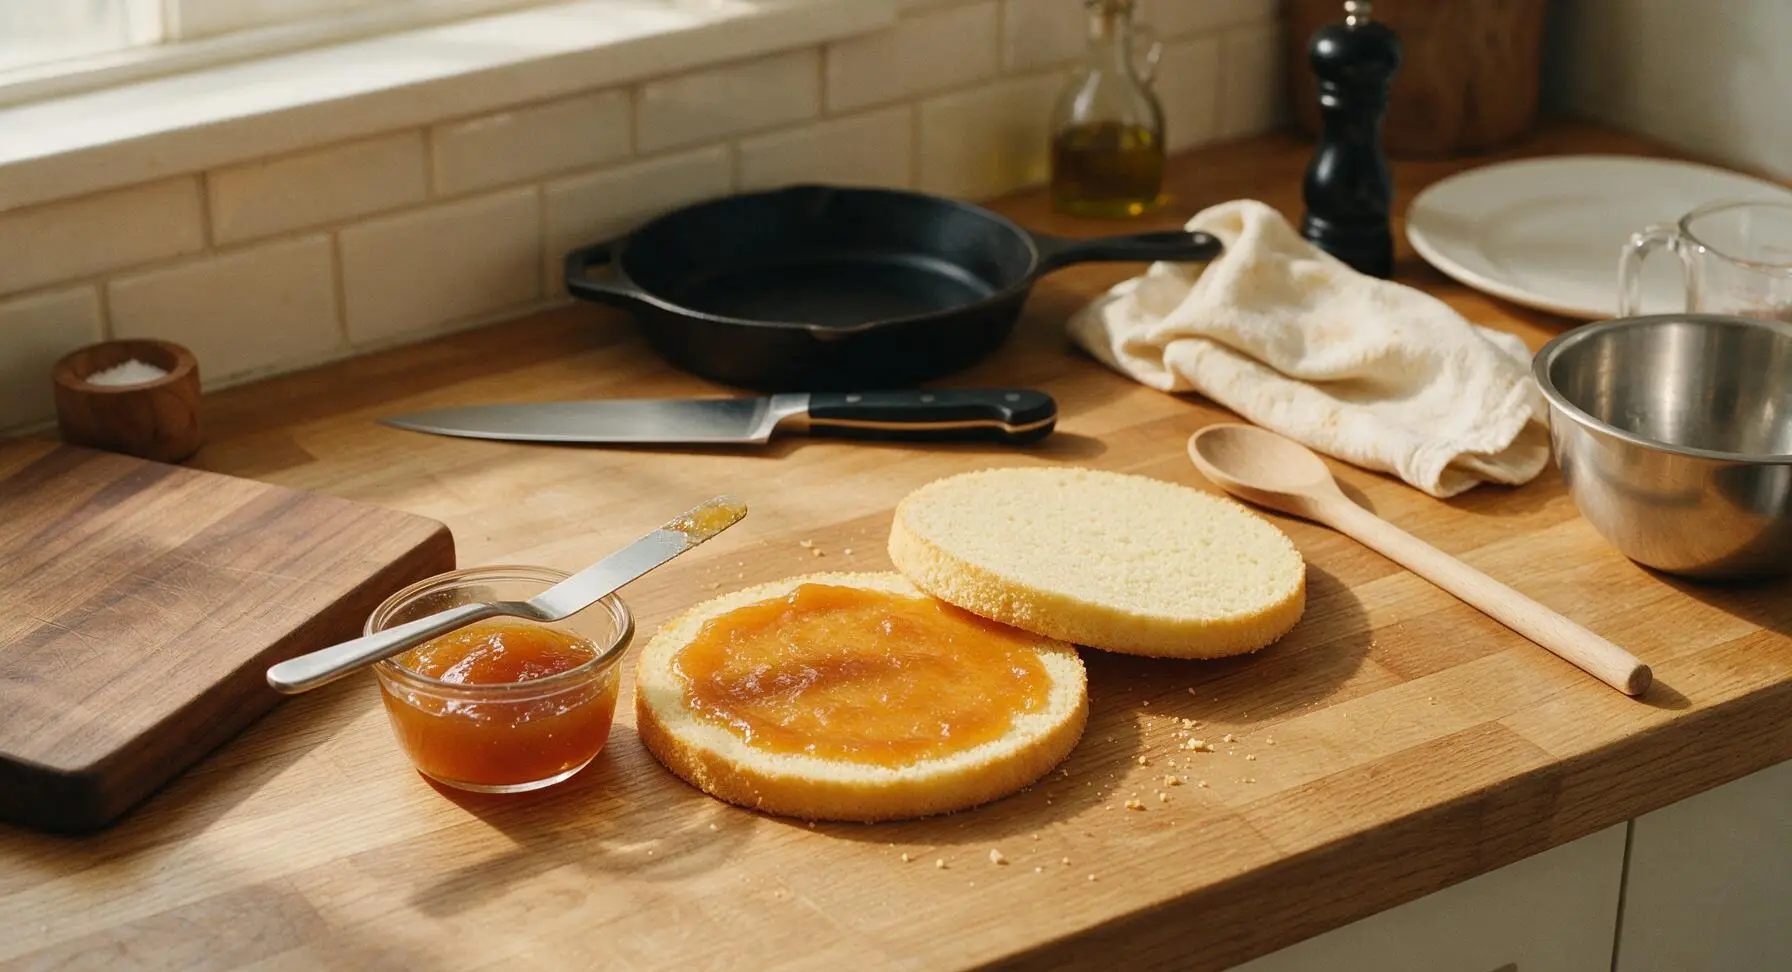
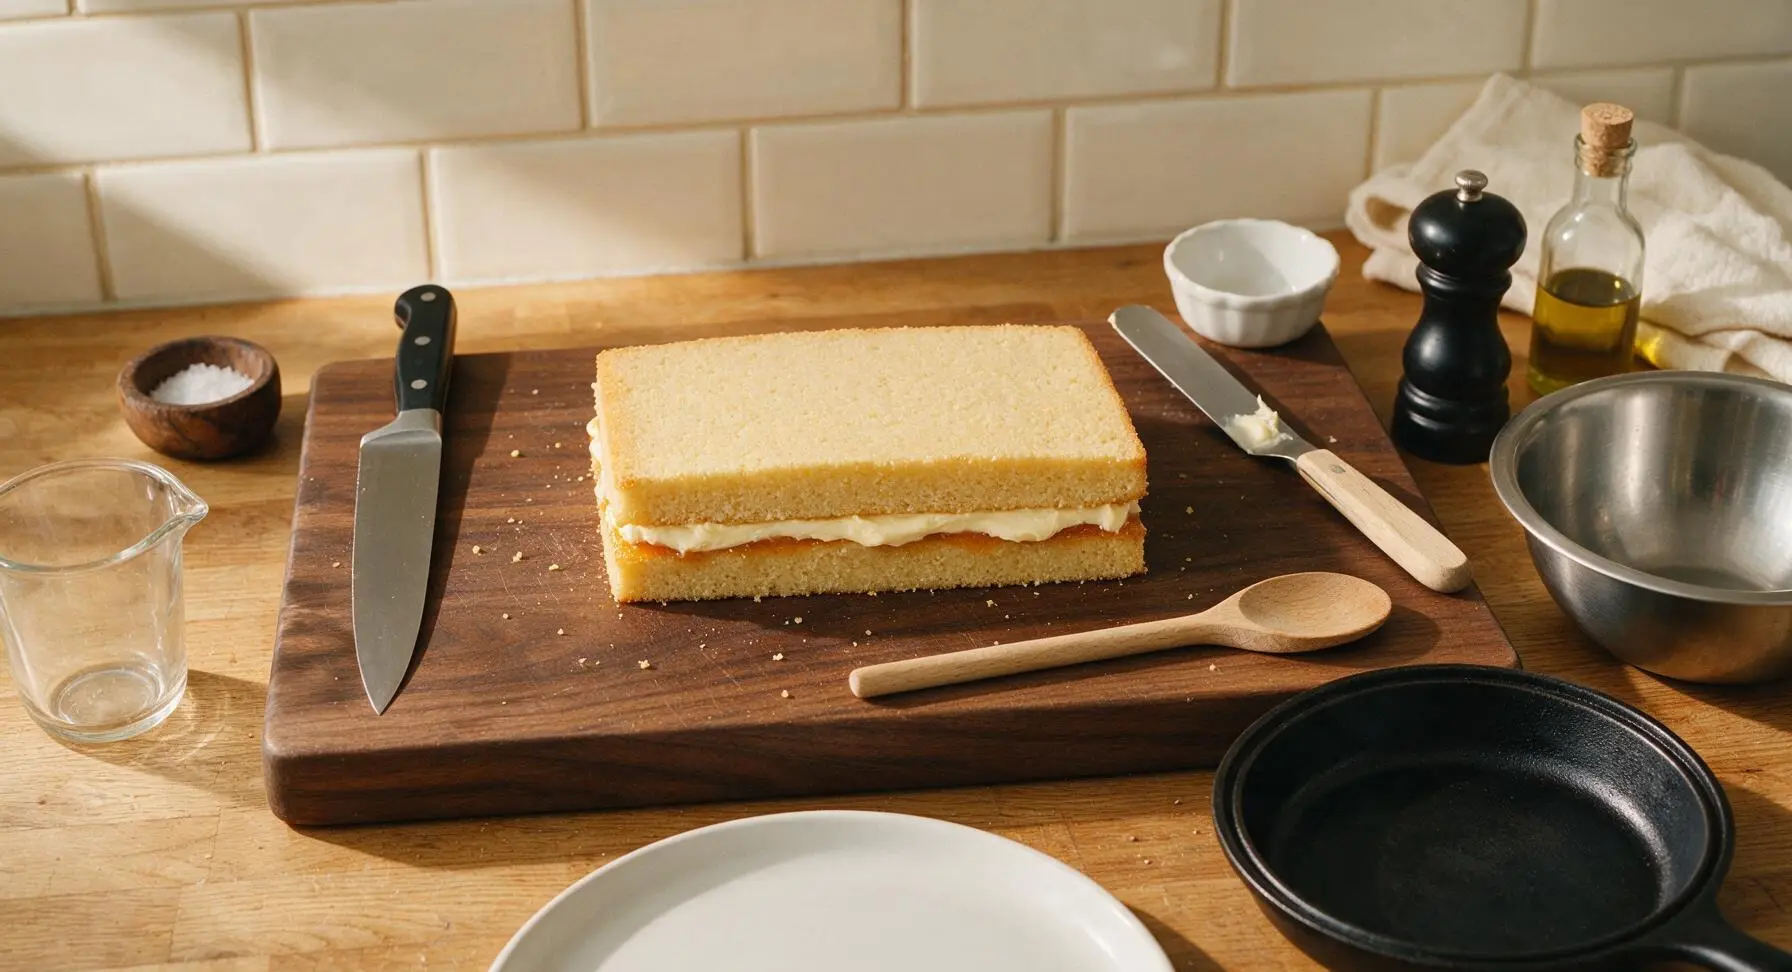
Turn the leveled sponge upside down so the flat base becomes the top surface. Use the serrated knife to split the sponge horizontally into two even, equal-thickness layers. Spread the sieved apricot jam evenly across the cut surface of the bottom layer, using the offset palette knife, leaving a 2mm border from the edge. Beat the remaining 100g softened butter with 200g icing sugar and 1 tsp vanilla extract to make smooth vanilla buttercream, then dollop 200g of the buttercream over the jam, spreading it into a smooth, even layer. Carefully place the top sponge layer over the filling, pressing gently to adhere. Transfer the assembled layered sponge to the fridge for 30 minutes to firm up, which will make cutting clean, sharp squares much easier.
Cut into Even Squares
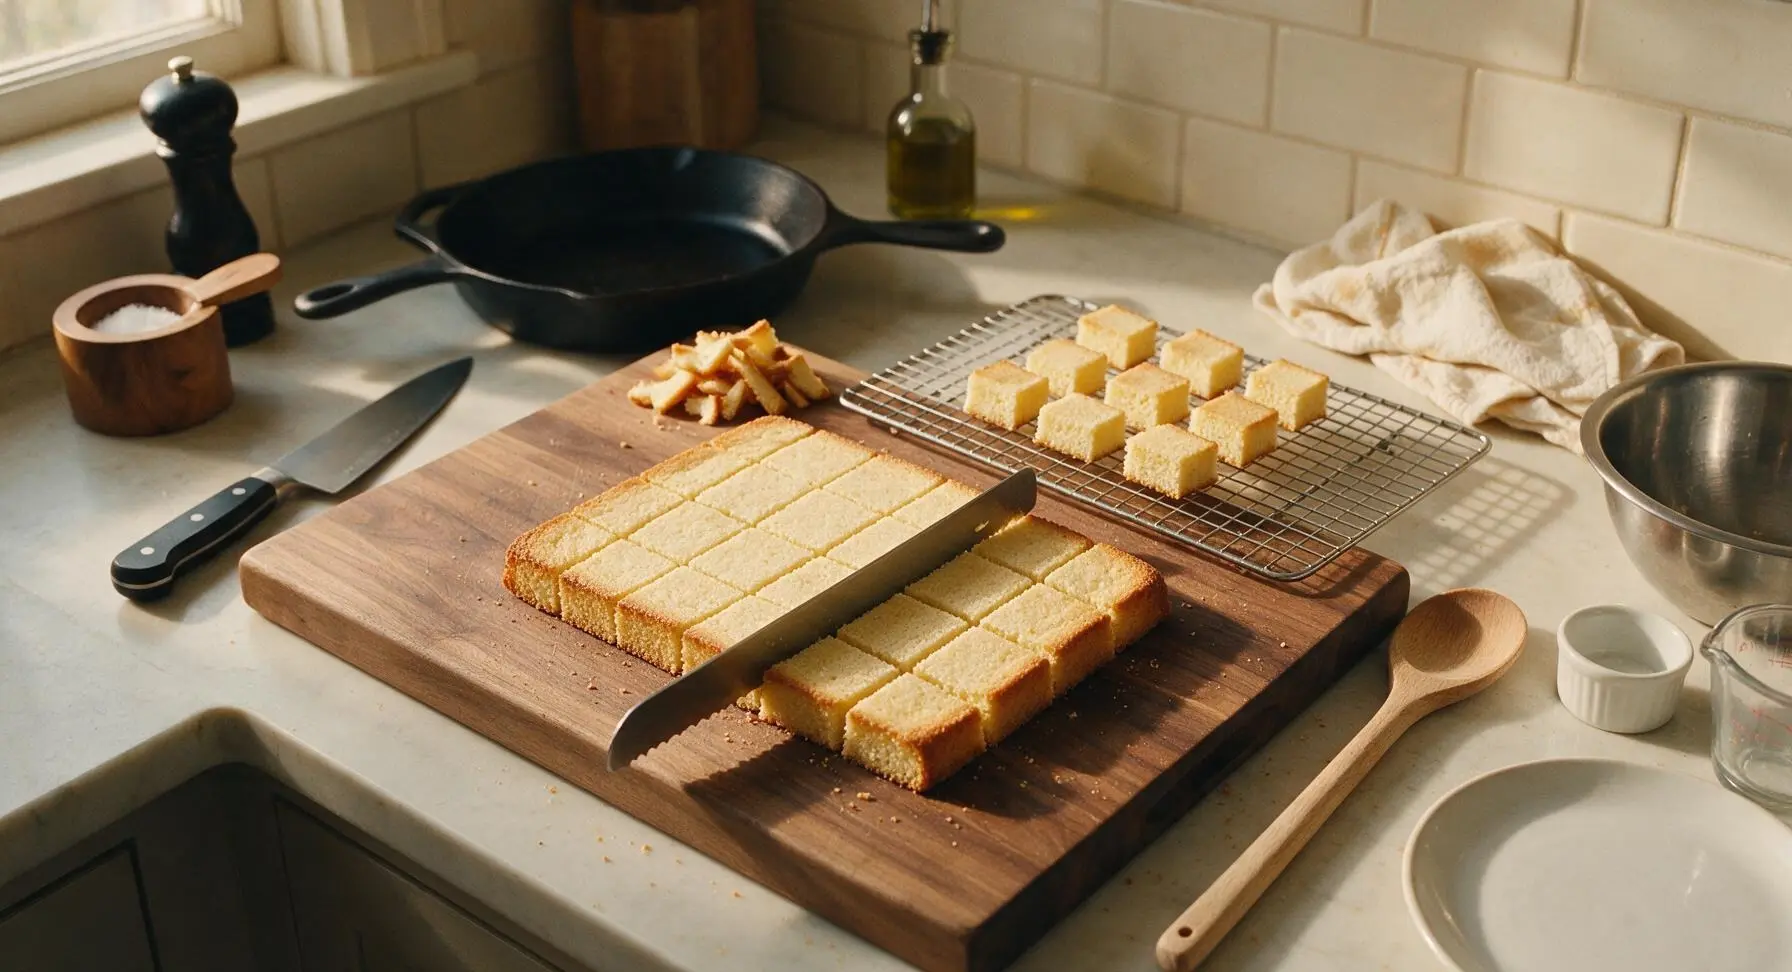
Remove the chilled layered sponge from the fridge. Use the long serrated bread knife to trim away the dry outer edges from all four sides of the sponge slab, revealing clean, even layers of sponge and filling. Cut the slab into 16 uniform 4cm x 4cm squares, wiping the knife blade clean with a corner of the cream kitchen towel between cuts to ensure sharp, neat edges with no smushed filling. Arrange the cut squares on the wire cooling rack, spaced 2cm apart, to prepare for coating.
Prepare Fondant Coating
Divide the poured fondant equally into three batches, using the small stainless steel mixing bowl (washing and drying the bowl between color batches). Warm each batch gently over a pan of barely simmering water (or in 10-second microwave bursts) until it reaches a smooth, pourable consistency matching thick double cream, stirring gently to avoid trapping air bubbles. Tint each batch a soft pastel shade: one pale pink, one lemon yellow, one soft lilac, using a tiny amount of gel food coloring stirred in with the silicone spatula. Keep the fondant warm while working, as it will set quickly if it cools below 35°C.
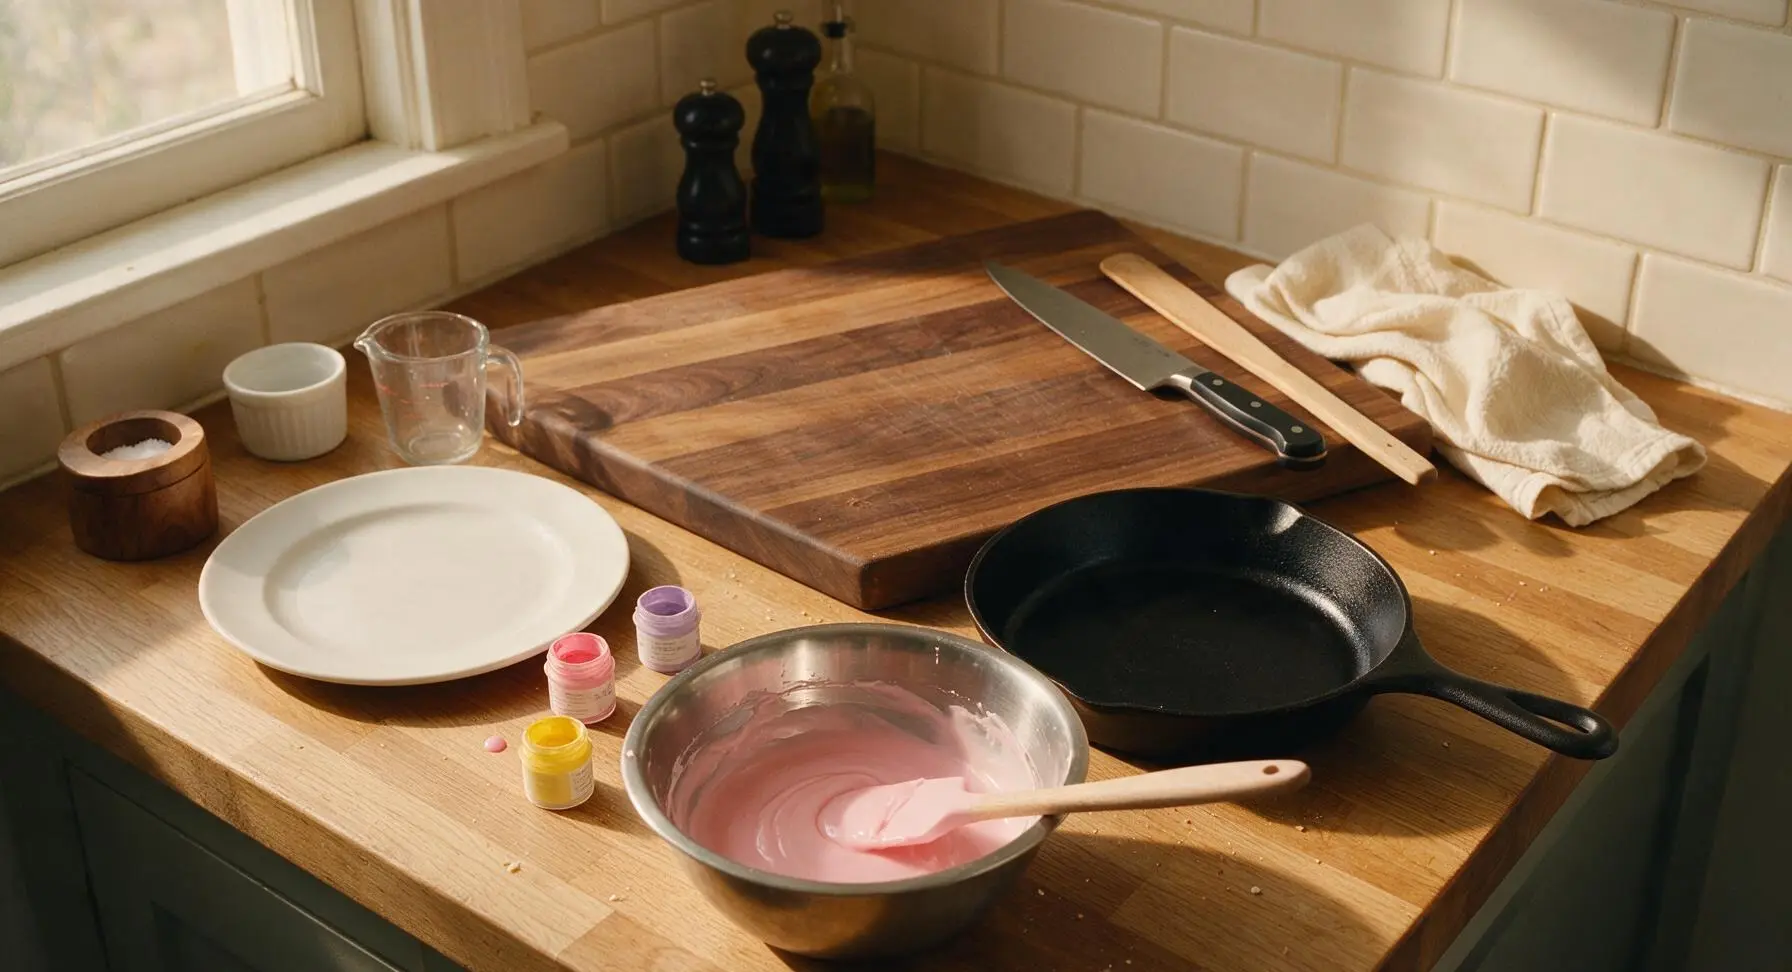
Coat Cakes in Fondant
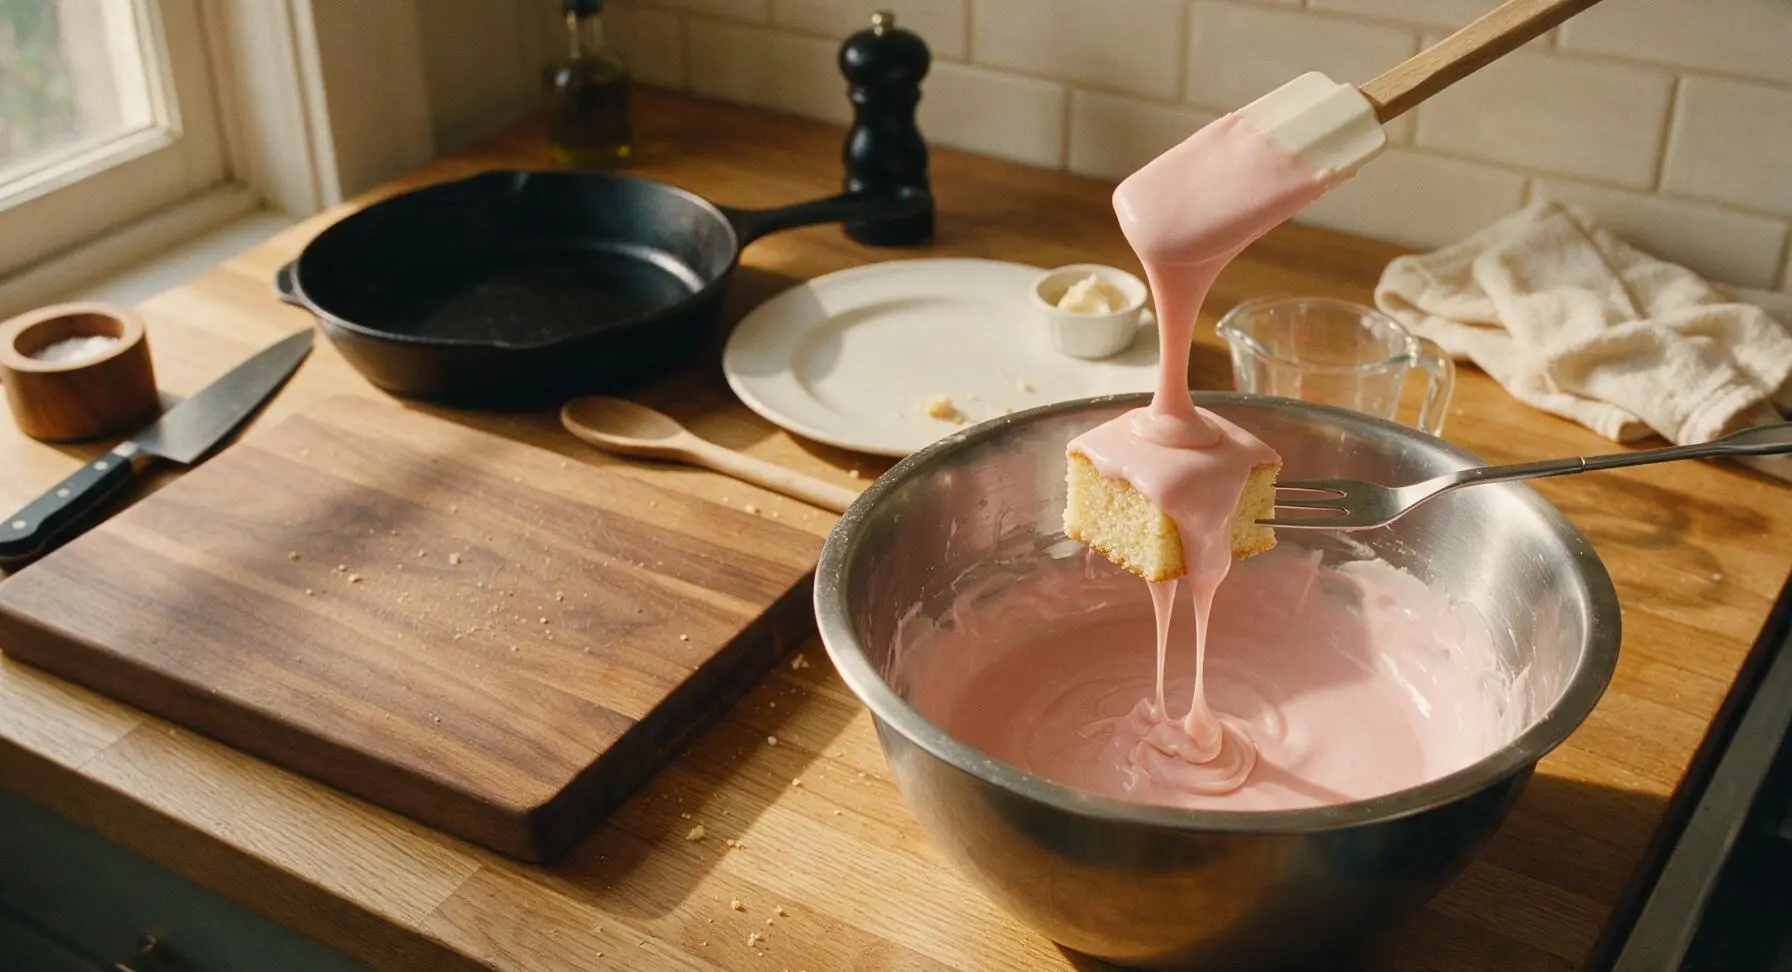
Working one square at a time, place a sponge square on the 3-prong fondant dipping fork. Hold the fork over the bowl of warm fondant, and spoon fondant over the top and sides of the cake to coat completely, tapping the fork gently on the bowl edge to remove excess fondant and create a smooth, even coating with no bare spots. Use a small dot of leftover buttercream to help slide the coated cake off the fork and back onto the wire cooling rack, taking care not to smudge the wet fondant. Repeat with all cakes, dividing them evenly between the three fondant colors, and allow the first coat to set for 10 minutes before applying a second thin coat if needed for full, opaque coverage.
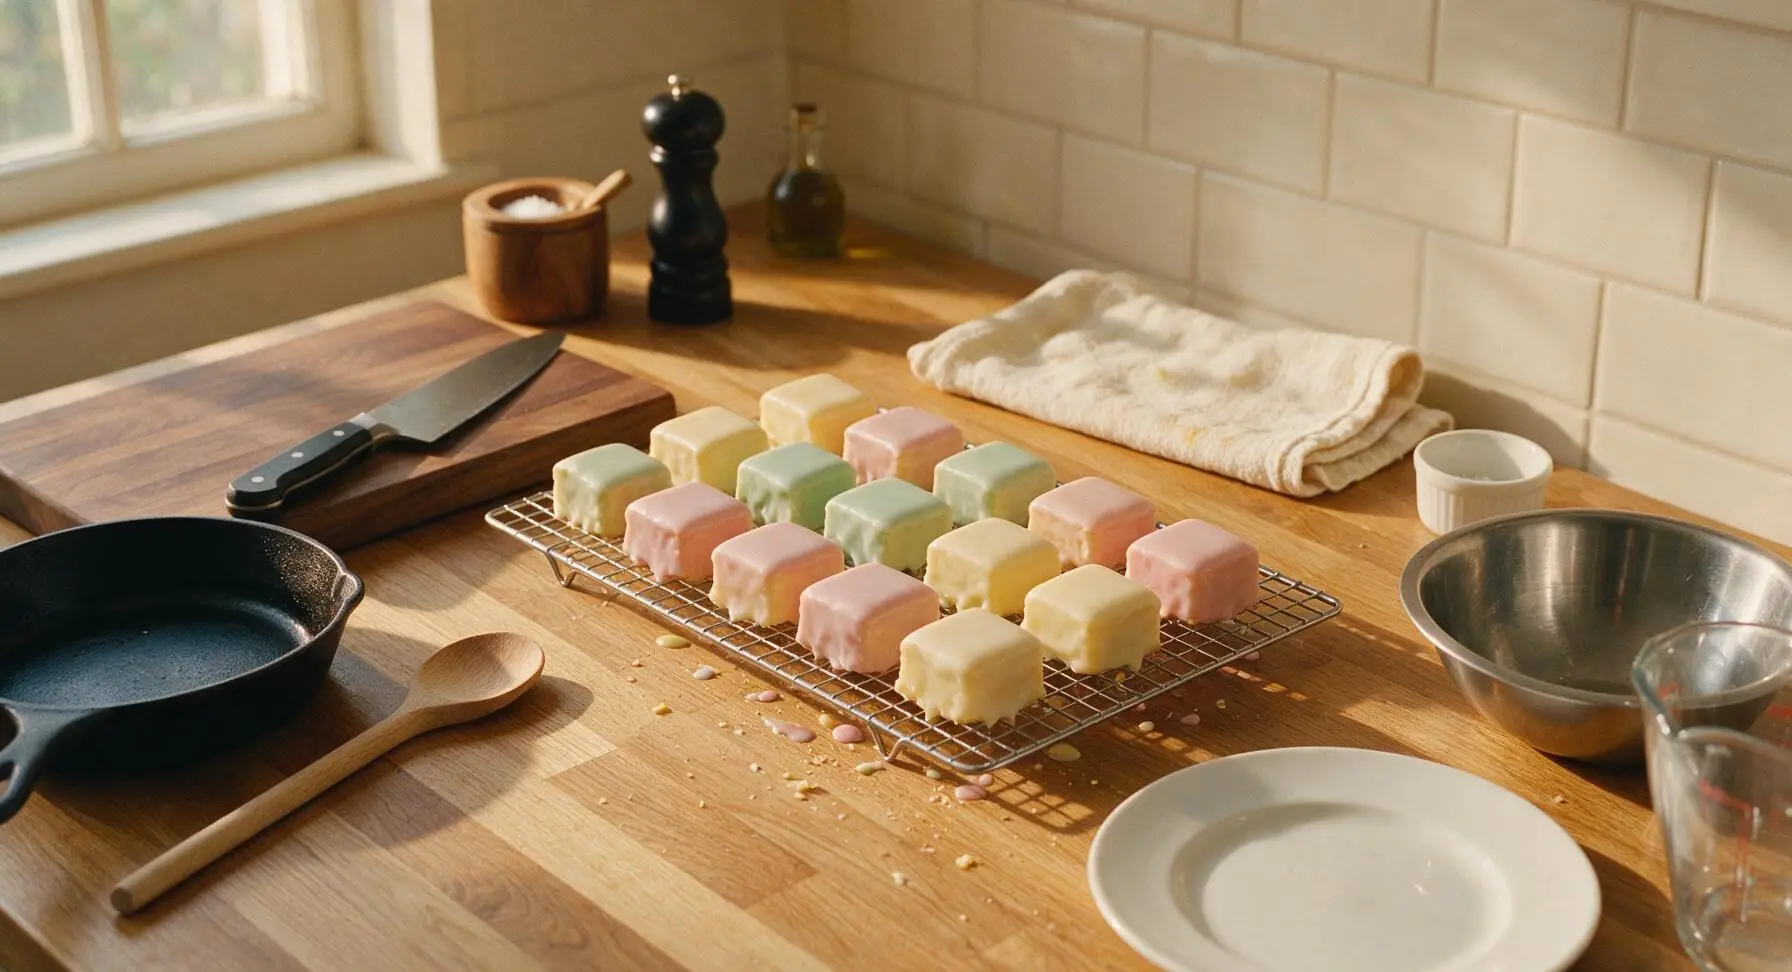
Decorate Fondant Fancies
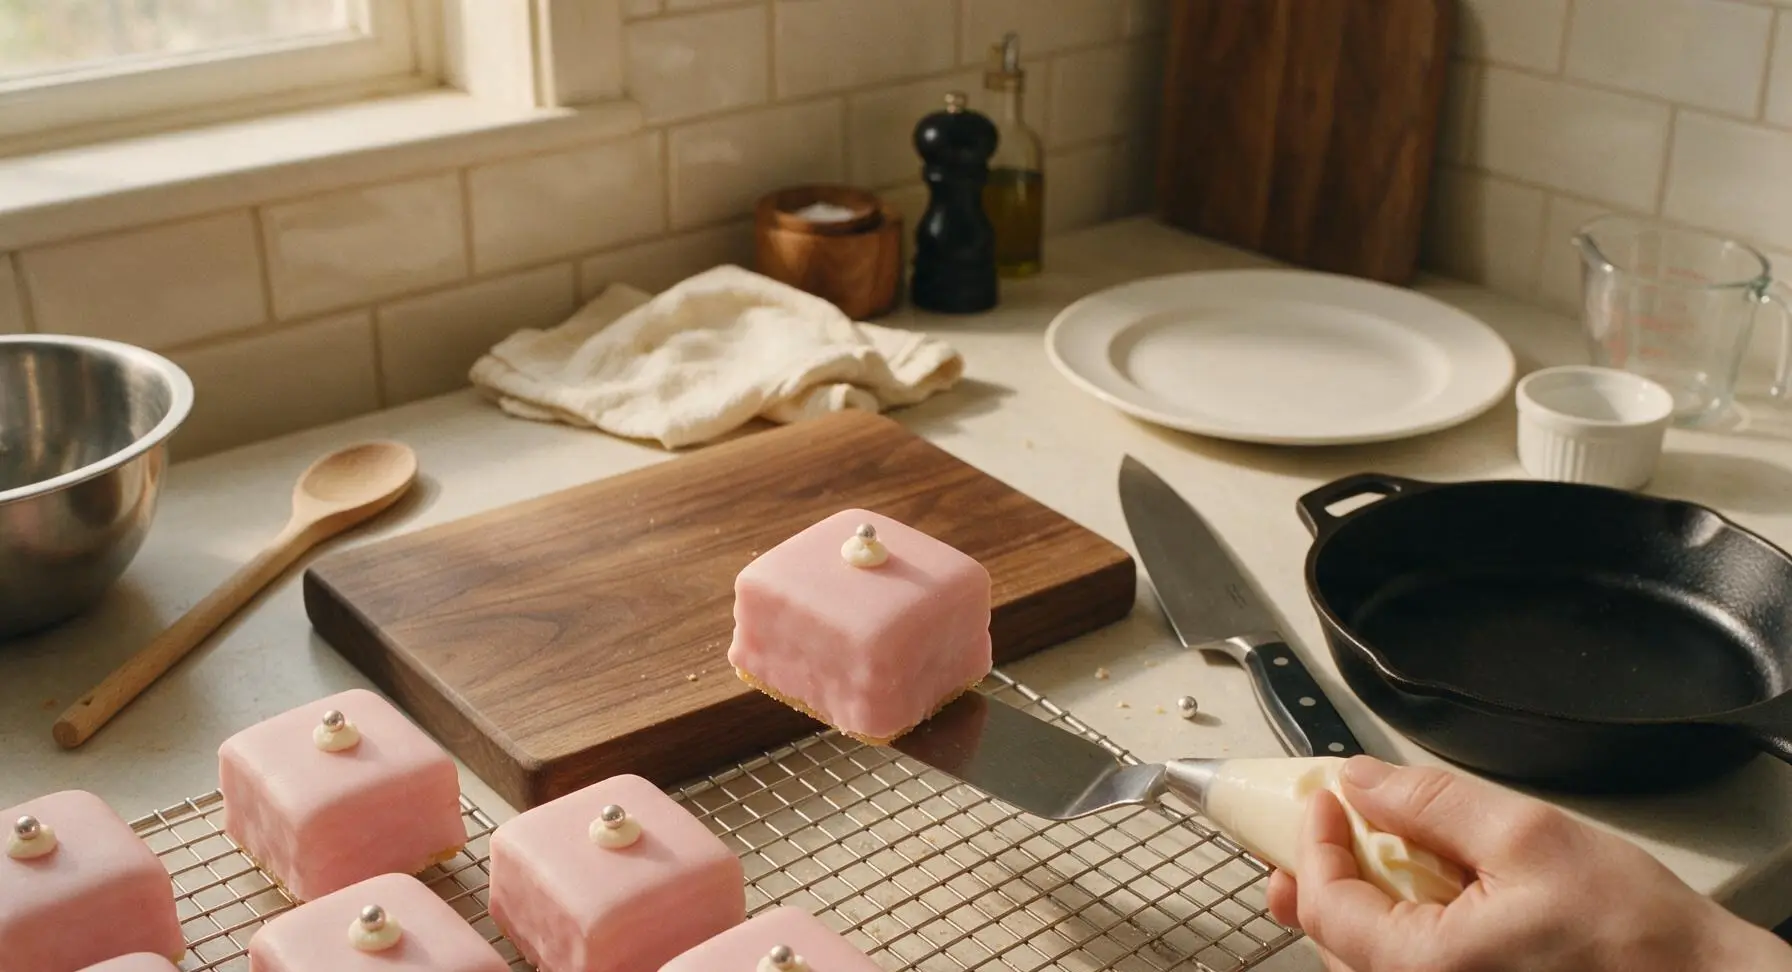
Once the fondant coating is fully set (about 15 minutes at room temperature), fill a small piping bag fitted with a 2mm round tip with the remaining vanilla buttercream. Pipe a single tiny 5mm dot of buttercream on the top center of each fancy, then press one silver sugar pearl into the center of the buttercream dot for a classic decorative finish. Allow the buttercream decorations to set for 10 minutes before carefully transferring the fancies to the oval white ceramic serving platter for serving.
Tips
2.Sieve apricot jam to remove fruit lumps before spreading it on the sponge: any lumps will create uneven bumps under the thin fondant coating, ruining the sharp, smooth edges that are a hallmark of well-made fancies.
3.Keep poured fondant at a consistent 37°C (98°F) while dipping: if it is too hot, it will run off the cakes and leave thin, patchy coverage; if it is too cool, it will set too quickly and leave a thick, lumpy surface.






OMG these classic fondant fancies were such a hit at my neighborhood potluck last weekend! I brought a double batch and they were gone in 10 minutes flat. The vanilla sponge is so perfectly moist, not dry at all like some other recipes I’ve tried. My kids kept sneaking them off the platter before we even left the house 😂 10/10 will make again for my sister’s baby shower next month!
Tried these last night for a casual date night in, and they turned out way better than I expected for a medium-difficulty recipe! I messed up the first batch of fondant icing because I heated it too fast, but the second pour was smooth as silk. Only note is I wish the recipe specified how thin to roll the marzipan layer — mine was a little thick on a few pieces.
SO good. I made these for my book club meeting and everyone was asking for the recipe before they even finished their first bite. The little pink and yellow pastel coating makes them look so fancy, no one believed they only took 20 minutes of cook time! Total game changer for quick, impressive desserts.
I’ve been making fondant fancies for 40 years, and this recipe is hands down the closest to the traditional British tea time version I’ve found stateside. The only swap I made was using homemade raspberry jam instead of apricot between the sponge layers, and it was chef’s kiss. My granddaughter said they taste just like the ones we had on our London trip last year!
Wait, can these be frozen? I’m trying to prep a bunch of small desserts for my kid’s soccer team snack schedule and these look perfect, but I don’t want to make them the night before every game.
Okay, full transparency: I thought for sure I’d mess these up because I’m terrible with icing, but the step-by-step instructions for the fondant pour were so easy to follow! I even added little edible gold glitter dots on top for my friend’s birthday, and they looked like they came straight from a fancy bakery. Will absolutely be making these again.
Made these for a work potluck yesterday, and so many people said they were the best thing on the dessert table! My only tiny complaint is that the fondant set up a little faster than I expected, so I had to rewarm it halfway through dipping the squares. Is there a trick to keeping it the right consistency longer?
My kids loved it! I let them help pick the food coloring for the fondant, so we did a mix of blue, purple, and green instead of the traditional pastels, and they thought it was the coolest thing ever. We even added little candy flower sprinkles on top. Perfect weekend baking activity with the family, zero complaints here.
Game changer! I’ve been paying $4 a pop for these at my local British import shop and I can make a whole batch for less than the cost of two? Insane. The flavor is even better than the store-bought ones, too, because the sponge is so much fresher.
Made these for my afternoon tea themed birthday party and they were the star of the spread! I paired them with cucumber sandwiches, scones, and earl grey, and every guest commented on how adorable and tasty they were. The 20 minute cook time is no joke either — I had the whole dessert done in under an hour total including prep and cooling.
Uh, quick question — I don’t have a square baking pan right now, can I use a 9x13 rectangular pan and just cut the sponge into smaller squares? Don’t want to mess up the texture by adjusting pan size wrong.
These are SO good, but I will say the difficulty level is definitely medium, not easy! My first time making fondant anything and I had a few lumpy pieces, but the ones that turned out were incredible. Next time I’ll make sure to sift my powdered sugar for the fondant to avoid those lumps, lesson learned.
I swapped the butter for vegan block butter and used plant-based cream in the fondant, and these turned out perfectly! Didn’t have to adjust any measurements at all, which is such a win for vegan bakers. My non-vegan roommates didn’t even notice a difference, they ate half the batch in one sitting.
Anyone else add a little lemon zest to the sponge? I did that on a whim last time I made these and it added such a bright, fresh kick that cut through the sweetness of the fondant perfectly. Highly recommend giving it a try if you love citrus flavors!
I make these for every client event I cater, and they are consistently the most requested dessert on my menu! People go crazy for how cute and bite-sized they are, and they hold up really well on dessert tables for a few hours without getting soggy. 10/10, this is my go-to fondant fancy recipe forever now.
These are the perfect little treat to have with my morning latte! I keep a stash of them in the fridge for when I need a tiny sweet pick-me-up during the work day. They’re not too cloyingly sweet, which is a huge plus for me — a lot of fondant recipes are so sugary they make my teeth hurt, but these are perfectly balanced.
Our monthly bake club made these as our featured recipe this month, and everyone had a blast! We had a few folks who were brand new to baking and they still pulled off really great looking fondant fancies, which is a testament to how clear the instructions are. Only thing we wish was included is a note on how to store the leftover fancies!
OMG I was so nervous to try these because I thought fondant was super fussy, but this recipe made it so approachable! I added a little toasted coconut on top of a few of mine for a tropical twist, and it was chef’s kiss. Can’t wait to experiment with more toppings next time.