
food network tater tot casserole

title 1
food network tater tot casserole
⏱️ cook time 50 minutes
🍽️ servings 6
⚡ Difficulty easy

intro

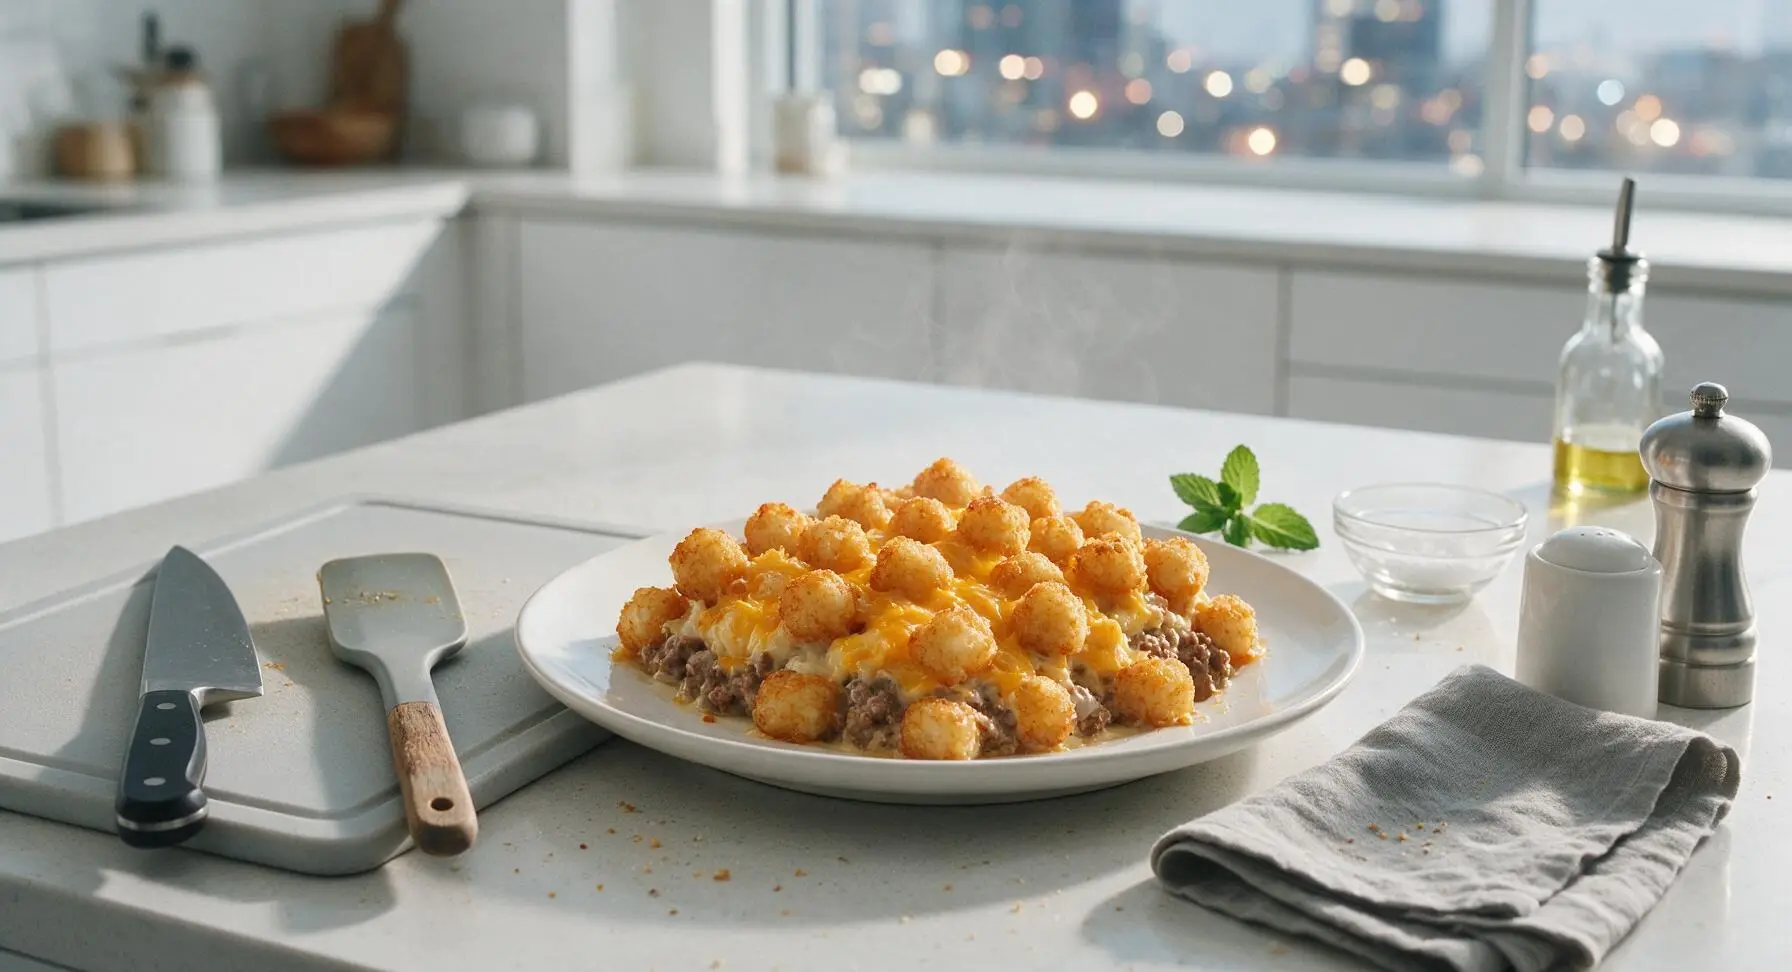
Creamy savory ground beef filling, melted sharp cheddar, and crispy golden tater tots come together in this nostalgic, crowd-pleasing baked classic, perfect for cozy family meals.

Ingredients
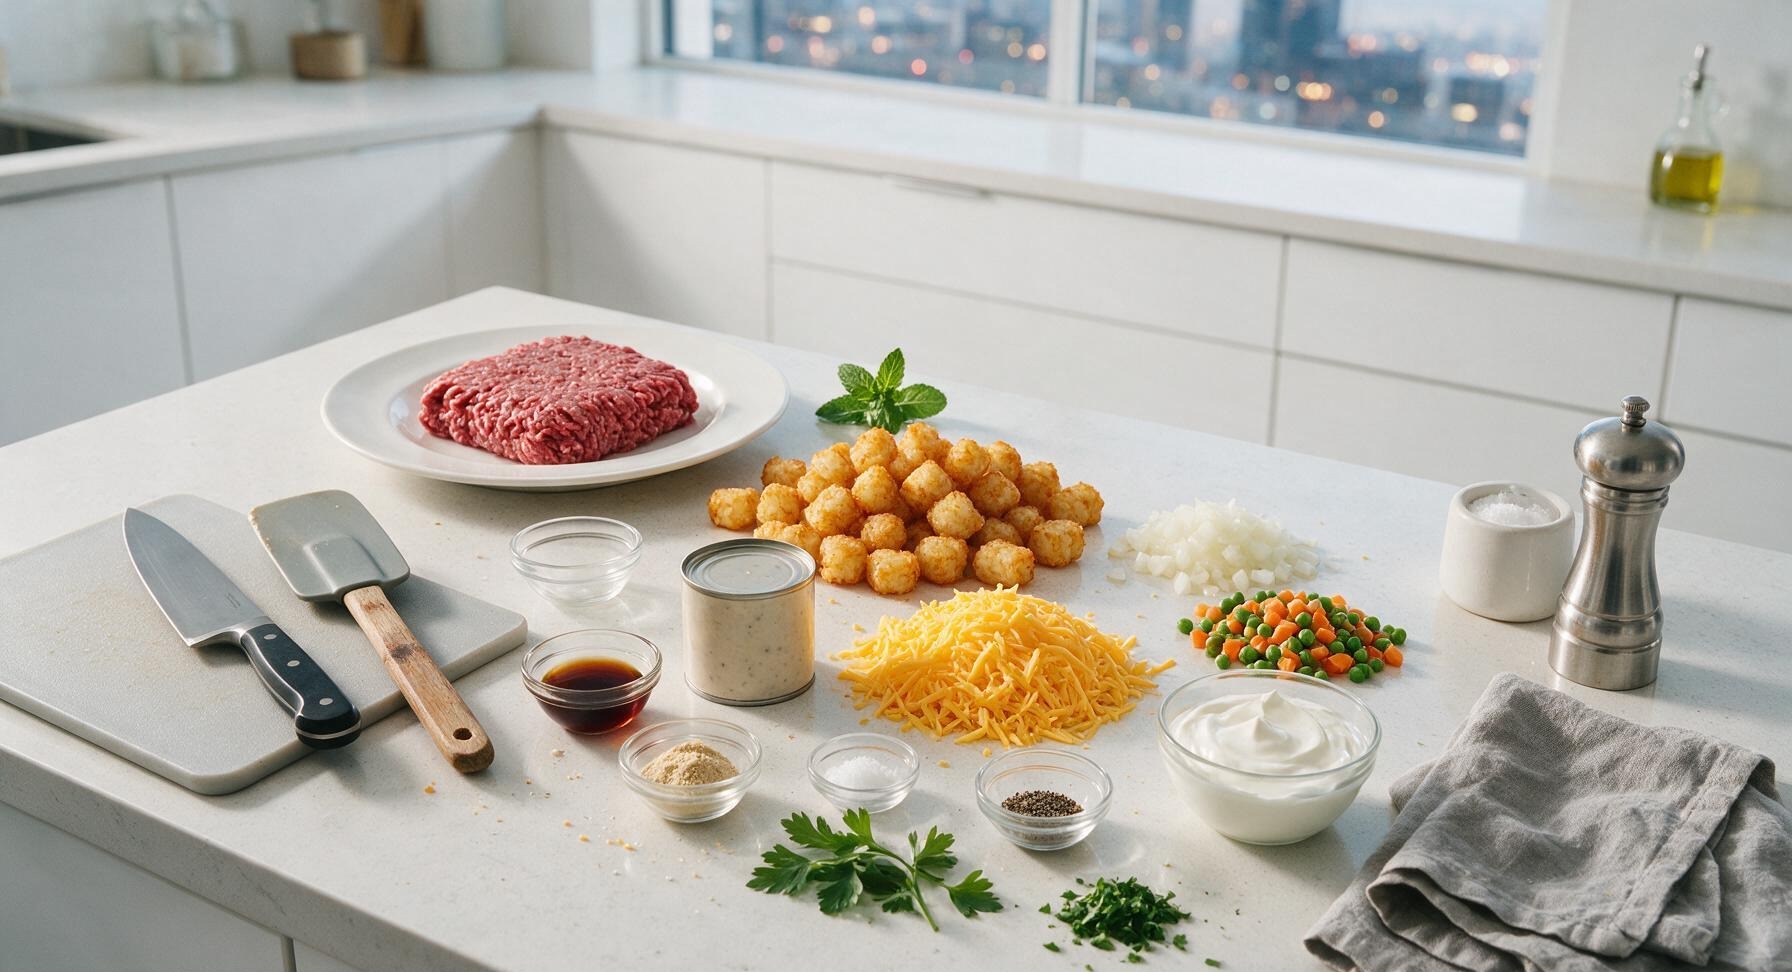
80/20 ground beef 1 lb (450g)
Frozen tater tots 32 oz (900g)
Condensed cream of mushroom soup 10.5 oz (300g) can
Shredded sharp cheddar cheese 1.5 cups (170g)
Yellow onion, diced 1/2 cup (75g)
Frozen mixed peas and carrots 1/2 cup (70g)
Worcestershire sauce 2 tbsp (30ml)
Garlic powder 1 tsp (3g)
Kosher salt 1/4 tsp (1g)
Freshly ground black pepper 1/2 tsp (2g)
Fresh flat-leaf parsley, chopped 2 tbsp (8g)
Sour cream (for serving) 1/2 cup (120g)

Steps

1

Preheat Oven, Prep Dish

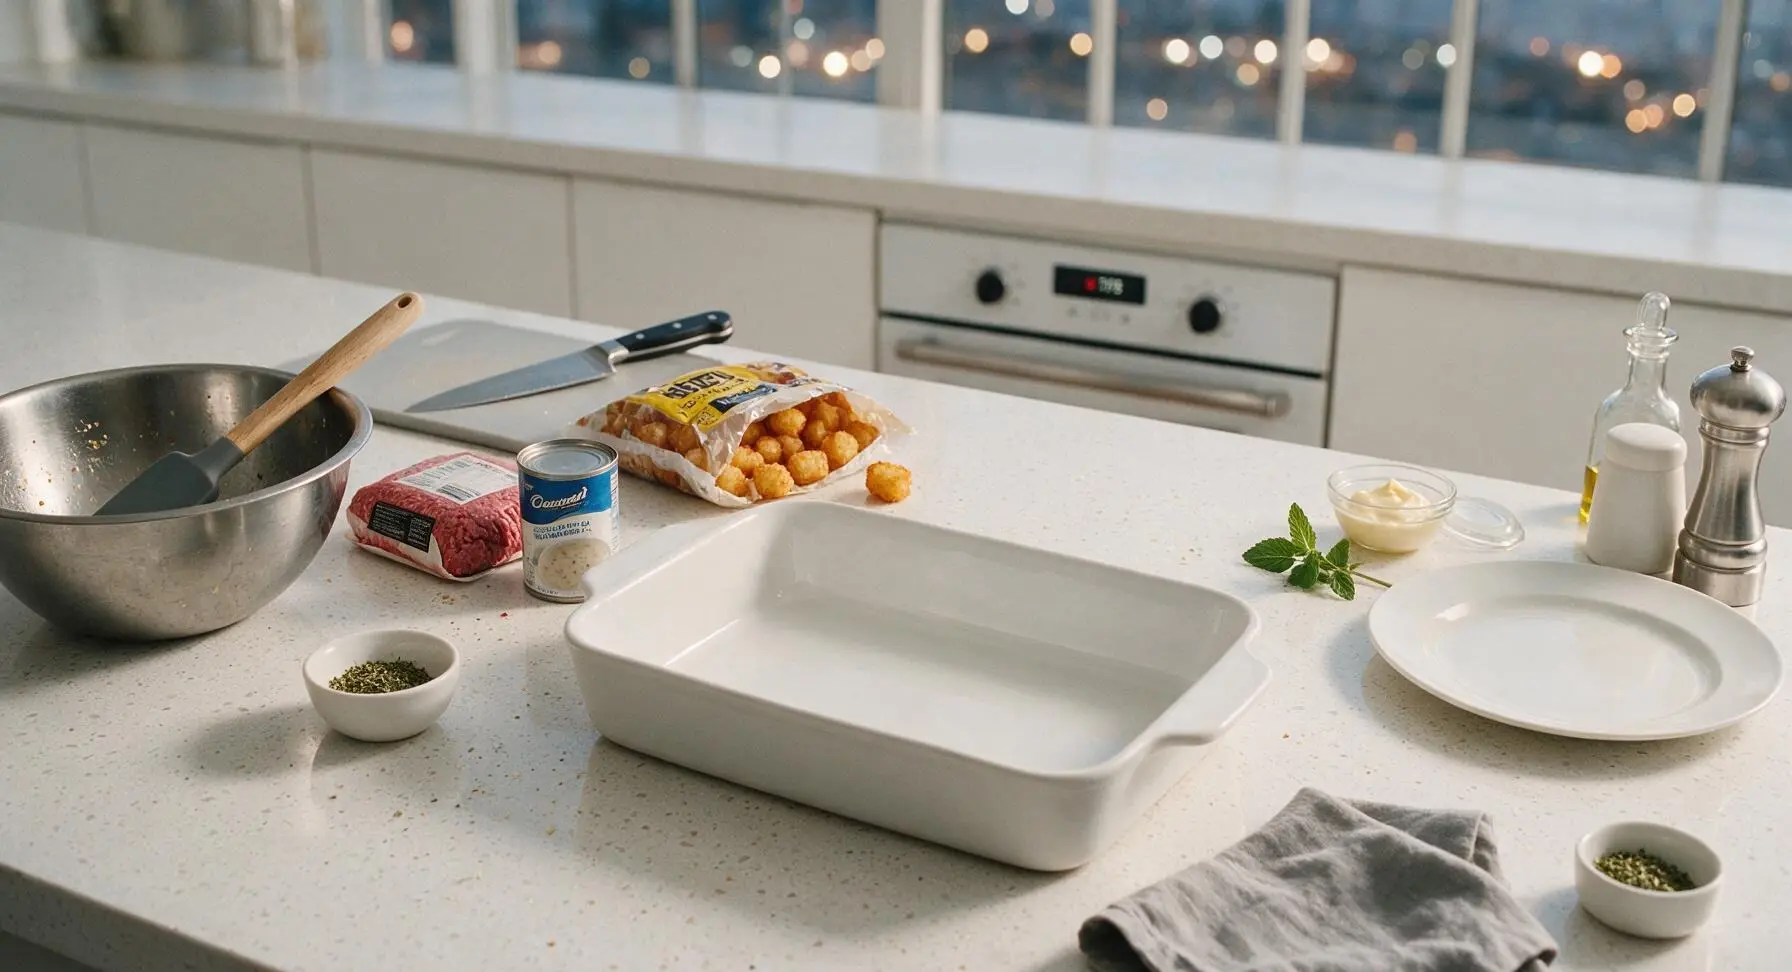
Adjust your oven rack to the middle position, then preheat the oven to 375°F (190°C). Set the 9x13 inch matte white ceramic baking dish in its fixed center position on the counter; no greasing is needed, as rendered beef fat will prevent sticking. Gather all pre-measured ingredients within easy reach to streamline the cooking process.
Step 1
step1:Preheat Oven, Prep Dish
2

Brown the Ground Beef

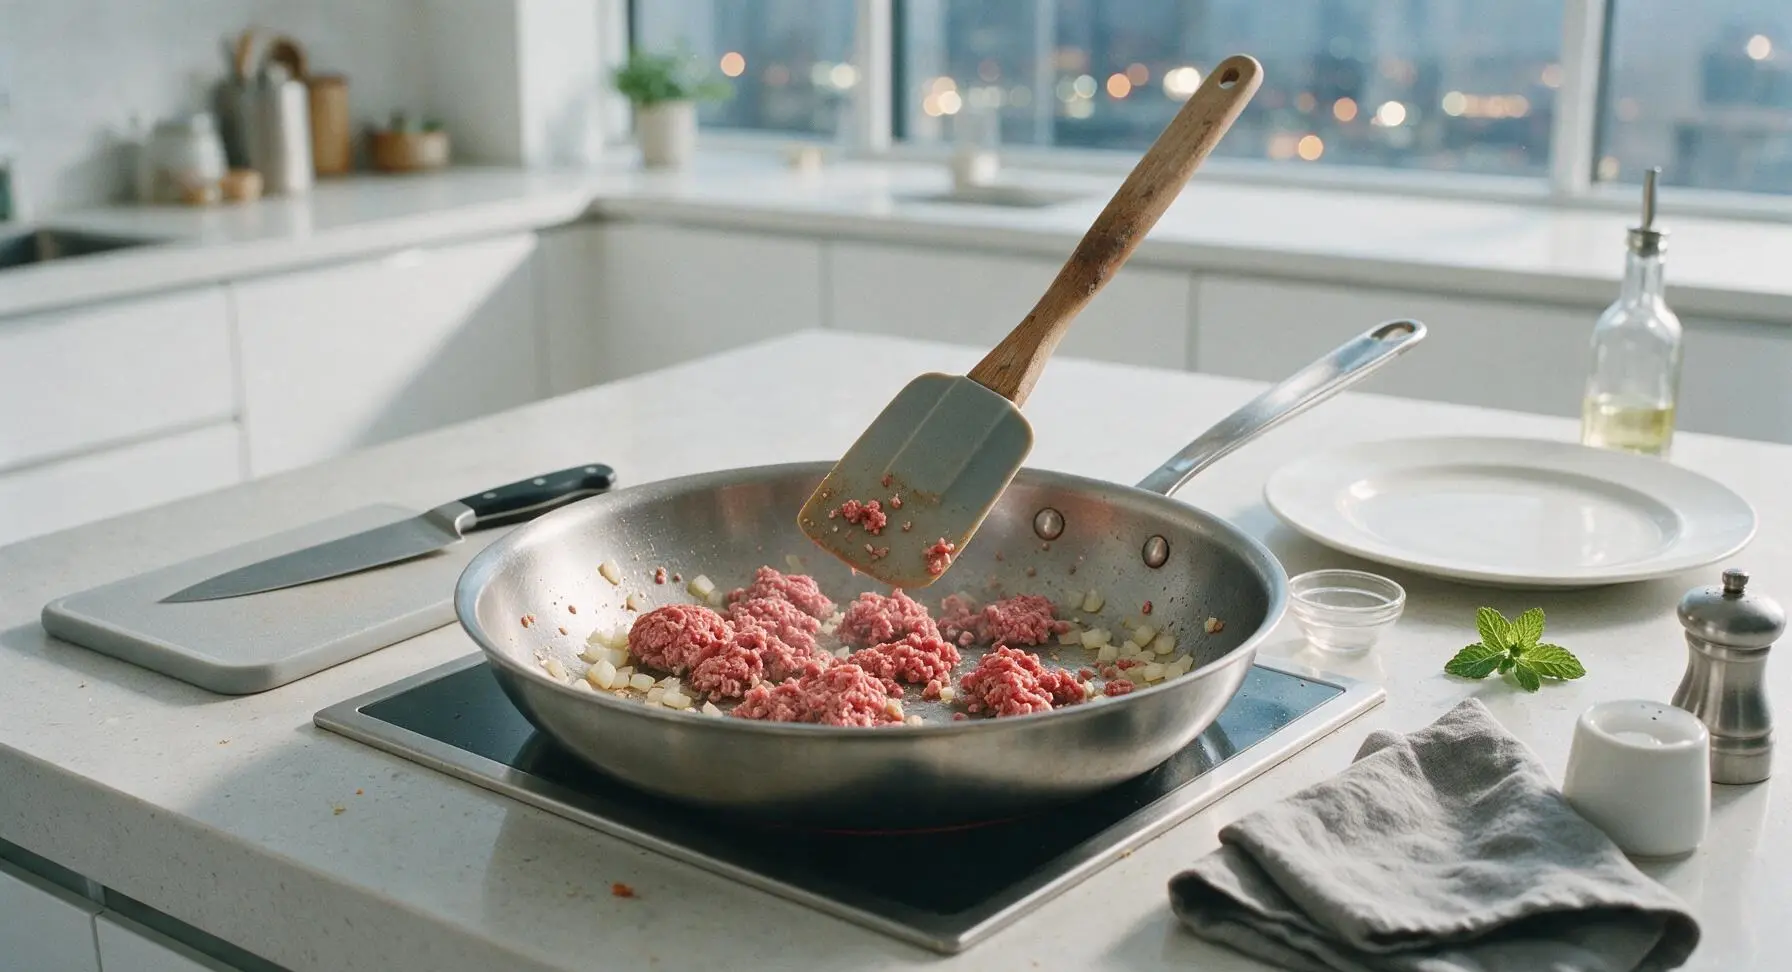
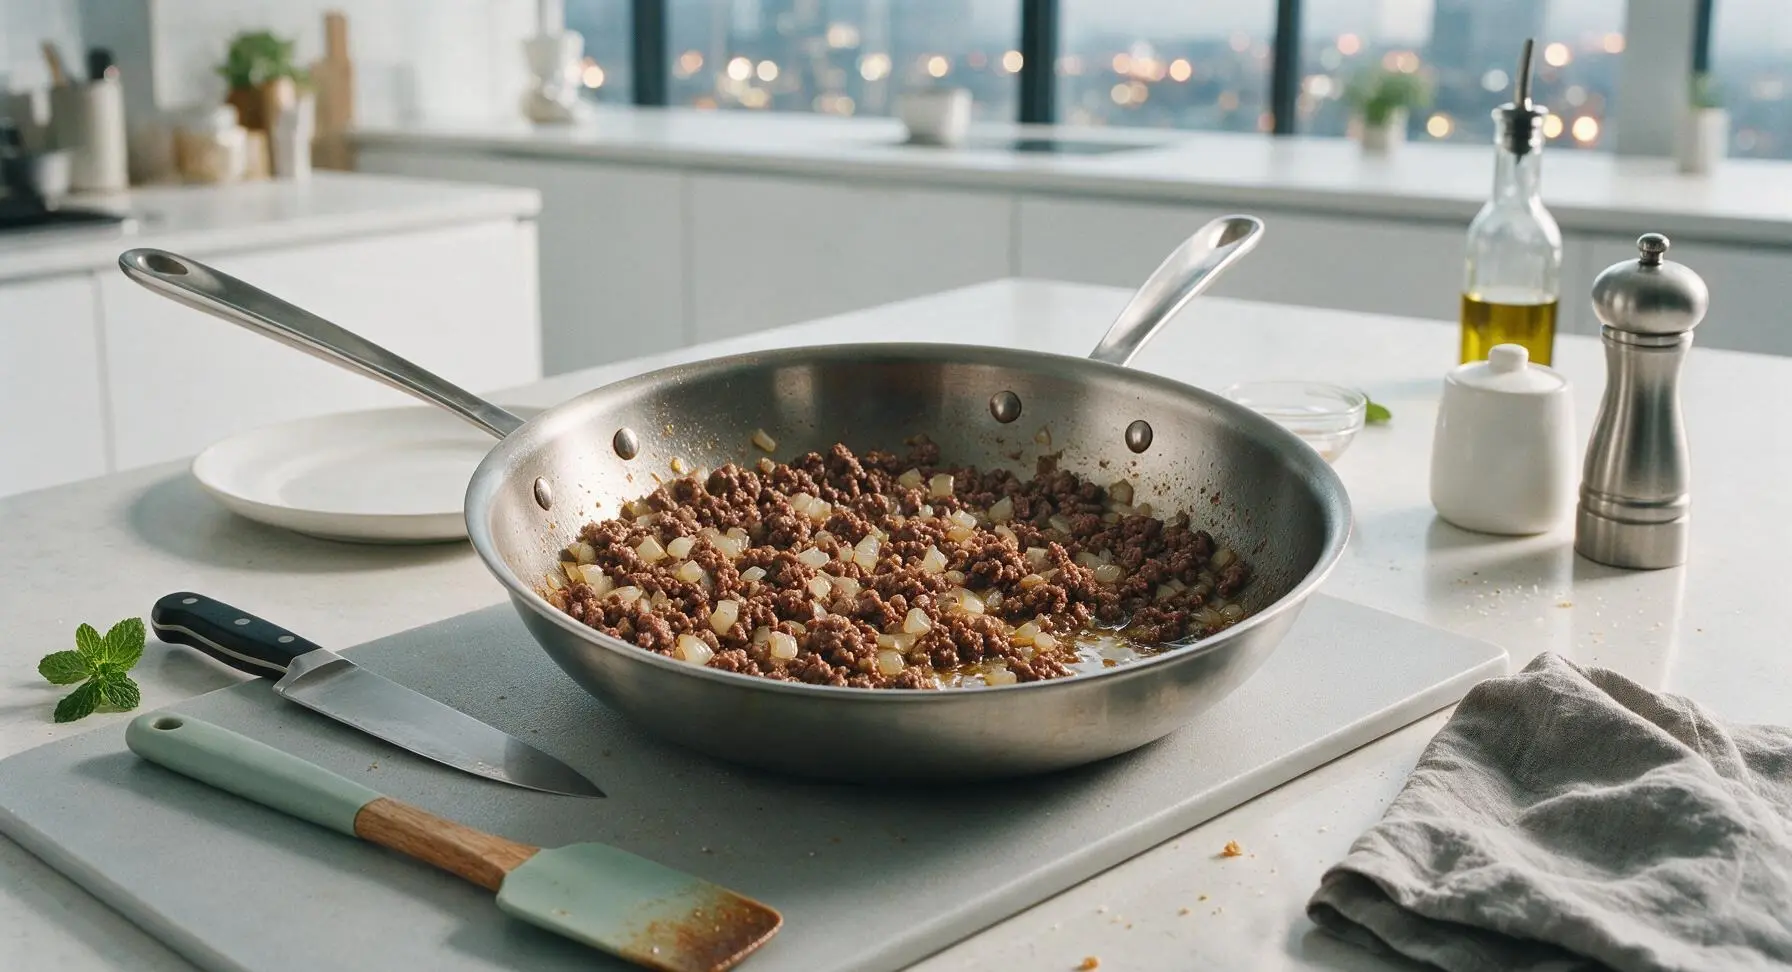
Heat the 12-inch brushed stainless steel skillet over medium heat on the stovetop. Add the ground beef and diced yellow onion, breaking the beef apart into small crumbles with the silicone spatula as it cooks. Cook for 7-8 minutes, stirring occasionally, until the beef is fully browned with no visible pink remaining and the onion is soft and translucent. Carefully tilt the skillet to drain off all excess rendered grease into a heatproof container to avoid an oily final casserole.
Step 2
step2:Brown the Ground Beef
Step 2
step2:Brown the Ground Beef
3

Mix Casserole Filling

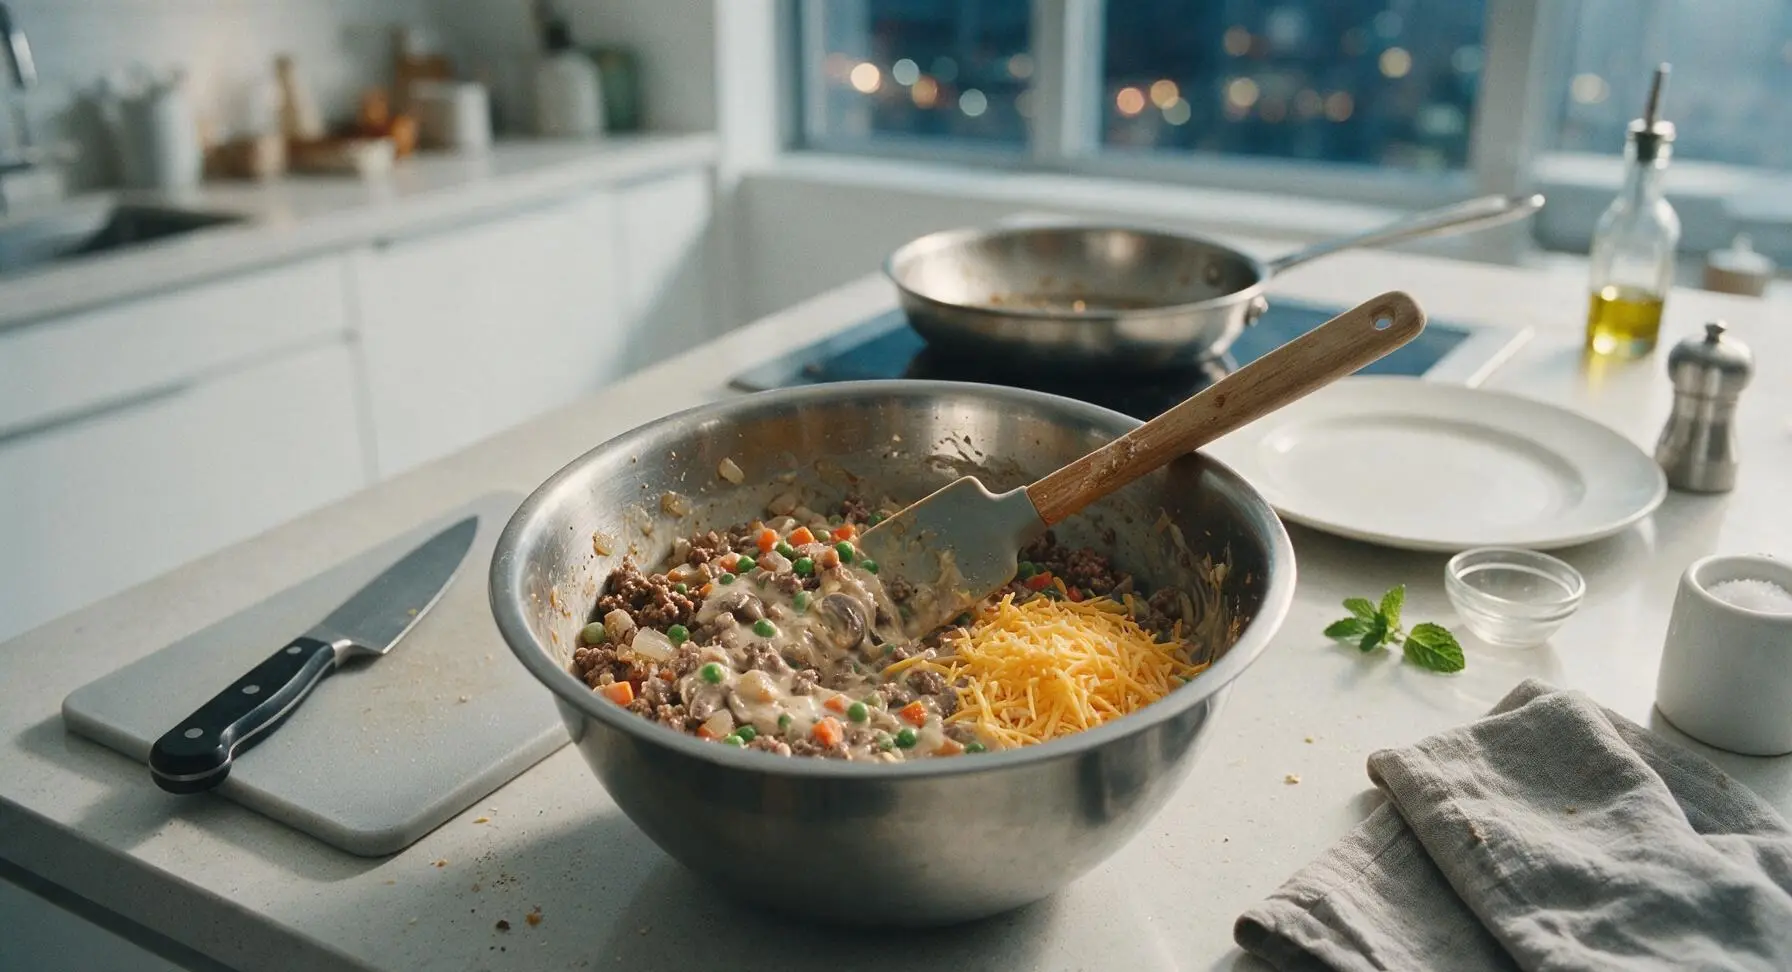
Transfer the drained browned beef and onion to the stainless steel mixing bowl. Add the condensed cream of mushroom soup, Worcestershire sauce, frozen peas and carrots, garlic powder, salt, black pepper, and half (3/4 cup) of the shredded sharp cheddar cheese. Stir thoroughly with the silicone spatula until all ingredients are evenly combined into a creamy, uniform mixture with no dry pockets of soup remaining.
Step 3
step3:Mix Casserole Filling
4

Layer Filling in Dish

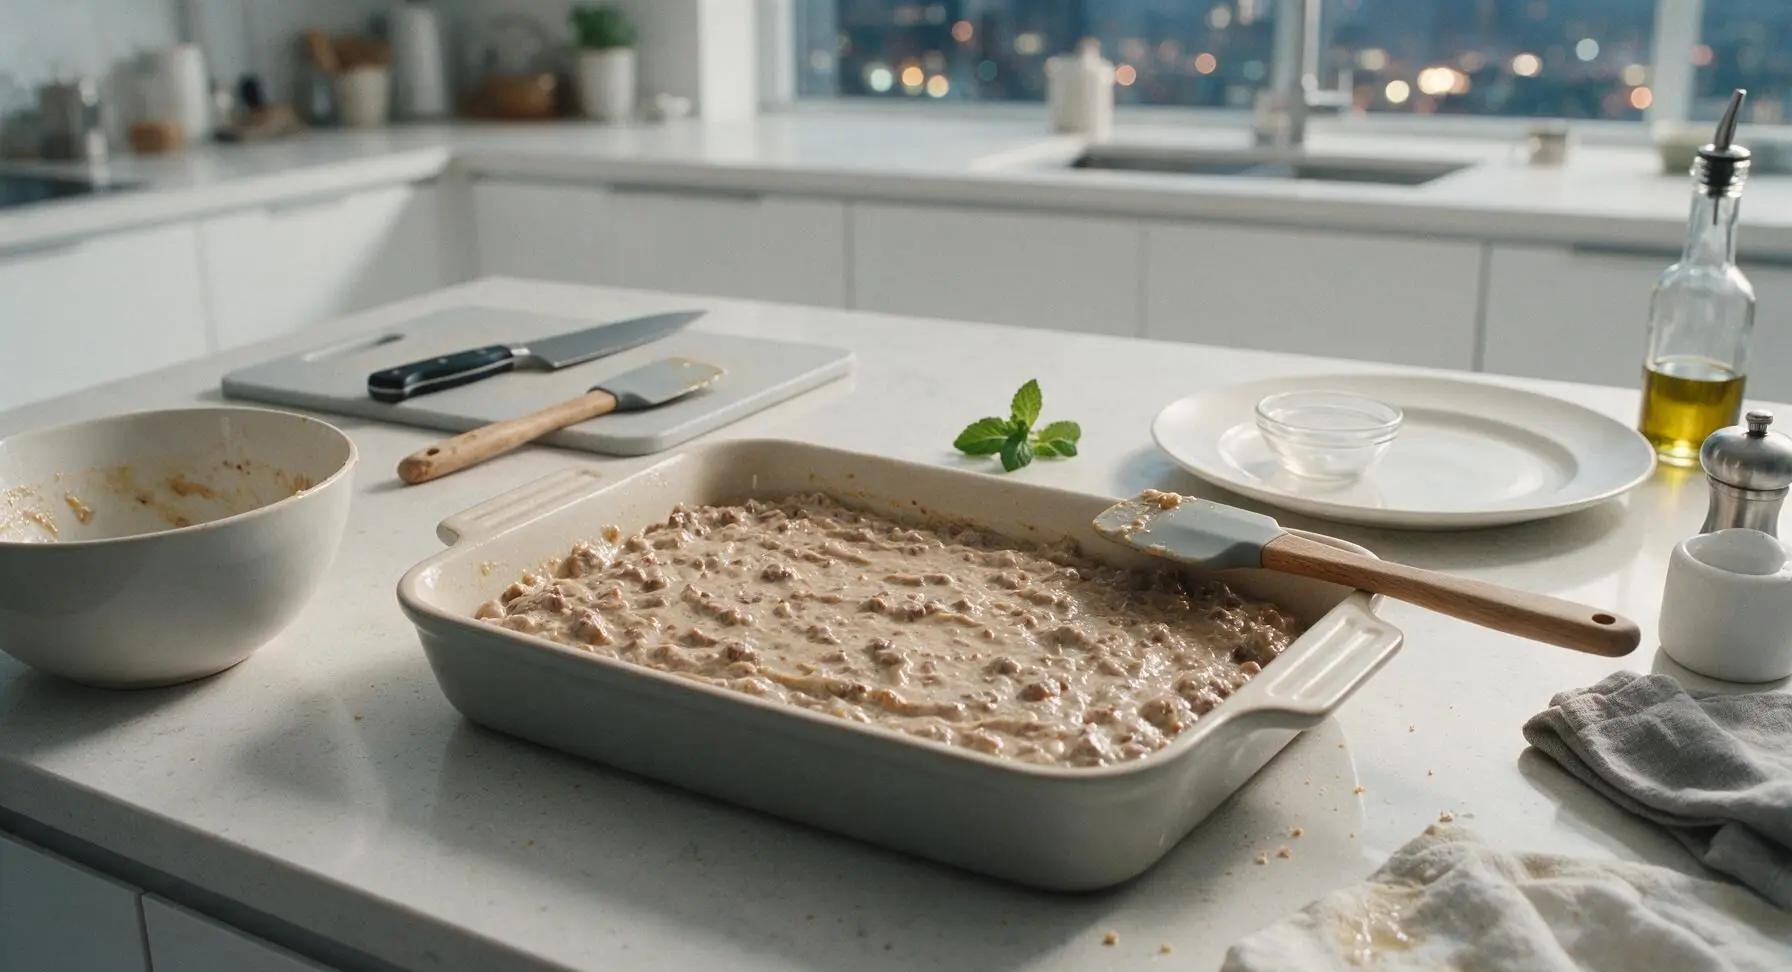
Pour the entire creamy beef and vegetable mixture into the 9x13 inch ceramic baking dish. Use the silicone spatula to spread the mixture into a perfectly even, flat layer across the bottom of the dish, ensuring consistent thickness from edge to edge to promote even cooking.
Step 4
step4:Layer Filling in Dish
5

Layer Cheese and Tots

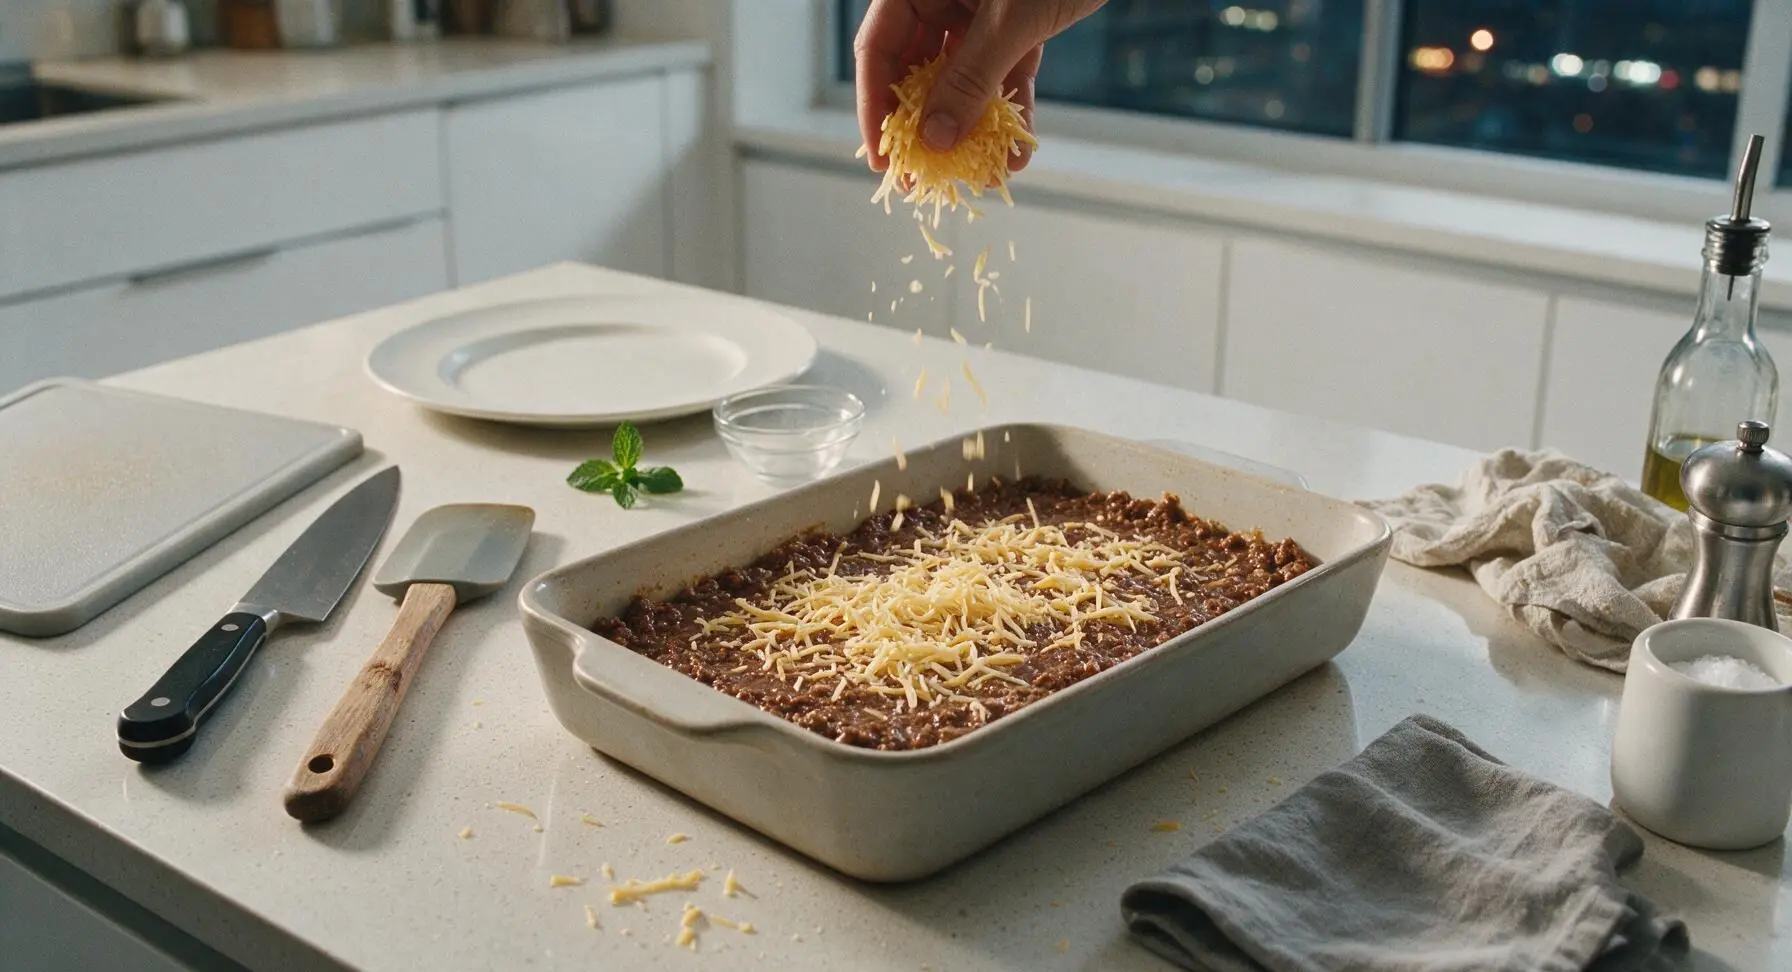
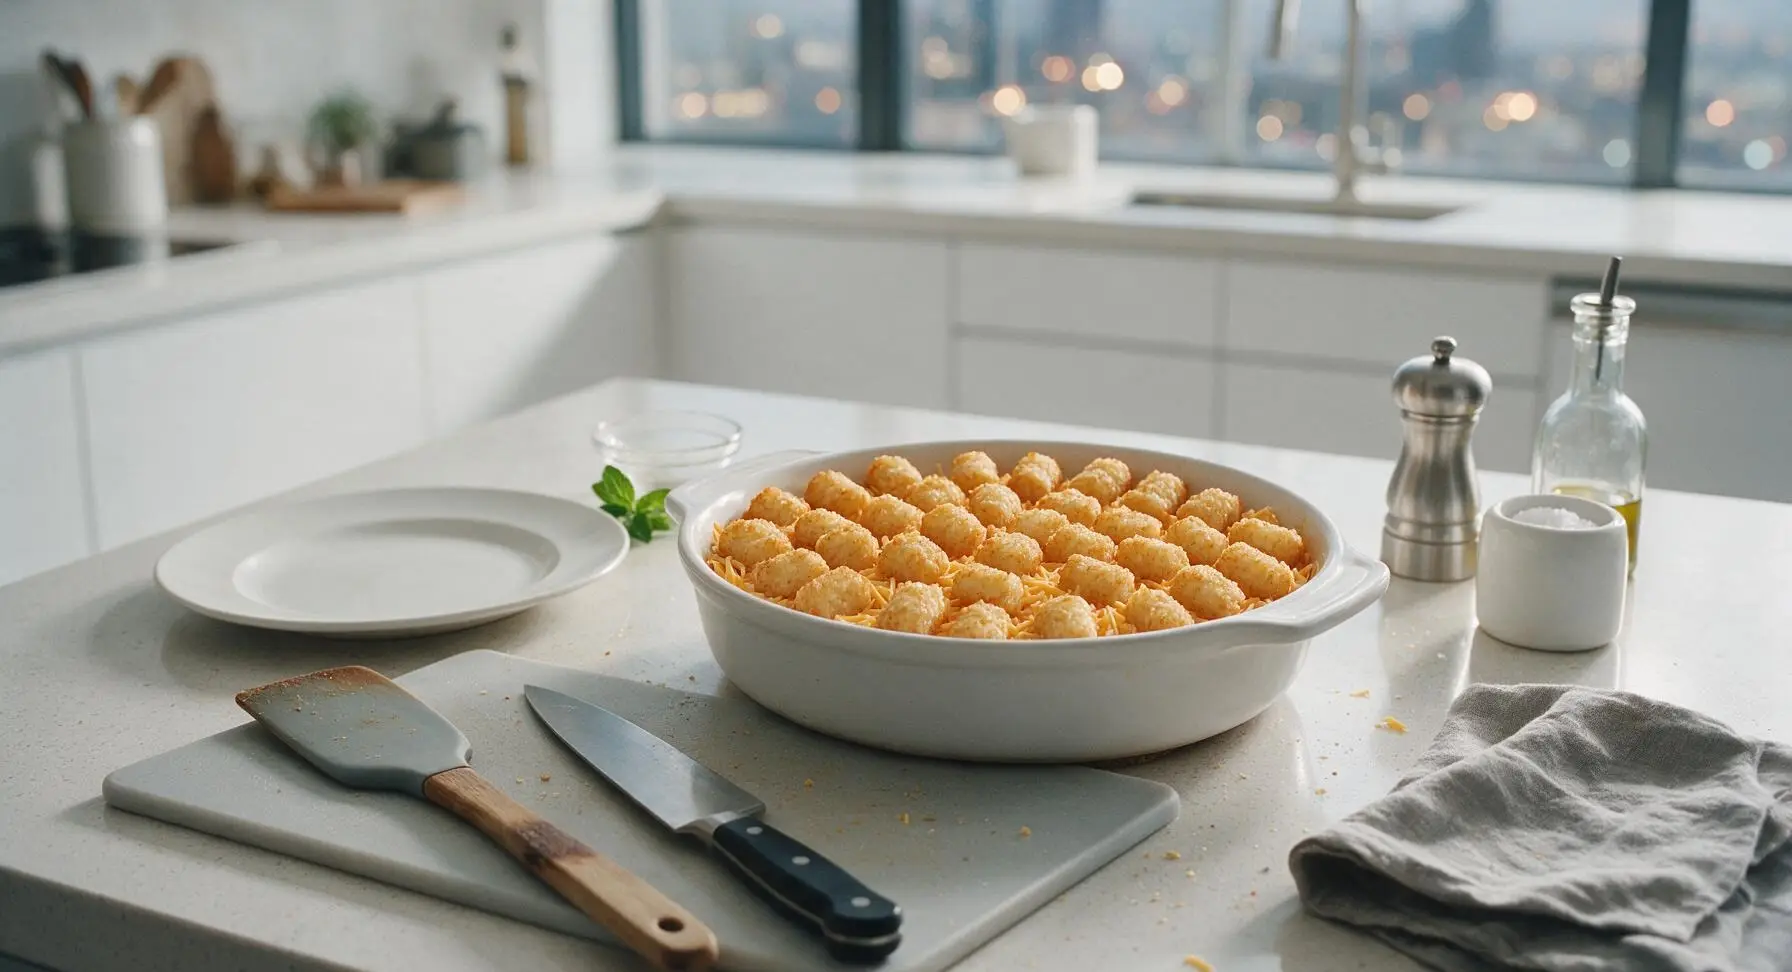
Sprinkle the remaining 3/4 cup of shredded cheddar cheese evenly over the top of the beef filling layer. Arrange the frozen tater tots in tight, neat rows across the entire cheese surface, flat-side down, to cover the filling completely with no gaps. Do not thaw tater tots first, as frozen tots will develop a crispier texture during baking.
Step 5
step5:Layer Cheese and Tots
Step 5
step5:Layer Cheese and Tots
6

Bake Covered First

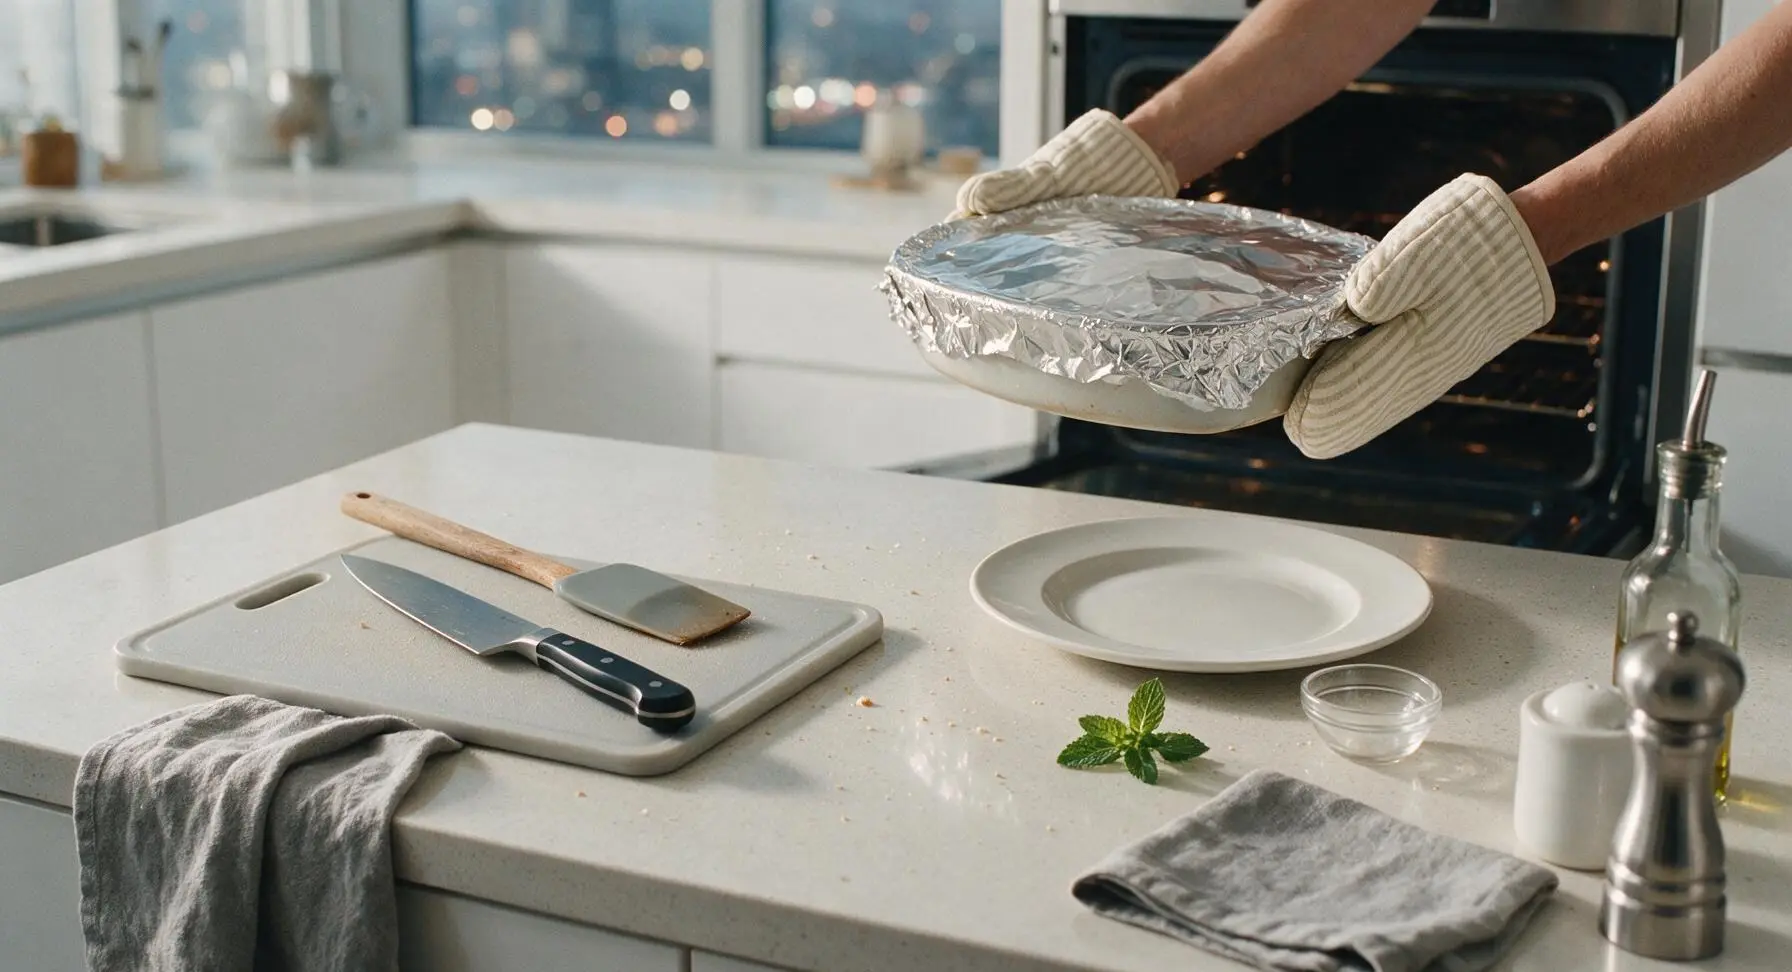
Cover the baking dish tightly with a sheet of aluminum foil, crimping the edges tightly against the dish rim to trap steam inside. Place the dish on the middle oven rack, and bake for 25 minutes at 375°F (190°C). Trapped steam will heat the filling through and partially cook the tater tots without drying them out.
Step 6
step6:Bake Covered First
7

Bake Uncovered to Crisp

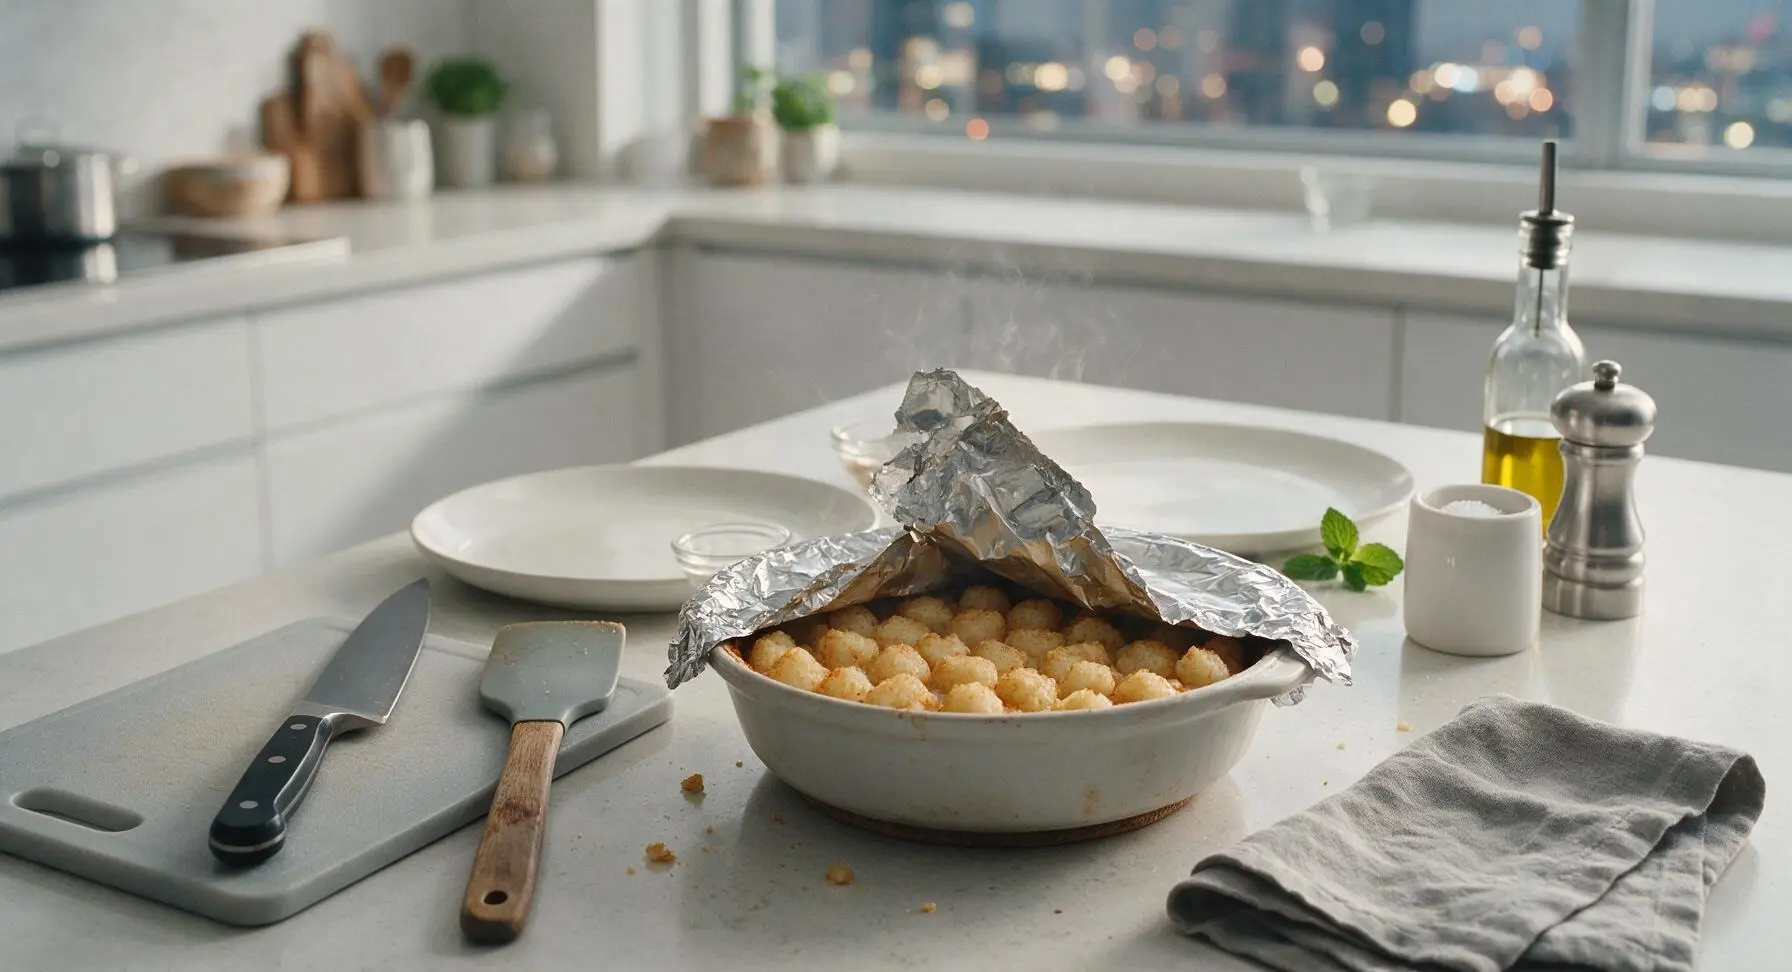
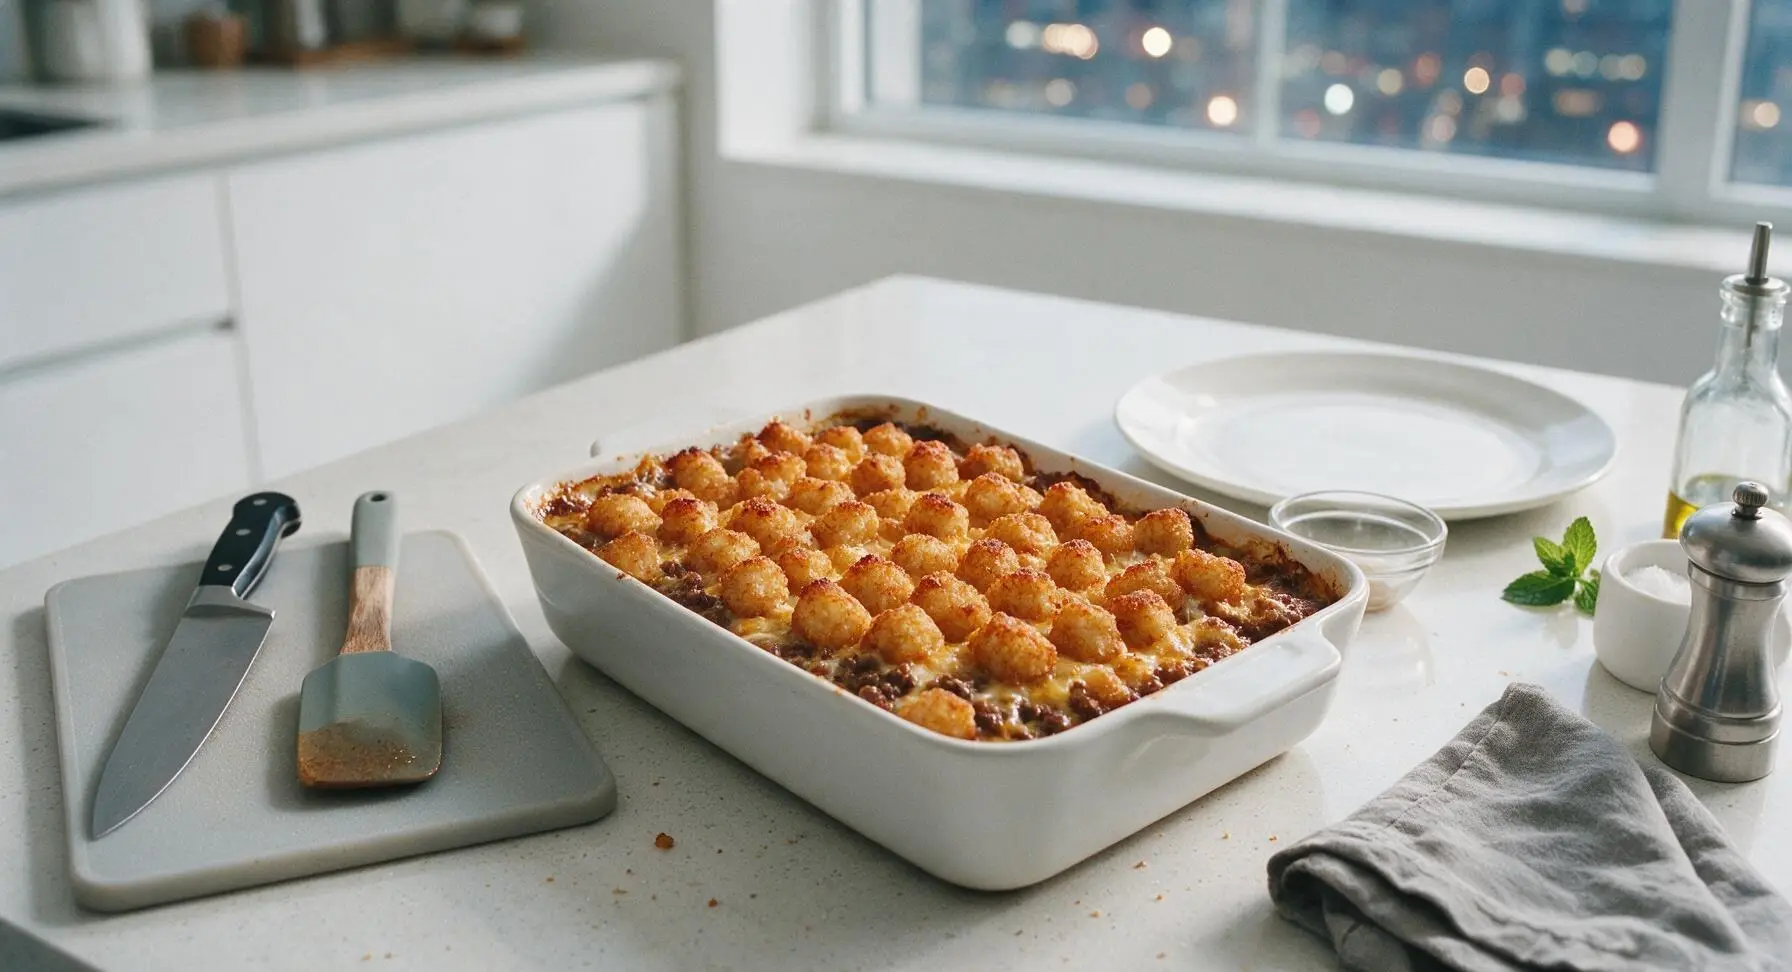
After 25 minutes of covered baking, carefully pull the oven rack out and peel the foil off the dish (watch for hot escaping steam). Return the uncovered dish to the oven, and bake for an additional 25 minutes, until the tater tots are deep golden brown and crispy on top, and the cheesy filling is actively bubbling around the dish edges.
Step 7
step7:Bake Uncovered to Crisp
Step 7
step7:Bake Uncovered to Crisp
8

Rest and Garnish

Remove the finished casserole from the oven, transfer it back to its center counter position, and let it rest for 5 minutes to set. This resting period makes scooping clean and easy, as the filling will firm up slightly. Sprinkle the top evenly with chopped fresh flat-leaf parsley for a bright, fresh color contrast.
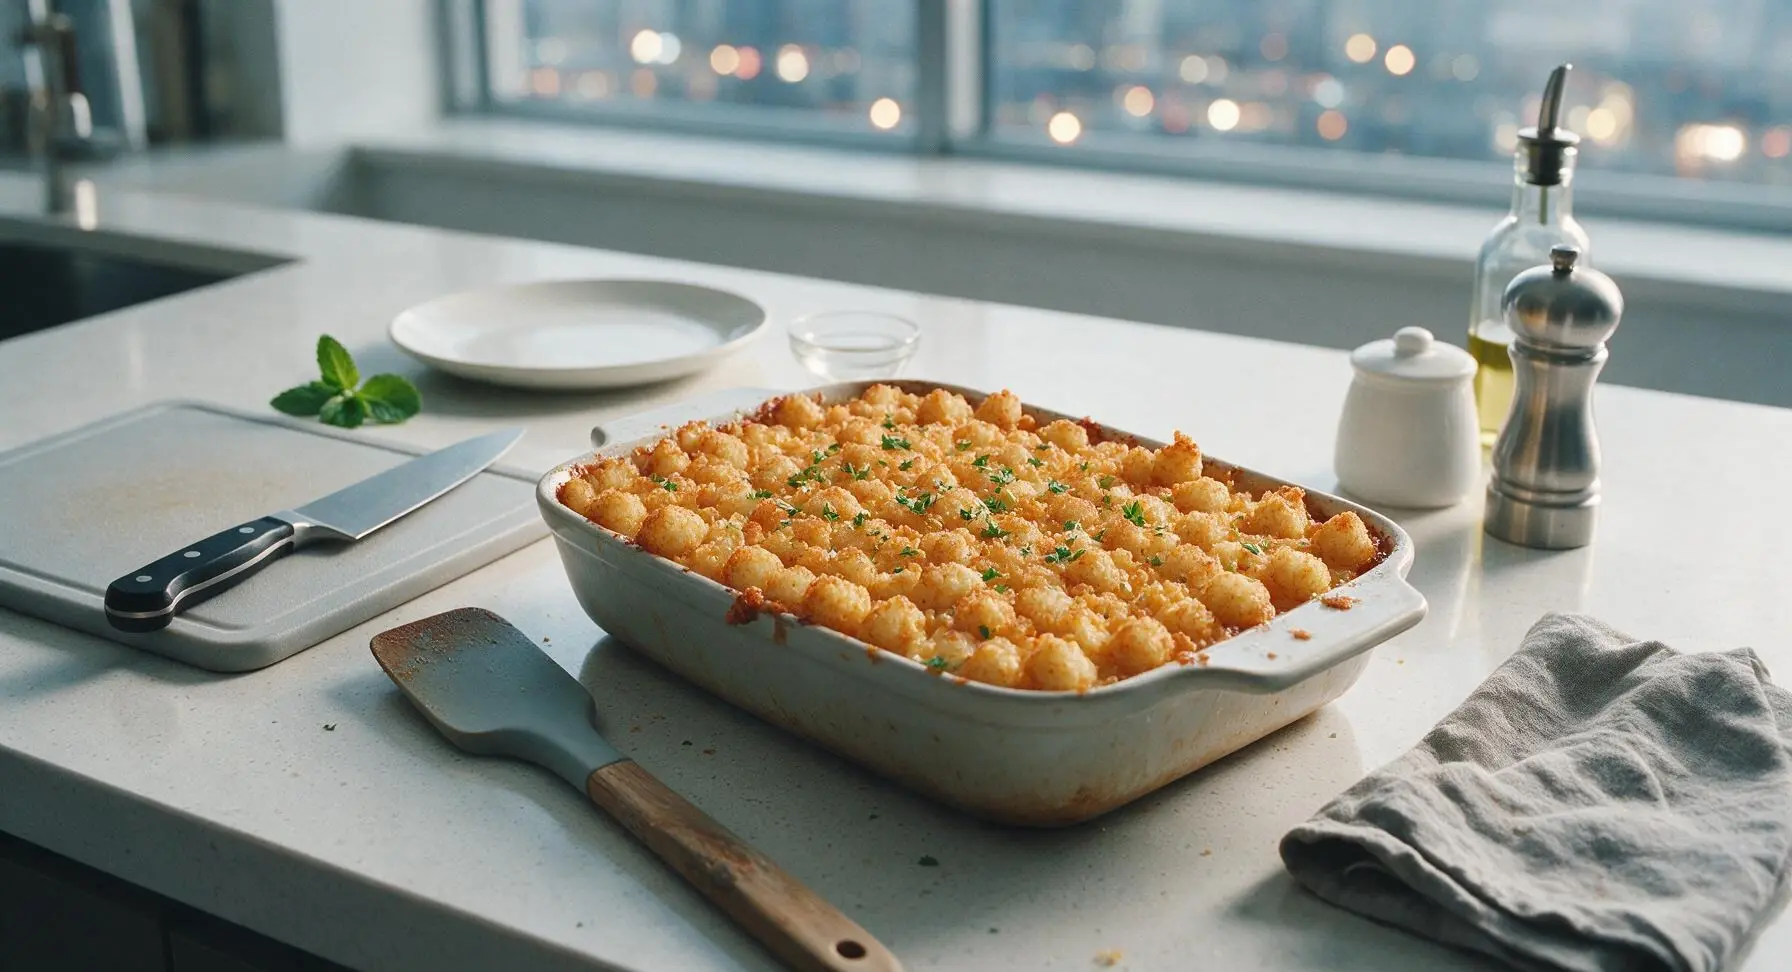
Step 8
step8:Rest and Garnish

Tips

1.Keep tater tots frozen until you are ready to arrange them on the casserole: thawed tots absorb excess moisture from the creamy filling, leading to a soggy, mushy texture instead of the signature crisp top.
2.Drain all rendered grease from the browned beef before mixing the filling: leftover grease will make the casserole overly oily and prevent the melted cheese from binding evenly to the beef and vegetable mixture.
3.Resist the urge to scoop the casserole immediately after baking: the 5-minute rest allows the creamy filling to set, so each scoop holds its neat shape instead of sliding apart when served.


✨ You May Also Like

Main Course
🍜 United Kingdom

A showstopping classic of tender seared beef, savory mushroom duxelles, and crisp prosciutto wrapped in flaky golden puff pastry, baked to juicy perfection.

⏱️ 2 hours 1Main Course ★ 4.7
Main Course
🍜 India

Tender charred marinated chicken simmered in a rich, spiced creamy tomato sauce, this iconic Anglo-Indian curry pairs perfectly with basmati rice or warm naan.

⏱️ 50 minuteMain Course ★ 4.6
Main Course
🍜 Thailand

Classic tangy, sweet, and savory Thai stir-fried rice noodles with shrimp, tofu, and crunchy garnishes, balancing all five core Thai flavor profiles.

⏱️ 30 minuteMain Course ★ 4.5
Main Course
🍜 United Kingdom

Crispy golden beer-battered cod and fluffy double-fried chips, served with tangy tartar sauce and malt vinegar: the timeless, beloved British pub comfort classic.

⏱️ 45 minuteMain Course ★ 4.7
Main Course
🍜 Mexico

Smoky, chile-marinated pork tacos with caramelized pineapple, fresh cilantro, and lime: a beloved classic Mexican street food perfect for casual summer gatherings.

⏱️ 1 hour 45Main Course ★ 4.8
Main Course
🍜 United States

Crunchy Fritos corn chips layered with savory beef chili and melted cheddar, topped with cool, zesty fixings for a beloved, cozy Tex-Mex comfort food.

⏱️ 35 minuteMain Course ★ 4.8

food network tater tot casserole:Frequently Asked Questions

1.Can I use leaner ground beef instead of the recommended 80/20 blend? ▾
You can, but 80/20 ground beef adds just enough rendered fat to keep the filling rich and moist without extra oil. If you opt for 90/10 or leaner, add 1 tablespoon of olive oil when sautéing your onions, and don’t drain every last bit of fat to avoid a dry, crumbly filling.
2.Do I need to thaw frozen tater tots before assembling the casserole? ▾
Skip thawing entirely! Arrange tater tots straight from the freezer in a single even layer on top of the filling. Frozen tots crisp up far better in the hot oven, while thawed tots turn mushy and absorb too much of the creamy filling as they bake, leading to a soggy topping.
3.Can I substitute the condensed cream of mushroom soup with another variety? ▾
Absolutely! If you don’t care for mushroom, use condensed cream of chicken, cream of celery, or cheddar cheese soup as an even 1:1 swap. For a homemade alternative, mix 1.5 cups of thick béchamel with sautéed mushrooms to match the classic creamy texture and savoriness.
4.How do I prevent my tater tot topping from turning out soggy? ▾
Two simple tricks fix this common issue: First, don’t add extra liquid to the beef filling beyond the condensed soup, as excess moisture steams the tots instead of crisping them. Second, arrange tots in a loose, single layer instead of piling them, so hot oven air can circulate around every tot.
5.What size baking dish works best for this classic casserole? ▾
A standard 9x13-inch (3-quart) glass or ceramic baking dish is ideal. It gives enough space for the beef and onion filling to spread in an even layer, and leaves the perfect surface area for a single layer of tater tots to crisp up without being overcrowded or squished.
6.Can I mix extra vegetables into the beef filling? ▾
Definitely! Diced bell peppers, frozen sweet corn, steamed green beans, or sautéed mushrooms all pair beautifully with the classic flavor profile. Just pat any cooked veggies dry before stirring them in, as excess water will make the filling runny and turn the tater tot topping soggy.
7.How long should I let the casserole rest after it comes out of the oven? ▾
Let it rest for 5 to 10 minutes before serving. This short wait lets the creamy, cheesy filling set up so portions hold their clean shape instead of oozing when you scoop them, and it cools the dish to a pleasant temperature instead of being mouth-scaldingly hot for your first bite.
8.Can I assemble this casserole ahead of time for a potluck or busy weeknight? ▾
Yes! Assemble the browned beef filling and cheese layer in your baking dish, cover tightly, and refrigerate for up to 24 hours. Wait to add the frozen tater tots until right before baking (adding them early makes them soggy), and tack 5 to 7 minutes onto the bake time to account for the cold filling.
9.What oven temperature gives me crispy tots and a fully cooked filling? ▾
Bake at 375°F for 40 to 45 minutes total. This moderate, even temperature cooks the beef filling through and melts the cheddar smoothly without burning the tater tots before the center is hot. If you want extra golden crisp, broil for 1 to 2 minutes at the end, watching closely to avoid burning.
10.Do I need to fully cook the ground beef before assembling the casserole? ▾
Yes, always brown the ground beef completely with the diced yellow onion, and drain excess grease, before layering it in the dish. Par-cooked beef risks undercooked, unsafe filling, and pre-browning builds deep, savory, caramelized flavor you won’t get from baking raw beef in the creamy base.
11.Can I use a different cheese instead of sharp cheddar? ▾
Sharp cheddar brings a bold, tangy flavor that cuts through the rich, creamy filling, but you can swap in colby-jack, pepper jack for a mild spicy kick, or a Mexican cheese blend as a 1:1 replacement. Pre-shredded cheese works fine, but freshly shredded cheddar melts smoother for that perfect pull.
12.How should I store leftover tater tot casserole? ▾
Let leftovers cool completely to room temperature within 2 hours of baking for food safety, then cover the dish tightly with foil or transfer portions to airtight containers. Refrigerate for up to 4 days, and reheat individual servings in the microwave or 350°F oven until the center hits 165°F.
13.Can I freeze this casserole for long-term meal prep? ▾
Freeze the fully assembled, unbaked casserole wrapped tightly in two layers of heavy-duty foil for up to 3 months. Bake straight from frozen at 375°F, covered, for 1 hour, then uncover and bake 20 more minutes until tots are crisp and the center is bubbly. Avoid freezing baked leftovers, as tots turn mushy when thawed.
14.My condensed cream of mushroom soup is really thick—should I thin it with milk or water? ▾
Skip extra liquid entirely! Condensed soup is intentionally thick to create that rich, cohesive filling that doesn’t run all over your plate. If you prefer a slightly looser filling, stir in no more than ¼ cup of whole milk; any more will add excess moisture that leaves your tater tot topping soggy.
15.What easy add-ins make this casserole more filling for a large crowd? ▾
Stir ½ cup of sour cream into the beef filling for extra tang and richness, add a layer of cooked crumbled bacon under the cheese, or mix in a can of drained, rinsed black beans for extra fiber. These add-ins boost flavor and heartiness without adding excess moisture that ruins the crisp tot topping.

Comments (5)

2 days ago

OMG this tater tot casserole is a total game changer! I made it for last night’s family dinner and my 3 kids went back for seconds, even my super picky 7 year old who turns his nose up at everything. It was so easy to throw together after work too, I didn’t even have to run to the store for fancy ingredients. 10/10 will be making this for our next neighborhood potluck for sure!

yesterday

Wait did you add anything extra? I’m making this for my work potluck next week and wondering if I should toss in some bacon bits!

20 hours ago

So glad your family loved it! Bacon bits make a fantastic add-in if you’re looking for a little extra smoky flavor — just sprinkle them over the top before baking for best results!

3 days ago

SO good, perfect for Sunday meal prep! I baked this Sunday afternoon, portioned it out into containers, and it reheated like a dream for lunch all week. The only tweak I made was using a little extra cheese because, duh, extra cheese is never a bad call. Super easy recipe, no fancy steps, total win for busy weeks.

2 days ago

Love that this works for your meal prep routine! Extra cheese is always a welcome modification around here — so glad you enjoyed it!

1 week ago

Wait I’m a total beginner in the kitchen and this was literally foolproof? I was nervous I’d mess it up but it only took like 10 minutes to prep, popped it in the oven, and my roommates all thought I ordered takeout lmao. Only thing is I think I overcooked the tater tots a little on the edges, but that was my bad for not checking the oven temp. Will absolutely make again!

5 days ago

Pro tip: cover the pan with foil for the first 30 minutes of baking then take it off for the last 20 — no more burnt edges! I did that last time and it came out perfect.

4 days ago

That’s such a great tip! For anyone worried about crispy, overdone edges, that foil trick works like a charm. So glad you and your roommates enjoyed the recipe even with the slightly toasty tots!

5 days ago

I’ve tried so many tater tot casserole recipes over the years and this one is easily the classic I keep coming back to. No weird random add-ins, just that cozy, nostalgic flavor I remember from elementary school hot lunch days. My husband asked if we could add this to our regular weekly dinner rotation, which is the highest praise possible honestly.

3 days ago

Right?! All the fancy upgraded versions with truffle oil or weird gourmet toppings are fine but nothing hits like the classic creamy, beefy, tater tot-topped original. This recipe nails that nostalgic vibe perfectly.

yesterday

Made this last night for movie night with my friends and it was gone in 15 minutes flat. So cheesy, so comforting, and the tater tots get perfectly crispy on top. I added a little sprinkle of green onion after taking it out of the oven for a pop of color and freshness, highly recommend that easy upgrade. 10/10 no notes.



