1.Why do you recommend 80/20 ground beef instead of a leaner blend for these burritos?
▾
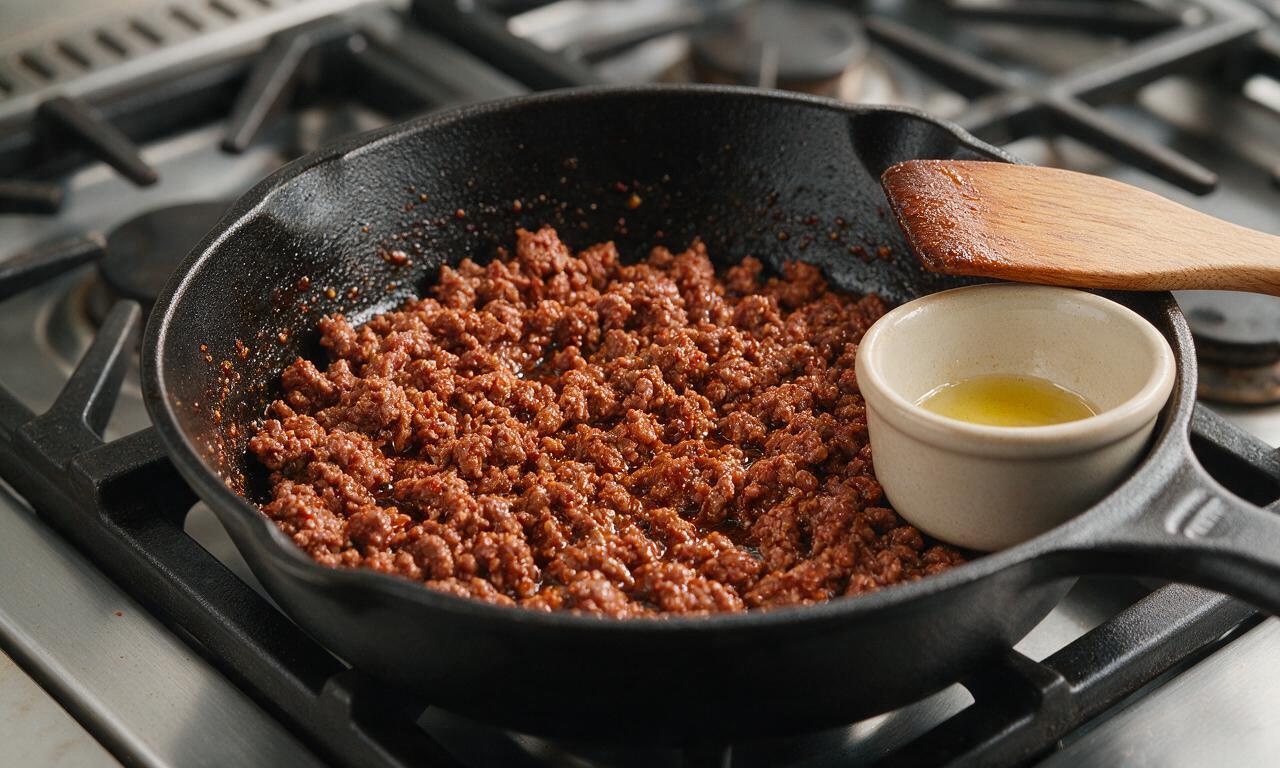
The 20% fat content in 80/20 ground beef keeps the filling juicy and rich without needing extra oil, and the rendered fat carries the taco seasoning flavor perfectly for that classic food truck savoriness. Leaner blends like 90/10 cook up dry and crumbly, and you’ll miss that deep, meaty taste that makes street-style burritos so satisfying. You won’t even need to drain excess fat if you crumble and cook it over medium heat.
2.Can I prep the cilantro-lime rice ahead of time to speed up assembly?
▾
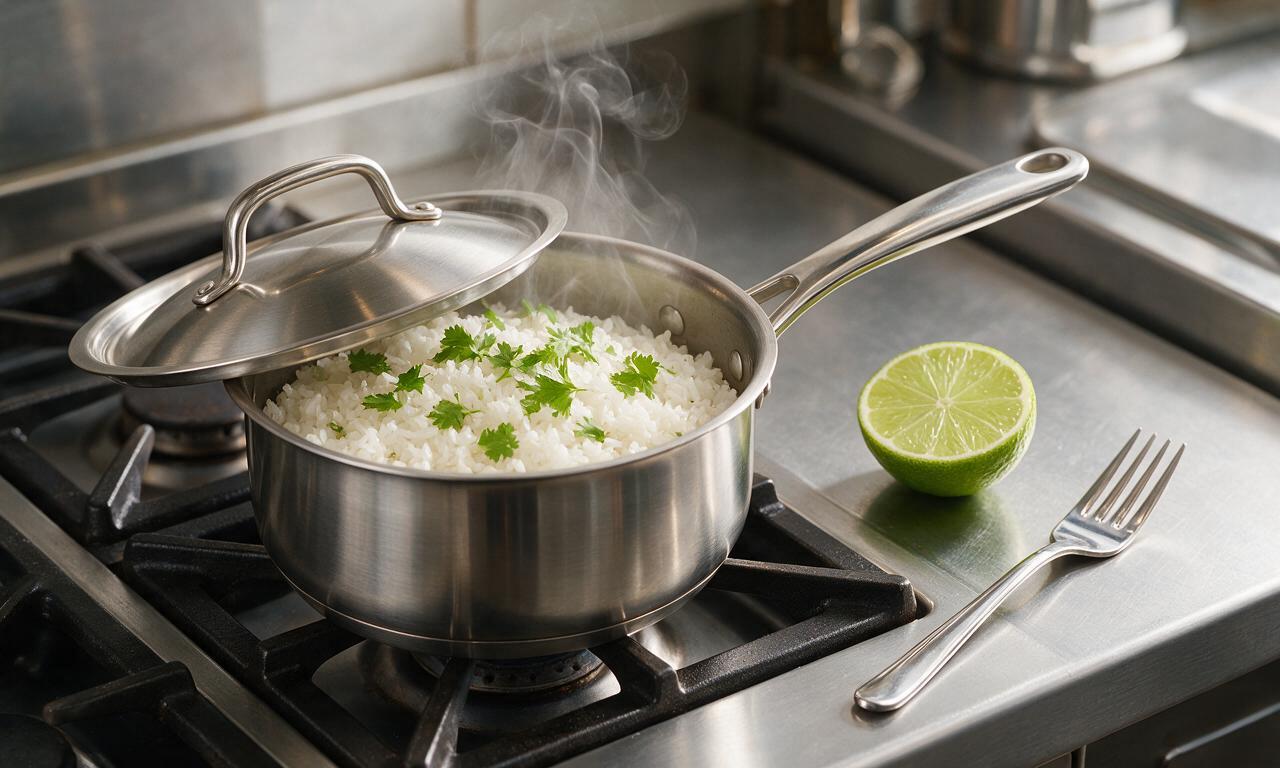
Absolutely! Cook the long-grain white rice up to 3 days in advance and store it airtight in the fridge, but wait to toss it with fresh lime juice and chopped cilantro until right before you build burritos. Mixing the acid in too early will make the rice discolor and turn mushy after a day or two. Fluff it with a fork before using to get that light, separate-grain texture food trucks are known for.
3.My burritos always split open when I wrap them—what am I doing wrong?
▾
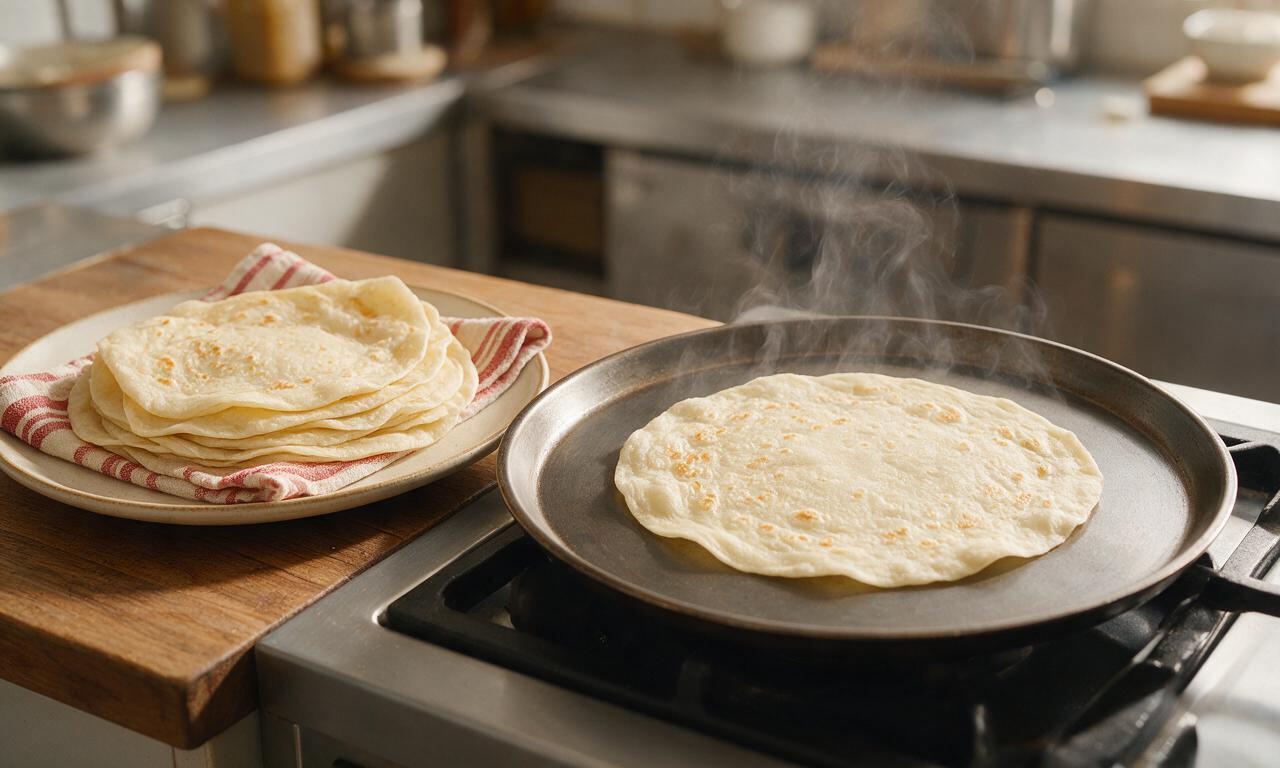
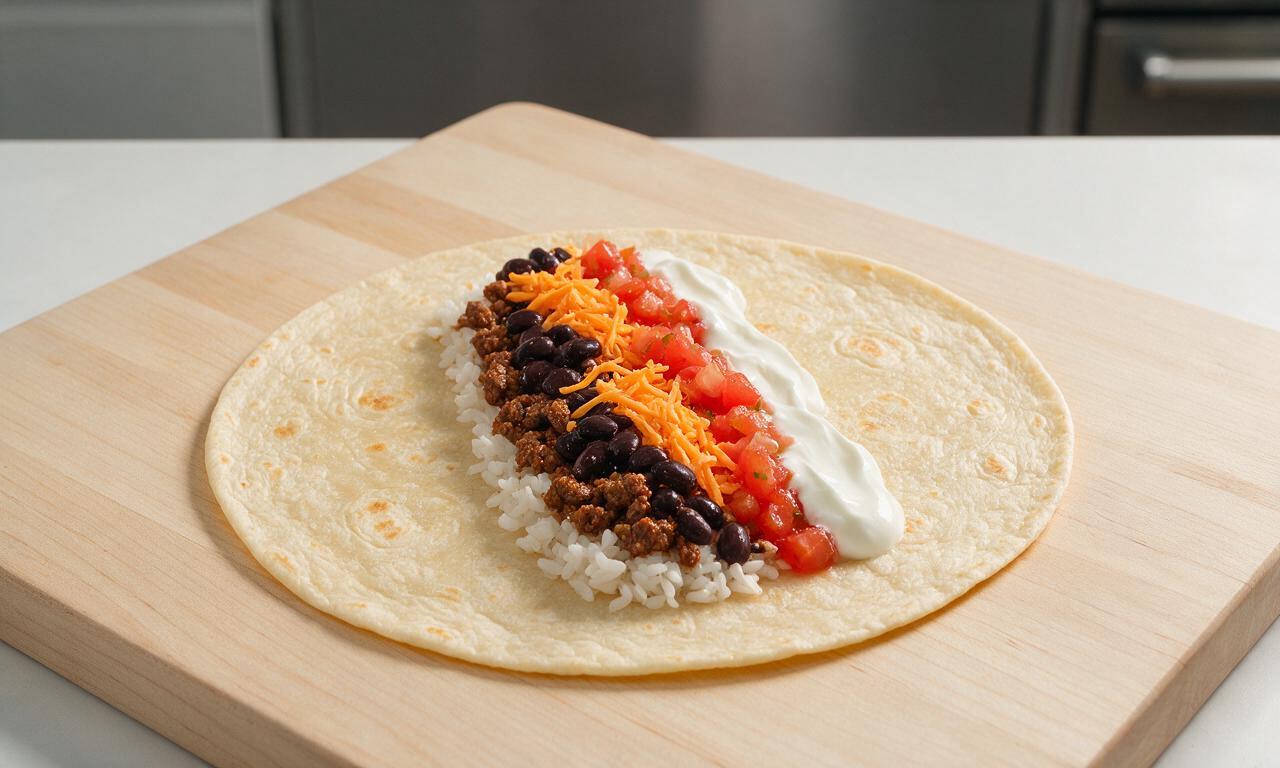
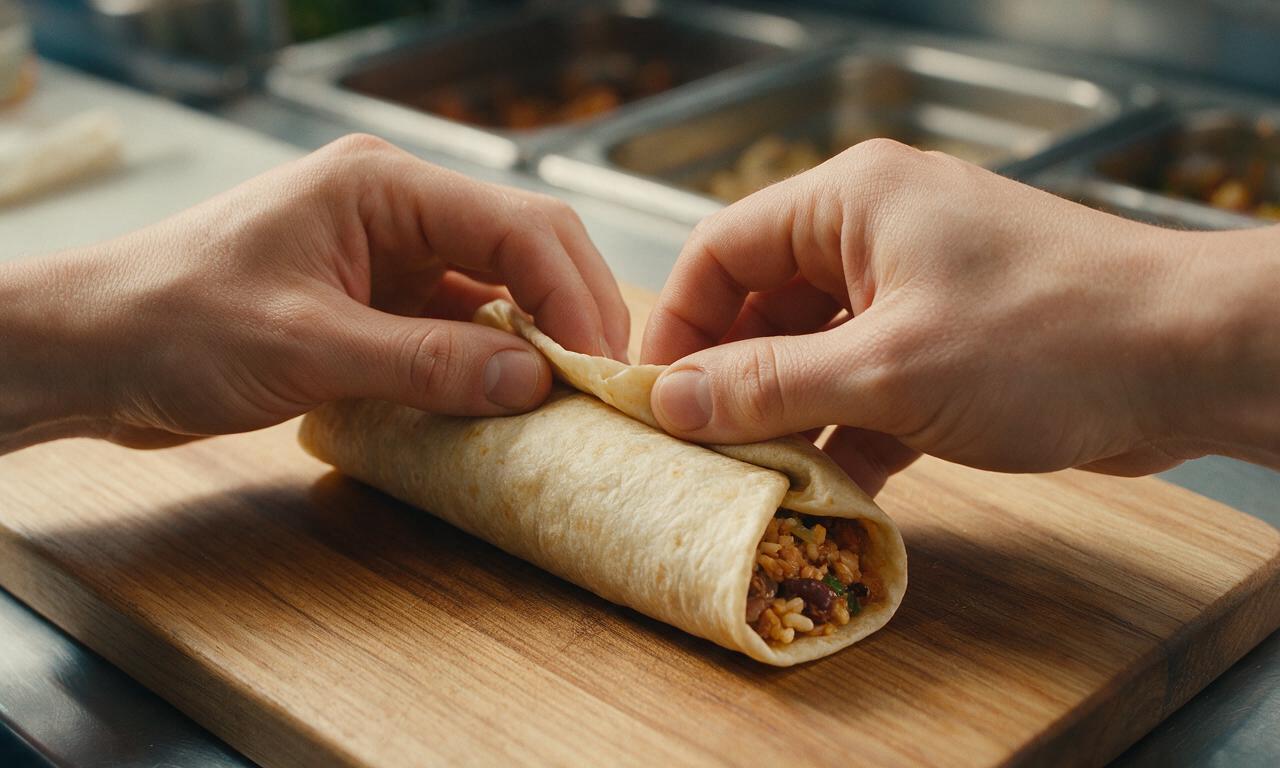
The two most common mistakes are overstuffing and using cold, stiff tortillas. Warm your 12-inch flour tortillas for 10 seconds per side on a dry skillet or in the microwave wrapped in a damp paper towel first to make them pliable. Keep fillings centered, fold the sides in first before rolling tightly from the bottom, and stick to max 1.5 cups of total filling per burrito to avoid messy splits.
4.Can I swap the black beans for pinto beans, or will that change the flavor too much?
▾
Pinto beans are a totally classic swap—they’re a staple at tons of West Coast food trucks! Just drain and rinse them first, then give them a quick 2-minute simmer with a pinch of your taco seasoning to bump up their savoriness. Don’t add them straight from the cold can, as they’ll drop the temperature of your other warm fillings and keep the flavors from melding properly when wrapped.
5.Why does the recipe call for low-sodium taco seasoning instead of regular?
▾
Low-sodium taco seasoning lets you control the final salt level, since canned beans and store-bought flour tortillas already pack a surprising amount of added sodium. Regular seasoning can easily lead to an overly salty, unbalanced filling that masks the bright, fresh taste of the cilantro-lime rice. You can always add a pinch of extra salt or squeeze of lime at the end to adjust flavor to your taste.
6.How do I get that soft, steamy, melded texture that foil-wrapped food truck burritos have?
▾
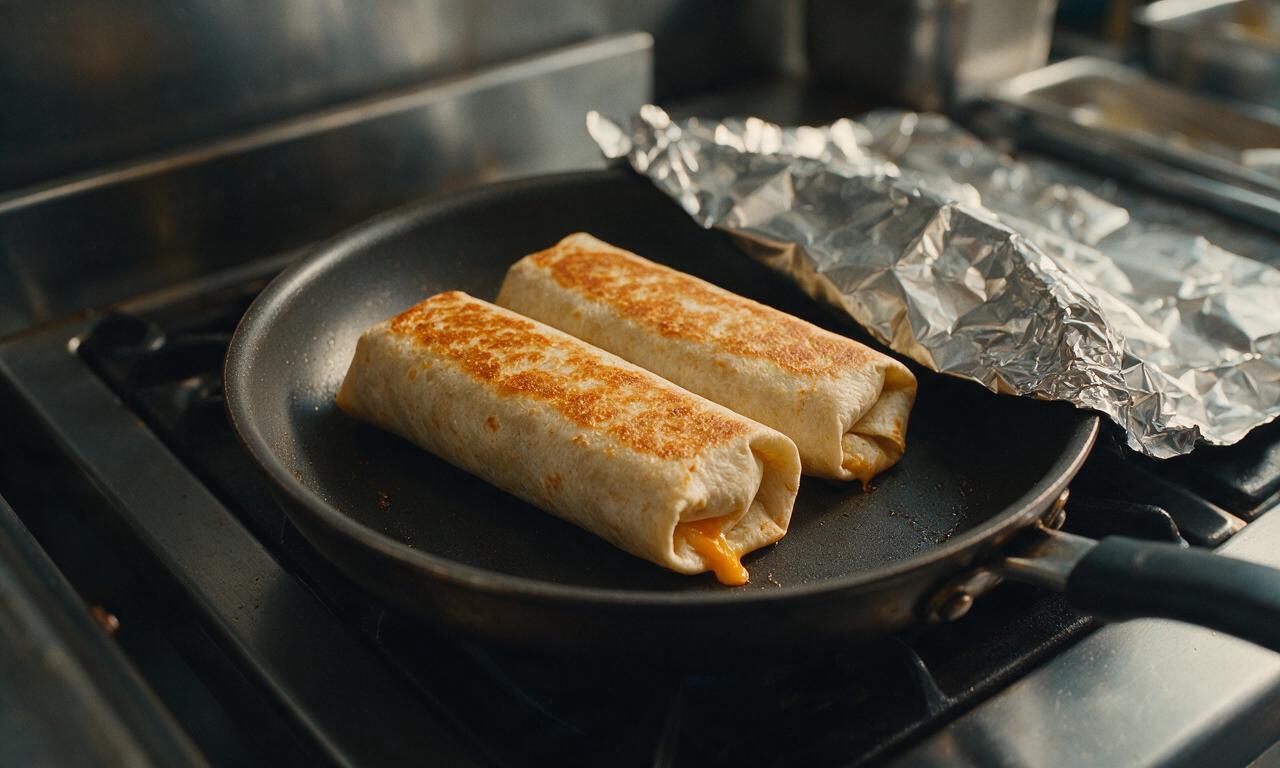
Right after you wrap each tightly assembled burrito in aluminum foil, let it rest for 5 full minutes before serving. The trapped steam softens the tortilla slightly, blends all the filling flavors together, and keeps every bite evenly warm. If you’re serving a crowd, hold the foil-wrapped burritos in a 200°F oven for up to 30 minutes—they won’t get soggy as long as you didn’t add watery toppings.
7.Can I freeze these burritos for quick, grab-and-go weeknight meals?
▾
Definitely! Assemble the burritos as directed, wrap each tightly in plastic wrap first, then add a layer of aluminum foil to prevent freezer burn, and they’ll keep for up to 3 months. To reheat, peel off the plastic, re-wrap in foil, and bake at 350°F for 25 to 30 minutes, or microwave at 50% power for 3 minutes then crisp in a skillet for 1 minute for that fresh-made taste.
8.What zesty toppings should I add to match authentic food truck flavor?
▾
Stick to balanced, low-moisture toppings so you don’t make the burrito soggy: a dollop of sour cream, a spoonful of smooth red salsa, a sprinkle of shredded jack or cheddar cheese, a few thin pickled jalapeño slices, and a pinch of diced white onion. Skip watery add-ins like shredded lettuce or fresh diced tomato inside the wrap—save those for serving on the side if you want them.
9.Do I really need to rinse the canned black beans, or can I use the can liquid?
▾
Always drain and rinse your canned black beans for 30 seconds under cool running water! The thick, starchy can liquid has a faint metallic, processed aftertaste and will make your filling watery and mushy if you pour it straight in. Rinsing washes away that odd canned flavor and excess starch, leaving you with firm, clean-tasting beans that hold their texture in the burrito.
10.Can I use brown rice instead of long-grain white rice for a higher-fiber option?
▾
You can absolutely swap in long-grain brown rice for a nuttier, higher-fiber filling—just adjust your cook time to match the package directions, since brown rice takes about 15 minutes longer to cook than white long-grain. Be careful not to overcook it to a mushy consistency; you want separate, fluffy grains so the rice doesn’t turn into a gummy paste inside your wrapped burrito.
11.How much taco seasoning should I use for the beef to get that classic, not-too-spicy food truck taste?
▾
Use 2 tablespoons of low-sodium taco seasoning per pound of 80/20 ground beef, stirred in with ¼ cup of water once the beef is fully browned and crumbled. Let the mixture simmer for 3 to 4 minutes until the water evaporates and the seasoning coats every crumble evenly. Don’t dump seasoning on raw beef—it won’t distribute well and will leave clumpy, overly spiced bites.
12.Why do food truck burritos taste better than homemade ones even when I use the same ingredients?
▾
The biggest secret is temperature! All your warm fillings—seasoned beef, rice, beans—should be hot when you assemble, not lukewarm. Cold fillings leave the tortilla stiff and keep flavors from blending when you wrap in foil. That mandatory 5-minute rest in the foil after wrapping is also key, as it lets all the components meld instead of tasting like separate, disconnected ingredients.
13.Can I make this recipe vegetarian without losing that classic savory food truck flavor?
▾
Absolutely! Swap the 80/20 ground beef for crispy crumbled plant-based ground, or sautéed diced bell peppers and onions tossed in extra taco seasoning. Cook plant-based crumbles until they’re slightly crispy around the edges to match the textured mouthfeel of seasoned beef, and add a tiny pinch of smoked paprika to replicate the deep, rich flavor you get from rendered beef fat.
14.I only have 10-inch flour tortillas at home—will those work instead of 12-inch?
▾
12-inch tortillas are ideal because they have enough surface area to hold all the fillings without splitting, but 10-inch tortillas work totally fine with one small adjustment. Scale back the filling to about 1 cup per burrito instead of 1.5 cups, and warm the tortillas extra well to make them as pliable as possible so they don’t tear when you tuck and roll.
15.How do I reheat leftover refrigerated burritos so they don’t turn soggy?
▾
Skip the microwave for the best texture! Unwrap the foil, set the burrito seam-side down in a dry skillet over medium-low heat, and cook 3 minutes per side until the outside is slightly crisp and the inside is heated through. If you’re short on time, microwave it for 1 minute wrapped in a paper towel to absorb excess moisture, then crisp it in the skillet for 1 minute to finish.

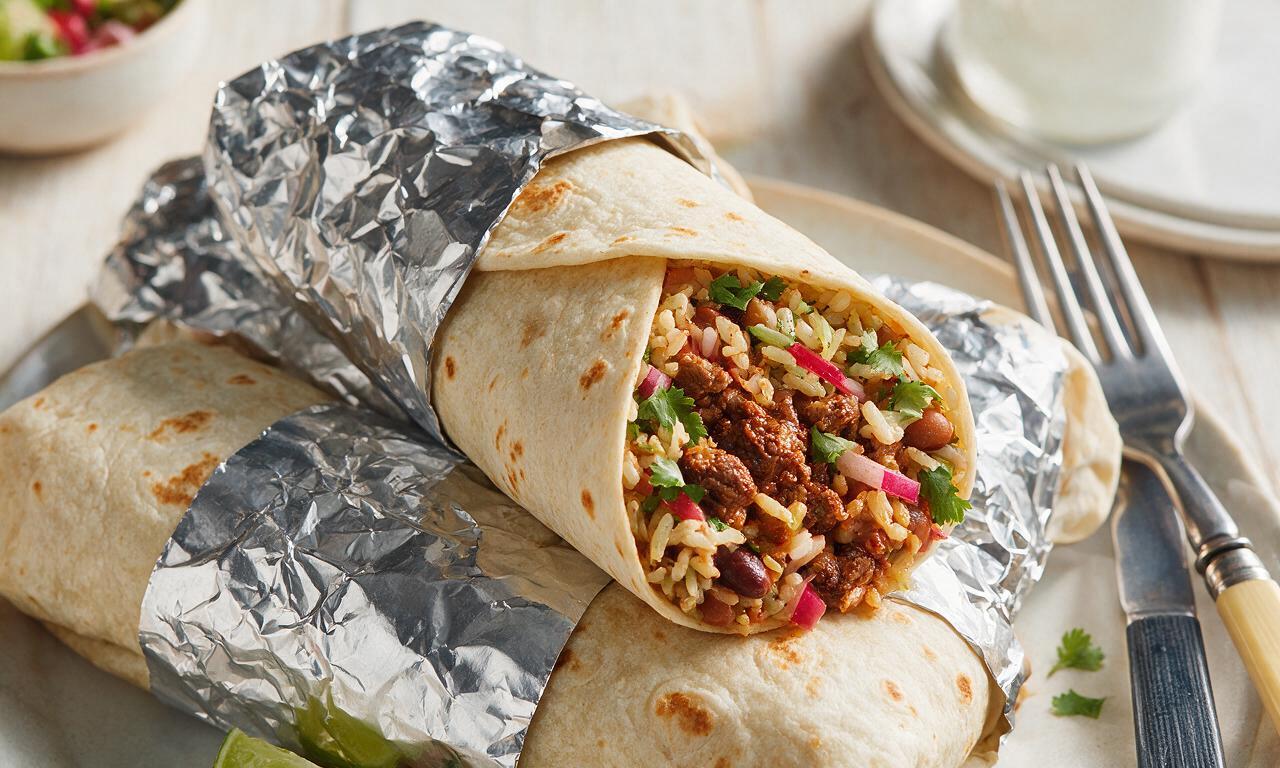






OMG this tastes exactly like the burritos I used to grab from the food truck outside my community college after late study sessions! I made these for family dinner last night and my two picky boys devoured theirs in 5 minutes flat. The seasoning ratio for the beef is chef's kiss, no weird fancy ingredients needed either. Total game changer for our weeknight rotation!
SO good. I prepped a big batch of these on Sunday for work lunches all week, wrapped them tight in foil and they reheat like a dream. Super easy to throw together even on a lazy weekend, 35 minute cook time is no lie — didn't take me any longer than that even with chopping all the fillings. Already sent the recipe to my whole office group chat.
Made a double batch of these for my son's soccer team potluck last weekend, plus a small batch for his birthday dinner since he's been obsessed with food truck burritos lately. He said they're better than the ones we get at the beach boardwalk! We loaded ours up with extra queso and crispy tortilla strips for crunch. Only knock is I wish the recipe included a quick crema recipe to drizzle on top, but it was easy enough to whip up my own with sour cream and lime. 10/10 will be a regular in our house.
As someone who grew up eating food truck burritos all over Austin, I can confirm this recipe is legit. The way the seasoned rice, refried beans, and melty cheese all come together? No skimping on flavor here, even for an easy at-home version. My partner said this is better than the burrito spot we usually drive 20 minutes for!
Just finished making these for a quick late dinner and WOW. I swapped the ground beef for ground turkey since that's what I had in the fridge and it still came out so flavorful, even my super critical foodie roommate was impressed. The cilantro lime rice alone is worth making the recipe for, I could eat a whole bowl of that by itself!