
freezer breakfast meals
intro
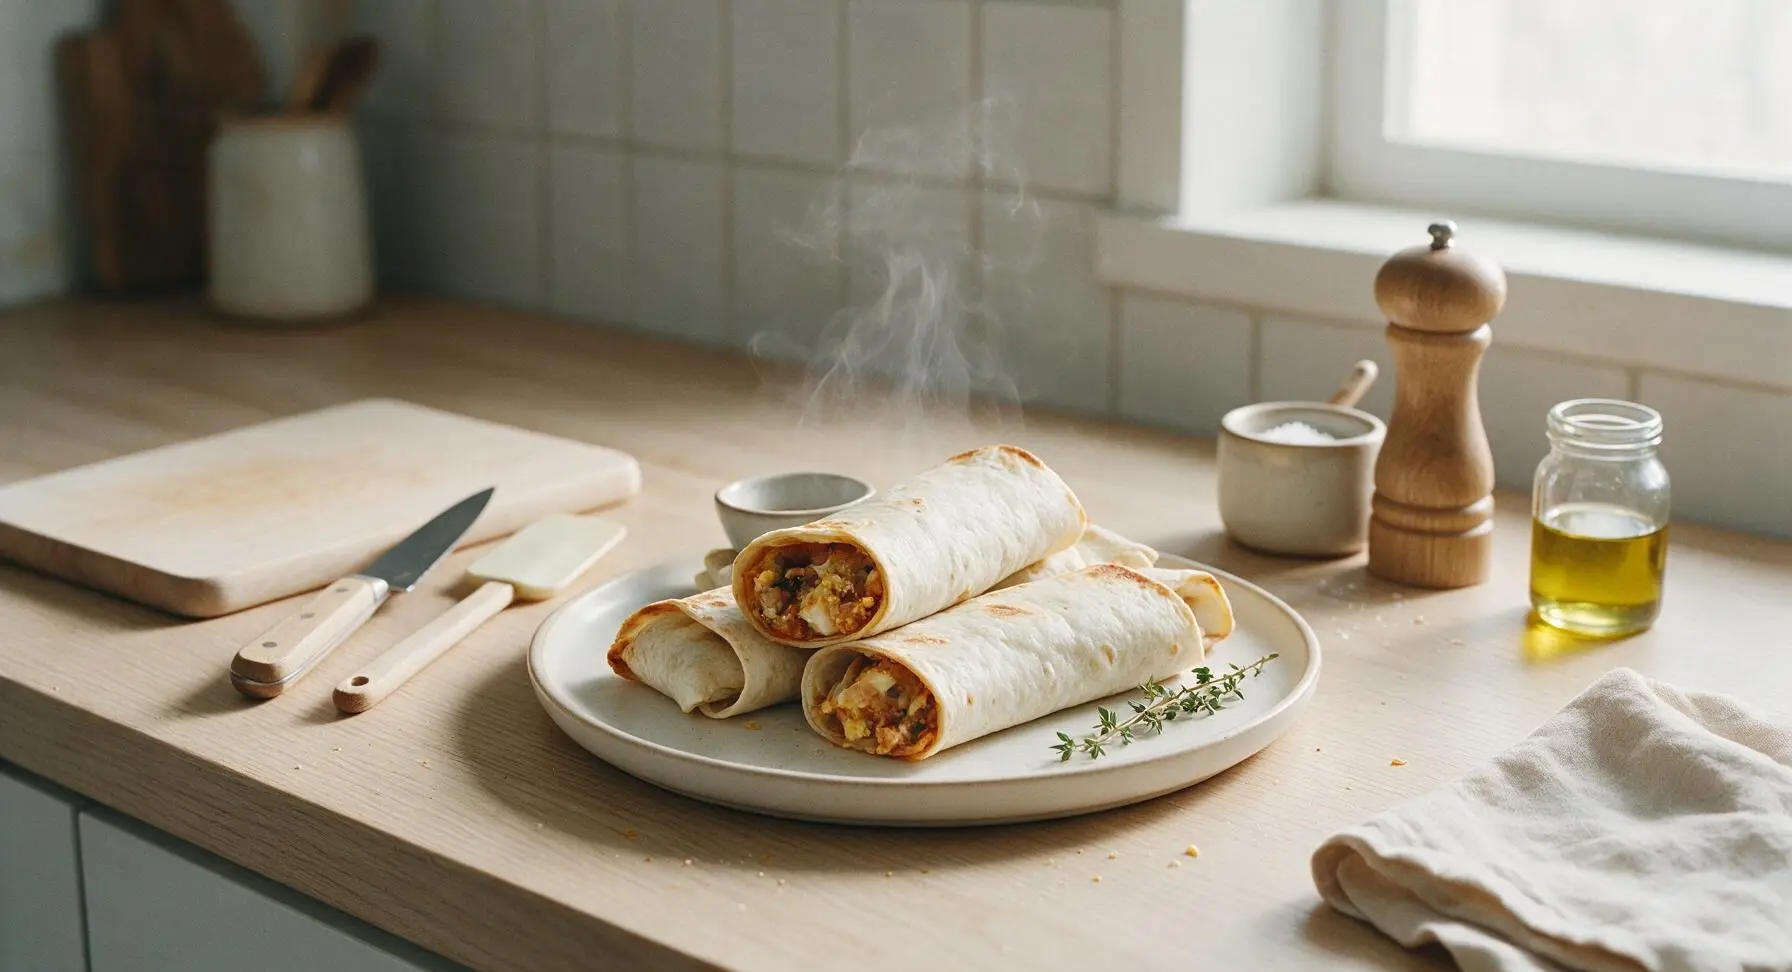
Hearty, protein-packed make-ahead breakfast burritos, prepped in bulk and frozen for quick, satisfying weekday mornings—no daily cooking required, just reheat and go.
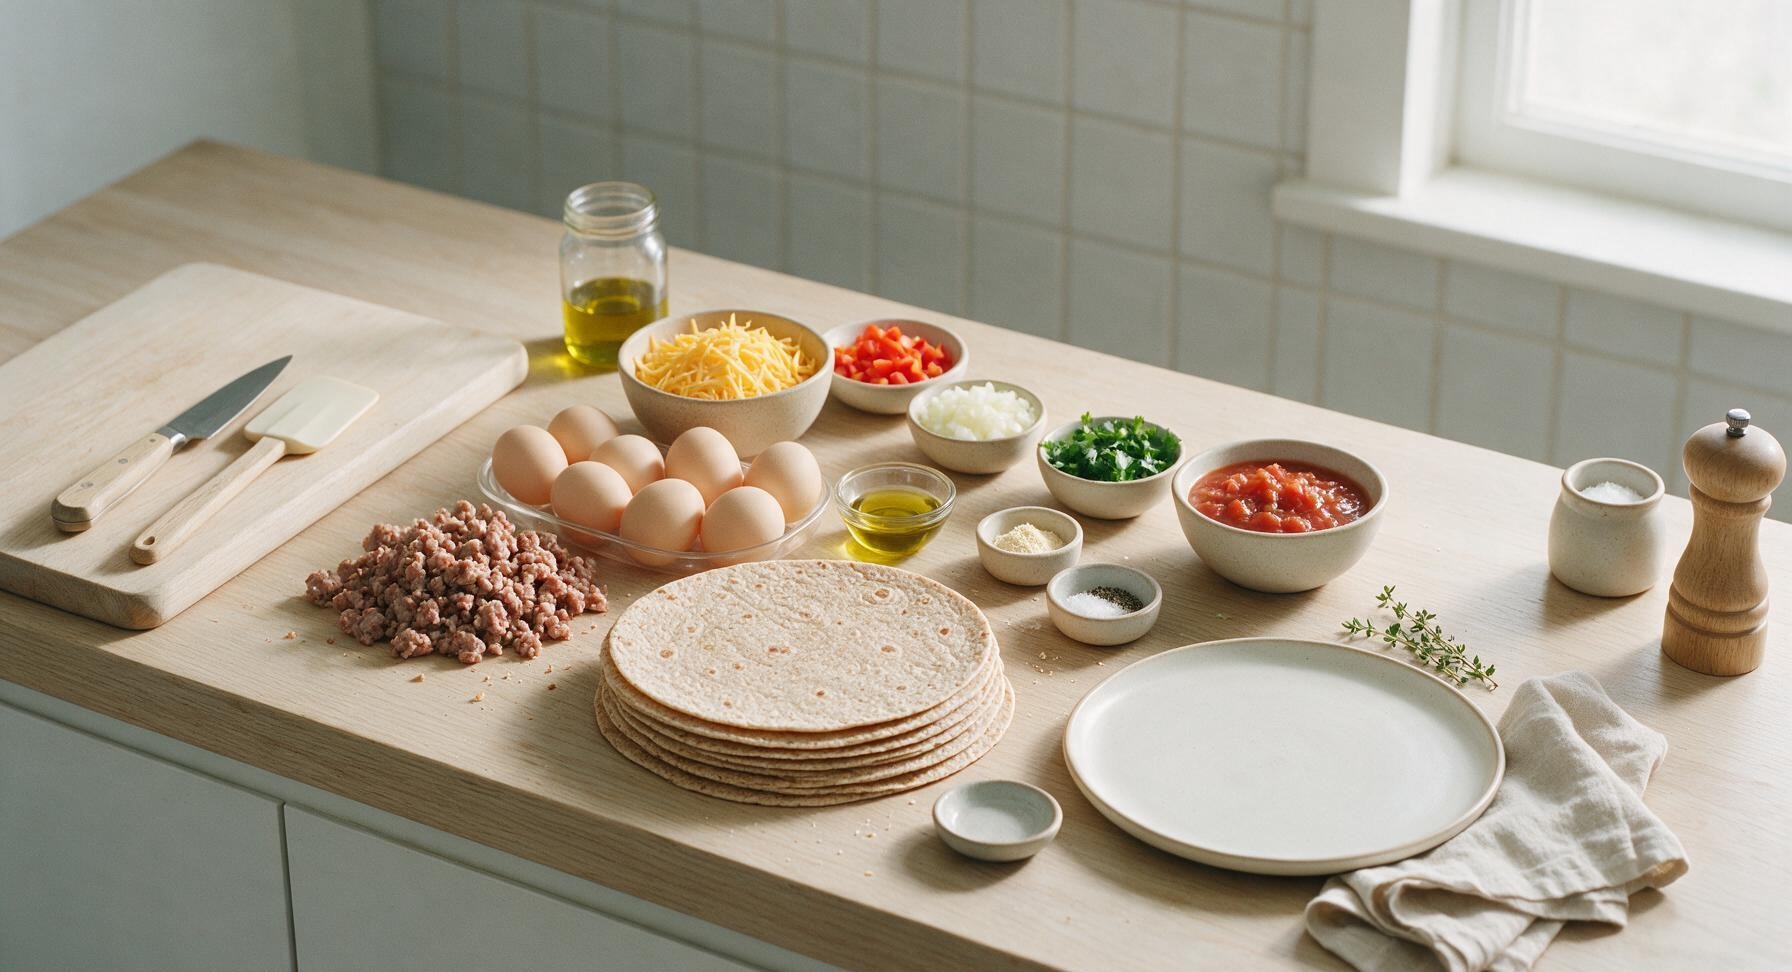
Ingredients
Steps
Dice and Sauté Veggies
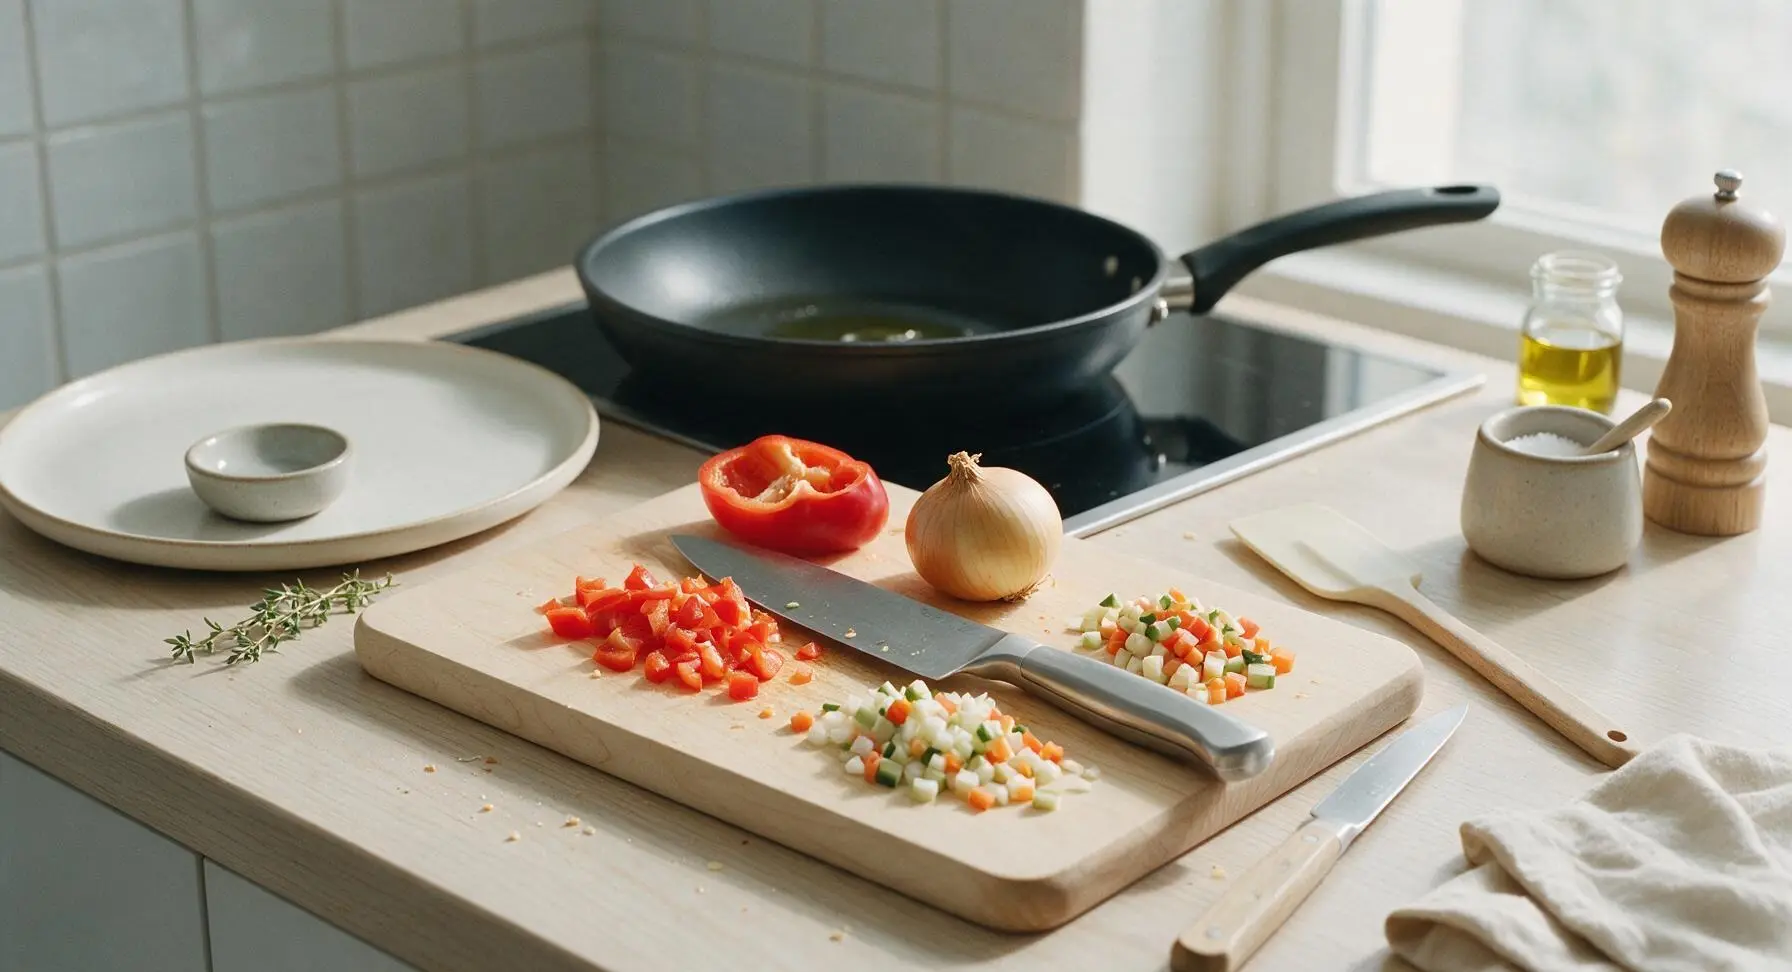
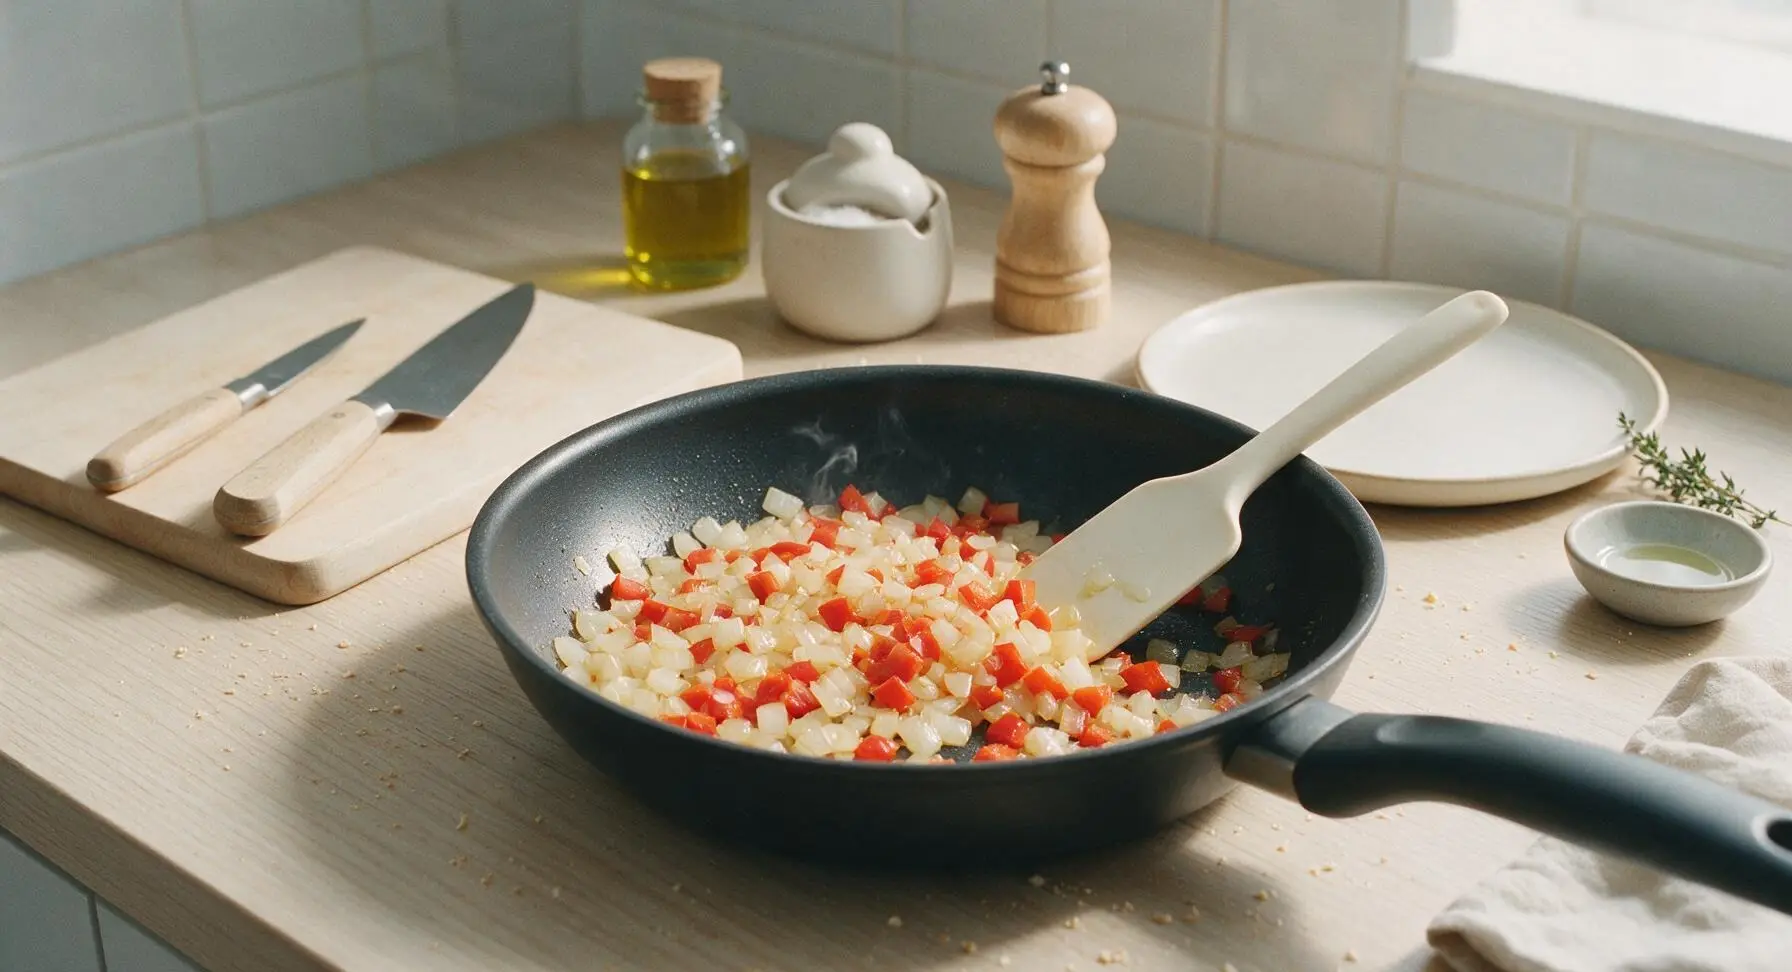
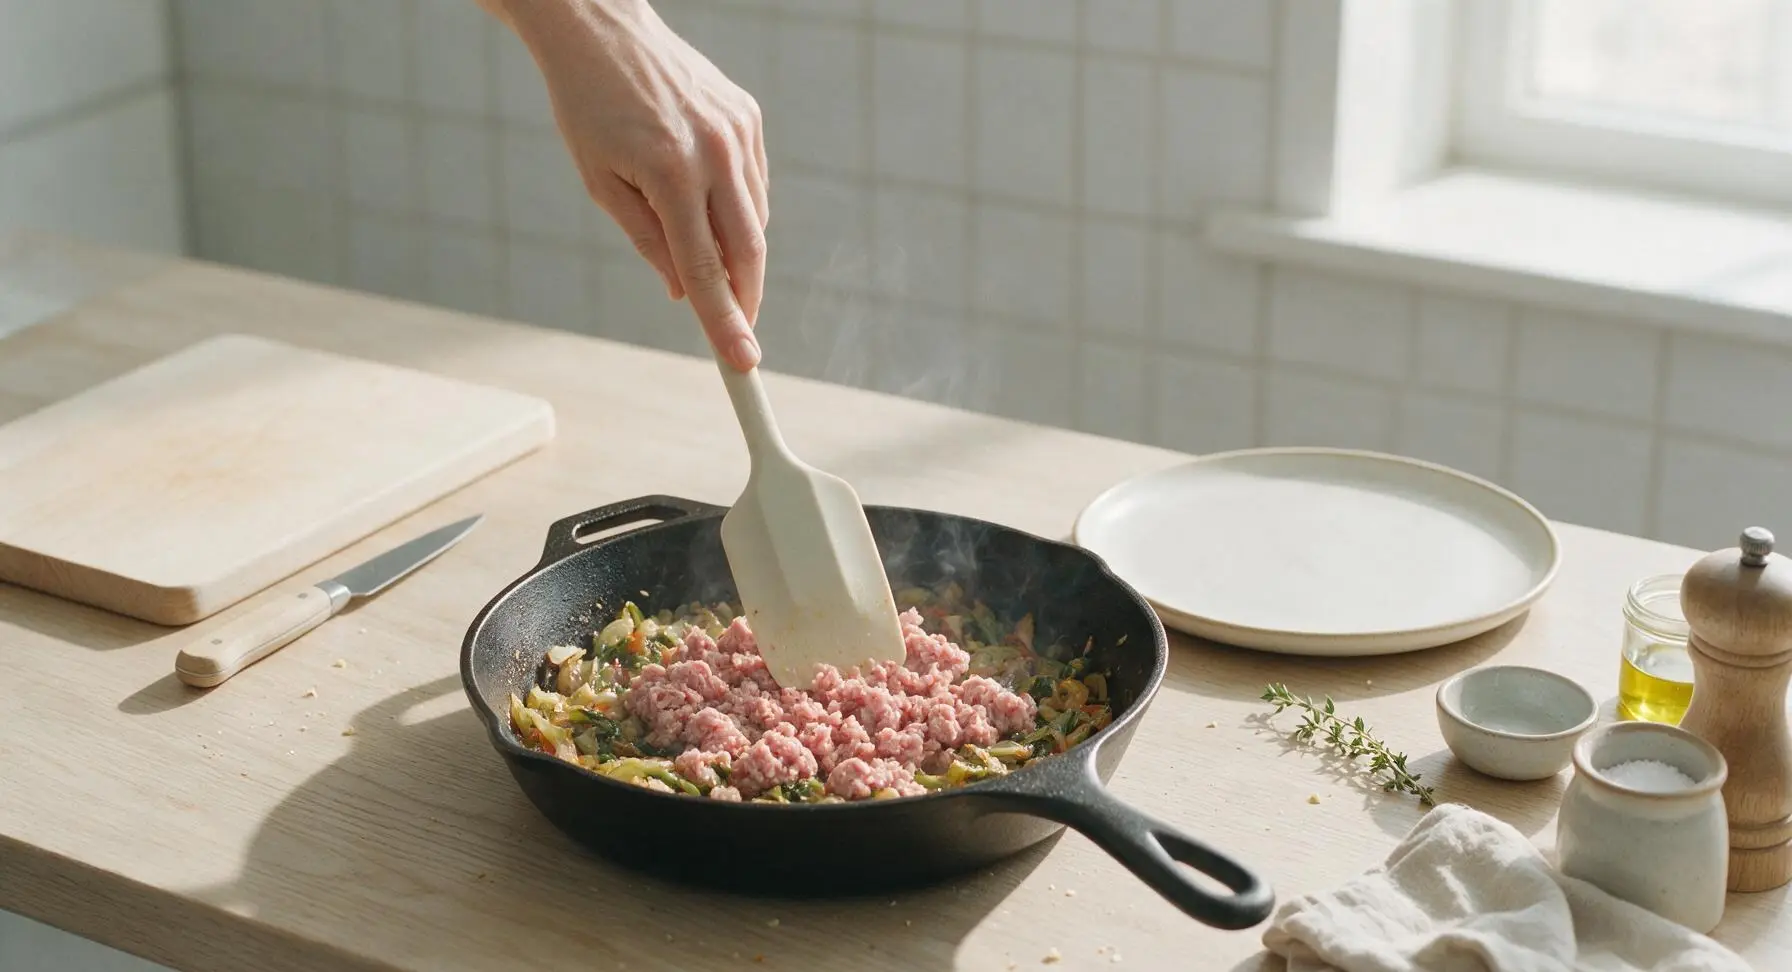
Set the light maple cutting board in the center prep zone. Use the 8-inch stainless steel chef knife to finely dice the red bell pepper and yellow onion into uniform 1/4-inch pieces, discarding pepper seeds, stems, and onion papery skin. Heat 1 tablespoon olive oil in the 10-inch matte black nonstick skillet over medium heat (175°C/350°F) for 1 minute until oil shimmers. Add diced vegetables to the skillet, sauté for 3 minutes until soft and slightly translucent, stirring occasionally with the light grey silicone spatula.
Brown Sausage Crumbles
Add the 225g crumbled raw breakfast sausage to the skillet with the sautéed veggies, breaking it apart into small, pea-sized crumbles with the edge of the silicone spatula. Cook for 5 minutes over medium heat, stirring occasionally, until sausage is fully browned with no pink remaining and slightly crisp at the edges. Tilt the pan slightly to drain any excess rendered grease into a small heatproof dish, and discard grease once cool.
Whisk Seasoned Eggs
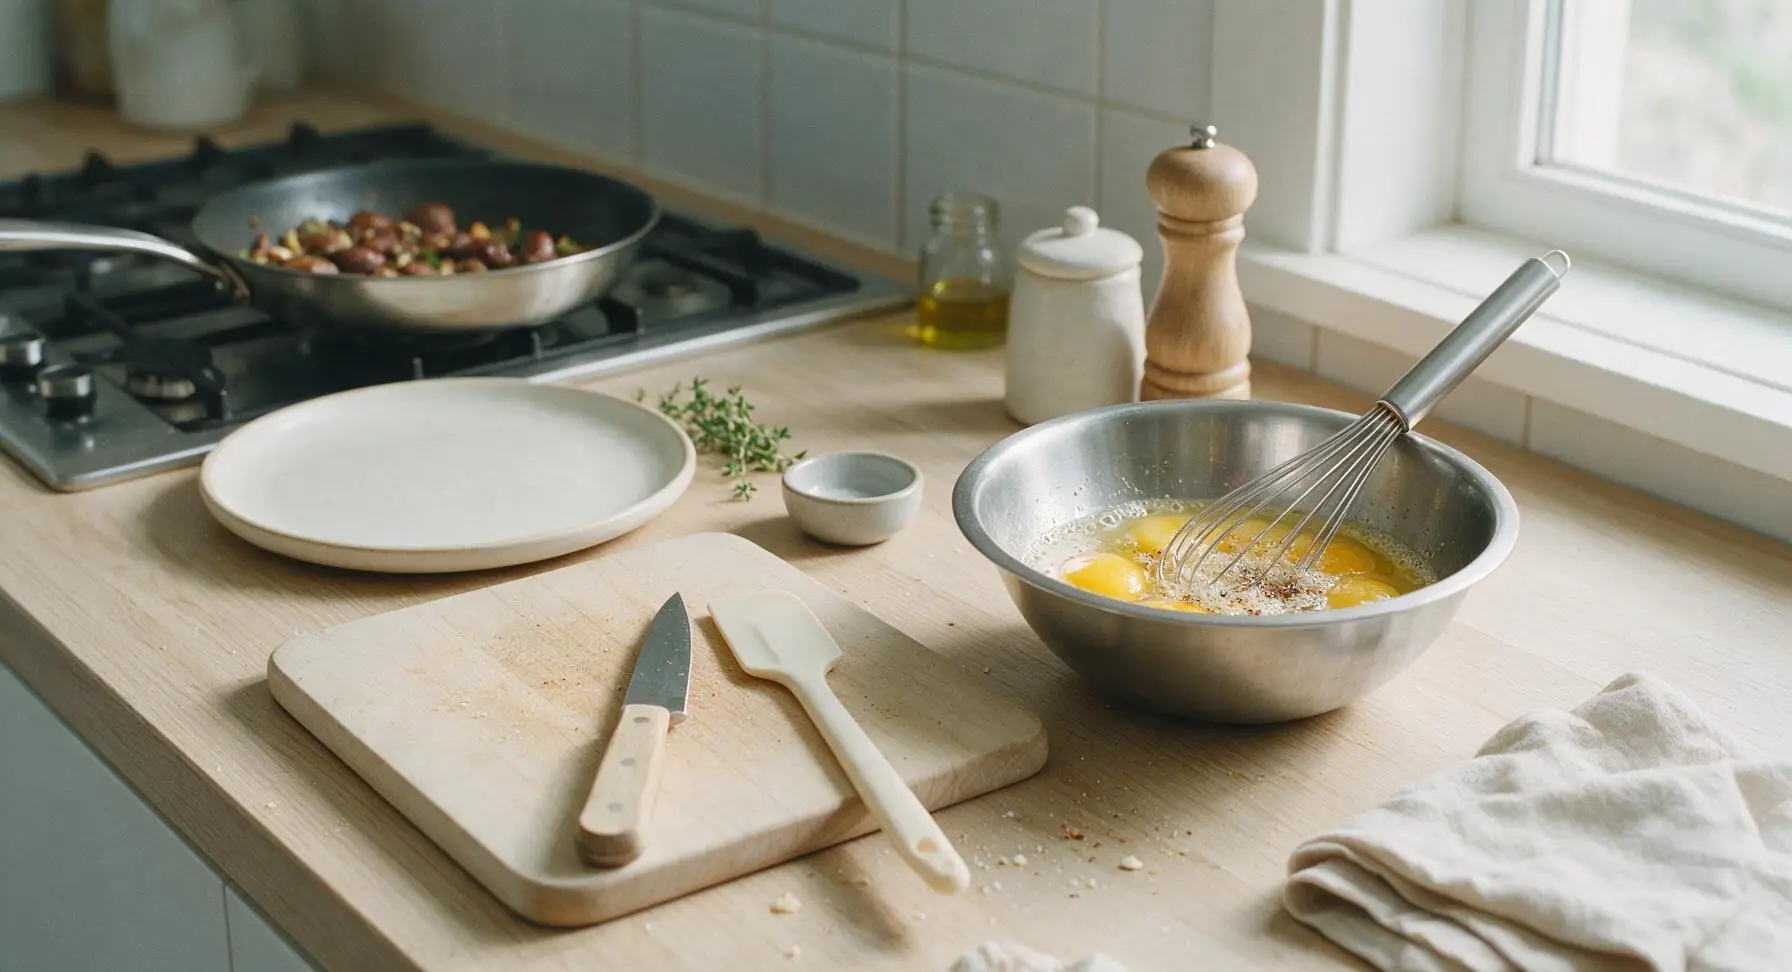
Crack all 8 large eggs into the brushed stainless steel mixing bowl. Add 1/2 teaspoon kosher salt, 1/4 teaspoon ground black pepper, and 1 teaspoon garlic powder. Use the stainless steel wire whisk to mix vigorously for 45 seconds until eggs are fully combined, pale uniform yellow, with no visible streaks of separate egg white remaining.
Scramble Egg Filling
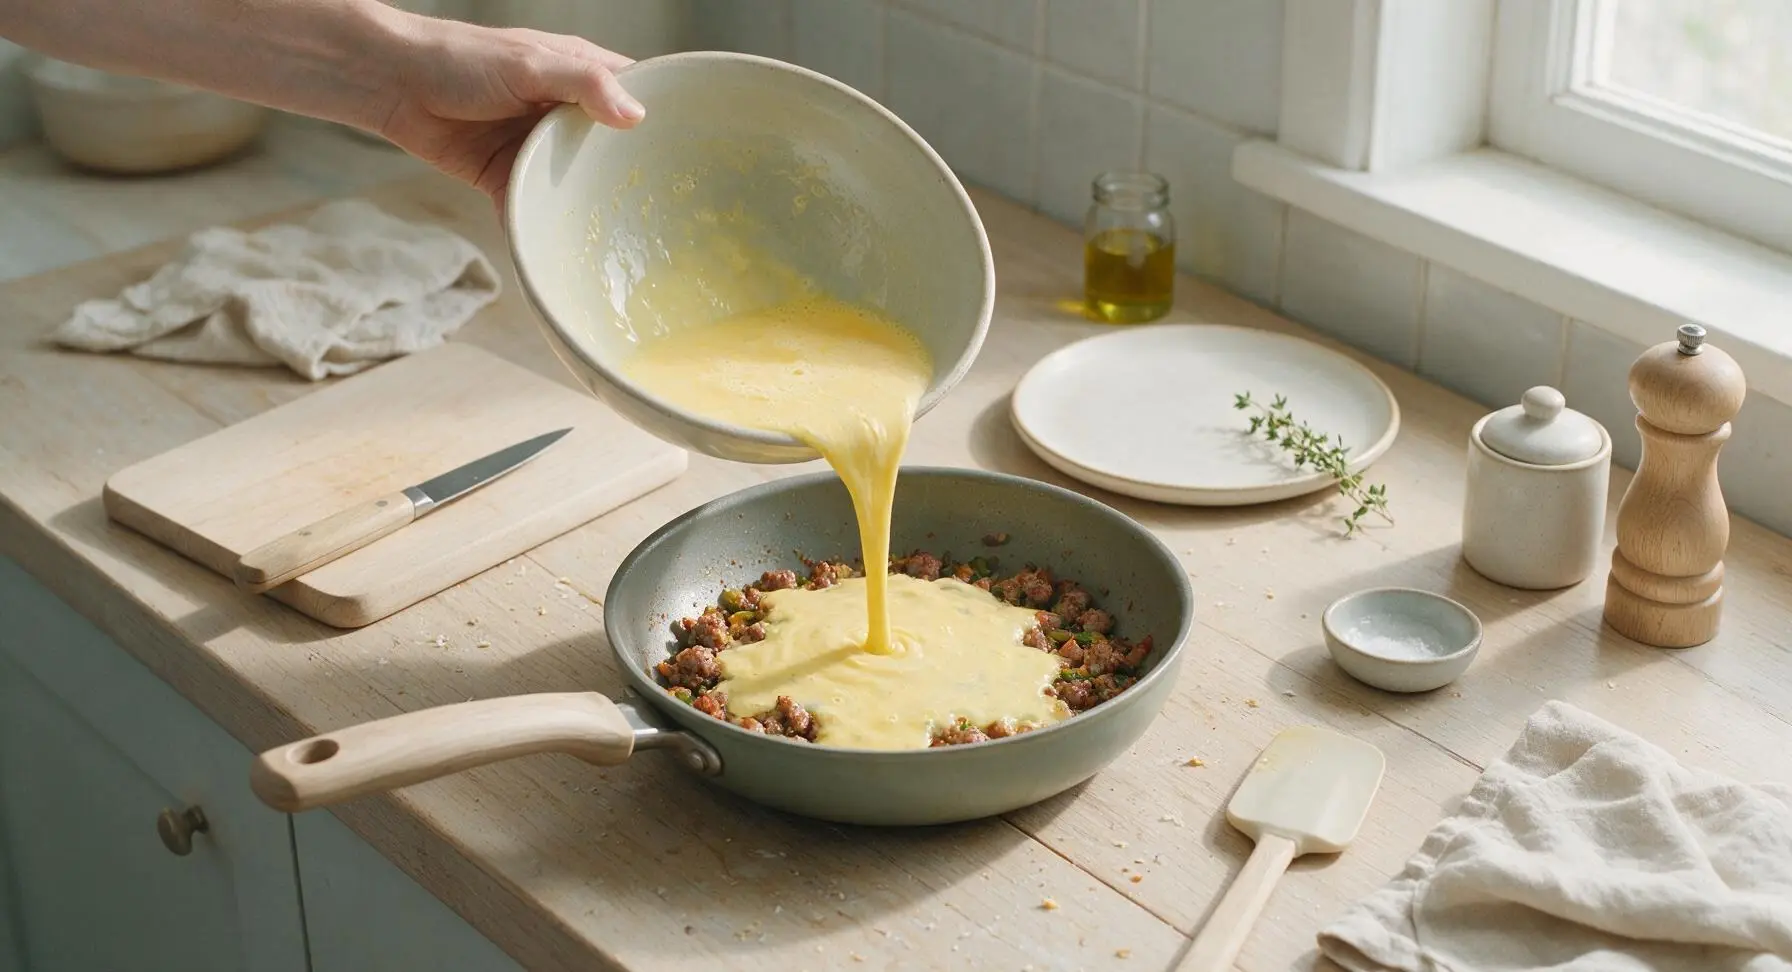
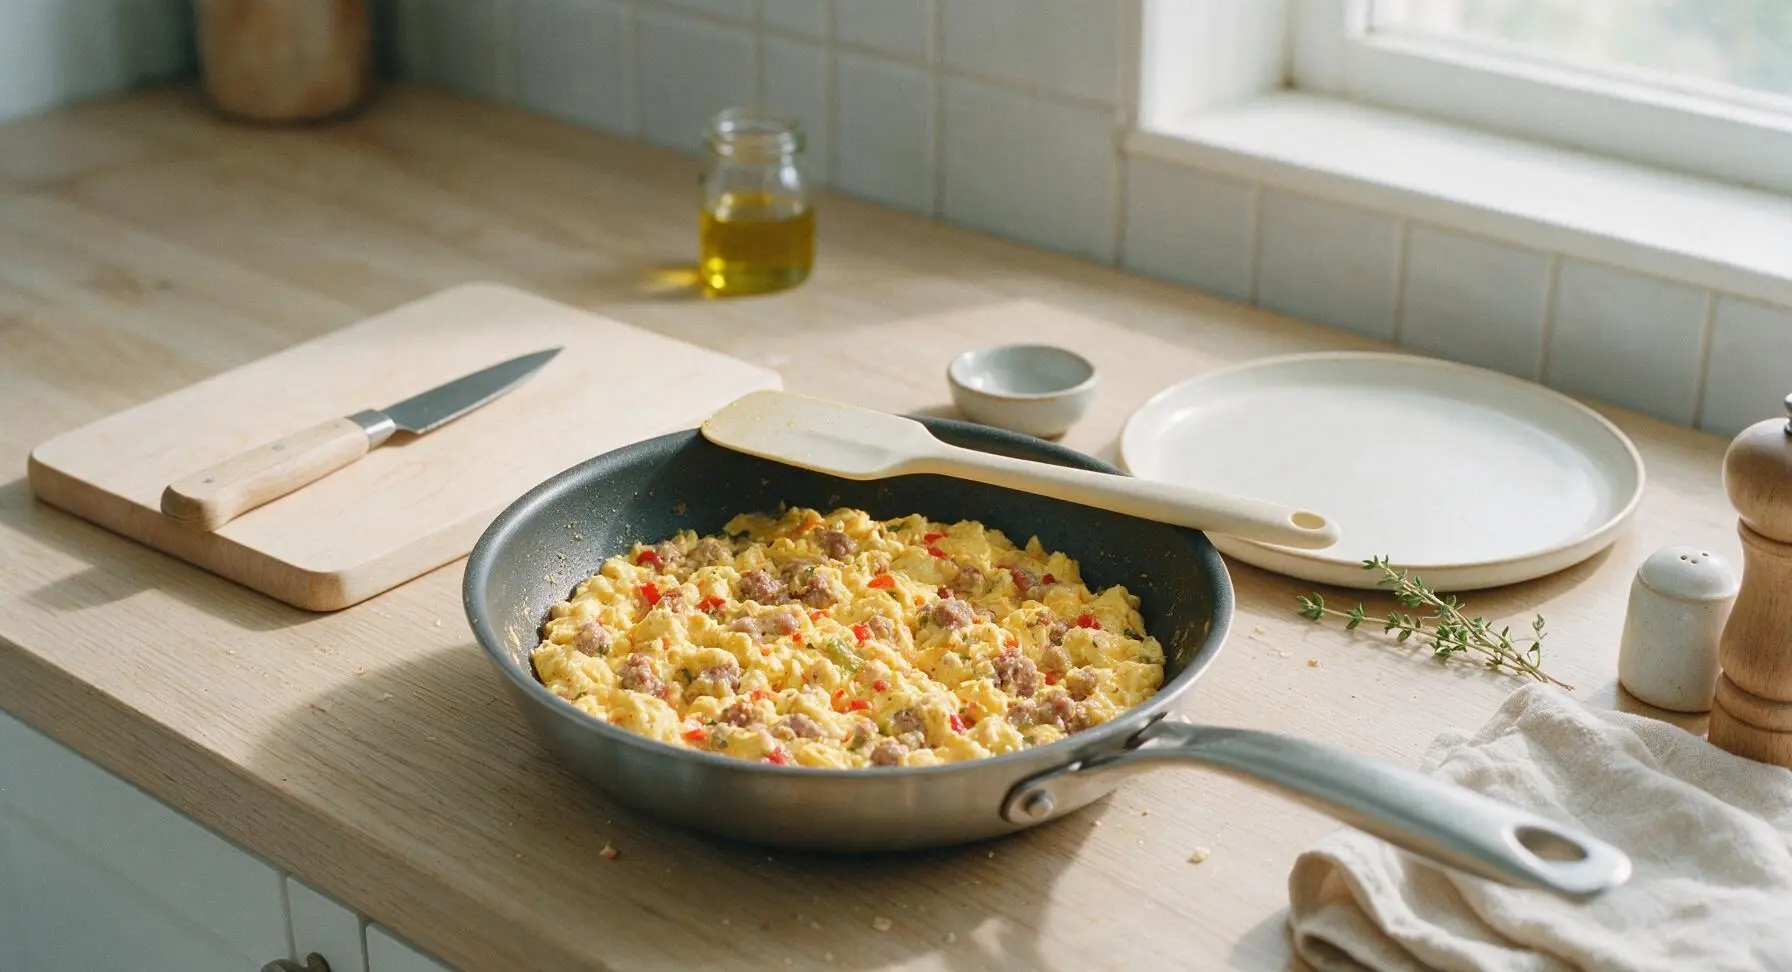
Pour the whisked egg mixture directly into the skillet over the sausage and vegetable mixture. Reduce heat to medium-low (150°C/300°F) to prevent eggs from browning too quickly. Cook for 4-5 minutes, stirring gently with the silicone spatula every 30 seconds, until eggs are just set into soft curds with no runny liquid remaining. Remove the skillet from heat and let the filling cool for 10 minutes to room temperature; hot filling will make tortillas soggy and tear when rolling.
Roll Tight Burritos
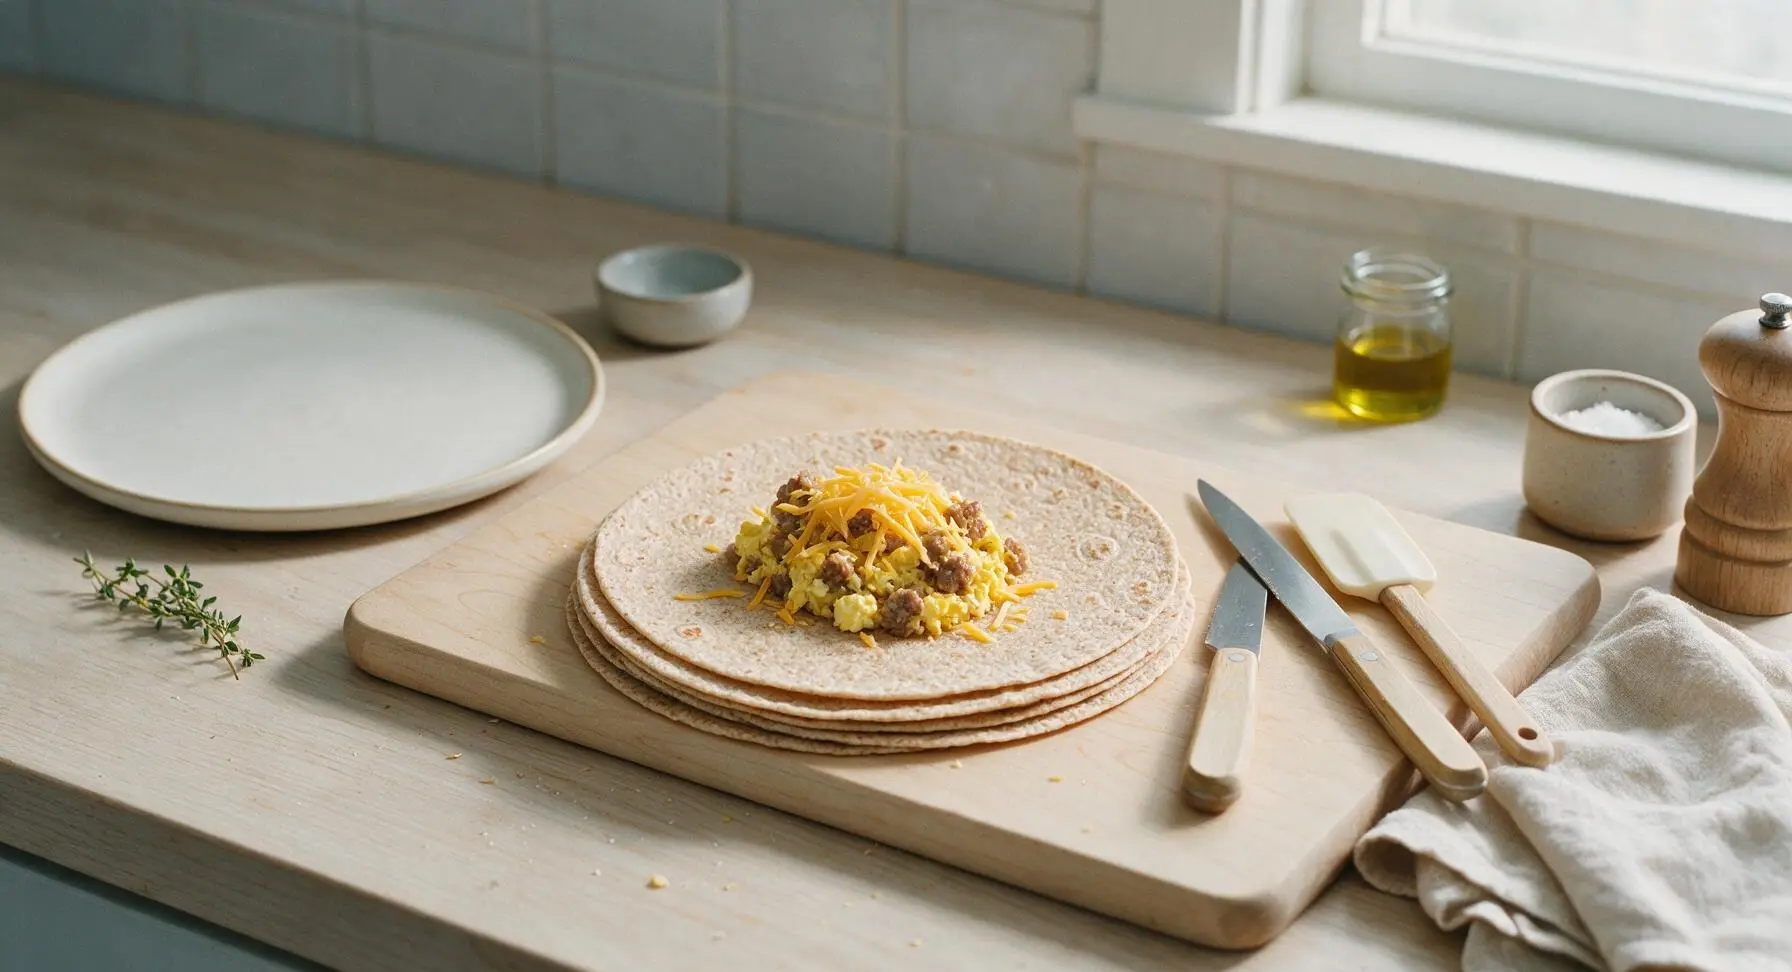
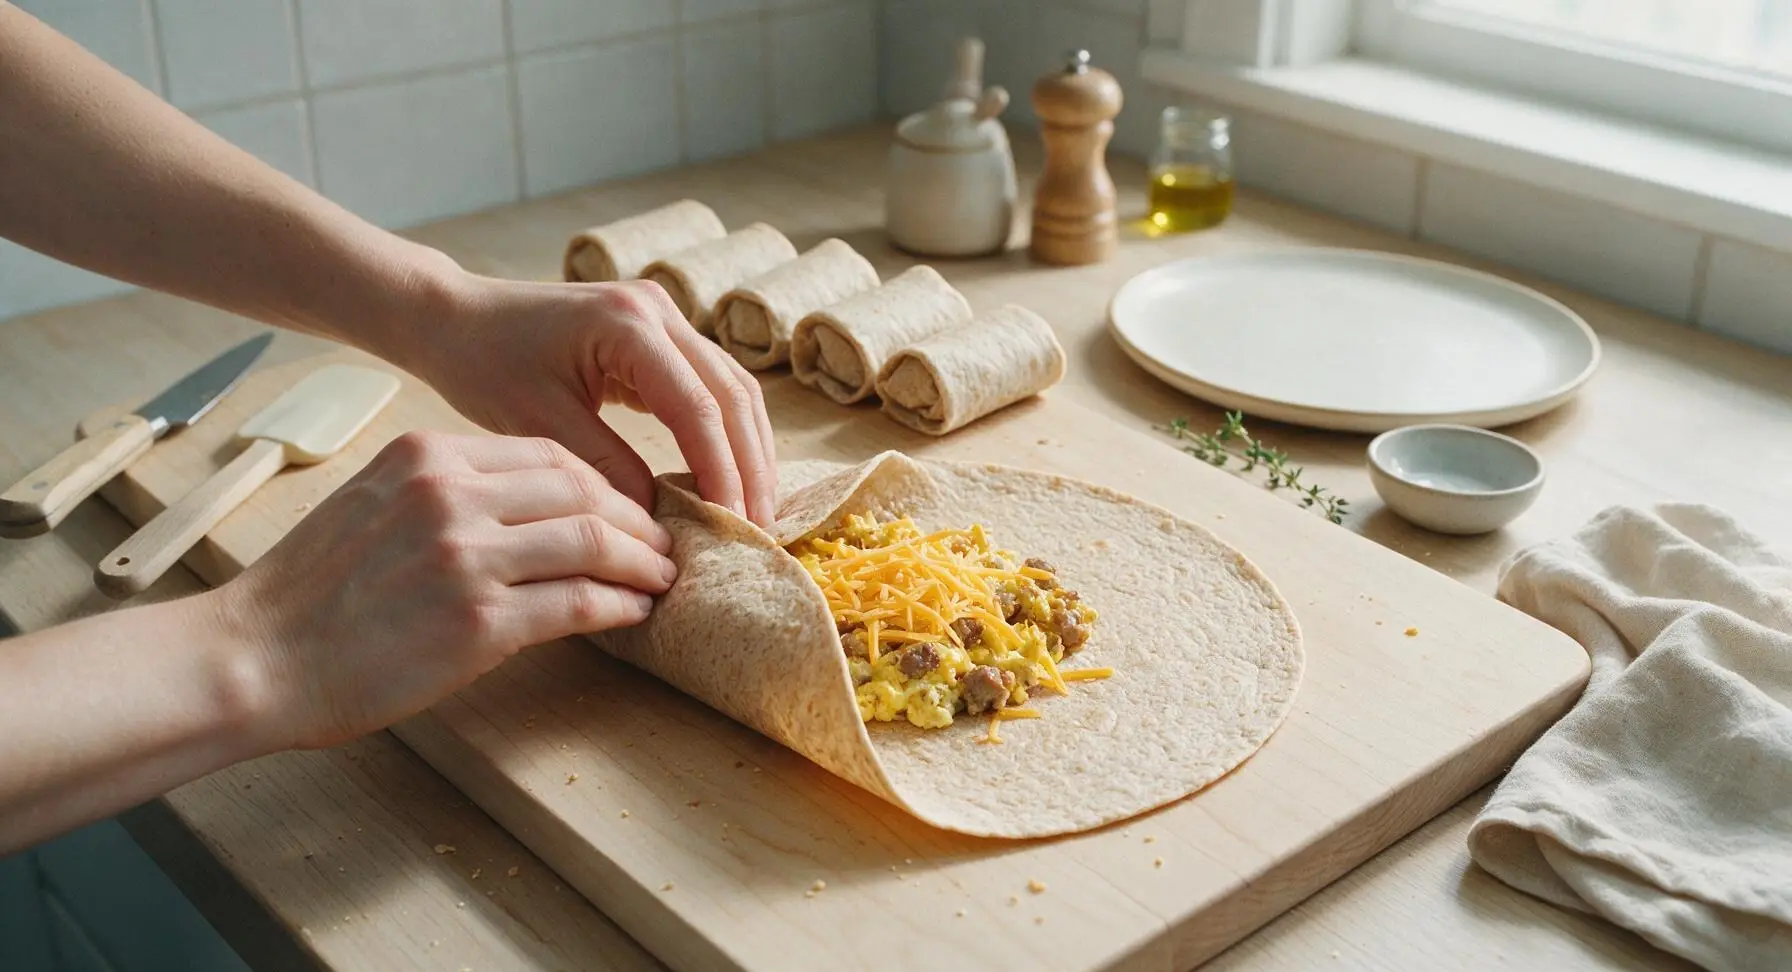
Lay all 8 whole wheat tortillas flat on the maple cutting board. Divide the cooled egg-sausage filling evenly across the center of each tortilla (about 1/2 cup per burrito), leaving a 1-inch border on all sides. Top each portion of filling with 2 tablespoons of shredded sharp cheddar cheese. Fold the left and right edges of the tortilla in over the filling, then roll tightly from the bottom edge up to form a sealed, compact burrito with no open gaps for filling to leak out during reheating.
Wrap for Freezer Storage
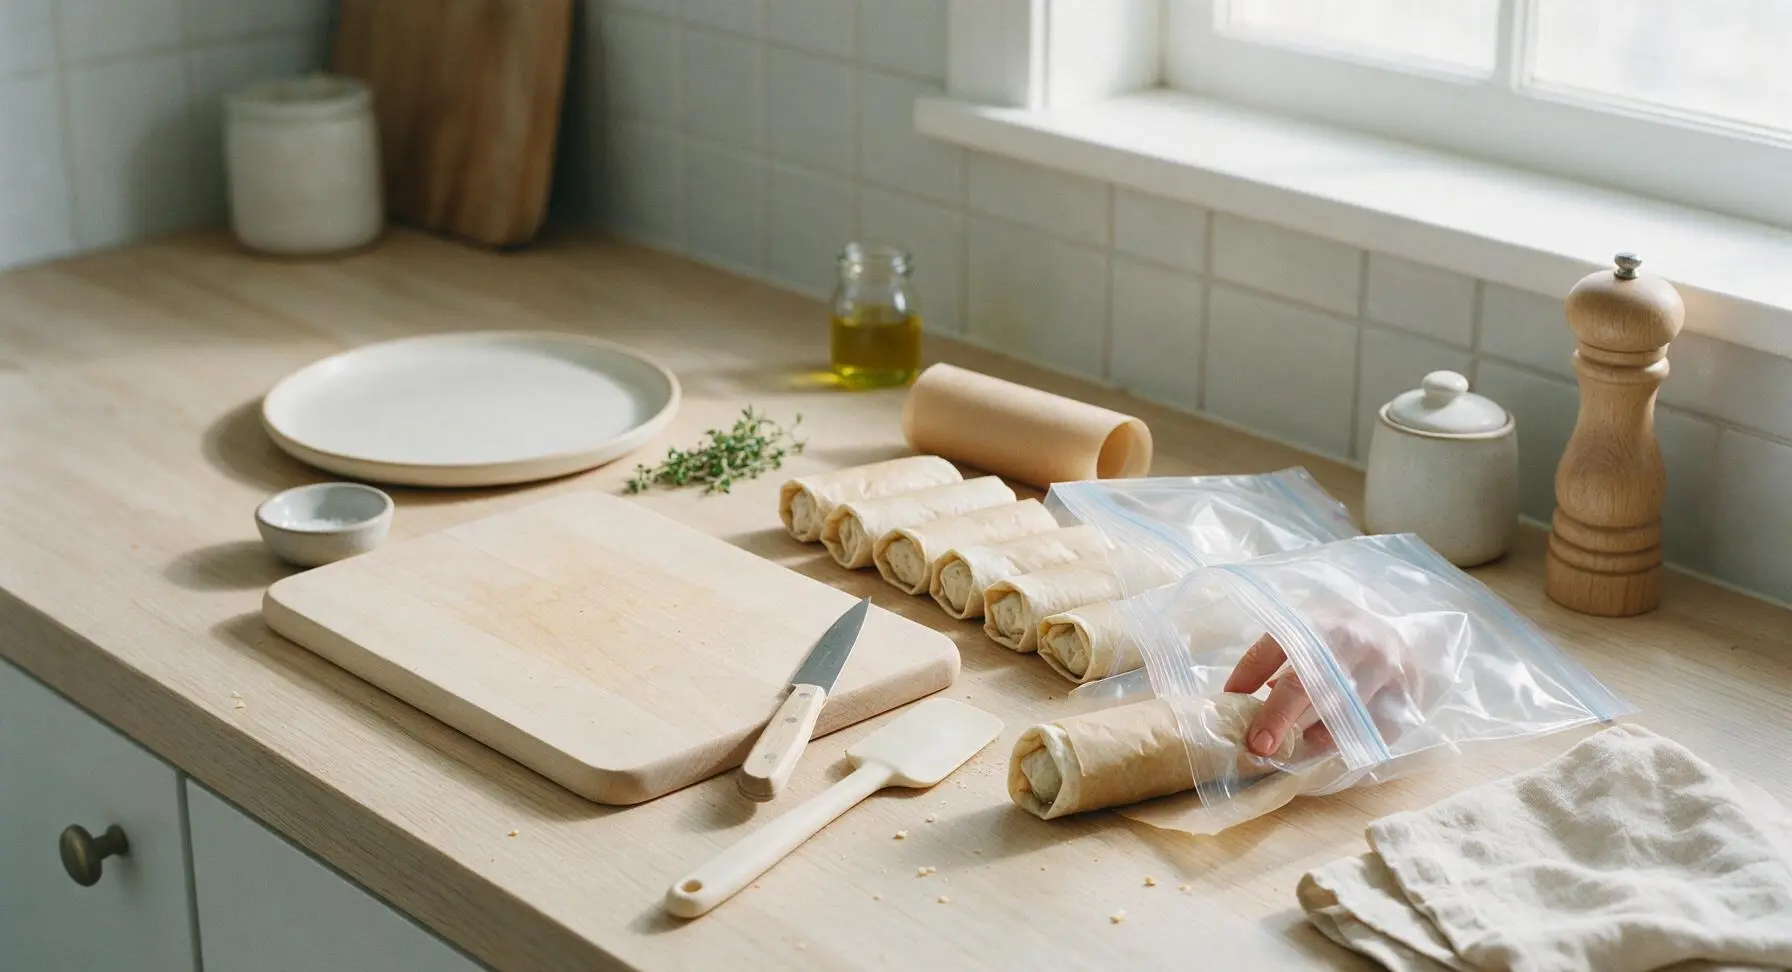
Tear 8 12x12 inch squares of unbleached parchment paper from the roll. Wrap each rolled burrito tightly in a single square of parchment paper, twisting the ends slightly to secure, then place each wrapped burrito into a quart-sized reusable freezer bag. Press all excess air out of the bags before sealing to prevent freezer burn. Store sealed bags in the freezer for up to 3 months.
Reheat from Frozen
When ready to eat, remove a burrito from the freezer, unwrap the parchment paper, and wrap loosely in a damp paper towel. Microwave on high for 90 seconds, flip, then microwave for another 60-90 seconds until the center reaches 74°C/165°F and cheese is fully melted. For a crisp exterior, pan-sear the reheated burrito in the dry nonstick skillet for 1 minute per side after microwaving.
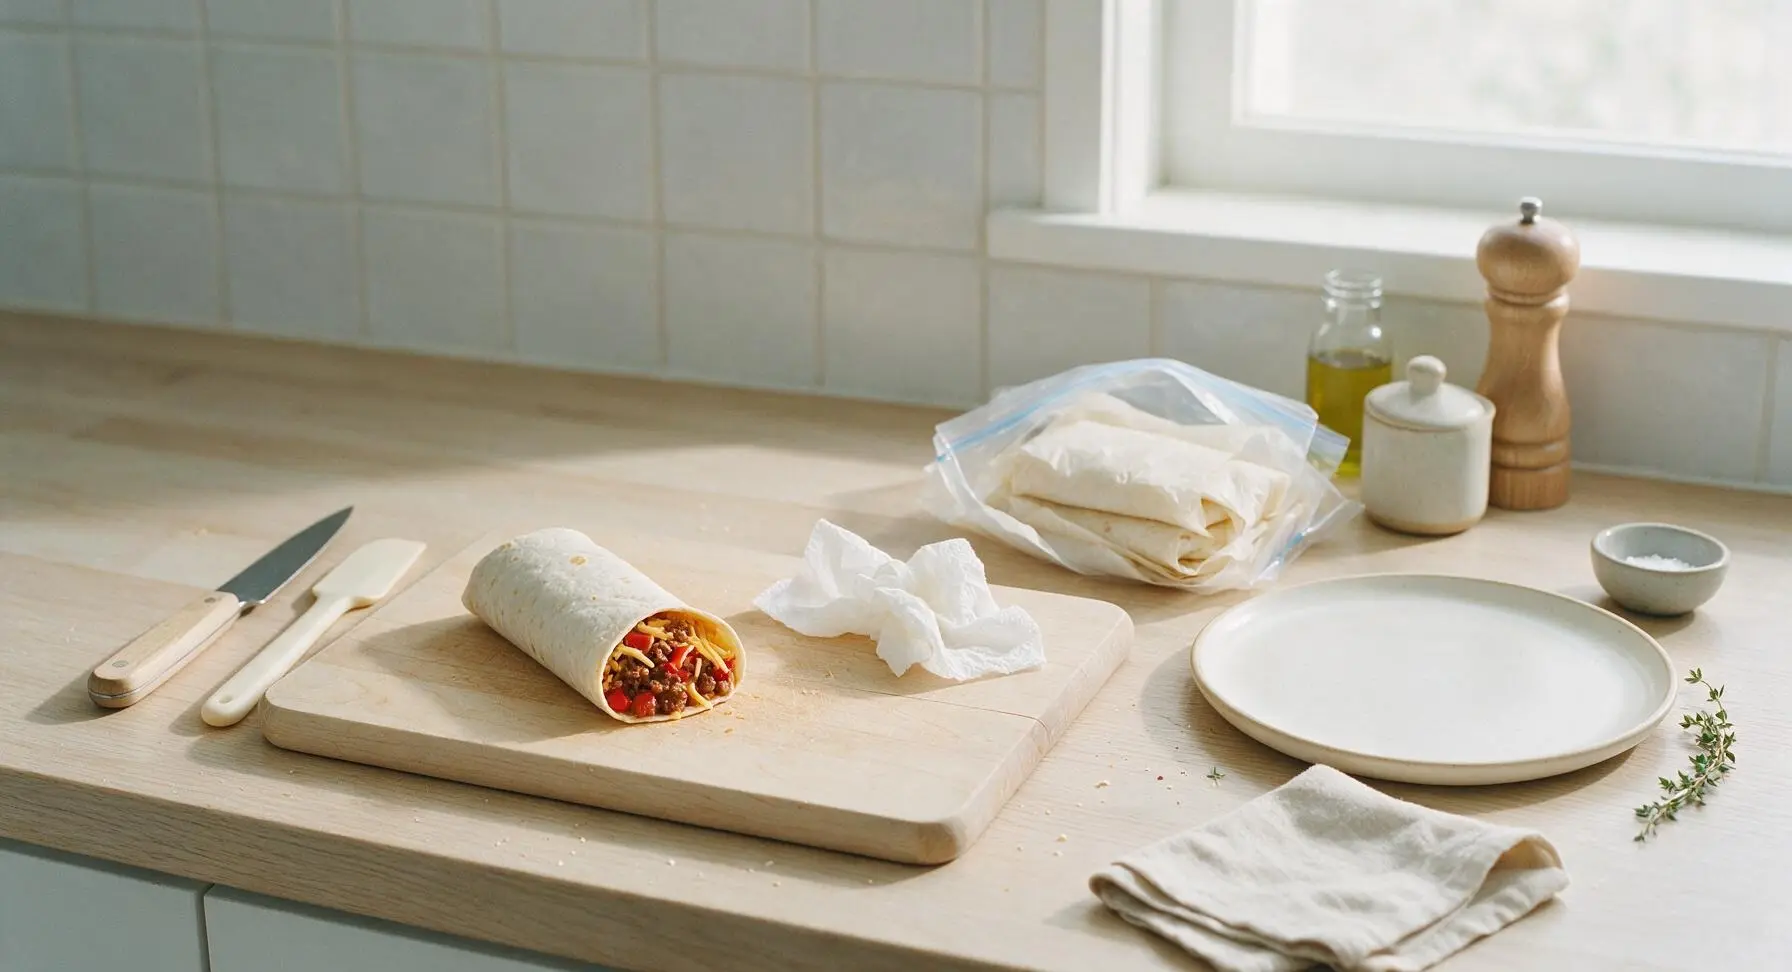
Plate and Serve
Transfer the fully reheated burrito to a matte off-white ceramic dinner plate. Cut diagonally in half with the chef knife to expose the melted cheese and fluffy filling inside. Garnish with a light sprinkle of chopped fresh cilantro, and serve with 2 tablespoons of mild salsa in a small clear glass ramekin on the side.
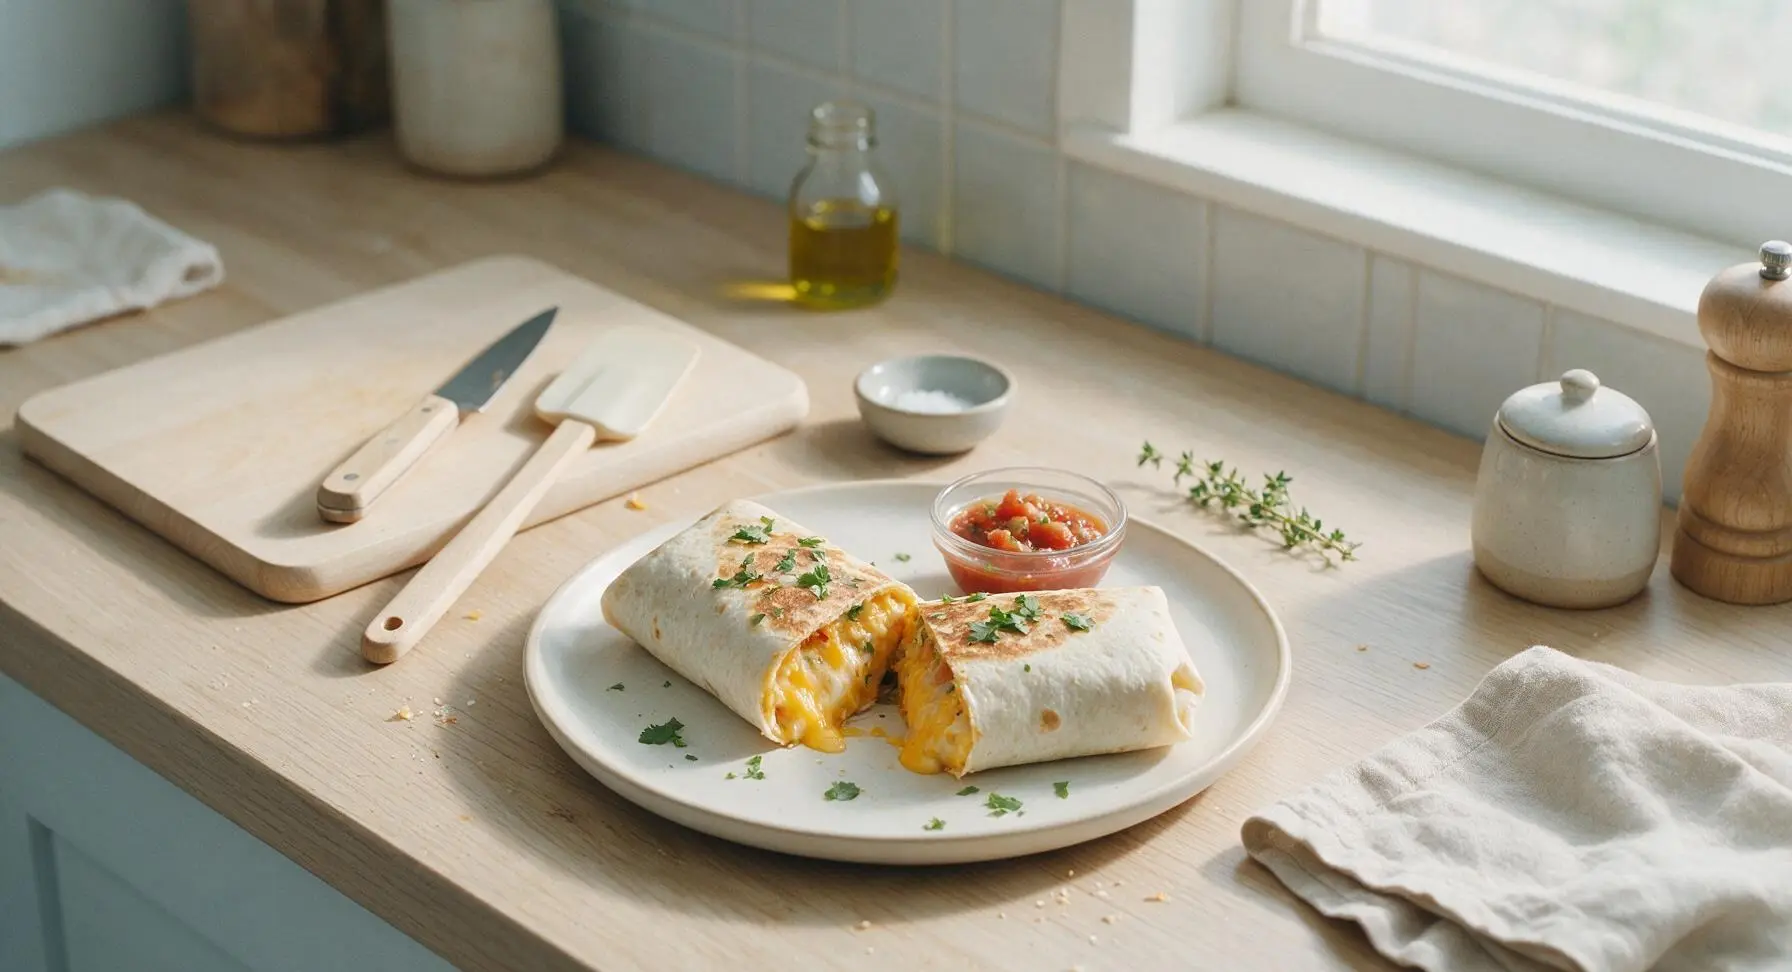
Tips
2.Press every bit of excess air out of freezer bags before sealing: trapped oxygen causes freezer burn, which dries out tortilla edges and creates stale, off-flavors in the filling even when stored at a constant 0°F (-18°C).
3.Label freezer bags with the prep date before storing: burritos maintain best quality for 3 months in the freezer, and clear date labels prevent you from keeping stored meals past their prime, reducing food waste.






OMG these are an absolute game changer for our chaotic school mornings! I prepped a double batch on Sunday, froze em, and now my husband and three kids just grab one, microwave for 90 seconds, and run out the door. No more skipped breakfasts, no more cereal crumbs all over the counter. I added a little diced jalapeño to mine for a kick, and the kids’ versions have extra cheese. SO good, 10/10 will make every month for meal prep!
Took these to my weekly work potluck last week after testing a batch at home, and people were begging me for the recipe! Super easy to throw together even after a long work day, 25 minute cook time is no lie. I used turkey sausage instead of pork to lighten em up a little, and they still tasted amazing. Already got three coworkers asking when I’m bringing more in.
As a broke college student living off meal prep on a tiny budget, these are a literal lifesaver. I can make an entire batch for like $12, eat them for breakfast all week, and I don’t have to drop $8 a day on sad campus breakfast sandwiches. I threw in some frozen tater tots to the filling because why not, and they taste almost exactly like the fast food breakfast burritos I used to waste money on. My only tiny note is I wish I’d added a packet of taco seasoning to the eggs for a little extra flavor, but that’s just personal preference! Super easy, minimal cleanup, will absolutely make again.
I was fully skeptical that freezer breakfast burritos would actually hold up texture-wise (soggy tortillas are my worst nightmare), but these blew my expectations out of the water! I filled mine with soft scrambled eggs, black beans, roasted corn, pepper jack, and a little cilantro lime rice, and they tasted just as fresh as the day I made them even after 2 weeks in the freezer. My picky toddler even ate a whole one without spitting it out or asking for nuggets, which is basically a parenting win for the books.
Made a batch of these before a 3-day backcountry camping trip last weekend, vacuum sealed ‘em, and they were absolute perfection for quick camp breakfasts! Just heated em up in a cast iron skillet over the camp stove, and they kept me and my teen full for hours of hiking. I added crumbled bacon and diced frozen hash browns to the filling, and even my kid who swears he hates all “meal prep food” said they were better than the greasy diner burritos we get on our road trips. Super straightforward recipe, minimal cleanup, 10/10.