
freezing homemade burritos

title 1
freezing homemade burritos
⏱️ cook time 20 minutes
🍽️ servings 8
⚡ Difficulty easy

intro

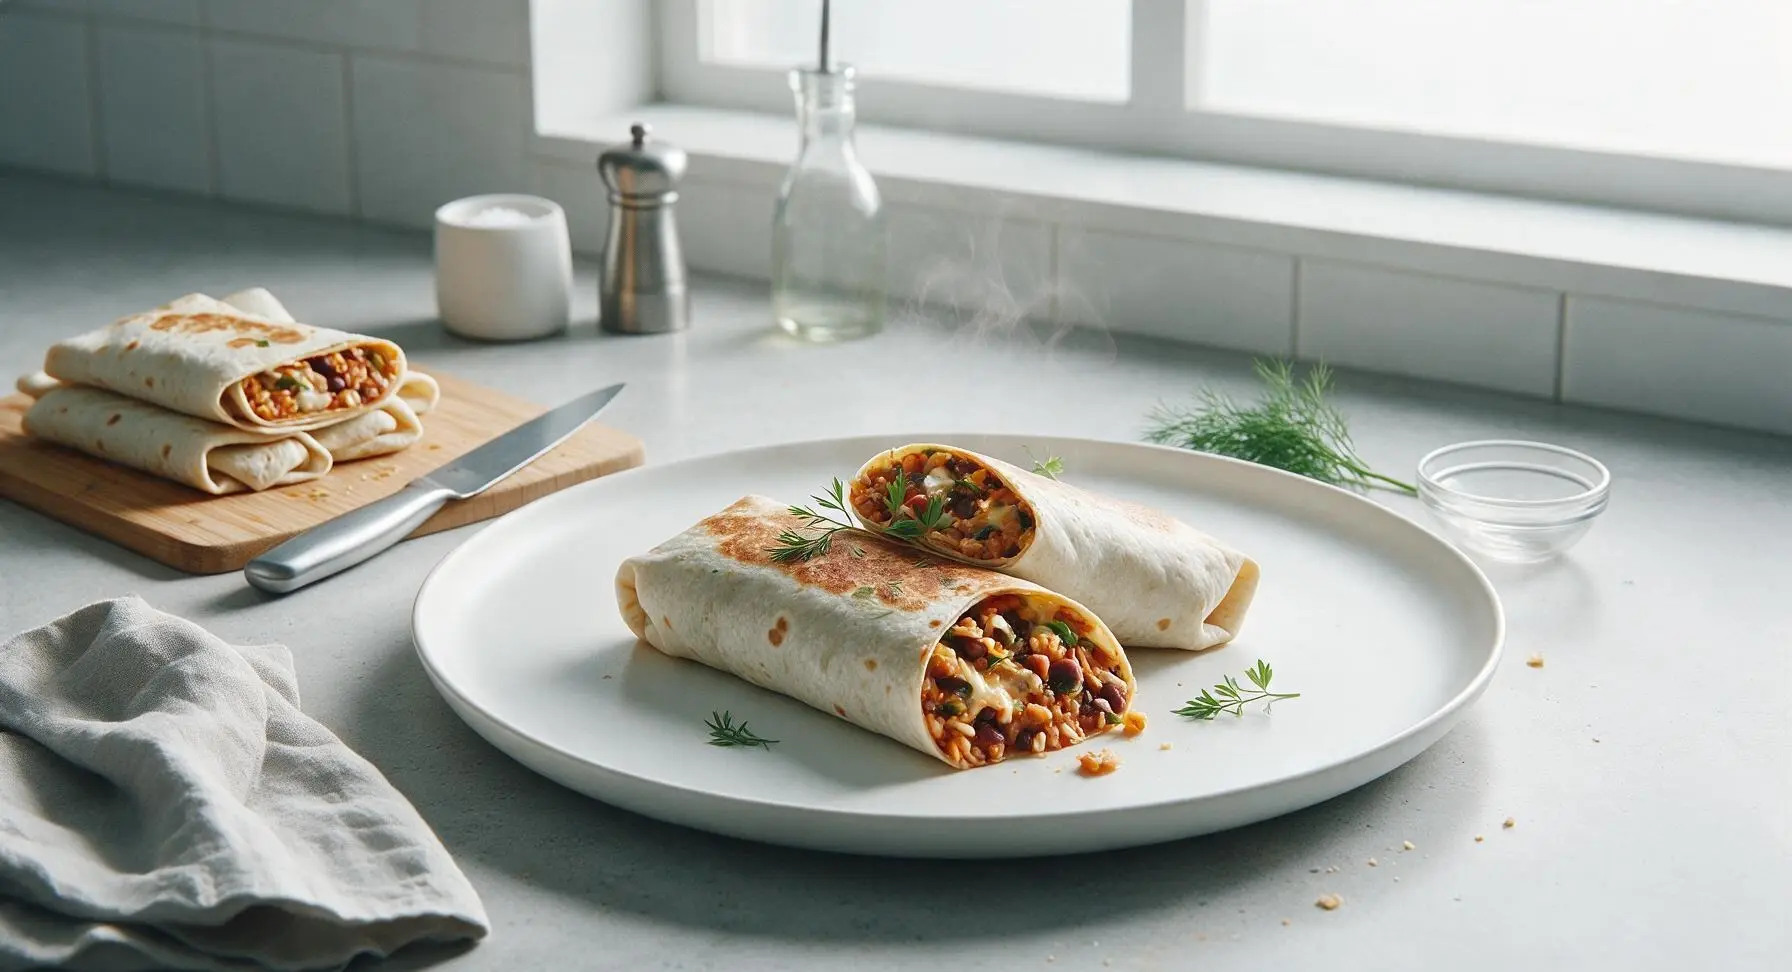
Hearty, customizable Tex-Mex burritos prepped and frozen for quick grab-and-reheat meals, with zero soggy tortillas and bold, fresh, satisfying flavor.

Ingredients
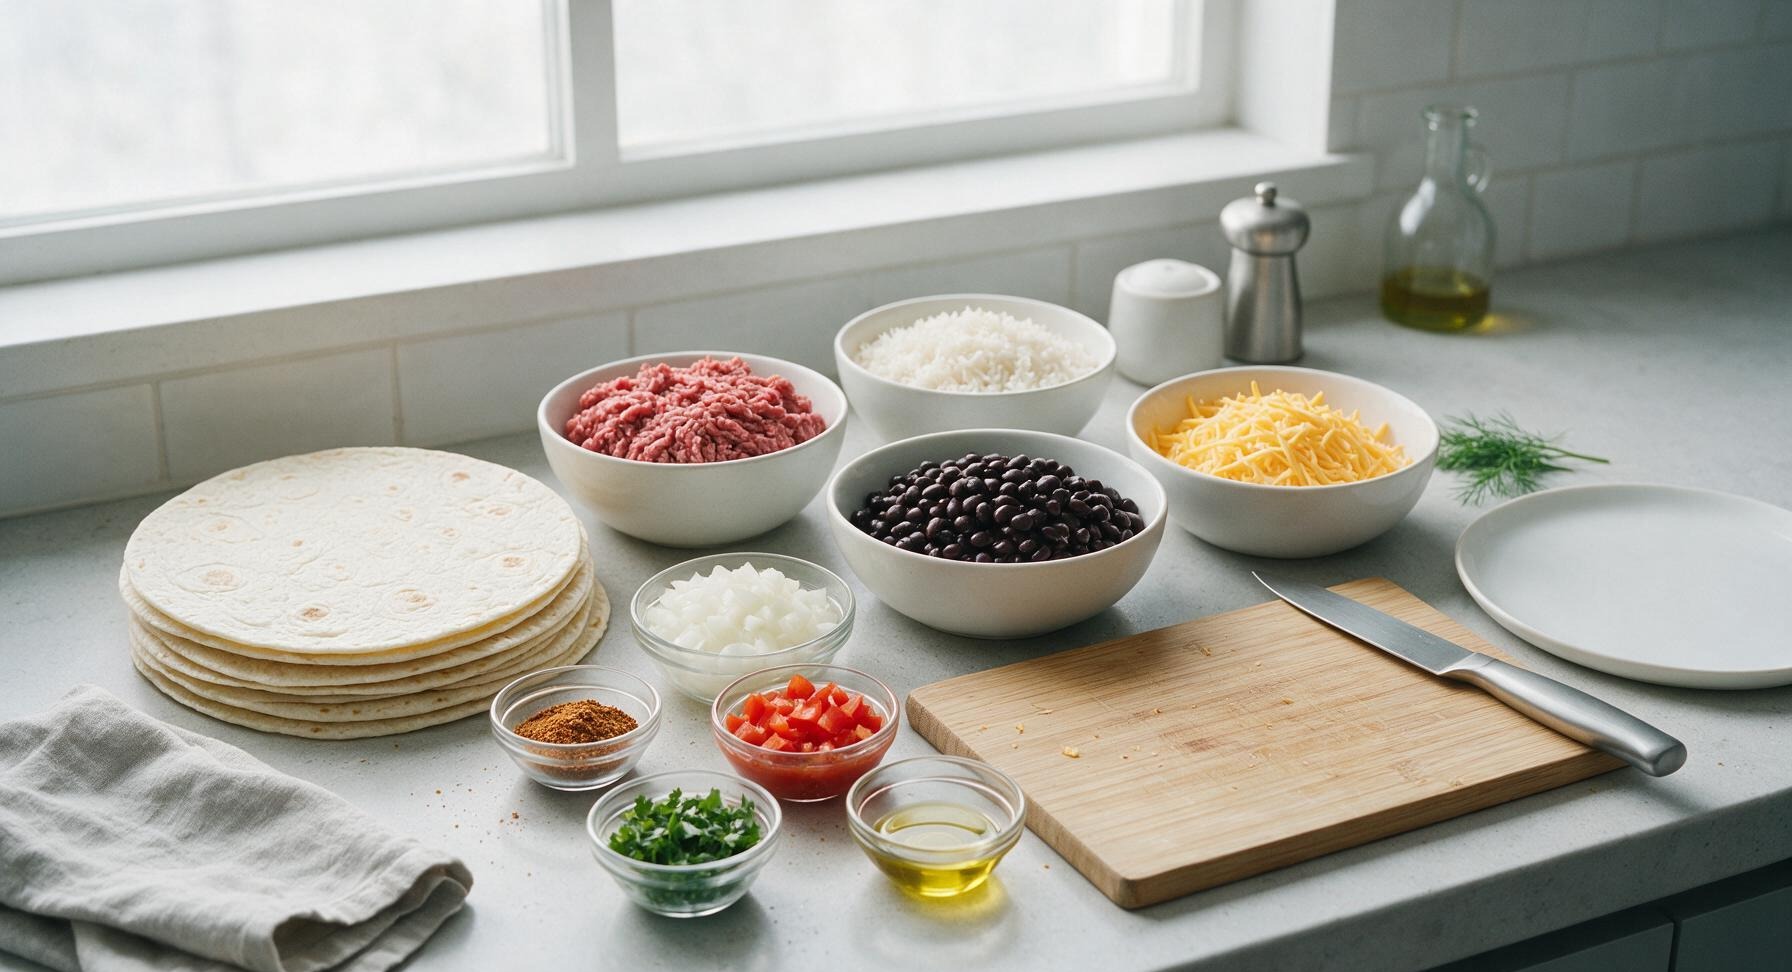
10-inch burrito-size flour tortillas 8 each
Lean 90/10 ground beef 450g (1lb)
Cooked long-grain white rice 240g (1 cup)
Canned black beans, drained and rinsed 425g (1 15oz can)
Shredded sharp cheddar cheese 110g (1 cup)
Yellow onion, diced 75g (1/2 cup)
Small red bell pepper, diced 100g (1 each)
Taco seasoning blend 2 tbsp (28g)
Mild restaurant-style salsa 60g (1/4 cup)
Fresh cilantro, chopped 15g (1/4 cup)
Olive oil 1 tbsp (15ml)

Steps

1

Sauté Base Vegetables

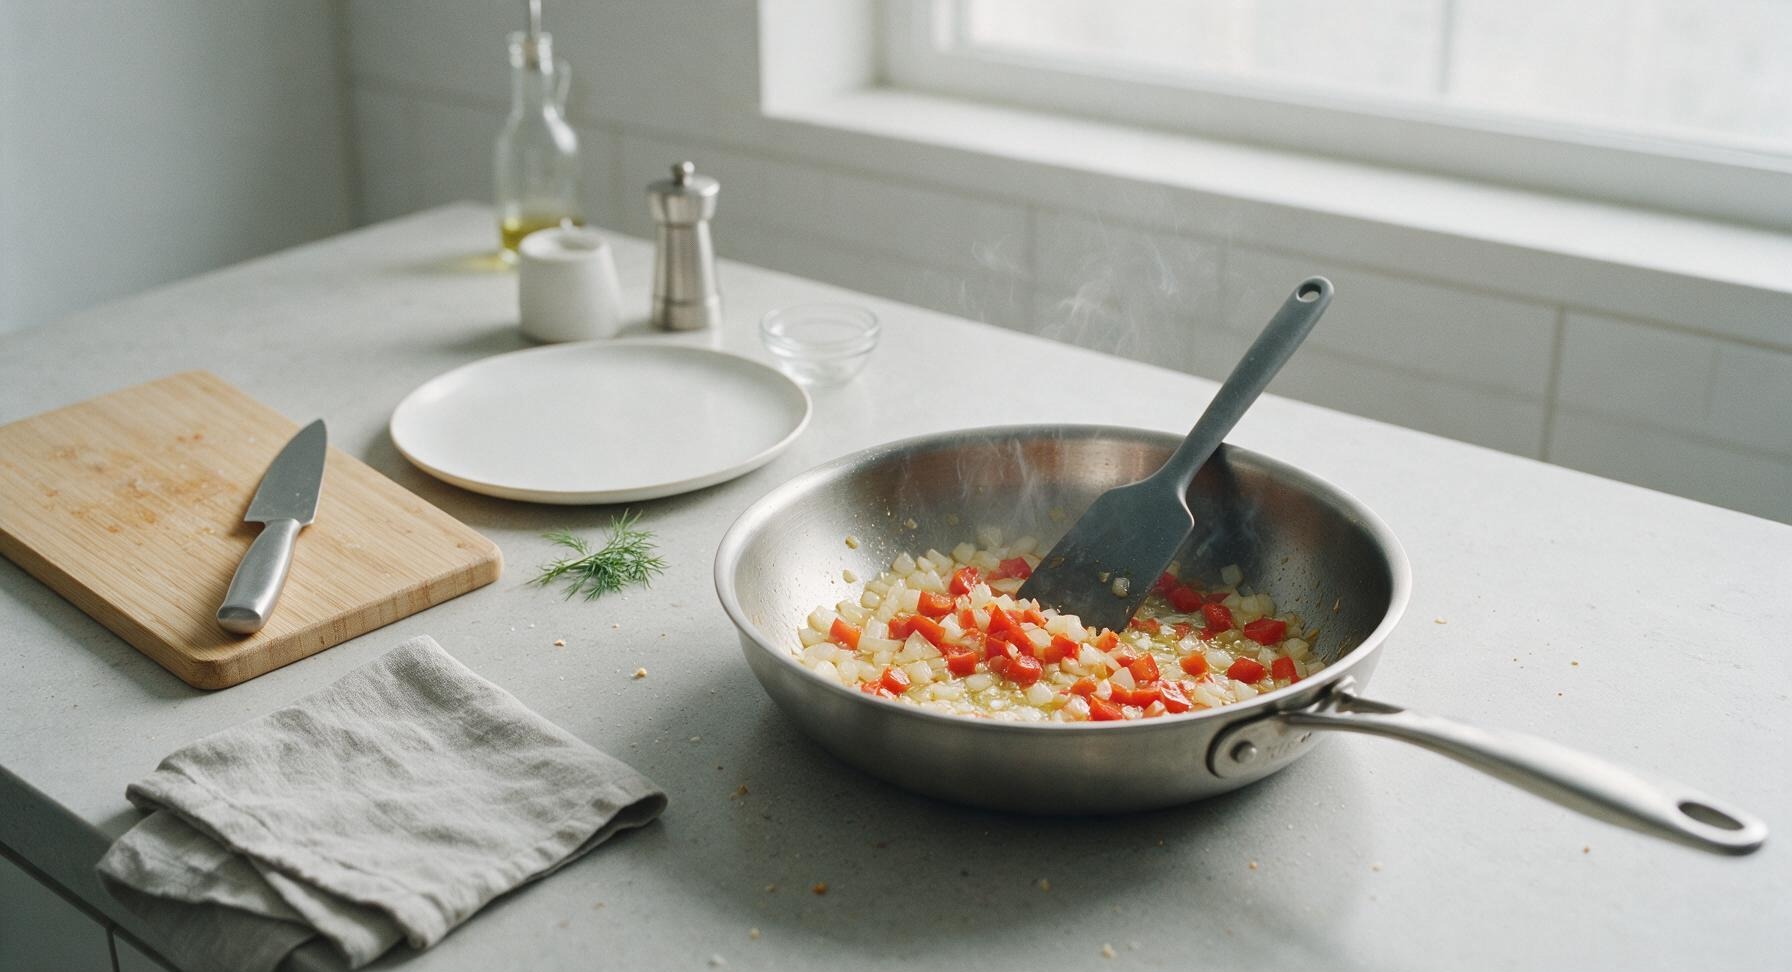
Heat 1 tablespoon olive oil in the 3-quart stainless steel skillet over medium heat (350°F/175°C). Add diced yellow onion and red bell pepper, sauté for 3-4 minutes until soft and slightly translucent, stirring occasionally with the charcoal silicone spatula. The vegetables should release a sweet, savory aroma and have light golden edges when ready.
Step 1
step1:Sauté Base Vegetables
2

Brown Ground Beef

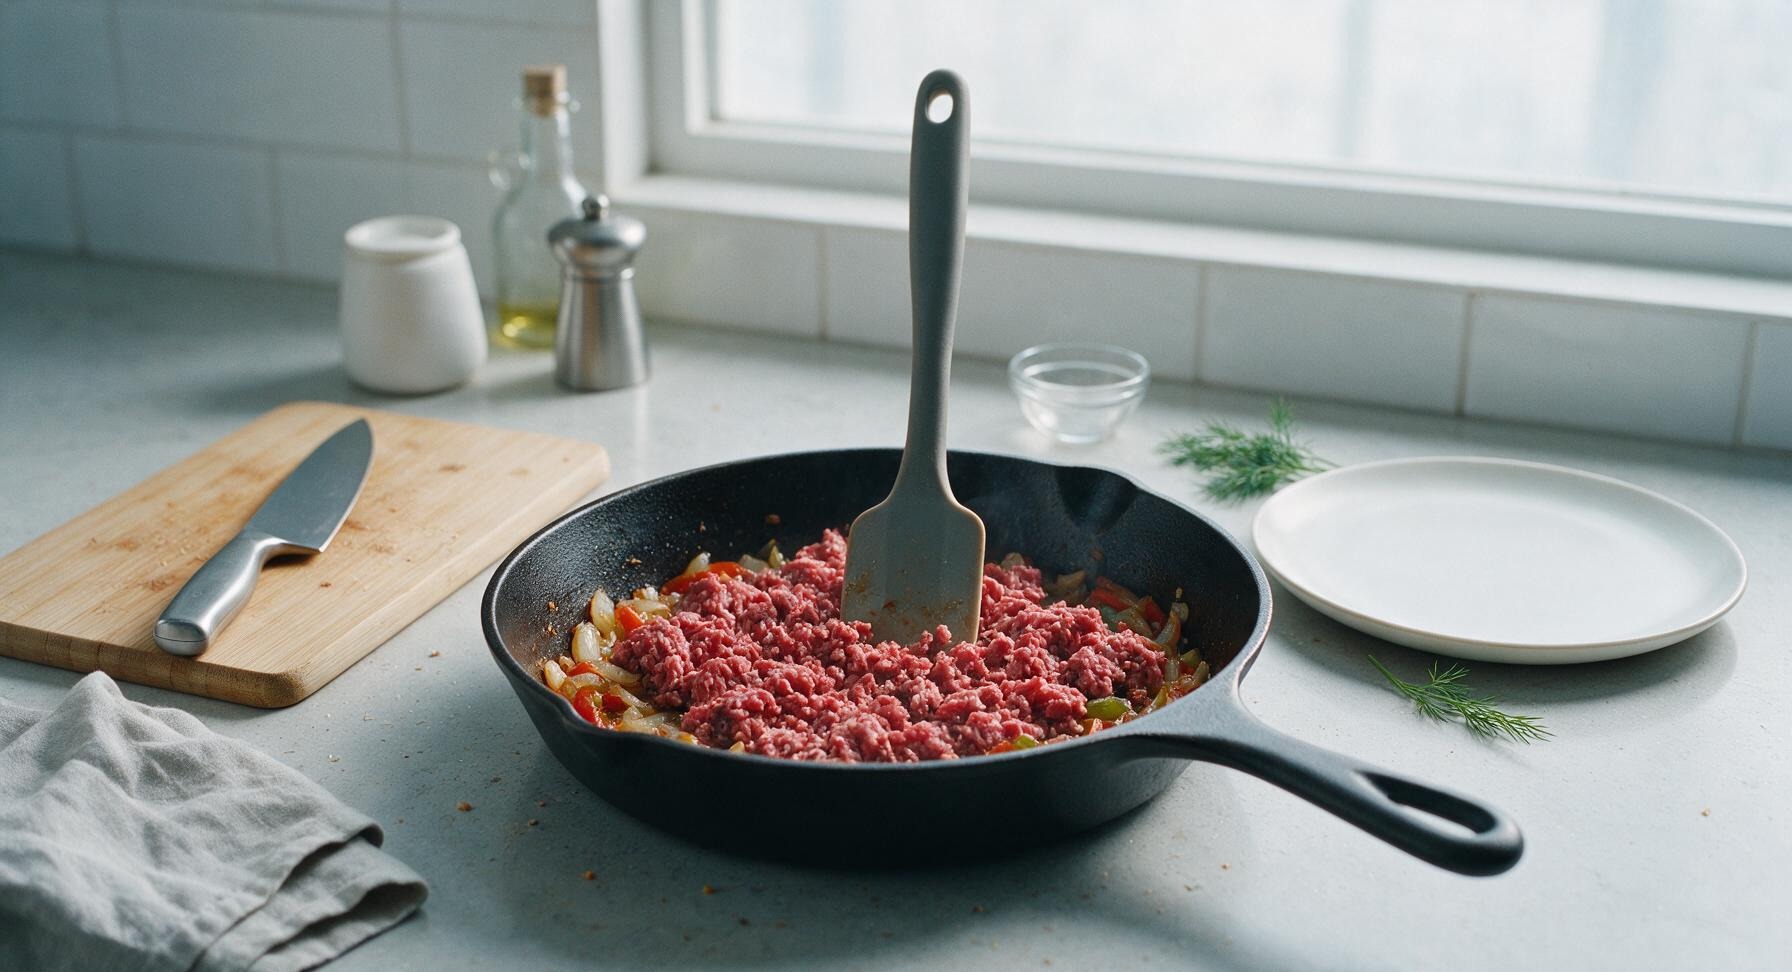
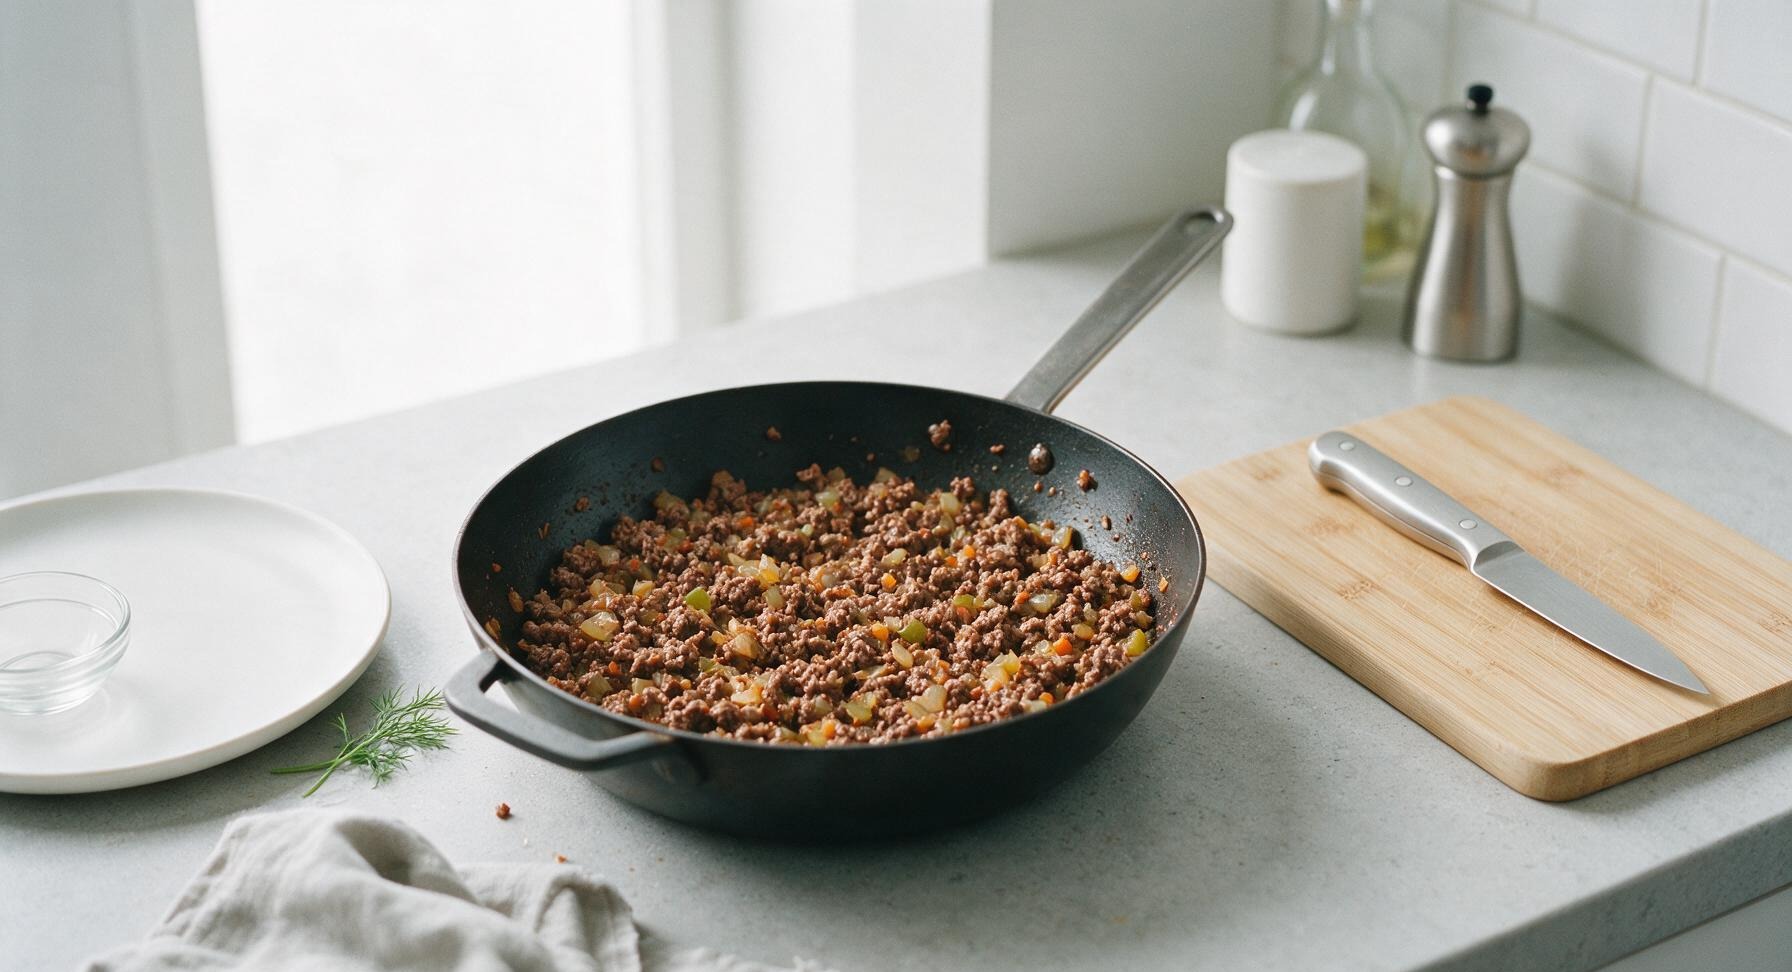
Add the 450g lean ground beef to the skillet with the sautéed vegetables, breaking it apart into small crumbles with the silicone spatula. Cook for 6-7 minutes, stirring occasionally, until the beef is fully browned with no pink remaining. Drain any excess grease from the pan to avoid soggy burritos later.
Step 2
step2:Brown Ground Beef
Step 2
step2:Brown Ground Beef
3

Season and Combine Filling

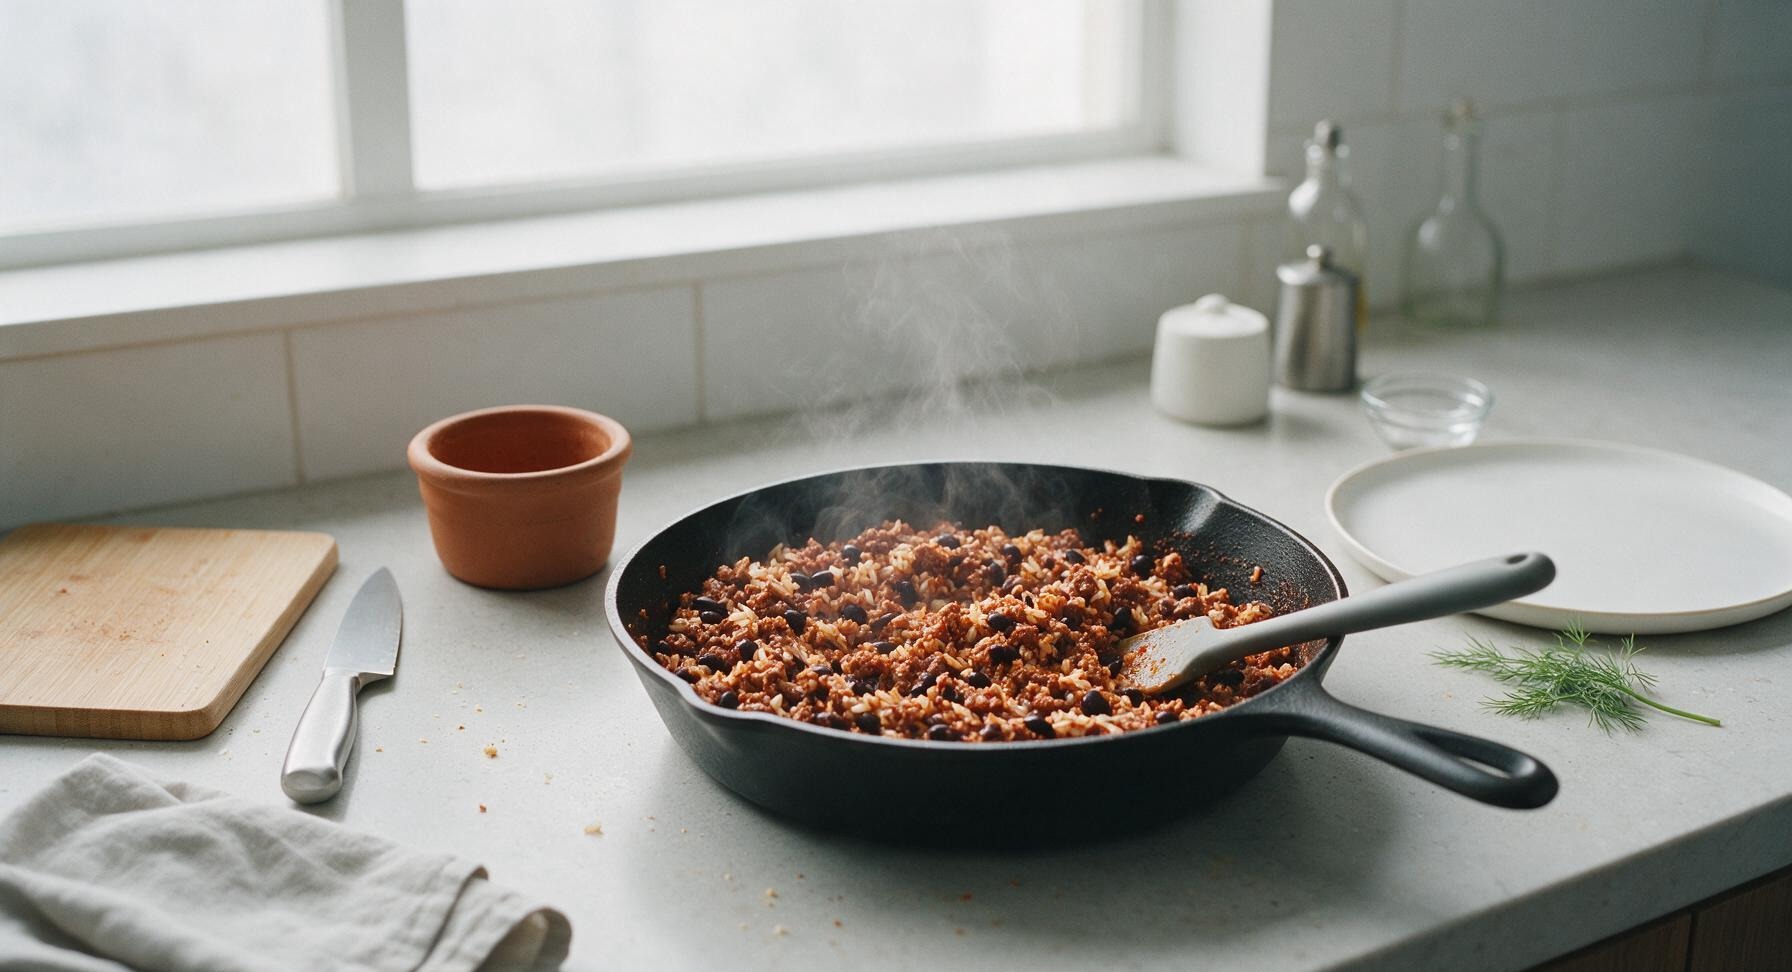
Stir the 2 tablespoons taco seasoning, drained black beans, cooked white rice, and 1/4 cup salsa into the browned beef mixture. Stir thoroughly to evenly distribute seasoning, then reduce heat to low and simmer for 3 minutes to let flavors meld. Remove the skillet from heat and let the filling cool for 10 minutes (warm filling causes soggy tortillas!). Stir in chopped cilantro once cooled slightly.
Step 3
step3:Season and Combine Filling
4

Portion Filling onto Tortillas

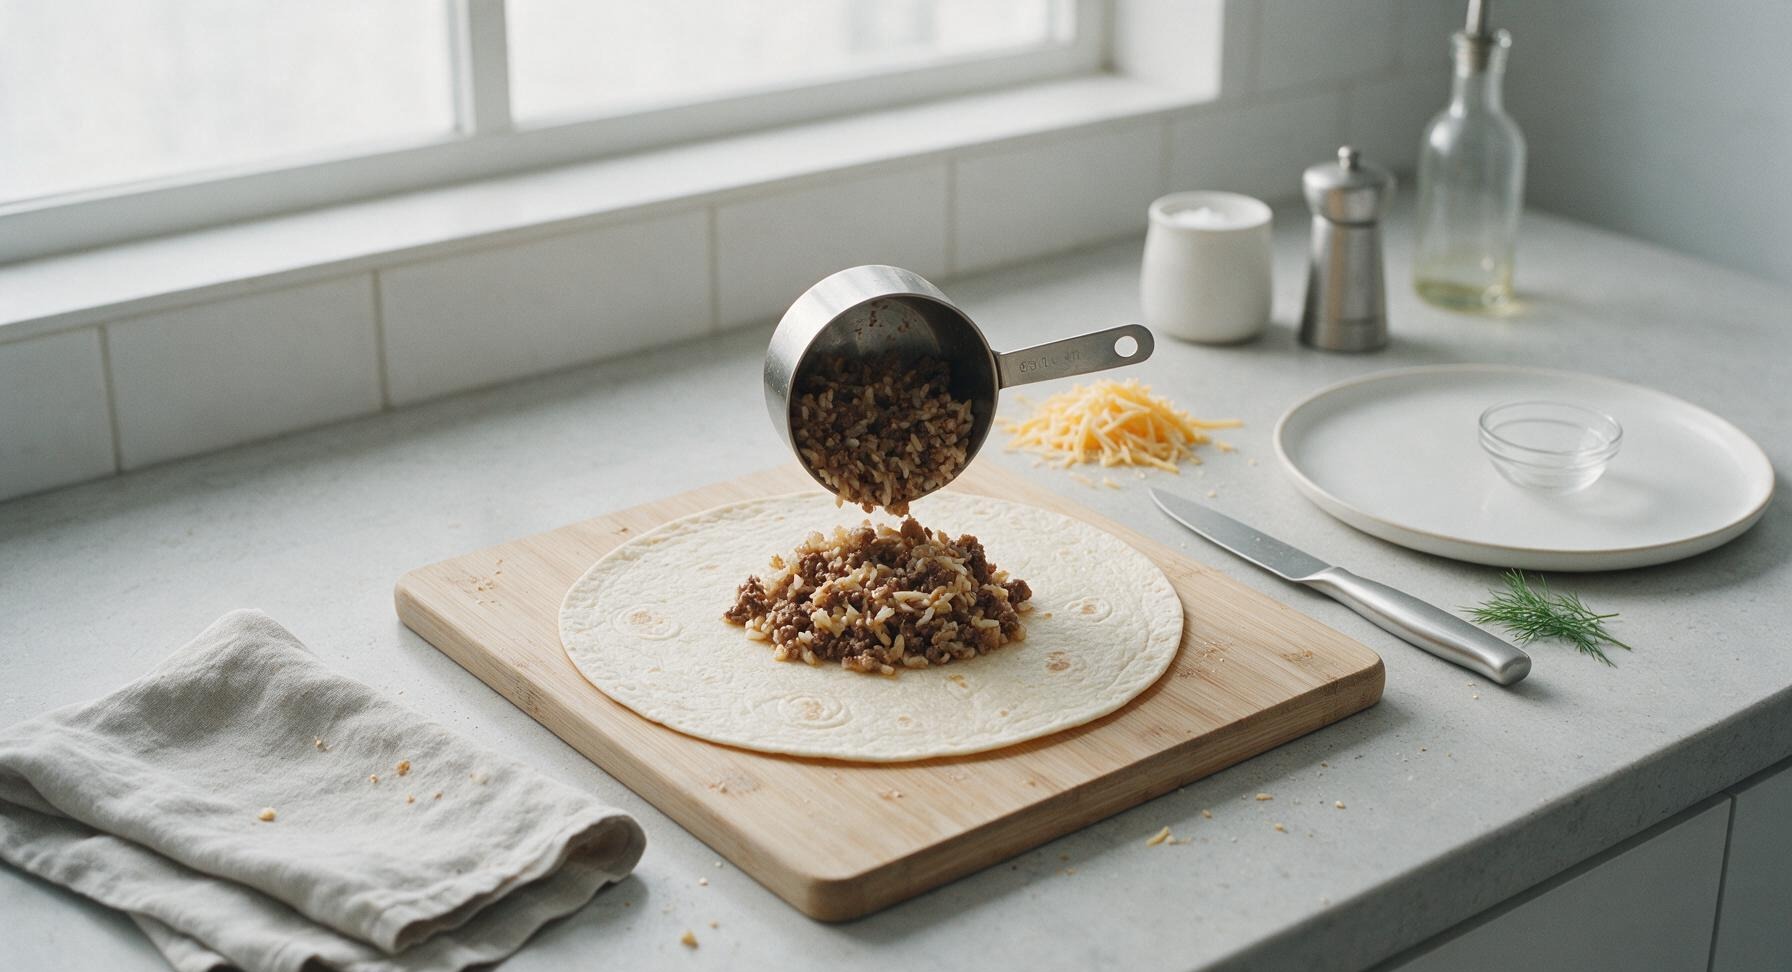
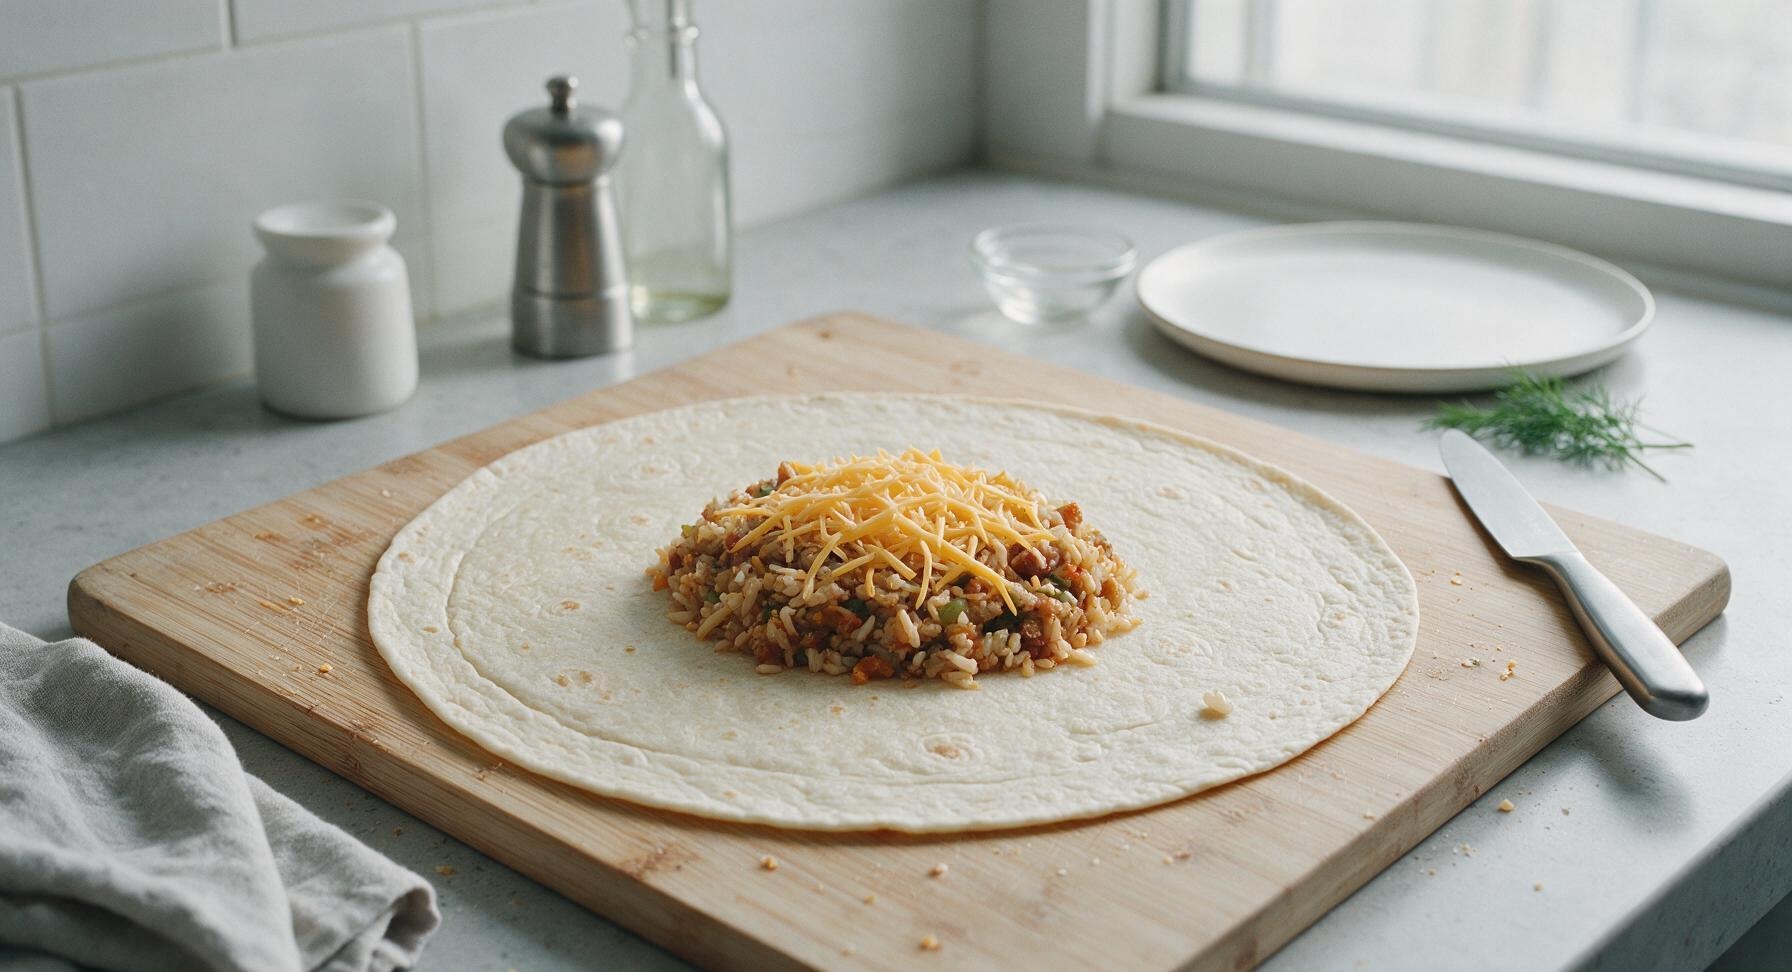
Lay one 10-inch flour tortilla flat on the maple cutting board. Use the 1-cup stainless steel measuring cup to scoop a scant 1/2 cup of cooled filling into the center of the tortilla, topping with 2 tablespoons of shredded cheddar cheese. Leave a 2-inch border around the edges of the tortilla to make rolling easy and prevent filling from leaking out.
Step 4
step4:Portion Filling onto Tortillas
Step 4
step4:Portion Filling onto Tortillas
5

Roll Tight Burritos

Fold the left and right edges of the tortilla in over the filling, then fold the bottom edge of the tortilla up tightly over the filling, rolling forward away from you to create a firm, compact log. Make sure there are no gaps where filling can leak out during reheating. Set rolled burritos seam-side down on the matte off-white ceramic platter as you work.
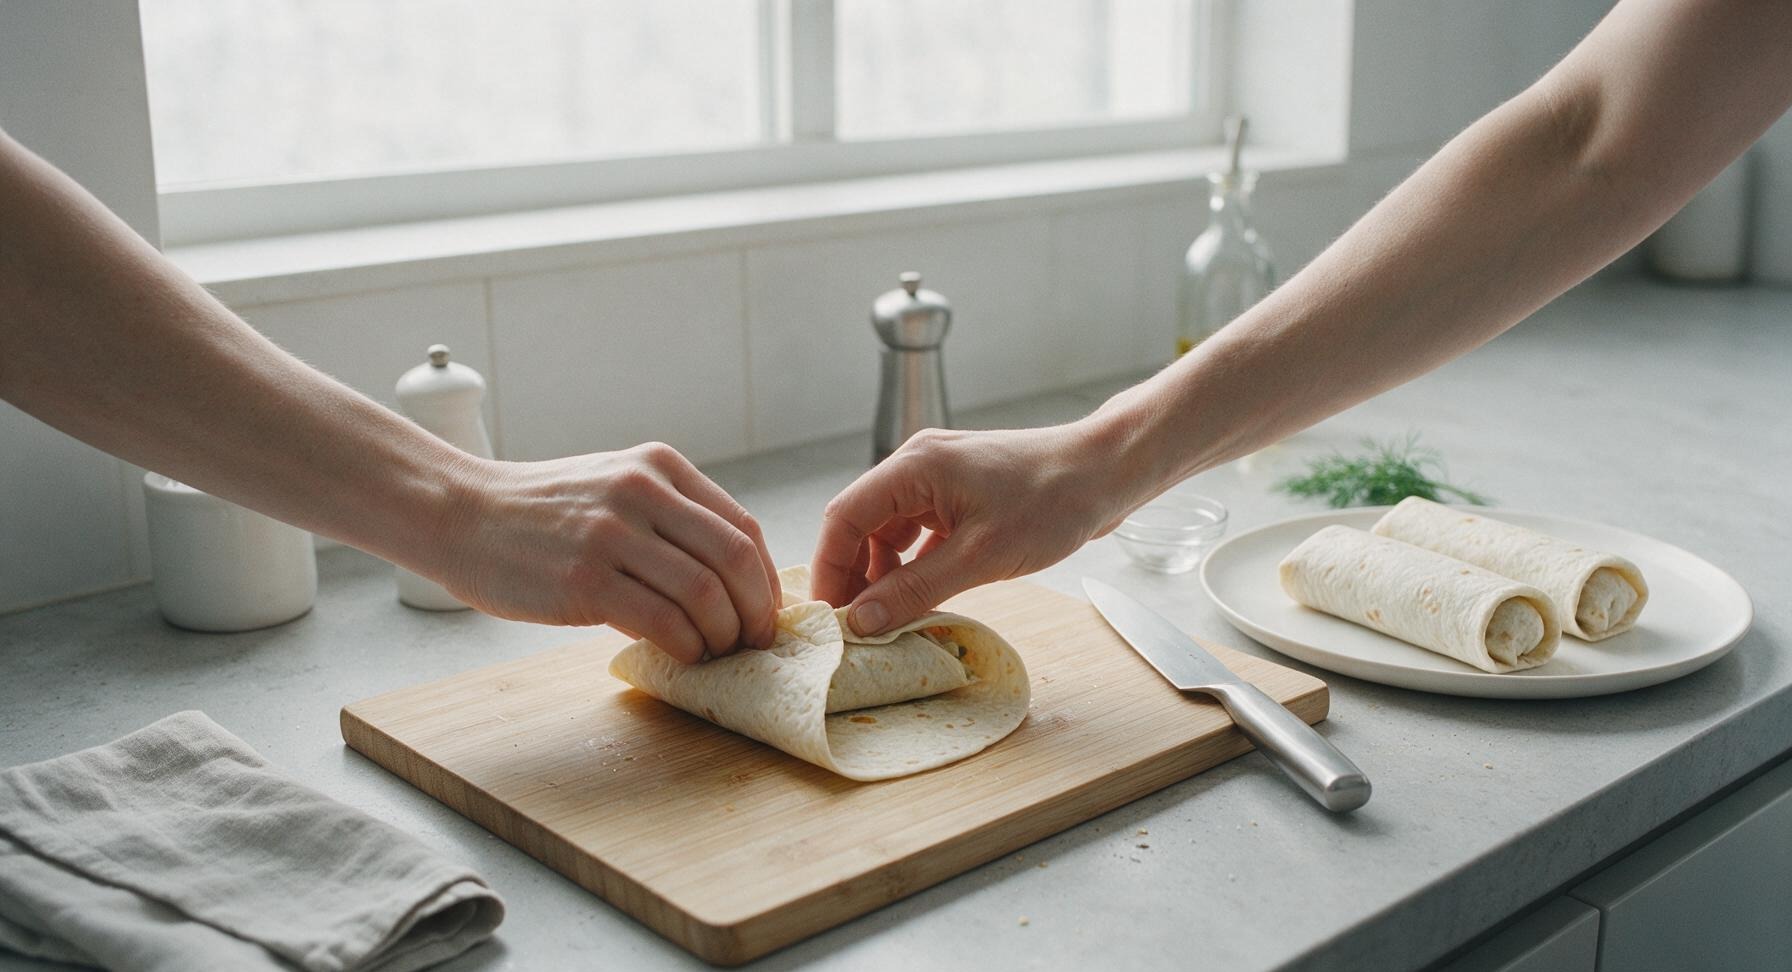
Step 5
step5:Roll Tight Burritos
6

Wrap for Freezer Storage

Lay each rolled burrito on a 30x30cm sheet of unbleached parchment paper, folding the paper tightly around the burrito like a candy wrapper, twisting the ends to seal out air. Air exposure causes freezer burn, so wrap as snugly as possible without squeezing filling out the ends.
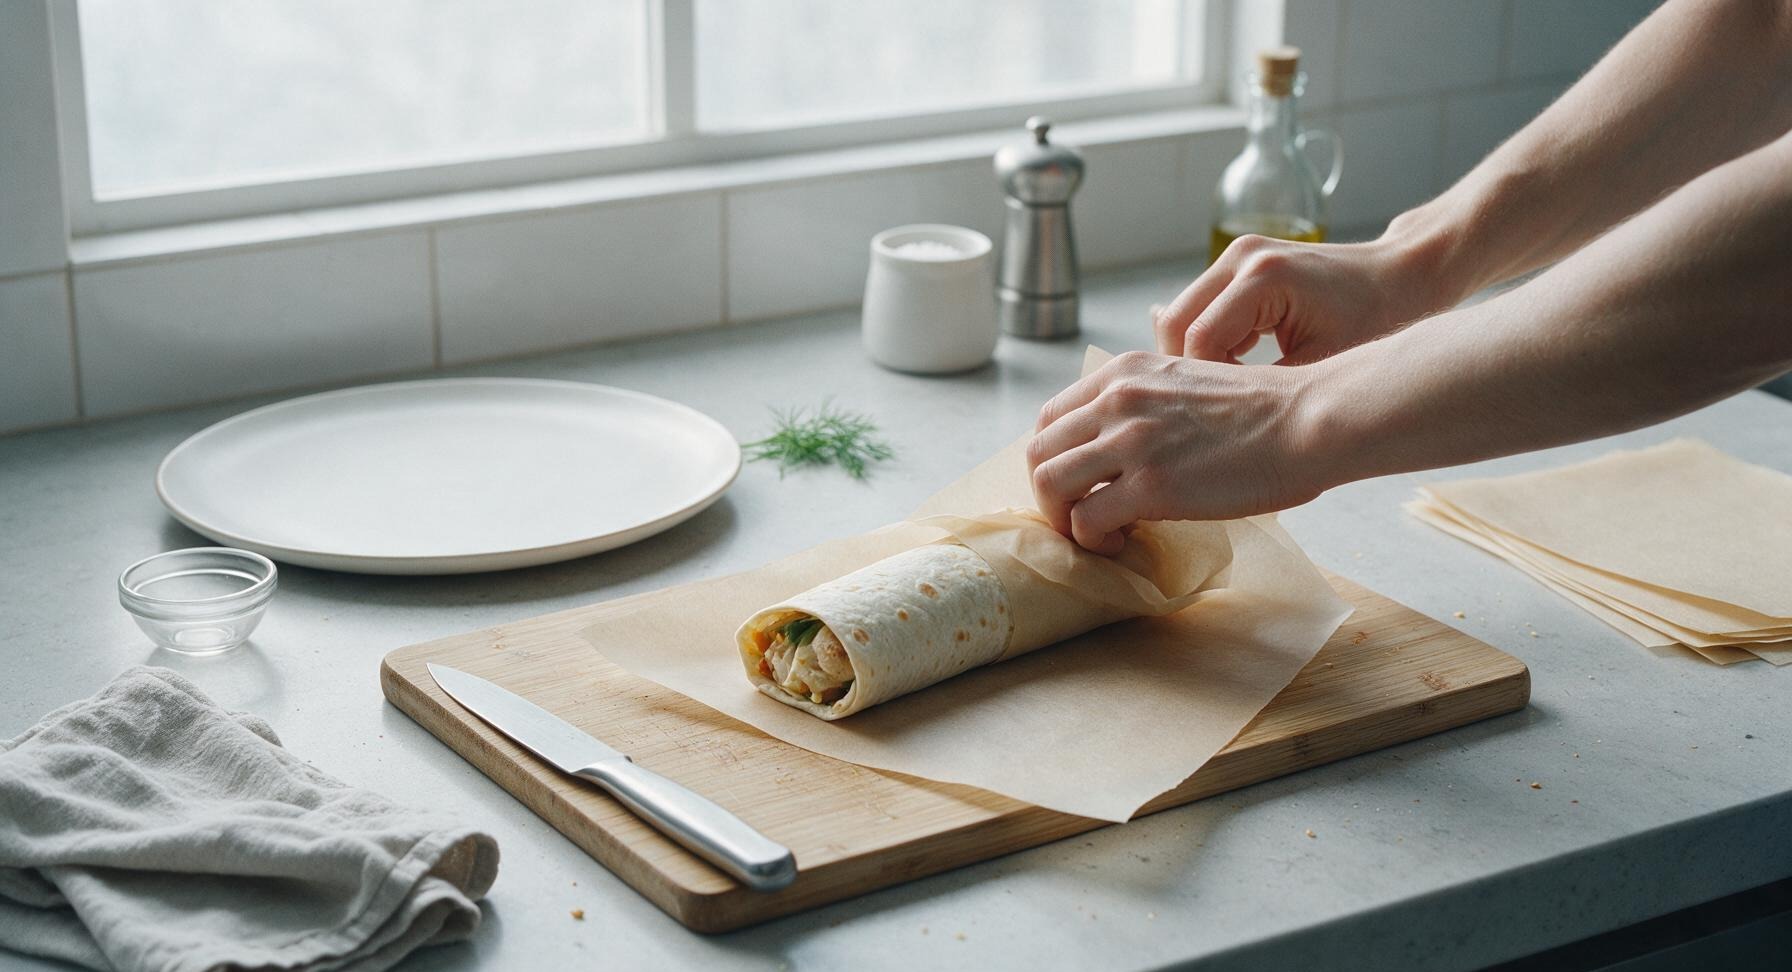
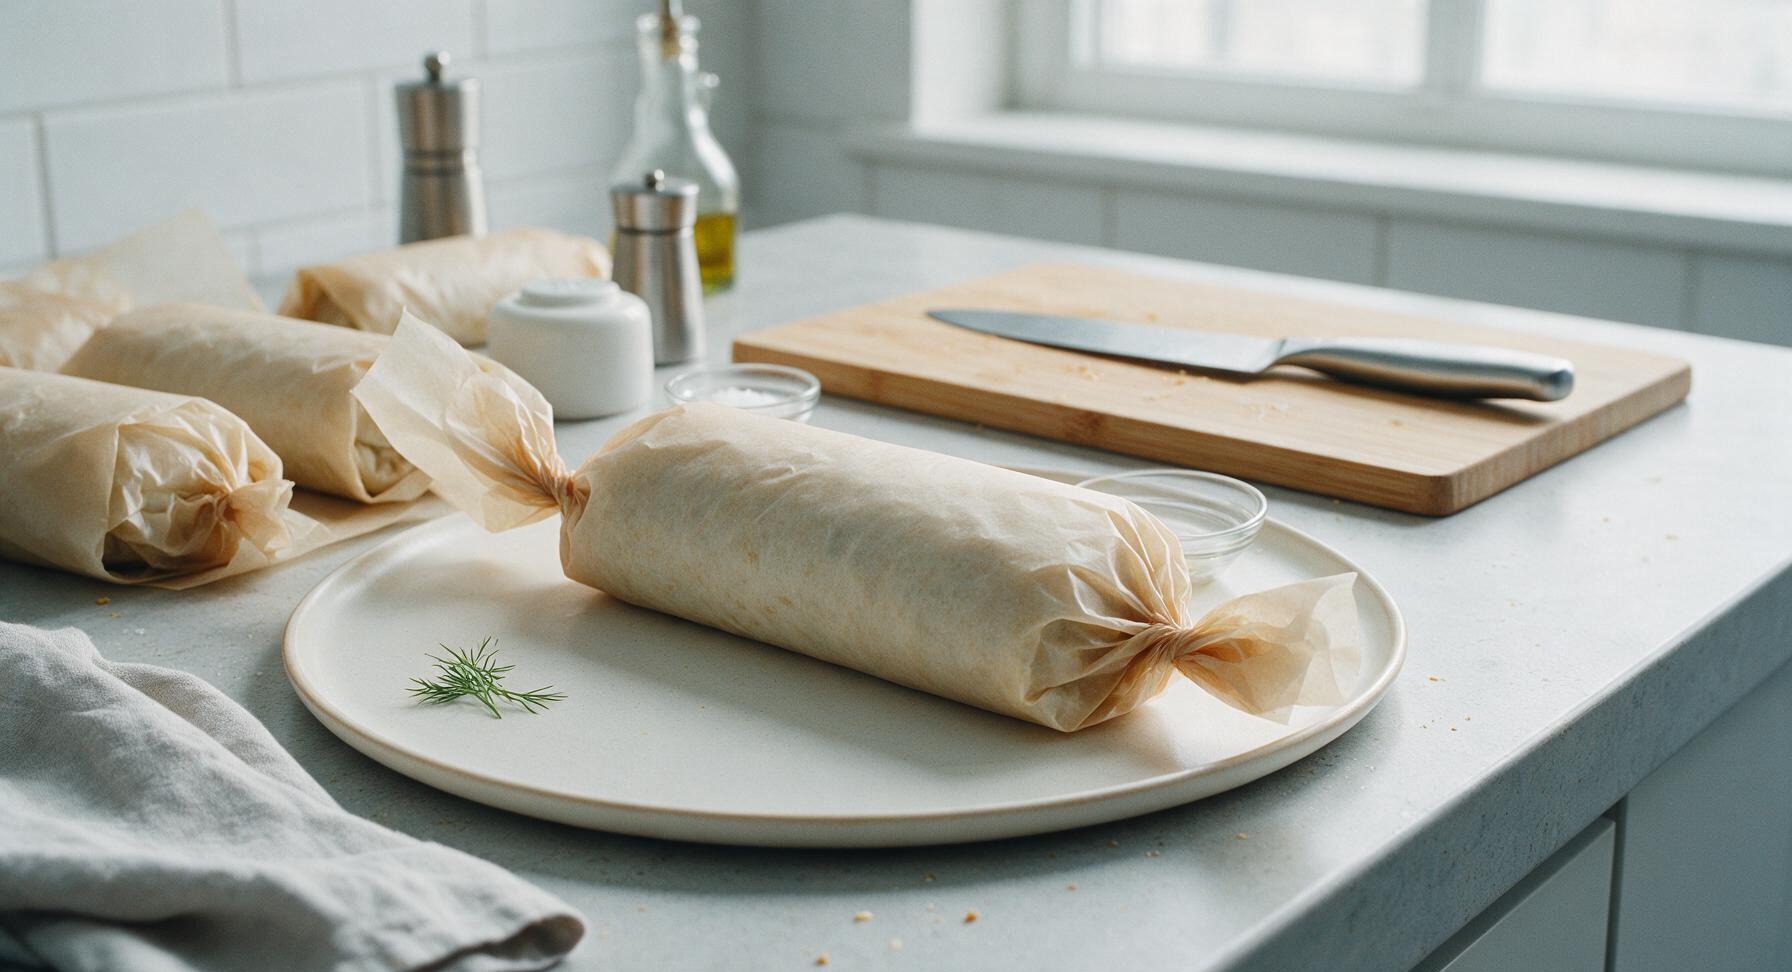
Step 6
step6:Wrap for Freezer Storage
Step 6
step6:Wrap for Freezer Storage
7

Package and Label Burritos

Place 2-3 wrapped burritos into each heavy-duty gallon zip-top freezer bag, pressing out as much excess air as possible before sealing. Use the permanent marker to write the contents and date on the outside of each bag. Store flat in the freezer for up to 3 months.
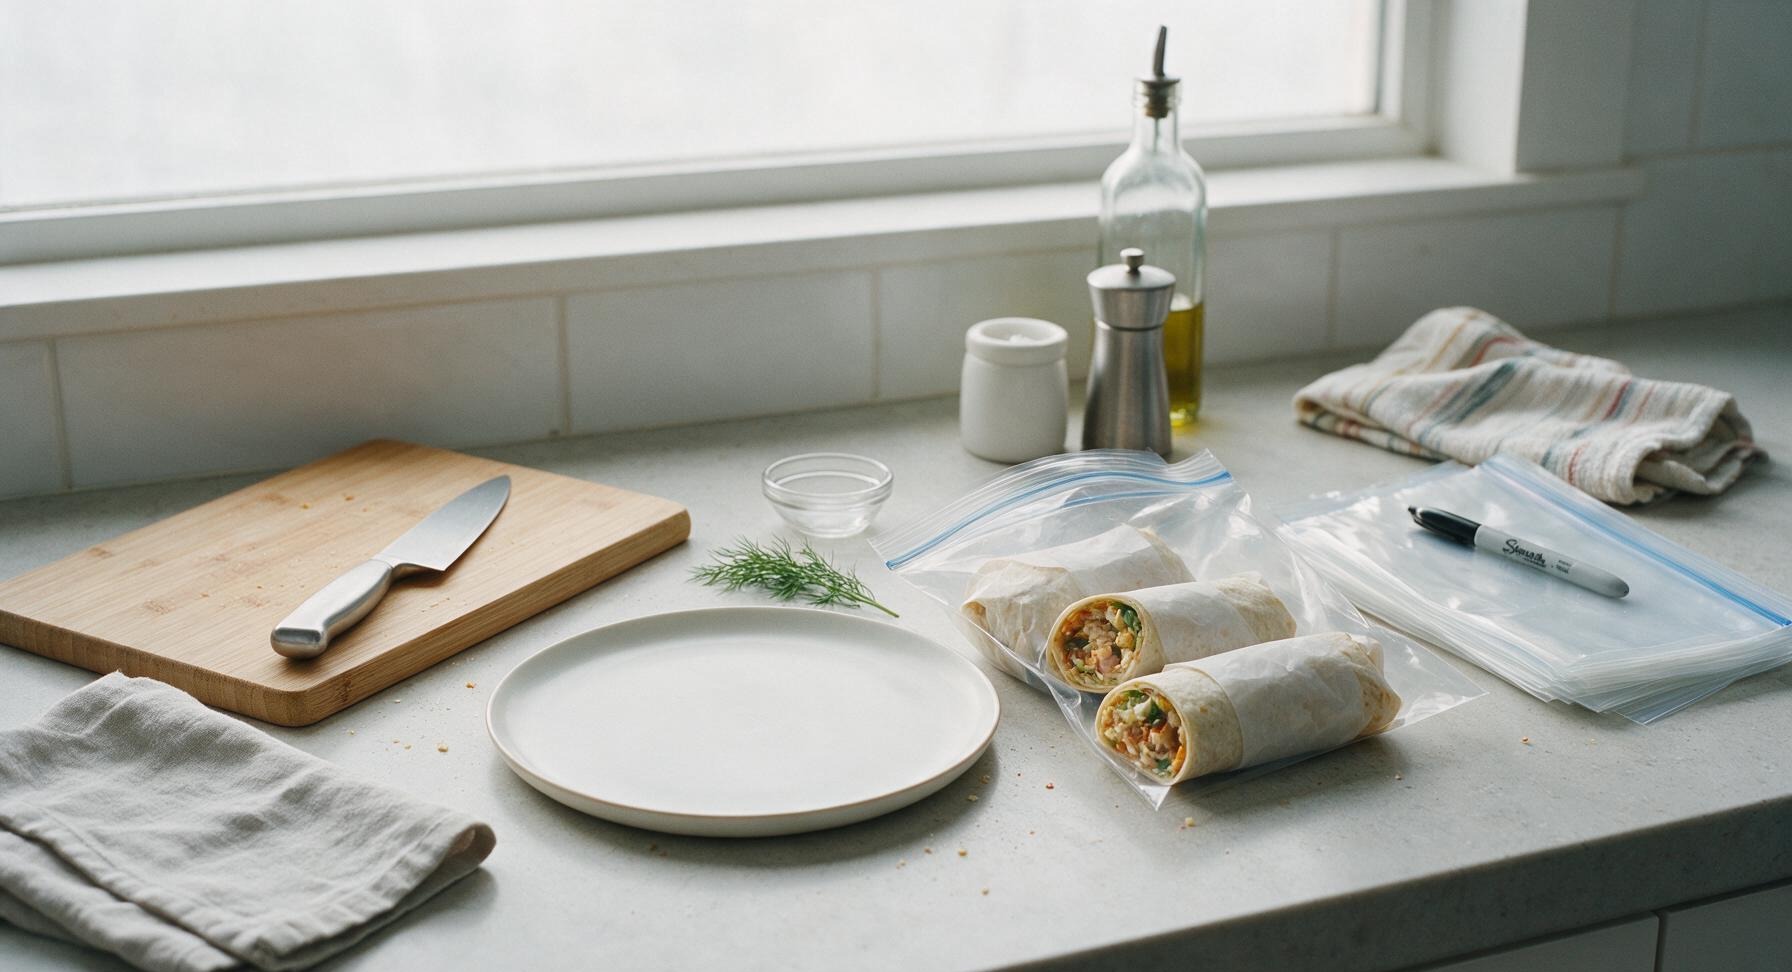
Step 7
step7:Package and Label Burritos

Tips

1.Let filling cool for a full 10 minutes before rolling: steam from hot filling creates condensation inside wraps, leading to soggy tortillas and icy freezer burn over time.
2.Skip high-moisture fresh toppings like lettuce, sour cream, or guacamole in frozen burritos: these ingredients turn watery, grainy, or mushy when frozen. Add them fresh after reheating for best texture.
3.Press all excess air out of freezer bags before sealing: trapped air causes freezer burn, which dries out tortillas and makes filling taste stale after just 2-3 weeks of storage.
4.Reheat directly from frozen (no thawing): unwrap parchment, wrap in a damp paper towel, and microwave for 2.5-3 minutes, or bake at 375°F (190°C) for 25 minutes for a crisp tortilla. Thawing first leads to soggy, unevenly heated filling.


✨ You May Also Like

Main Course
🍜 United Kingdom

A showstopping classic of tender seared beef, savory mushroom duxelles, and crisp prosciutto wrapped in flaky golden puff pastry, baked to juicy perfection.

⏱️ 2 hours 1Main Course ★ 4.7
Main Course
🍜 India

Tender charred marinated chicken simmered in a rich, spiced creamy tomato sauce, this iconic Anglo-Indian curry pairs perfectly with basmati rice or warm naan.

⏱️ 50 minuteMain Course ★ 4.6
Main Course
🍜 Thailand

Classic tangy, sweet, and savory Thai stir-fried rice noodles with shrimp, tofu, and crunchy garnishes, balancing all five core Thai flavor profiles.

⏱️ 30 minuteMain Course ★ 4.5
Main Course
🍜 United Kingdom

Crispy golden beer-battered cod and fluffy double-fried chips, served with tangy tartar sauce and malt vinegar: the timeless, beloved British pub comfort classic.

⏱️ 45 minuteMain Course ★ 4.7
Main Course
🍜 Mexico

Smoky, chile-marinated pork tacos with caramelized pineapple, fresh cilantro, and lime: a beloved classic Mexican street food perfect for casual summer gatherings.

⏱️ 1 hour 45Main Course ★ 4.8
Main Course
🍜 United States

Crunchy Fritos corn chips layered with savory beef chili and melted cheddar, topped with cool, zesty fixings for a beloved, cozy Tex-Mex comfort food.

⏱️ 35 minuteMain Course ★ 4.8

freezing homemade burritos:Frequently Asked Questions

1.How do I prevent my frozen burritos from getting soggy during storage and reheating? ▾
Start by letting all cooked fillings (ground beef, rice, beans) cool fully to room temperature before assembling, and skip watery fresh toppings like salsa pre-freeze. Leave a ½-inch plain tortilla border when rolling, wrap each burrito tightly in plastic wrap then foil, and store in an airtight freezer bag to lock out excess moisture.
2.Can I swap the ground beef for a different protein to fit my dietary preferences? ▾
Absolutely! 90/10 ground turkey or chicken works as a direct 1:1 swap, seasoned the same way as the beef. You can also use seasoned crumbled tofu, pulled pork, or extra roasted veggies for plant-based versions. Just be sure to drain all excess fat or cooking liquid off proteins before assembling to avoid soggy tortillas.
3.How long will these assembled burritos stay fresh in the freezer? ▾
When wrapped tightly in a double layer of plastic wrap and heavy-duty foil, or sealed in labeled airtight freezer bags, these burritos will stay high-quality for up to 3 months. They are still safe to eat after that point, but you may notice mild freezer burn or muted flavor, so mark assembly dates on each wrap for easy tracking.
4.What’s the best way to reheat a frozen burrito so it heats all the way through evenly? ▾
For fast, even heating, unwrap the plastic, re-wrap the burrito loosely in a damp paper towel, and microwave on 50% power for 3 minutes, flip, then heat on full power for 1 to 2 more minutes until the center hits 165°F. For a crispy tortilla, finish it in a 375°F air fryer or oven for 5 minutes after microwaving.
5.Can I add salsa, sour cream, or guacamole to the burritos before freezing them? ▾
I don’t recommend adding those high-moisture, creamy fresh toppings before freezing. They break down as they thaw, release excess water that turns tortillas soggy, and develop a grainy, off texture after being frozen. Keep those toppings on hand to add right after reheating for bright, fresh flavor and perfect texture.
6.Why does the recipe call for 10-inch burrito-size flour tortillas specifically? ▾
10-inch tortillas are the ideal size to hold a generous portion of filling without splitting or leaking when rolled and frozen. Smaller 8-inch tortillas are too tight to fold properly, leading to oozing filling during reheating, while extra-large 12-inch tortillas tend to turn doughy and tough in spots after freezing and reheating.
7.Do I need to make rice and beans from scratch, or are pre-made/canned options okay? ▾
Pre-cooked microwavable long-grain white rice and rinsed canned black beans work perfectly here, and cut down prep time significantly—no need to make either from scratch if you don’t want to. Just be sure to drain and rinse canned beans well, and let pre-cooked rice cool fully before assembling to avoid trapped steam that causes sogginess.
8.How do I roll burritos properly so filling doesn’t leak out when I reheat them? ▾
Start by placing your filling in a tight line down the center of the tortilla, leaving 1 inch of space at the top and bottom edges. Fold those top and bottom edges in over the filling, tuck one side of the tortilla tight over the filling, then roll firmly away from you to seal completely, with no filling peeking out the ends.
9.Can I adapt these burritos to be gluten-free or dairy-free for family members with allergies? ▾
Absolutely! For gluten-free burritos, swap regular flour tortillas for a sturdy, flexible certified gluten-free 10-inch burrito tortilla that won’t crack when rolled. For dairy-free, swap the sharp cheddar for a dairy-free shredded melting blend that holds up to reheating, and double-check canned beans for hidden gluten or dairy additives.
10.Do I need to thaw frozen burritos in the fridge before reheating them? ▾
You don’t need to thaw these at all—reheating straight from frozen is exactly what this recipe is designed for! Thawing burritos in the fridge first actually lets excess moisture seep into the tortilla, leading to a soggy final texture. Skip the thaw step entirely and reheat directly from frozen for the best results.

Comments (7)

2 days ago

OMG these are such a game changer for my busy weekday mornings! I made a big batch on Sunday, stuffed them with black beans, rice, taco-seasoned ground turkey, and a little shredded cheddar, and popped them in the freezer. My husband grabs one on his way to work and my 8 year old will eat two for after-school snacks no complaints. 20 minute cook time is no joke, so easy even I don’t mess it up!

yesterday

So glad these are working out for your family! Pro tip: wrap them individually in parchment paper before freezing so they don’t stick together, and reheat in the microwave for 90 seconds flipping halfway for the best texture!

3 days ago

Made the regular version of these for dinner earlier this week and they were incredible! Quick question — can I stuff these with breakfast fillings too? Like scrambled eggs, sausage, and hash browns? I’ve been looking for easy freezer breakfasts for my early construction shifts but I don’t want the tortillas to get all soggy when I freeze them. Has anyone tried that?

2 days ago

I did that last month! I let the eggs and hash browns cool completely before stuffing, squeezed out as much extra moisture as I could, and they didn’t get soggy at all! Lasted 3 weeks in the freezer no problem.

2 days ago

Great question! These work perfectly for breakfast fillings, just make sure all hot fillings are fully cooled before wrapping to avoid sogginess, just like the commenter above mentioned. You can even add a dash of hot sauce inside before freezing for an extra kick!

1 week ago

Brought a platter of these (reheated in the oven right before I left) to my neighborhood potluck last weekend and people were begging for the recipe! I did a mix of veggie with roasted peppers and corn, and chicken with verde sauce, and every single one was gone in 15 minutes. SO good, will absolutely be making these again for our next tailgate.

30 minutes ago

Made a half batch of these last week to test them out and they’re chef’s kiss! Quick question though — how long do these actually last in the freezer? I live in a tiny dorm with just a mini fridge and tiny microwave, and I want to make a huge batch to stock up so I don’t blow my budget on takeout every night. Would they be okay for a month?

5 minutes ago

I’ve kept mine for up to 6 weeks and they tasted totally fresh! Just make sure you squeeze all the air out of the wrap or freezer bag you store them in so they don’t get freezer burn. Saved me so much money my senior year!

yesterday

These are so tasty but when I tried to make them with my gluten-free tortillas, they cracked really bad when I rolled them up after freezing, any tips? I used the large burrito size but they still split when I tried to reheat them.

2 hours ago

I had the same problem at first! Warm your gluten-free tortillas for 10 seconds in the microwave before rolling them, and wrap them a little tighter in plastic wrap before freezing, they won’t crack that way I promise!

30 minutes ago

Great tip from the commenter! Gluten-free tortillas are a little more prone to cracking when cold, so warming them slightly before rolling and letting them cool completely on the counter before popping in the freezer helps prevent that. You can also double wrap them in a small piece of foil for extra structure if needed!

5 days ago

My kids are SO picky, I was convinced they’d turn these up their noses but they devoured them! I let them pick their own fillings for their personal burritos (one only wants rice and cheese, the other loads hers with corn and salsa) and now they ask for “freezer burrito night” every Sunday for meal prep. Total win for this tired mom.

3 days ago

That’s such a smart idea to let the kids customize their own fillings! It makes meal prep fun for them and way less likely you’ll end up with half-eaten burritos at dinner time. Thanks so much for sharing!

2 weeks ago

Took a handful of these on my 3 day backpacking trip last week, wrapped in foil, and reheated them over my camp stove on the second and third night. Way better than the dehydrated meals I usually bring, way more filling too. Can’t believe how well they held up even in a cooler for two days. 10/10 will be a staple on all my future trips.



