
French Crème Brûlée
intro
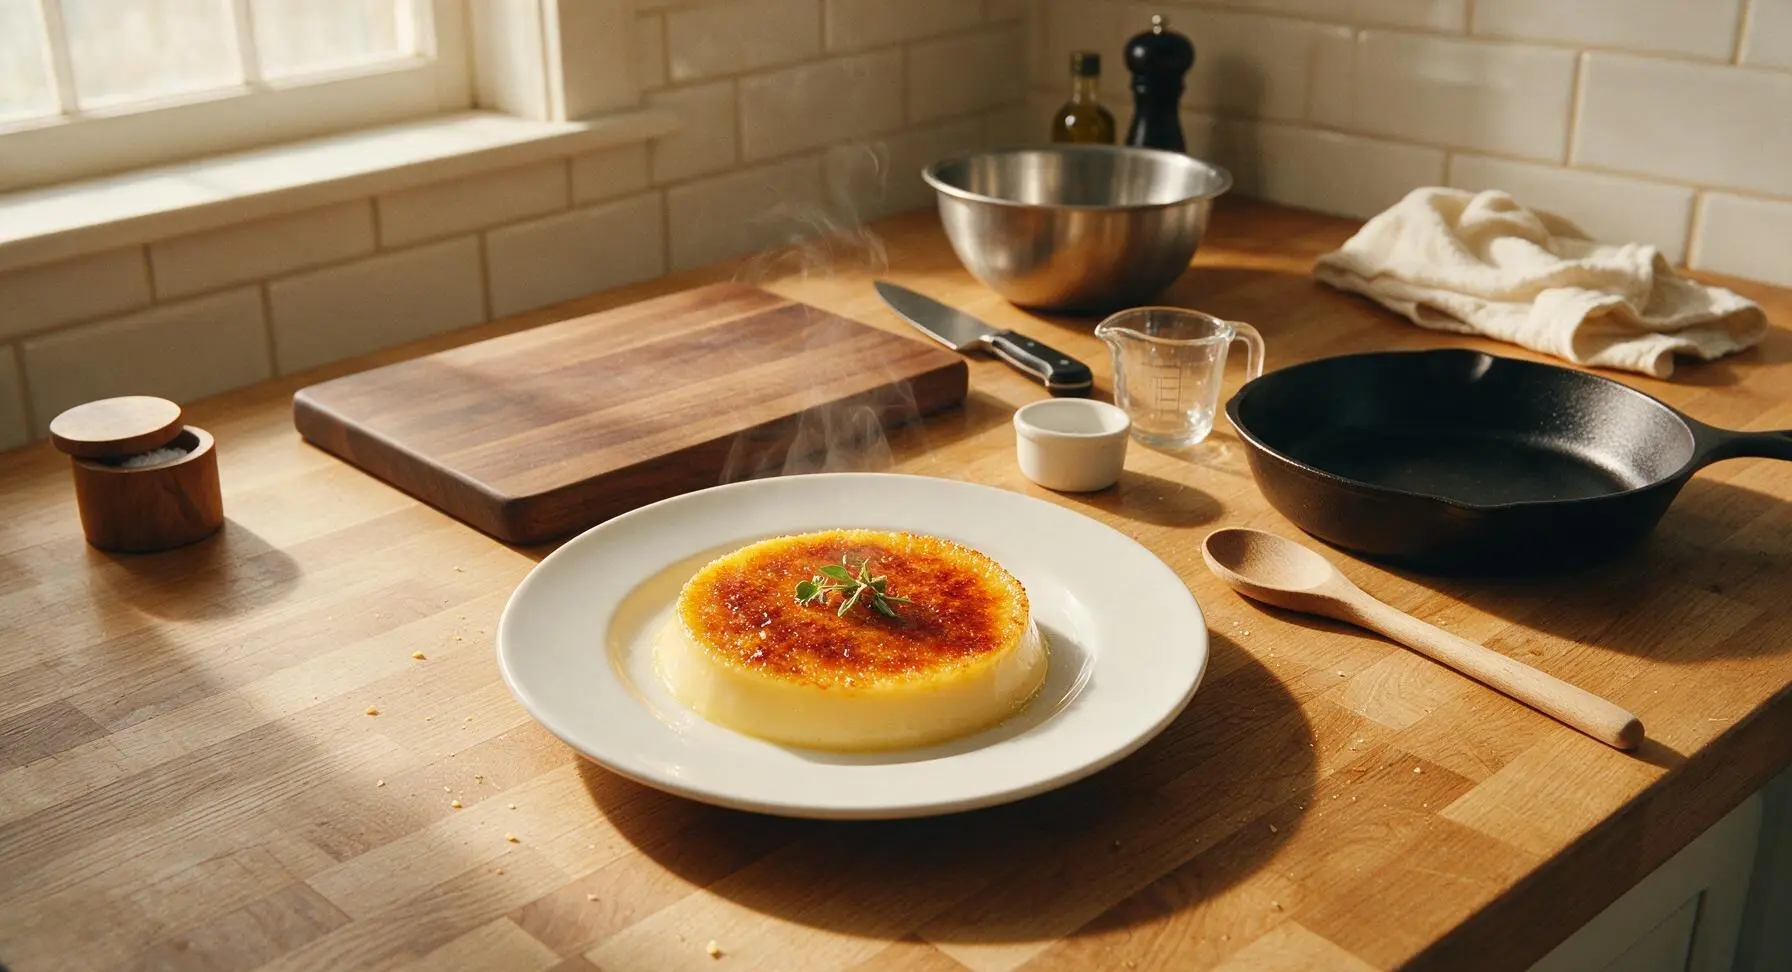
Silky vanilla-infused baked custard topped with a shatteringly crisp caramelized sugar crust, the iconic elegant French dessert perfect for intimate special meals.
Ingredients
Steps
Heat Cream with Vanilla
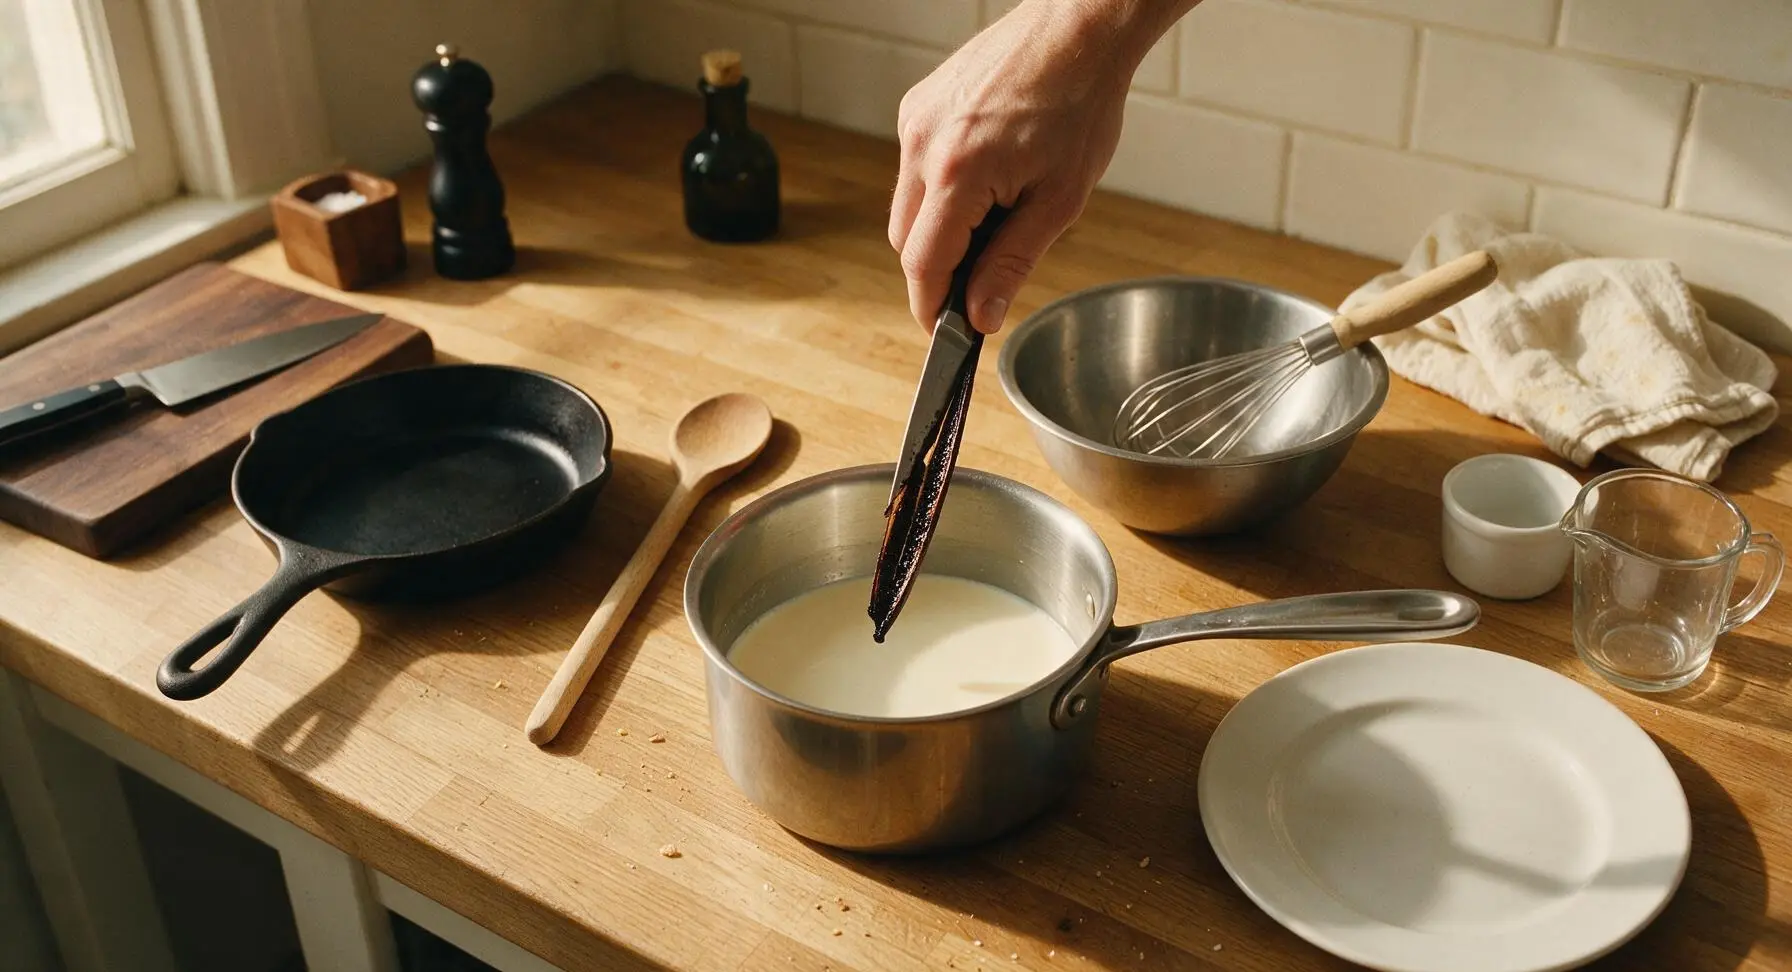
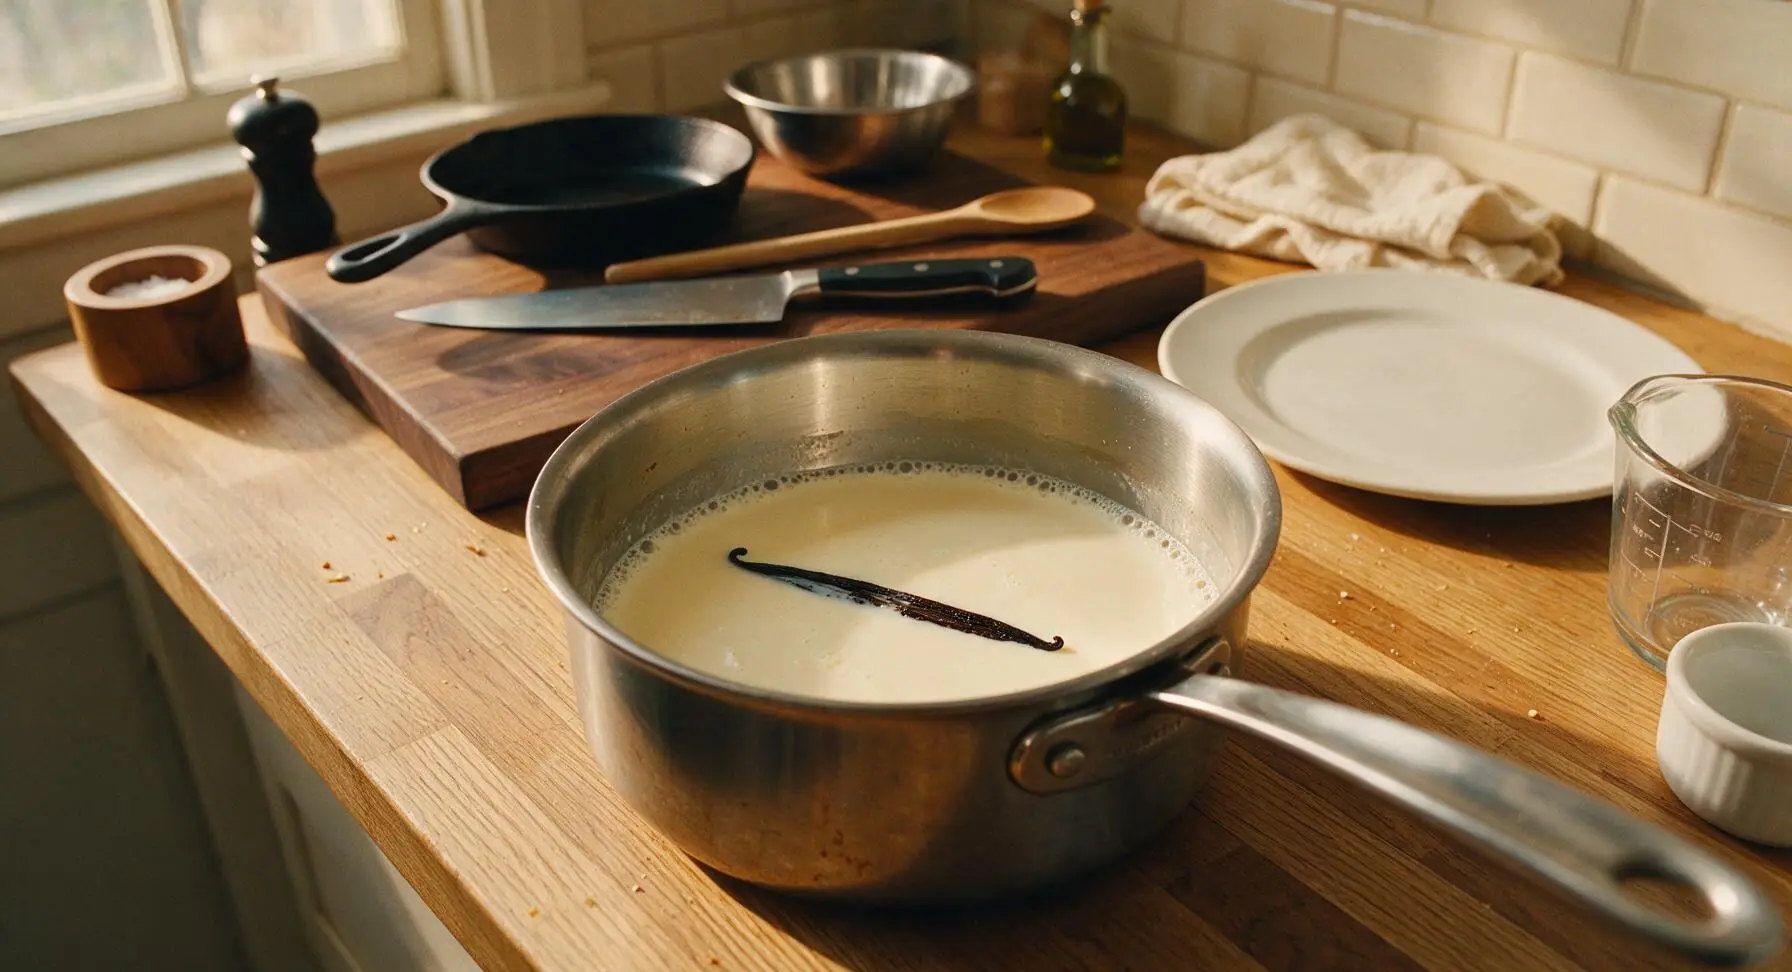
Pour 480ml heavy whipping cream into the 1.5L stainless steel saucepan. Use the paring knife to split the vanilla bean lengthwise down the center, scrape out all the tiny dark seed paste with the knife tip, and add both the scraped seeds and empty pod to the cream. Place the saucepan over medium-low heat, warming the cream until it just reaches a gentle simmer (82°C / 180°F), with tiny bubbles forming around the pan edge — do not let it reach a rolling boil, as this will scald the cream and create a tough skin. Remove from heat, cover, and let the vanilla infuse for 10 minutes, then stir in 1/8 teaspoon flaky sea salt.
Whisk Yolk Sugar Base
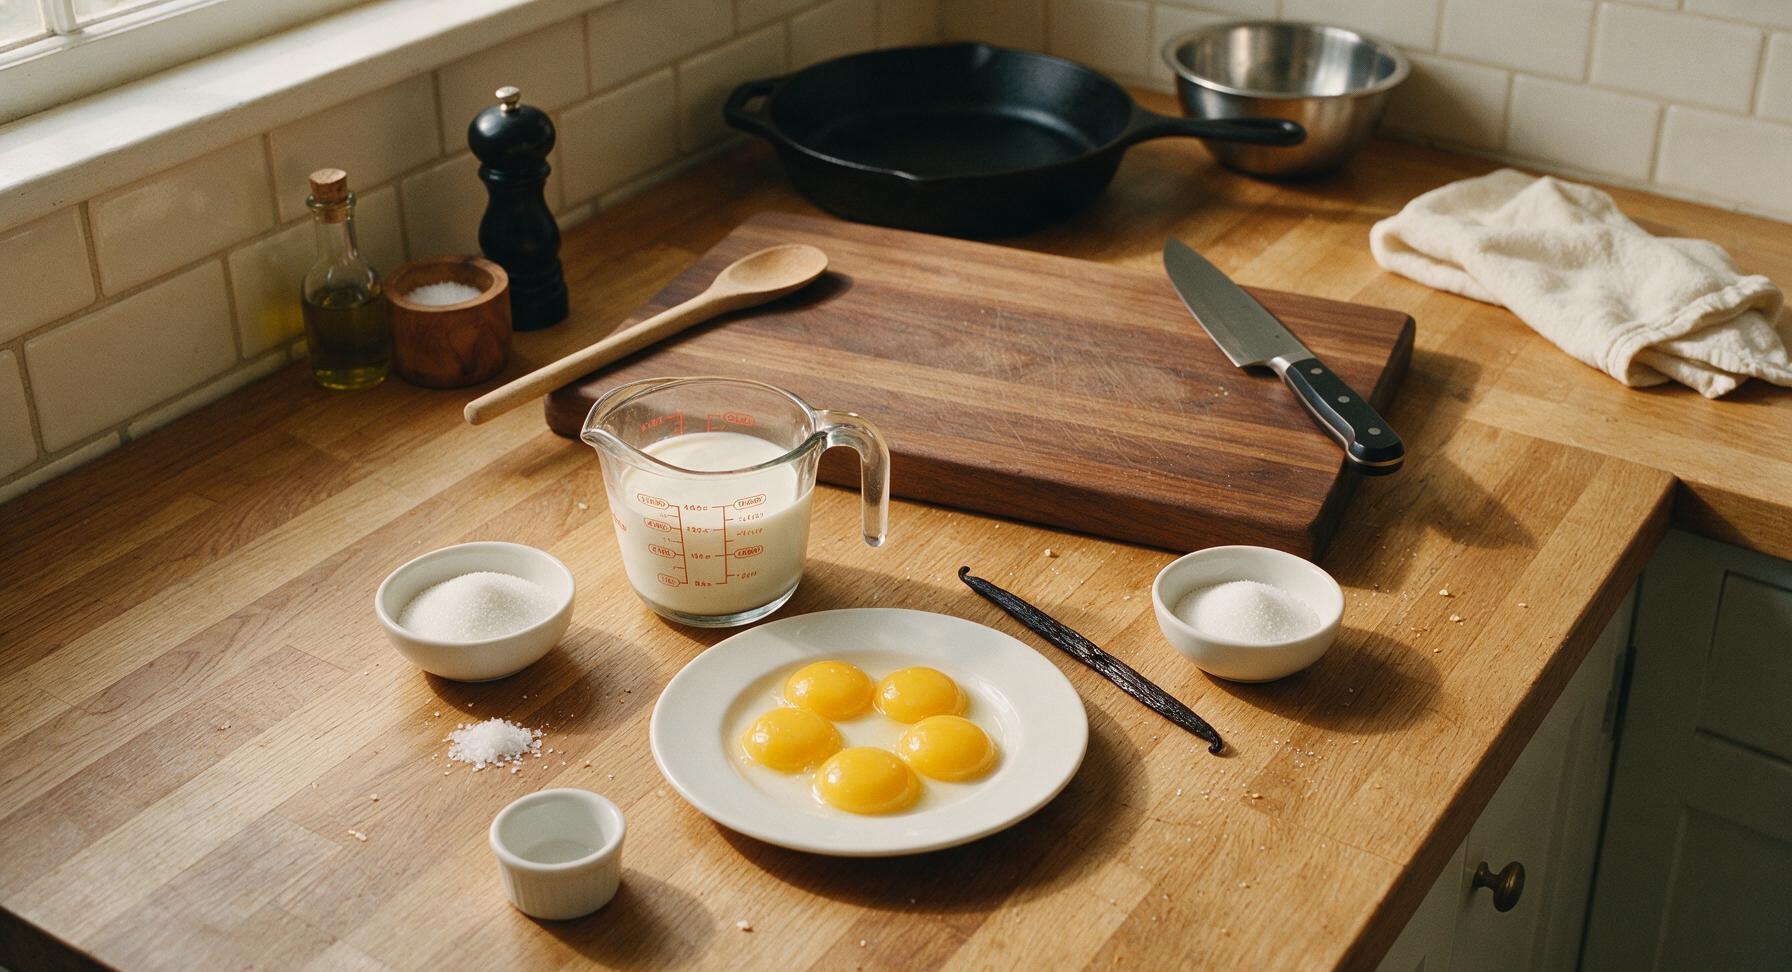
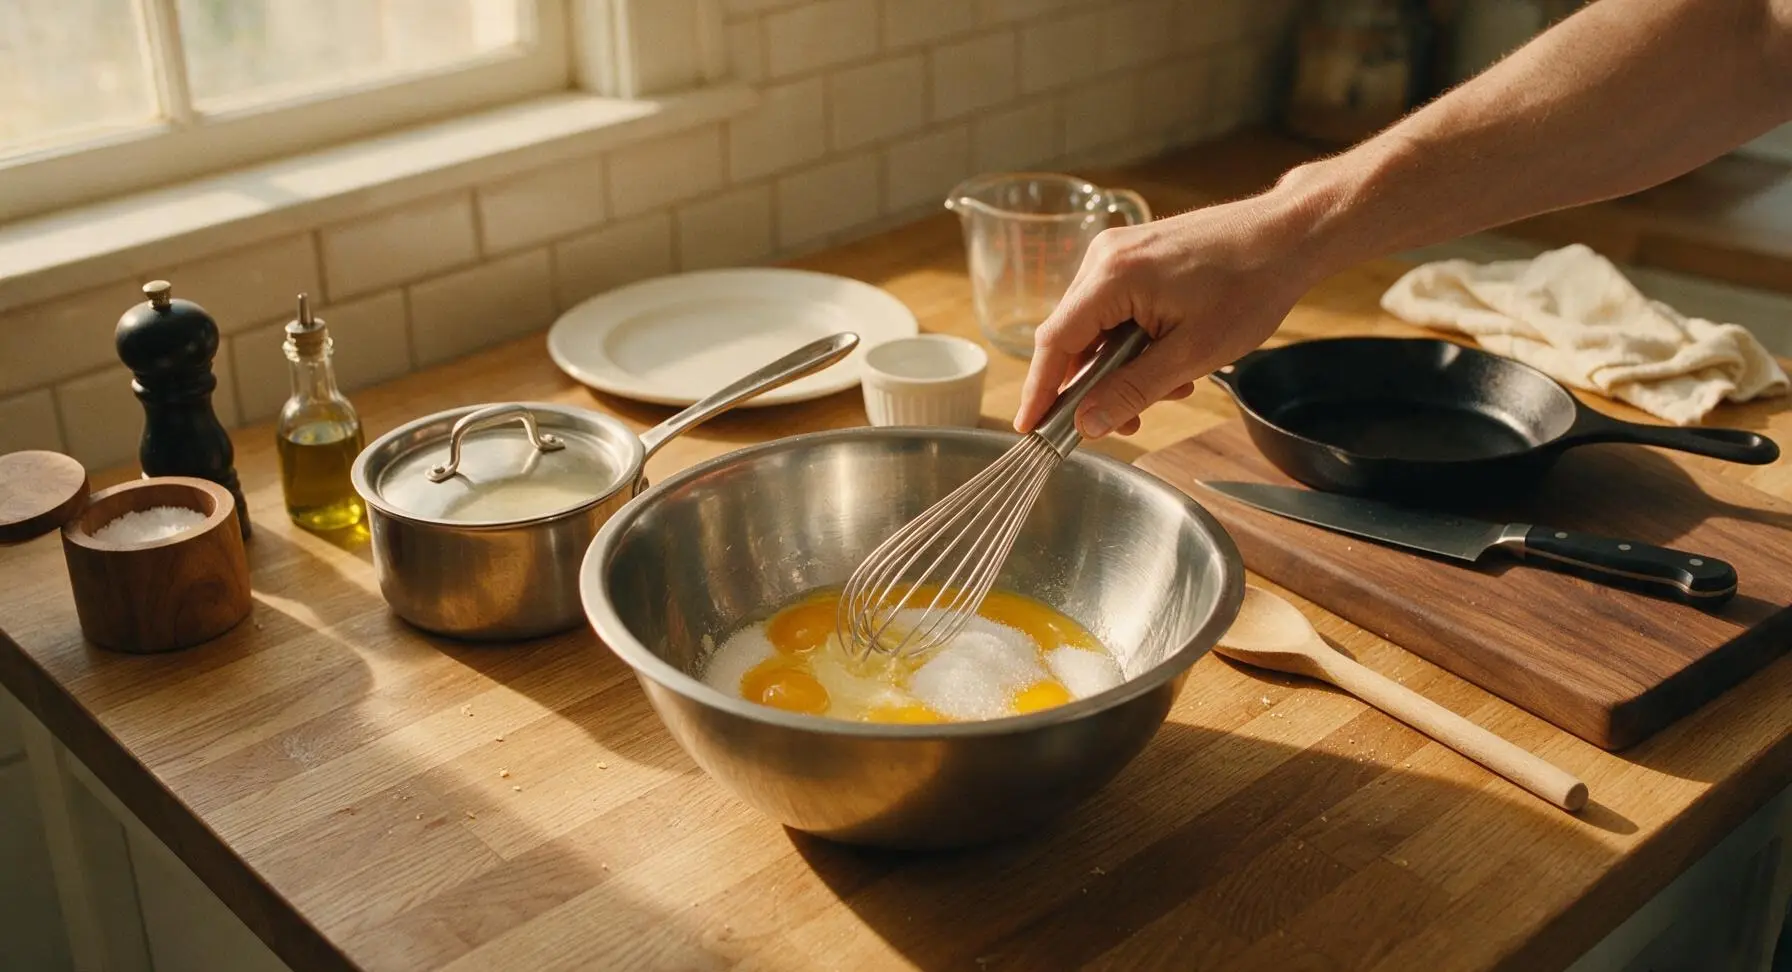
While the cream infuses, add 5 large egg yolks and 70g granulated sugar to the 2L stainless steel mixing bowl. Use the stainless steel balloon whisk to mix the yolks and sugar together slowly, just until the mixture is smooth, pale lemon yellow, and the sugar is fully dissolved. Avoid aggressive whisking that creates air bubbles, as these will cause pockmarked holes in the finished custard. The mixture is ready when it flows in a thick, smooth, unbroken ribbon when you lift the whisk 5cm above the bowl.
Temper Eggs with Cream
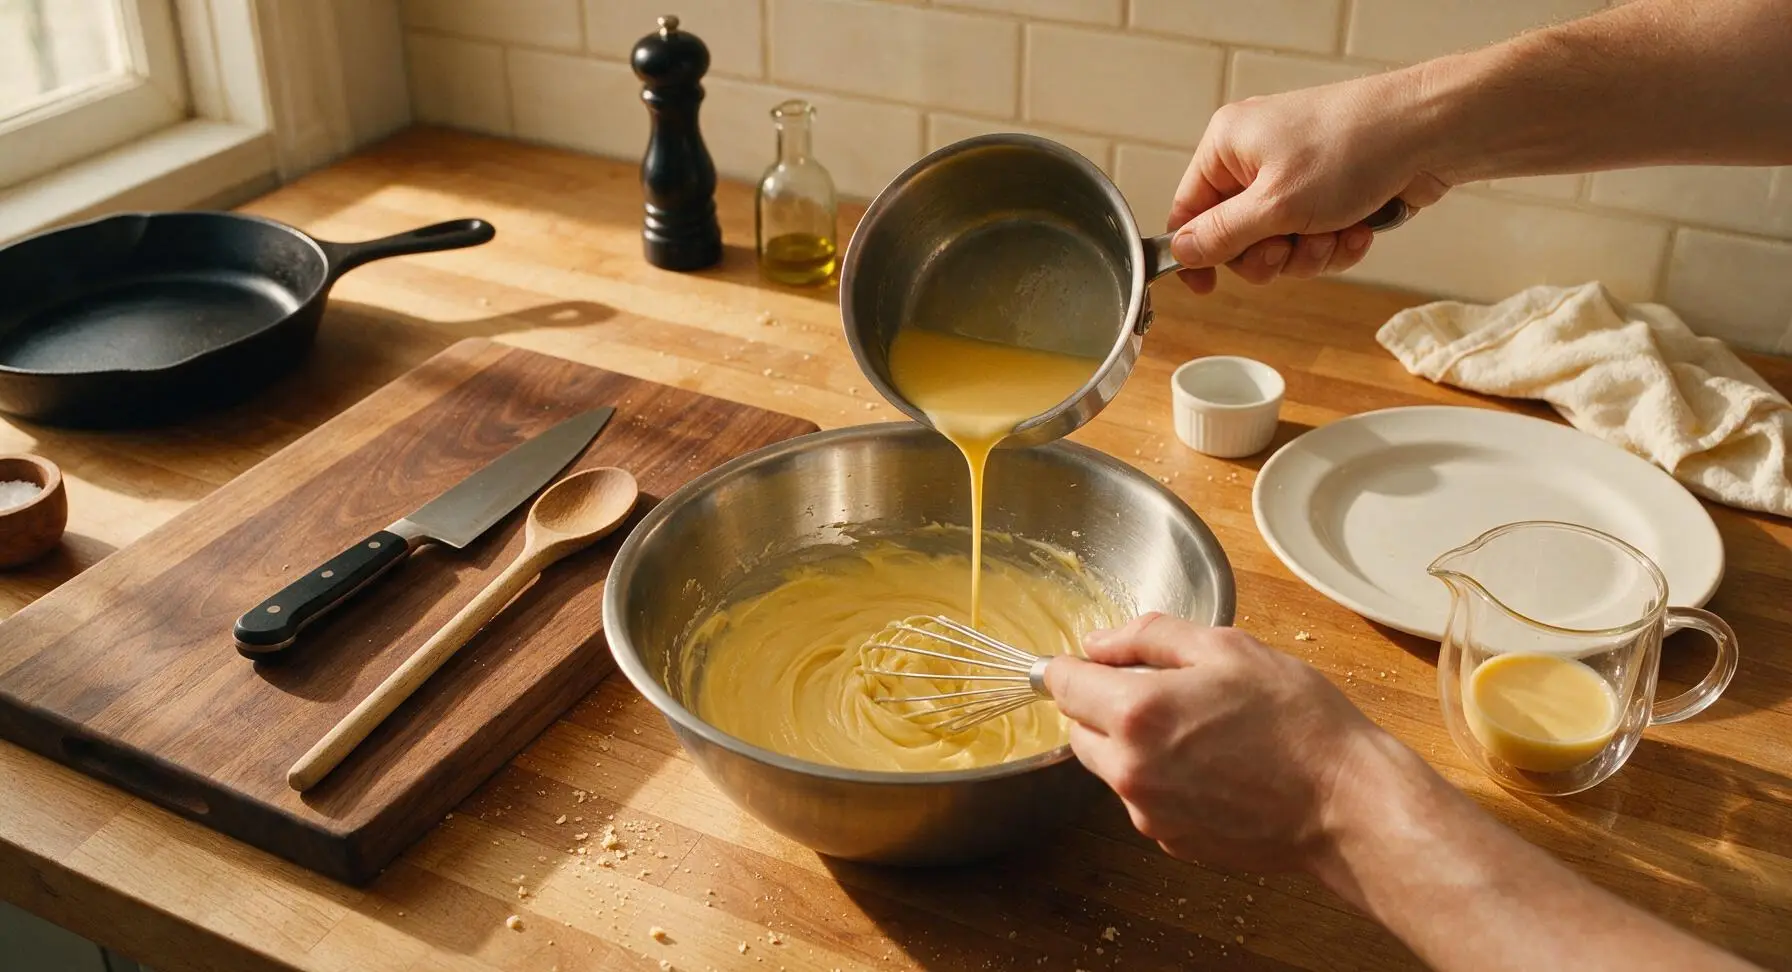
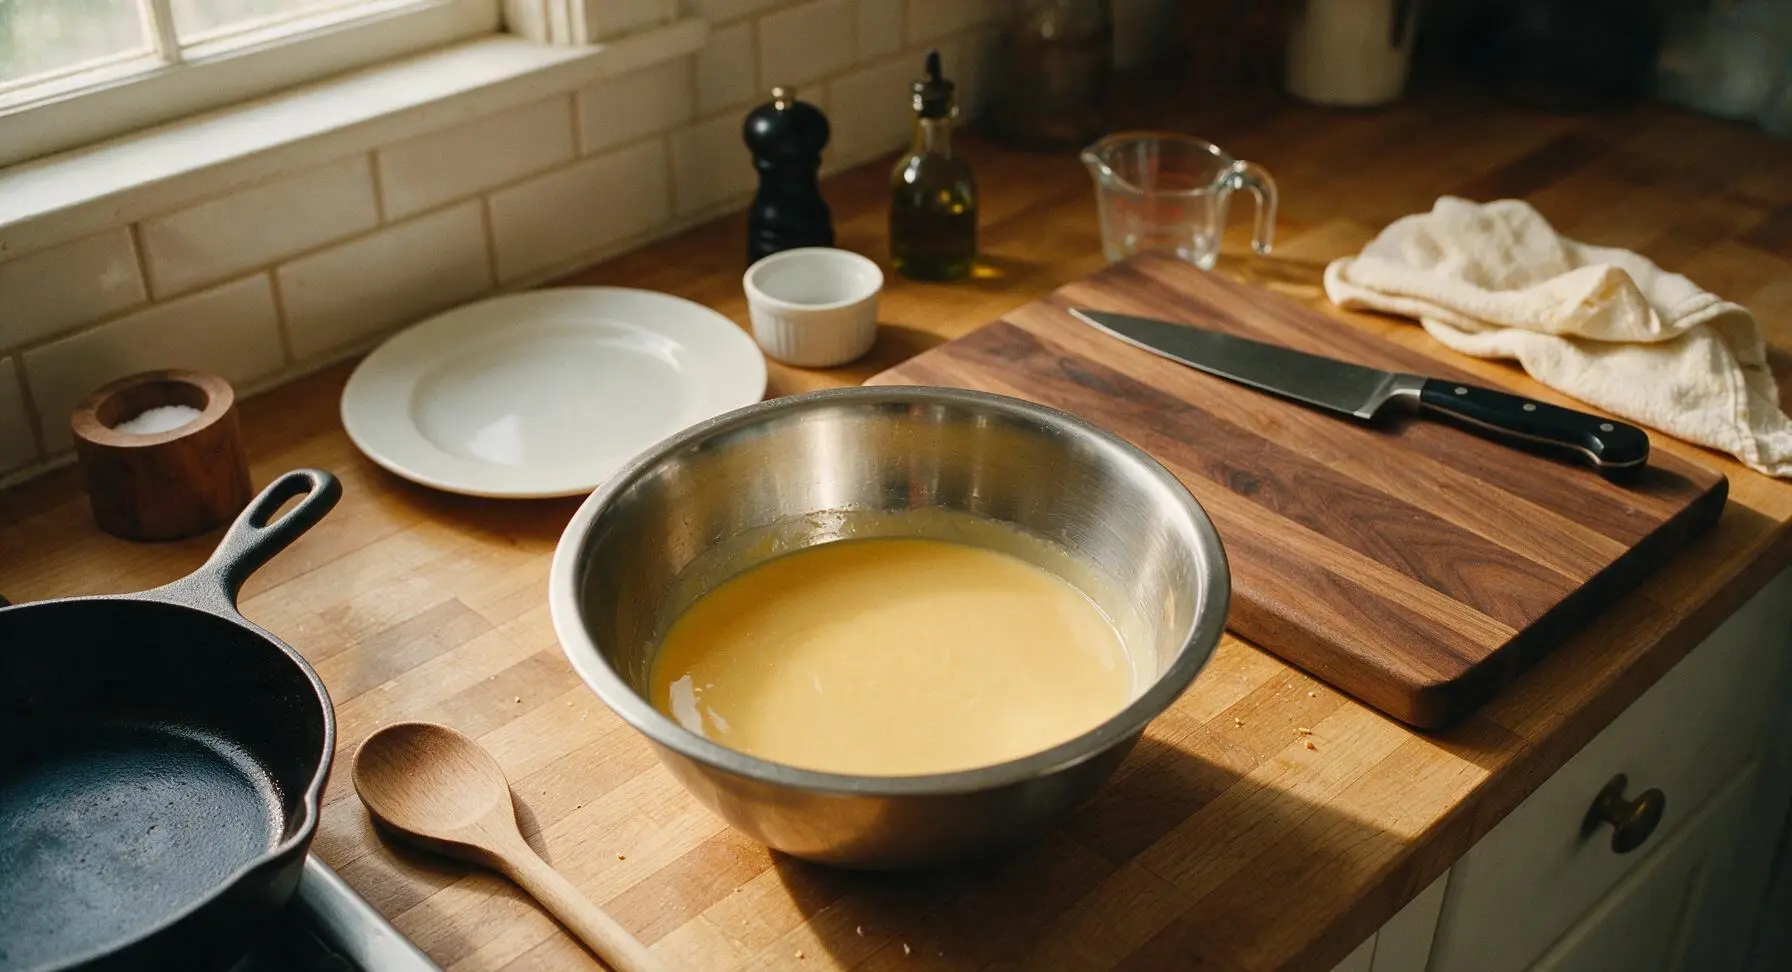
Remove the vanilla bean pod from the warm infused cream. While whisking the egg yolk mixture constantly at a slow, steady pace, pour a thin stream of 1/3 of the warm cream into the yolks to gradually raise their temperature — this prevents the hot cream from curdling the eggs into lumps. Once the first addition is fully incorporated, slowly pour in the remaining warm cream, whisking gently the entire time, until the base is fully combined. Never pour hot cream directly into cold yolks in one large pour, as this will create scrambled egg bits in your custard.
Strain Custard Base
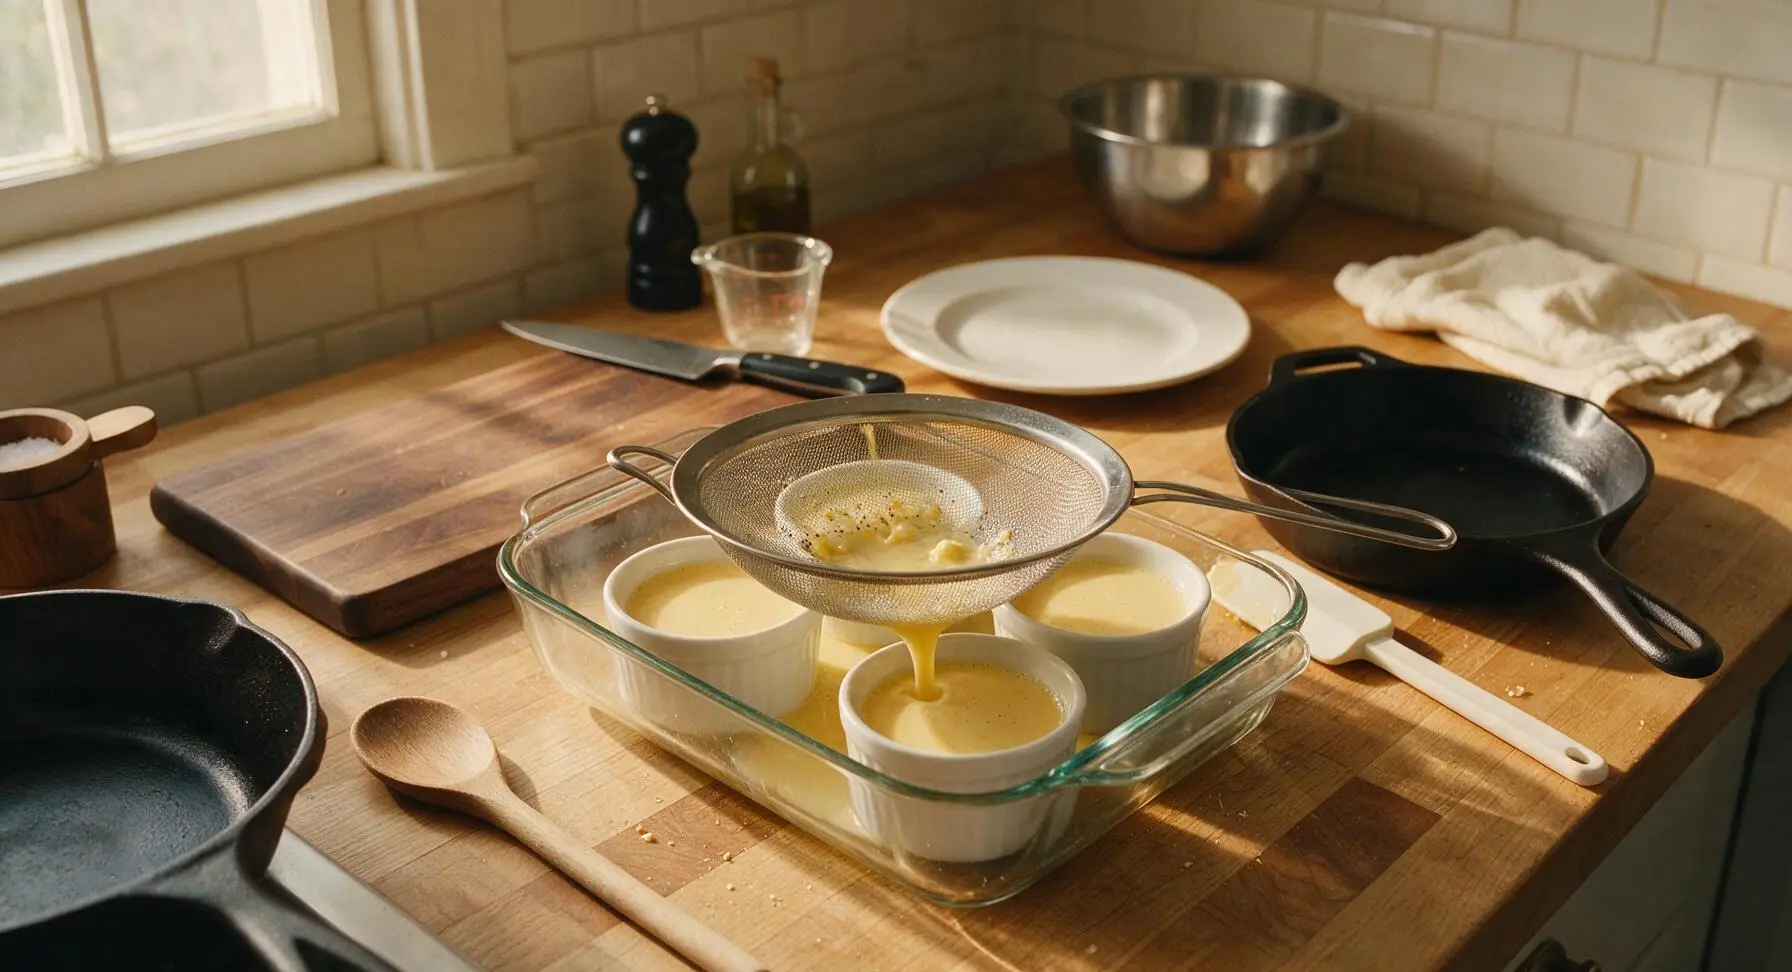
Arrange the four white porcelain ramekins in the bottom of the clear glass baking dish. Place the fine-mesh sieve over the ramekins, and pour the entire custard base through the sieve to catch any tiny curdled egg bits, residual vanilla pod fragments, or large air bubbles. Discard any solids trapped in the sieve. Let the strained custard rest for 5 minutes at room temperature, then use the corner of a paper towel to gently blot any small air bubbles that rise to the custard surface, as these will leave holes in the baked custard.
Bake in Water Bath
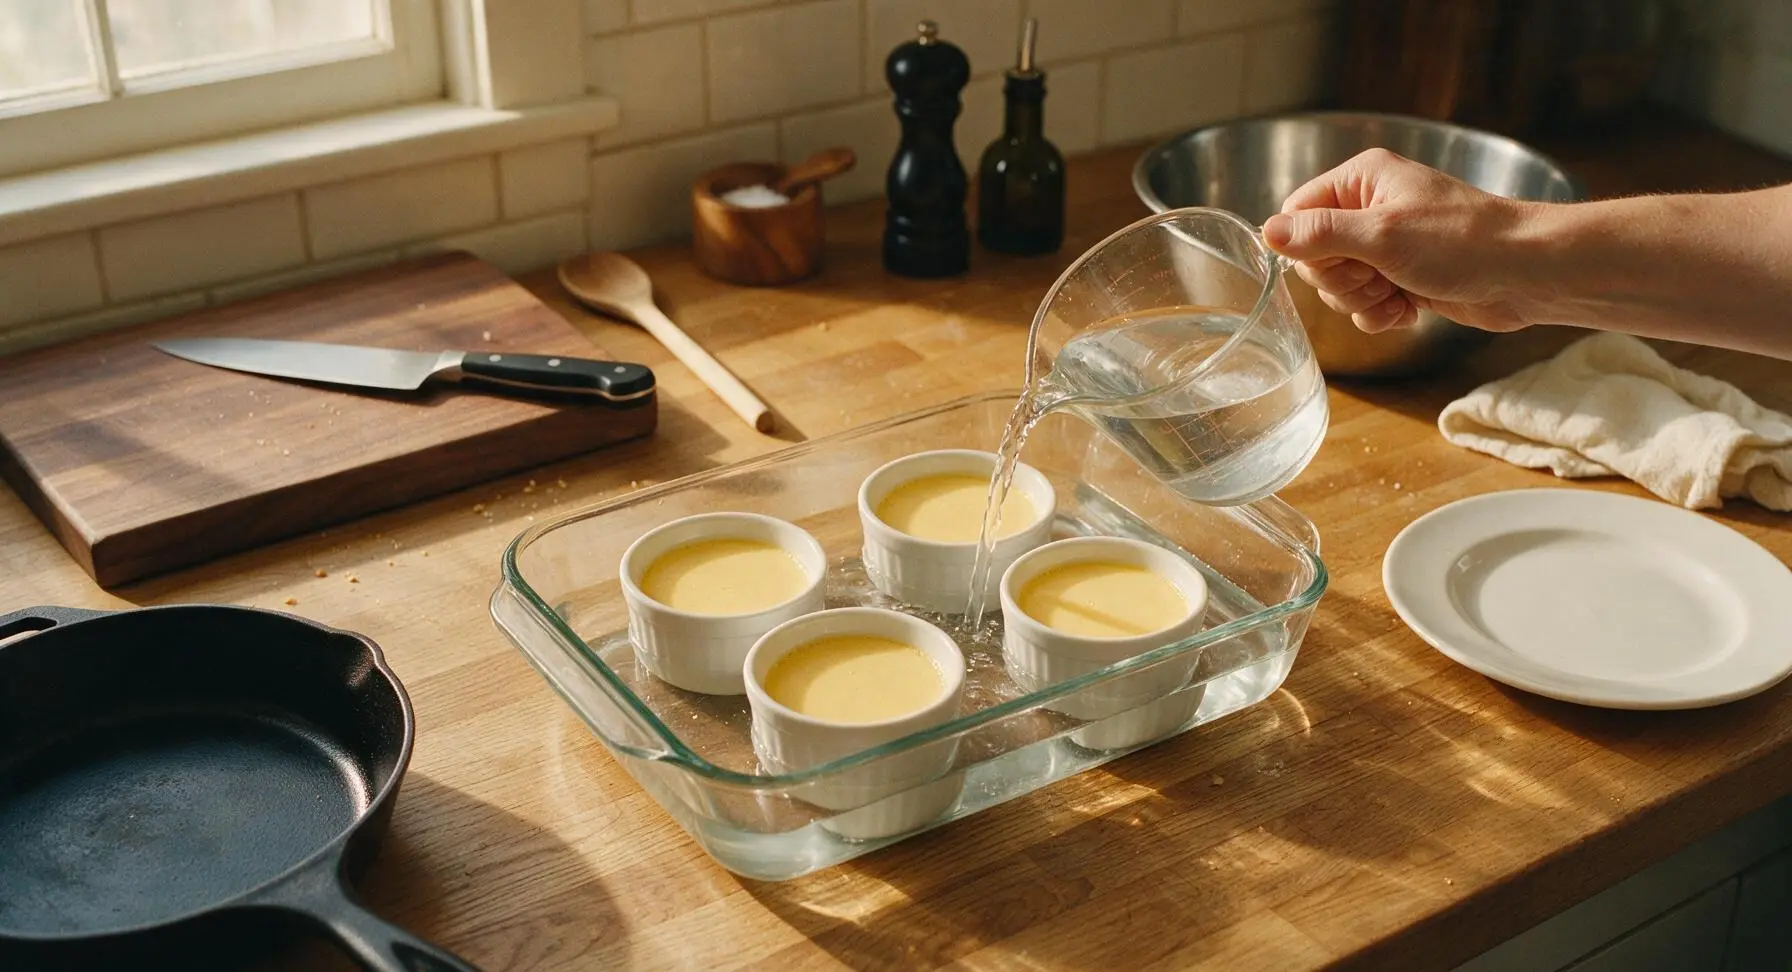
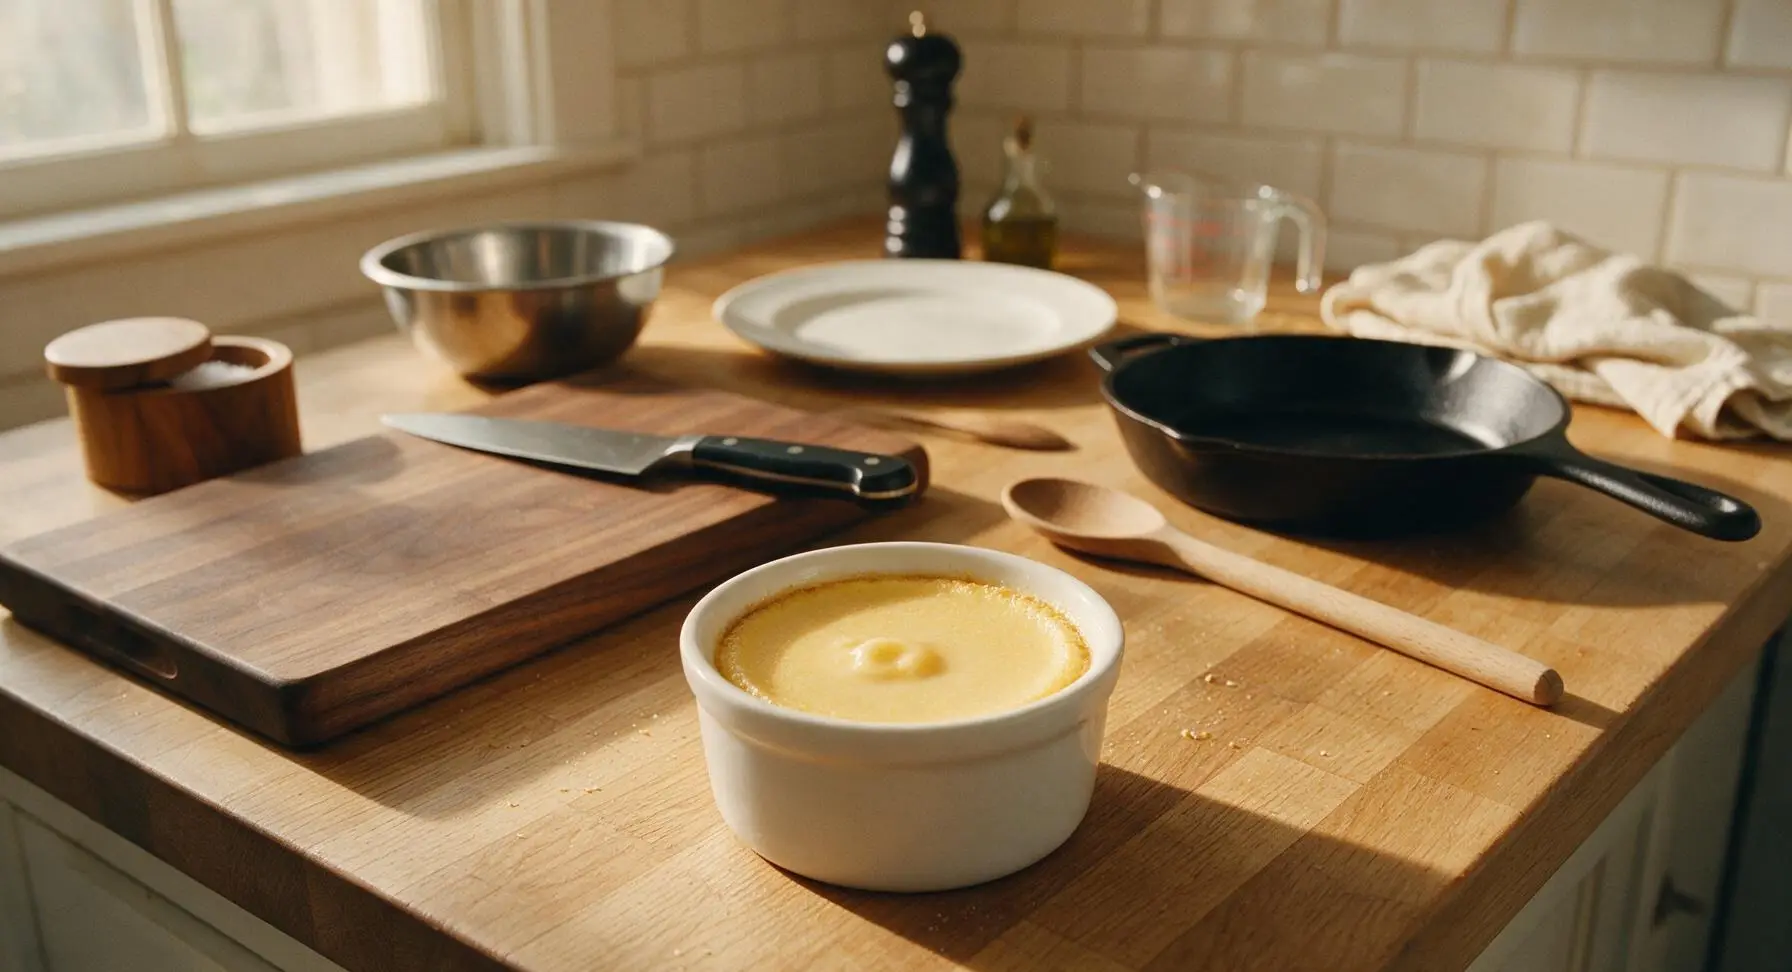
Carefully pour hot tap water (just below boiling, ~80°C / 175°F) from the glass measuring cup into the glass baking dish until the water level reaches halfway up the outer sides of the ramekins, taking care not to splash any water into the custard. Transfer the dish to a preheated 160°C / 325°F oven and bake for 35-40 minutes. The custard is done when the outer edges are fully set, but the 2cm wide center of each ramekin jiggles softly like Jell-O when the dish is gently nudged — the center will set fully as it chills. Remove from the oven, let ramekins cool in the water bath for 20 minutes, then cover each with plastic wrap and chill in the refrigerator for a minimum of 4 hours (and up to 3 days) before serving.
Torch Sugar Crust
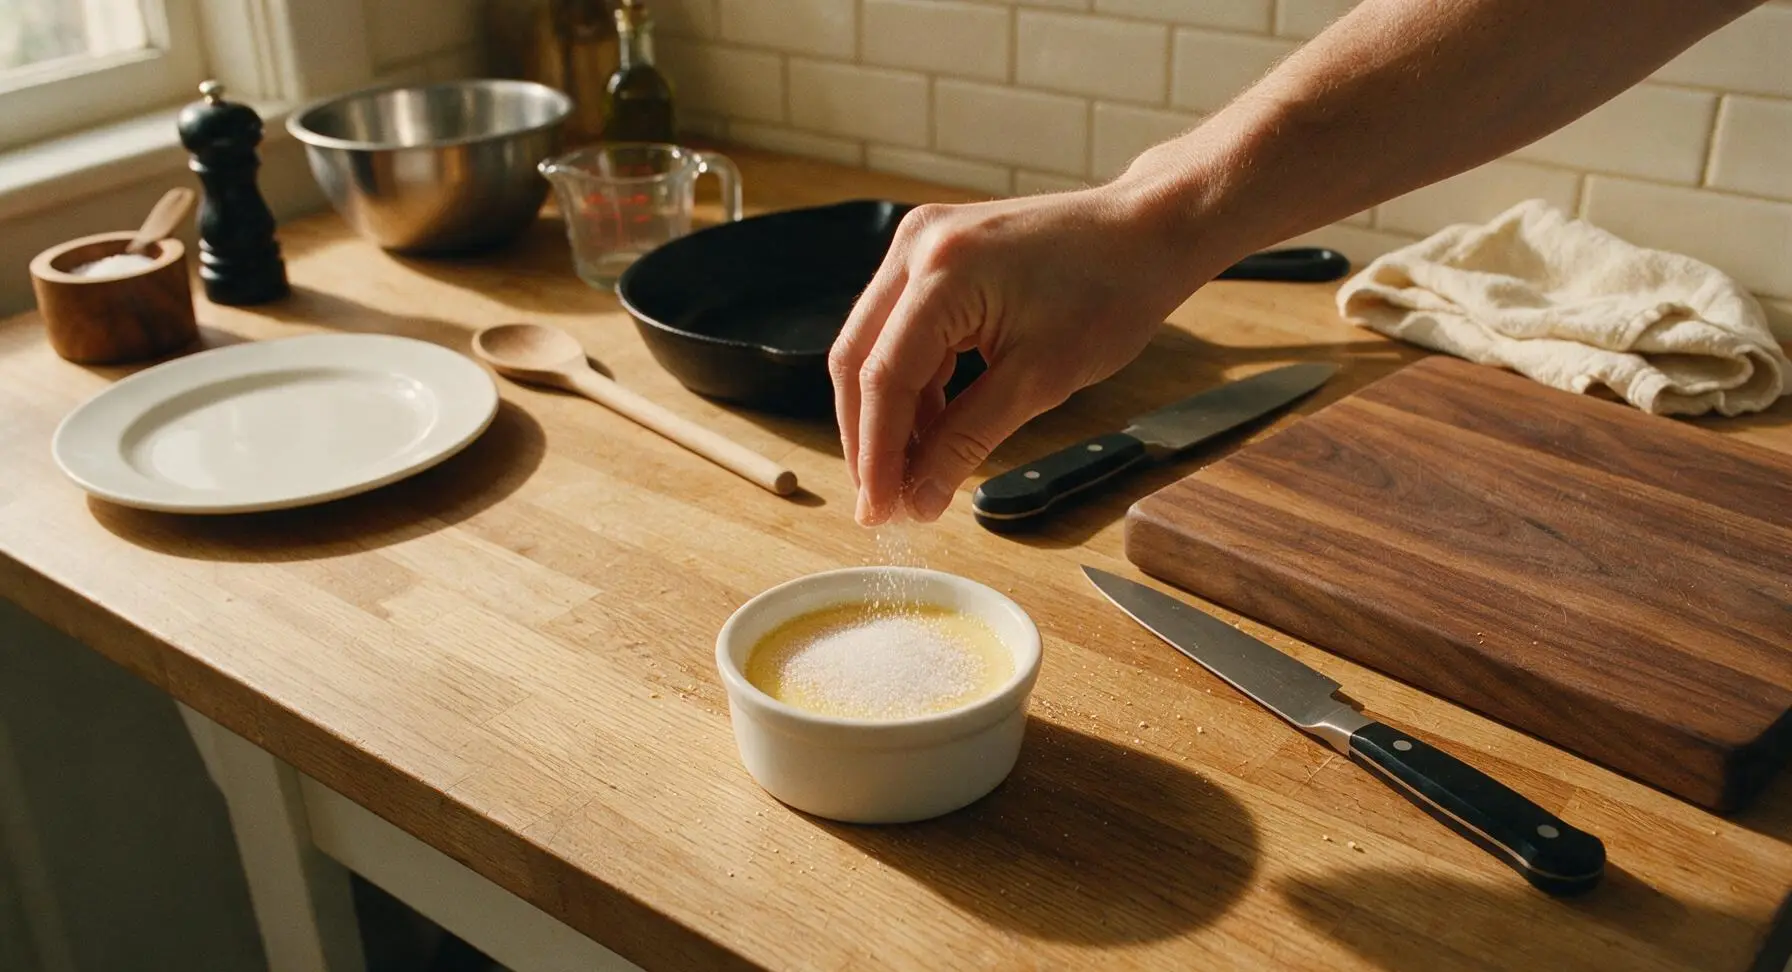
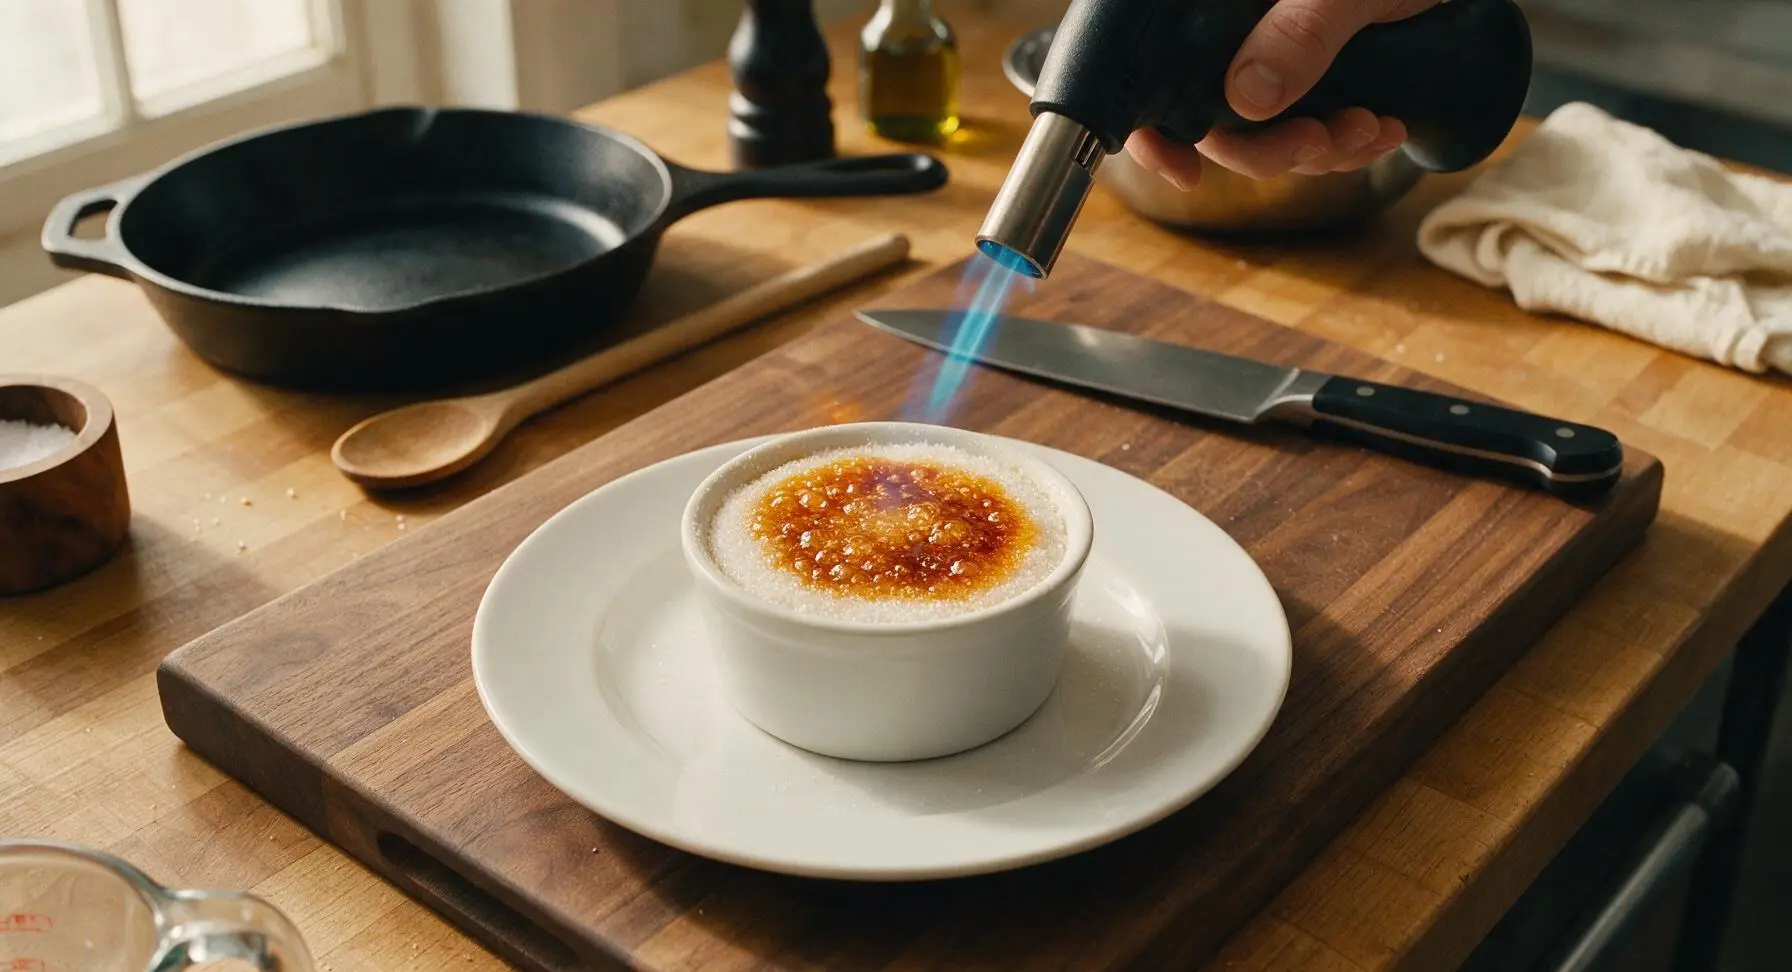
When ready to serve, remove the chilled ramekins from the refrigerator. Uncover them, and pat the top of each custard very gently with a paper towel to remove any accumulated condensation, which will prevent the sugar from caramelizing evenly. Sprinkle 1 tablespoon of the reserved granulated sugar evenly over the top of each custard, tilting the ramekin to spread the sugar in a thin, uniform layer edge to edge. Hold the matte black kitchen torch 8-10cm away from the sugar, moving the flame constantly in small circular motions, until the sugar melts, bubbles, and turns a deep even golden amber. Let the caramel rest for 1 minute to harden into a crisp, shattery crust before serving.
Tips
2.Always pat condensation off chilled custard tops before adding sugar for the crust: Trapped moisture will dissolve the sugar unevenly, resulting in a soft, sticky caramel layer instead of the crisp, shattery crust that defines crème brûlée.
3.Skip aggressive whisking when mixing your custard base: Too many air bubbles will rise to the surface during baking, leaving pockmarked holes in the set custard that prevent an even, smooth caramel layer on top.






Made this for our Sunday family dinner and my kids loved it! I let them help torch the sugar tops (supervised, obviously) and they thought it was the coolest thing ever. The custard is so silky, not too sweet, just perfect. Already added this to our regular dessert rotation!
Tasted amazing, but I definitely didn’t chill mine long enough the first time. I only did 3 hours and the custard was a little runny in the middle. Second time I left it in the fridge overnight and it was perfect. Pro tip: don’t skip the full chill time!
I really wanted to love this, but my custard curdled when I baked it? I followed the temp exactly, not sure what went wrong. The parts that didn’t curdle tasted great, but the texture was lumpy overall. Bummed because I was making this for a potluck.
OMG I made this for my at-home date night last weekend and it was *chef’s kiss*. I added a tiny splash of Grand Marnier to the custard and it elevated it so much. Paired it with fresh berries and it felt like a restaurant-quality dessert for a fraction of the price.
SO good. I’m not even a big dessert guy but I ate two of these straight after chilling. Will make again.
Wait, can these be made ahead for meal prep? I want to make a batch on Sunday to have for dessert throughout the week, but I’m worried the sugar top will get soggy if I torch it too early.
I’ve never made any kind of fancy custard dessert before and this was so approachable! Medium difficulty felt totally fair — I didn’t have any fancy equipment, just used my regular kitchen torch I got for Christmas and it worked perfectly. My roommates are already begging me to make it again.
Great base recipe! I used vanilla bean paste instead of extract and it gave it those pretty little vanilla specks that make it look so professional. Only reason I’m not giving 5 stars is I wish the recipe noted how much water to add to the water bath — I added too much first go and got a little water in one ramekin.
Brought these to my office potluck last week and people were literally fighting over the last one! I made them in those tiny 4 oz ramekins so they were the perfect bite-sized treat. Everyone was asking for the recipe, I sent them all straight here!
Wait, can I make the sugar top without a kitchen torch? I don’t have one and don’t really want to buy one just for this recipe. The custard part looks so good I don’t want that to stop me from making it.
Game changer. I’ve tried 3 different crème brûlée recipes over the years and this one is by far the best. The ratio of cream to egg yolks is perfect, no weird eggy aftertaste, just that smooth vanilla custard and crackly sugar top. 10/10 no notes.
Has anyone tried making this with oat milk or coconut cream? I’m lactose intolerant but I’m obsessed with crème brûlée and would love to find a way to make this work for me.
Made these for our Christmas dinner last year and they were such a hit I’m making them again for Easter this weekend! I love that I can make the custards a couple days ahead so I don’t have to stress about dessert the day of the big meal. Game plan is to torch them right before we serve with fresh strawberries.
Made this in my tiny dorm kitchen with a ramekin I got from the dollar store and it still slapped. 10/10, way better than the dining hall dessert options.
Has anyone tried adding a little layer of melted chocolate on the bottom of the ramekins before pouring the custard in? I love chocolate and crème brûlée, feel like that combo would be insane.