
French Croissant
intro
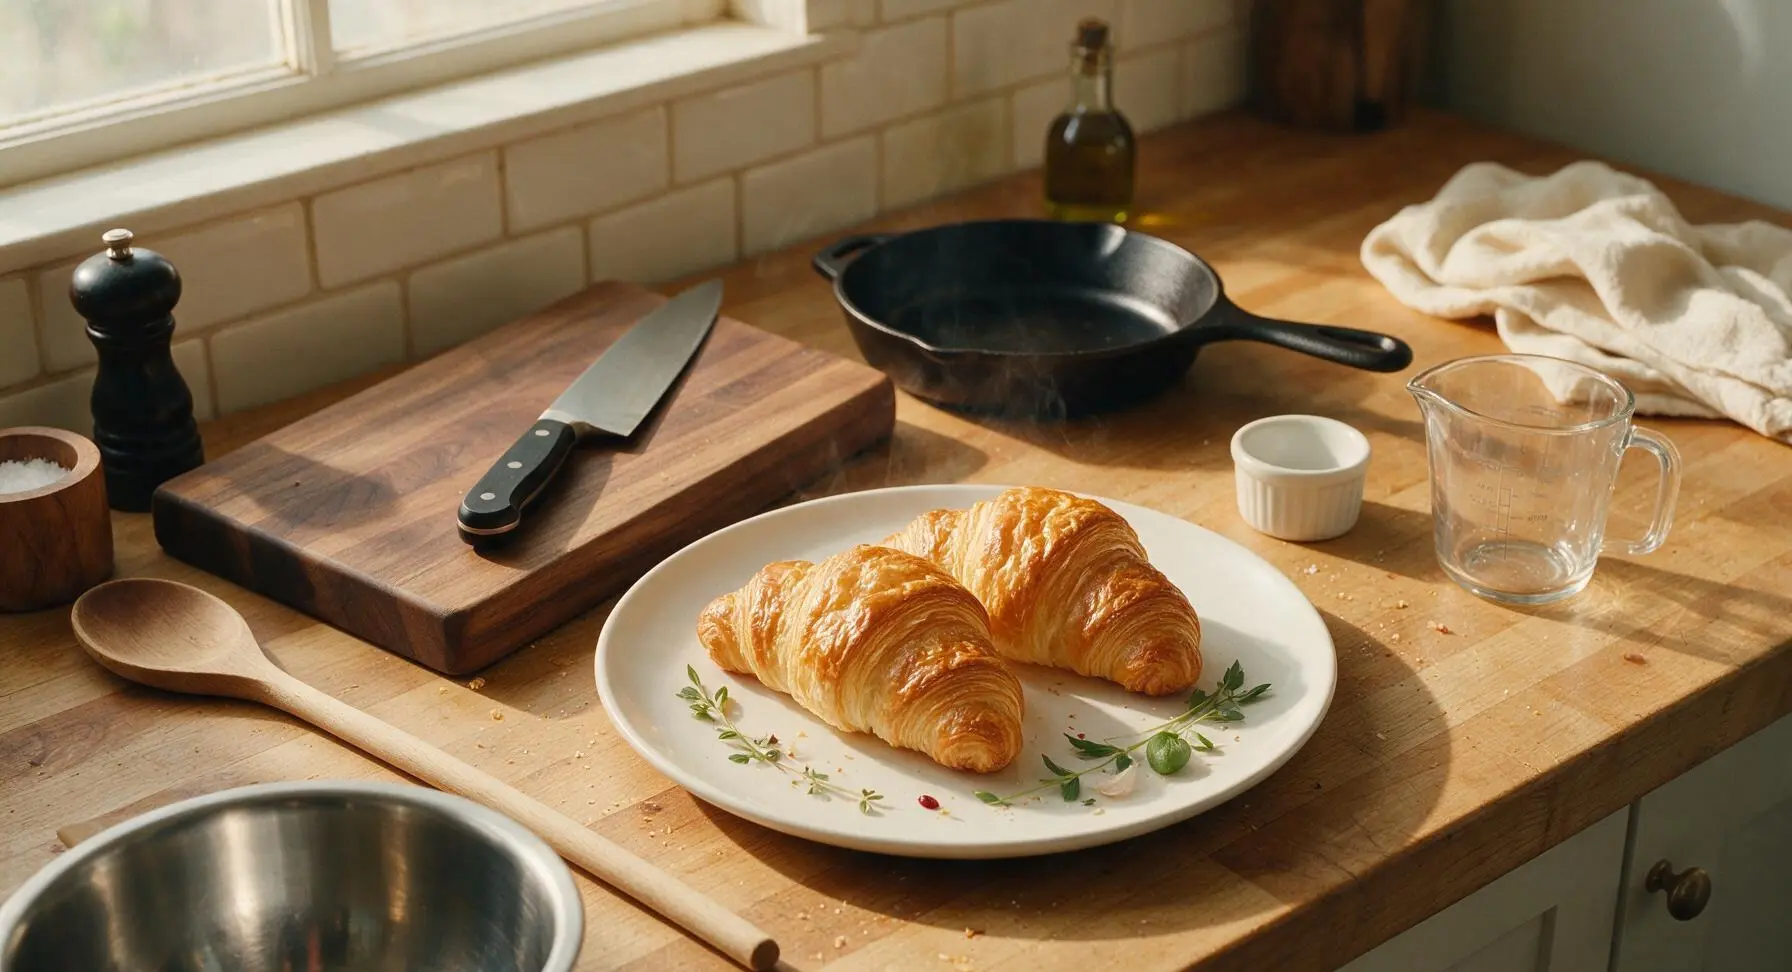
Buttery, shatteringly flaky golden French croissants with delicate airy layers— the iconic laminated pastry, perfect for slow, cozy weekend mornings.
Ingredients
Steps
Mix Base Dough
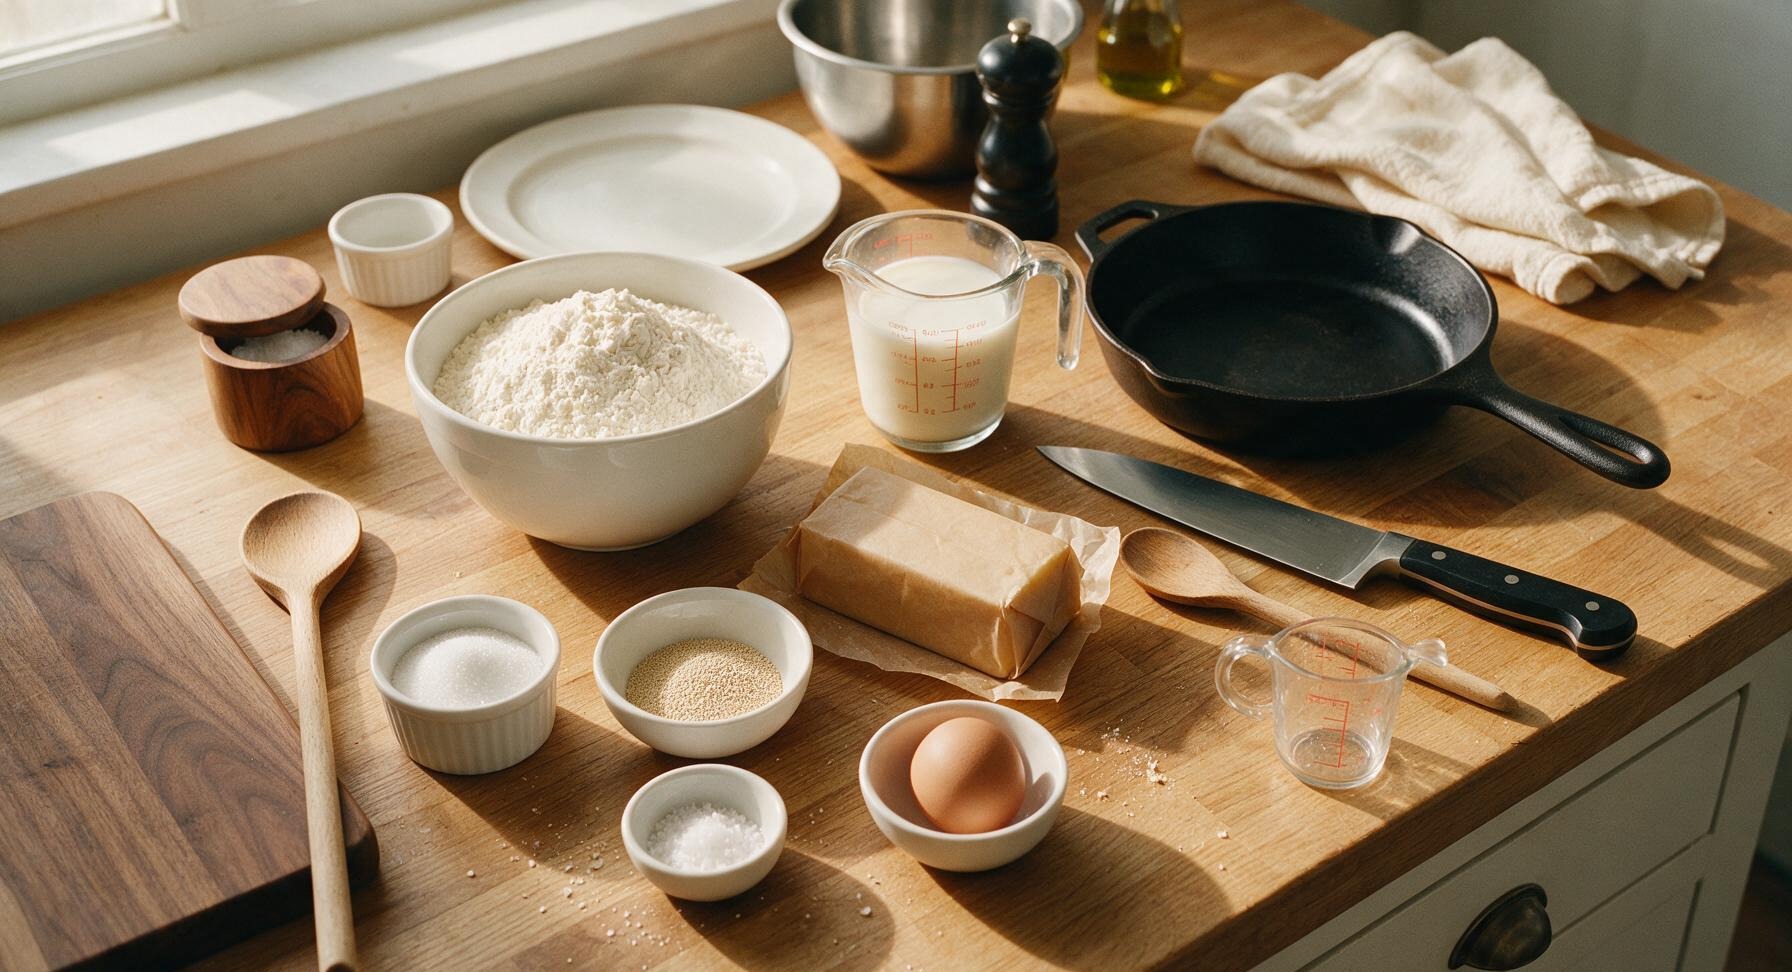
Fit the stand mixer with the dough hook attachment. Add 500g all-purpose flour, 50g granulated sugar, 10g fine sea salt, and 7g active dry yeast to the mixer bowl. Pour in 280ml warm (35C/95F) whole milk and 50g softened unsalted butter. Mix on low speed for 3 minutes to combine, then increase to medium-low speed for 4 minutes, until the dough forms a smooth, elastic ball that pulls cleanly away from the bowl sides. Test the dough by pulling a small section: it should stretch slightly without tearing immediately. Do not overknead, as this will make the dough tough. Tightly cover the mixer bowl with plastic wrap and chill in the refrigerator for 1 hour to firm the butter and relax the gluten.

Shape Butter Block
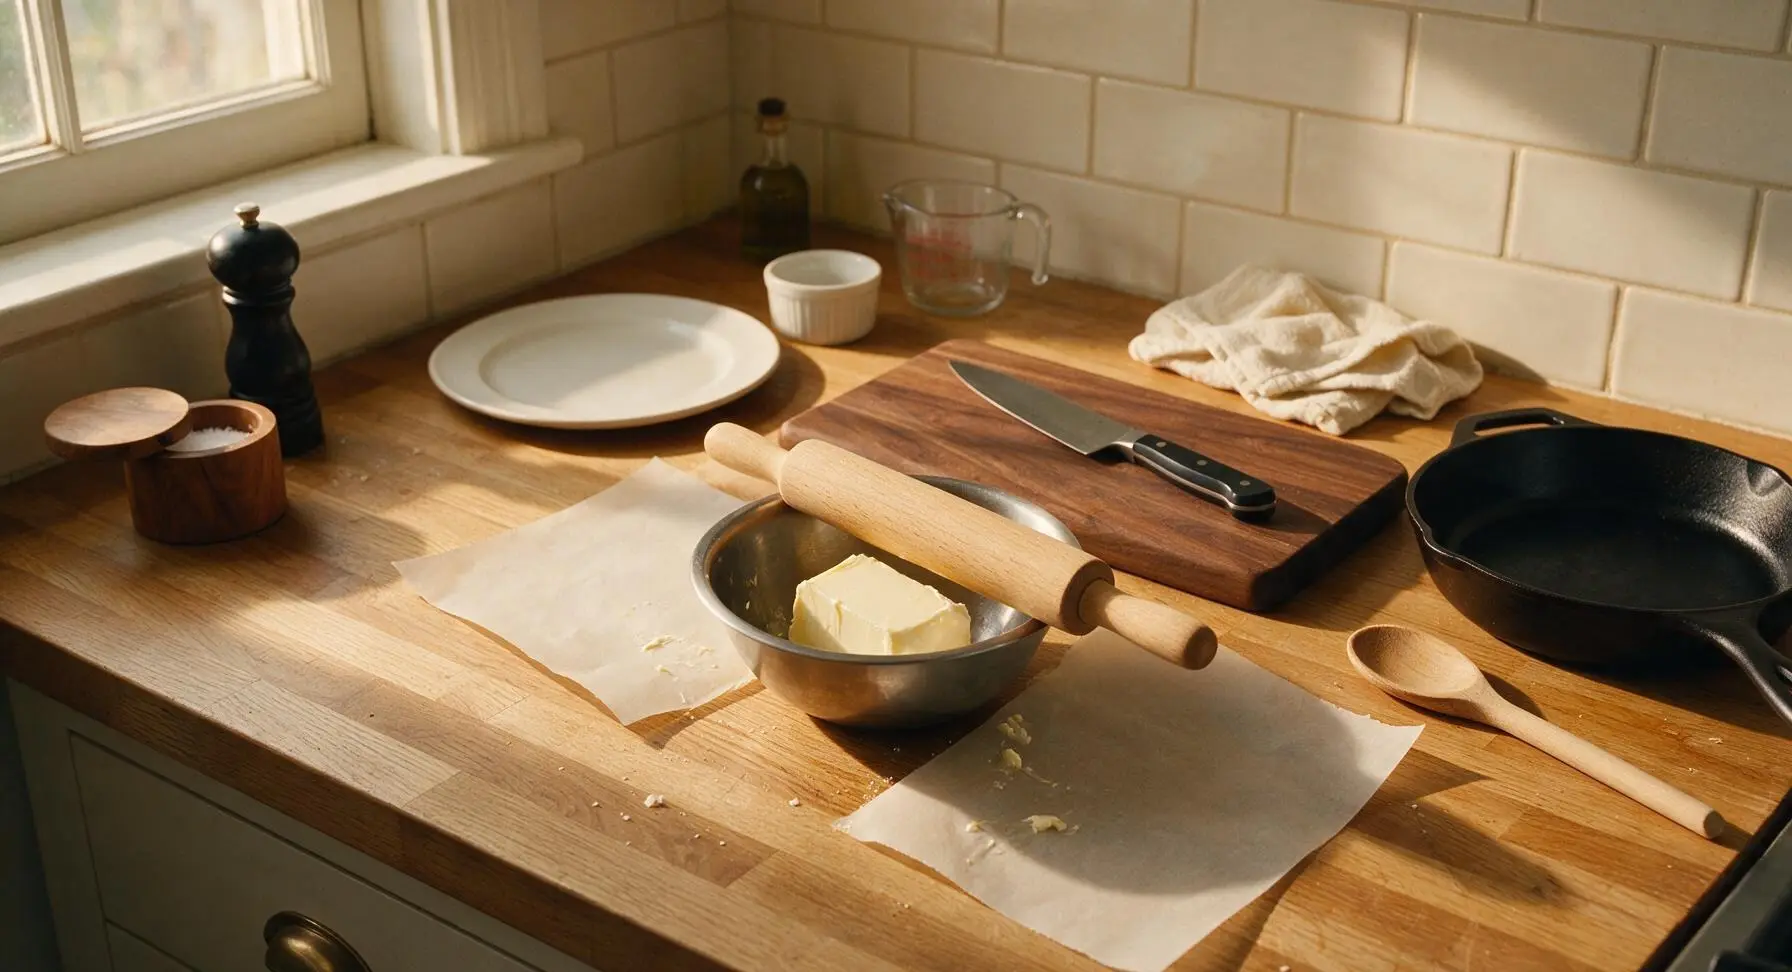
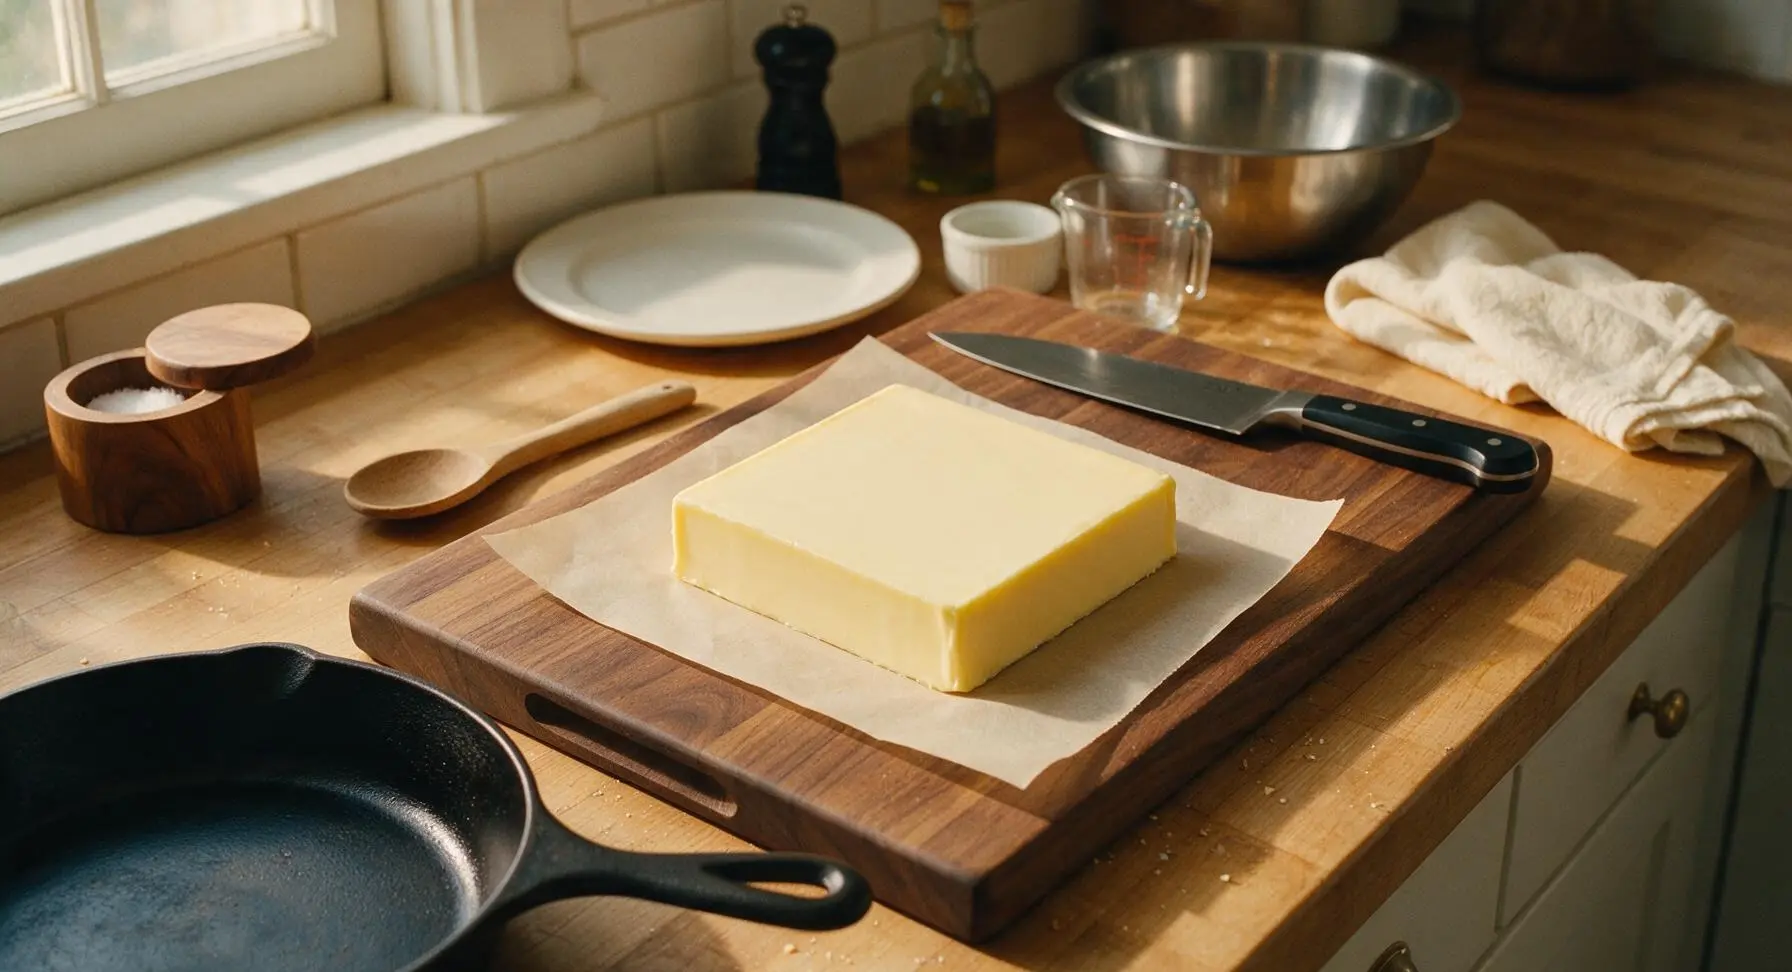
While the dough chills, place 250g cold high-fat unsalted butter between two sheets of unbleached parchment paper set on the marble counter. Use the beech wood rolling pin to firmly pound and roll the butter into a perfectly uniform 20x20cm square, 1cm thick. Straighten the edges with the bench scraper to ensure even thickness, with no lumps or thin spots. Transfer the parchment with the butter square to the refrigerator to chill for 30 minutes, until the butter is firm but pliable— it should match the exact firmness of the chilled dough to ensure even lamination.
Complete First Fold
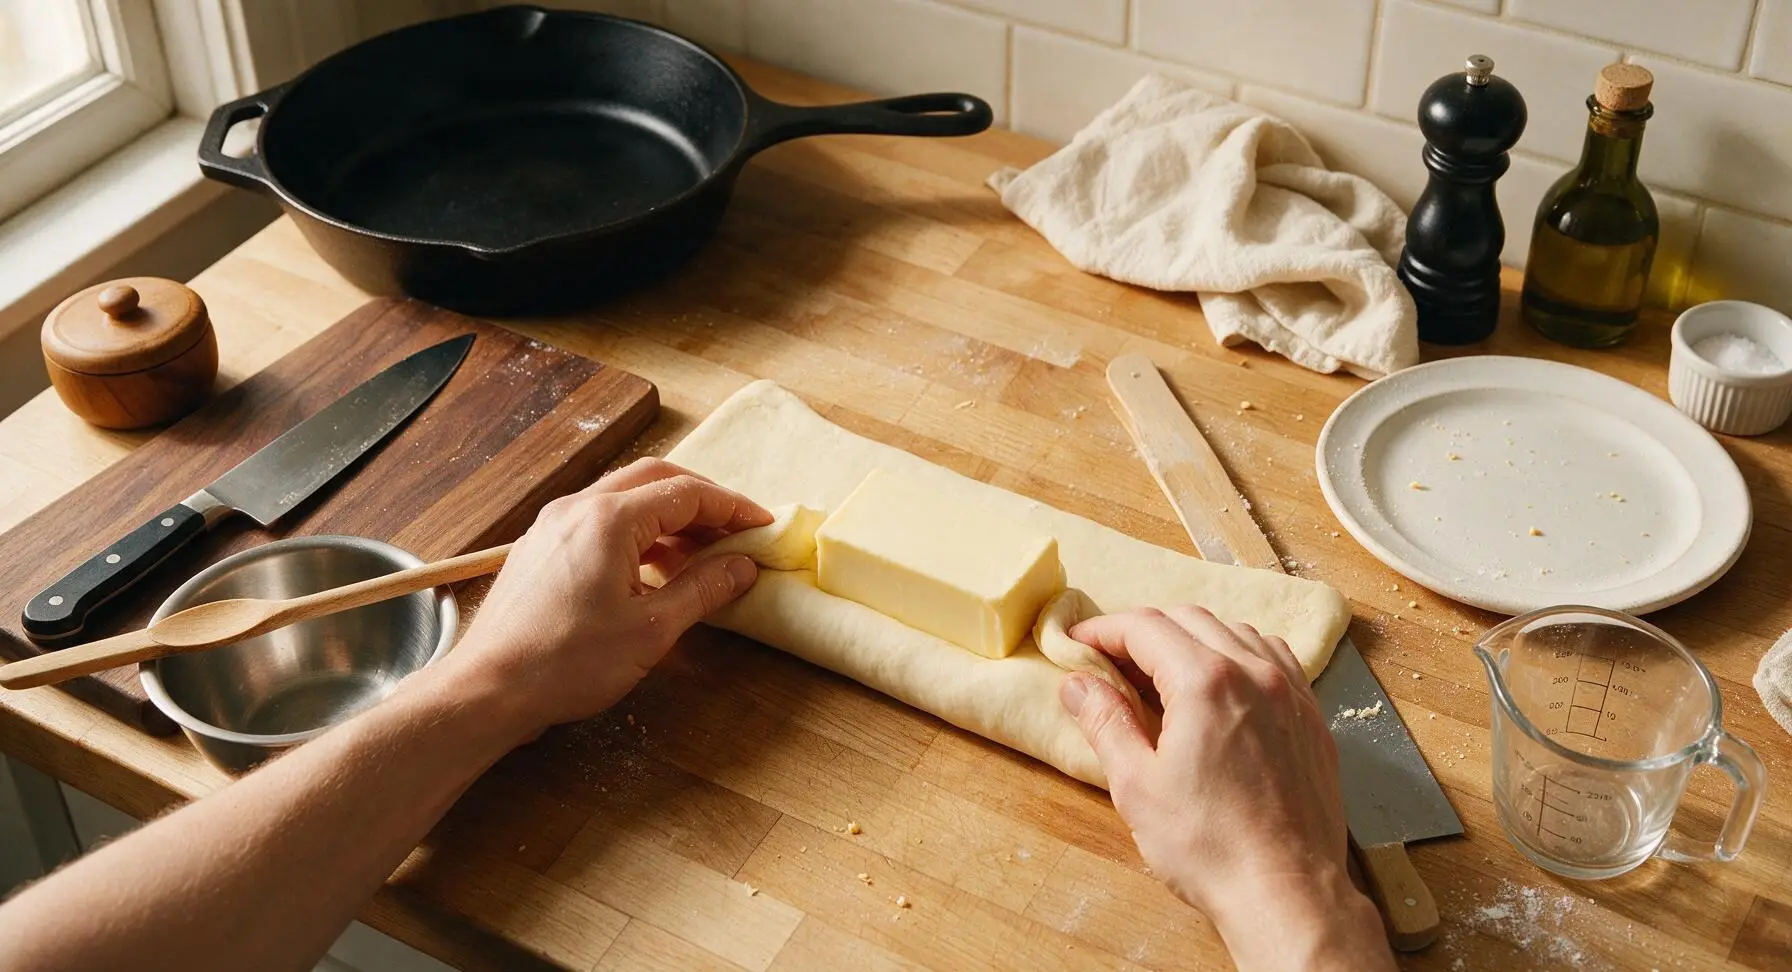
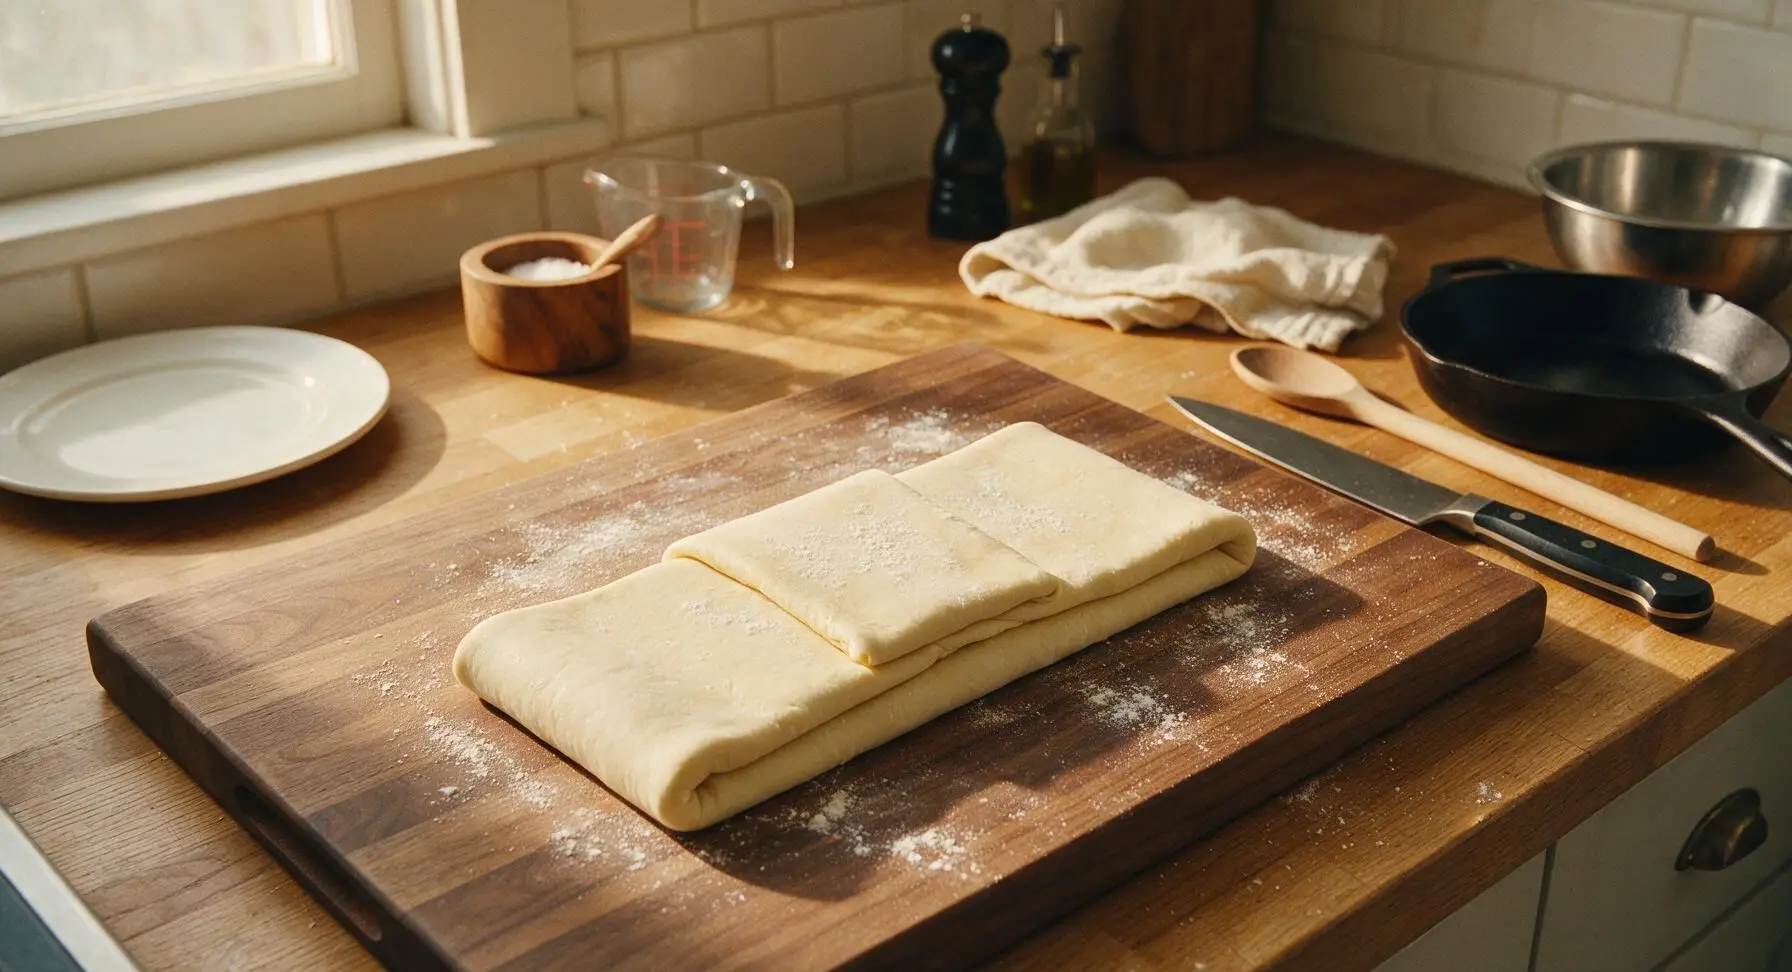
Remove the chilled dough from the refrigerator and place it on the lightly floured marble counter. Roll the dough out to a 40x20cm rectangle, exactly twice the width of the chilled butter block. Place the firm butter square directly in the center of the dough, then fold the two exposed dough ends over the butter to cover it completely, pinching all seams tightly shut to prevent butter leakage during rolling. Gently roll the sealed dough packet out to a long 60x20cm rectangle, keeping edges perfectly straight with the bench scraper. Fold the rectangle into thirds like a business letter: fold the bottom third up over the center, then the top third down over the folded section to complete one full turn. Wrap tightly in plastic wrap and chill for 30 minutes to keep the butter firm.
Finish Lamination Turns
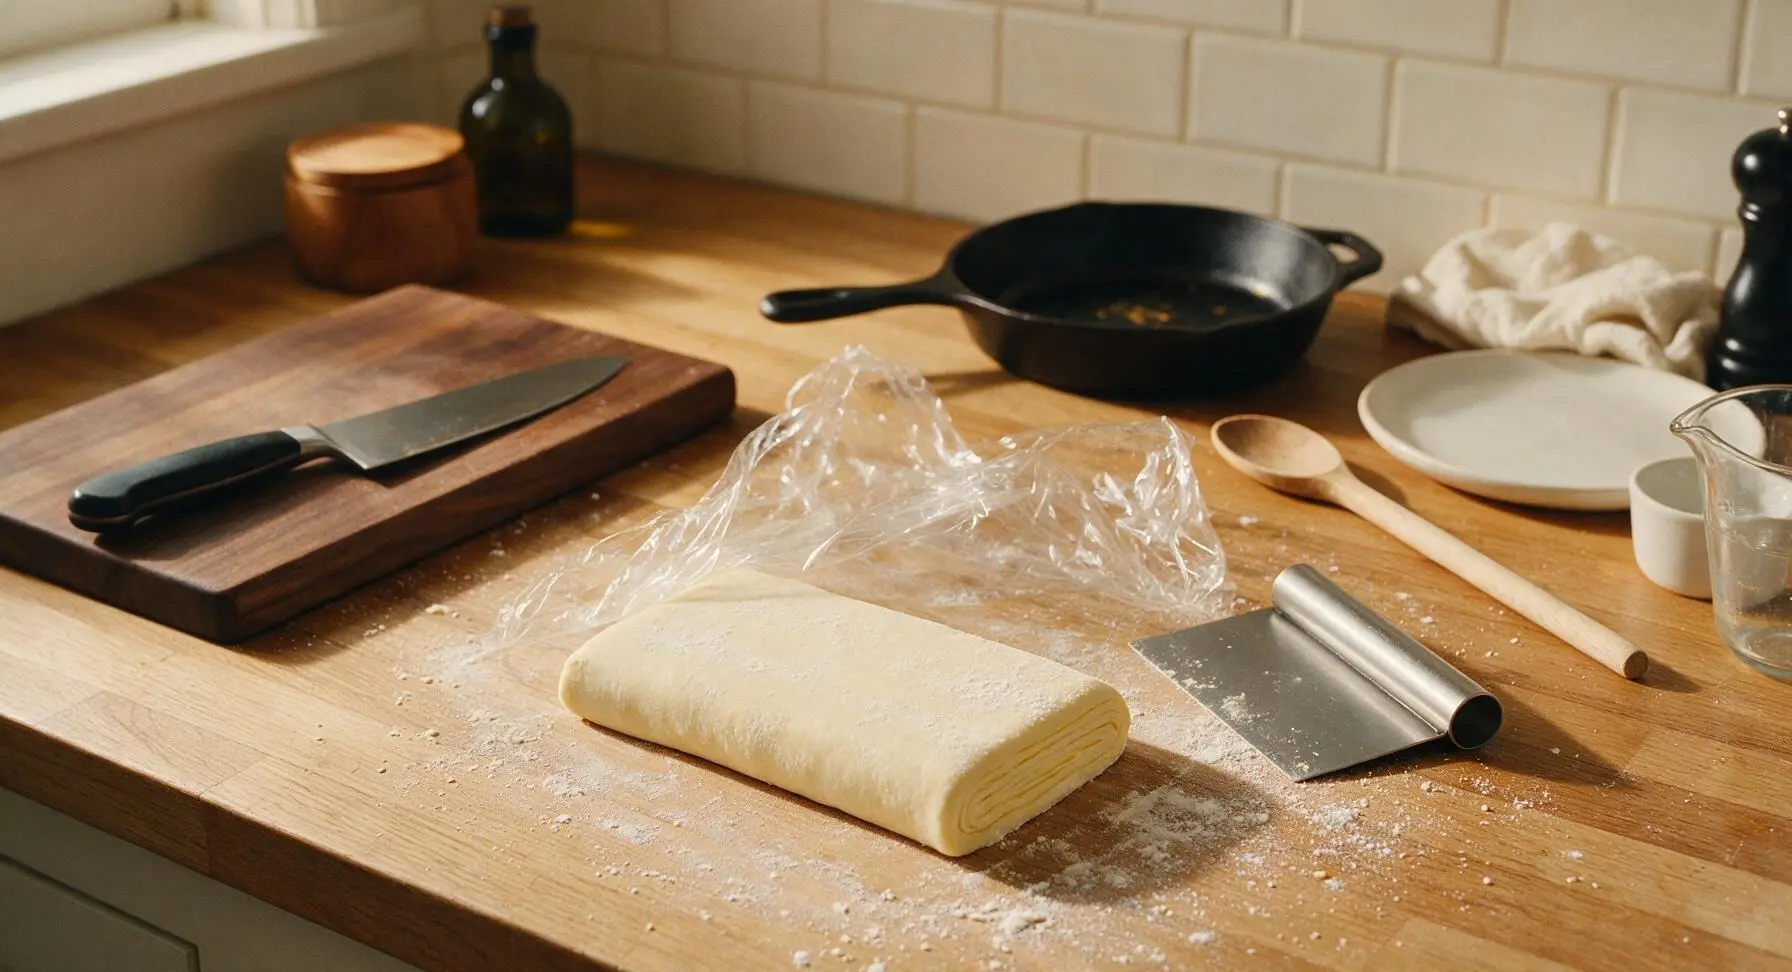
Repeat the rolling and folding process three more times for a total of 4 full turns: for each turn, place the chilled dough on the floured counter, roll to a 60x20cm even rectangle, fold into thirds, wrap tightly, and chill for 30 minutes between every turn. If the butter feels soft and starts to break through the dough at any point, stop immediately and chill the dough for an extra 15 minutes before continuing. After the fourth and final turn, wrap the dough tightly in plastic wrap and chill overnight (minimum 8 hours) to fully relax the gluten and firm the butter for clean, sharp cuts.
Cut and Shape Croissants
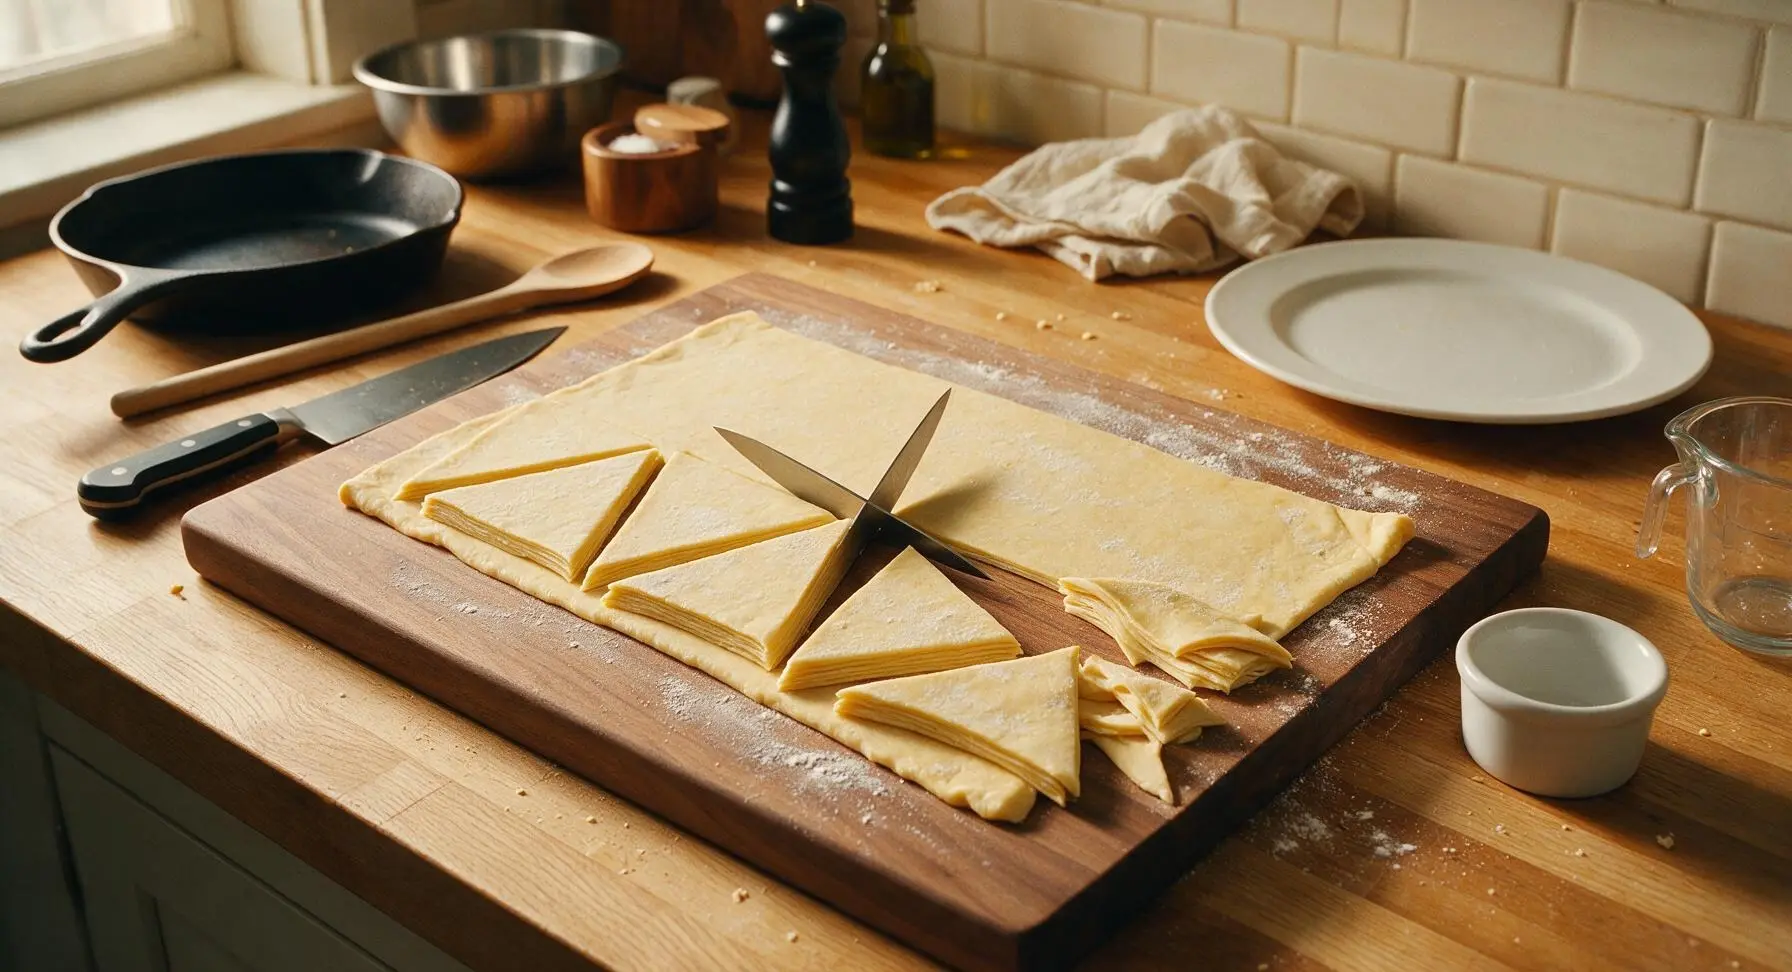
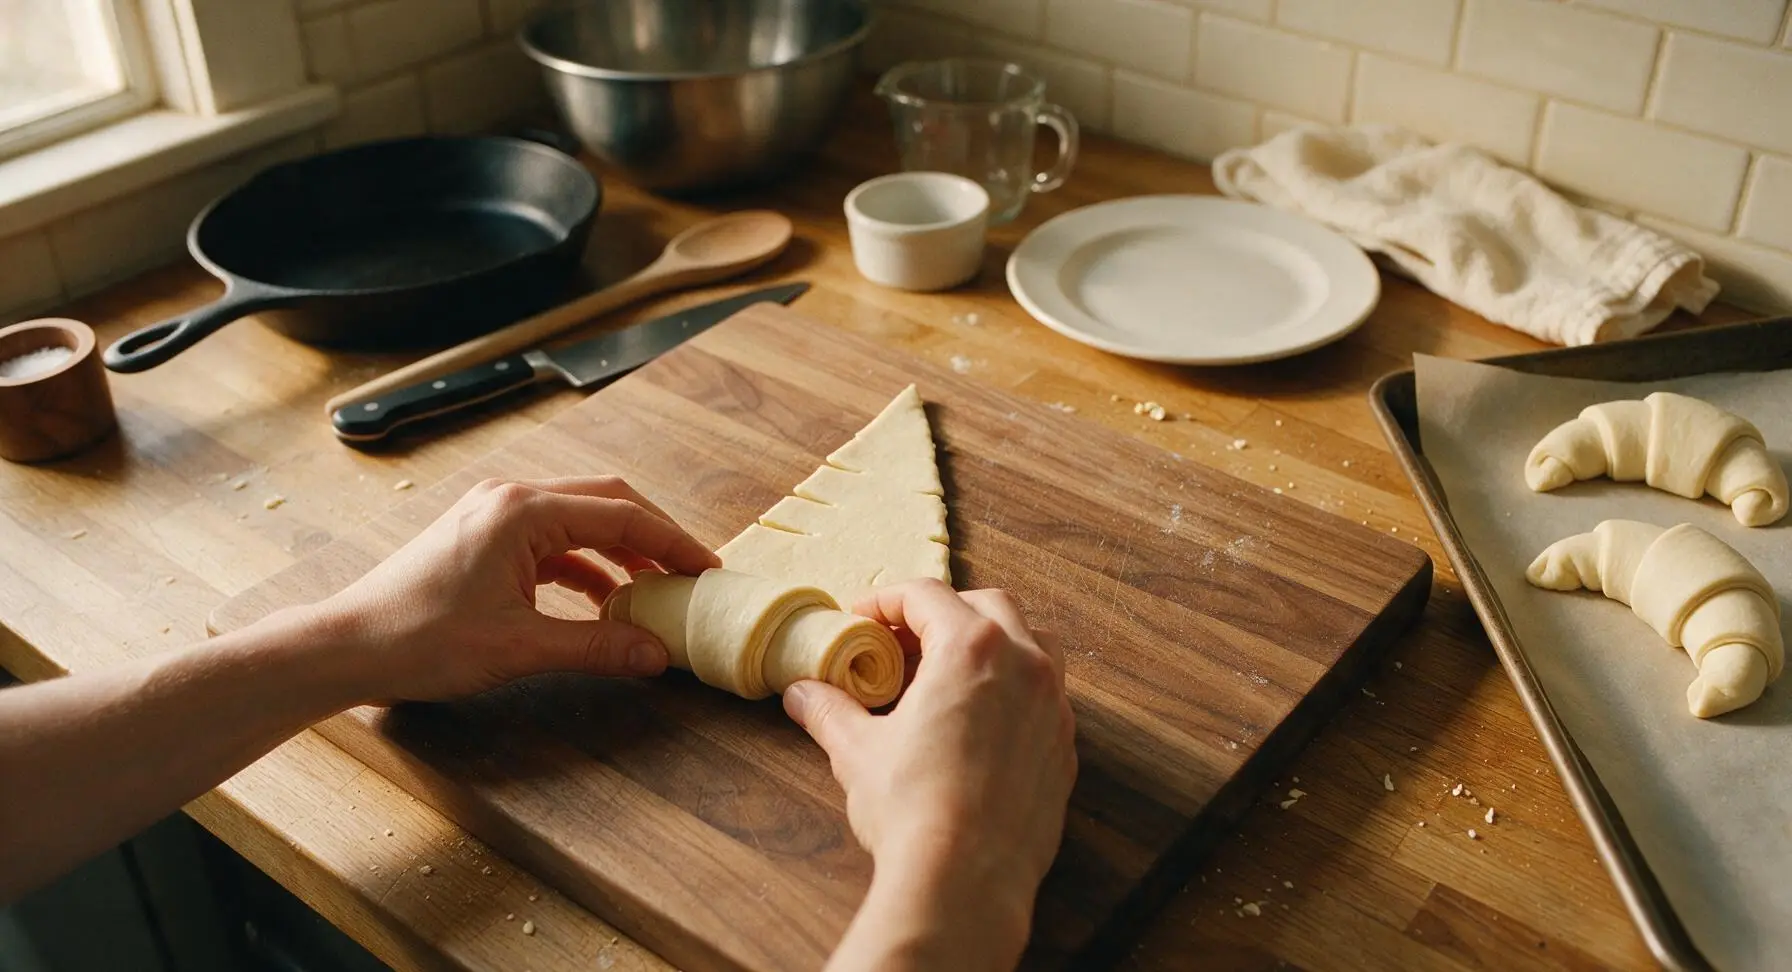
Remove the fully chilled laminated dough from the refrigerator and roll it out on the lightly floured counter to a 4mm thick, 35x50cm even rectangle. Use the bench scraper to trim all ragged edges straight, which exposes the distinct even layers of dough and butter for maximum rise. Use the paring knife to cut the dough into 8 equal isosceles triangles, each 12cm tall with a 10cm wide base. Cut a 1cm small notch at the center of each triangle base, then gently stretch each triangle slightly to lengthen it. Roll each triangle tightly from the notched base up to the pointed tip, tucking the tip under the croissant to prevent it from unrolling during baking. Curve the two ends slightly inward to form the classic crescent shape.
Proof Shaped Croissants
Arrange the shaped croissants 5cm apart on the parchment-lined baking sheet to give them room to rise. Cover the sheet loosely with lightly oiled plastic wrap to prevent drying, and let the croissants proof at cool room temperature (24C/75F, no warmer) for 2 to 2.5 hours. The croissants are ready when they look visibly puffy, jiggle slightly when the tray is gently tapped, and you can see distinct separated layers when looking at the croissant side. Do not proof in a warm, humid spot, as this will melt the butter layers and result in dense, non-flaky croissants.

Bake to Golden Brown
Crack the large egg into the clear glass ramekin, add 1 tablespoon cold water, and whisk thoroughly to make a smooth egg wash. Use the pastry brush to gently apply a thin, even layer of egg wash to the top of each proofed croissant, taking extreme care not to drip egg wash onto the cut layered edges (egg wash will glue layers together and prevent full rise). Bake in a preheated 200C/400F oven for 18 to 20 minutes, rotating the tray halfway through baking for even color, until the croissants are a deep, uniform golden brown with no pale doughy spots at the seams. Let the croissants cool on the baking sheet for 5 minutes before transferring to the serving plate.


Tips
2.Match the firmness of your butter block and chilled dough before starting lamination: if butter is too soft it will squeeze out of the dough folds, if too hard it will crack and punch through the dough, creating uneven layers and butter leaks during baking.
3.Avoid proofing croissants in a warm, humid spot: proof at a cool 24C/75F to prevent butter from melting out of the layers, which ensures a light, holey, airy crumb. Test proof doneness by gently jiggling the tray— croissants should wobble softly like Jell-O when ready.






OMG, I was so intimidated by how hard this recipe was labeled, but these came out SO good! My kids devoured them warm out of the oven for Saturday breakfast, even asked if we can make them every weekend. The layers were perfectly flaky, just like the croissants I had on my trip to Paris a few years ago. Total game changer for weekend brunch! Only heads up that the prep takes way longer than the 20 minute cook time, so block out a whole afternoon for laminating the dough, totally worth it though.
Tried these for my office potluck last week and they were a huge hit! I will say I messed up the butter block the first time and it oozed out everywhere while baking, so I had to restart the lamination step. Second time was the charm though, everyone was asking me for the recipe. 10/10 would recommend if you have the patience.
Wait, has anyone tried making these ahead for meal prep? I want to have them ready for quick breakfasts during the work week but I’m worried they’ll get soggy if I store them for too long. Also, do they reheat well in the toaster oven?
Ugh, I’m so frustrated. My croissants came out dense and didn’t rise at all, I followed the recipe exactly but I think my kitchen was too warm when I was laminating? It was 80 degrees in here last weekend while I was making them, the butter kept melting into the dough. I really wanted these to turn out for my mom’s birthday brunch.
Made these with my teen daughter for our Sunday family dinner dessert (we served them with homemade jam and whipped cream) and holy cow, they were better than the ones we get at the fancy French bakery downtown! Worth every single minute of folding and waiting, even if we made a huge mess in the kitchen flouring every countertop. Will absolutely be making these again.
Just pulled my first batch out of the oven and they are *perfect*. Flaky, buttery, golden brown on top. I was so nervous about the lamination process but the step by step instructions made it so easy to follow even for a total beginner to laminated dough. SO good, 10/10.
Is there a way to make these with whole wheat flour? I try to use whole grains for most of my baking for my family, and I’m curious if swapping half the all purpose flour for whole wheat pastry flour would mess up the lamination layers.
Game changer alert! I made mini versions of these for my neighborhood block party last weekend and they were gone in literally 10 minutes. People kept coming back asking if I had more, I felt like a professional pastry chef! Only note is make sure you give yourself enough time for all the chill steps, rushing those is a recipe for disaster.
How do you get that perfect shiny golden top? My croissants tasted good but they were really pale on top, even after baking the full 20 minutes. I used an egg wash like the recipe said, but maybe I did it wrong?
Took me three tries to get the lamination right, but when I did? Absolute perfection. Buttery, flaky, exactly what a croissant should be. Don’t get discouraged if your first batch isn’t bakery perfect, it’s a skill that takes practice!
My girlfriends came over for a Galentine’s day brunch last weekend and these croissants were the star of the show! I set out a little spread of butter, jams, Nutella, and lemon curd to go with them, and we ate way too many while sipping mimosas. Already planning to make them again for our next brunch get together!