
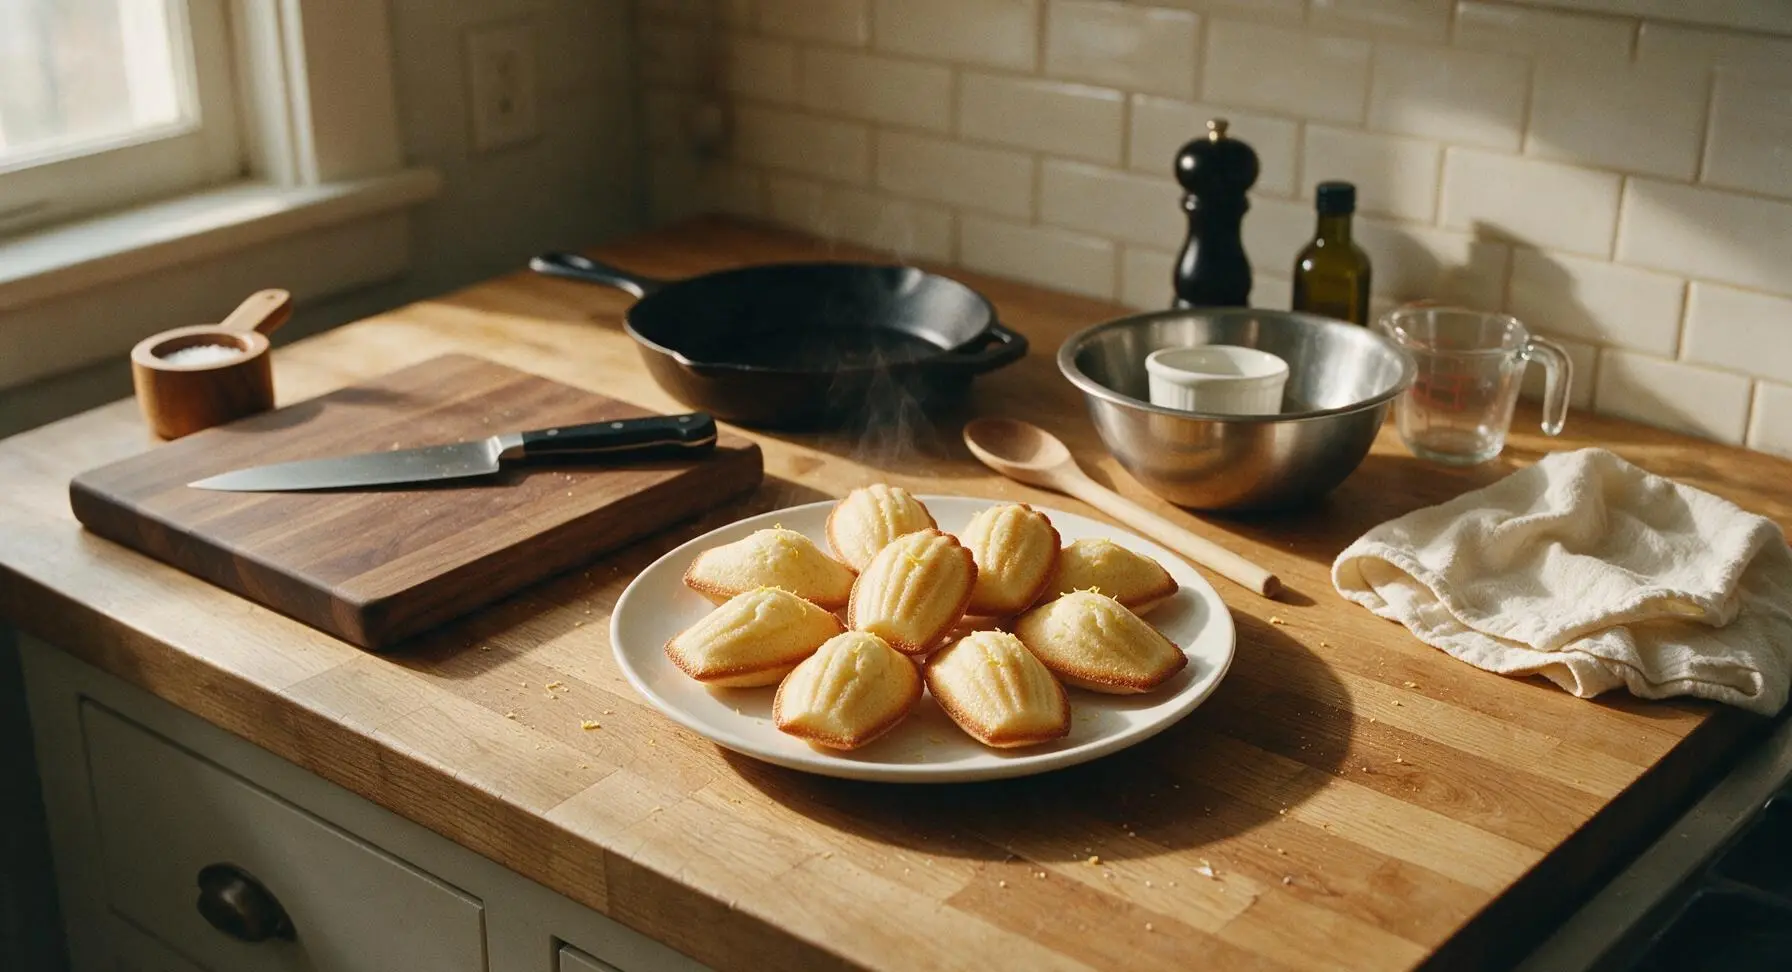
French Madeleines

title 1
French Madeleines
⏱️ cook time 9 minutes
🍽️ servings 6
⚡ Difficulty medium

intro

Delicate shell-shaped buttery French cookies with crisp golden edges, a tender soft crumb, bright lemon note, and the iconic tall, rounded hump beloved in classic patisserie.

Ingredients
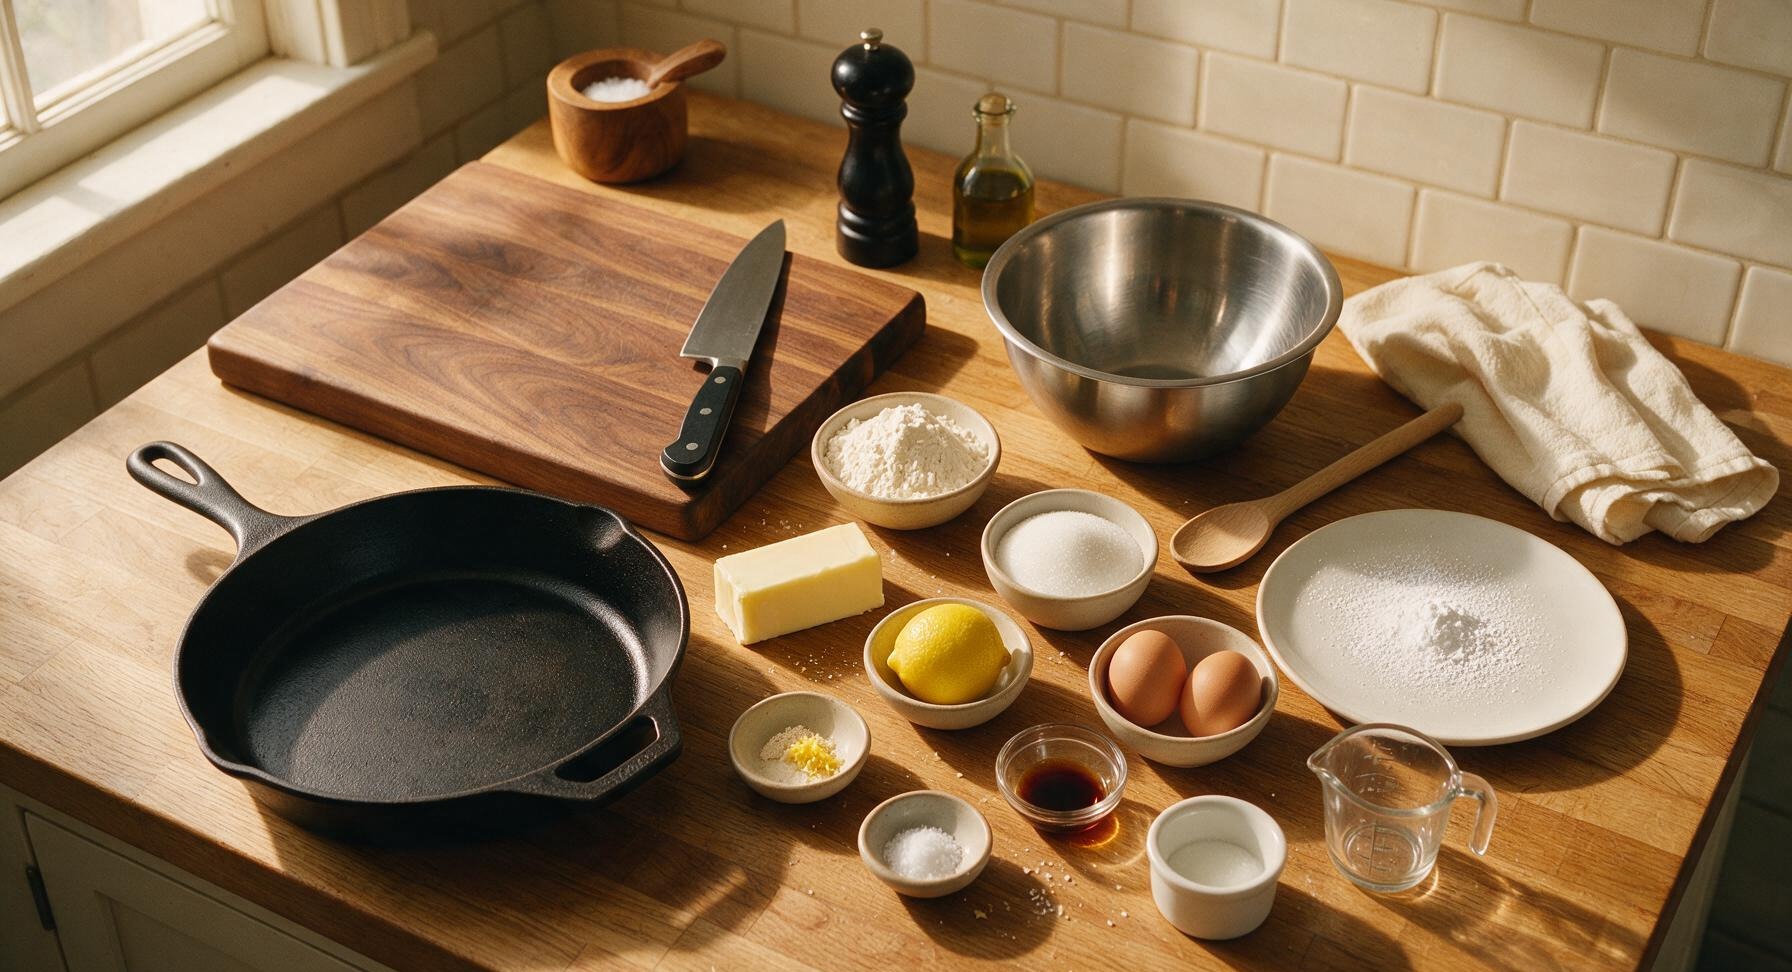
Unsalted butter 113g (1/2 cup)
All-purpose flour 100g (3/4 cup + 2 tbsp)
Granulated white sugar 90g (scant 1/2 cup)
Large eggs 2, room temperature
Fresh lemon zest 1 tsp (from 1 small unwaxed lemon)
Baking powder 1/2 tsp
Fine sea salt 1/4 tsp
Pure vanilla extract 1/2 tsp
Powdered sugar 1 tbsp, for dusting

Steps

1

Melt and Brown Butter

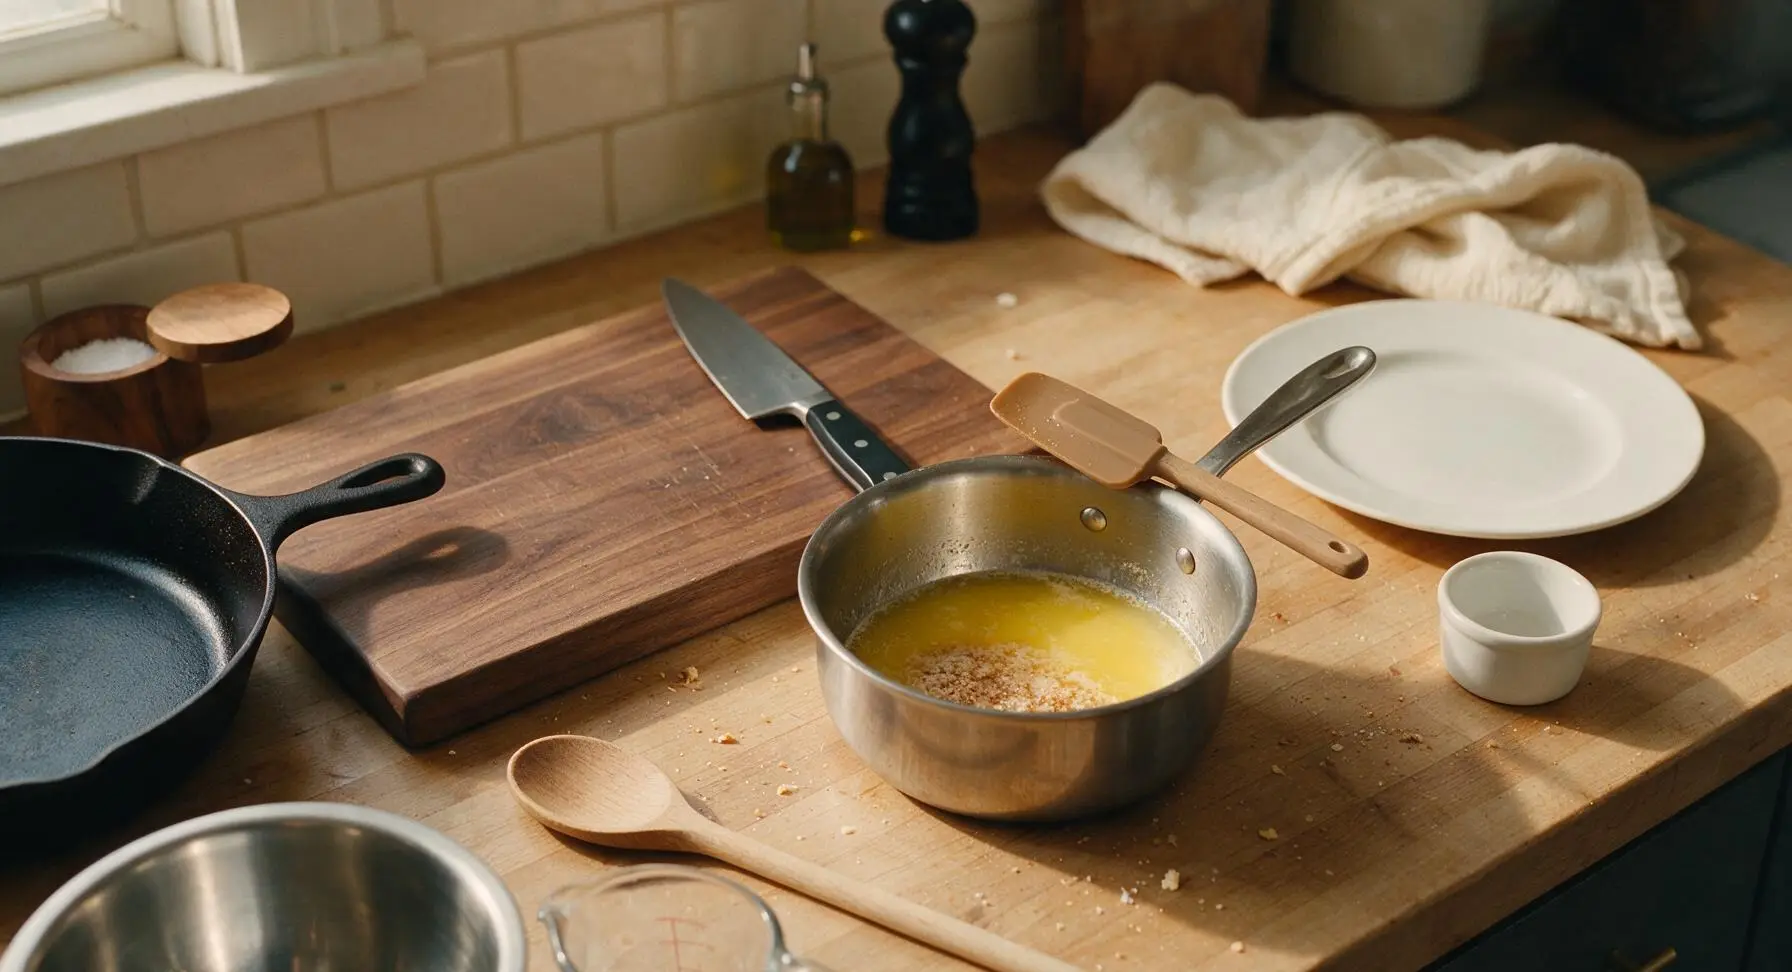
Place 113g unsalted butter in the small polished stainless steel saucepan over medium-low heat. Melt fully, then cook for 2-3 minutes until pale golden milk solids form at the pan bottom and the butter smells rich and nutty (this is beurre noisette, which adds deep, toasty flavor). Remove from heat immediately, pour into a small matte white ramekin, and set aside to cool to room temperature (about 10 minutes; the butter should be liquid but not hot to the touch to avoid cooking the eggs later).
Step 1
step1:Melt and Brown Butter
2

Whisk Eggs and Sugar

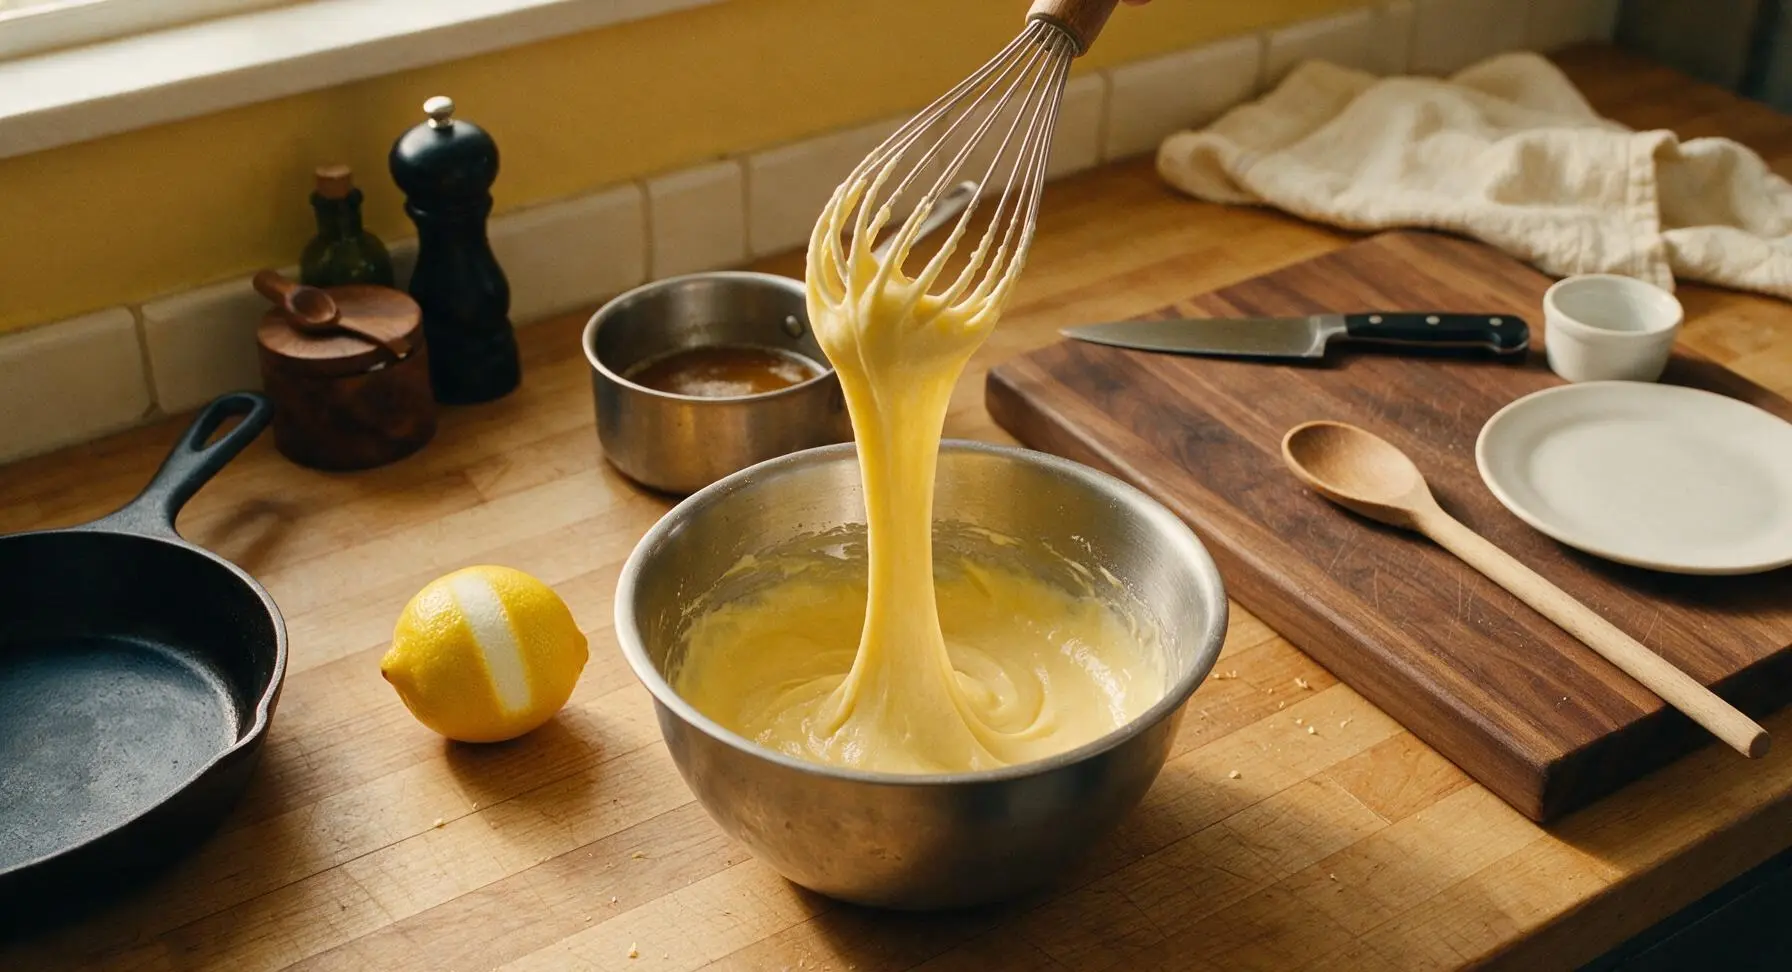
In the medium brushed stainless steel mixing bowl, combine 2 room-temperature large eggs, 90g granulated sugar, 1 tsp freshly grated lemon zest, and 1/2 tsp pure vanilla extract. Use the small stainless steel manual whisk to beat the mixture for 2-3 minutes until it turns pale lemon yellow, thickens noticeably, and leaves a slow, thick ribbon trail that holds for 2 seconds when the whisk is lifted above the bowl. Do not whisk to stiff peaks—this is a light, thickened base, not a meringue.
Step 2
step2:Whisk Eggs and Sugar
3

Sift Dry Ingredients

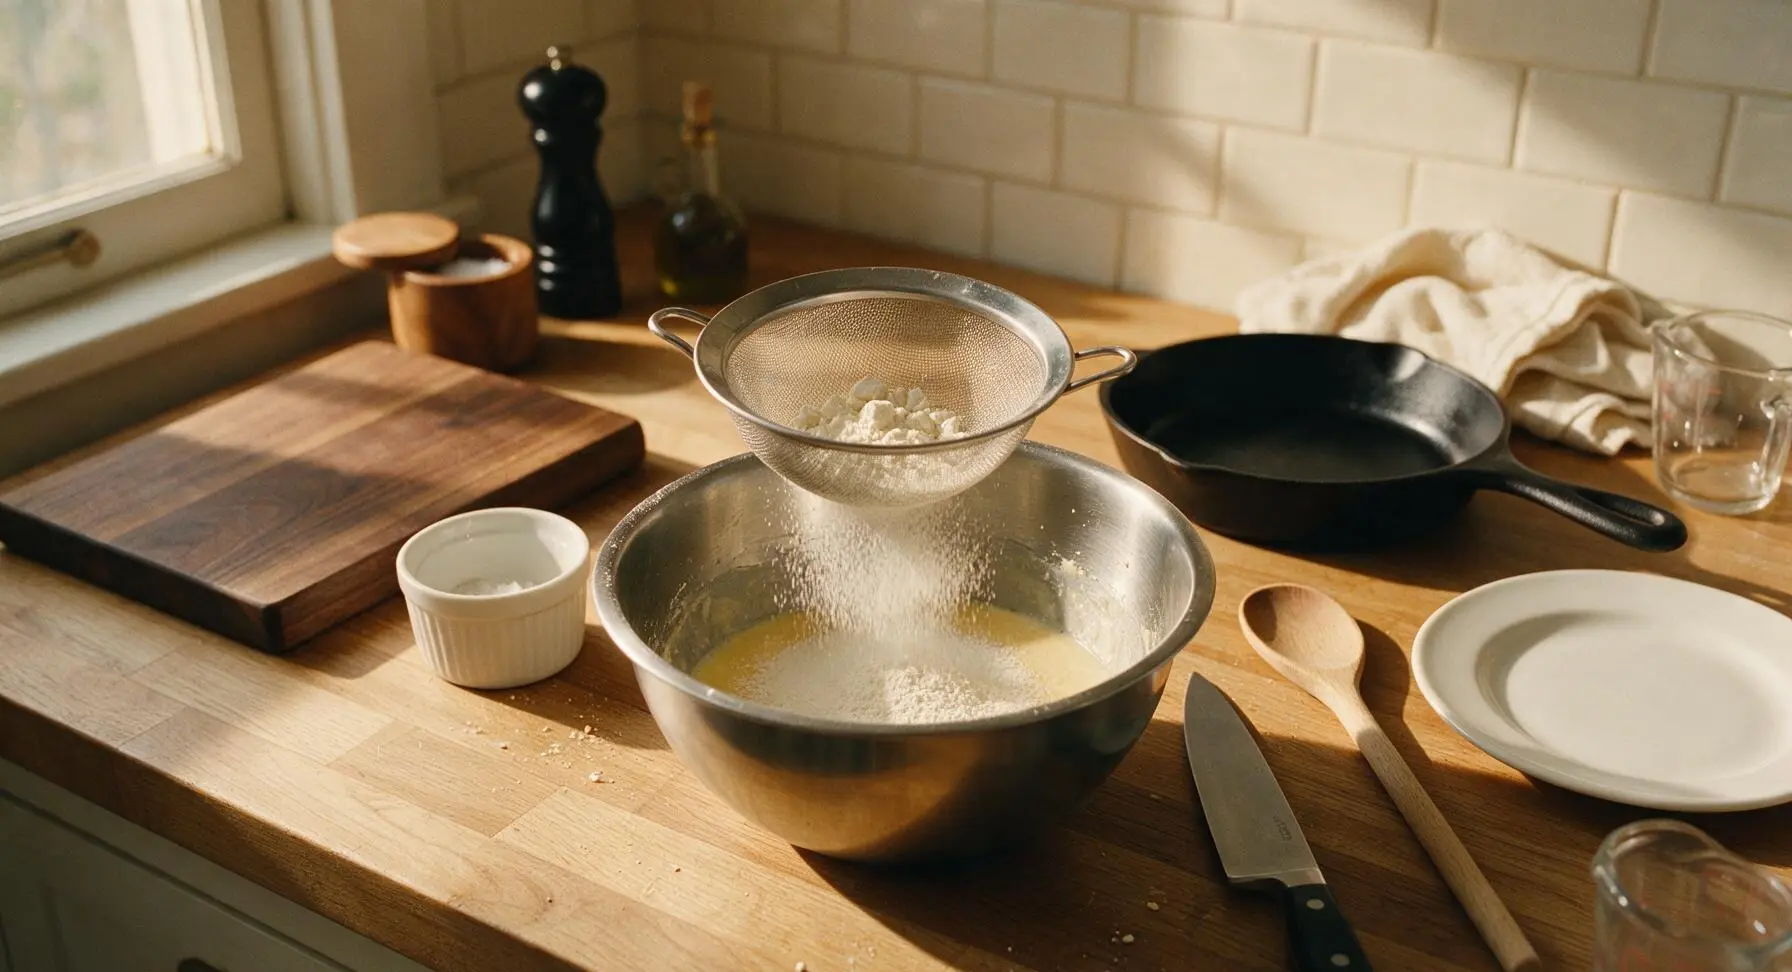
Set the small fine-mesh stainless steel sieve over the mixing bowl with the egg mixture. Add 100g all-purpose flour, 1/2 tsp baking powder, and 1/4 tsp fine sea salt to the sieve. Tap the sieve edge gently with your hand to sift all dry ingredients evenly over the wet mixture, discarding any small, hard lumps left in the sieve mesh. Sifting prevents clumps and creates a lighter, more tender crumb.
Step 3
step3:Sift Dry Ingredients
4

Fold in Cooled Butter

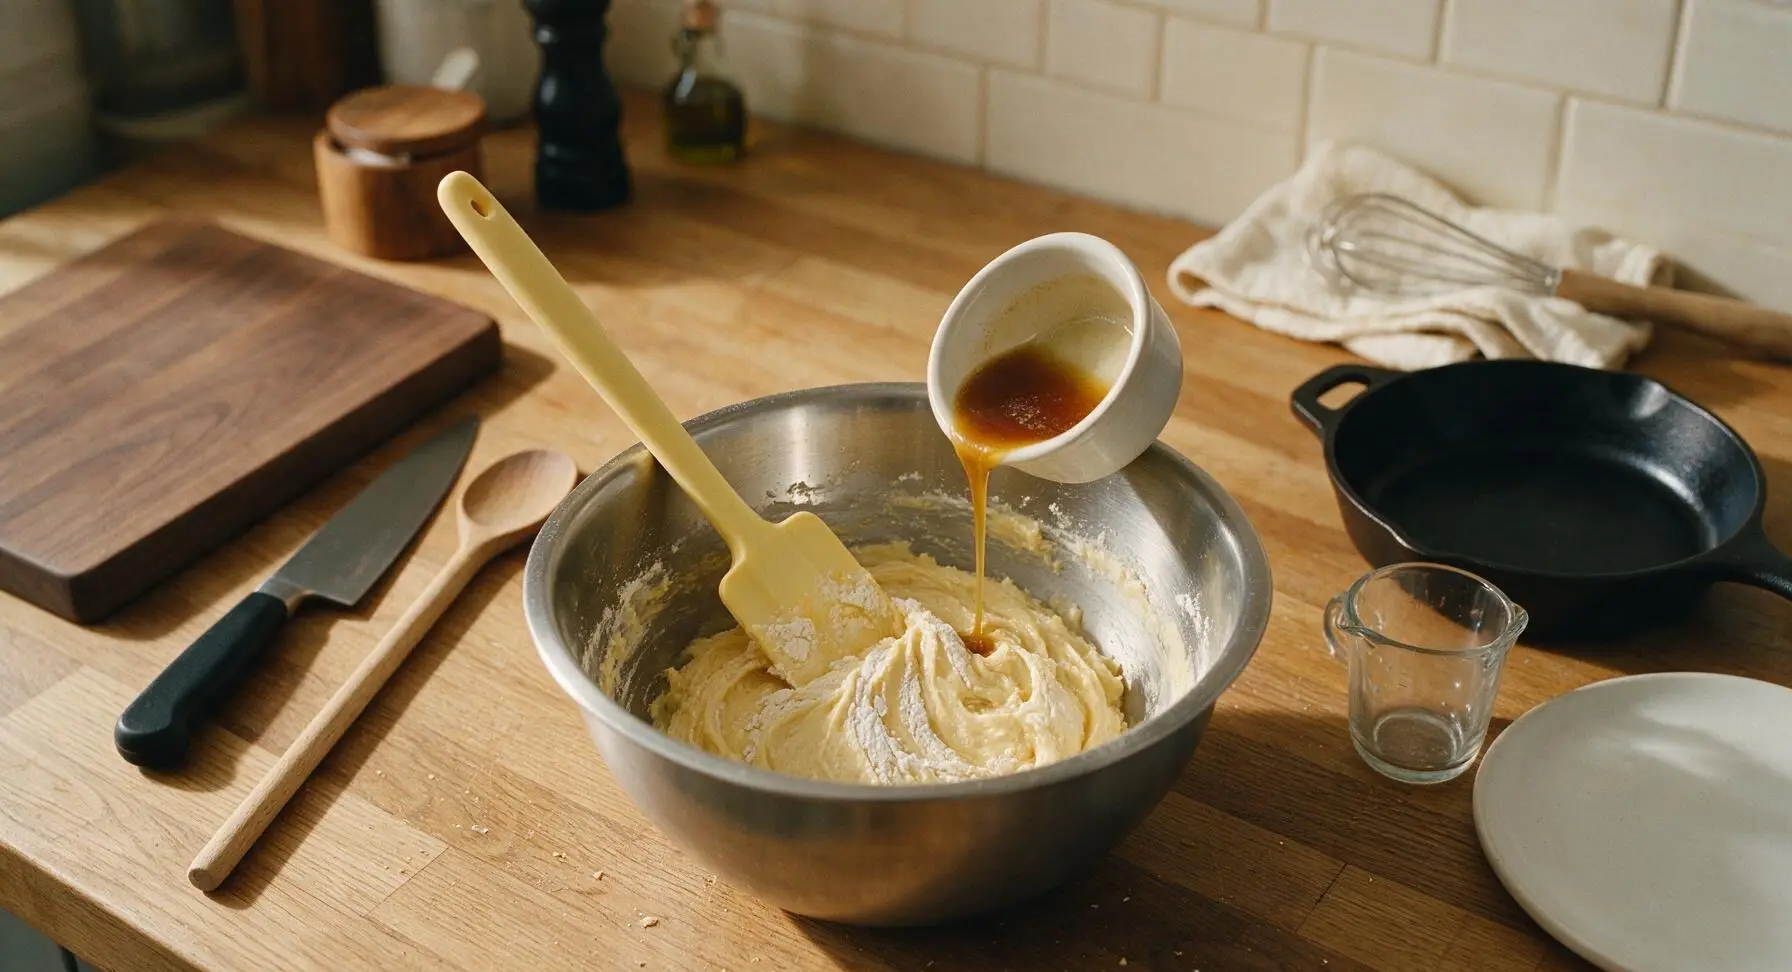
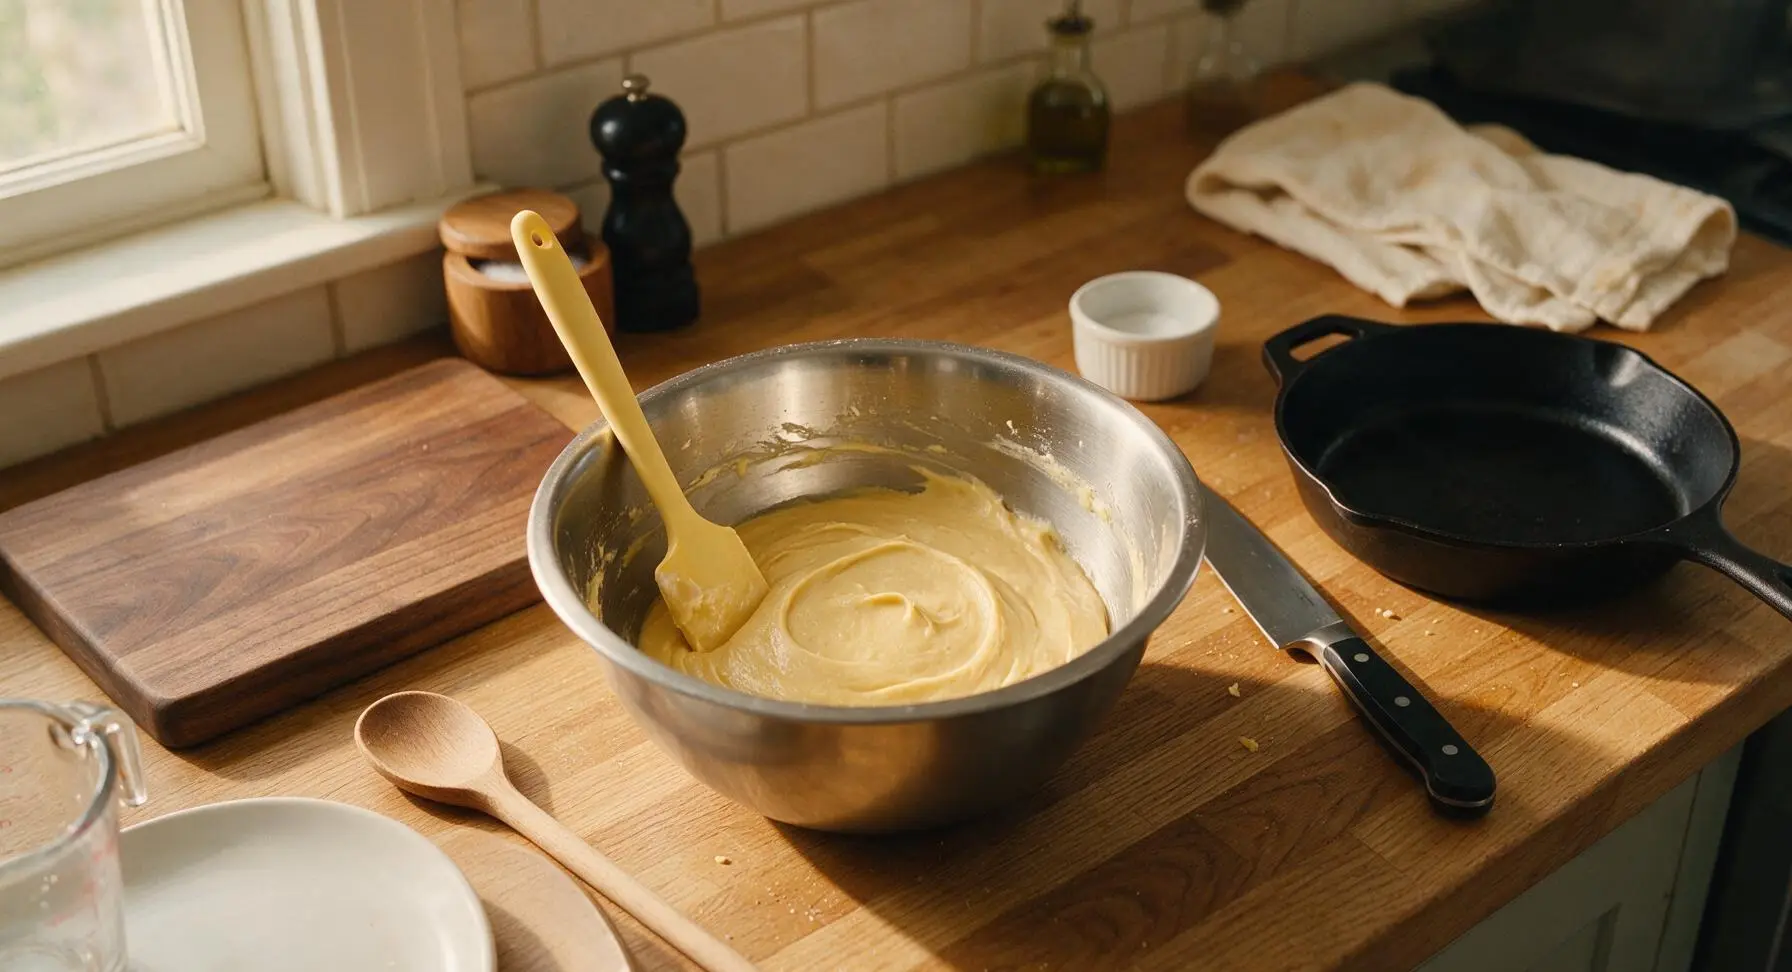
Use the pale yellow silicone spatula to gently fold the sifted dry ingredients into the egg mixture, using slow, sweeping motions from the bottom of the bowl up to the surface, just until no dry flour streaks remain. Slowly pour the cooled brown butter down the side of the bowl, and continue folding gently until the batter is smooth, thick, and uniform in color. Do not overmix—overworking the gluten will create dense madeleines that fail to form their signature hump.
Step 4
step4:Fold in Cooled Butter
Step 4
step4:Fold in Cooled Butter
5

Chill Batter Thoroughly

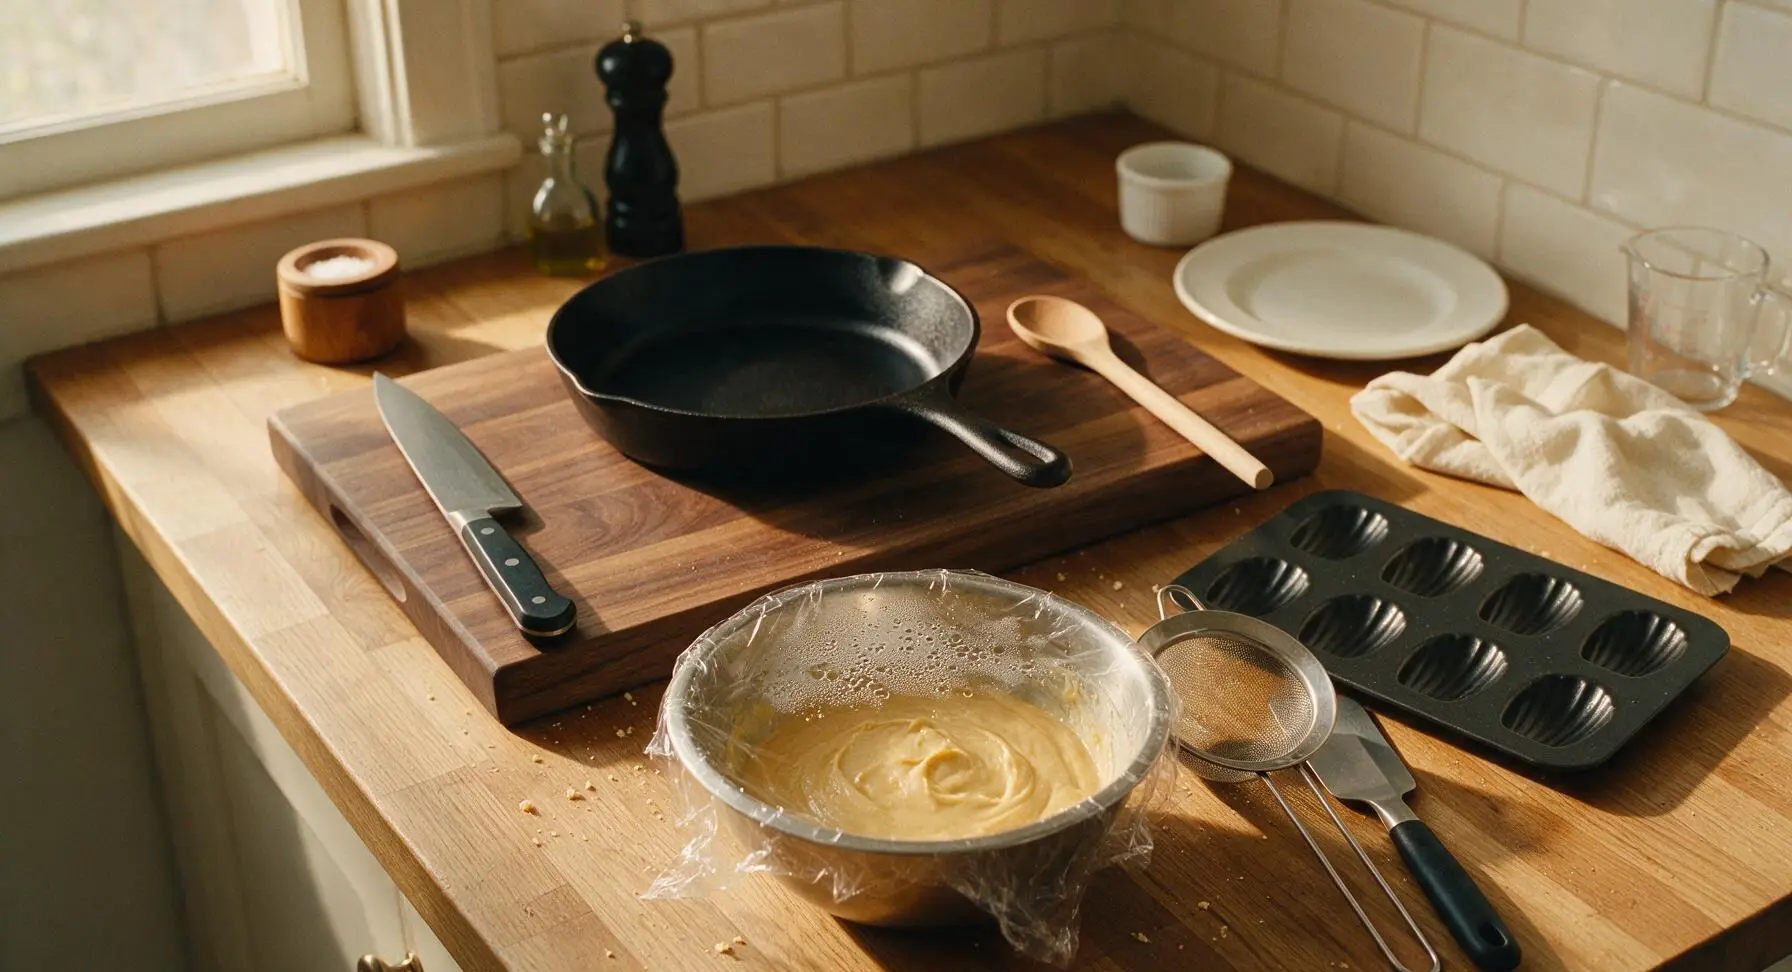
Cover the mixing bowl tightly with plastic wrap, pressing the wrap directly onto the batter surface to prevent a skin from forming. Place the bowl in the refrigerator to chill for a minimum of 1 hour (up to 24 hours for deeper, nuttier flavor). This cold rest is non-negotiable: the sudden temperature shock when ice-cold batter hits the hot pan creates steam that puffs the cookie into the iconic tall, rounded hump.
Step 5
step5:Chill Batter Thoroughly
6

Prep Pan and Oven

While the batter finishes chilling, preheat your oven to 220C (425F). Use the natural boar bristle pastry brush to coat every shell indentation of the matte black madeleine pan thoroughly with a thin layer of reserved melted butter, then dust each indent with a light coating of all-purpose flour, tapping the pan firmly upside down over the sink to remove any excess flour. This creates a non-stick barrier and produces a crisp, golden outer edge.
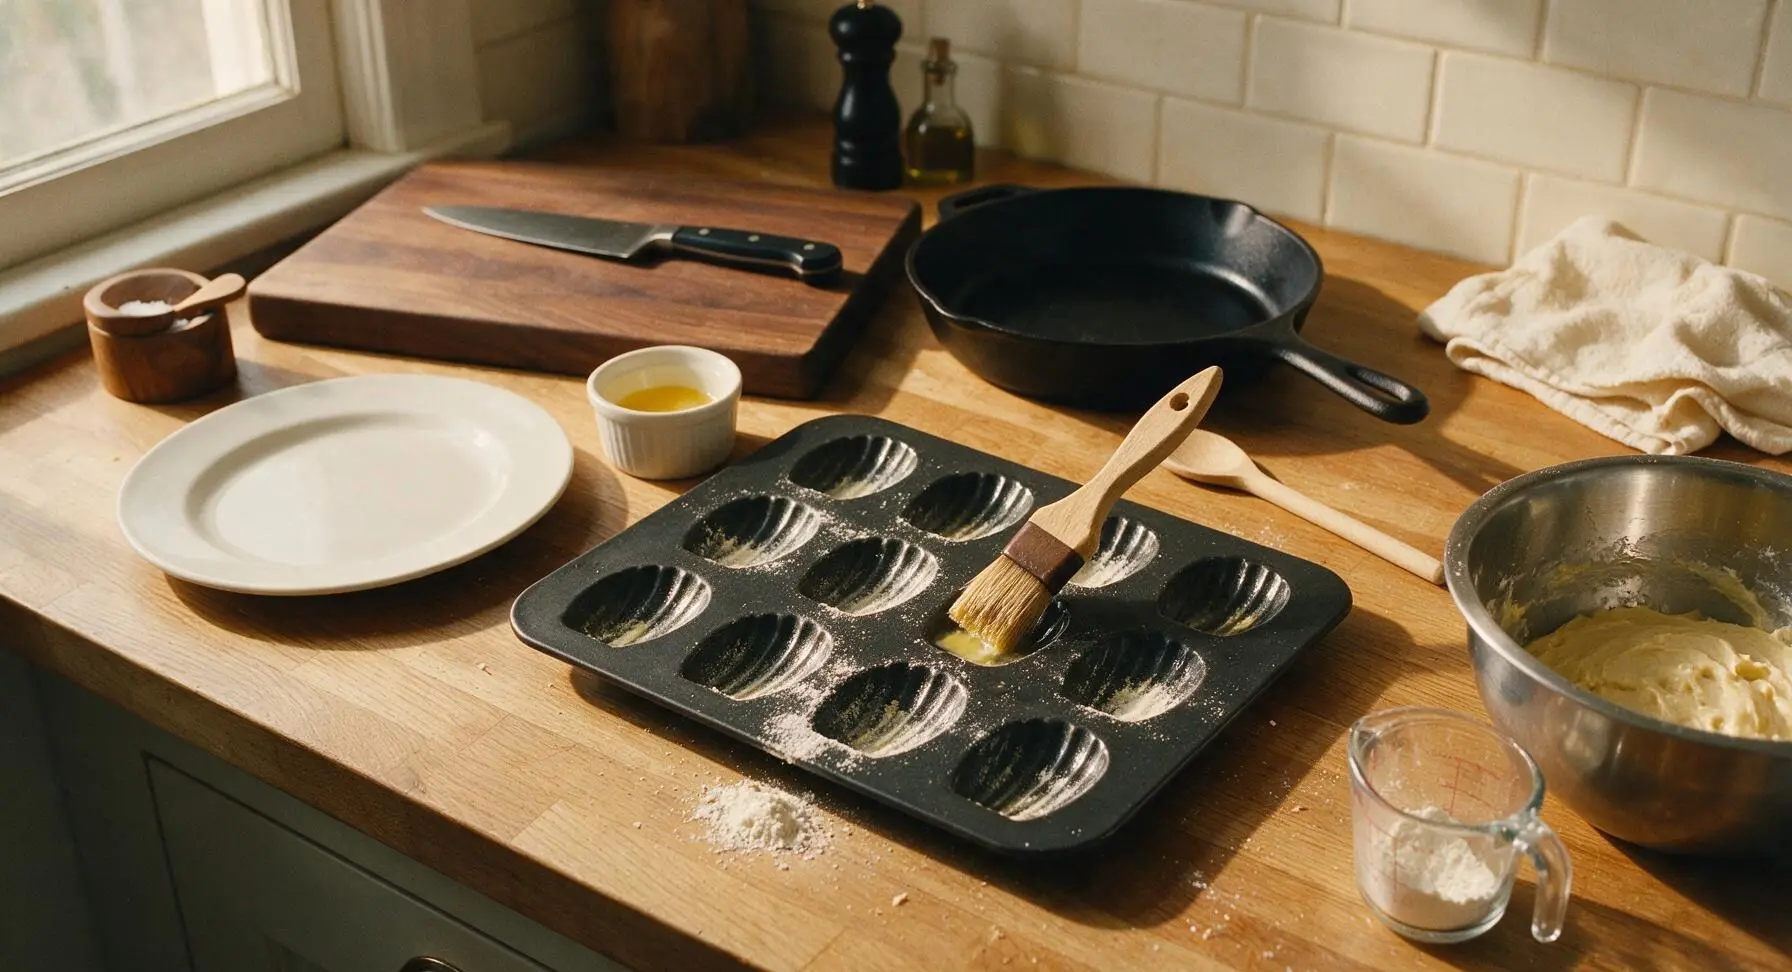
Step 6
step6:Prep Pan and Oven
7

Portion and Bake Madeleines

Once the oven is fully preheated and the batter is thoroughly chilled, remove the bowl from the fridge. Scoop 1 heaped tablespoon of batter into the center of each buttered, floured shell indentation—do not spread the batter, as it will melt and spread evenly on its own as it bakes. Place the pan in the hot oven, immediately reduce the oven temperature to 200C (400F), and bake for 8-9 minutes. The madeleines are done when the edges are deep golden brown, the centers are set, and a tall, rounded hump has formed on the back of each cookie.
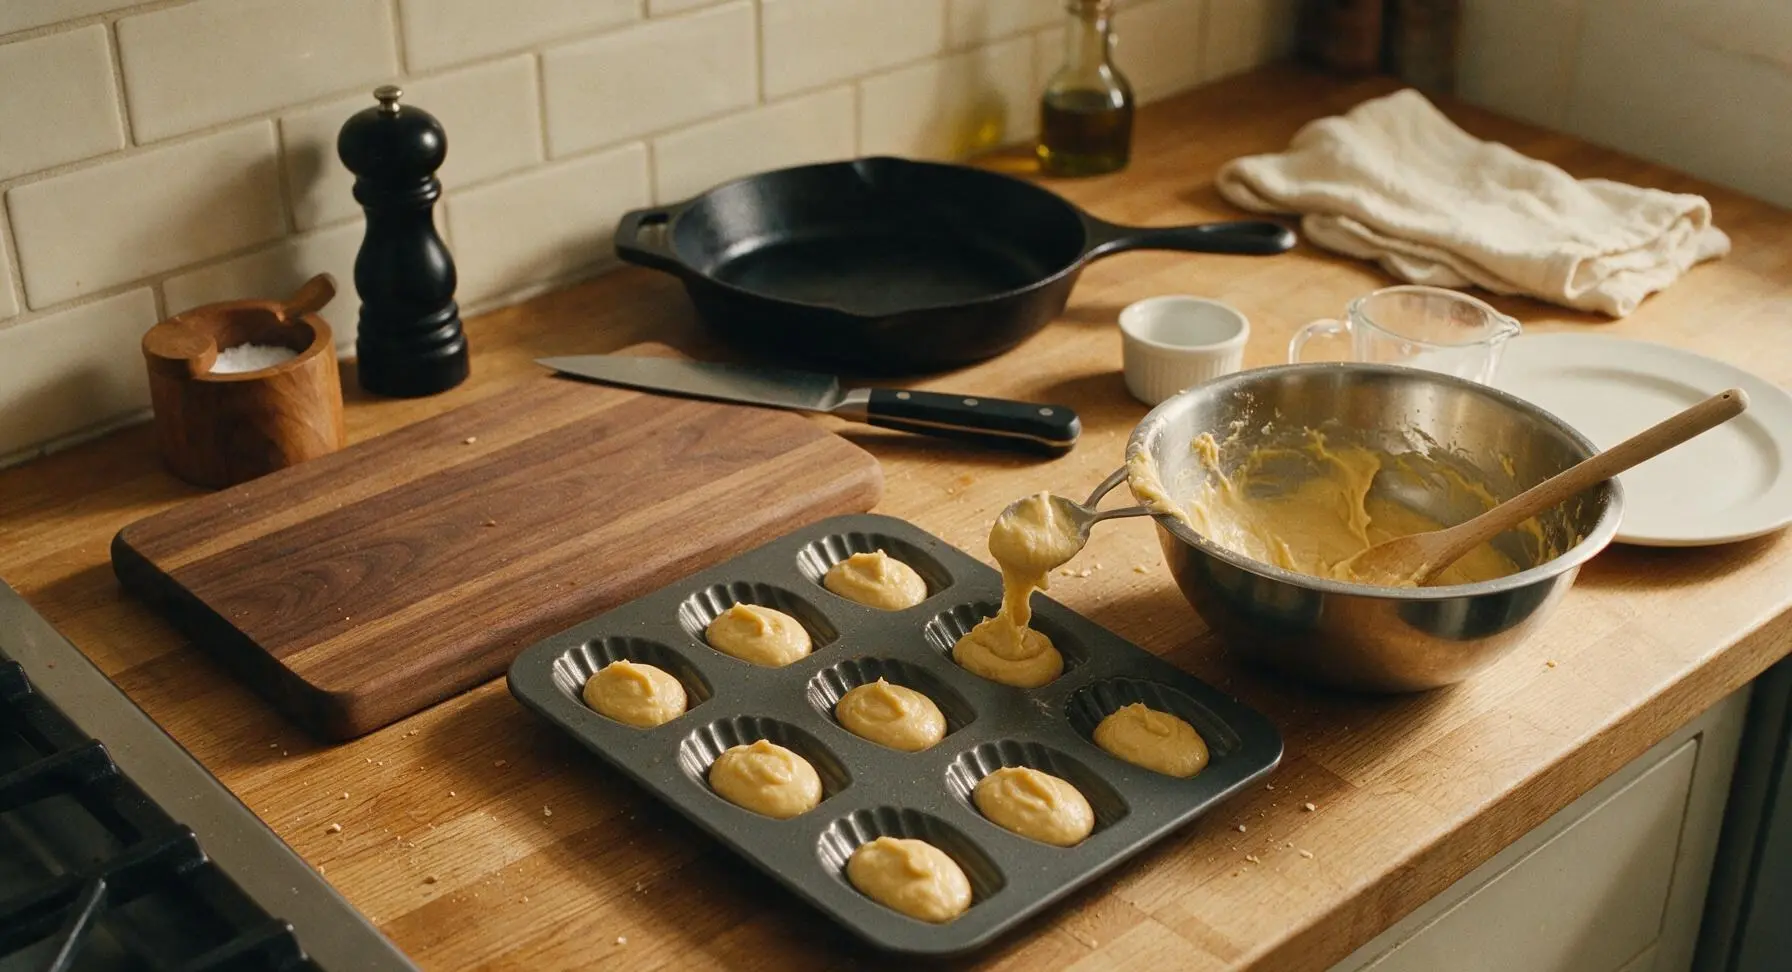
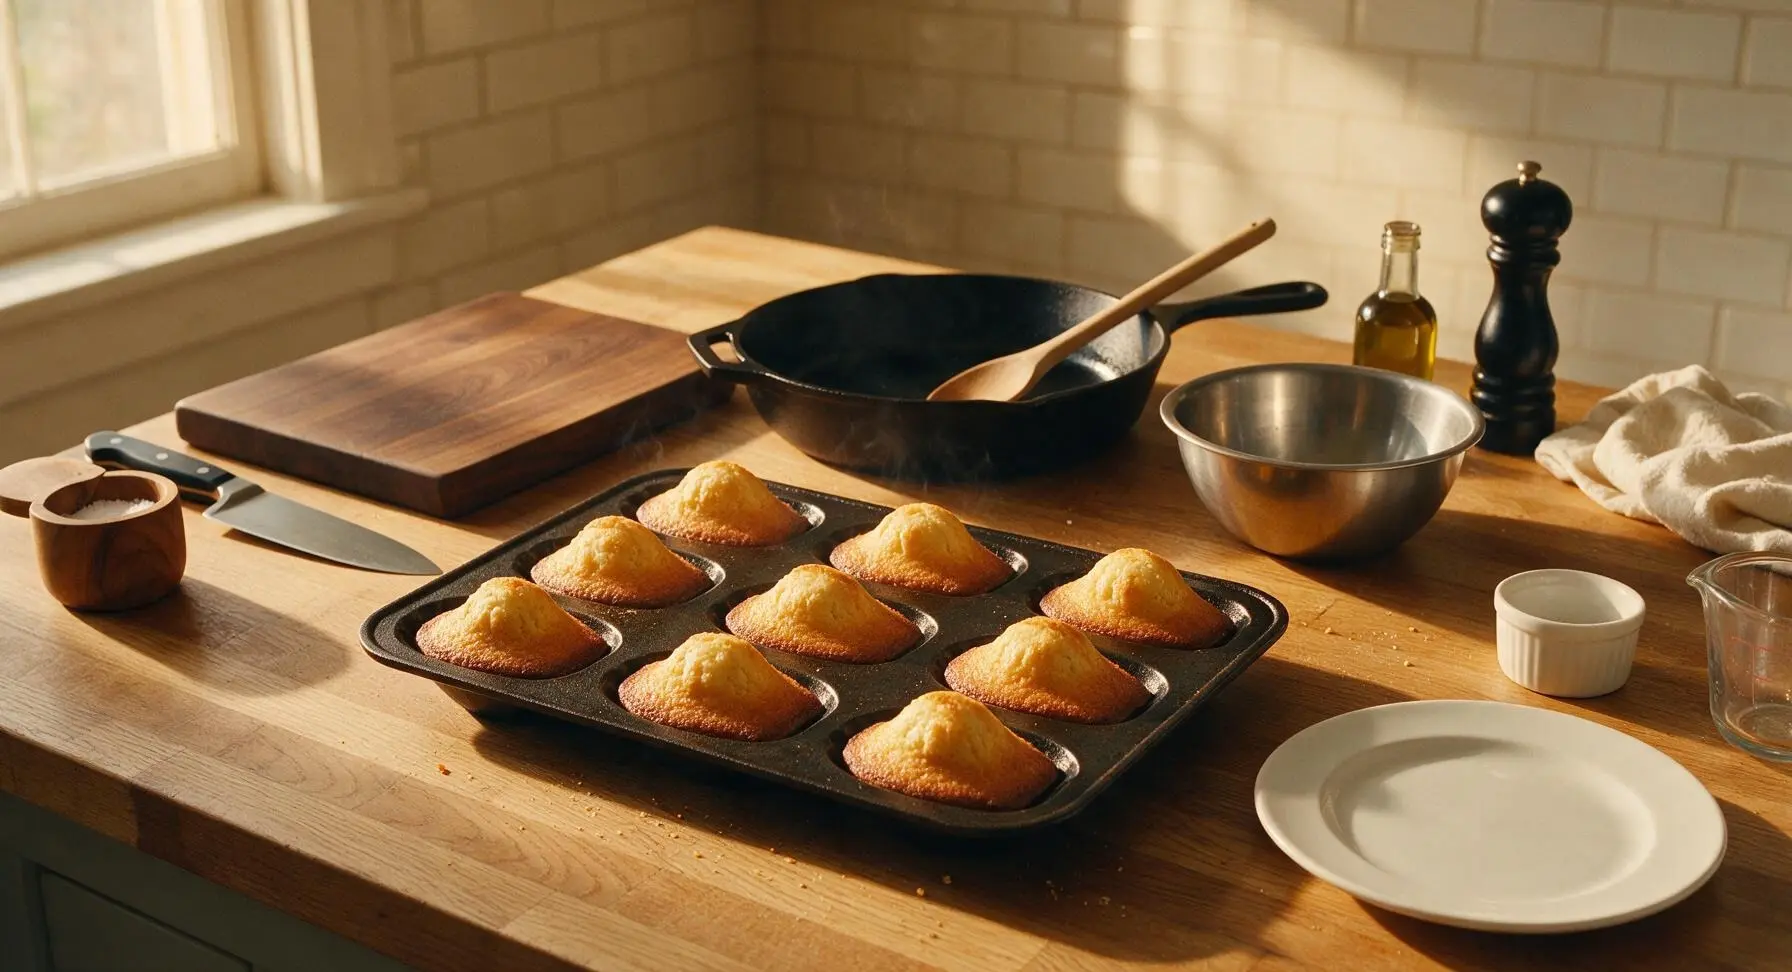
Step 7
step7:Portion and Bake Madeleines
Step 7
step7:Portion and Bake Madeleines
8

Cool and Dust with Sugar

Immediately tap the hot pan firmly on the counter to loosen the madeleines, then tip them out onto the chrome wire cooling rack, hump-side up. Let them cool for 5 minutes, then transfer to the oval cream white ceramic serving platter. Dust lightly with powdered sugar from the frosted glass shaker just before serving, while the edges are still slightly crisp.
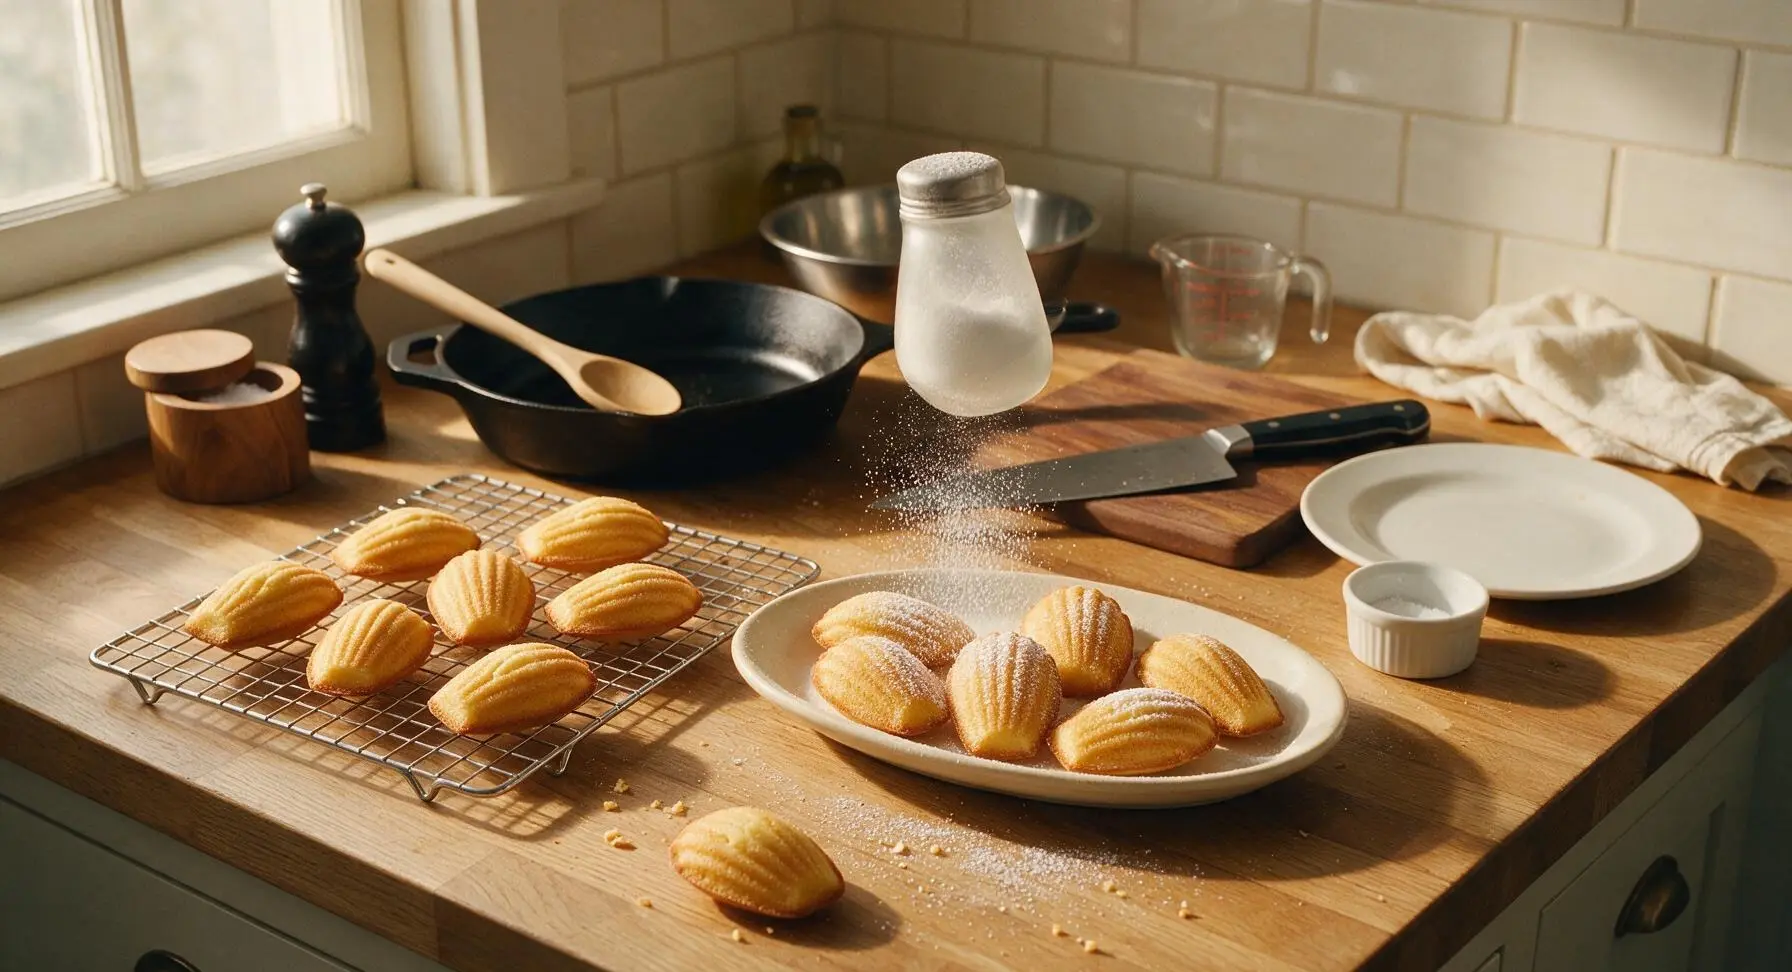
Step 8
step8:Cool and Dust with Sugar

Tips

1.Never skip the 1-hour minimum batter chill: The dramatic temperature difference between ice-cold batter and a preheated hot oven creates the steam needed to form the iconic tall madeleine hump; warm batter will spread flat and bake into dense, shapeless cookies with no rise.
2.Resist the urge to overmix the batter after adding flour: Overworking the gluten in the all-purpose flour will result in tough, chewy madeleines instead of the delicate, melt-in-your-mouth tender crumb that defines the classic recipe; stop folding as soon as no dry flour streaks are visible.
3.Serve madeleines within 1 hour of baking: These cookies are at their best fresh, when their outer edges are crisp and the center is soft and pillowy; they lose their crispness quickly when stored in an airtight container, so wait to dust with powdered sugar until immediately before serving.


✨ You May Also Like

Desserts & Baking
🍜 Italy

Creamy, coffee-kissed classic Northern Italian no-bake dessert, with layers of rum-spiked mascarpone cream, soft ladyfingers, and a rich cocoa dusting.

⏱️ 4 hours 3Desserts & Baking ★ 4.7
Desserts & Baking
🍜 France

Flaky, shatteringly crisp, buttery French croissants with golden exteriors and soft, airy layered interiors, perfect for pairing with coffee for a special morning treat.

⏱️ 12 hours Desserts & Baking ★ 4.5
Desserts & Baking
🍜 United States

Warm, spiced baked apples topped with a fluffy golden biscuit crust, this cozy dessert pairs perfectly with vanilla ice cream for cool-weather comfort.

⏱️ 55 minuteDesserts & Baking ★ 4.6
Desserts & Baking
🍜 United States

A star-spangled classic American blueberry pie with buttery flaky crust and bright sweet-tart filling, perfect for summer patriotic gatherings.

⏱️ 1 hour 25Desserts & Baking ★ 4.7
Desserts & Baking
🍜 United States

A beloved no-bake regional Maine candy with a chewy coconut-potato center coated in rich dark chocolate, a New England holiday staple since the 1870s.

⏱️ 2 hours 3Desserts & Baking ★ 4.8
Desserts & Baking
🍜 France

Luxuriously creamy, floral frozen custard made with aromatic Tahitian vanilla beans, boasting a smooth, rich texture that melts slowly on the tongue.

⏱️ 3 hours 3Desserts & Baking ★ 4.5

French Madeleines:Frequently Asked Questions

1.Why didn't my madeleines develop that iconic tall, rounded hump? ▾
That signature hump relies on a sharp temperature shock to trigger fast, even rise. First, chill your batter for a minimum of 2 hours (preferably overnight) before baking, and fully preheat your oven to 400°F with your metal madeleine pan inside. Don't open the oven door for the first 8 minutes of baking, and only fill each mold ⅔ full to give batter room to puff up.
2.Can I make the madeleine batter ahead of time, or do I need to bake it immediately? ▾
You absolutely can make batter ahead—in fact, a long rest is non-negotiable for great texture and that signature hump. Tightly cover the mixed batter and store it in the fridge for up to 3 days, then scoop and bake it straight from cold, no need to bring it to room temperature. This rest also deepens the bright lemon note for better flavor.
3.Do I have to use a metal madeleine pan, or will a silicone mold work? ▾
Heavy-gauge nonstick metal pans are ideal for delivering the even, high heat that creates crisp golden edges and a pronounced hump. Silicone molds work if that's all you own, but you'll get softer edges and less rise. Set the silicone pan on a preheated baking sheet to boost heat transfer, and add 2 to 3 minutes to your bake time for better browning.
4.Why do my madeleines stick to the pan even when I grease it? ▾
Sticking almost always traces back to poor pan prep or bad timing when removing them. Melt a little extra unsalted butter, brush every crevice of the shell molds, then dust with a light flour coating, tapping out excess before adding batter. Let baked madeleines rest in the pan for exactly 2 minutes post-bake, then tap the pan firmly on the counter to release them cleanly.
5.How should I store leftover madeleines, and how long do they stay fresh? ▾
Madeleines are at their absolute best the day they're baked, with crisp edges and a tender, soft crumb. You can store leftovers in an airtight container at room temperature for up to 2 days. To bring back that fresh-baked texture, pop them on a baking sheet in a 350°F oven for 2 to 3 minutes right before serving. Skip the fridge, as excess moisture will make them soggy.

Comments (11)

2 days ago

OMG these came out PERFECT for my book club potluck! I was so nervous about getting that signature little hump, but I followed the tip about chilling the batter for an hour and popping it straight into a hot oven and every single one had that perfect rise. Everyone asked for the recipe, SO buttery and delicate. Game changer for my baking rotation!

yesterday

So glad the chilled batter trick worked for you, Molly! That hot oven shock is truly the secret to that iconic madeleine hump. Happy your book club loved them!

3 days ago

Tasted amazing, but my first batch stuck to the pan even when I greased it with butter. Did I not let them cool long enough before popping them out? Flavor was 10/10 though, my roommates devoured the ones that didn’t break.

2 days ago

I had the same issue the first time! I started dusting the buttered pan with a little flour after greasing and tapping out the excess, zero sticking ever since. Game changer!

2 days ago

Great tip from Beth! A light flour dusting (or even cocoa powder if you’re making a chocolate variation) makes a huge difference. You also only need to let them cool 1-2 minutes in the pan before turning them out—wait too long and the residual sugar can glue them down!

1 week ago

My kids went crazy for these! I added a tiny drizzle of lemon glaze on top and packed them in their school lunches all week. They said it made them feel like they were getting a fancy French pastry snack instead of a regular cookie. Will 100% make again for our next family dinner dessert spread.

5 days ago

9 minute cook time is so accurate! I pulled mine at exactly 9 minutes and the edges were perfectly golden, centers soft and pillowy. I dipped half of mine in dark chocolate and flaky salt and I swear they’re better than the ones I got at a patisserie in Paris last year.

3 days ago

The dark chocolate + flaky salt combo is genius! I’m stealing that for my batch this weekend, thanks for the idea!

yesterday

Hmm, mine came out a little dense? I think I overmixed the batter? Wait, does the melted butter need to be completely cooled before adding it? I might have added it when it was still a little warm, oops.

2 hours ago

Overmixing is definitely the most common culprit for dense madeleines! You want to fold the dry ingredients in just until no flour streaks are left, lumps are totally okay. Warm butter can melt the sugar too much too, I always let mine cool 5+ minutes before using.

30 minutes ago

Mia is spot on! Overmixing develops gluten which makes them tough and dense, and warm butter can deflate the air you whip into the eggs and sugar. Next time, fold super gently and make sure butter is lukewarm, not hot, and you’ll get that light, fluffy crumb!

2 weeks ago

Meal prepped a batch of these for my day hikes last week and they held up perfectly! Not too sweet, lightweight, didn’t get squished in my pack even when I was hauling it up Camelback Mountain. Will be my new go-to trail snack for sure, way better than boring granola bars.

30 minutes ago

Just pulled these out of the oven and my whole house smells like butter and vanilla, I could cry! First time making madeleines ever and I already see the little humps forming, I’m so proud of myself. Can these be frozen for later? I made a double batch and don’t want them to go stale.

5 minutes ago

Yay, so excited your first batch is turning out! You absolutely can freeze them—just let them cool completely, pop them in an airtight bag with parchment between layers, and they’ll keep for up to a month. Thaw at room temp for 10 minutes and they taste just as fresh!

2 hours ago

Great base recipe! I added a teaspoon of orange zest to the batter and it gave such a bright, fresh pop that paired so well with the buttery flavor. Only note is I wish the recipe specified what size madeleine pan this is for? I have a 12-cavity pan and had just enough batter, but I almost used my smaller 20-cavity mini pan first.

30 minutes ago

I used my mini madeleine pan with this recipe last week! I just dropped the cook time to 6 minutes and they came out perfect, bite-sized and adorable for my toddler’s playdate.

5 minutes ago

Love the orange zest addition, Dan! This recipe is sized for a standard 12-cavity madeleine pan (each cavity ~3 tablespoons). Thanks for flagging that, I’ll add that note to the recipe card! Kris, great call on the 6 minute cook time for minis, that’s exactly what I recommend too.

5 minutes ago

Wait why did I think madeleines were so hard to make??? This recipe was so straightforward, I whipped up the batter while my coffee brewed this morning, chilled it while I walked my dog, and baked them when I got home. Zero stress, maximum deliciousness.

just now

Right? Everyone acts like they’re super fancy and complicated but they’re basically little butter cakes with a fancy shape! So glad you gave them a shot, they’re my favorite easy weekend bake.

3 days ago

I followed the recipe exactly but my madeleines didn’t get the hump at all! I chilled the batter for 2 hours, preheated the oven to the right temp, what did I do wrong? They tasted fine but were totally flat, super disappointed.

2 days ago

Oh no! Did you let your oven preheat long enough? I used to rush preheating and my oven was actually 50 degrees cooler than the display said, so I never got the hump. I got an oven thermometer and now every batch is perfect!

2 days ago

Sarah’s oven thermometer tip is such a good one! The most common reason for no hump is oven temp being too low—you need that blast of high heat to make the batter spring up. Also, make sure you’re not overfilling the molds! 1 tablespoon of batter per cavity is all you need, overfilling will make them spread instead of rise.

just now

Made these for my partner’s birthday breakfast in bed with a side of espresso and he said it was better than any breakfast we’ve gotten at the fancy French brunch spot downtown. Win for this home cook! The little dusting of powdered sugar on top makes them look so professional, no one has to know how easy they are.



