
french pudding
intro
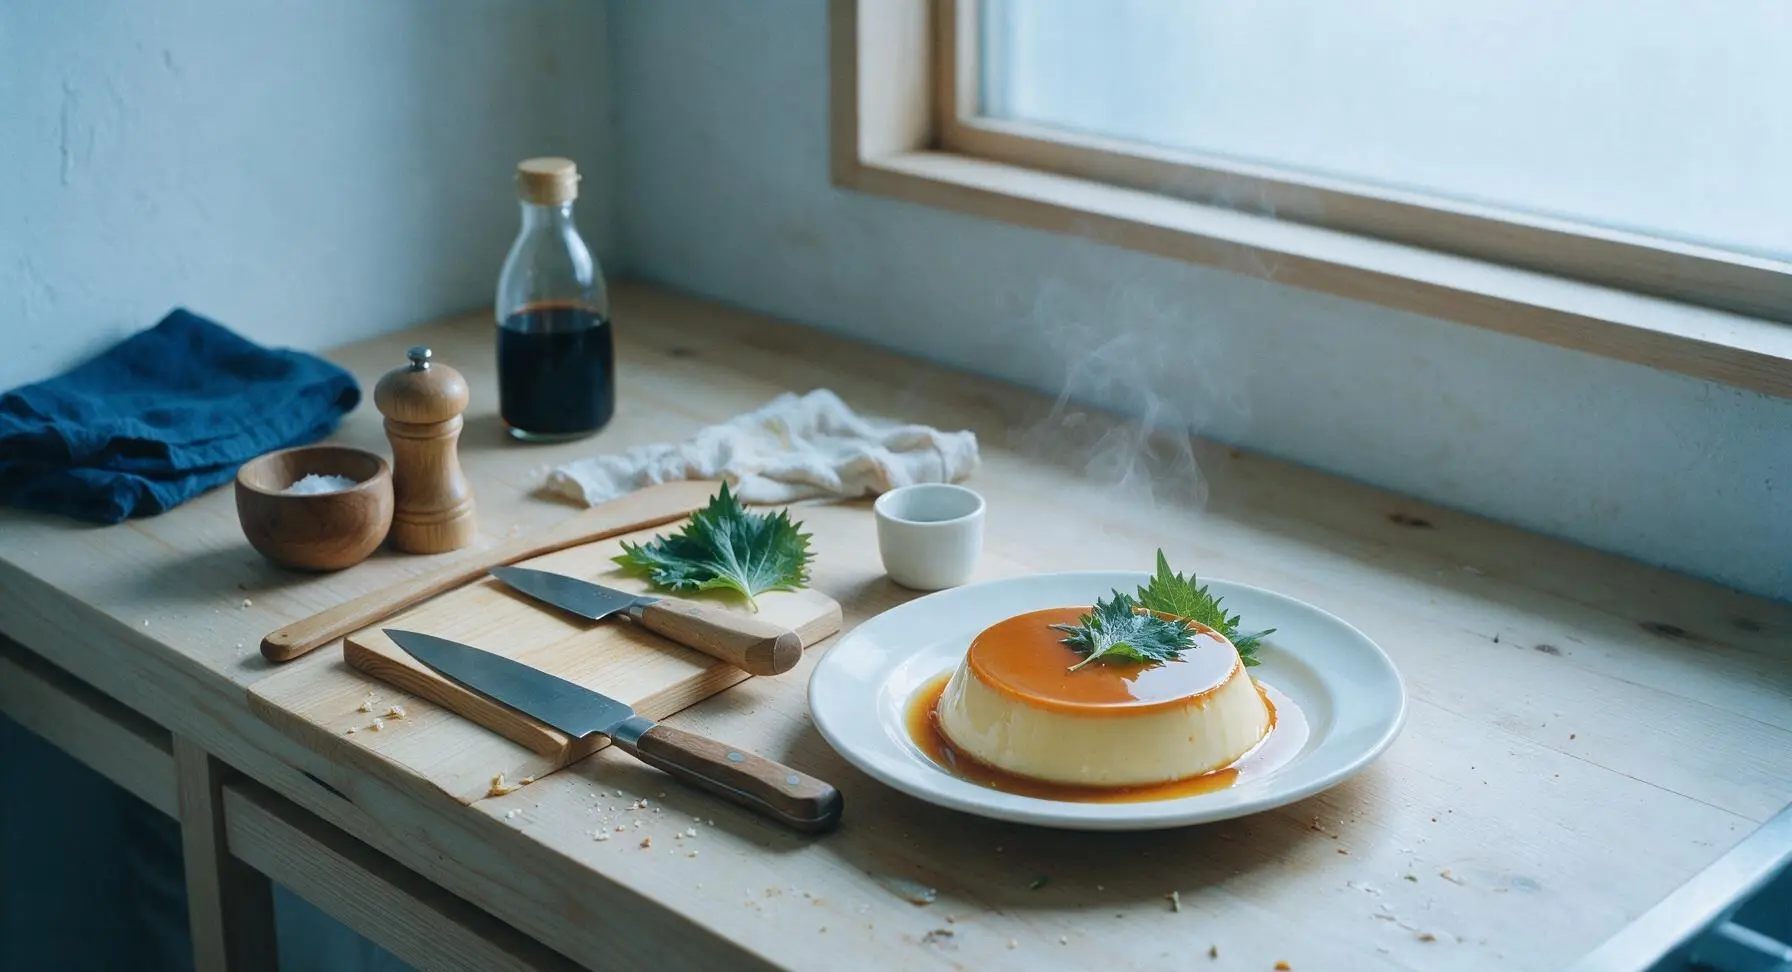
Silky vanilla custard topped with shatteringly smooth golden caramel, this classic French baked pudding is rich, delicate, and surprisingly simple to master at home.
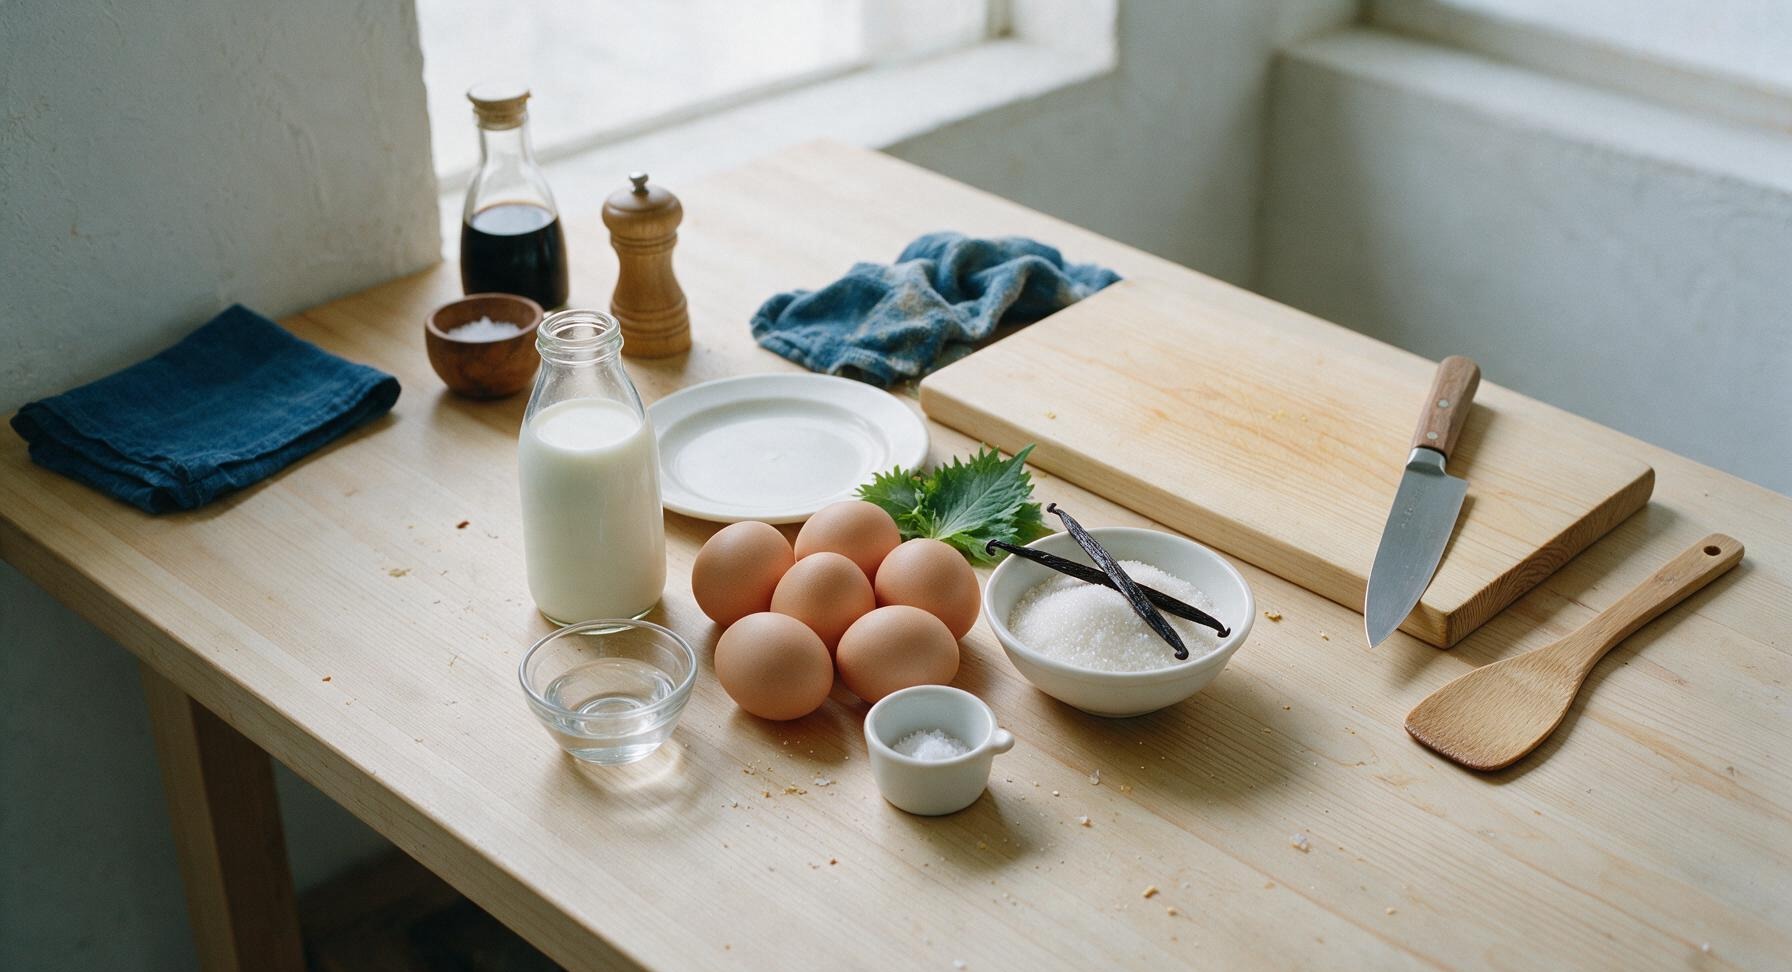
Ingredients
Steps
Make the sugar syrup
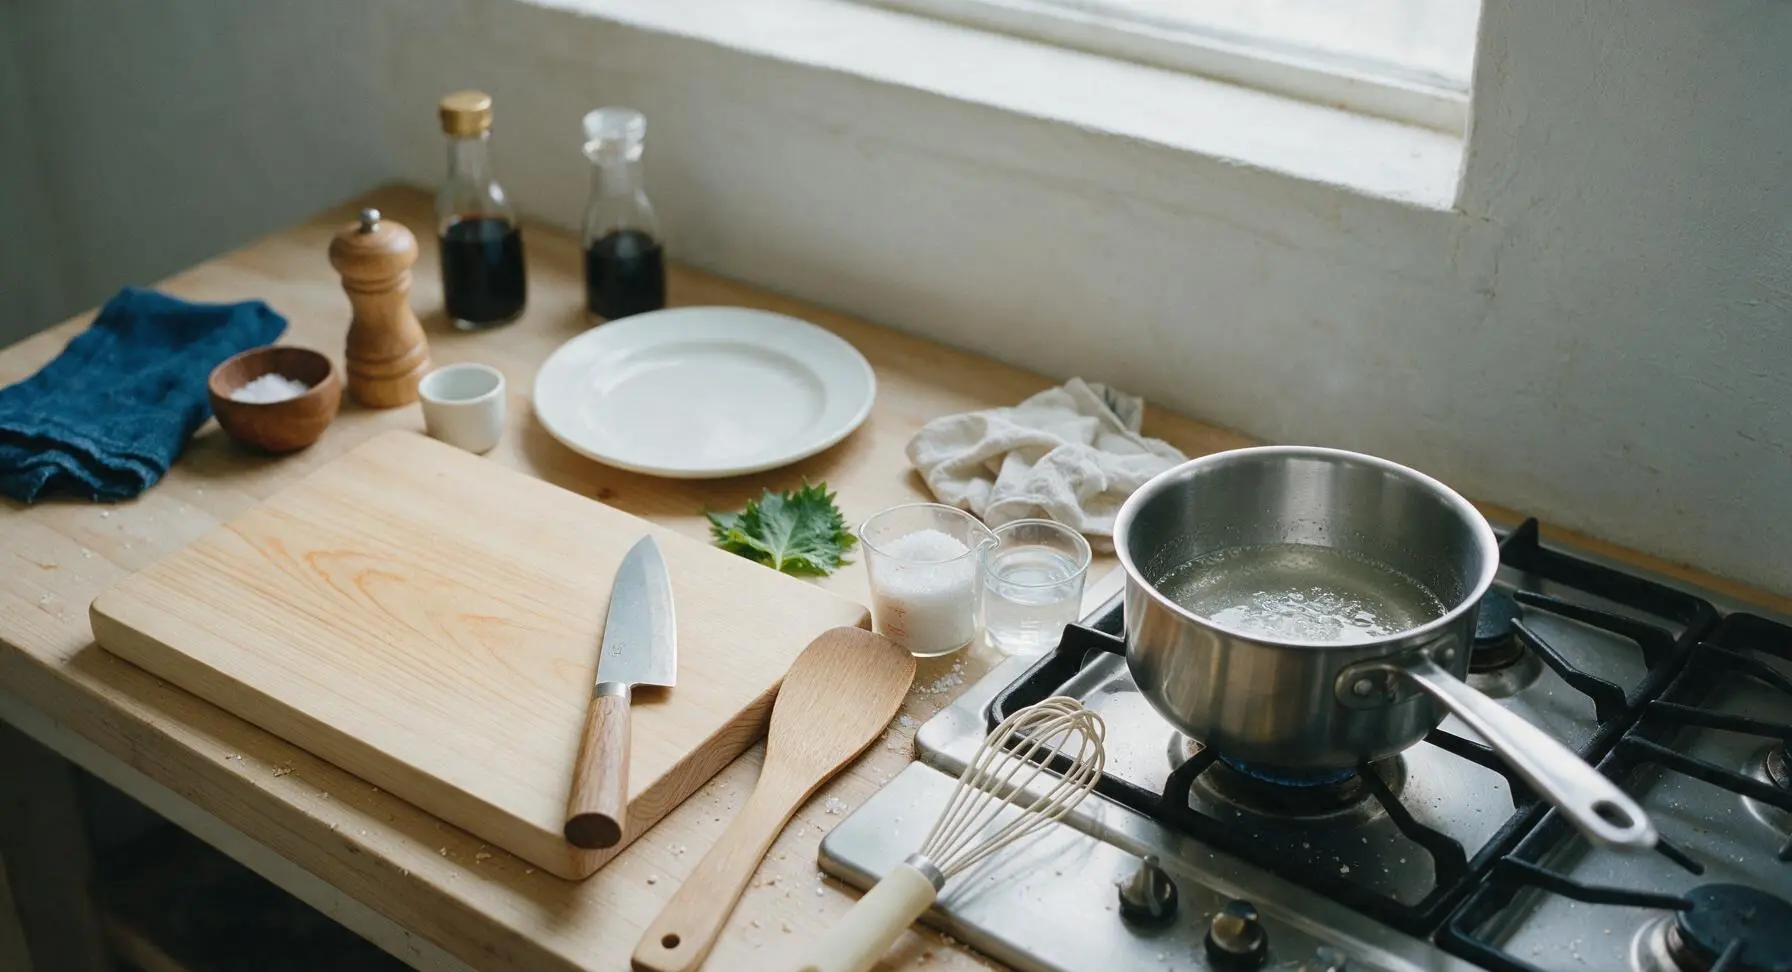
Place the 18cm stainless steel saucepan on the back right gas burner over medium-low heat. Add 120g of the measured granulated sugar and all 50ml cold water, stirring gently with the cream-handled silicone whisk until the sugar fully dissolves into a completely clear syrup, about 3 minutes. Stop stirring as soon as the syrup comes to a gentle simmer to avoid crystal formation.
Cook to amber caramel
Continue cooking the undisturbed sugar syrup for 6-8 minutes, swirling the pan gently by the handle occasionally once the syrup starts to color, until it turns a deep warm amber and reaches 170C/340F on the digital probe thermometer. Immediately remove the pan from heat to stop cooking, as residual pan heat will darken the caramel further; overcooked caramel tastes bitter and acrid.
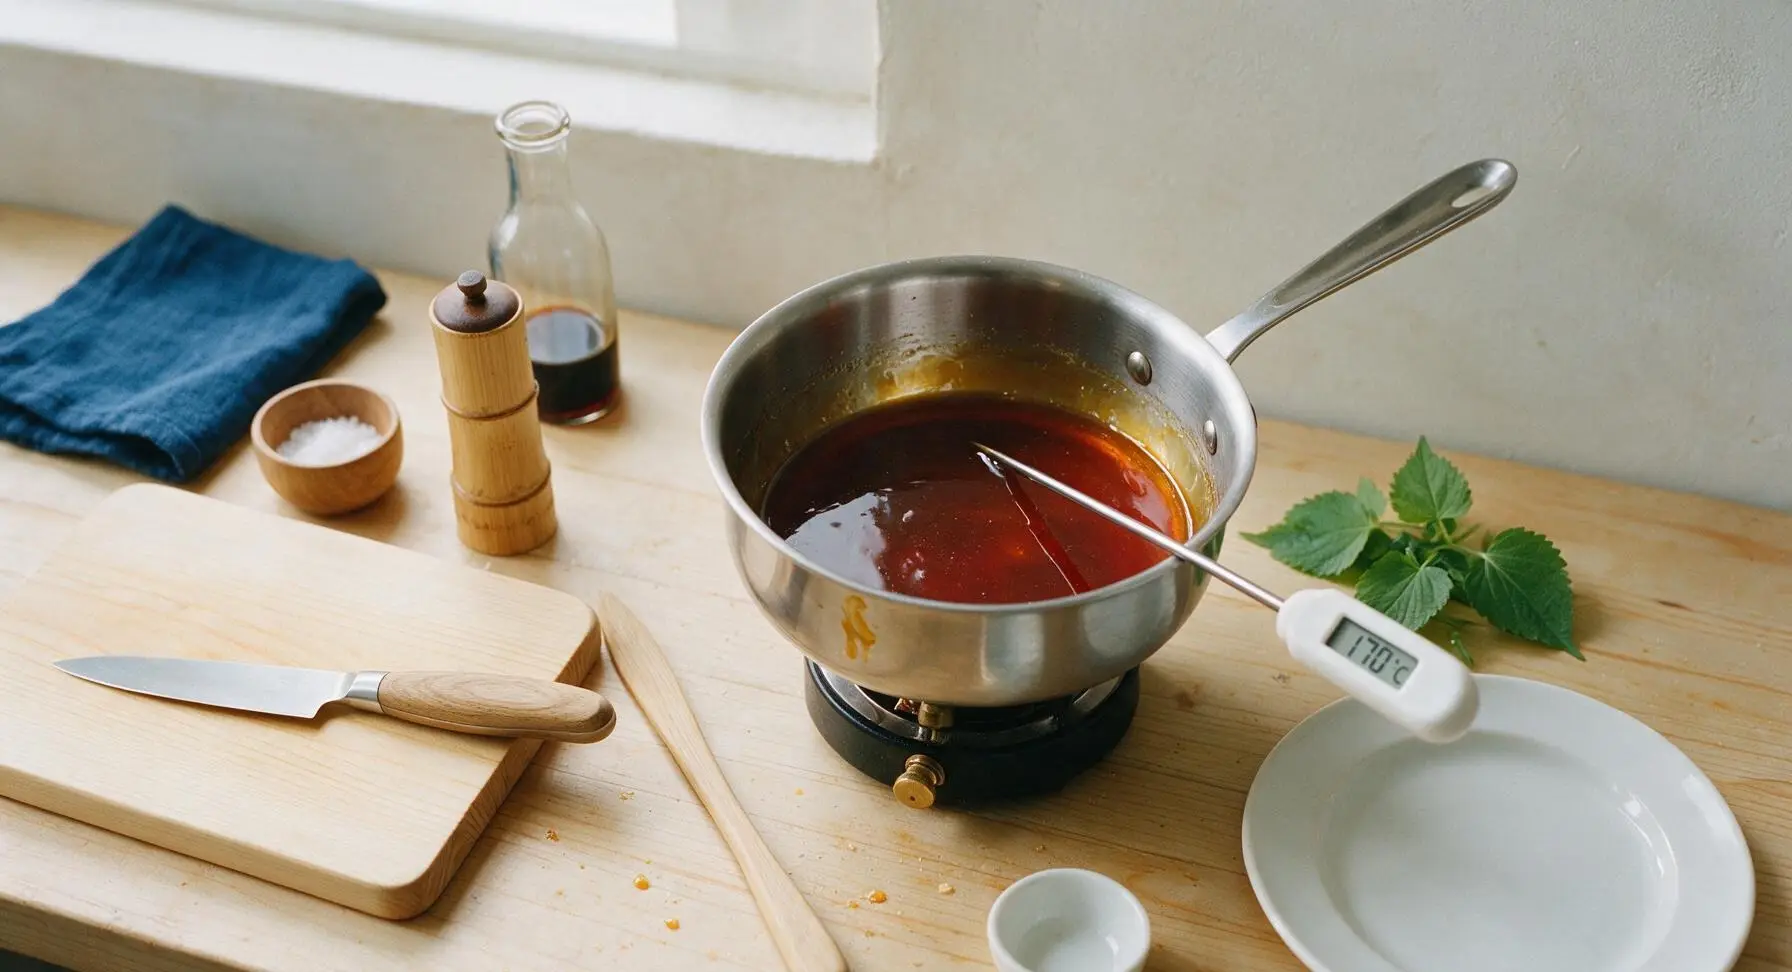
Coat ramekins with caramel
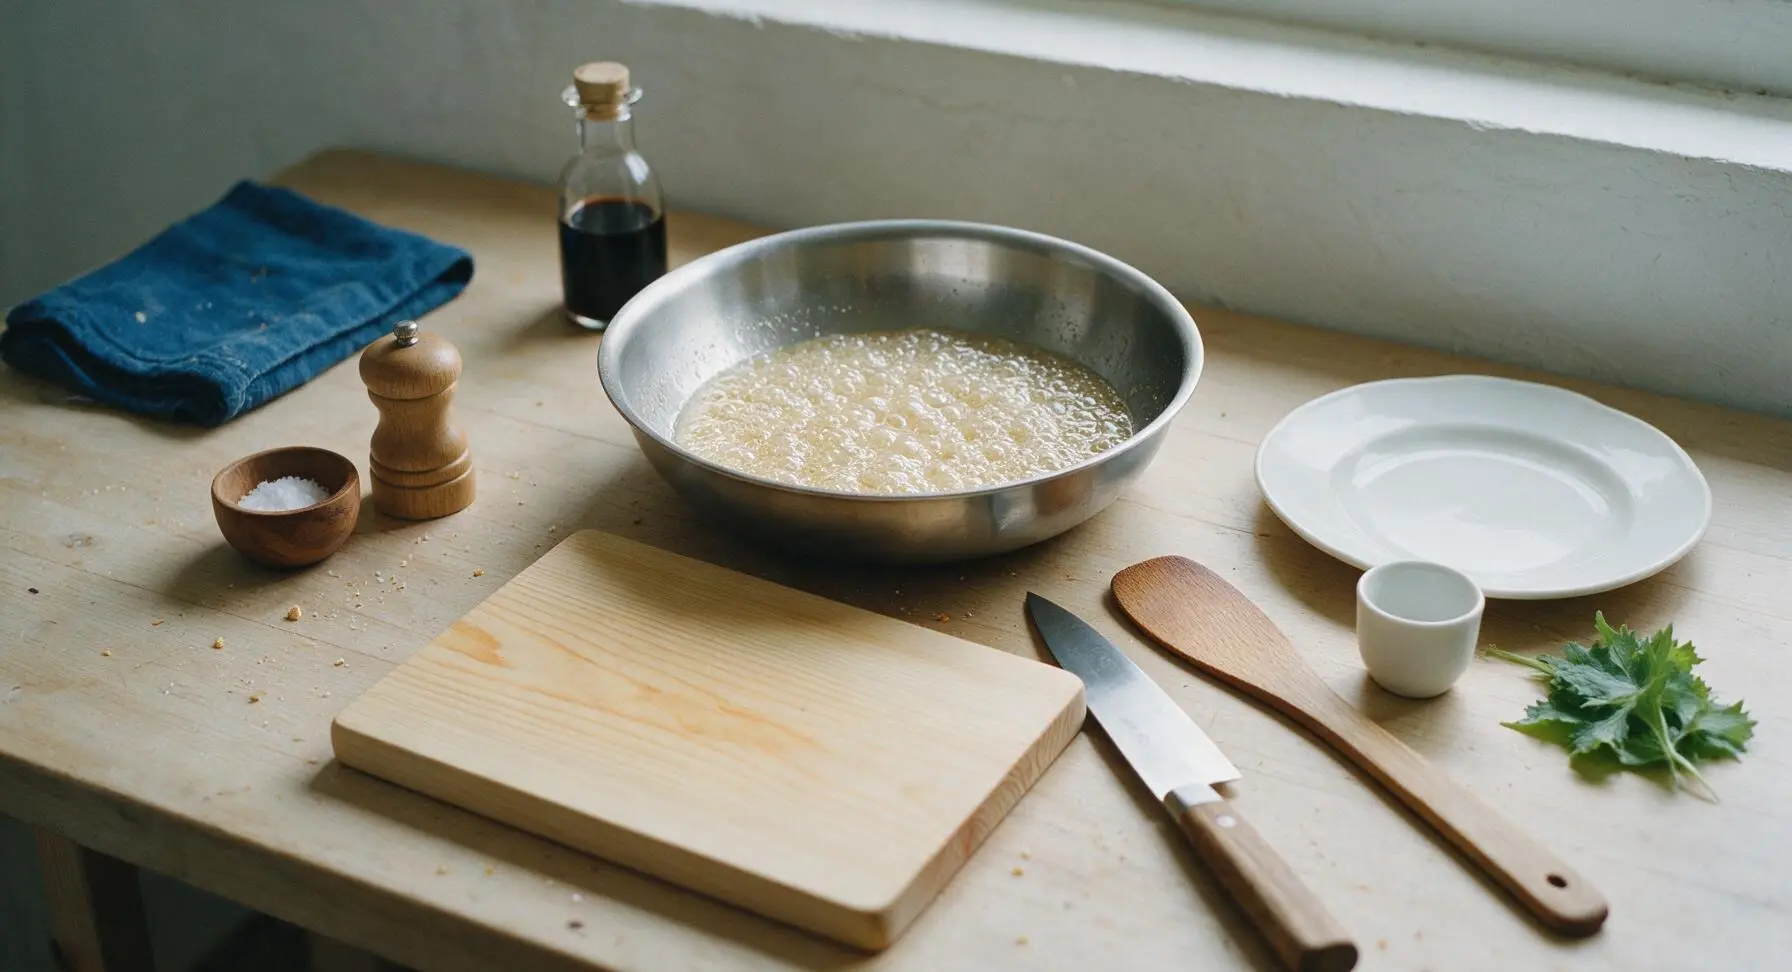
Working quickly, as hot caramel sets solid in 1-2 minutes, pour equal amounts of the hot amber caramel into the base of each of the 6 matte white ceramic ramekins, tilting each ramekin in a circular motion to coat the bottom evenly in a thin 2mm layer. Set the coated ramekins aside on the marble pastry board to let the caramel harden fully, about 10 minutes; the caramel will be completely firm and no longer sticky to the touch when ready.
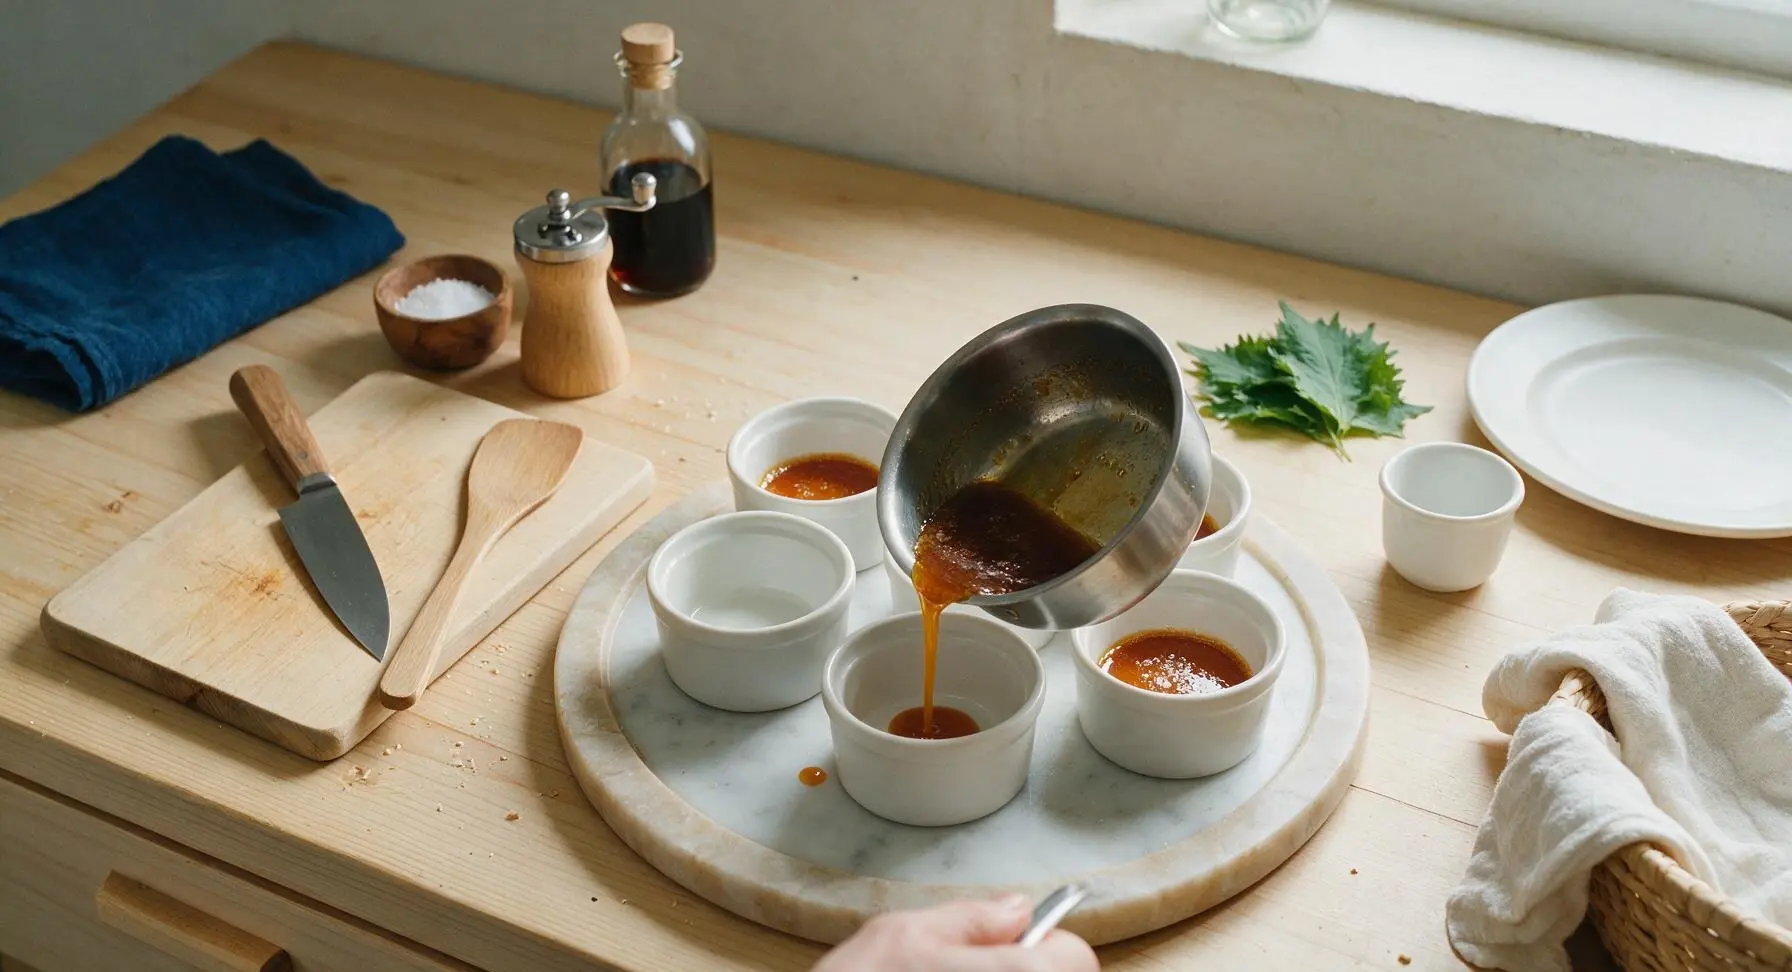
Heat vanilla milk infusion
Rinse the stainless steel saucepan quickly (no need to scrub fully, as residual caramel will add subtle depth to the custard). Pour in all 1L whole milk, split the 2 vanilla beans lengthwise, scrape out the tiny black seeds, and add both the seeds and empty pods to the milk along with the pinch of flaky sea salt. Heat over medium heat until the milk just starts to curl with steam and reaches 82C/180F (do not let it boil, as boiling will scald the milk), then remove from heat and let the vanilla steep for 5 minutes.
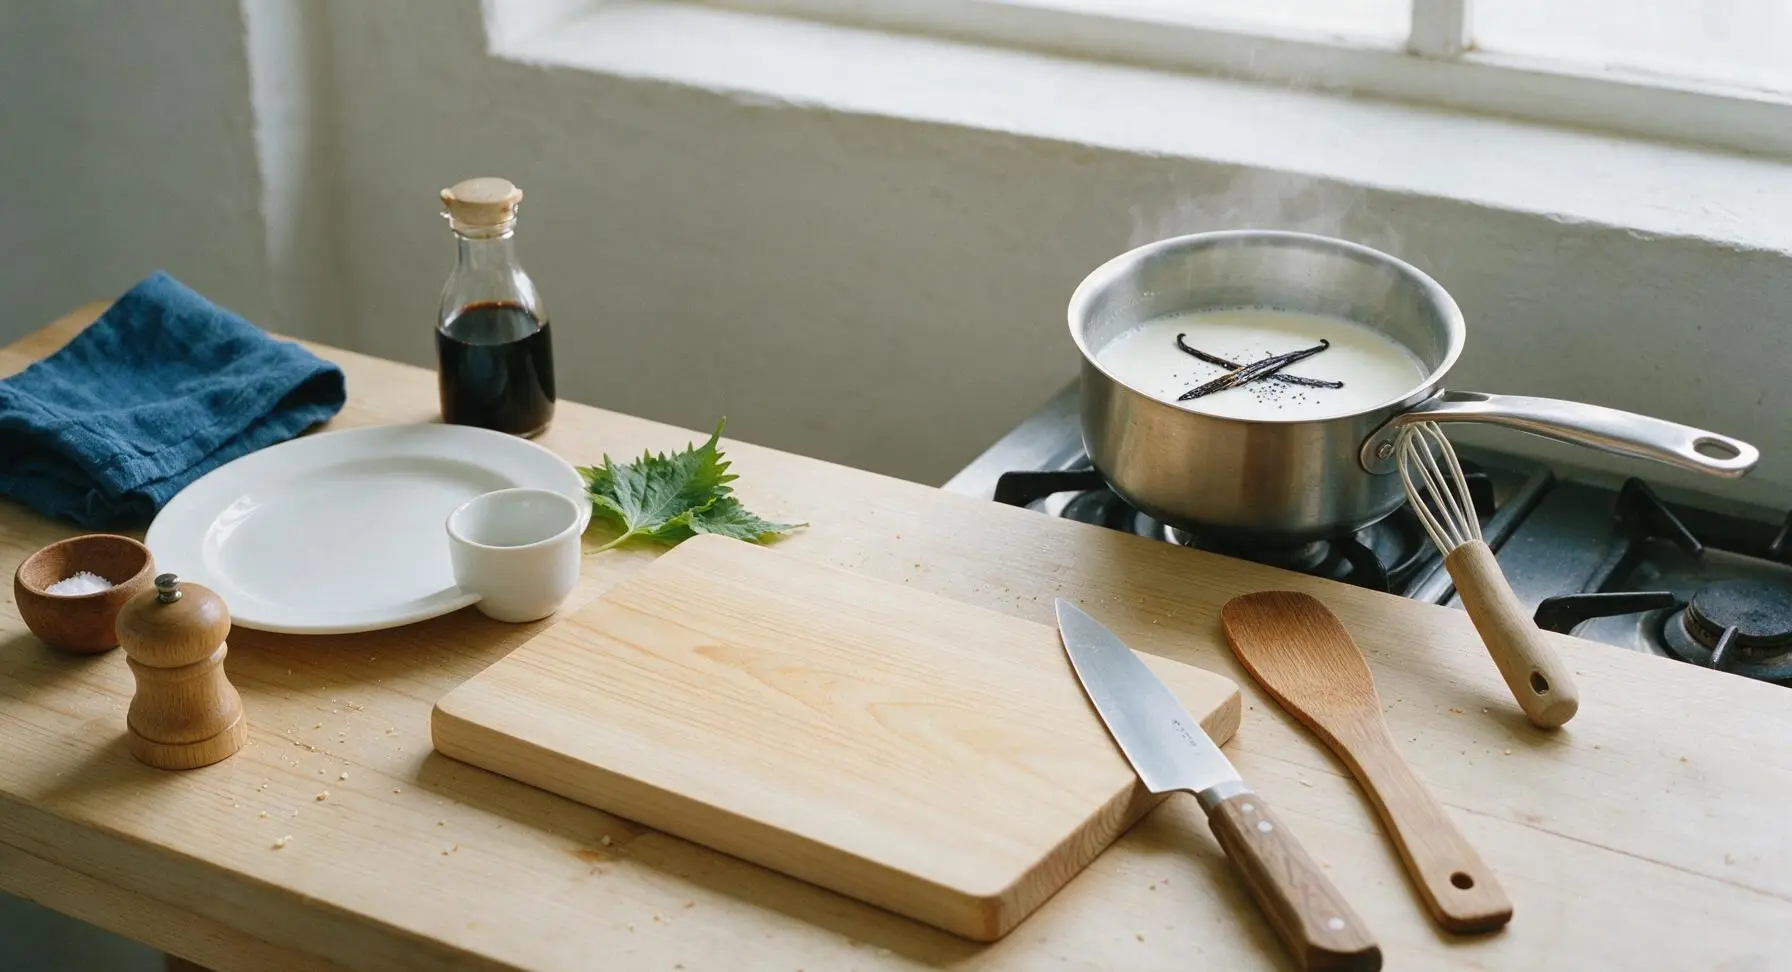
Whisk egg custard base
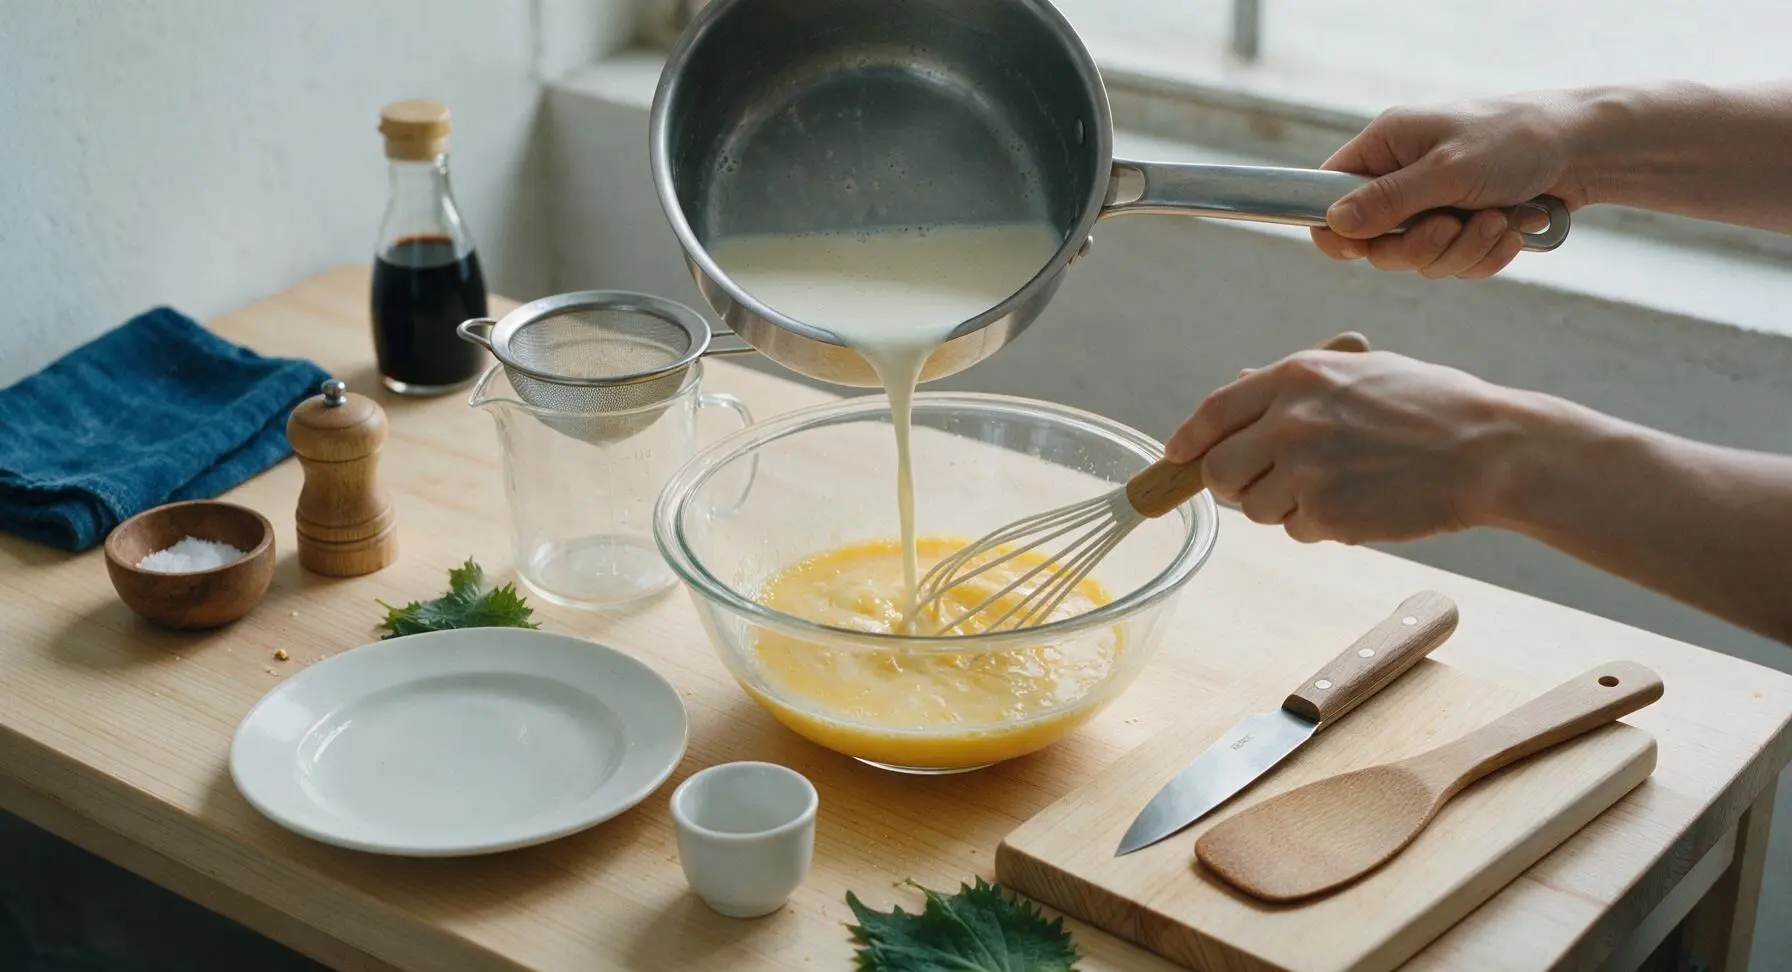
While the milk steeps, crack all 6 room-temperature large eggs into the 2L clear glass mixing bowl, add the remaining 80g granulated sugar, and whisk gently with the silicone whisk until the sugar fully dissolves and the mixture turns a pale lemon yellow, about 2 minutes. Avoid whisking too vigorously, as this will trap air bubbles that create holes and a pockmarked texture in the finished baked custard.
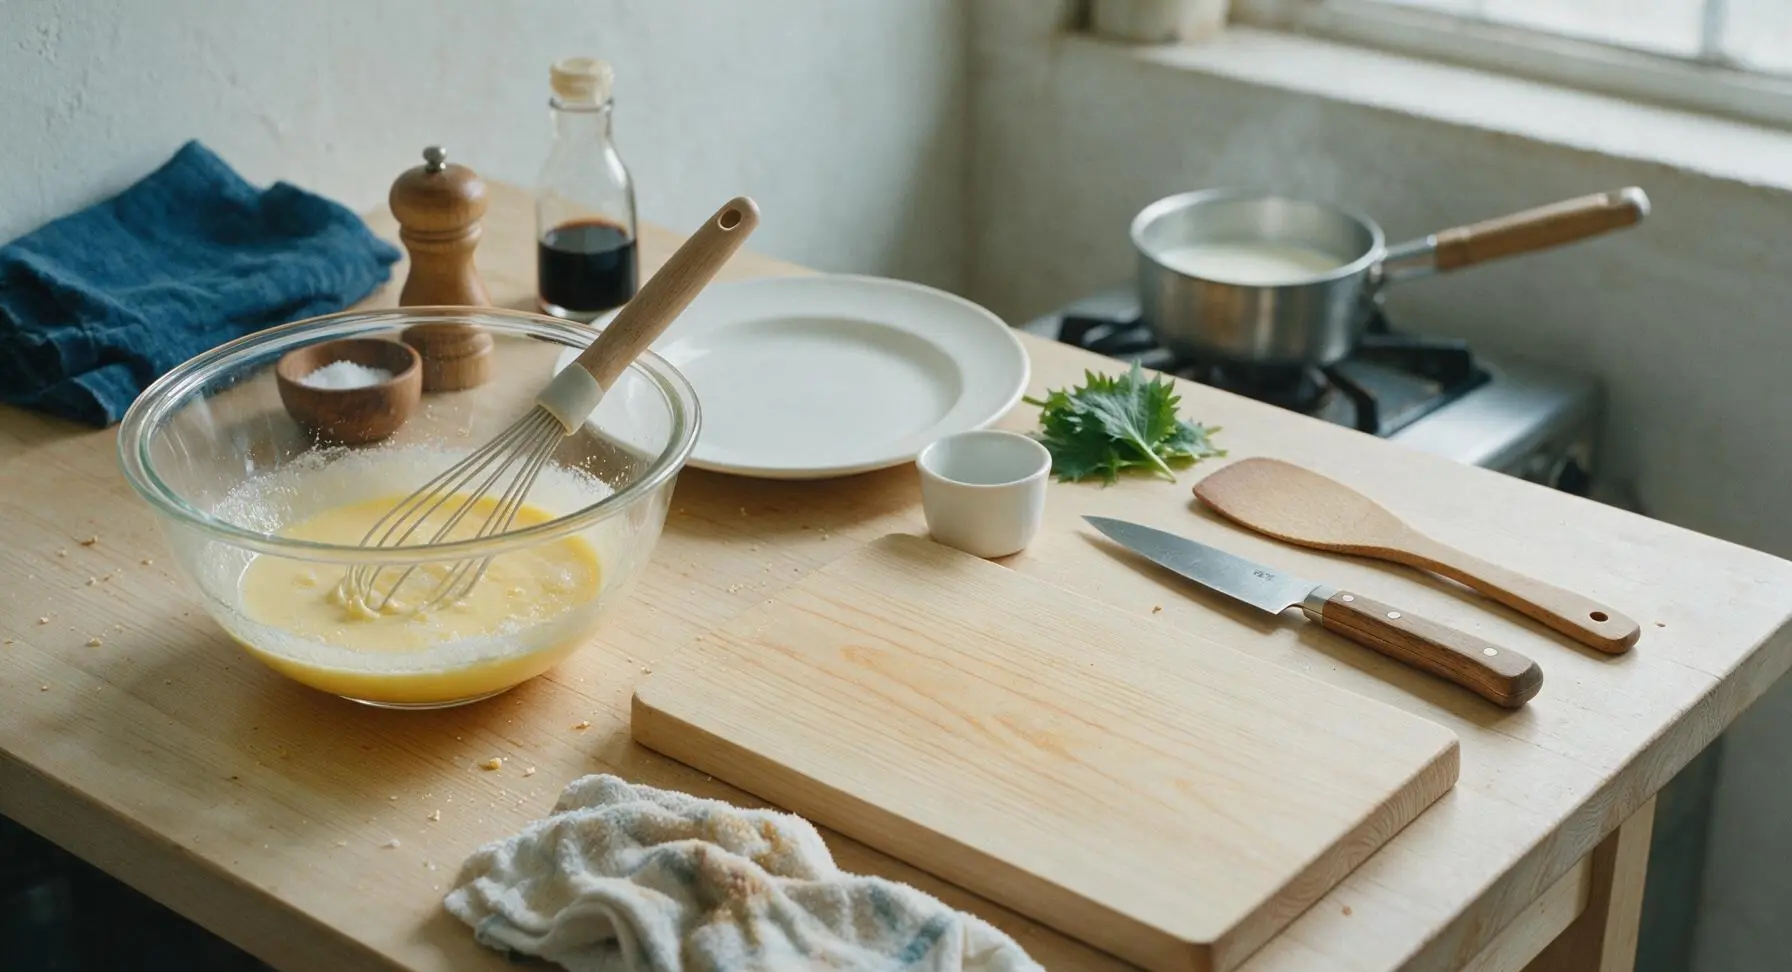
Temper and strain custard
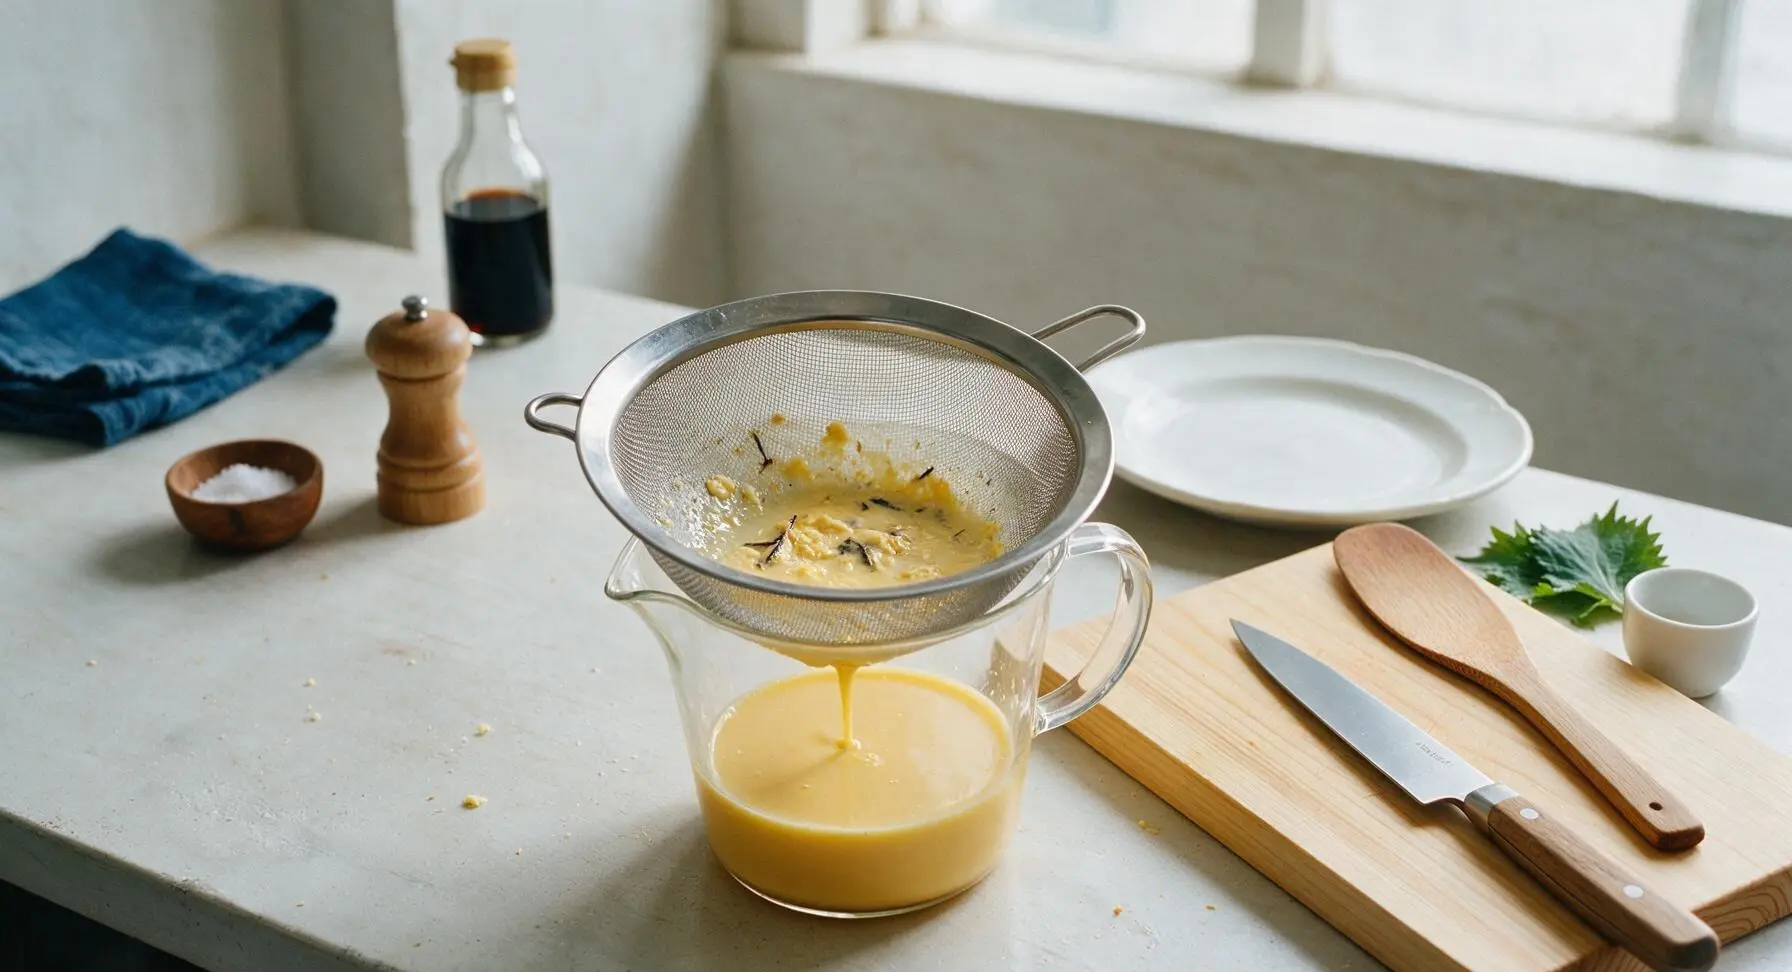
Slowly pour 60ml (1/4 cup) of the warm vanilla milk into the egg mixture while whisking constantly, to gently temper the eggs and prevent them from curdling when exposed to hot liquid. Continue adding the remaining warm milk in a slow, steady stream, whisking gently the whole time, until fully combined. Pour the warm custard through the fine-mesh stainless steel sieve into the 1L clear glass pouring jug, to catch any lumps of curdled egg and vanilla pod pieces for an ultra-smooth final texture.
Bake in water bath
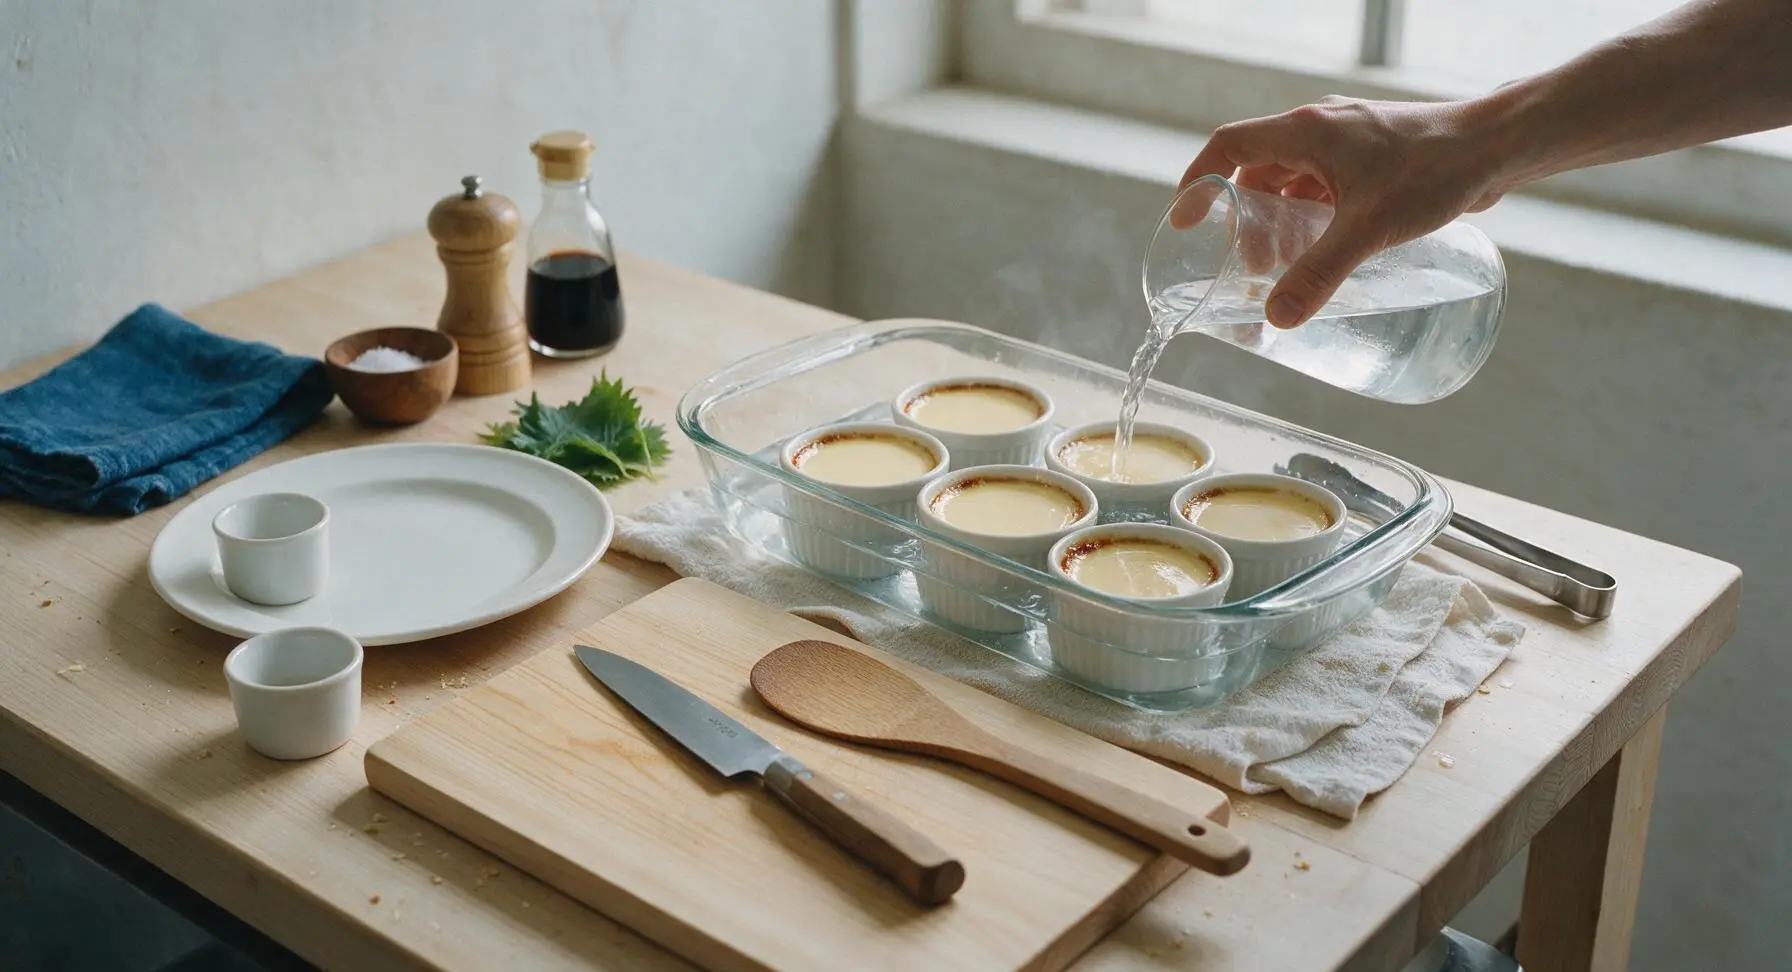
Pull the deep clear glass baking dish from the under-counter shelf, and arrange the caramel-lined ramekins in a single layer inside the dish. Pour the strained custard from the jug evenly into each ramekin, filling them to 5mm below the rim. Carefully pour hot tap water into the baking dish until the water reaches halfway up the outer sides of the ramekins to create a gentle bain-marie. Bake in a preheated 160C/325F oven for 35-40 minutes, until the edges of the custard are fully set but the 2cm center jiggles slightly like firm Jell-O when the dish is nudged.
Chill and unmold puddings
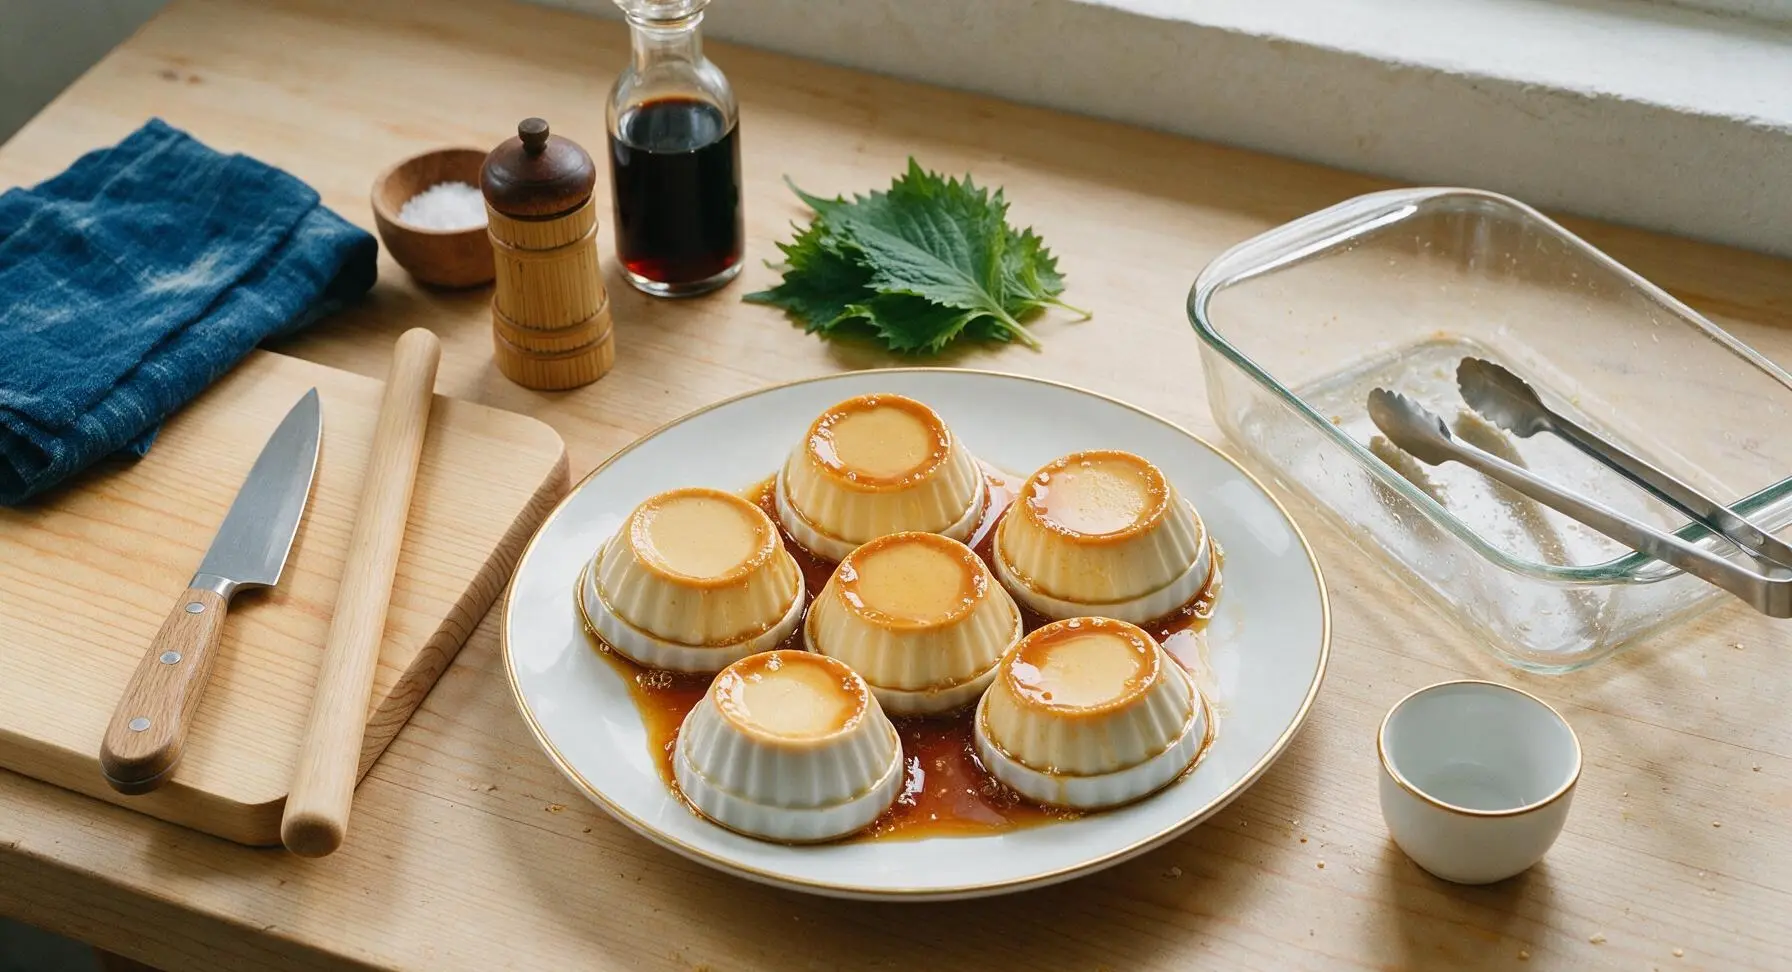
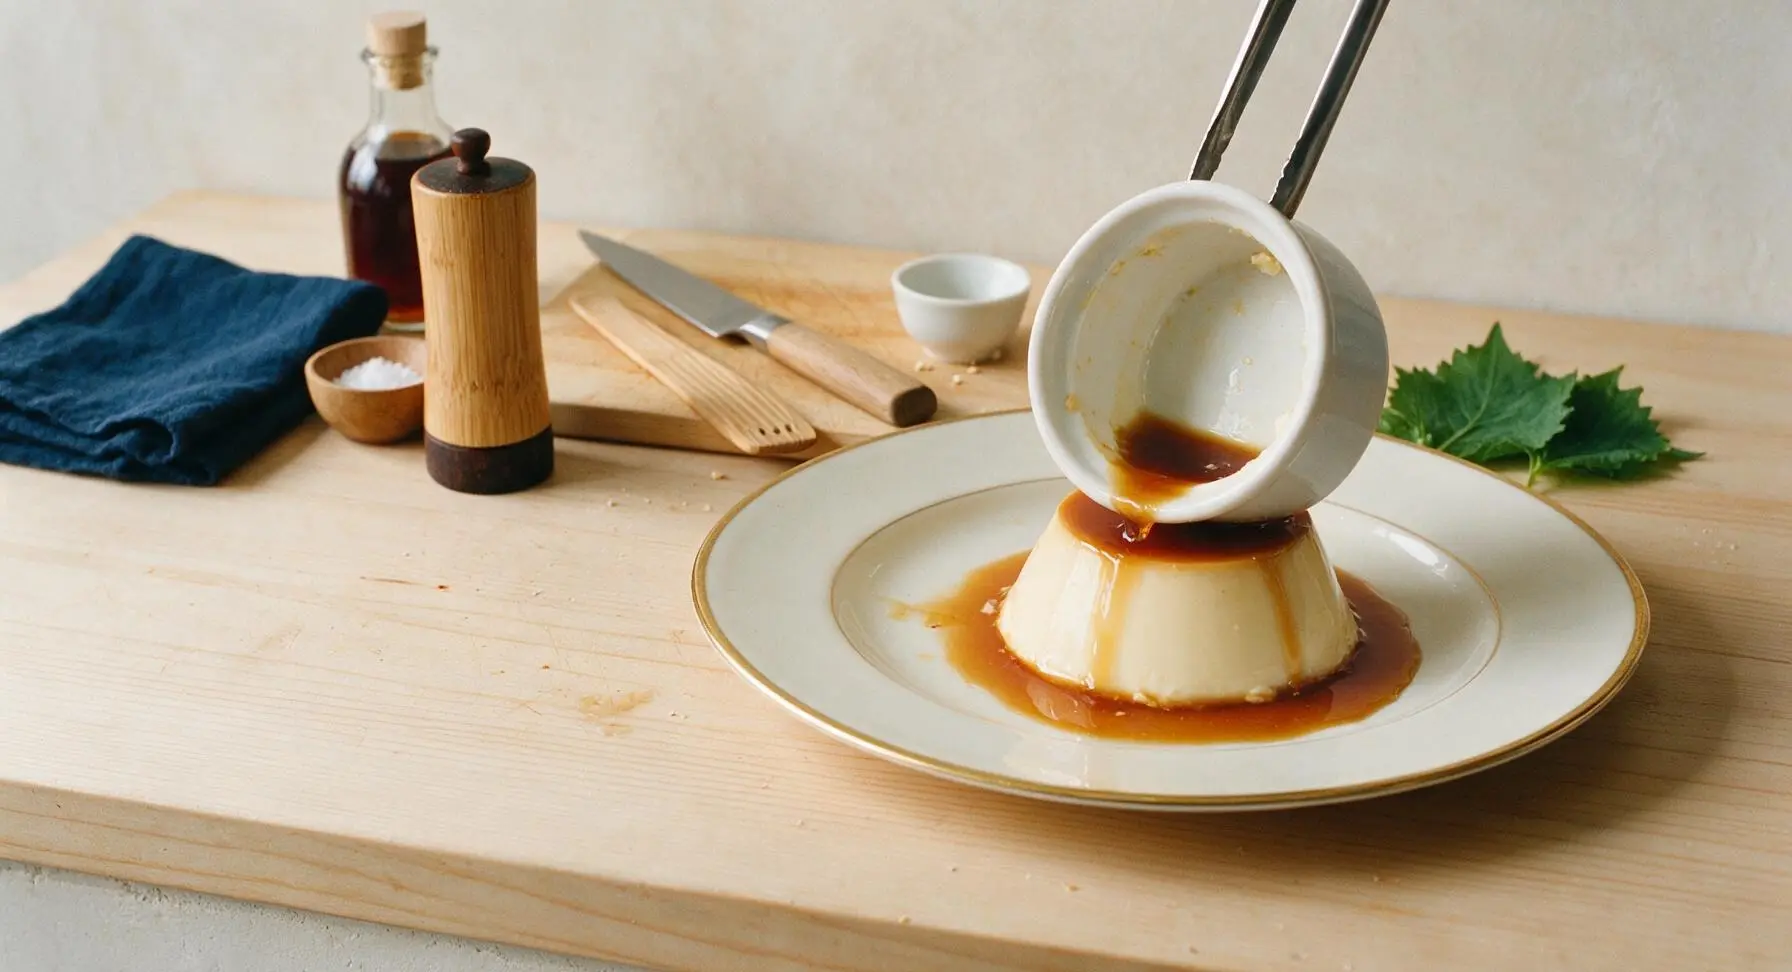
Use the stainless steel tongs to carefully lift the hot ramekins out of the water bath once baked, and set them on the marble counter to cool to room temperature for 30 minutes. Cover each ramekin with a small square of plastic wrap and chill in the refrigerator for a minimum of 4 hours (or up to 2 days, for easy make-ahead prep). To serve, run the tip of the paring knife around the inner edge of each ramekin to loosen the custard, place the vintage Limoges gold-rimmed dessert plate upside down over the top of the ramekin, hold the plate and ramekin firmly together, and flip quickly in one smooth motion. Lift the ramekin straight up to release the pudding, letting the melted caramel flow freely over the top and sides of the custard.
Tips
2.Do not stir the caramel once it comes to a simmer: stirring can cause sugar crystals to form on the pan sides, which will spread through the caramel and create a grainy, crunchy texture instead of a smooth, glossy coating.
3.Resist the urge to overbake the custard: the center will continue to set as it chills, and overbaking will create a rubbery, curdled texture with watery separation (called wheying off) instead of the signature silky, melt-in-your-mouth consistency.






OMG this caramel pudding is SO good! I made it for our family Sunday dinner last night and every single person went back for seconds. The caramel layer set perfectly, no grainy texture at all — total game changer for my dessert rotation. 10/10 would make again!
Took me a second to get the caramel to the right amber color (I almost burned it the first try!) but the end result was absolutely worth it. So rich and creamy, way better than the store-bought pudding cups I grew up on.
Made this for my office potluck last week and people were begging me for the recipe before I even left. Even the guy who swears he ‘doesn’t like sweet stuff’ had two servings. Win in my book!
My kids loved it! I swapped the whole milk for oat milk because of my youngest’s dairy sensitivity and it still came out super silky. Would definitely make this again for their after-school treat rotation.
Took the full 45 minutes cook time like the recipe said, but my center was still a little jiggly when I pulled it out. I popped it back in for 8 extra minutes and it set perfectly, just a heads up for anyone with a slightly colder oven!
I’ve been making a version of this for 50 years, and this recipe’s caramel ratio is spot on. Not too bitter, not too sweet, just how classic crème caramel should taste. Brought back so many memories of my trip to Paris in my 20s!
Game changer. I used to be scared of making caramel from scratch because I thought it was too fussy for a weeknight dessert, but this recipe breaks it down so simply. Served it with a tiny dollop of whipped cream and some fresh berries, chef’s kiss.
Wait, did anyone else have their caramel harden into a rock layer at the bottom of the ramekins as soon as they poured it in? I thought I ruined it, but after baking it melted into that perfect sauce layer on top when I flipped it! Total happy accident.
First time making any kind of custard dessert and this actually came out?! I was so sure I’d curdle the eggs or burn the caramel, but the step-by-step instructions were so clear. My roommate said it tastes like it came from a fancy French restaurant.
Made this for a neighborhood block party last weekend and it was the first dessert gone off the table. I love that you can make it a day ahead and just flip it right before serving — makes party prep so much less stressful. Already planning to make it again for my book club next month!
Taste was 10/10, but I will say the medium difficulty rating is accurate. I messed up the first batch of caramel because I walked away to answer a work call, so pro tip: don’t take your eyes off the sugar! Second batch was flawless though.
Anyone tried making this in a big baking dish instead of individual ramekins? I don’t have enough ramekins for 8 people coming over for dinner this weekend and don’t want to run to the store.
I added a tiny pinch of flaky sea salt on top right before serving and it took the caramel flavor to the next level. If you’re a salted caramel fan, don’t sleep on that little addition. Total game changer.
Meal prepped these on Sunday and they held up perfectly in the fridge all week for quick weeknight desserts. The caramel didn’t get weirdly grainy or anything, which I was worried about. So nice to have a fancy-ish treat ready to go when the sweet tooth hits.