
French Sables
intro
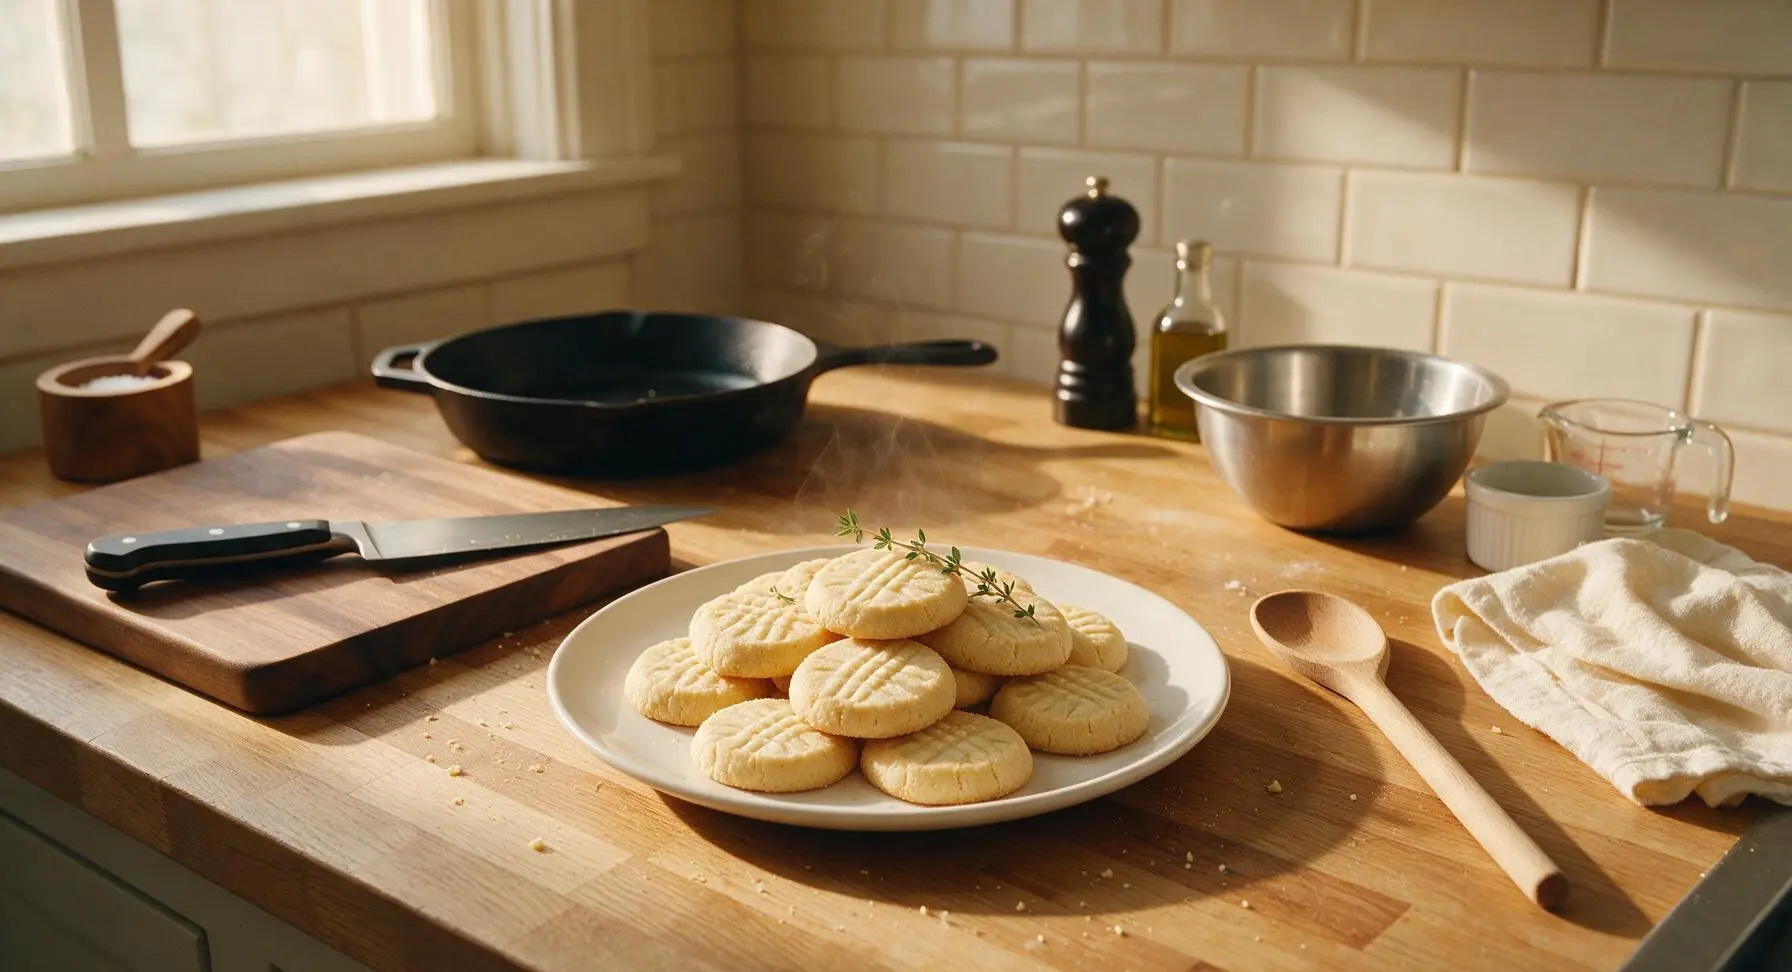
Delicate, melt-in-your-mouth buttery cookies from Normandy, with a signature sandy crumb and warm vanilla notes, perfect for gifting or afternoon tea.
Ingredients
Steps
Cream Butter and Sugars
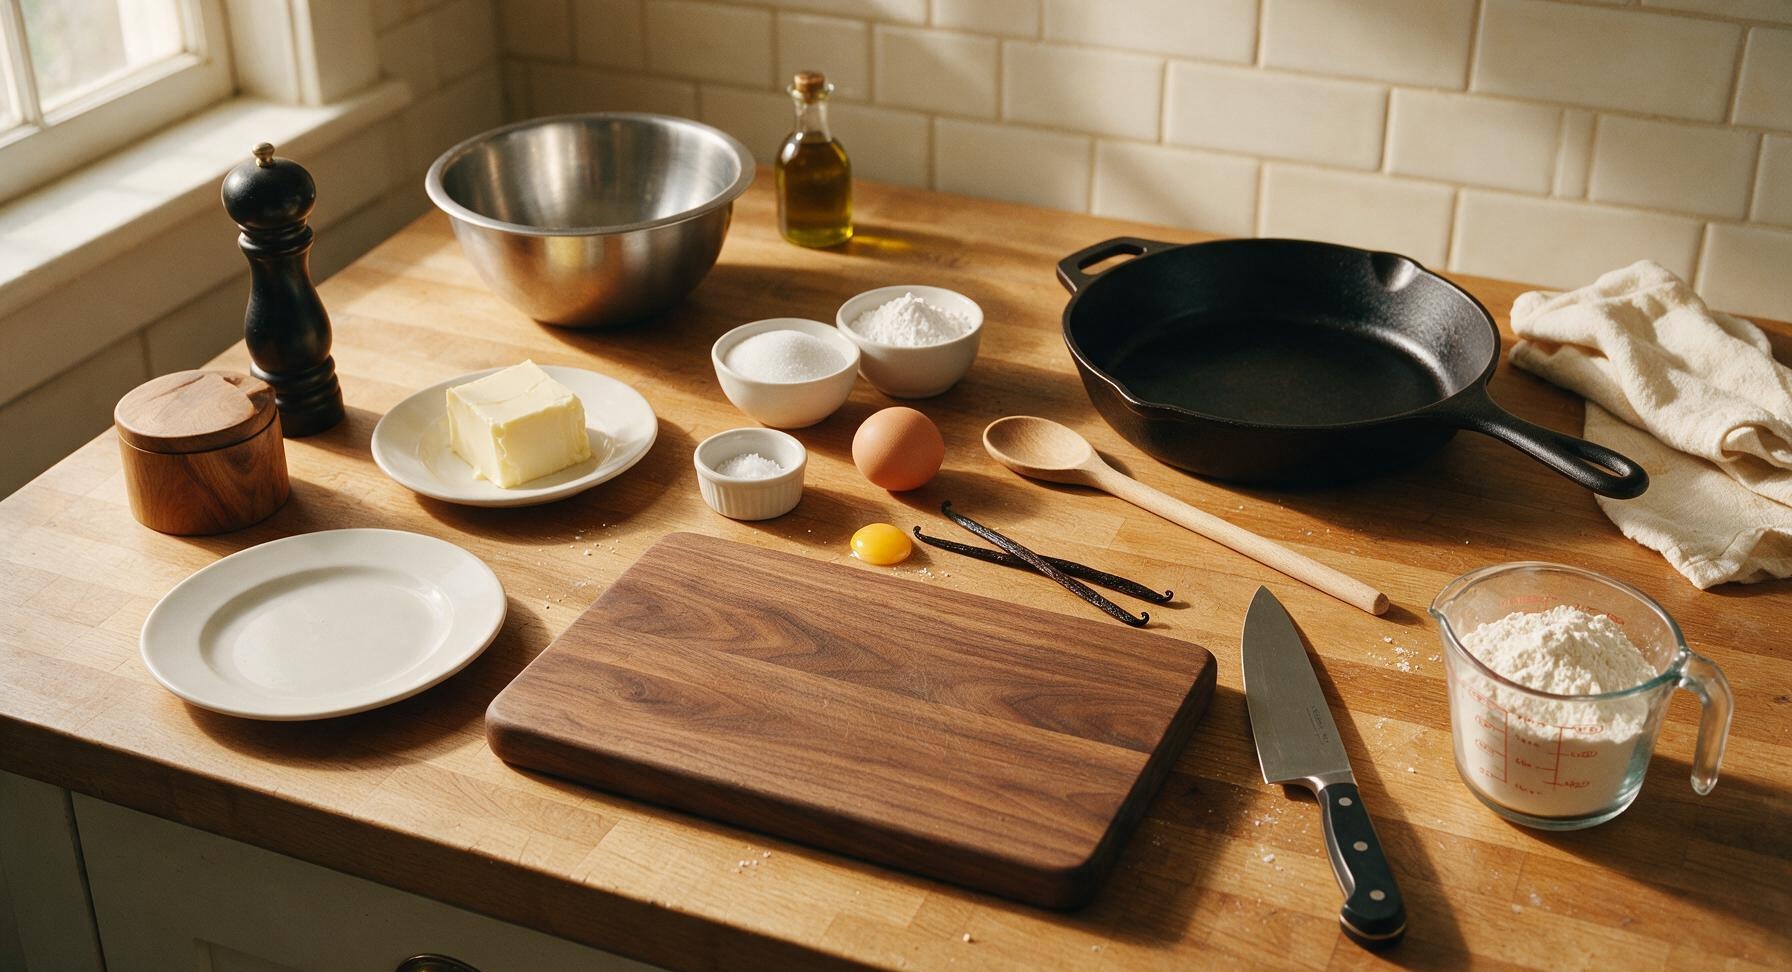
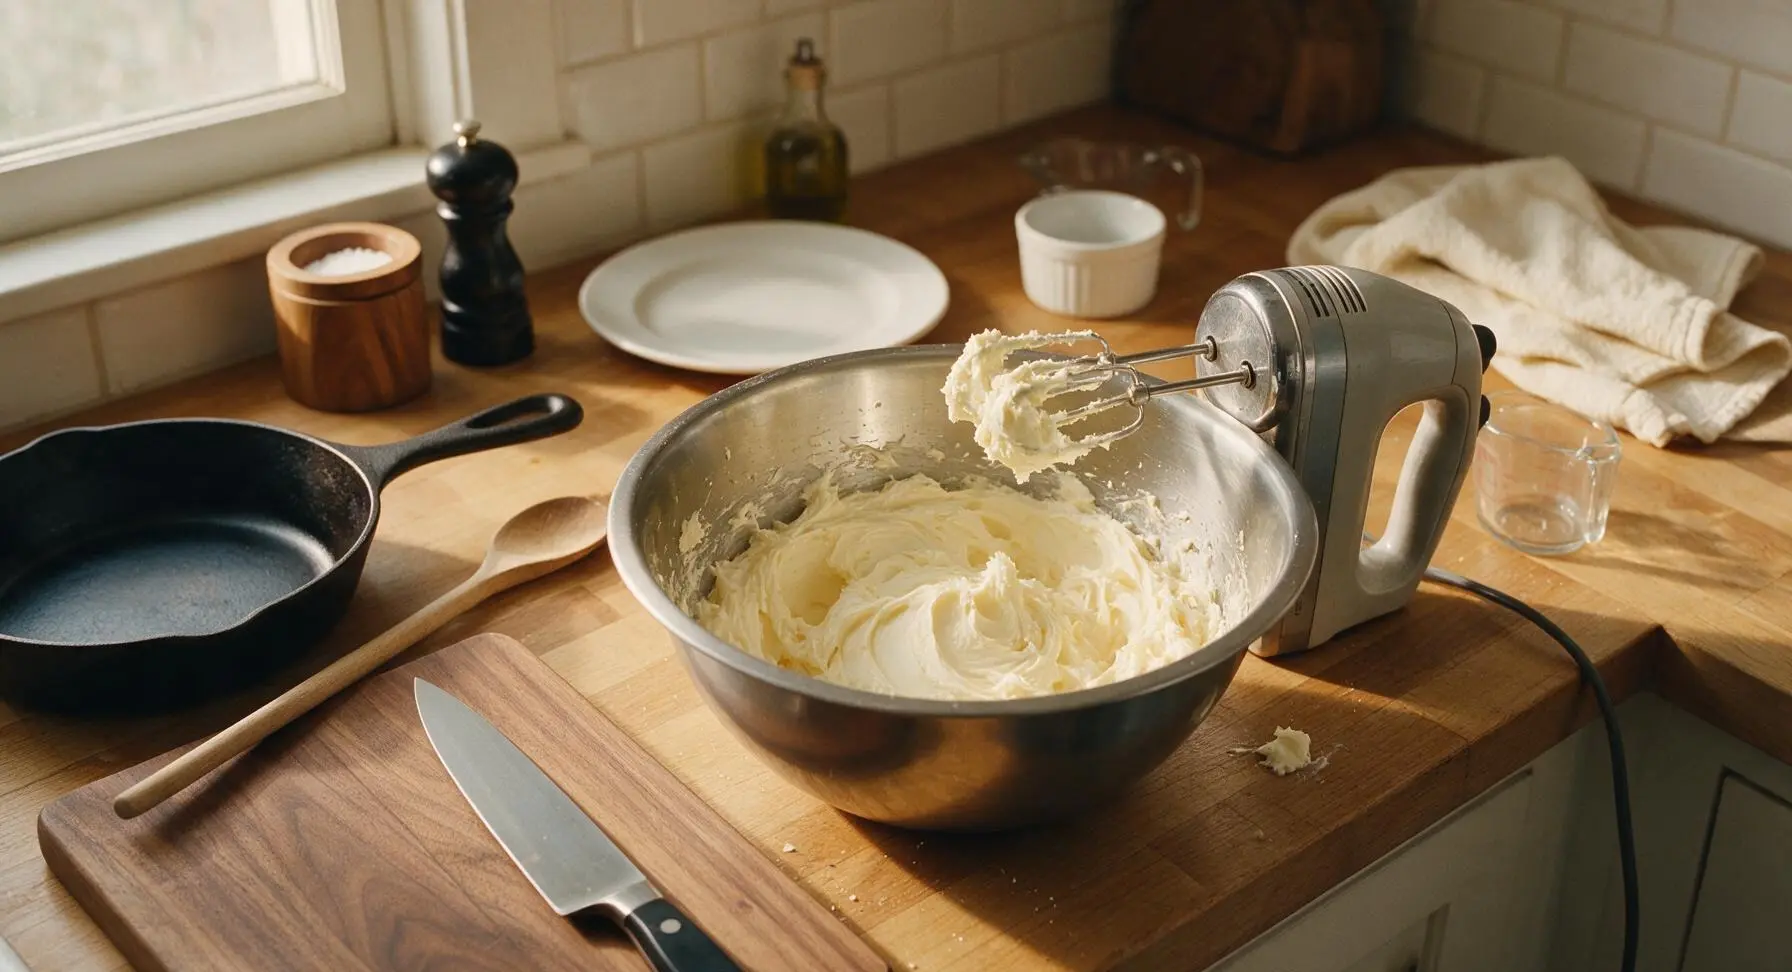
Place the 225g softened unsalted butter, 100g granulated sugar, 50g powdered sugar, and 1/4 tsp fine sea salt into the medium stainless steel mixing bowl. Using the handheld electric mixer on medium-low speed, beat the mixture for 3 minutes until it is smooth, pale ivory, and light and fluffy, stopping once to scrape down the bowl sides with the offset spatula. Avoid beating on high speed, as this incorporates excess air that causes cookies to spread and lose their shape during baking. The finished creamed base will hold a soft, rounded peak when the mixer beaters are lifted.
Add Eggs and Vanilla
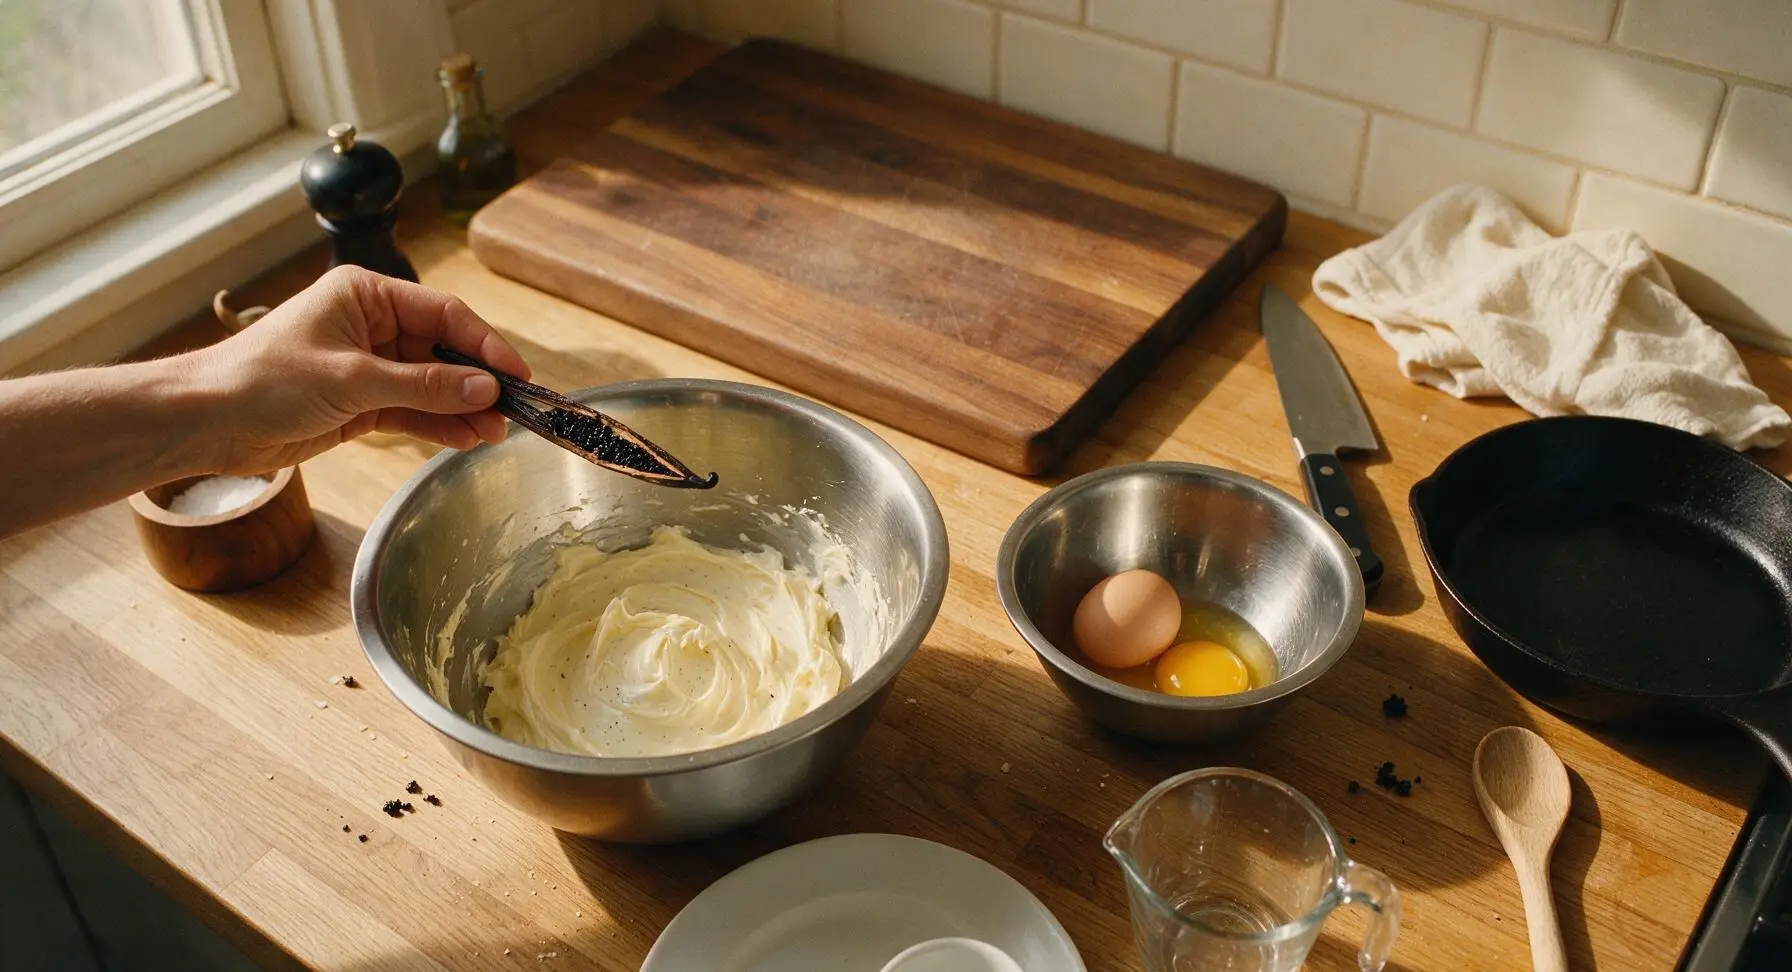
Scrape the seeds from the 2 vanilla beans into the creamed butter mixture. Add the whole room-temperature egg and egg yolk one at a time, beating on low speed for 30 seconds after each addition. Scrape down the bowl sides fully with the offset spatula before adding the second egg to ensure even emulsification. The finished mixture will be smooth, glossy, and fully combined, with no visible streaks of separated egg and tiny black vanilla seeds speckled throughout.
Sift and Fold Flour
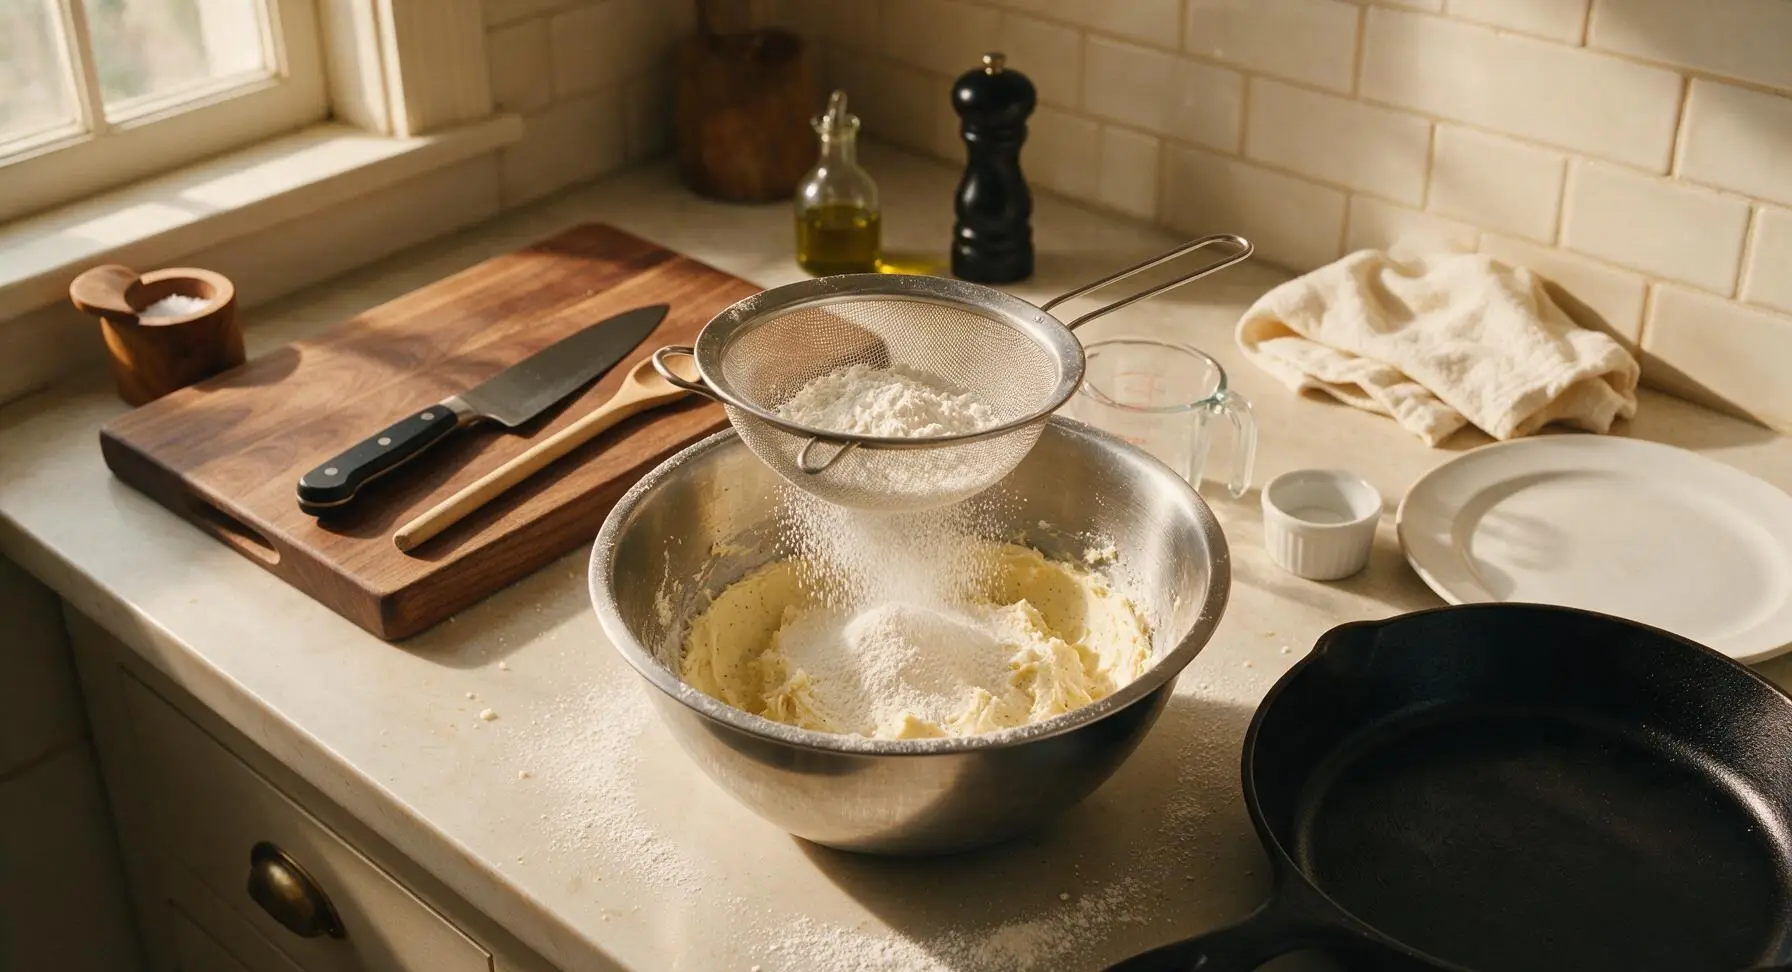
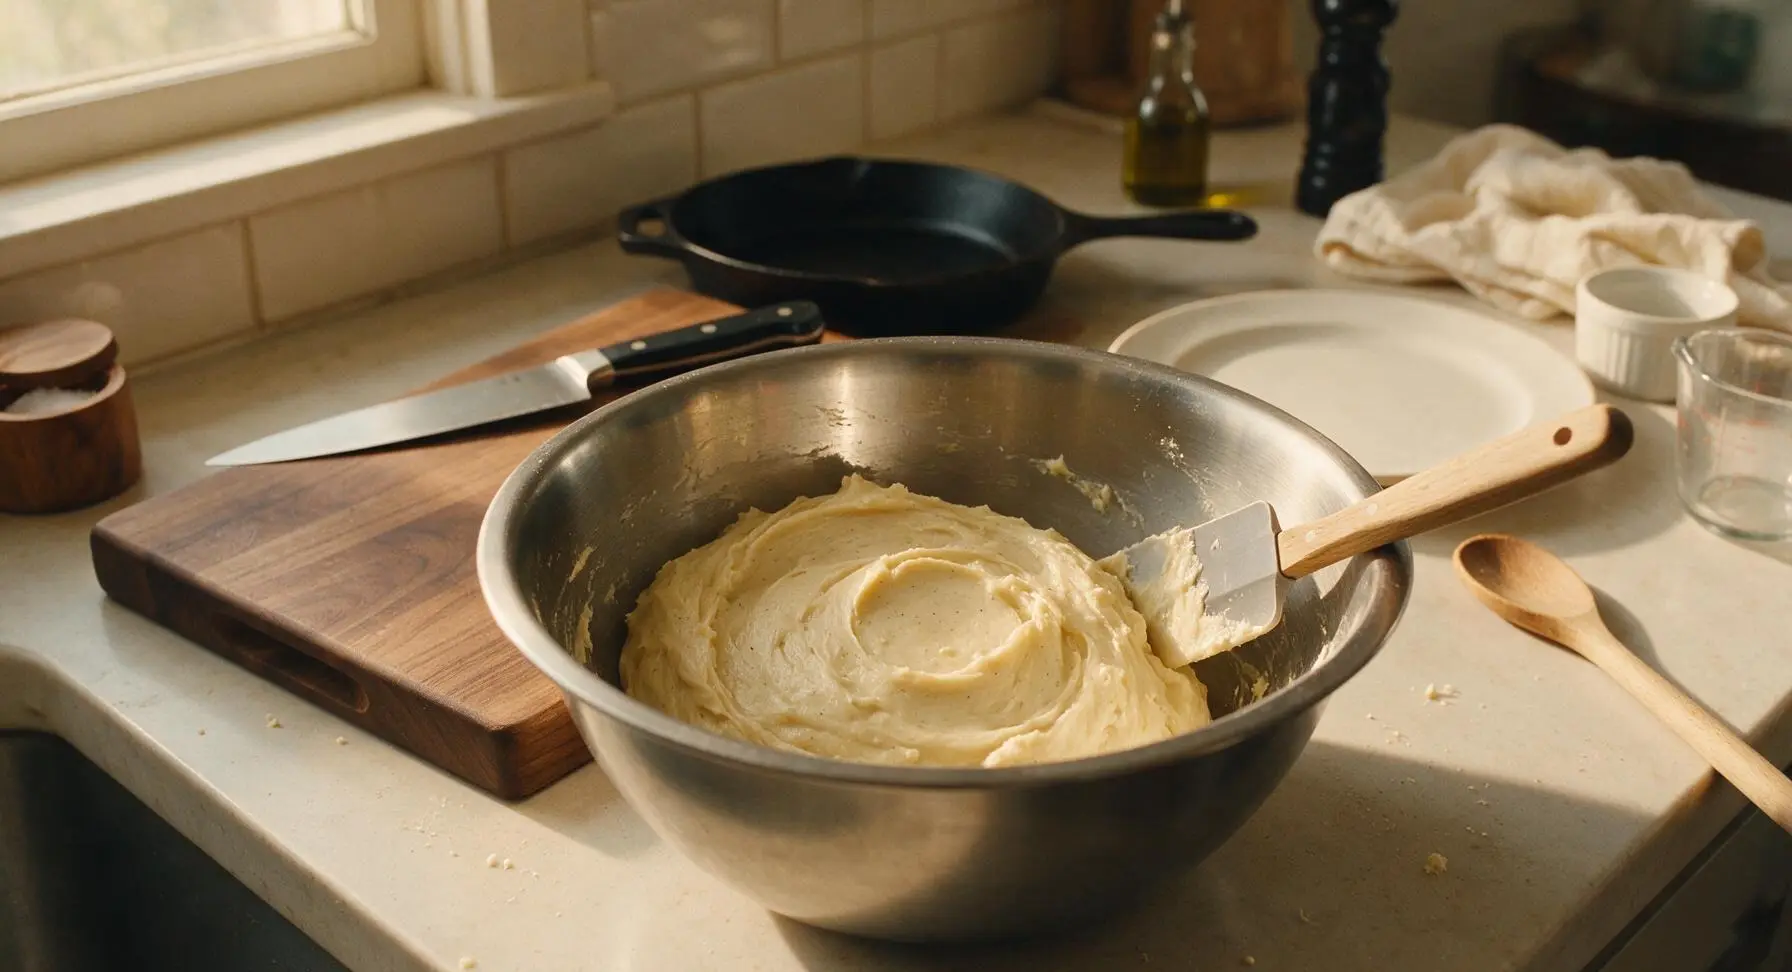
Rest the fine-mesh stainless steel sieve over the mixing bowl, add the 320g all-purpose flour, and sift gradually into the butter mixture. Use the offset spatula to fold the flour in gently, cutting through the center of the mixture and turning from the bottom of the bowl, just until no dry white flour streaks remain. Do not overmix, as this develops gluten and results in tough, dense cookies instead of the signature tender crumble. The finished dough will be soft, slightly tacky but not sticky, and hold together when pressed gently.
Shape and Chill Dough
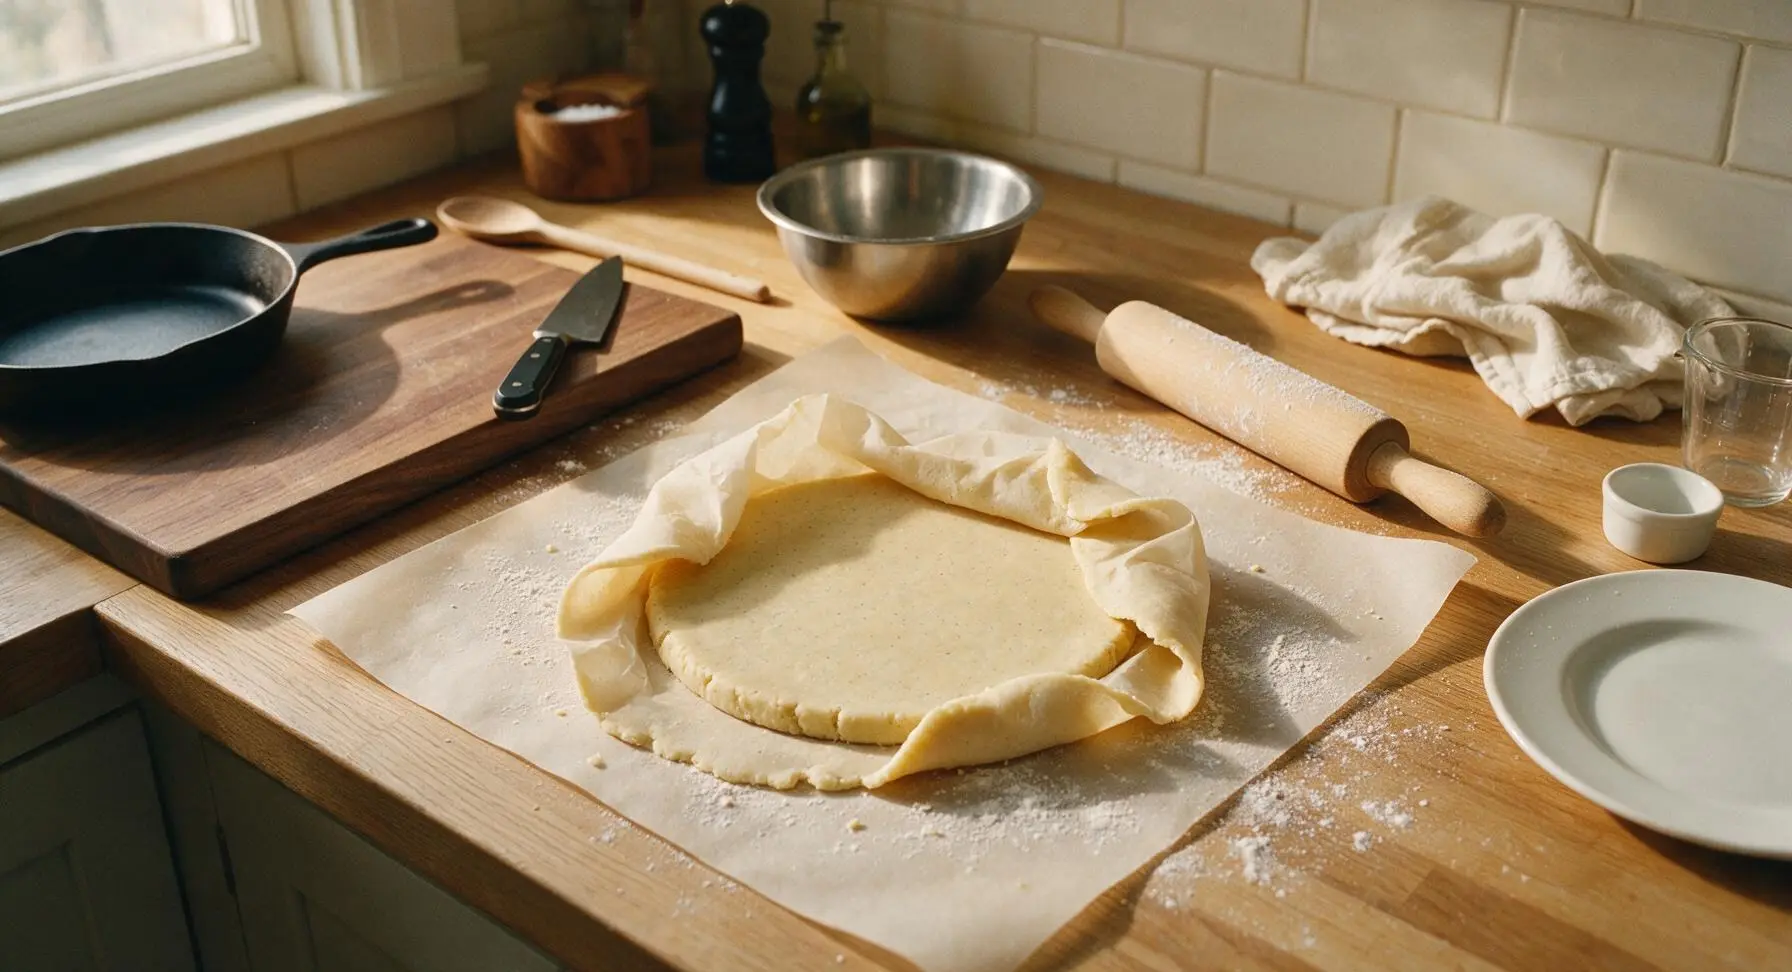
Turn the dough out onto a lightly floured sheet of parchment paper, pat into a uniform 2cm thick flat disk, wrap tightly in the parchment, and refrigerate for a minimum of 2 hours (or up to 3 days) until the dough is firm. Chilling solidifies the butter in the dough, which prevents excessive spreading and helps the cookies hold their sharp fluted shape during baking. Properly chilled dough will feel solid to the touch, with no soft give when pressed lightly with a finger.
Roll and Cut Shapes
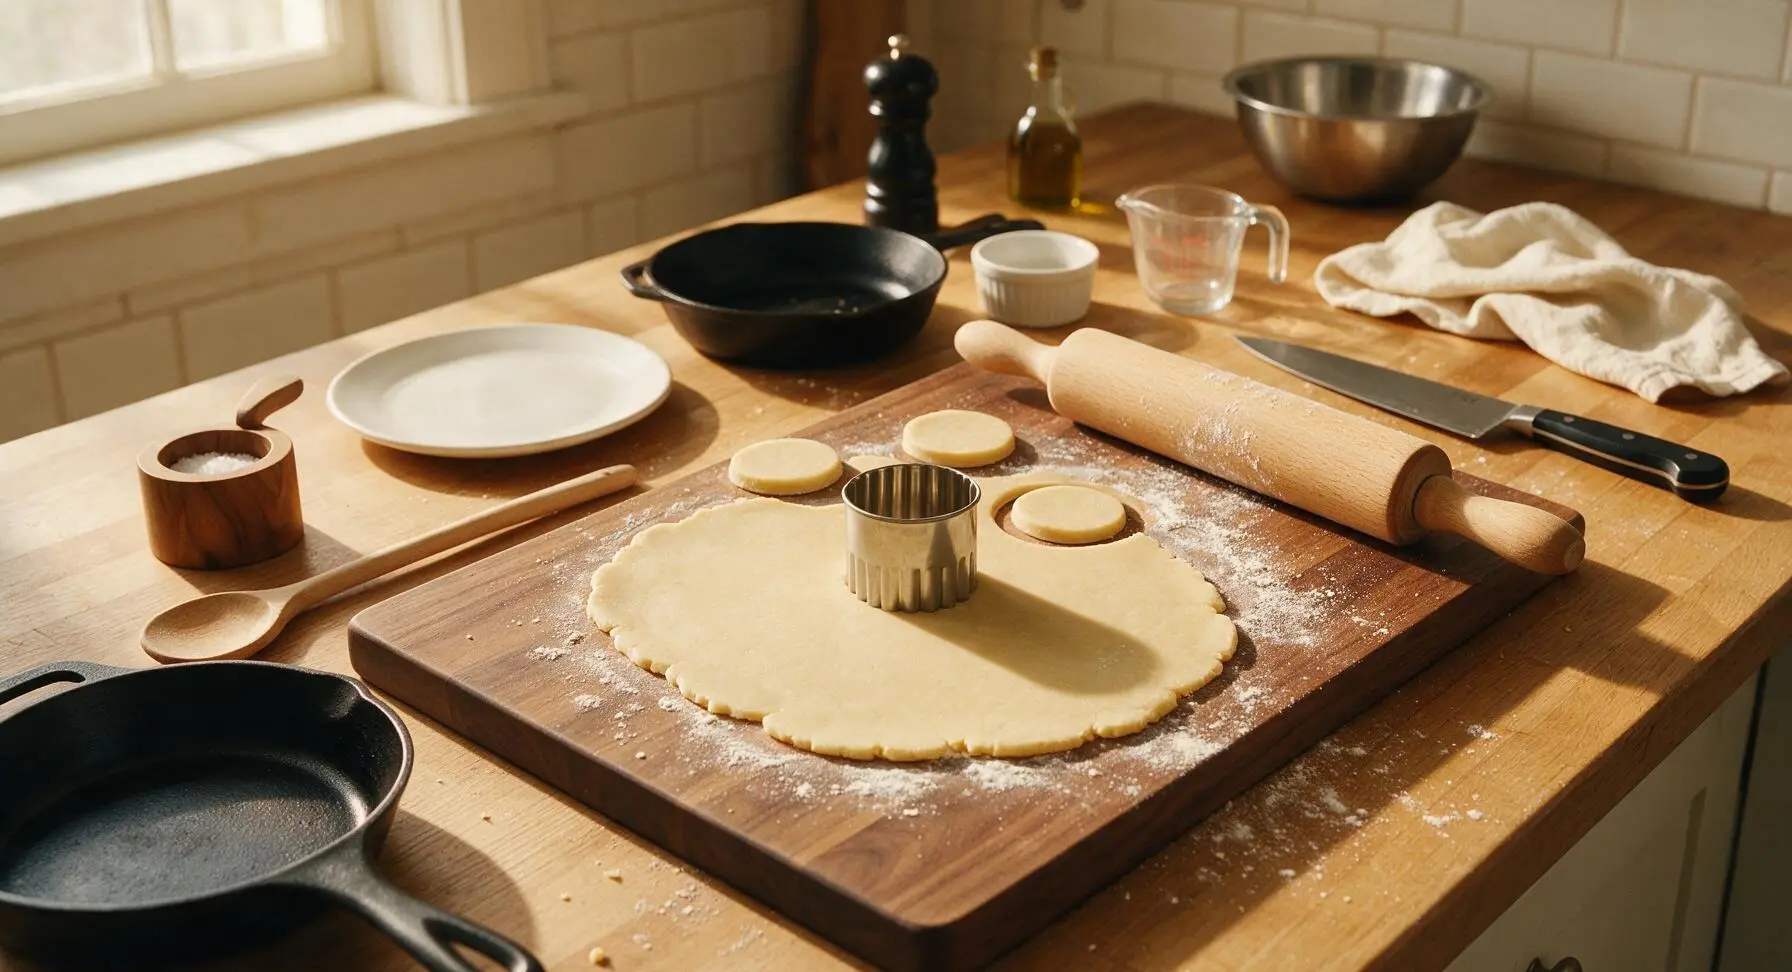
Remove the chilled dough from the refrigerator and let rest for 5 minutes to soften slightly, then roll to an even 5mm thickness on a lightly floured counter surface using the beech wood rolling pin. Dip the 6cm fluted round cookie cutter in flour between cuts to prevent sticking, pressing straight down without twisting to create clean, sharp edges. Gather dough scraps, re-roll once to a 5mm thickness, and cut remaining shapes, taking care not to overwork the re-rolled dough. Use the offset spatula to transfer cut shapes to the parchment-lined baking sheet, leaving 2cm of space between each cookie to allow for slight spreading.
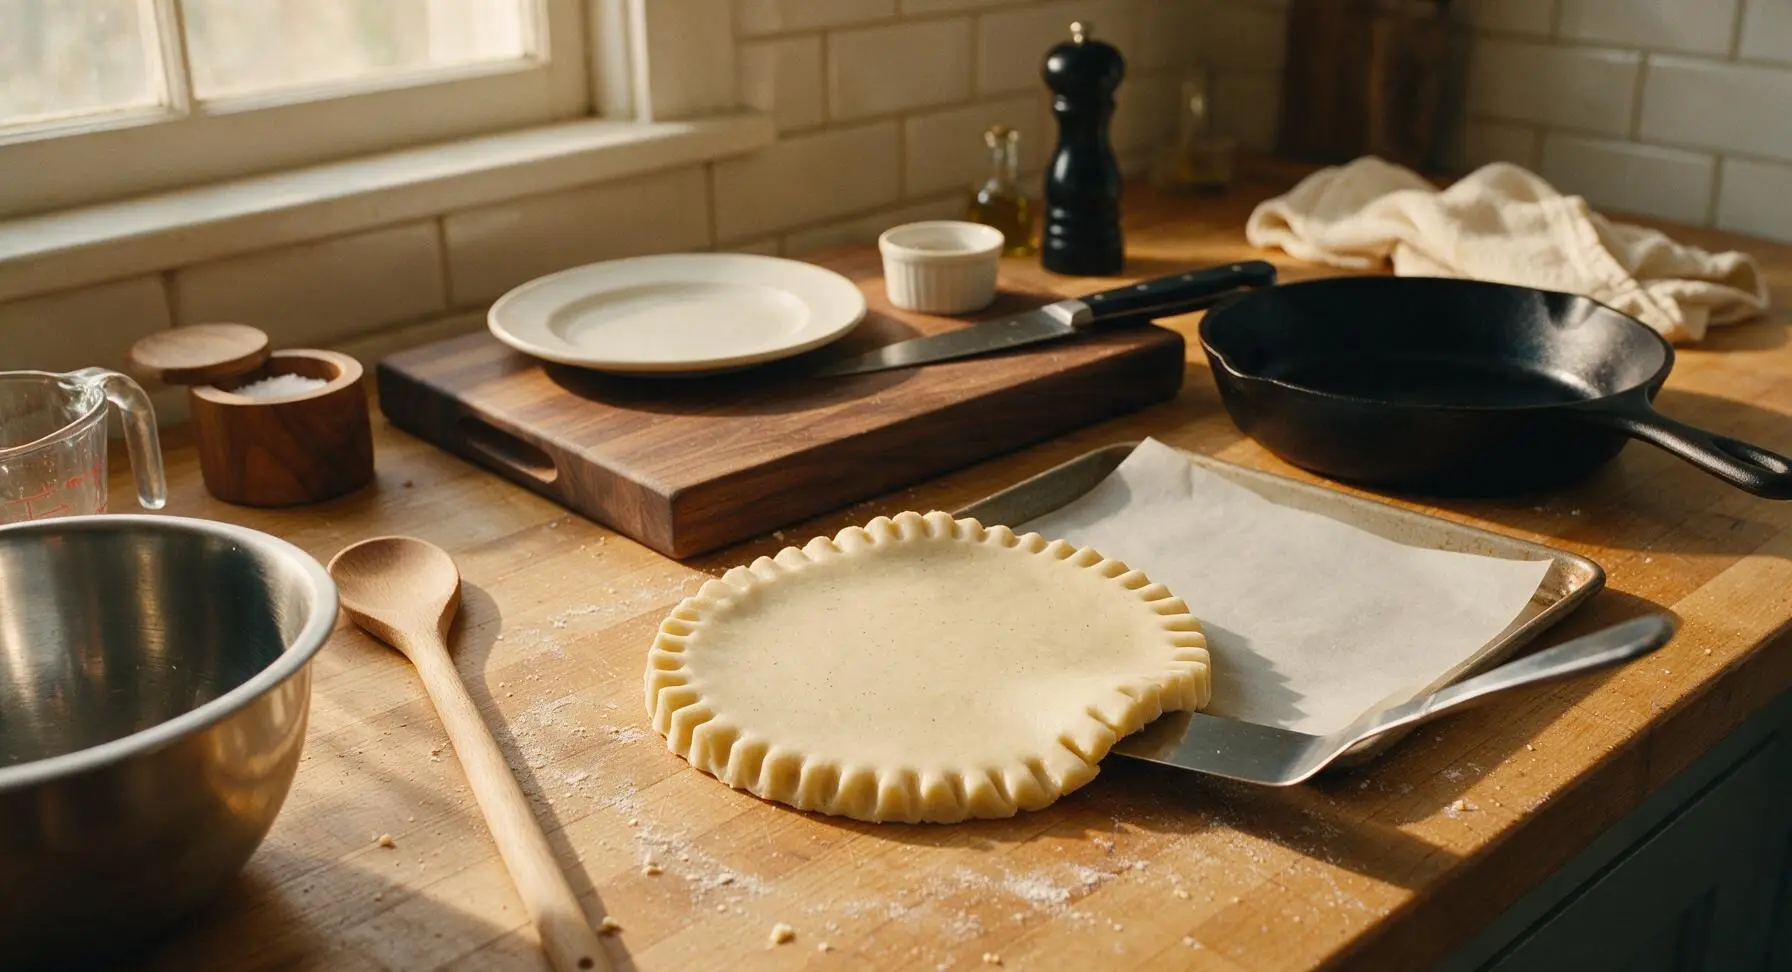
Bake Until Golden
Place the baking sheet on the middle rack of a preheated 170C (340F) oven and bake for 10-12 minutes. The cookies are fully baked when the edges turn a pale, light golden brown, while the centers remain pale and just set to the touch. Do not overbake, as sables continue to firm up as they cool; dark golden edges will result in dry, crunchy cookies instead of the signature tender, melt-in-your-mouth texture.
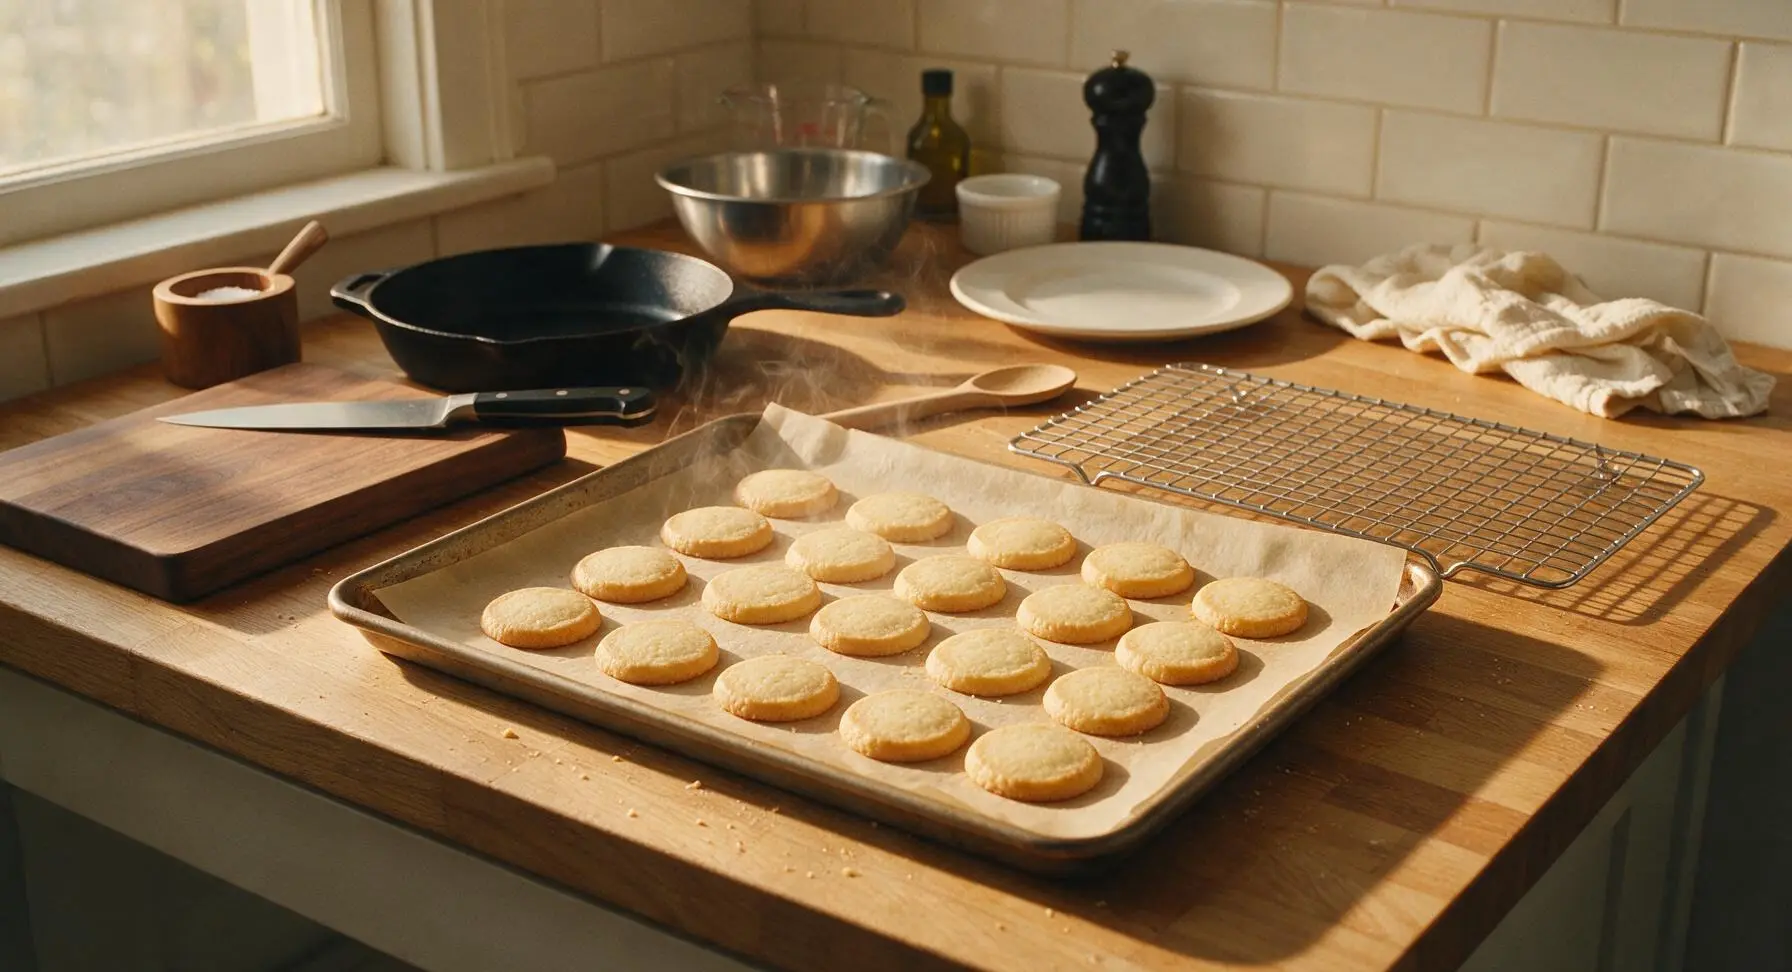
Cool and Plate Cookies
Let the cookies rest on the hot baking sheet for 5 minutes to set, then use the offset spatula to transfer them to the wire cooling rack to cool completely to room temperature (approximately 20 minutes). Once cool, arrange the cookies on the matte cream ceramic serving platter. For an optional light garnish, dust the tops with a thin layer of powdered sugar before serving. Fully cooled sables will have a delicate, sandy, crumbly texture that melts on the tongue.
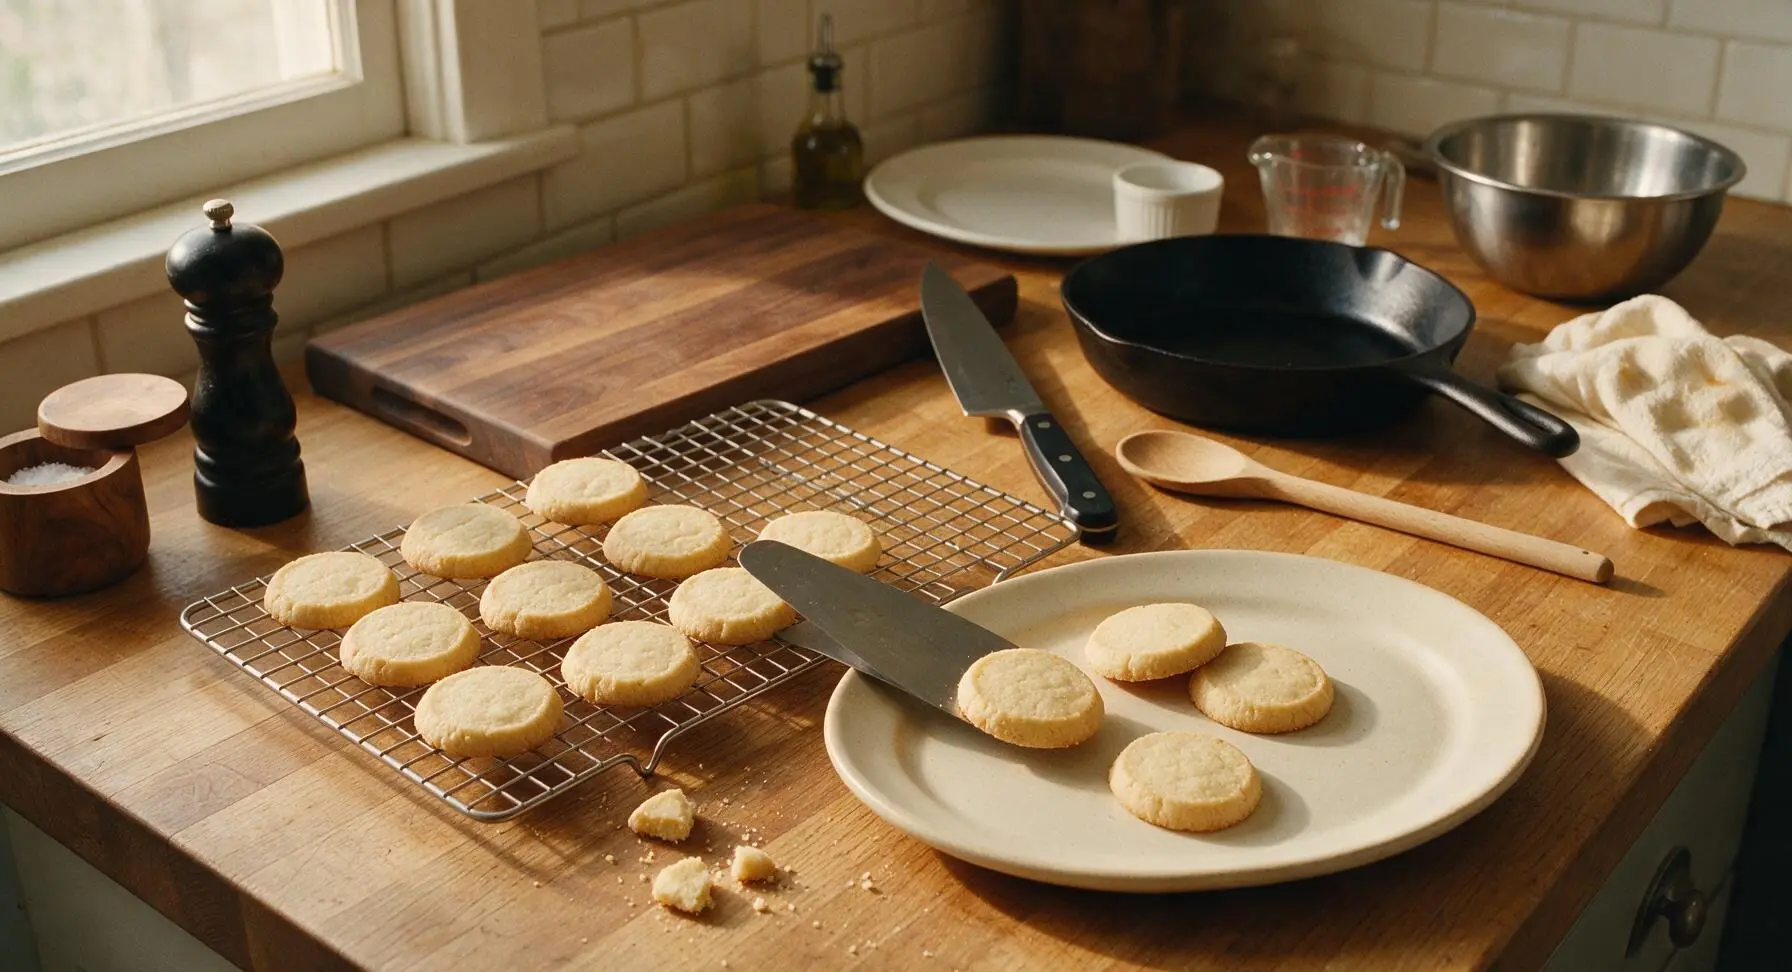
Tips
2.Press cookie cutters straight down without twisting: Twisting seals the cut edges of the dough, which prevents even setting and leads to misshapen, lopsided cookies instead of clean, uniform fluted edges.
3.Pull cookies from the oven when edges are just pale gold: Sables will look slightly underbaked in the center when removed, but they continue to firm up as they cool on the hot baking sheet. Baking until edges are dark gold will result in hard, dry cookies instead of the tender crumbly texture.






OMG these sablés are SO good! I made them for my book club potluck last night and everyone was begging for the recipe. The buttery crumble literally melts in your mouth, I can’t believe how easy they were to pull off even on a busy weeknight. The 12 minute cook time is no joke, I didn’t even have to wait around forever for them to bake!
My kids loved these! I swapped a tiny bit of the regular butter for salted butter because that’s what I had in the fridge, and they came out perfectly crisp. Perfect after-school snack with a little glass of milk, I already have the dough prepped in the fridge for next week’s meal prep rotation!
Wait, game changer. I’ve been overcomplicating French cookie recipes for years thinking they needed fancy ingredients or crazy technique, and these took me literally 20 minutes total from grabbing the flour to pulling them out of the oven. I added a light dusting of powdered sugar on top for my partner’s birthday brunch and they looked like they came from a fancy patisserie!
Made these for my neighbor’s housewarming party over the weekend and they were gone in 10 minutes flat. I will say, make sure you let the dough chill for the full recommended time if you want those clean, sharp edges when you cut them — I rushed my first batch and they spread a little, still tasted amazing though!
SO buttery, SO simple. I was worried these would be too plain for my family who loves super sweet desserts, but the rich butter flavor is more than enough — I served them after our Sunday family dinner and everyone went back for seconds. I brought a tin to my office and even my pickiest coworker had three of them!
Quick question — can I freeze the shaped dough to bake off later? I love having easy cookie dough stashed for when last minute guests pop by, and these seem like the perfect candidate.
I messed up my first batch because I used melted butter instead of softened, oops! Don’t be like me, folks — make sure your butter is just room temp soft, not runny, and they’ll turn out perfect. My second batch was absolute perfection, I’ll definitely be adding these to my annual holiday cookie tin lineup.
These are the perfect pairing for my morning latte, let me tell you. Not too sweet, crumbly, just the right amount of butter flavor so it doesn’t overpower the coffee. I make a batch every Sunday now to have with my coffee throughout the work week, it’s my new little ritual.
Wait, is there a trick to getting them evenly golden on the bottom? My oven runs a little hot so my first tray got a touch too dark on the edges before the centers were set, but they still tasted incredible.
Made these with my 7 year old daughter for her school’s bake sale and we sold out in 20 minutes! She loved helping cut the shapes out with her little cookie cutters, and the dough is so forgiving even when tiny hands manhandle it a little. 10/10 for kid-friendly baking.
I added a tiny splash of vanilla bean paste instead of regular vanilla extract and wow, that depth of flavor is unreal. You can really taste the difference when you use good quality butter too, don’t skimp on that!
How long do these stay fresh in an airtight container? I want to make them ahead for my sister’s baby shower next weekend but don’t want them to go stale before the party.
I swapped the regular butter for vegan block butter to make these dairy free for my best friend, and even the non-vegan folks at our game night couldn’t tell the difference! The texture was still perfectly crumbly and buttery, 10/10 adaptable recipe.
These are so much better than the store-bought shortbread I usually grab for trail snacks! They hold up really well in my backpack, don’t get crumbly and messy, and give me that little buttery sugar boost I need halfway up a trail.
I’ve tried three different sablé recipes online before this one, and this is by far the easiest and most consistent. No fancy equipment needed, just a bowl, a spoon, and a baking sheet — no stand mixer required, which is perfect for my tiny apartment kitchen.