
French Tarte Tatin
intro
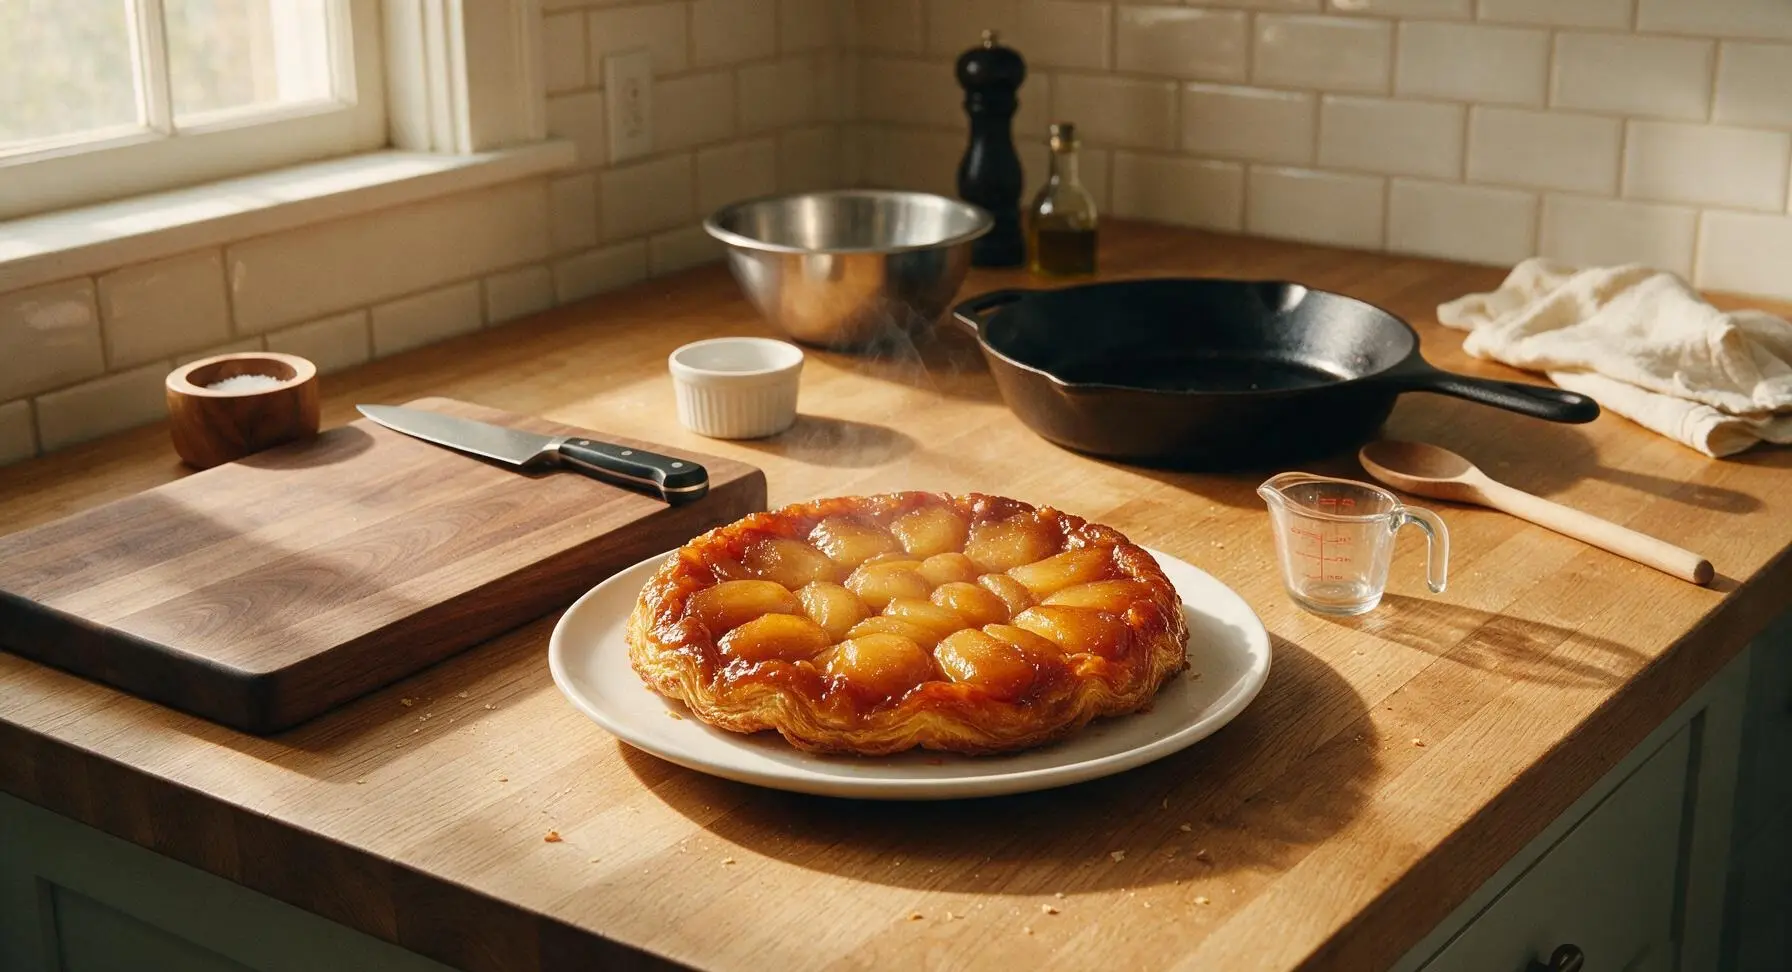
Classic upside-down French apple tart, with buttery caramel-coated tender apples and crisp flaky puff pastry. Rustic, elegant, and bursting with warm autumn flavor.
Ingredients
Steps
Prep and core apples
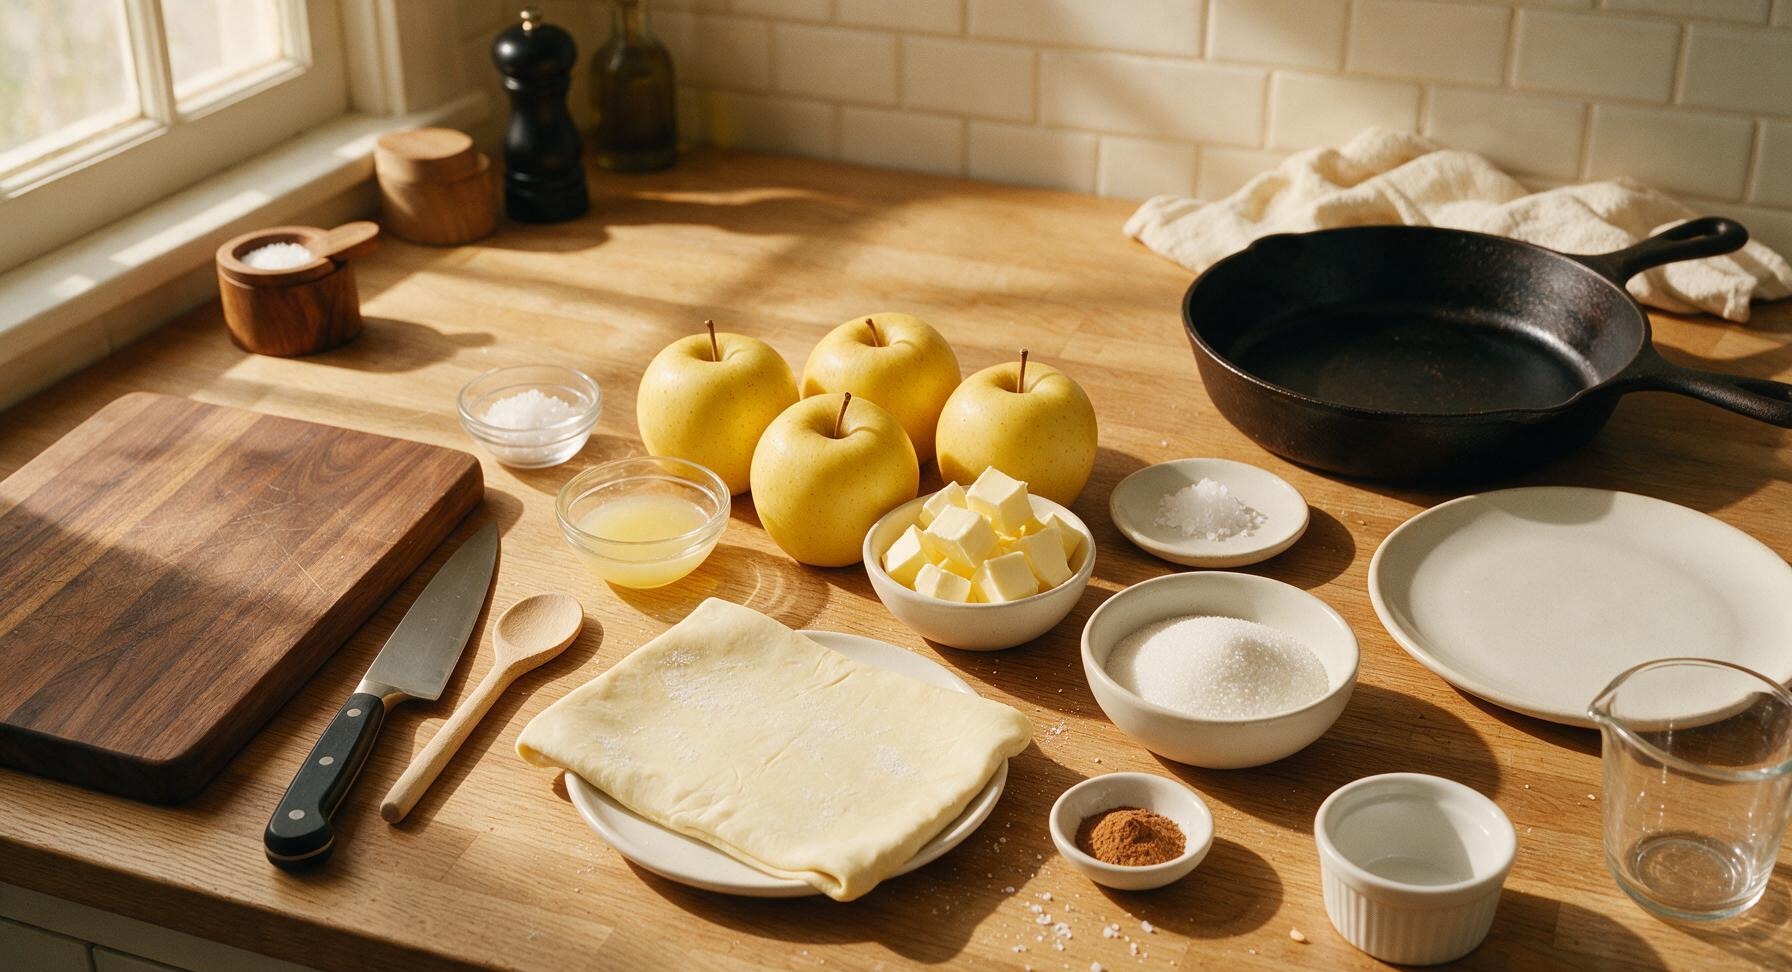
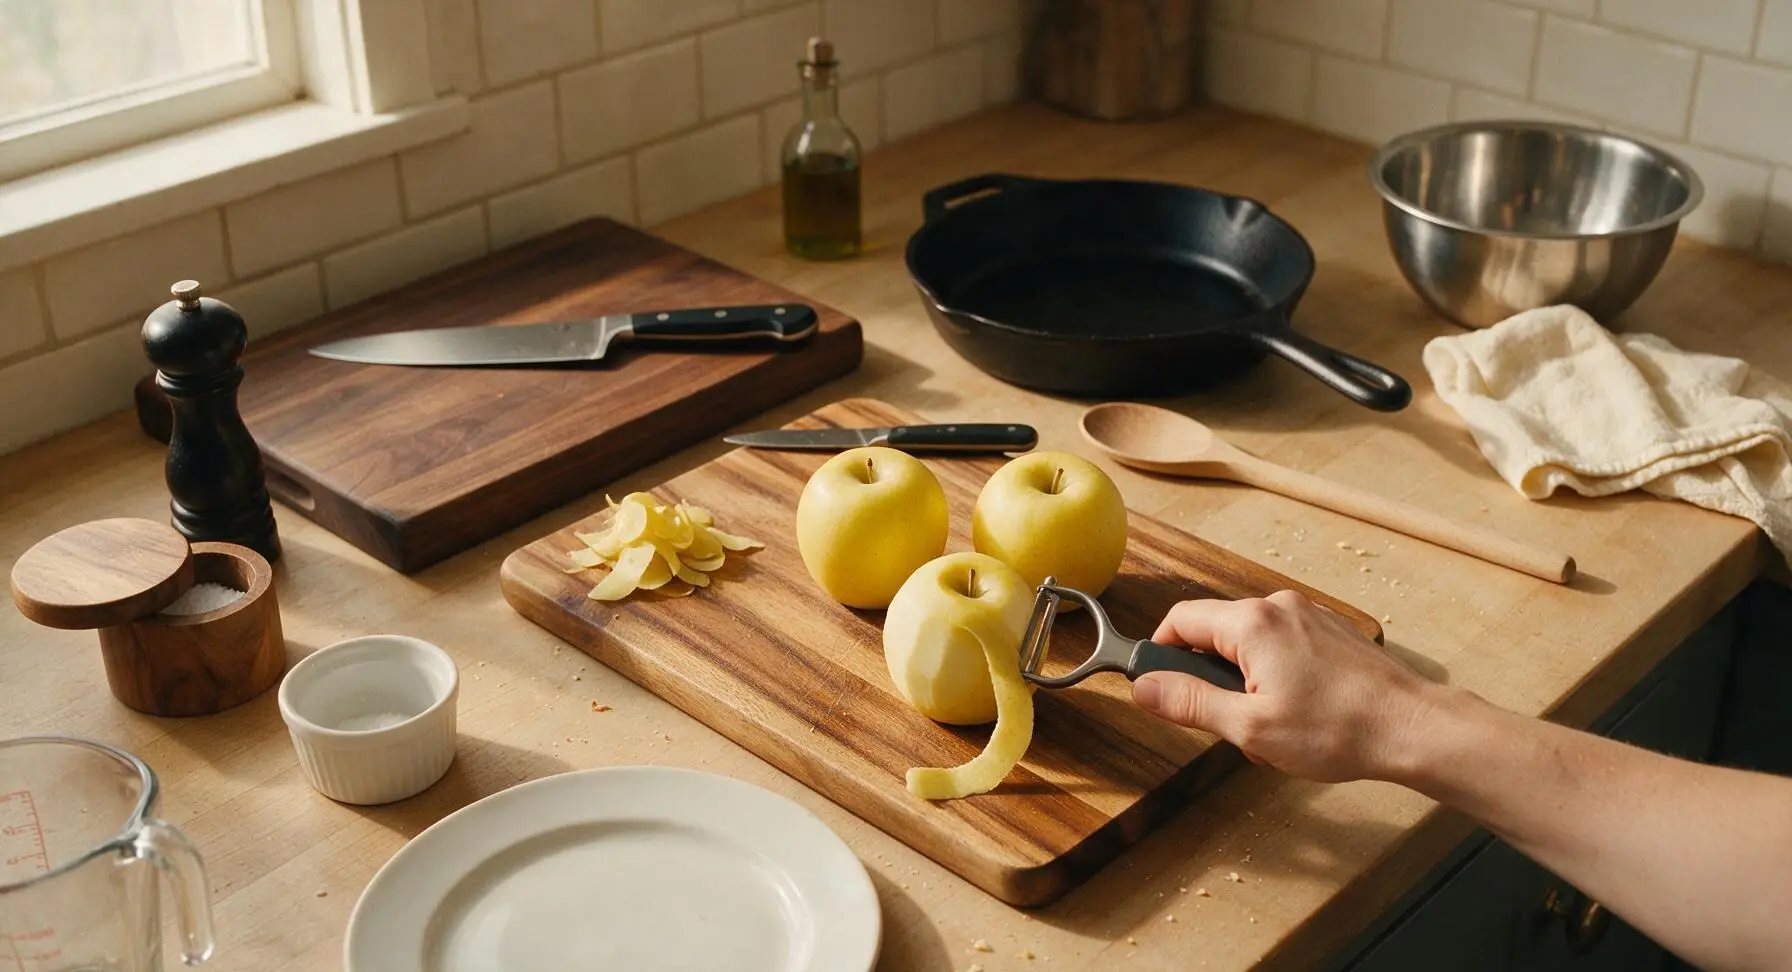
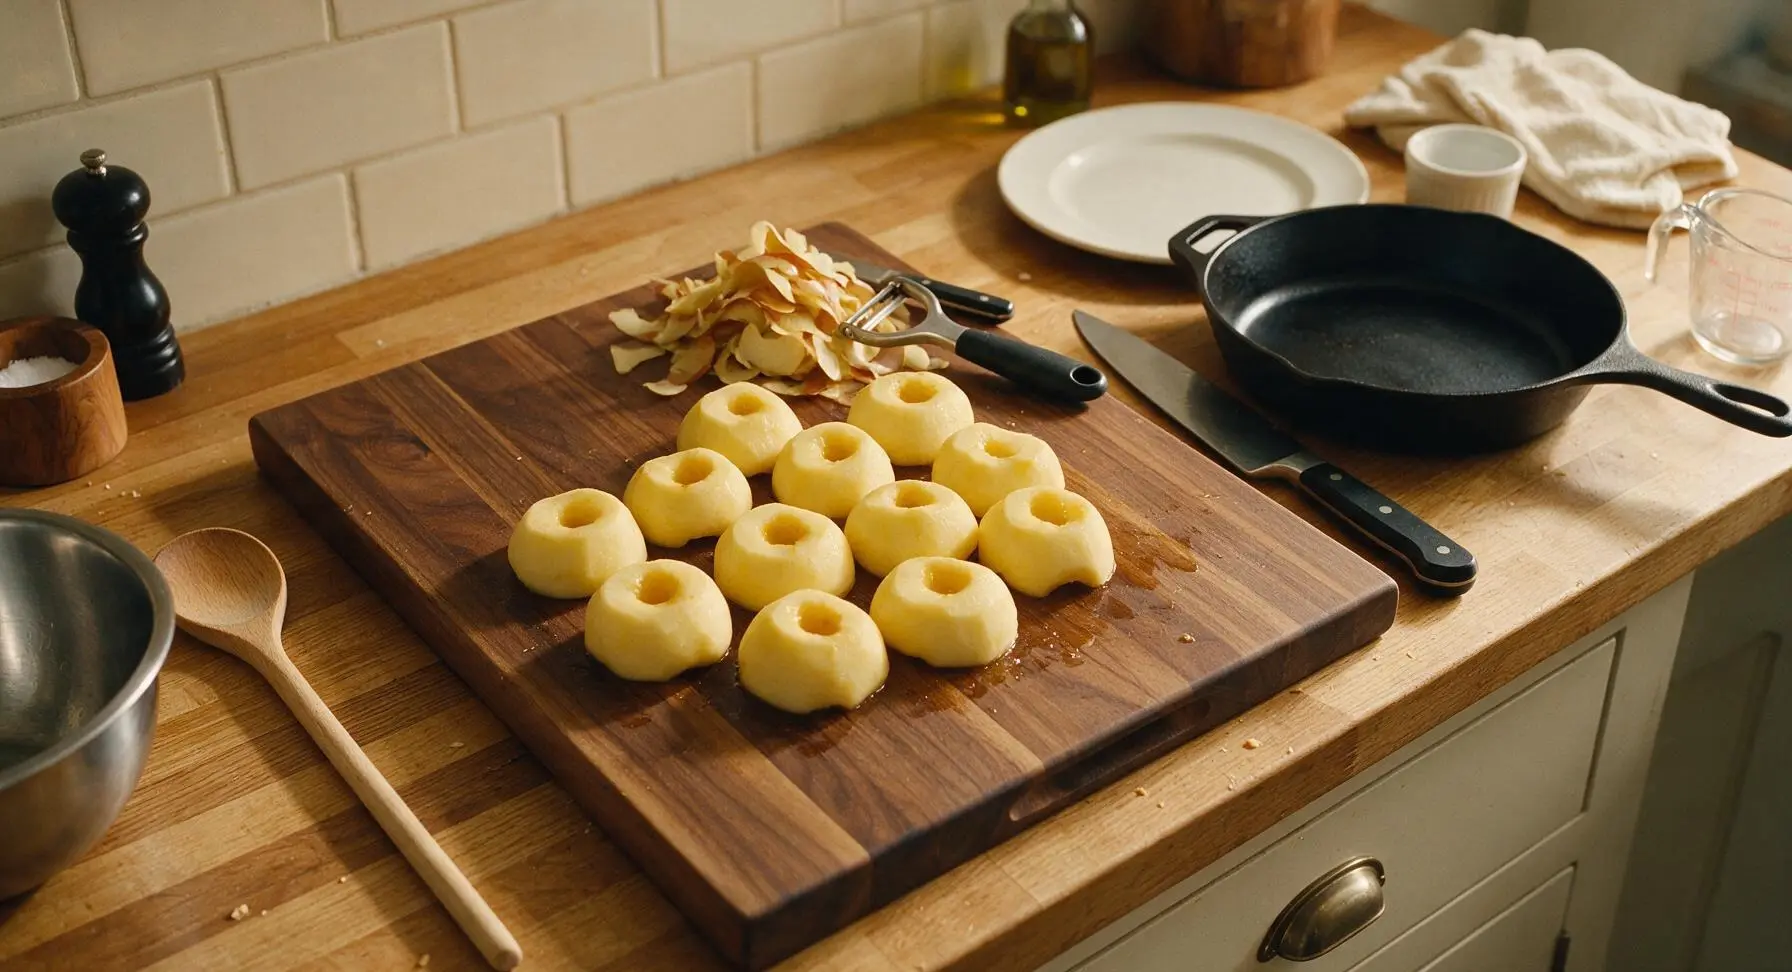
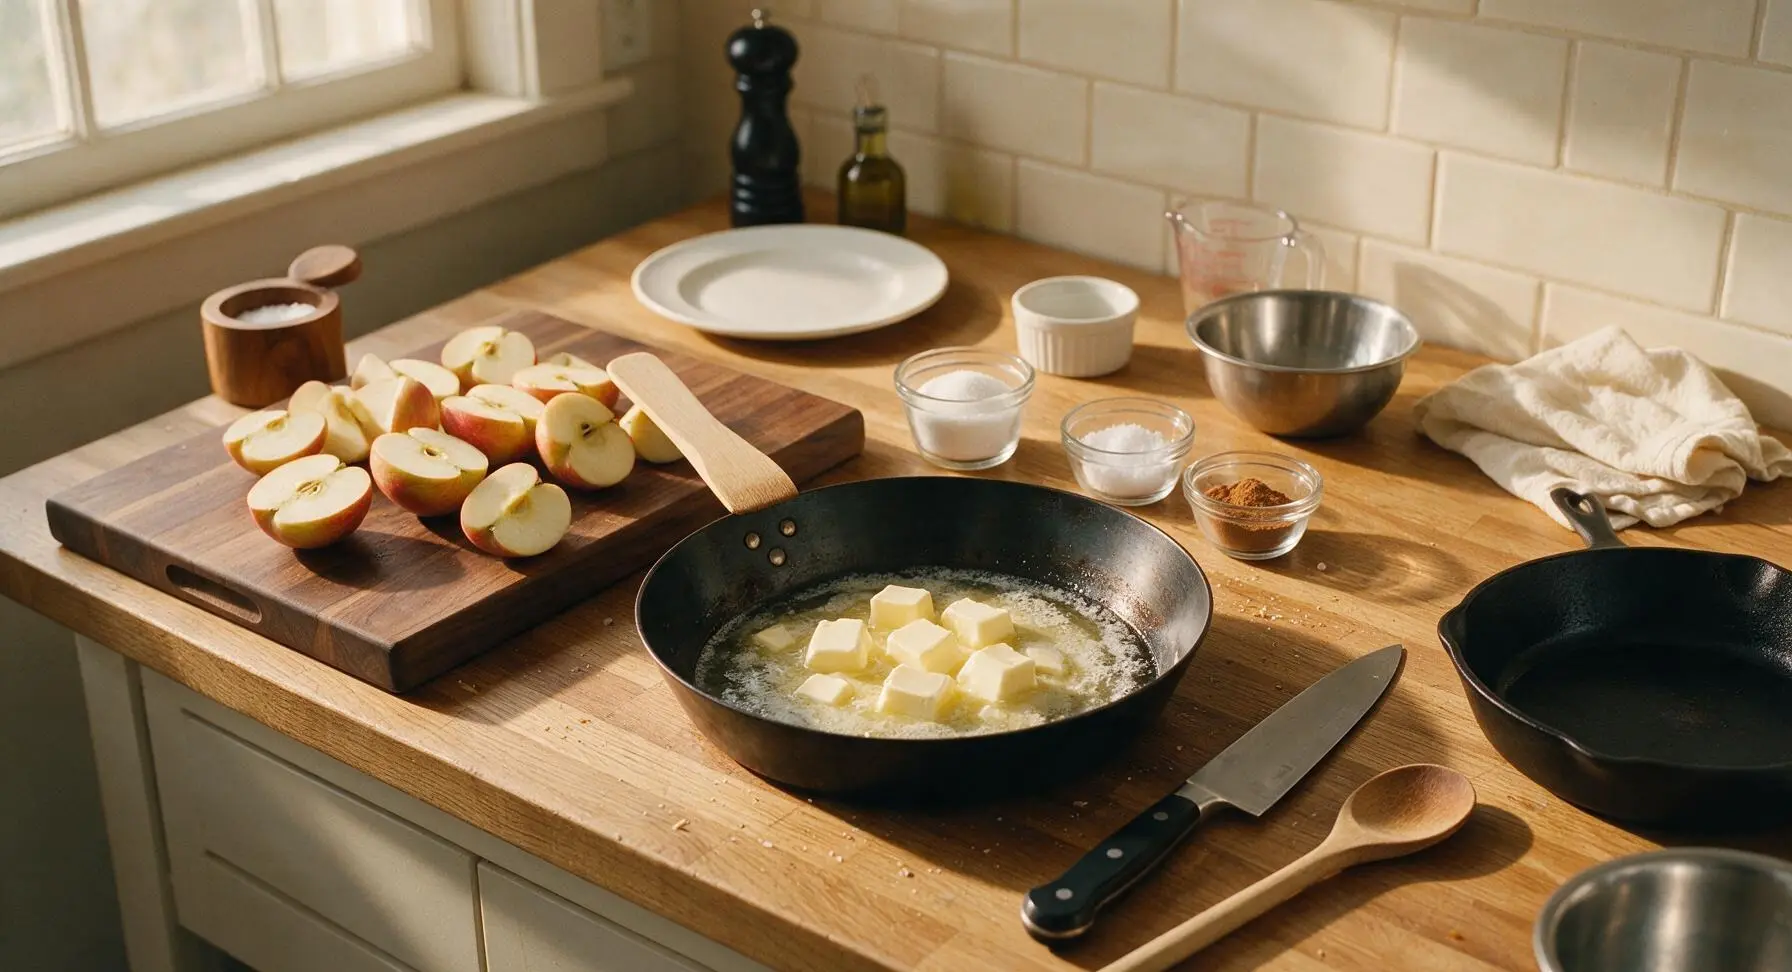
Set the acacia wood cutting board in the center of the work area. Use the Y-shaped vegetable peeler to remove all skin from the 6 Golden Delicious apples. Cut each apple in half vertically, then use the 8-inch paring knife to remove the core, seeds, and stem from each half. Toss the peeled, cored apple halves with 1 tablespoon fresh lemon juice to prevent browning, and set them cut-side down on the cutting board. Ensure no brown spots or hard core bits remain on the apple flesh.
Melt butter in pan
Bring the 10-inch black carbon steel Tatin pan to the center of the stovetop area on the counter, set over medium-low heat. Add the cubed unsalted butter to the pan, stirring gently with the beech wood spatula as it melts for approximately 2 minutes. Once butter is fully liquid and foaming slightly, add the granulated sugar, fine sea salt, and ground cinnamon from the small ramekins, stirring to combine evenly with the melted butter. Do not allow the butter to brown at this stage.
Cook amber caramel
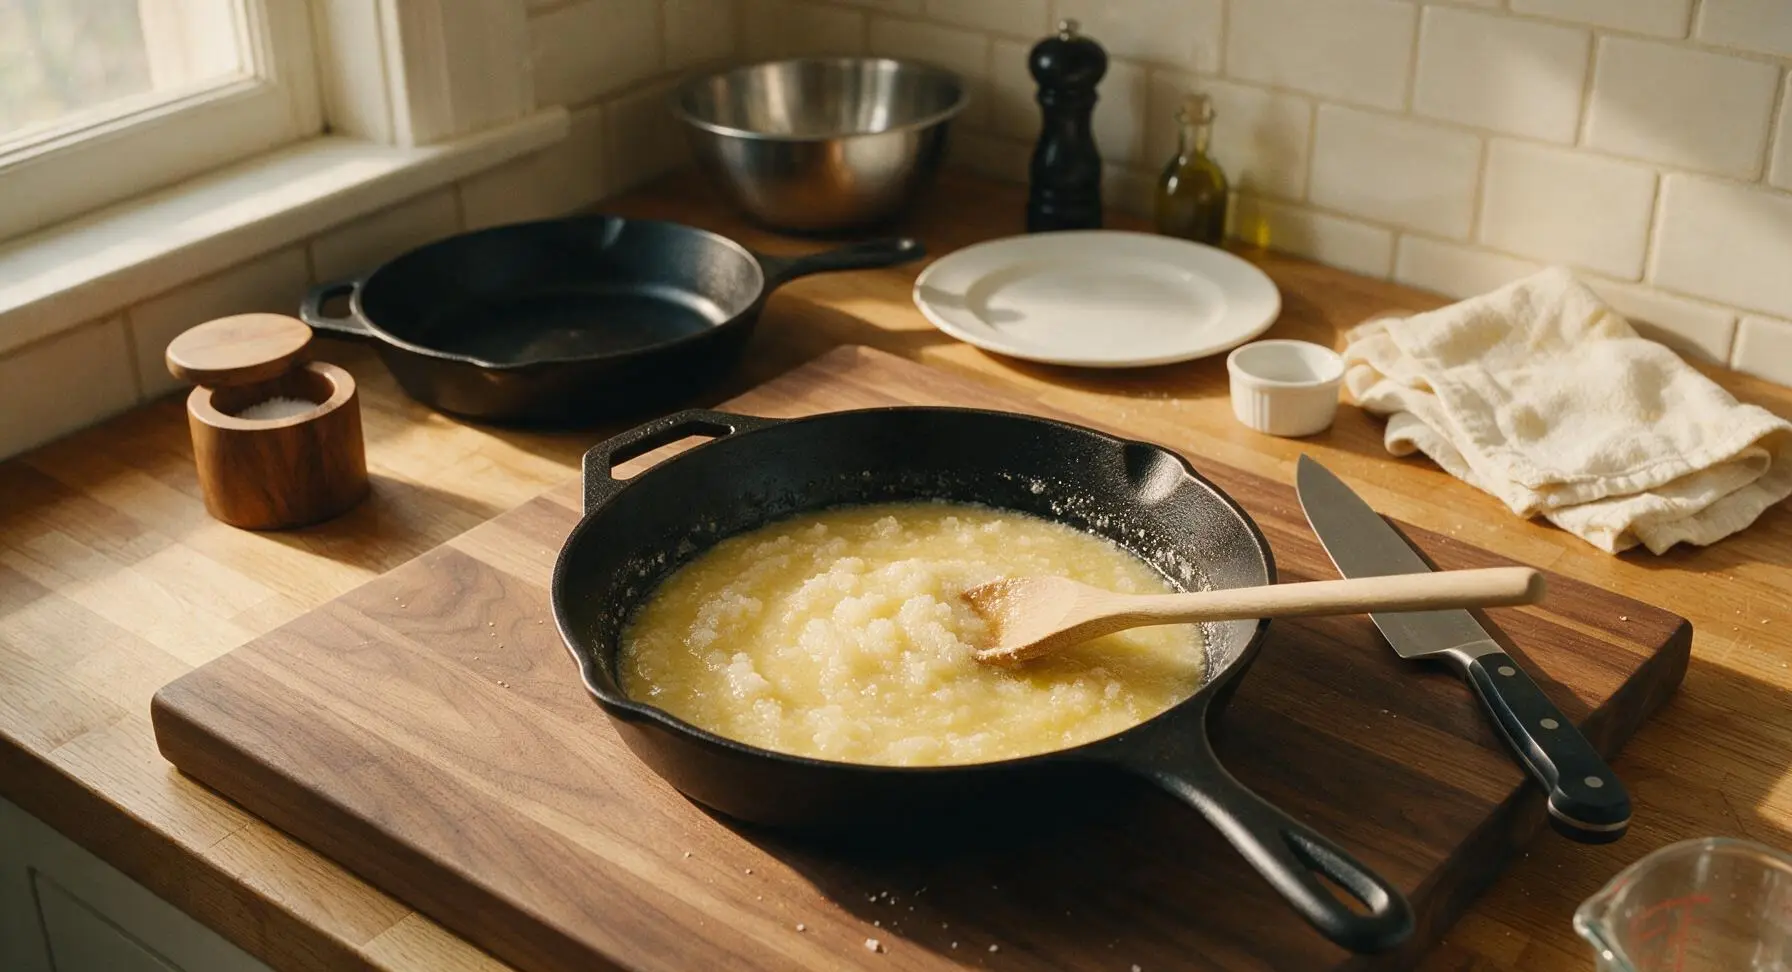
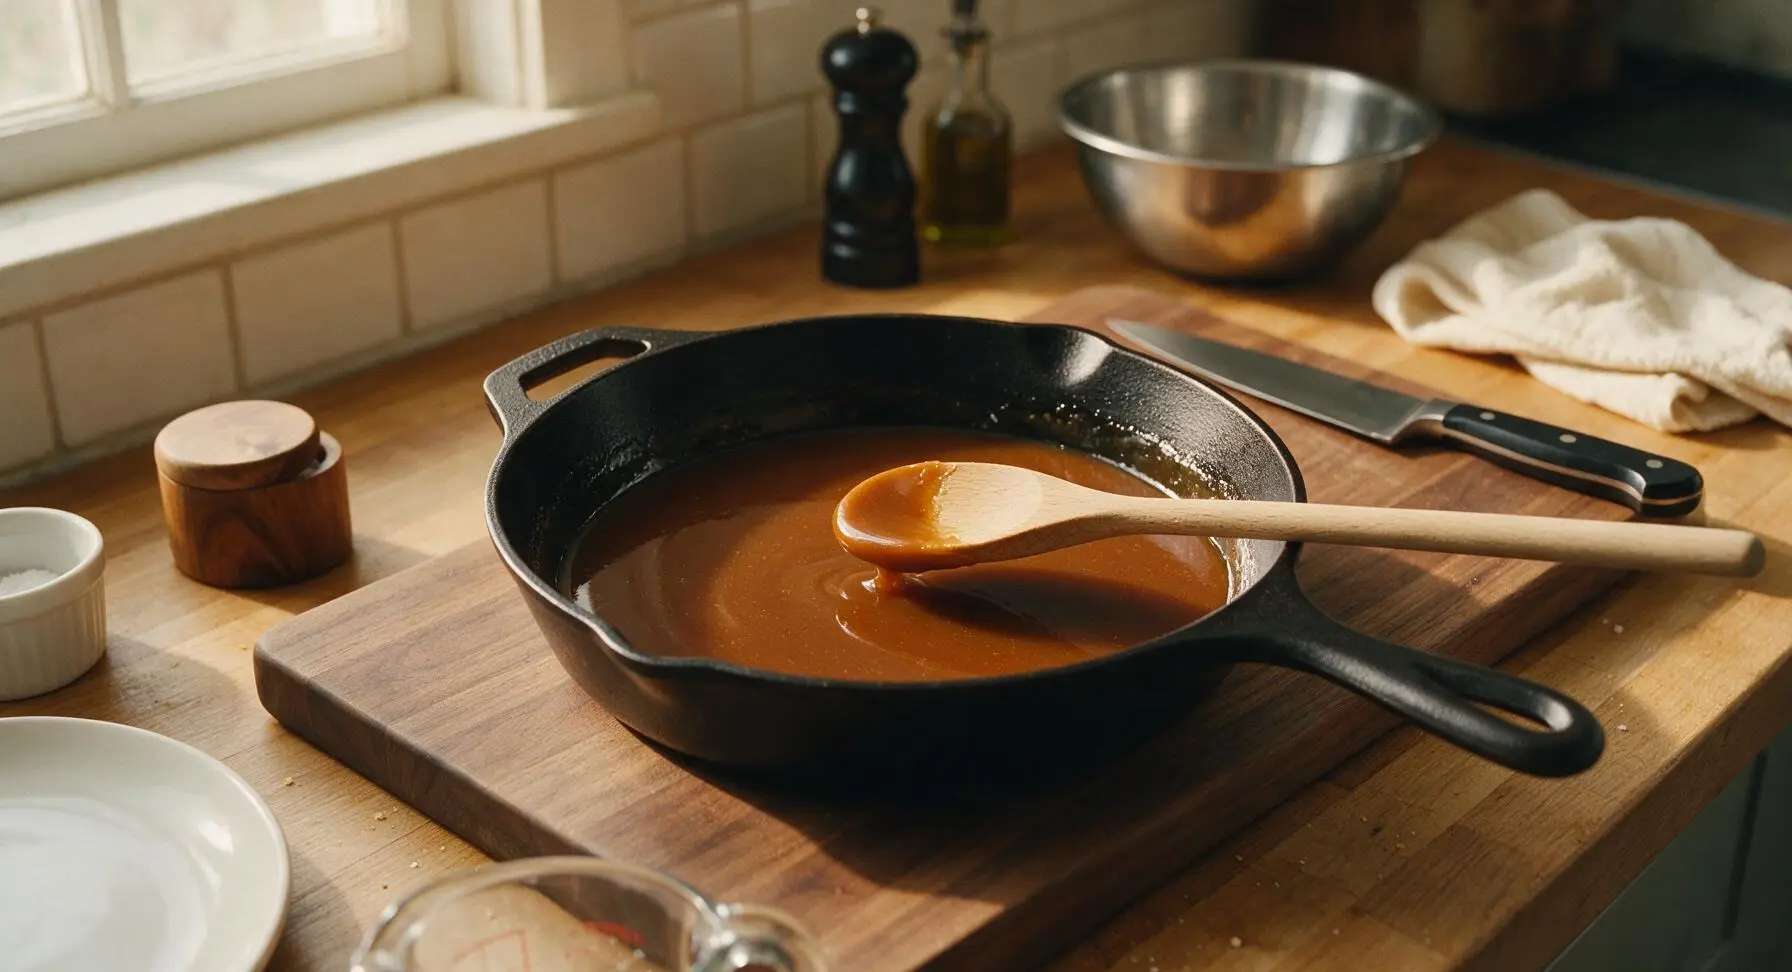
Stir the butter-sugar mixture continuously with the beech wood spatula over medium-low heat for 6-8 minutes, until the sugar fully melts and transforms into a smooth, glossy deep amber color (the shade of pure maple syrup). Watch closely during the final 2 minutes, as the caramel will darken very quickly once it reaches temperature and can burn in seconds. If dark black specks appear, immediately remove the pan from heat. Avoid overly vigorous stirring once the sugar starts to melt, as this can cause sugar crystallization.
Arrange apple halves
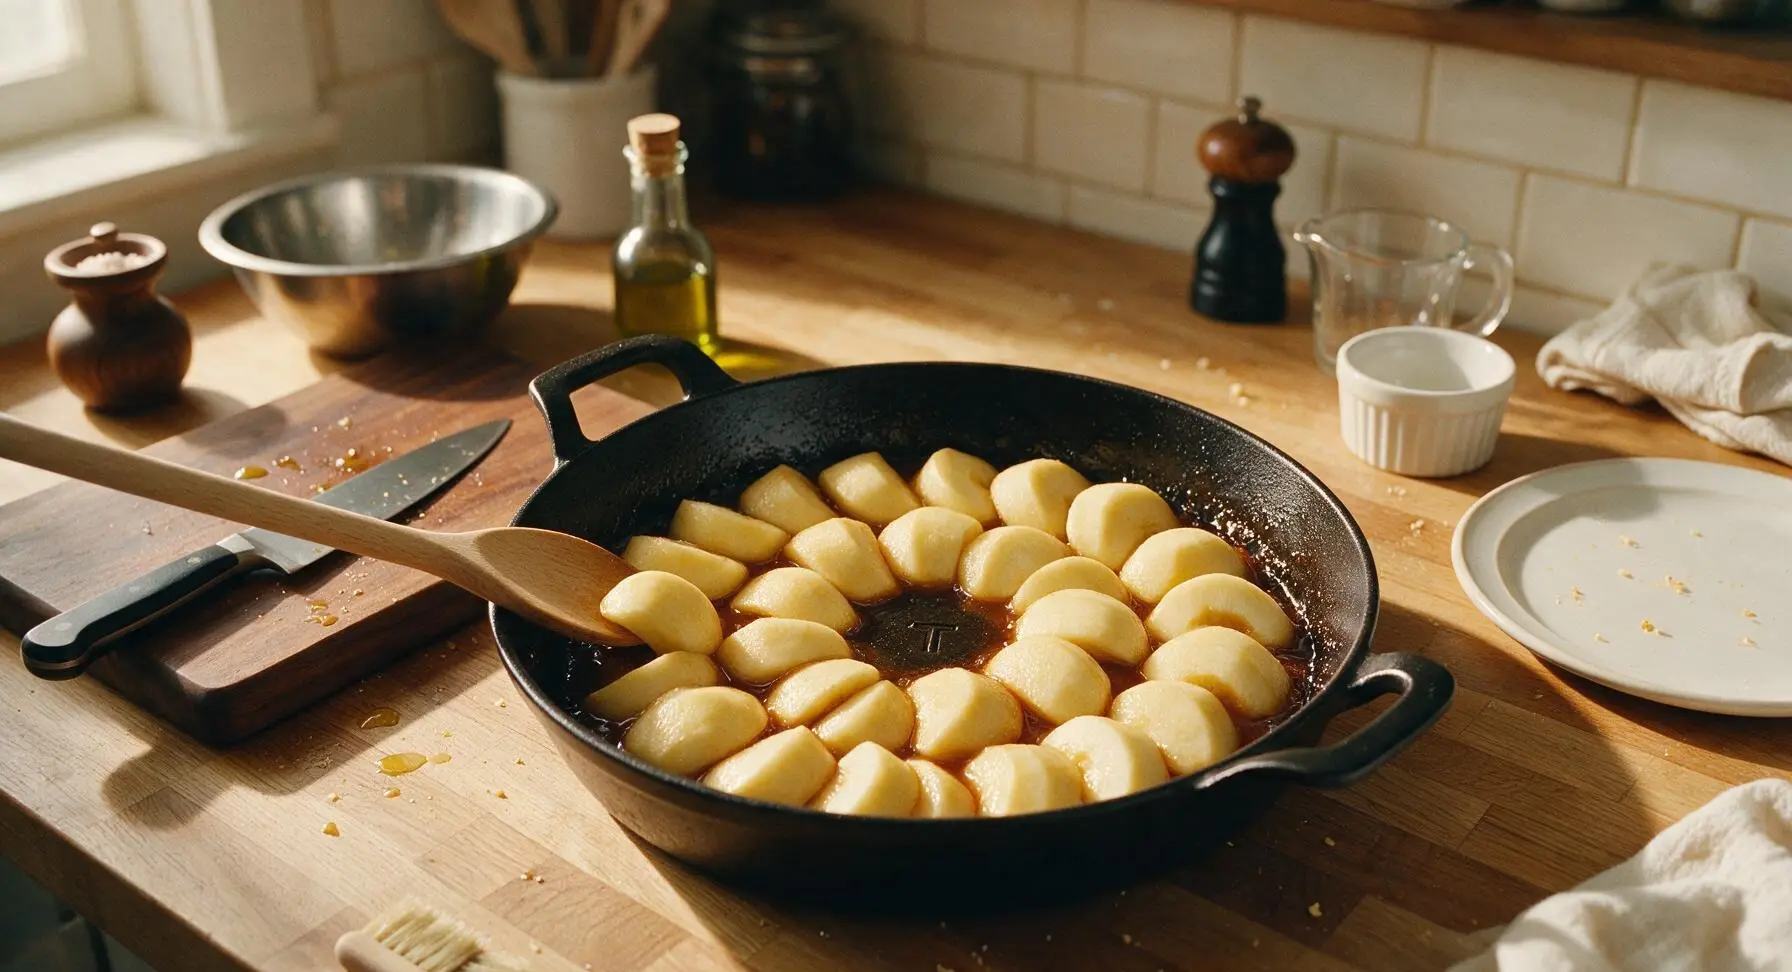
Remove the caramel pan from heat. Working carefully (caramel reaches 170C/340F and can cause severe burns), arrange the peeled apple halves cut-side up in a tight overlapping circular pattern on top of the caramel, starting at the pan's outer edge and spiraling inward to the center. Pack apples as tightly as possible, as they will shrink by roughly 30% during baking; fill small gaps with trimmed apple pieces to create a solid, even layer. Return the pan to medium-low heat and cook the apples in the caramel for 10 minutes, until fruit softens slightly and caramel bubbles up around the apple edges.
Cover with pastry
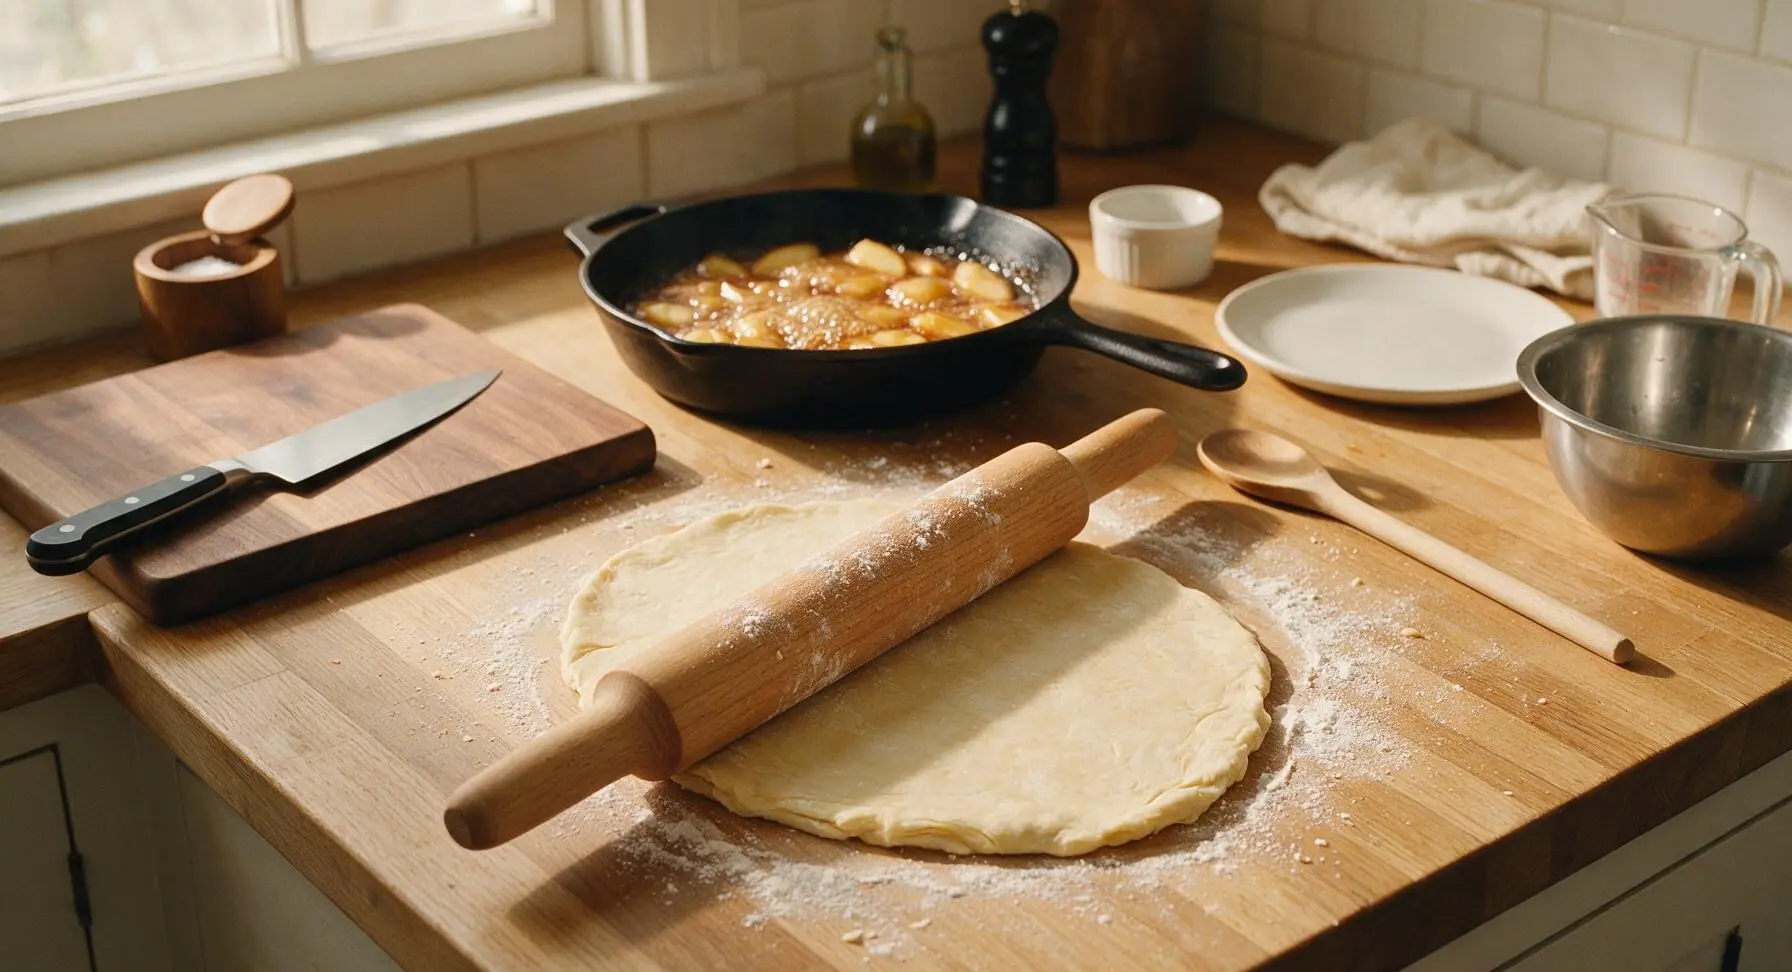
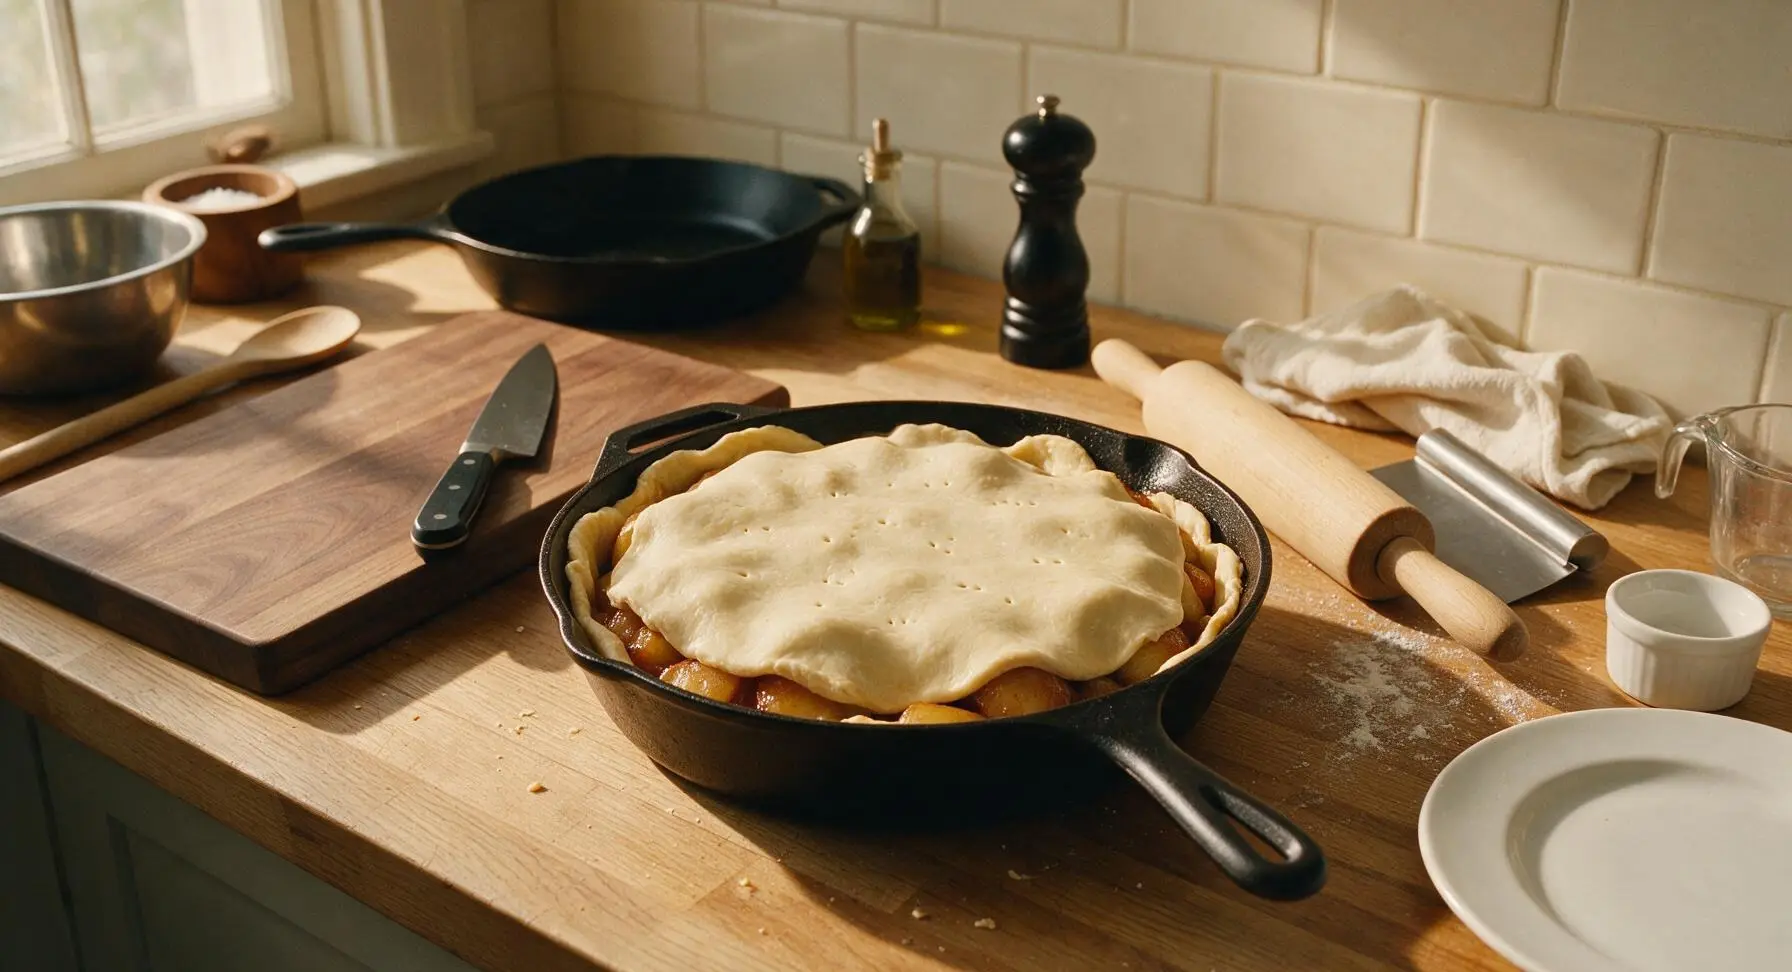
While the apples simmer in caramel, lightly flour a small section of counter next to the pan. Use the beech wood French rolling pin to roll the all-butter puff pastry into a 28cm circle, slightly larger than the Tatin pan's diameter. Prick the pastry all over with the tip of the paring knife to allow steam to escape during baking. Once the apples have cooked for 10 minutes on the stovetop, remove the pan from heat. Drape the rolled pastry circle over the apples, using the stainless steel dough scraper to tuck the pastry edges down between the apples and pan interior to create a tight seal.
Bake until golden
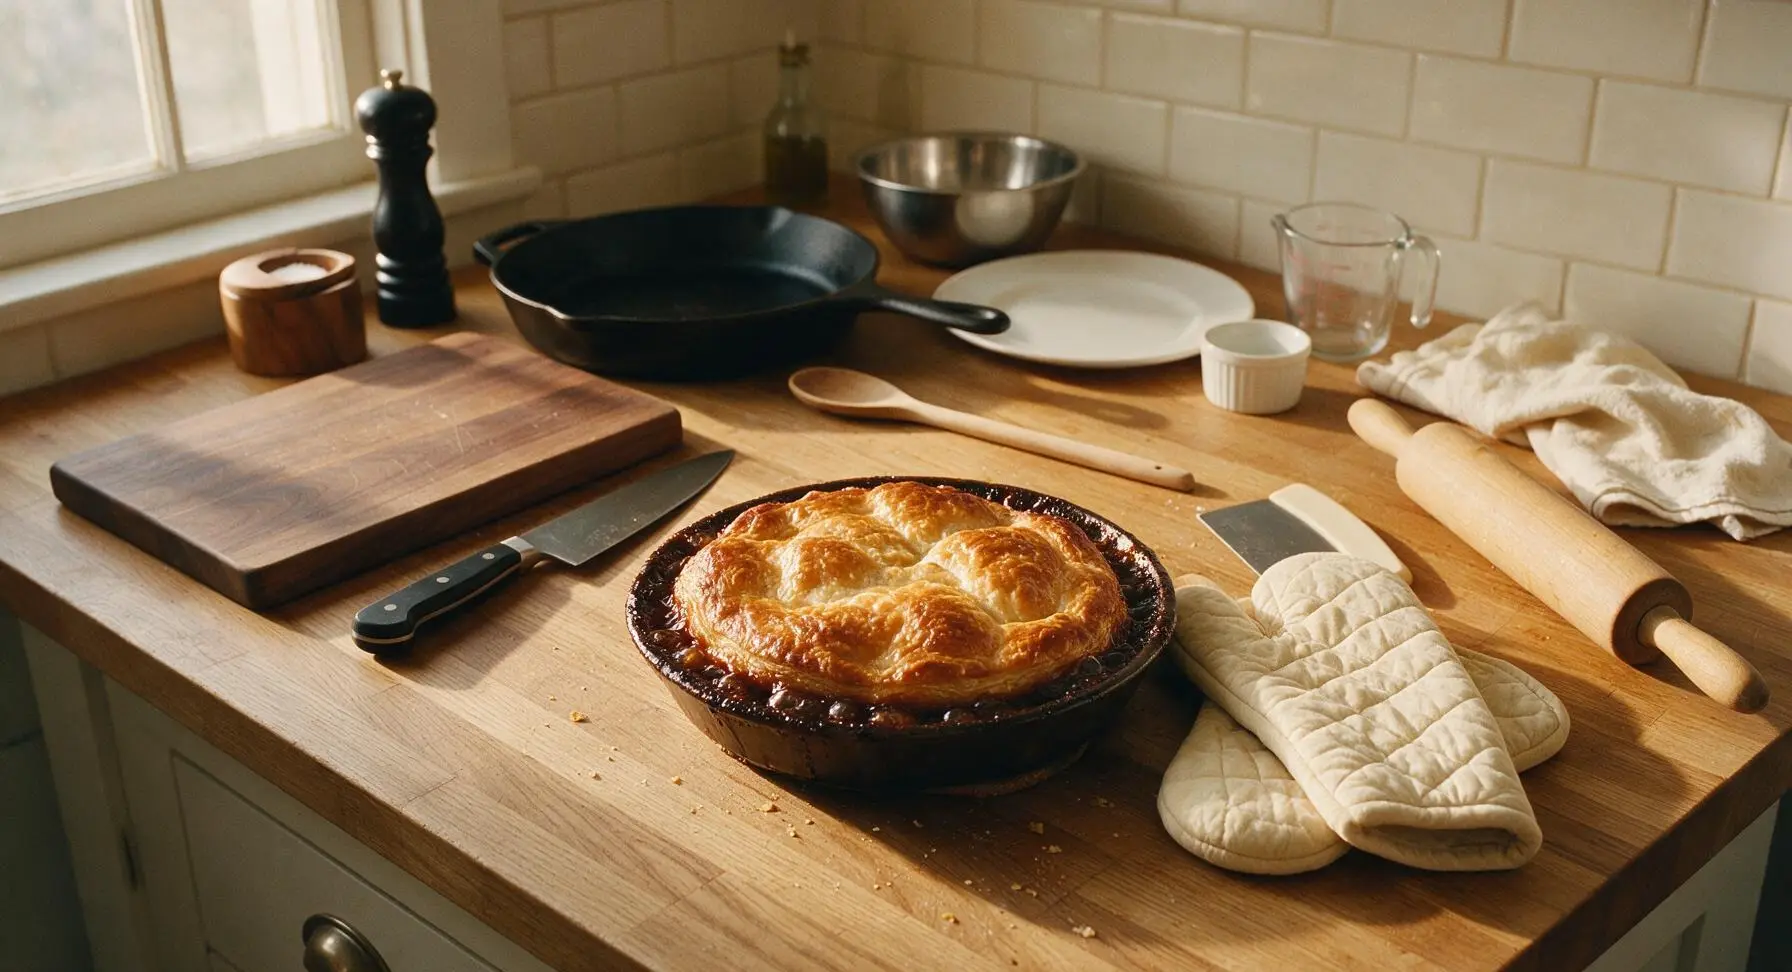
Transfer the Tatin pan to a preheated 190C (375F) oven. Bake for 25 minutes, until the puff pastry is deep golden brown and fully puffed, and thick caramel bubbles vigorously around the pastry edges. Use the quilted cream cotton oven mitts to carefully remove the pan from the oven, and set it on the counter to rest for exactly 5 minutes — do not rest longer, as caramel will set and stick to the pan.
Invert onto platter
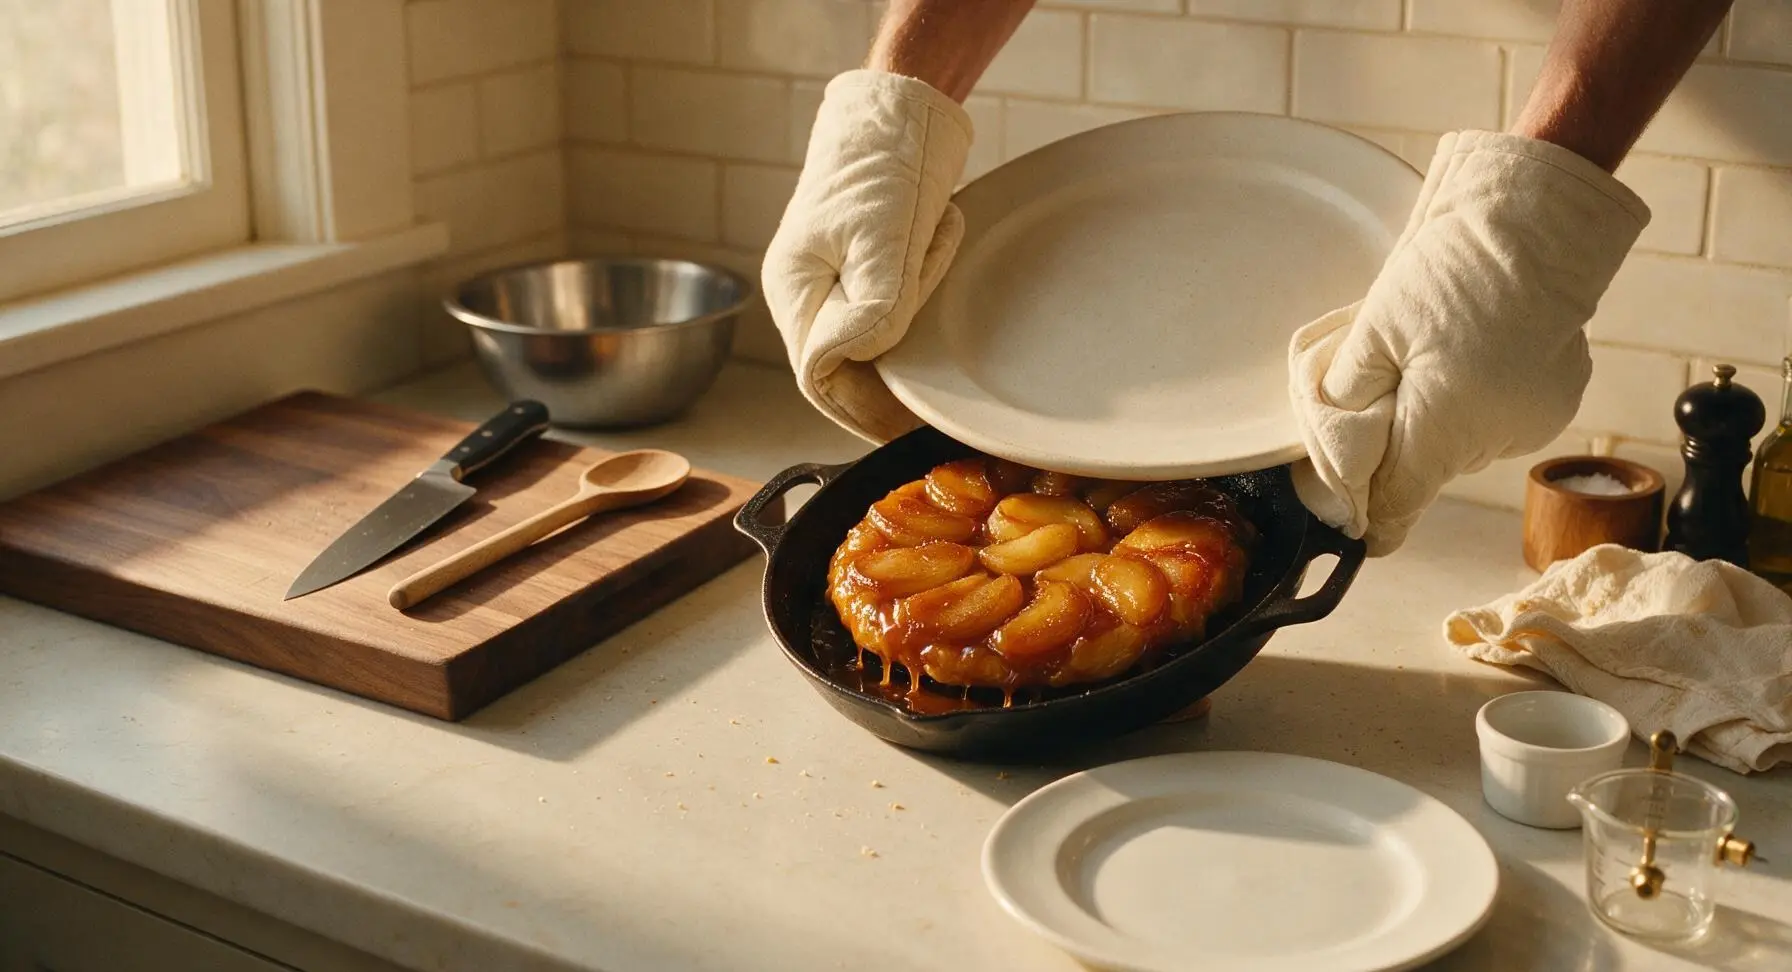
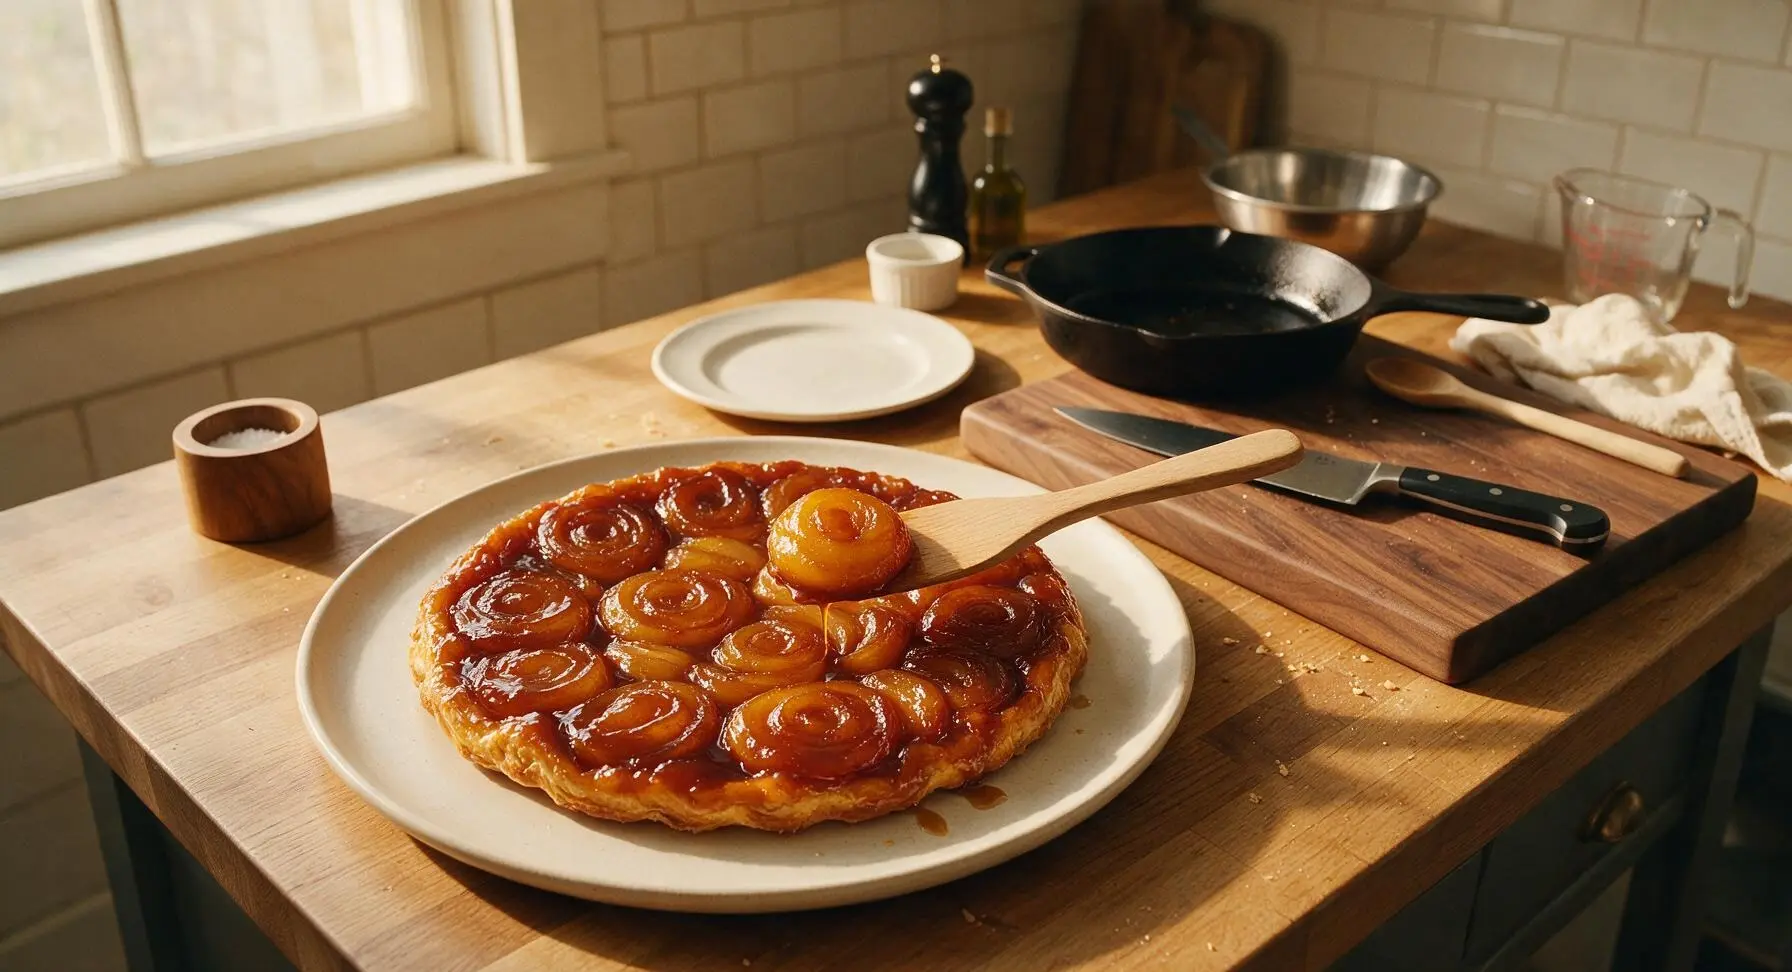
After 5 minutes of resting, place the large matte off-white ceramic serving platter upside down over the top of the Tatin pan. Wearing oven mitts to protect hands from residual heat, grip the pan handles and platter firmly together, then flip the entire assembly in one smooth, confident motion so the platter rests on the counter and the pan is upside down on top. Lift the pan slowly away to reveal the caramelized apple top. If any apple pieces stick to the pan, use the beech wood spatula to gently lift them and press them back into place on the tart. Sprinkle with a pinch of flaky sea salt, garnish with a small sprig of lemon thyme, and let the tart rest for 10 minutes to allow caramel to set slightly before serving.
Tips
2.Stick to the exact 5-minute rest time before flipping the tart. If you wait longer than 5 minutes, the hot caramel will cool and harden, gluing apples to the pan and leading to a broken, messy tart when you lift the pan away. If you flip too early, the caramel will be too runny and will run off the tart onto the platter.
3.Avoid stirring the caramel too vigorously once the sugar starts to melt, as this can cause sugar crystals to form and create a grainy, instead of smooth, caramel. If you notice small crystals forming on the pan sides, swirl the pan gently instead of stirring to help dissolve them back into the melted caramel.






OMG this tarte Tatin was an absolute game changer for our fall potluck last weekend! I was worried a medium-difficulty French dessert would be too much to pull off after work on a Friday, but the 45 minute cook time was totally manageable. The caramel was so rich and buttery, the apples were perfectly tender, and even my picky 7 year old asked for a second slice. 10/10, already got three requests for the recipe from neighbors!
Just pulled this out of the oven and my whole apartment smells insane. I’ve tried three other tarte Tatin recipes before and they always ended up with soggy crust or burnt caramel, but this method of cooking the apples first on the stovetop before flipping works perfectly. No sogginess at all!
Made this for my weekly meal prep to have as a little treat after dinners, and it held up really well in the fridge for 4 days! I warmed slices up for 20 seconds in the microwave before eating and it tasted just as good as the day I made it. Only reason it’s not 5 stars is I found the caramel a touch too sweet for my taste, so next time I’ll cut the sugar by a tablespoon. Still super delicious though!
Decent recipe, but I do think the cook time is a little optimistic for home cooks who don’t have a lot of pastry experience. It took me closer to an hour total between prepping the apples, making the caramel, and getting the crust laid out right. Flavor was spot on though, can’t fault it there.
This was absolutely incredible! I made this for my husband’s birthday dinner since he loves all things caramel and apple, and he said it’s better than the tarte Tatin we had on our Paris honeymoon. I added a tiny pinch of flaky sea salt on top of the caramel before baking and it took it to the next level. Highly recommend that little hack!
Made this in my tiny dorm kitchen with a cheap skillet and store-bought pie crust (don’t judge, I don’t have a rolling pin or fancy pastry tools) and it still turned out SO good. My roommates devoured half of it in 10 minutes. 10/10, no fancy equipment required if you’re a broke student like me!
I modified this to use a gluten-free all-purpose flour crust for my daughter who has celiac, and it worked beautifully! The caramel and apple part is naturally gluten free so it was such an easy swap. My whole family loved it, even the non-gluten-free members said they couldn’t tell the difference. Only tiny knock is I wish there was a little note about gluten-free crust adaptations for folks with dietary restrictions, but that’s a super minor thing. Will be making this for our Thanksgiving dessert spread for sure!